How to Repaint a Dresser


Repainting a dresser is a great way to update and refresh your furniture on a budget. Whether you want to change the color of an old dresser or give new life to a piece of painted furniture, this guide will walk you through the steps on how to repaint a dresser.
You can easily create an entirely new look for your dresser by choosing a different color or finish for your paint. So let’s get started!
Dressers are important pieces of furniture in any bedroom, providing much-needed storage for clothing and other personal items. However, over time, they can become worn down, outdated, or simply no longer fit the aesthetic of a room.

Repainting would allow you to customize the color and finish of your dresser to match your current decor. Apart from aesthetic reasons, there are practical benefits to repainting a dresser. As dressers are often used daily, they can easily become stained, scratched, or damaged.
Repainting not only covers up these imperfections but also adds a protective layer to prolong the life of your dresser. Plus, repainting a dresser is a cost-effective alternative to buying a whole new piece of furniture!
Supplies Used To Repaint a Dresser
As an Amazon Associate, I earn from qualifying purchases. I also may earn from other qualifying purchases with other companies or get free product to review and use. All opinions are my own.
How to Prepare Dresser for Repainting
The first step in preparing a dresser for repainting is to empty all of the drawers and remove any hardware, such as knobs or handles.
This will make it easier to paint the entire surface of the dresser without any obstructions.
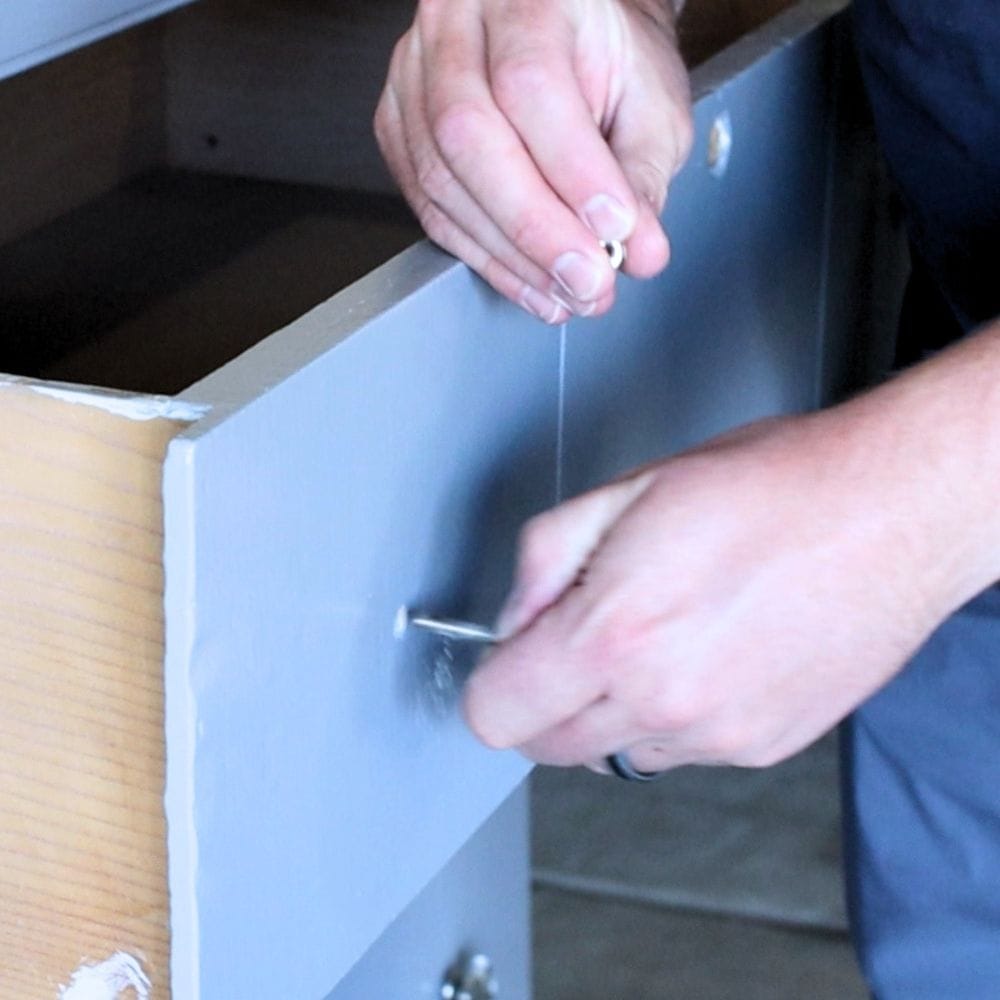
Make sure to keep all hardware in a safe place so it doesn’t get lost or damaged during the painting process.
Now when you have a painted dresser, we highly recommend removing the existing paint first. If you don’t, the new paint may not adhere properly and you won’t get a smooth and professional finish.
You can use a paint stripper or sandpaper to remove the old paint. Our post on how to remove paint from wood furniture will help you with this process.
Next, give your dresser a good cleaning. Clean furniture before painting, including the inside of drawers and any nooks and crannies.
This will remove any dirt, dust, or grime that will affect the new paint’s adhesion as well. Let the dresser dry completely before moving on to the next step.
If your dresser has any damage, it is important to repair it before repainting. This will not only improve the appearance of your dresser but also guarantee its structural integrity.
There are various methods for repairing old furniture depending on the type and severity of the damage, so it’s best to assess the situation and choose the appropriate repair technique.
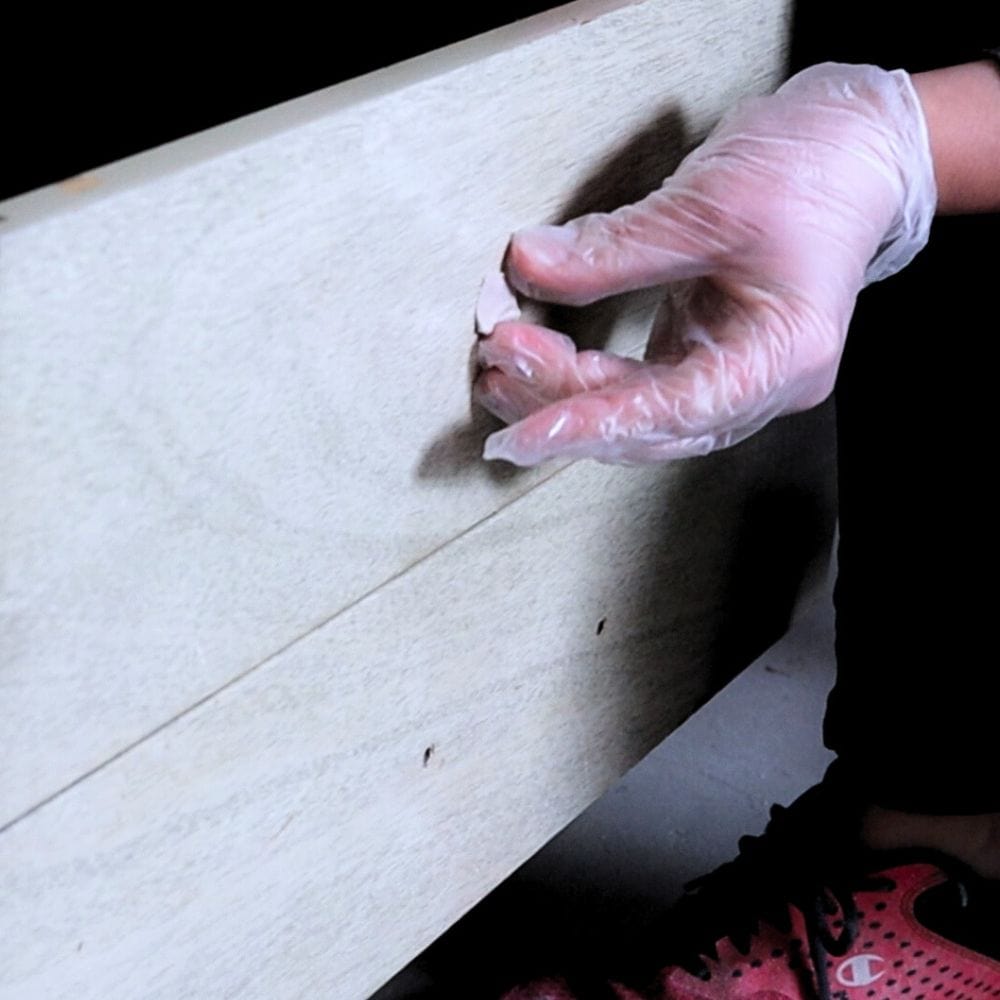
If you plan to update the hardware on your dresser, now is the time to fill in any old hardware holes. This creates a smooth surface for your new hardware.
Here are some ways of filling holes when replacing cabinet or furniture hardware that you can follow.
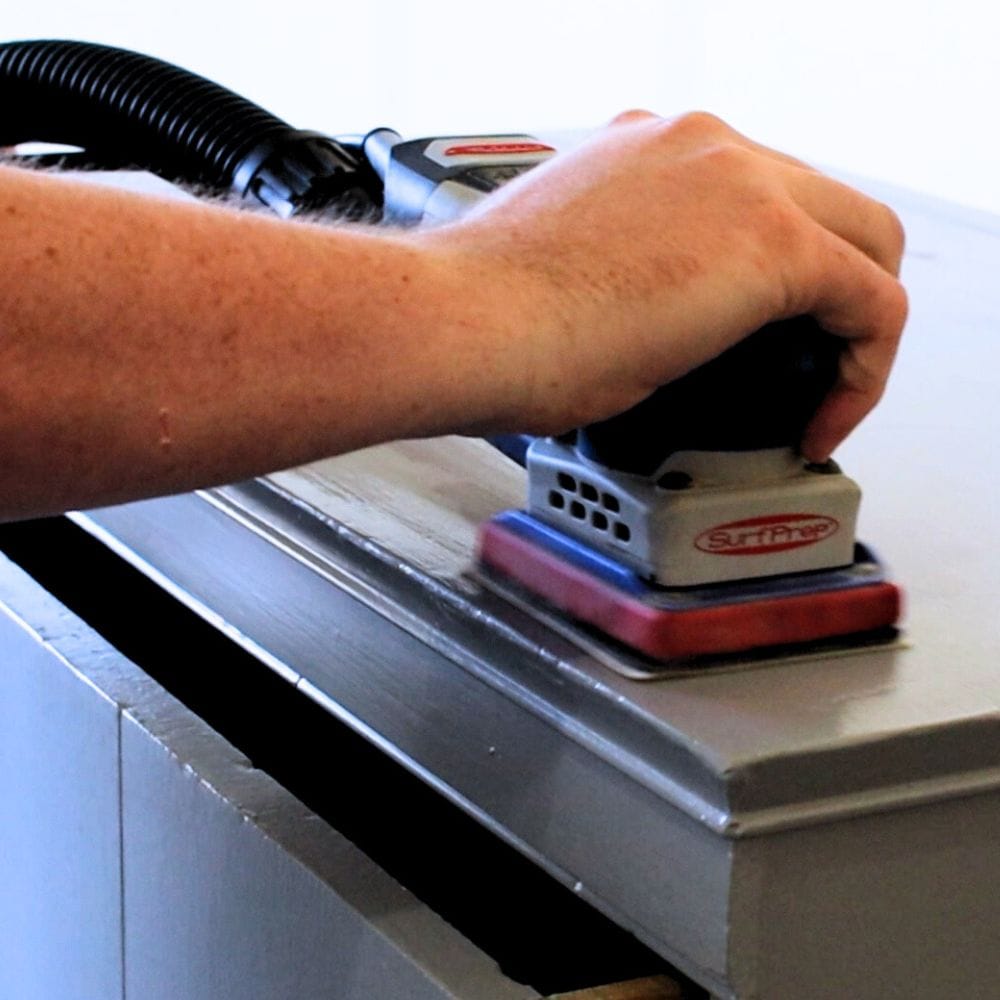
Once that’s done, lightly sand the entire surface of the dresser with 220 grit sandpaper. This will help remove any rough areas and create a smooth surface for your new paint. Don’t skip sanding before painting furniture for that professional-looking finish.
Another thing to not skip is priming. Primer not only helps the paint adhere to the surface of your dresser but also stops stains from coming through paint.
We have a list of the best primers for painting furniture and a guide on how to choose the right one here. Learn more about the importance of priming wood for painting plus tips here.

How to Repaint a Dresser
Now that you’ve tackled prepping furniture for painting, it’s repaint time! Start by choosing the right paint for your project.
Different types of paint for furniture work best for different surfaces and finishes, so consider factors such as durability, ease of application, and desired look when making your selection.
Would you like to save this?
Check out these unique bedroom dresser ideas to get some inspiration for trying something new and one-of-a-kind.
When it comes to actually repainting your dresser, there are some tips and tricks to make the process go smoothly. For example, choose a high-quality brush or roller for a smooth finish.
Check out your options for the best paint brushes for painting furniture here and the best rollers for painting furniture here if you are looking to get one.
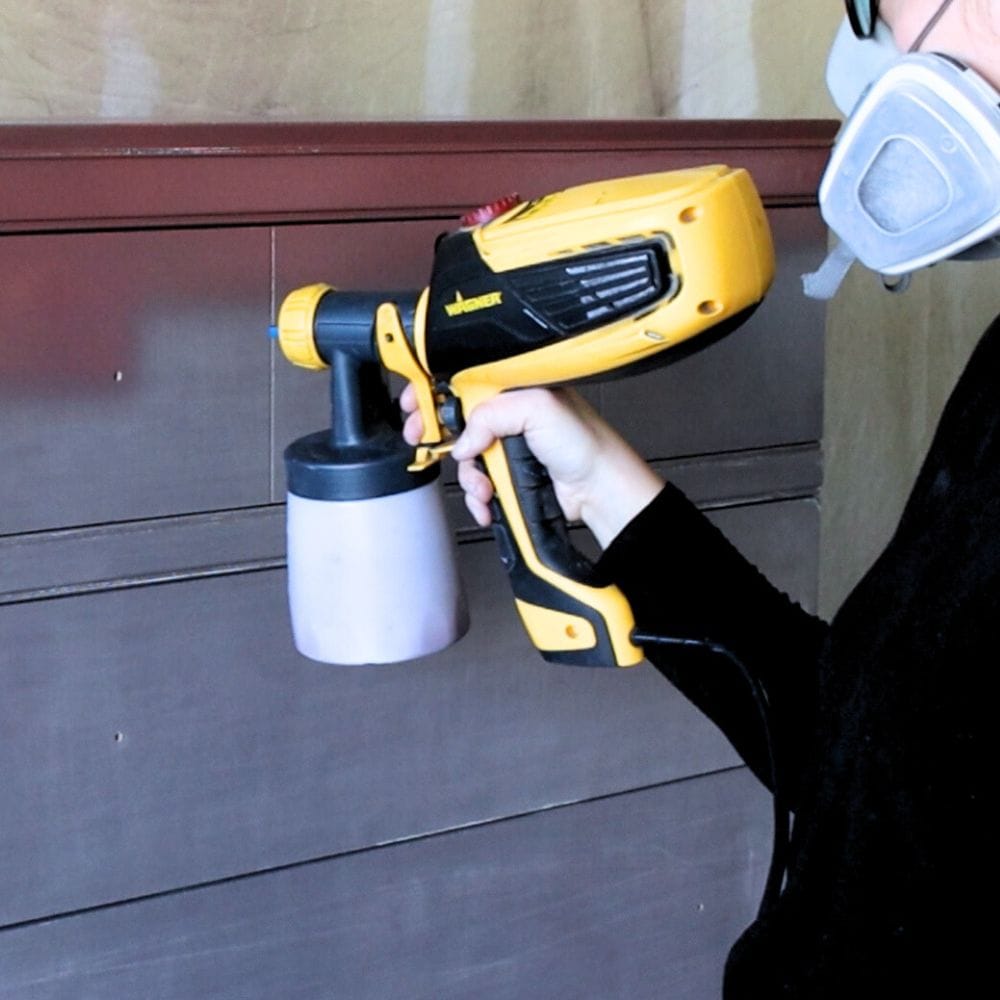
Using a paint sprayer on furniture is also a more efficient option for professional looking results.
A paint sprayer can be a bit tricky to use at first, so be sure to practice on a piece of cardboard or scrap wood before applying it to your dresser.
Check out our comparison between paint sprayer vs roller to find out which tool to use based on your needs and preferences.
Here are the best HVLP paint sprayers for furniture if you’re looking to invest in one.
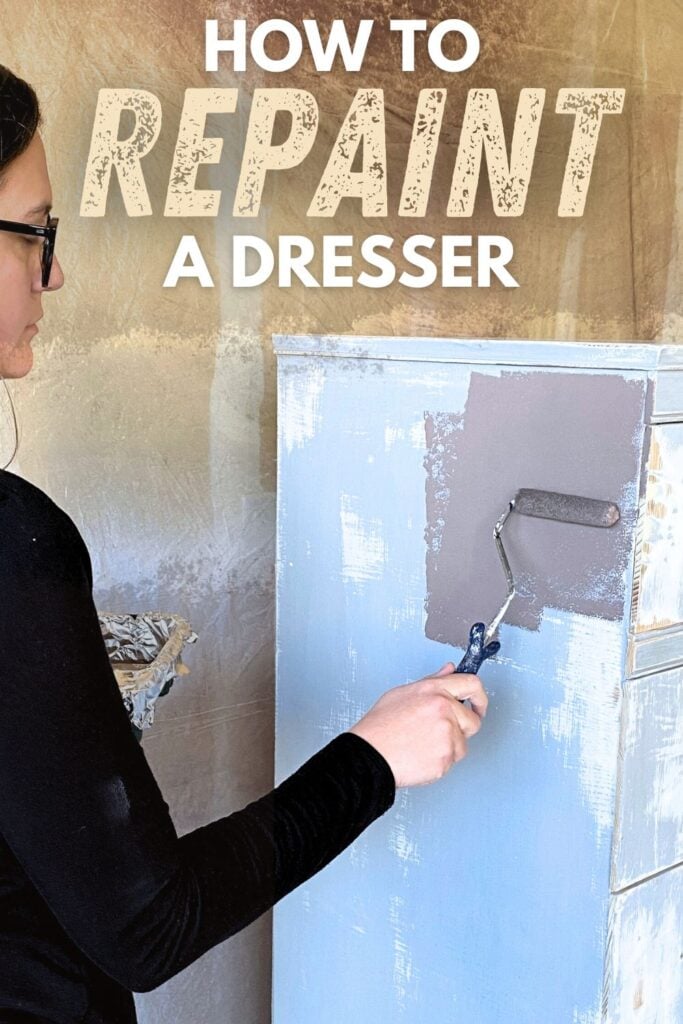
When applying the paint, make sure to use thin and even coats and allow each coat to dry completely before adding another layer. This will help prevent drips, runs, or a bumpy finish.
Two to three coats of paint should be enough for full coverage, but you can add more if needed.
Unless you used an all-in-one paint for furniture, it’s important to add a protective topcoat to your repainted dresser. This will not only protect the paint from wear and tear but also give it a beautiful finish.
You can choose between a clear matte, satin, or glossy topcoat for painting furniture depending on your desired look.
After the topcoat has dried completely, you can attach the hardware and admire your freshly repainted dresser! If you want more tips and tricks about repainting furniture, check out our blog posts on how to repaint furniture and repainting dresser ideas.

Can I repaint my dresser without stripping the old paint?
Yes, it is possible to repaint your dresser without stripping the old paint. This method can save you time and effort, especially if the existing paint is still in good condition.
However, keep in mind that this technique will not give you a perfect, smooth finish like when painting on a clean surface.
Before attempting this, just make sure to thoroughly assess the condition of the existing paint. If it’s in good shape with no major imperfections, you can simply do the preparation steps mentioned above and then paint over it.
But if there are any issues such as scratches or peeling, it’s best to strip the old paint first for better results.
Check out this blog post about a safe paint stripper for wood if you want to use a product that is safer for you and the environment.
If one day you find yourself bored with the look of your dresser and want to give it a new color or style, repainting it is the perfect solution.
It’s a budget-friendly and fun way to update your furniture without having to replace it entirely.
Just follow the steps and tips mentioned in this post, and you’ll have a beautifully repainted dresser that looks brand new and reflects your personal style.

How to Repaint a Dresser
Learn how to repaint a dresser to completely transform its color and style, giving your existing dresser a fresh and personalized look.
Materials
Tools
Instructions
- Prep your dresser by cleaning, repairing, and filling in any old hardware holes before repainting. This will guarantee a smooth surface for your new paint and improve the durability of your dresser.
- Sand the entire surface of your dresser with 220-grit sandpaper to remove rough areas and help even more to create a smooth surface for painting. Don't skip this step for a professional-looking finish.
- Prime your dresser with a high-quality primer to help the paint adhere better and prevent stains from coming through.
- Apply thin and even coats of paint, letting each coat dry completely before adding another layer. Two to three coats should be enough for full coverage, but you can add more if needed.
- Add a protective topcoat after the paint has dried completely to protect it from wear and tear and give it a beautiful finish.
- Attach the hardware and admire your freshly repainted dresser!
Recommended Products
As an Amazon Associate and member of other affiliate programs, I earn from qualifying purchases.


More Painting Dresser Tips
- Painting A Dresser Black
- Painting A Dresser White
- How to Paint a Dresser
- Wallpaper Dresser Ideas
- Upcycle Old Dresser Ideas

Follow us on YouTube to get more tips for painting furniture. Or share your project with us on our Facebook Group and be part of our community. See you there!