Sanding for Paint Prep
Sanding is a vital step when it comes to preparing for painting. Whether you are renovating your home or simply giving a piece of furniture a fresh new look, sanding for paint prep is important. It may seem like a tedious and time consuming task, but it can make all the difference in creating a smooth and flawless finish.
In this guide, we will dive into the world of sanding furniture tips, from the basics of sandpaper grits to a comparison of sanding by hand versus using a power sander.
When it comes to these painting furniture ideas, sanding may not be the most exciting part of the process. But trust us, it is necessary. Why, you may ask?

Well, sanding helps to remove any imperfections, create a smooth surface for the paint to adhere to, and help the paint stick to the surface. It also helps to remove any previous finishes, such as varnish or paint, that may be on the furniture.
Plus, it can help to improve the overall durability and longevity of these best painted furniture ideas you’ll recreate. Here’s more on why I still sand even if my paint sticks without it.
We know what you’re thinking, “Sanding sounds like a lot of work!” But don’t worry, it doesn’t have to be. With the right tools and techniques, sanding can actually be a breeze.
As an Amazon Associate, I earn from qualifying purchases. I also may earn from other qualifying purchases with other companies or get free product to review and use. All opinions are my own.
Sandpaper Grit for Paint Prep
But before we get into specifics, let’s talk about sandpaper grit and its different types. This may sound intimidating, but it’s actually quite simple.
Basically, grit means the level of coarseness or abrasiveness of the sandpaper, and the higher the grit number, the finer and smoother the sandpaper is.
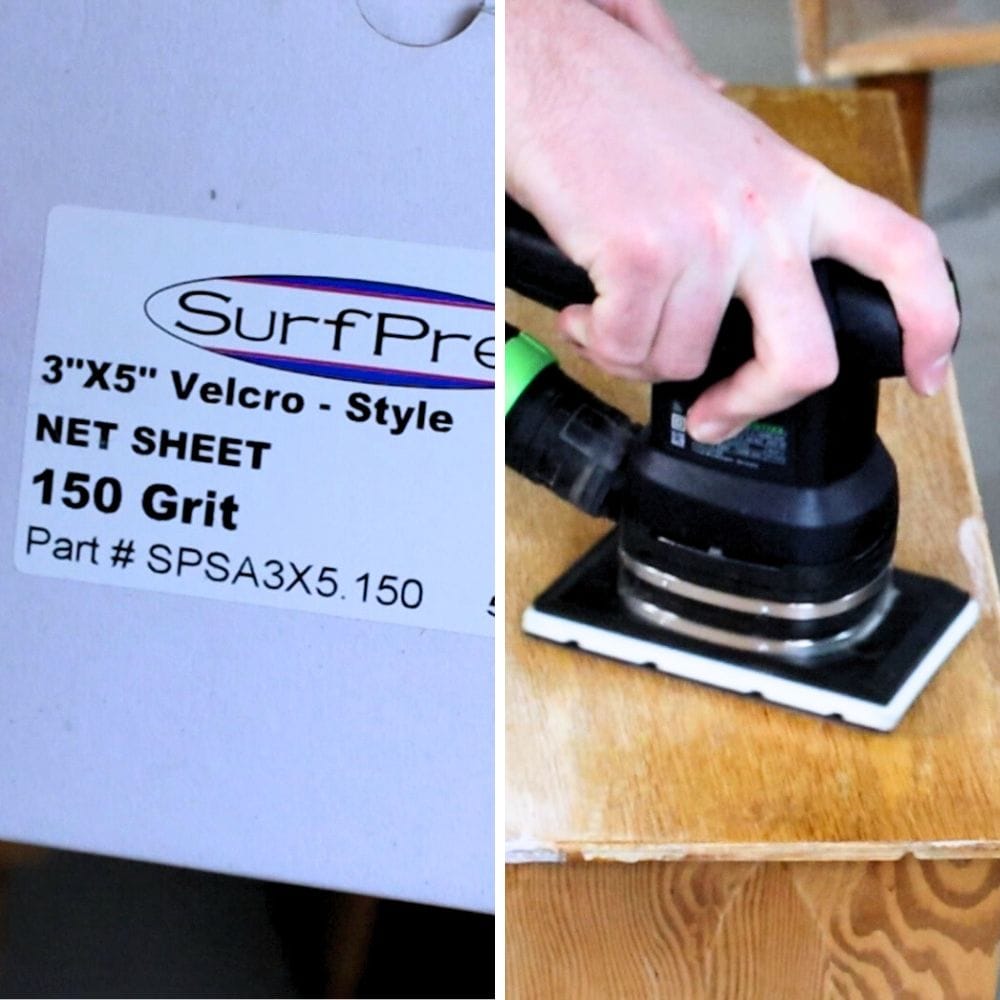
Depending on the condition of your furniture, you may need to use a lower grit sandpaper first, such as 100 grit or 150 grit, to remove any heavy imperfections or old finishes.
Just be aware that using a lower grit sandpaper may leave more scratches on the surface, so it’s important to follow up with a higher grit for a smooth finish.
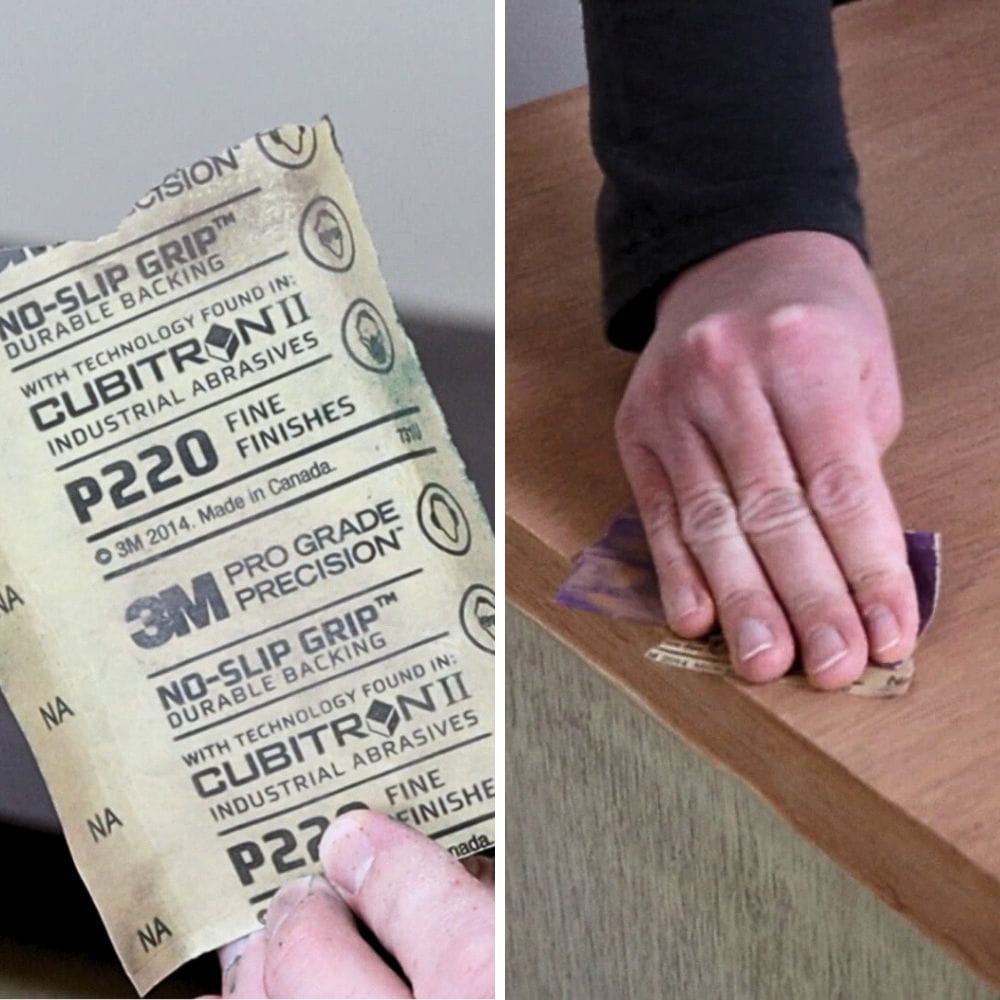
And if you’re just doing a light refresh on already smooth furniture, starting with a higher grit, such as 220 is sufficient.
A 220 grit sandpaper is typically the best option for preparing furniture for painting. It’s fine enough to smooth out any slightly rough areas, but not too fine that it will help the paint stick.
Check out your best options for sandpaper for furniture painting here if you’re unsure. You can also test a small area first to determine the right grit for your specific project.
Just remember, the lower the number the stronger the grit. 60 grit sandpaper will remove an old finish quicker than 220 grit sandpaper.
Sanding by Hand vs Sanding with a Sander
Now, let’s talk about the two methods of sanding for paint prep.
The first method is by hand, which simply means using sandpaper and your own elbow grease to sand the furniture. This can be effective for smaller and simpler pieces of furniture, but is more time consuming for larger or intricate pieces.
The second method is using a power sander, which can cut down on time and effort. However, keep in mind that power sanders can be aggressive and may remove too much material if not used carefully.
Let’s compare these two methods a bit further.
Sanding by Hand
Sanding by hand may seem like a lot of work, but again, it can be an effective method for smaller or simpler pieces of furniture.
It can also provide a greater level of control and precision for those who are new to sanding. Plus, you don’t need any fancy equipment. Just sandpaper and your own hands!
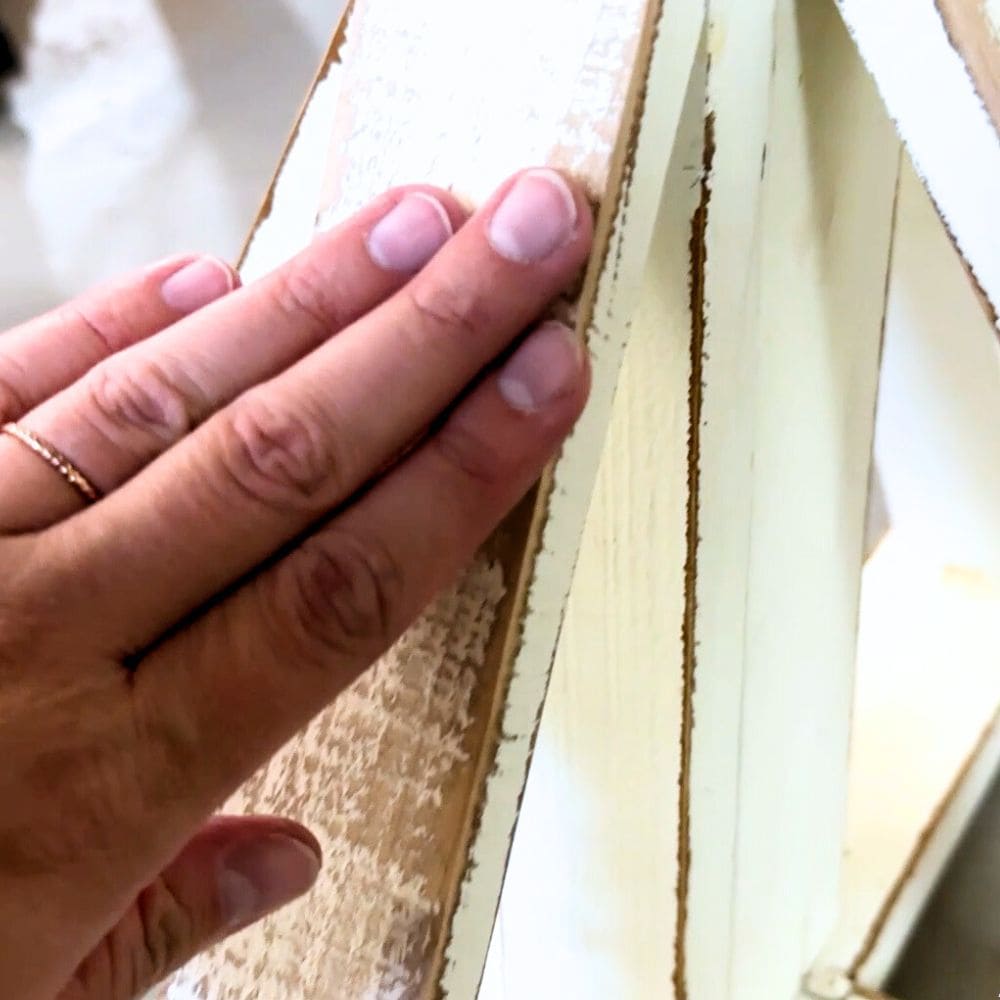
Remember to always sand with the direction of the wood grain to avoid visible scratches on the surface.
Use a vacuum or tack cloth to remove any dust before moving on to a topcoat or paint. Here’s how to clean wood after sanding to learn more about the proper way to do it.
Be cautious when using coarse sandpaper on thin wood veneer, as you can more easily sand through the thin material, which in turn makes it a nightmare to stain.
Would you like to save this?
If you’re still wondering: can veneer be sanded? Read through this post to learn more and get tips and tricks on how to properly sand veneer.
Or if you found out that there is a particle board below the veneer layer and you want to fix this issue here’s sanded through veneer to particle board!
It’s also important to take breaks and switch hands to avoid any strain or discomfort. And don’t forget to wear a respirator and eye protection to protect yourself from the sanding dust!
Check out our blog post about how to sand wood by hand to learn more about this process and get an amazing result!


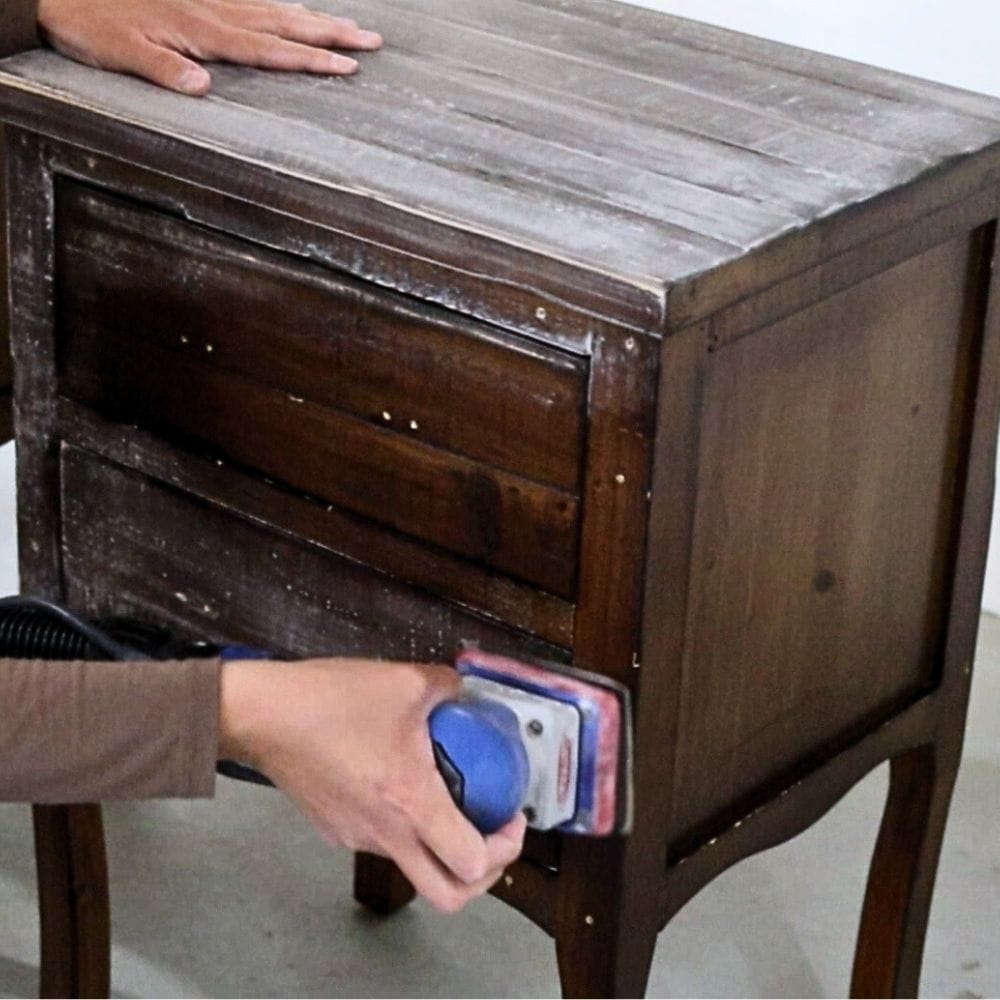
Sanding with a Sander
If you’re looking to save time and effort while sanding furniture, using a power sander is the best option for you.
With different types of sanders for furniture to choose from, from sheet sanders, round orbital sanders, detail (mouse) sanders, to rectangle orbital sanders, it’s important to consider your specific needs before making a purchase.
One of the main benefits of using a power sander is its ability to quickly remove old finishes and imperfections from furniture surfaces. This makes it an ideal choice for larger or flat pieces of furniture that may be time consuming to sand by hand.
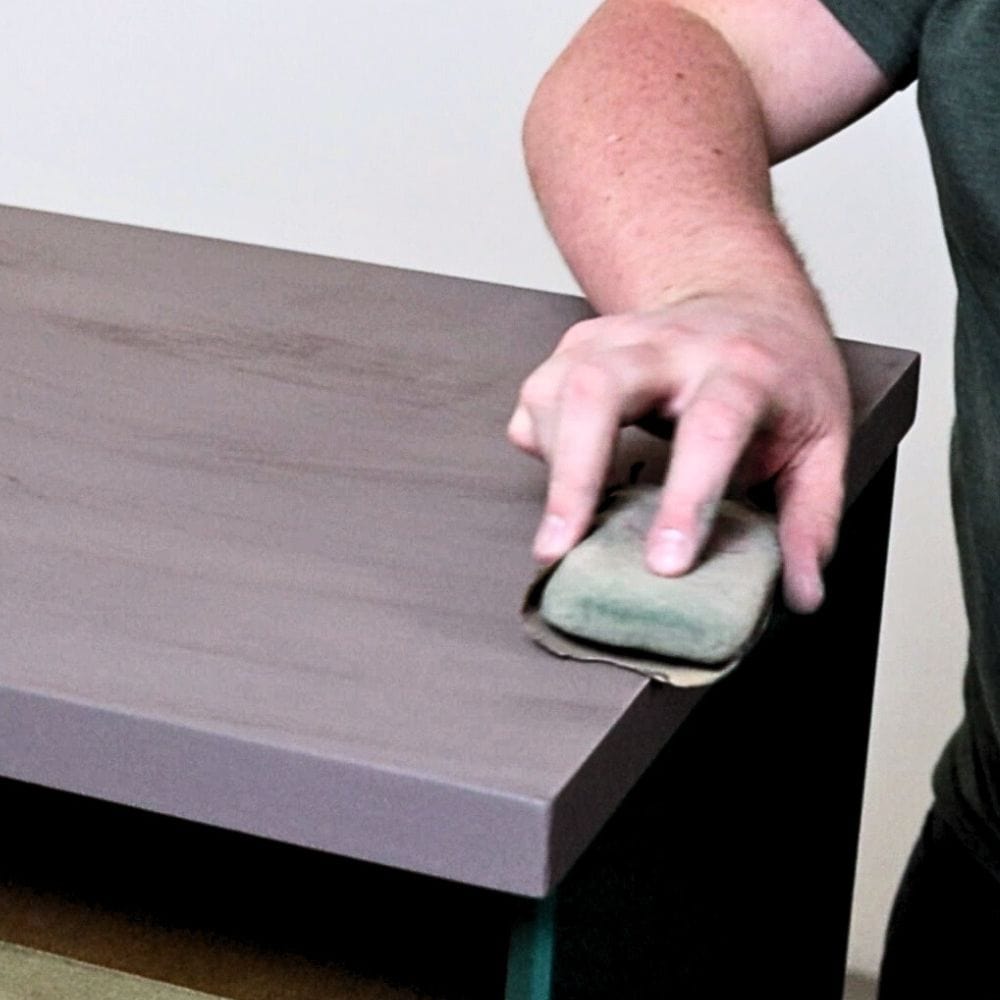
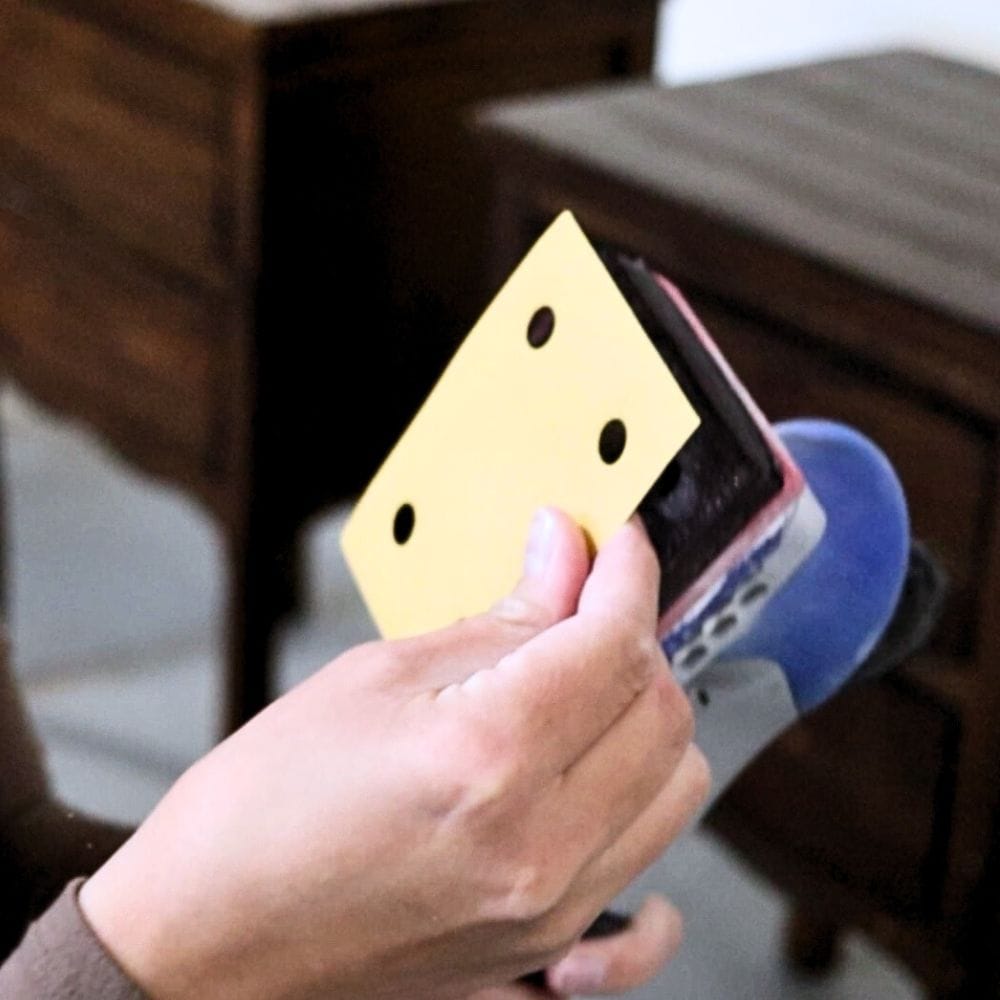
Plus, they can provide a more consistent and even finish, especially when it comes to sanding uneven areas or sanding curved surfaces. You can also use these foam sanding pads for electric sanders to tackle delicate spaces and curved details.
However, it’s important to remember that power sanders can be aggressive and may remove too much material if not used carefully.
It’s always recommended to start with a higher grit and gradually move up to a more coarse grit to accidently avoid damaging the surface of your furniture.
You can easily switch out between different grits when using a sander, making it a more convenient and efficient option for furniture prep.
We have listed the best sanders for furniture and the best sanders to remove paint here. This tool is still an investment, so make sure to do your research and choose one that is suitable for your projects and budget. Learn how to choose a sander and your options for the best sander for beginners in this post.
Sanding by hand and sanding with a sander have their own advantages, and it’s important to consider the size, complexity, and material of your furniture before making a decision.
If you want to have a quick, easy, and dust free process, here’s SurfPrep Sander with Vacuum, which we also tackle in this post on the best vacuum sander. Here’s how to attach shop vac to sander to guide you.
How do I know when to switch to a finer grit sandpaper while sanding?
The general rule of thumb is to start with a coarser grit sandpaper and gradually move to finer grits as you sand.
This means that as you work through your project, you should switch to a slightly higher grit sandpaper once the surface starts to feel smoother and less rough.
You can also visually inspect the surface for any imperfections or inconsistencies that may require a finer grit to smooth out.
It’s also important to pay attention to the type and condition of your furniture.
For example, if you’re removing an old finish, you’ll want to start with a low grit sandpaper like 80 or 100 grit sandpaper to remove most of the old finish. Then switch to 120 or 150 grit sandpaper to smooth the rough surface. And then switch to 220 grit for a final smooth surface.
Moving from one grit to another close grit will help avoid sanding swirls in the surface as well.
On the other hand, if you’re working with new or unfinished wood, or just prepping a nice surface for paint, you can start with a higher grit sandpaper like 220 grit and skip the coarser grits altogether.
Whether you choose to sand by hand or with a sander, it’s important to start with the right grit and gradually work your way up than to start too aggressive and risk damaging your furniture.
Remember, patience and attention to detail are key when it comes to sanding for paint prep. So take your time, switch out grits as needed, and enjoy the transformation of your furniture!
More Sanding Furniture Tips
- Best Hand Sander For Furniture
- Best Detail Sander
- Best Sander For Refinishing Wood Furniture
- Festool Rotex Sanders
- Sanding Furniture For Beginners
Follow us on YouTube to get more tips for painting furniture. Or share your project with us on our Facebook Group and be part of our community. See you there!