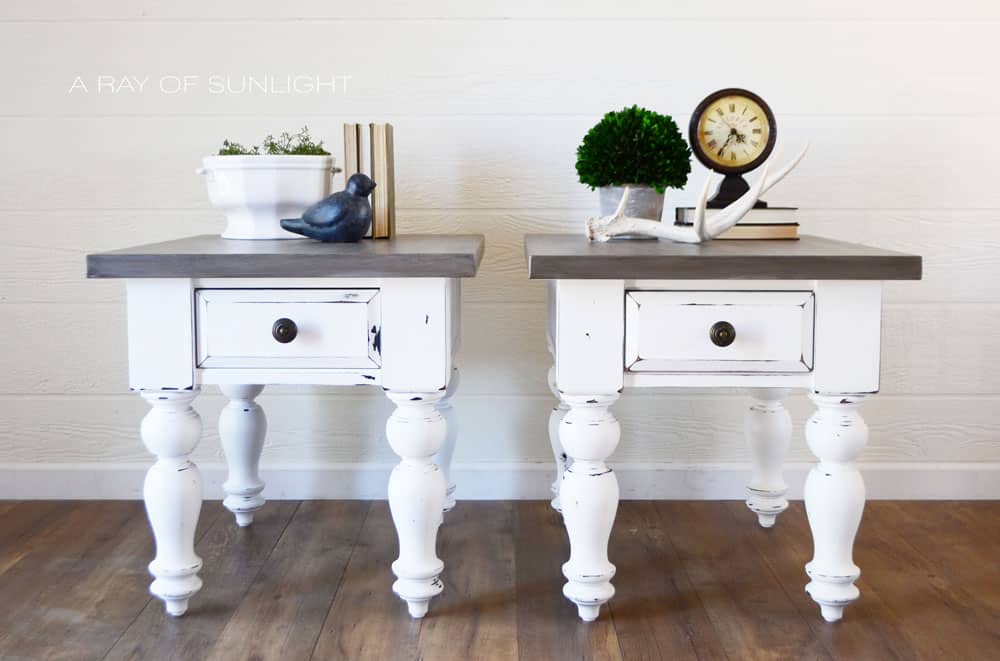
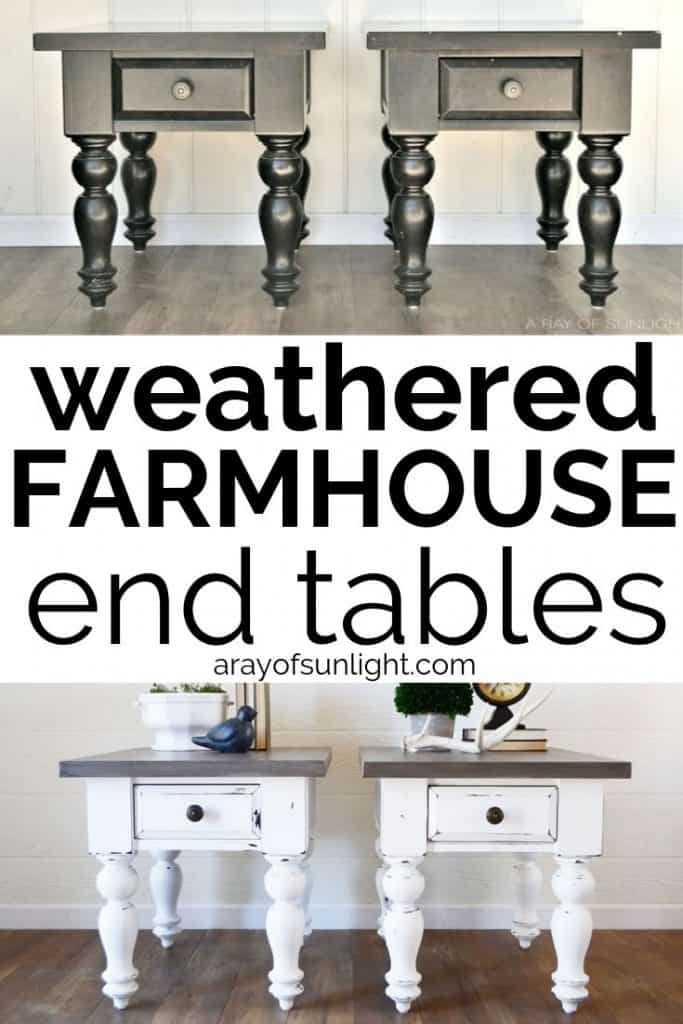
How to Create a Weathered Wood Gray Finish


What goes together better than white farmhouse tables and weathered wood? Not much! Here’s how to create a weathered wood gray finish to make your white furniture look rustic.
In this post, we’ll show you one of the simple painting techniques for furniture that will give your pieces a beautiful weathered finish. Whether you’re looking to update an old piece of furniture or add some rustic charm to new items, this project is easy as can be!
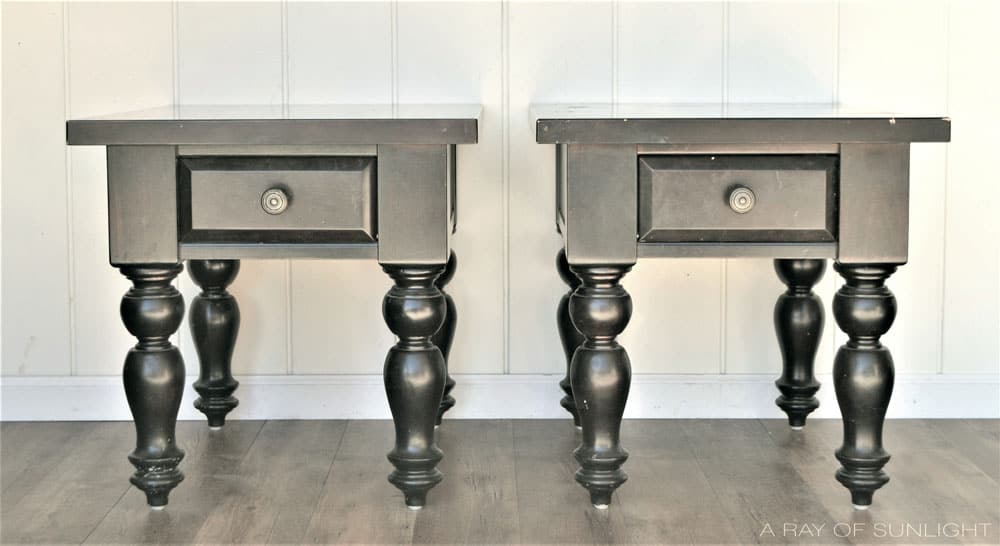
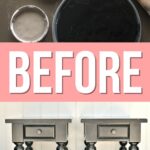
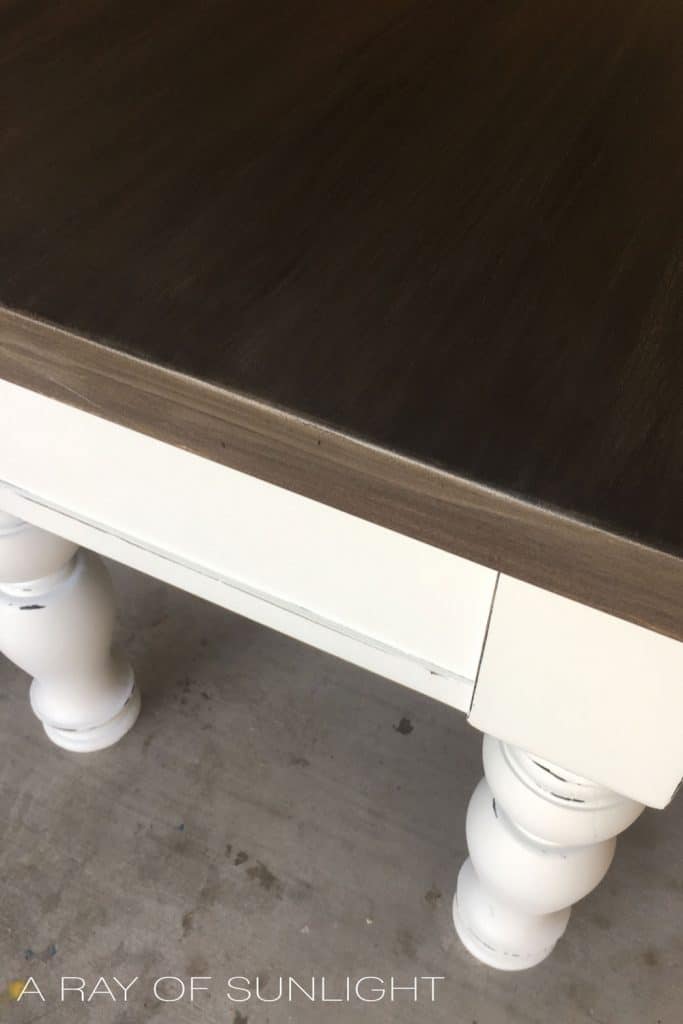
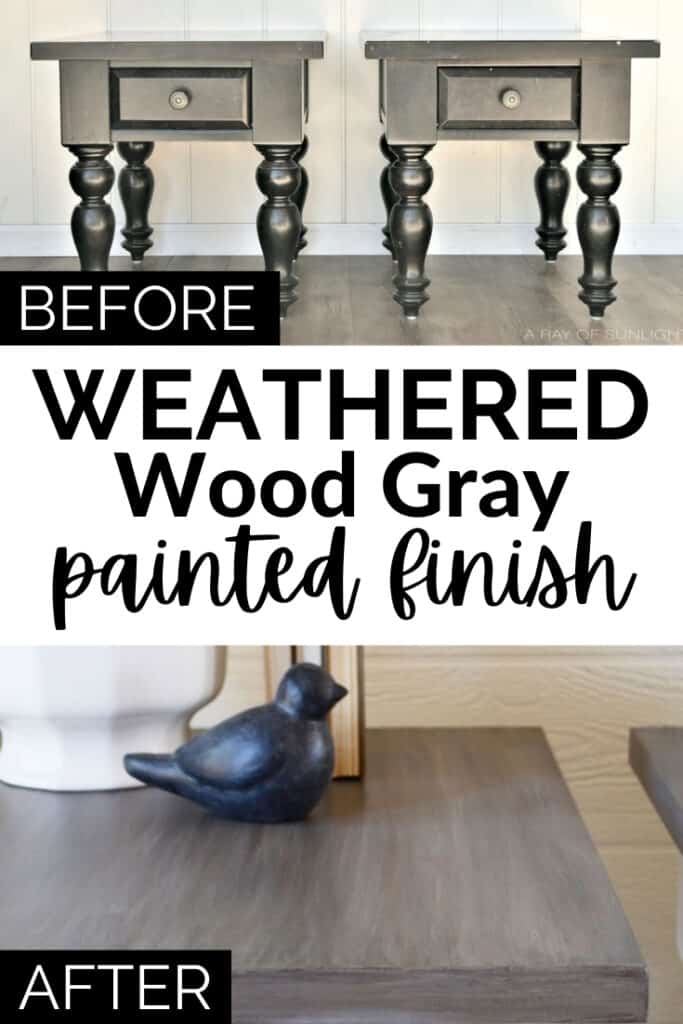
These Broyhill end tables were beat up and heavily scratched when we got our hands on them. The old finish was just the typical everyday black finish you can find at almost any furniture store now.

But the turned legs caught my attention from the very beginning. And I knew with a little bit of work, these end tables could become something special.
So let’s dive into how to make your white furniture look rustic by creating a weathered wood gray finish on the top. It’s amazing what some paint can do for a worn out piece of furniture!

Supplies Used to Create a Weathered Wood Gray Finish
As an Amazon Associate, I earn from qualifying purchases. I also may earn from other qualifying purchases with other companies or get free product to review and use. All opinions are my own.
- Krud Kutter
- 220 Grit Sandpaper
- Shop Vac with Hose and Brush Attachment
- Tack Cloth
- Respirator
- BIN Shellac Based Primer in a Spray Can
- Homemade Chalk Paint with Behr Pure White Paint
- Sample Sizes of
- English Tea Party from Lowes
- Sahara Desert from Home Depot
- Suede Gray from Home Depot
- Black from Home Depot
- Lint Free Cloths
- Minwax’s Dark Walnut Wood Stain
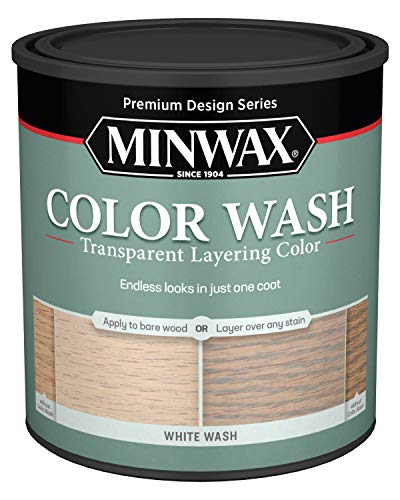
- Whitewash (Learn how to make whitewash below) or Premixed Whitewash
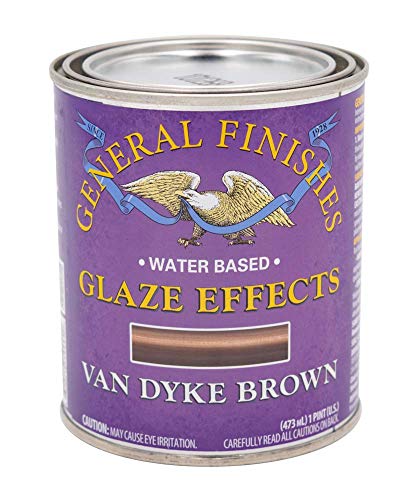
- General Finishes Van Dyke Brown Glaze Effects
- My Favorite Waterbased Poly Topcoat
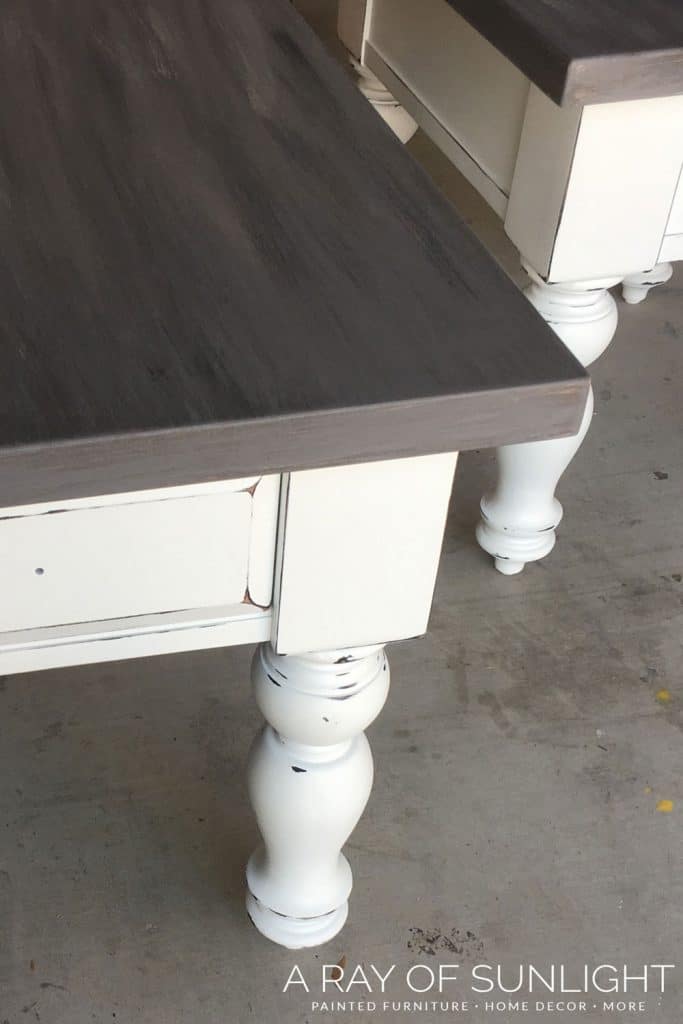
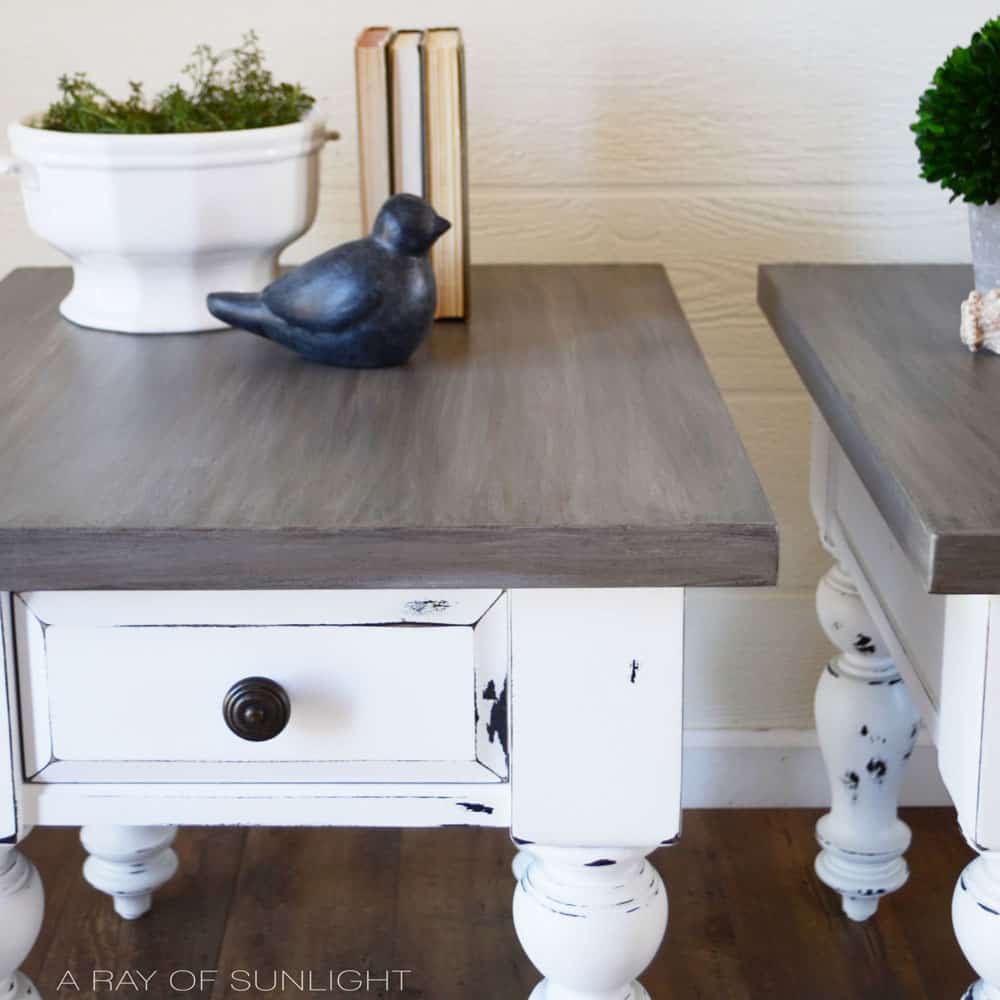
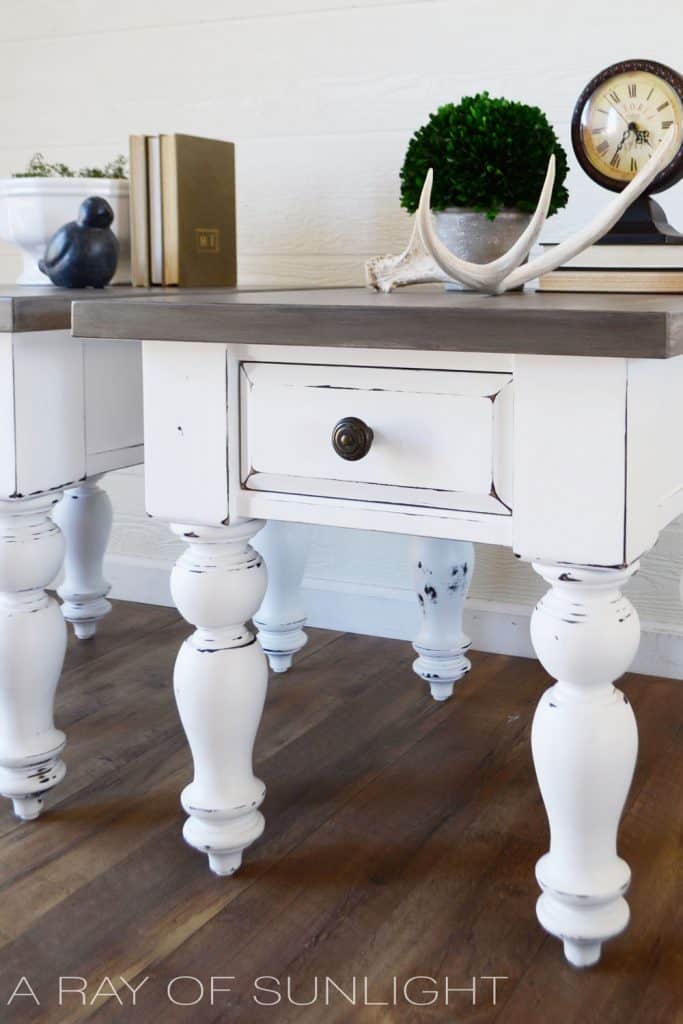
White Farmhouse End Tables with Weathered Wood Tops
First things first, these end tables were black, and I wanted them white. So I painted them white before creating the weathered wood gray finish.
If your furniture is already white, you can skip this step. Get more white painted furniture ideas here.
Prep Tables for White Paint
To start out, we took a few minutes to prep it for paint. To make sure the paint stuck to the end table, I cleaned the dirt, grime, wax and oil off of the tables with Krud Kutter.
Then I lightly sanded everything down with 220 grit sandpaper and removed any dust with a vacuum and a tack cloth.
*Update: The best way to paint furniture white is to use a shellac based primer like BIN shellac based primer before painting. I like to use the spray can version for easy application. And then I like to sand it smooth with 220 grit sandpaper before painting over it.
Paint Tables White with Homemade Chalk Paint
Then I made some white chalk paint with this homemade chalk paint recipe and some Behr Ultra Pure White (straight from the Home Depot shelf) latex paint in flat.
I sprayed 4-5 coats of white homemade chalk paint on the tables with my beginner friendly paint sprayer.
Distress Table Base and Legs
After the paint was dry, I heavily distressed the legs and base of each table with more 220 grit sandpaper.
DIY Weathered Wood Gray Finish
Then I worked on the weathered wood gray finish on the tops of the tables.
I layered multiple colors of paint as well as some wood stain and whitewash. Basically different shades of brown, tan, black, grey and white.
Here’s step by step, how to create a weathered wood gray finish.
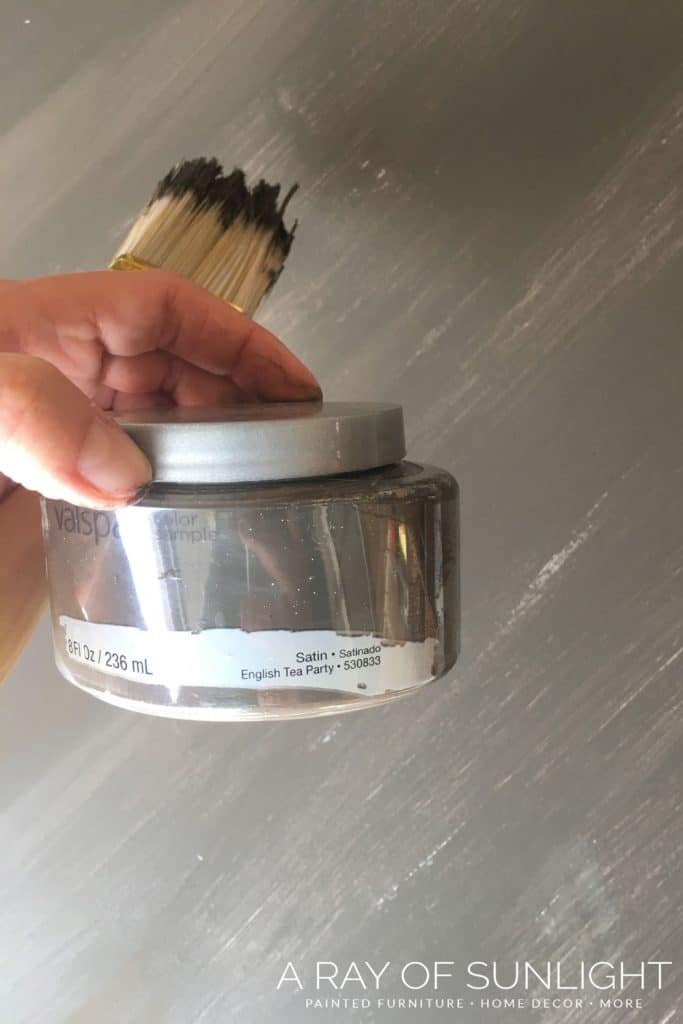
Brush on Base Coat of English Tea Party
I started with a base coat of English Tea Party from Valspar. I brushed it on, leaving some white streaks showing through, and then I let it dry.
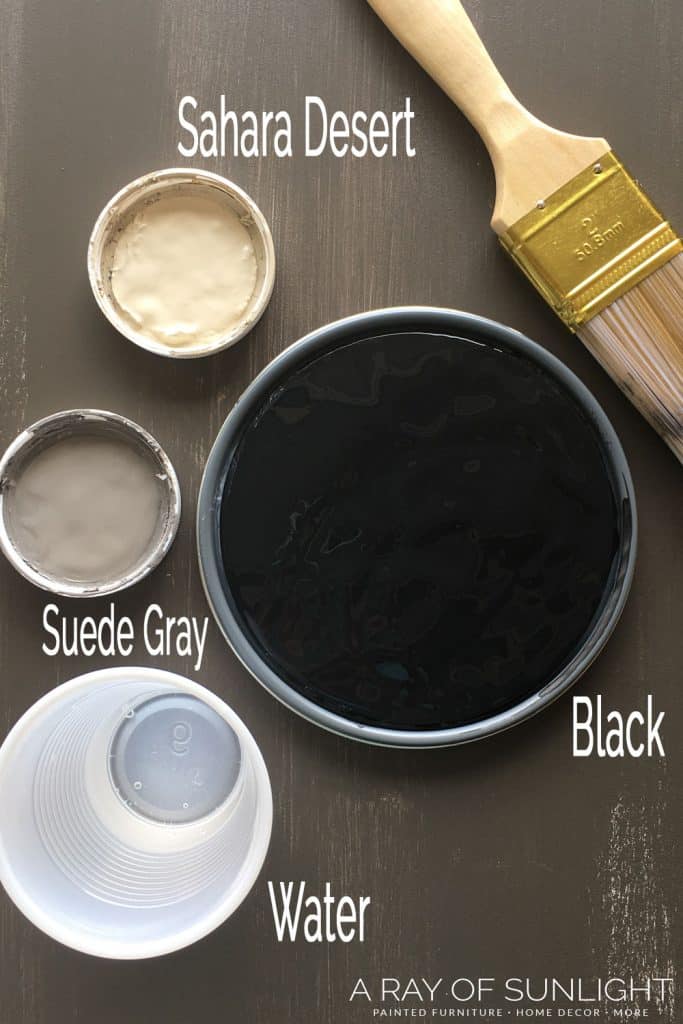
Dry Brush on a Layer of Sahara Desert, Suede Gray and Black
Once that thin base coat was dry, I layered Sahara Desert, Suede Gray and Black (all from Home Depot) using a dry brush technique.
How to Dry Brush Chalk Paint
Dry brush painting furniture is when you get a little bit of paint on the tip of your paint brush, and then wipe the paint brush against a paper towel.
Your paint brush should have the smallest amount of paint on it. Then brush it on in light long strokes, all going the same direction.
I overlapped a lot and kept layering the three colors until I liked the “wood grain” the dry brushing created.
You can also check my post for the DIY best stain for weathered wood look using a different method.
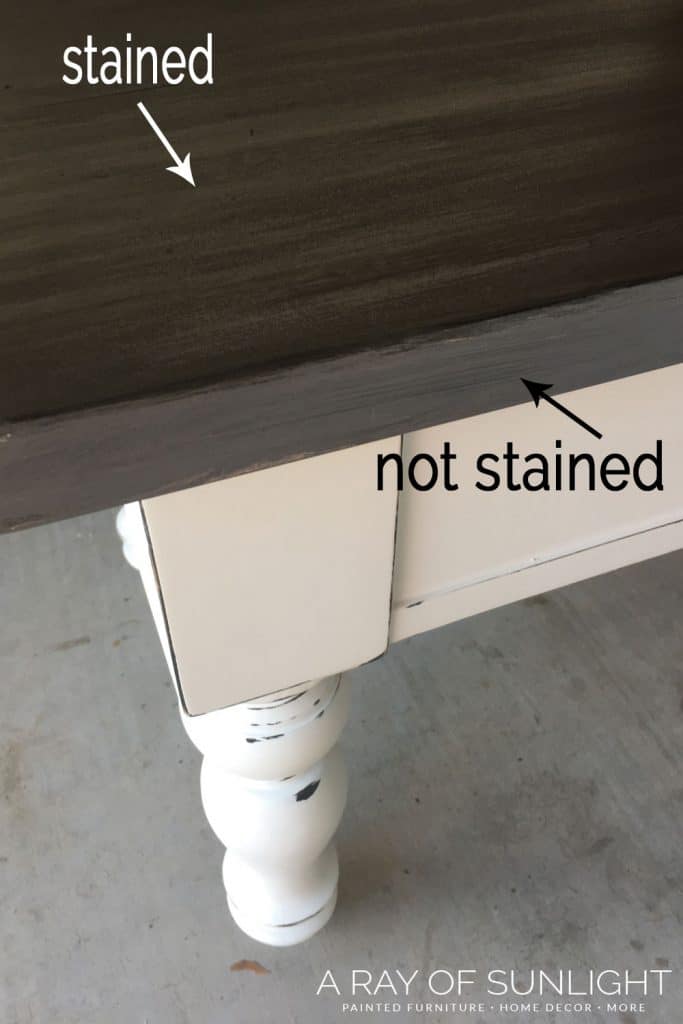
Stain Tables with Dark Walnut Wood Stain
I let the paint dry completely (48 hours between water based and oil based products) and then stained the tops with Minwax’s dark walnut wood stain.
(Be careful to not get any stain on the white bottoms!)
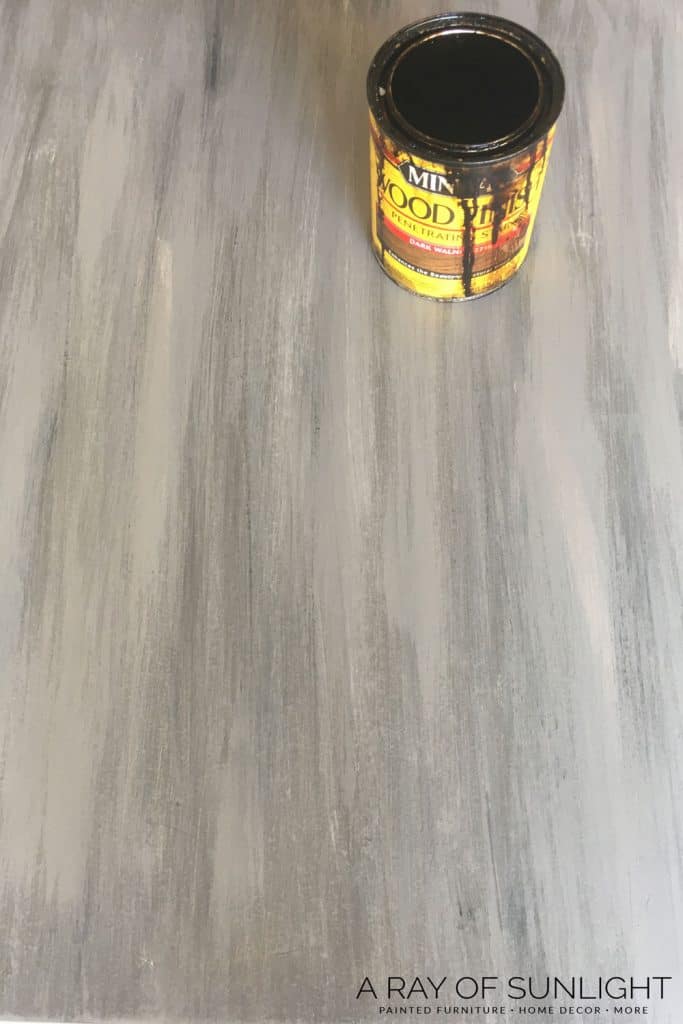
I used a couple of lint free cloths to wipe it on and then wipe it off any excess stain. A little bit of stain really goes a long way because it doesn’t have much to soak into.
Once again, I let the stain dry completely (at least 48 hours because the next product is water-based.)
Would you like to save this?
At this point, you could seal the paint and be done. But they were a little bit too dark for me.
Whitewash Table Tops
So I white washed the tops with a very watered down mixture of the white paint I used on the base of the tables. I brushed on the watered down paint, and then wiped it off with a lint free cloth.
How to Make Whitewash
I mix waterbased white (or cream colored) paint with water to make whitewash.
I don’t really measure exact ratios.
But I personally like to mix the paint and water to the point that the paint looks like water that it tinted white.
Probably around 1 part paint to 2 parts water. But it will depend on the paint you use.
Seal Whitewash
When the white wash was dry I gave each table top a few good coats of my favorite topcoat for paint, Varathane polyurethane.
Not only does the water-based polyurethane protect the paint, but it made it easier to work with the glaze in the next step.
Apply Van Dyke Brown Glaze
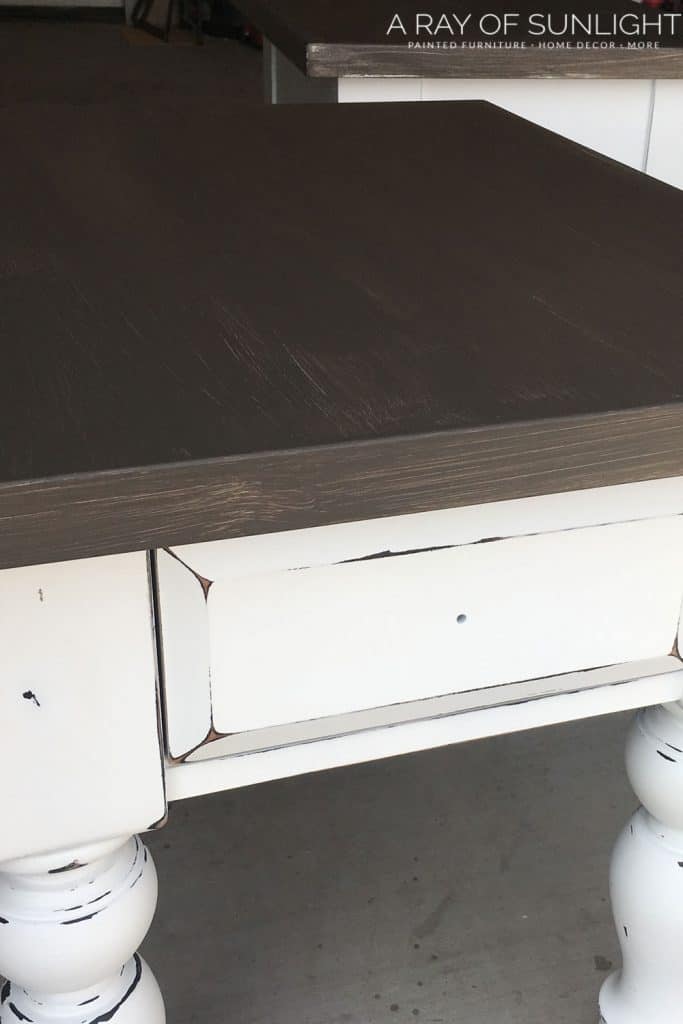
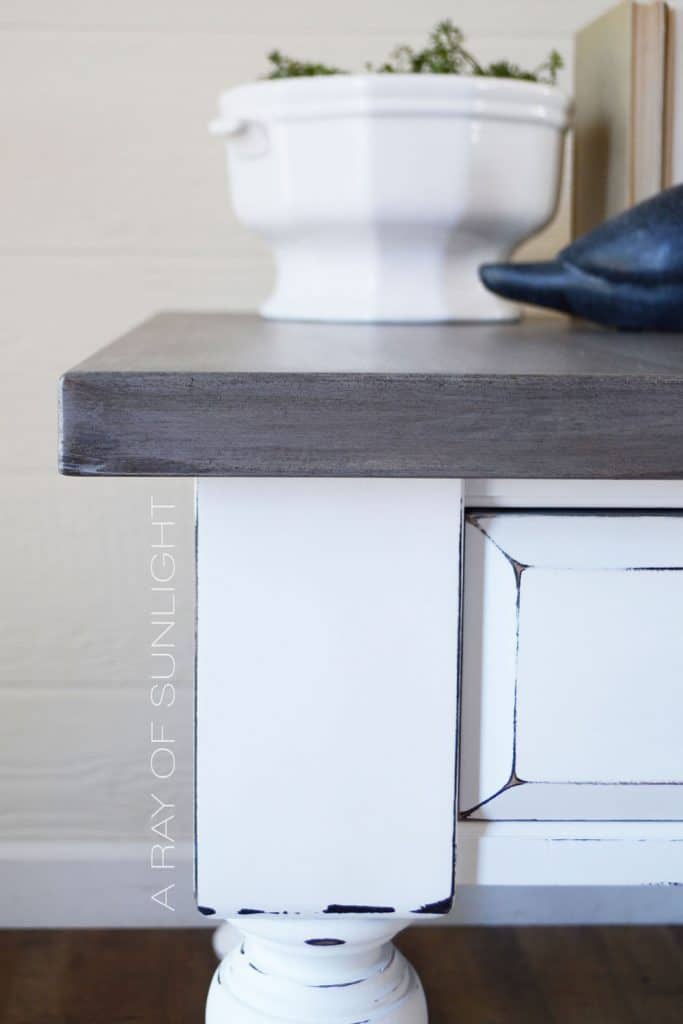
I wanted the tops to be just a bit more brown than they were at this point, so I finished the weathered wood table tops off with a coat of General Finishes Van Dyke Brown Glaze Effects.
The brown glaze was the perfect product to finish off the layered weathered wood effect!
Seal Weathered Wood Gray Finish
To give the weathered wood gray finish extra durability and make it easier to wipe down, I sprayed on 3 coats of my favorite top coat.
The difference with the extra layers of white wash and brown glaze really make a difference in the weathered wood paint effect! There is so much more dimension now!
I know I just mentioned a lot of different products and brands. It honestly sounds harder than it really was.
I used what I had on hand, and you can too! If you’re anything like me (with a lot of extra paint lying around) this is a great way to use up all of that extra paint!
But the more layering you can do, the better in this case!
See how this same method looks with some different products, and on a different table in this white painted coffee table makeover. I wrote about a similar faux weathered wood gray finish on our kitchen chairs a few posts back, too.
You can also check out these best grey furniture paint options to replicate stunning finishes like this one. And check out these grey painted bedroom furniture ideas if you want to paint your piece grey all over instead!
More Before and After Makeovers
See All >
Click any of these “before” photos below to view the “after” of that makeover.


Happy painting friends!
How can I get a darker or lighter finish on my furniture?
To get a darker finish, you can layer on more coats of paint or stain. This will create a deeper color and add more dimension to the piece.
You can also opt for a darker shade of paint or use products specifically designed to darken wood, such as wood stain or glaze.
On the other hand, if you want a lighter finish, you can use techniques like dry brushing or white washing. These methods allow more of the natural wood to show through and create a lighter, weathered look.
You can also use a lighter shade of paint or mix your own whitewash using water and white paint.
It’s also important to keep in mind that the type of wood and its natural color can also affect how dark or light your finished piece will be.


Can I create weathered wood gray finish on already finished furniture pieces?
Yes, you can use a weathered wood gray finish on already finished furniture pieces. However, the final result may vary depending on the type of finish and its condition.
If the existing finish is still in good condition, you may need to sand it lightly before applying the weathered wood effect for proper adhesion.
If the finish is damaged or peeling, it is best to completely strip it off before applying the weathered wood effect.
It’s also important to note that the existing finish may affect the color and appearance of the weathered wood, so it may be helpful to do a test patch first before applying it to the entire piece.
Or you can just go and remove the existing finish altogether to get a consistent and desired result. Check out our guides on how to remove paint from wood furniture and how to remove wood stain.


How To Create A Weathered Wood Gray Finish
What goes together better than white farmhouse tables and weathered wood? Not much! Here’s how to create a weathered wood gray finish to make your white furniture look rustic.
Materials
- Krud Kutter
- 220 Grit Sandpaper
- Tack Cloth
- BIN Shellac Based Primer in a Spray Can
- Homemade Chalk Paint with Behr Pure White Paint
- English Tea Party from Lowes
- Sahara Desert from Home Depot
- Suede Gray from Home Depot
- Black from Home Depot
- Lint Free Cloths
- Minwax’s Dark Walnut Wood Stain
- (Premixed) Whitewash
- General Finishes Van Dyke Brown Glaze Effects
- Waterbased Poly Topcoat
Instructions
- Start out by cleaning the dirt, grime, wax and oil off of the furniture with Krud Kutter. Then lightly sand it down with 220 grit sandpaper and remove any dust with a vacuum and a tack cloth.
- Spray BIN shellac based primer then sand your furniture smooth with 220 grit sandpaper before painting.
- Make some homemade chalk paint from white latex paint then spray 4-5 coats on the tables.
- After the white paint dries, heavily distress the legs and base of each table with more 220 grit sandpaper.
- For the DIY weathered wood gray finish, start with a base coat of English Tea Party from Valspar. Brush it on, leaving some white streaks showing through, and then let it dry.
- Once that thin base coat is dry, layer Sahara Desert, Suede Gray and Black (all from Home Depot) using a dry brush technique. Get a little bit of paint on the tip of your paint brush, and then wipe the paint brush against a paper towel. Brush it on in light long strokes, all going the same direction.
- Let the paint dry completely (48 hours between water based and oil based products) and then stain the tops with Minwax’s dark walnut wood stain. Wipe it on and then wipe it off any excess stain with a couple of lint free cloths. Let the stain dry completely.
- Whitewash the table tops with a very watered down mixture of the white paint you used on the base of the tables. Brush on the watered down paint, and then wipe it off with a lint free cloth. When the whitewash dries, seal it with a few coats of waterbased poly.
- If you want your tops to be just a bit more brown, apply a coat of General Finishes Van Dyke Brown Glaze Effects on them.
- To give the weathered wood gray finish extra durability and make it easier to wipe down, spray on 3 coats of topcoat.
Recommended Products
As an Amazon Associate and member of other affiliate programs, I earn from qualifying purchases.


More Painting Furniture Resources
- Chalk Painted Desk
- Distressed Painted Furniture
- Rustic Painted Furniture
- How To Whitewash Stained Wood
- Repainting Furniture

Follow us on YouTube to get more tips for painting furniture. Or share your project with us on our Facebook Group and be part of our community. See you there!
Hi Natalie.
Are the three paints you used in this tutorial from Home Depot chalk paint? If not did you make them into chalk paint? Thanks!
Hey! They were just regular latex paint. I didn’t make them into chalk paint or anything.
I know this is an older post but hopefully you’ll see my comment. Attempting this next weekend, and have all the white layers done, so just need to do the weathered top and then seal with the top coat. My question is, do you do the 3 layers of top coat on the whole piece or just the top?
Hey Kayla! I’m so excited for your project! I put the 3 coats of topcoat on the whole thing. Best of luck!
I love the top, not the white part. I deeply dislike the distressed look. But that’s me. The work looks great as always. I am just “allergic” to the distressed.
I love how these turned out! Thanks for sharing at my link party last week and I’m featuring these at this week’s!
Aww I’m so glad you love how they turned out! And you’re welcome, thanks for featuring as well! 😊