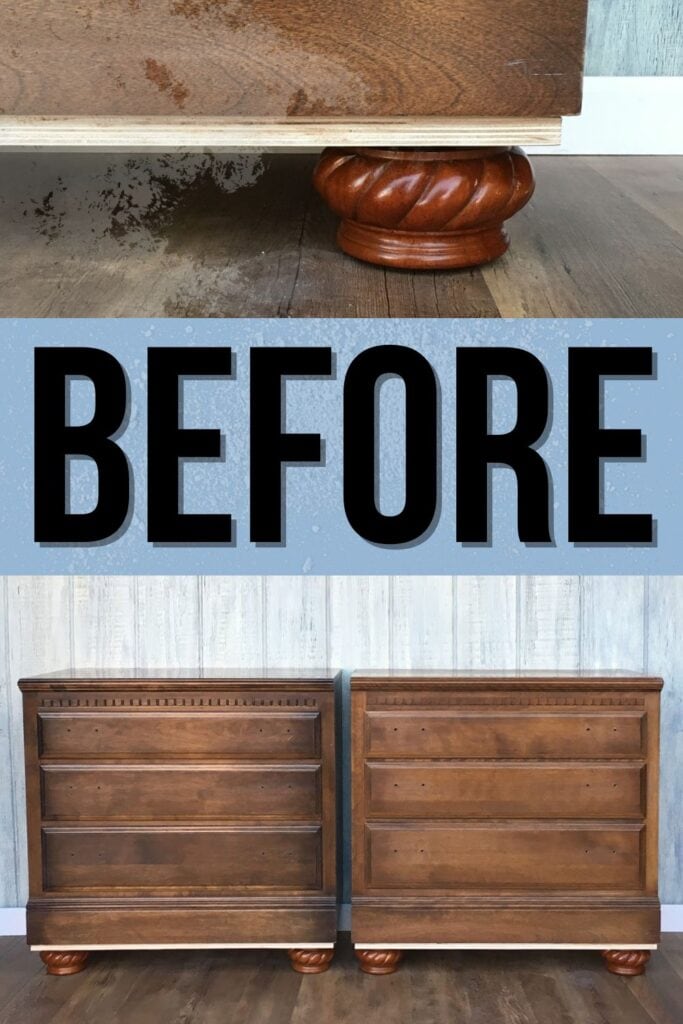
Adding Legs to a Nightstand


If you’re looking for furniture makeover ideas that will give new life to your old nightstand, then here is one project you don’t want to miss! Check out this different way of adding legs to a nightstand, so you can add bun feet or your favorite type of legs to any piece of furniture.
When it comes to home decor, the smallest changes can make the biggest impact. Legs are key for both the style and function of your furniture.
And then we found these lovely Ethan Allen night tables. I just had to get them! They were in such good shape and were quality made with solid wood. The price tag was even just right.

I honestly planned to give them a fresh coat of paint and replace the hardware. That was it. But after stalking an amazing blog I realized I needed to give these a bigger makeover.
Carrie at Thirty Eighth Street has an awesome system for adding legs to furniture and I just had to try it. Seriously. Go check out her blog! It is full of all things pretty!
How to Add Legs to a Nightstand
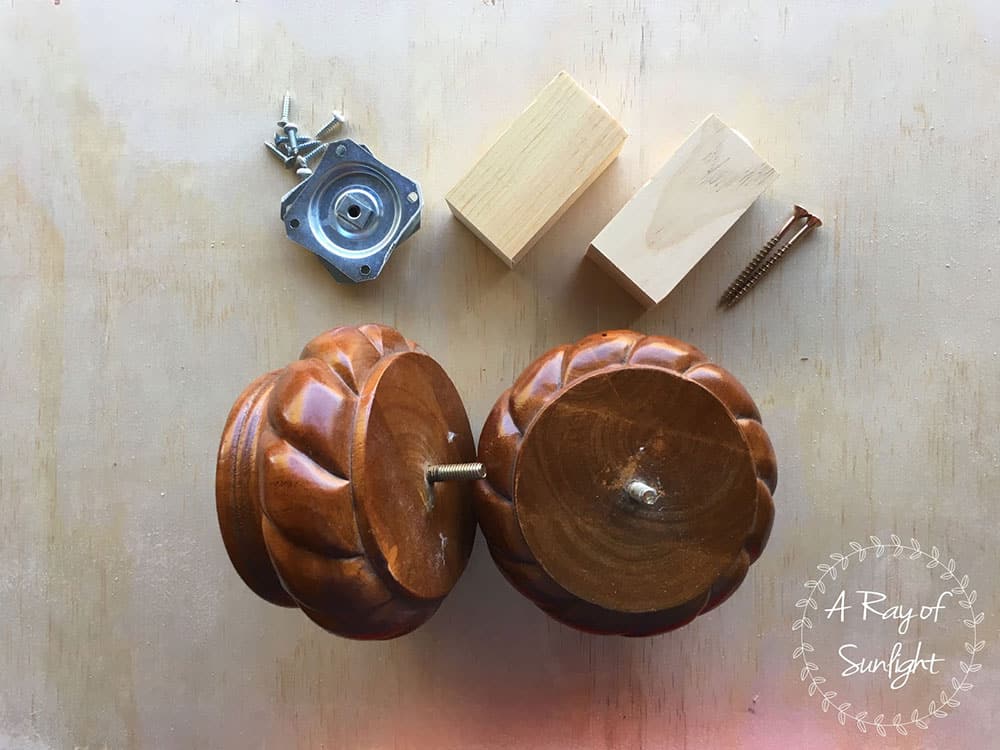
We grabbed some furniture legs that have slowly started accumulating in the garage and some leftover plywood from another project.
I am all about getting a good deal all the way around and using what we have on hand. The back legs and leg plates were also leftover from another project.

Supplies Used For Adding Legs to a Nightstand
As an Amazon Associate, I earn from qualifying purchases. I also may earn from other qualifying purchases with other companies or get free product to review and use. All opinions are my own.
- Wood Legs with Screws
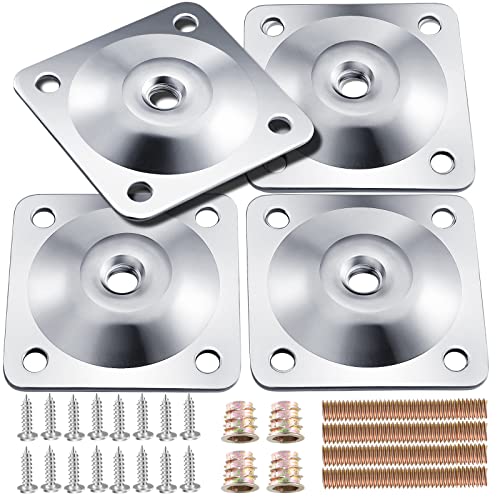
- Furniture Leg Plates
- Blocks of Wood
- 2 1/2″ Long Wood Screws
- 3/4″ – 1″ Thick Plywood
- Nail Gun or Screws
- Power Drill
- Drill Bit Set
Before we dive in, this method of adding legs to a nightstand works best if there is a box on the bottom of your furniture, with not much space to attach anything to.
It also works great if there is a 3 sided box on the bottom of the nightstands. (Like if the back of the box under the nightstand is open.)
Cut Plywood To Size
First, we flipped the nightstand upside down so it was sitting on its top. We measured the length and width of the bottom of the nightstand and took an inch off of each of those measurements.
(You could also make them the same size as the nightstands)
Then we cut 1″ thick plywood to those measurements. This is the new base for each nightstand. And then we sanded all of the edges so we wouldn’t get any splinters while working with the wood.
Learn about the best sanders for furniture here!
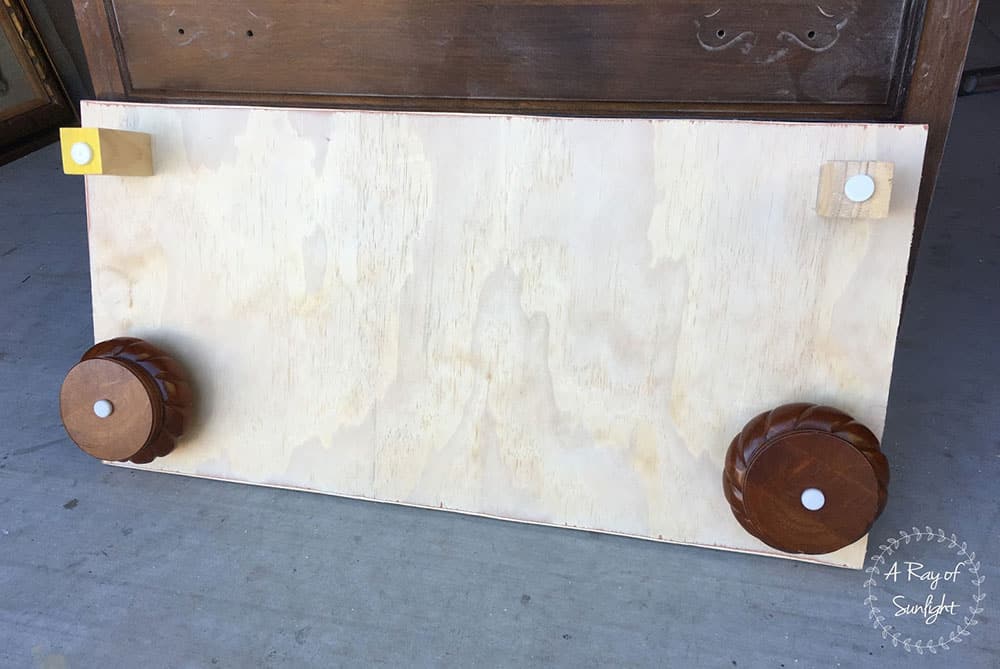
Attach Legs To Plywood
Next, we measured out where we wanted to put the front and back legs. Then we used our power drill to drill pilot holes in each of those places.
For the back legs, we used a 1/16″ drill bit and pre-drilled holes into the back legs as well and the plywood.
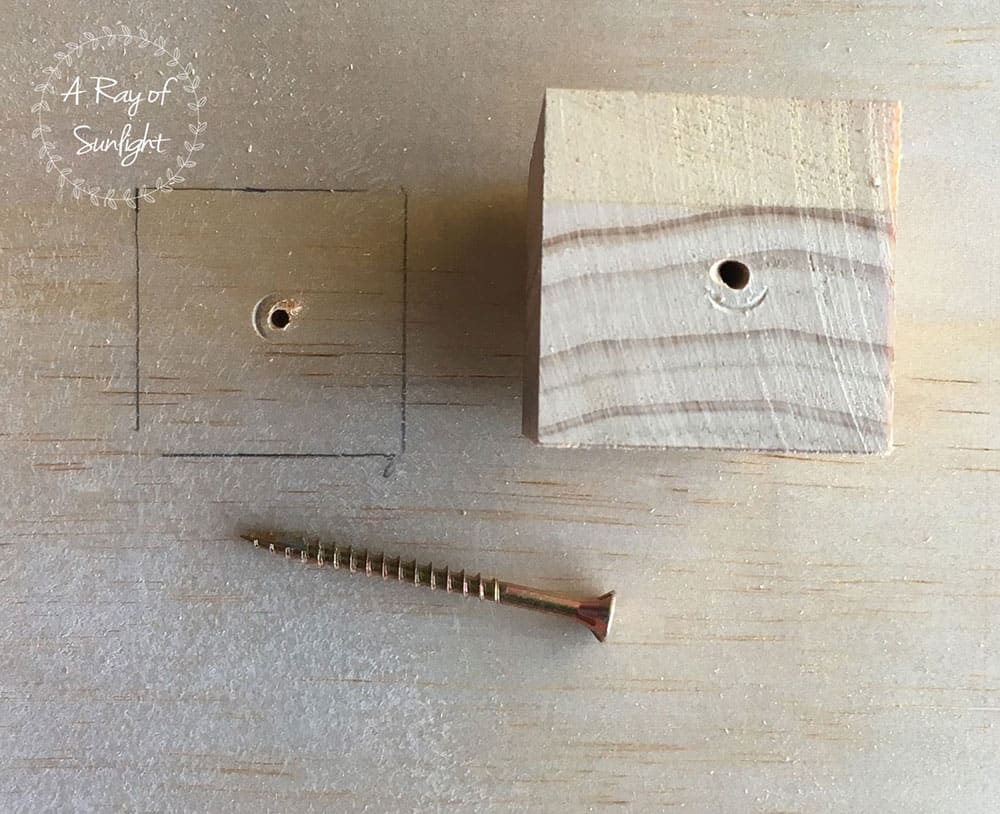
For the front legs we used a 1/4″ drill bit that was the same size as the screw on each of the front legs.
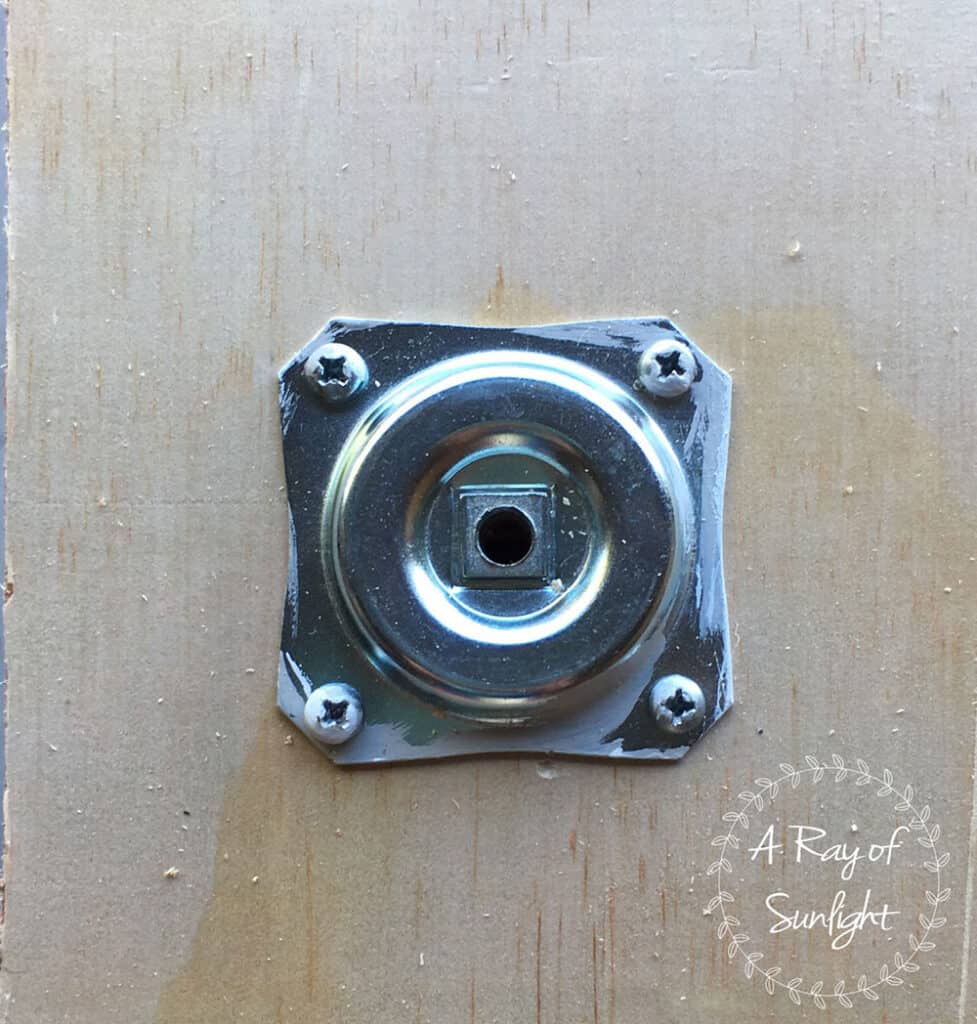
Then we placed a leg brace over the hole and pre-drilled the four corners where we screwed it onto the new plywood base.
To attach the back legs we flipped the plywood over and screwed a 2 1/2″ screw through the plywood and into the leg. We made sure it lined up straight before tightening it completely.

Attach Plywood With Legs to Bottom Of Nightstand
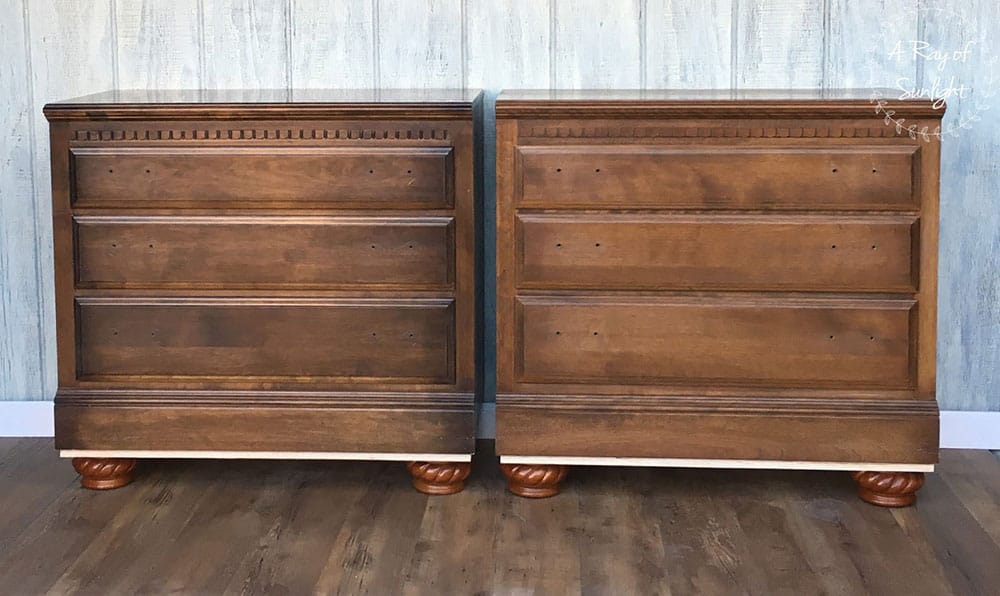
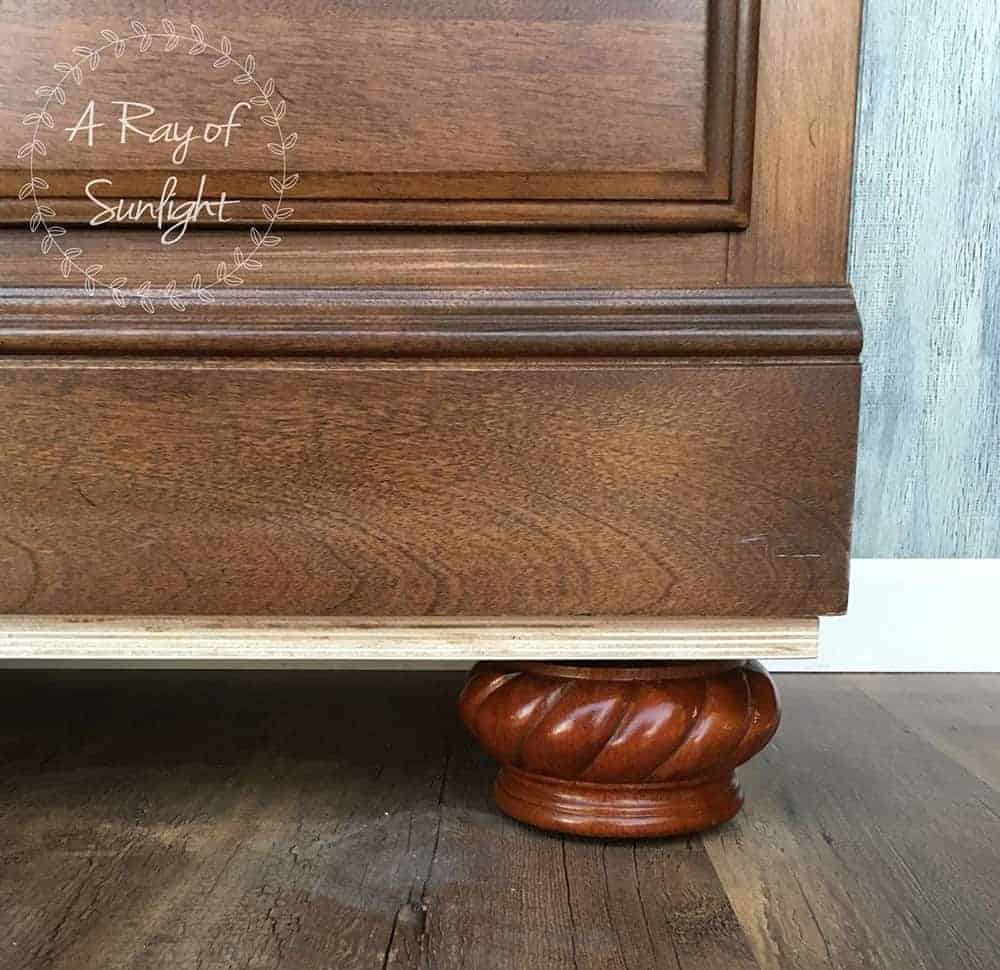
Once all of the legs were attached, we nailed the plywood base to the nightstand with 1 3/4″ brad nails and a nail gun. That’s all there is to it! Easy peasy lemon squeezy.
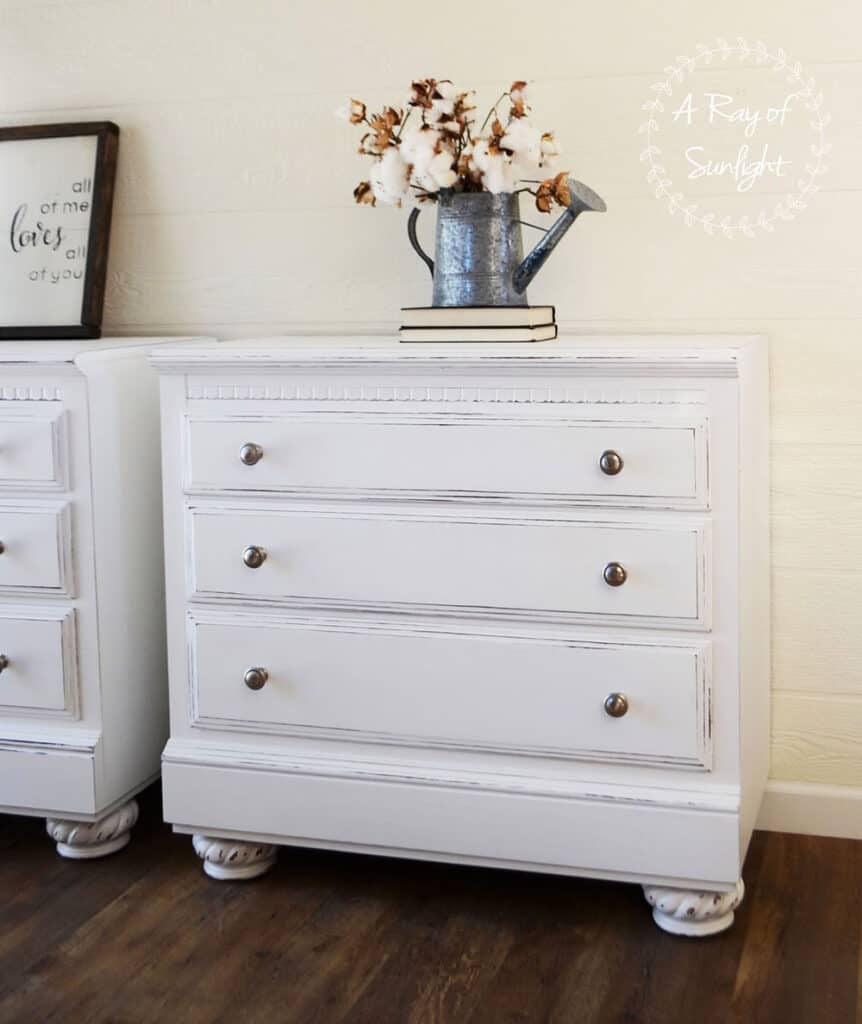
Now the nightstands have an updated high-end look while making each nightstand taller.
Would you like to save this?
We’ve listed all the best wood legs to add to furniture here to help you choose for your painting project.
Then I painted both nightstands with white homemade chalk paint and distressed the edges to create a farmhouse look. Learn more about distressing furniture techniques here!
The old drawer pulls were replaced with updated silver knobs to finish off the transformation.


More Before and After Makeovers
See All >
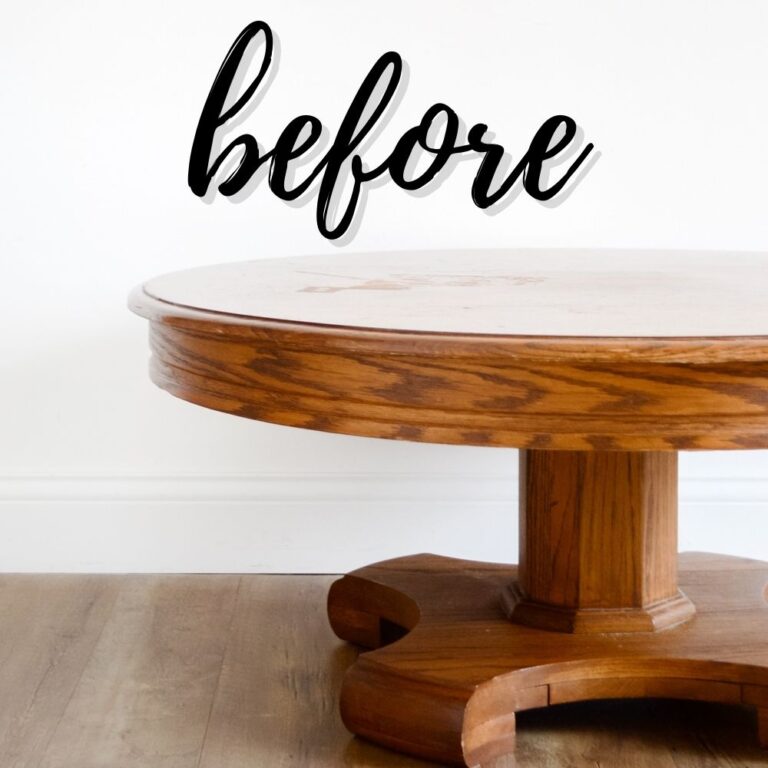
Click any of these “before” photos below to view the “after” of that makeover.


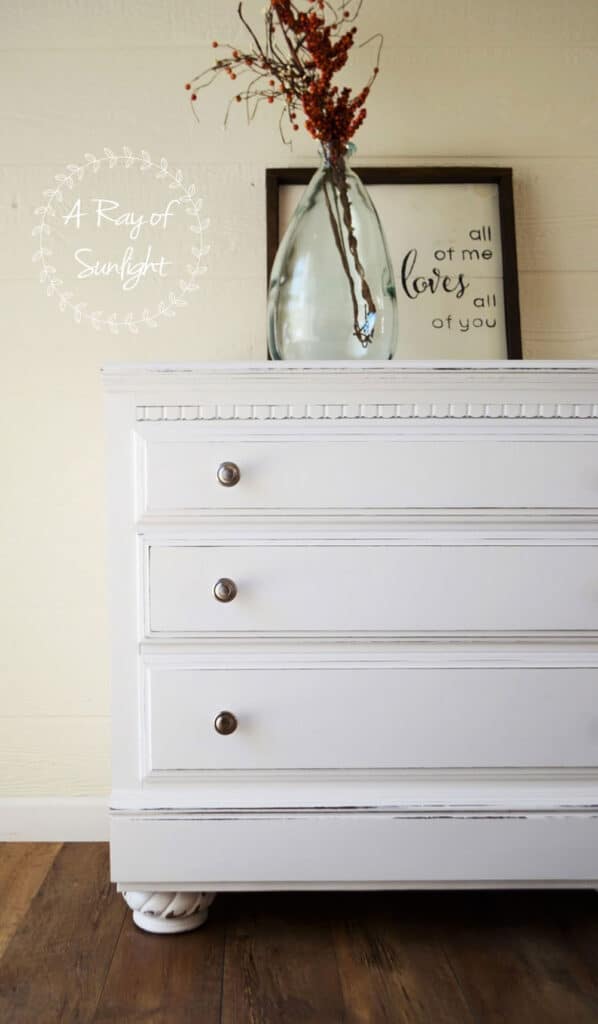
The best part is that these bedside tables were updated and brought back to life by changing just a few things. And now they will serve well in their new home for many more years to come. For a similar project, check out our posts on painting a chest of drawers with chalk paint and adding legs to a cedar chest.
You just can’t find this high quality solid wood build in stores anymore!
Tips for choosing the right furniture legs
When you’re adding legs on a nightstand or any piece of furniture, make sure to pick ones that not only go with your furniture style but also give enough support.
Think about how heavy and big your nightstand is, then go for legs that can handle the weight.
The type of wood used for the legs is also an important factor to consider. If your nightstand is wooden, match the leg wood for a consistent look.
Want a modern vibe? Go for metal or acrylic legs for a cool touch. You can also mix and match different materials for an eclectic look.
The height of your furniture legs is another thing to think about, especially if you’re using the nightstand as a bedside table.
Make sure the height of the legs, when added to the nightstand, creates a comfortable and functional height for reaching your bedside necessities.
Too low or too high legs can make using your nightstand uncomfortable or awkward.


Can this method be reversed if I change my mind about the legs?
You can totally switch things up if you decide you don’t want the legs on your nightstand. Just unscrew them from the plywood base, and you’ll have your regular nightstand back, leg-free and good to go.
The best thing about this method is that the original nightstand structure isn’t changed at all.
You just attach the legs to the plywood base, and you can remove them easily without causing any damage or marks on the nightstand itself.


Adding Legs To A Nightstand
There are many creative ways to add feet or legs to nightstands, dressers, and buffets. Here's a step by step tutorial for adding legs to a nightstand.
Materials
- Furniture Legs with Screws
- Furniture Leg Plates
- Blocks of Wood
- 2 1/2" Long Wood Screws
- 3/4" - 1" Thick Plywood
Tools
Instructions
- Measure the length and width of the bottom of the nightstand, take off an inch of those measurements, then cut 1" thick plywood to those measurements to create a new base for the nightstand.
- Drill pilot holes to where you want to put the front and back legs. Place the leg brace over the hole then pre-drill the four corners where the new plywood base will be screwed to.
- Make sure to line up the plywood, legs and screws straight before tightening completely.
- Once all of the legs are attached to the plywood, nail the new plywood base to the nightstand.
- Now, paint and distress the nightstand as desired!
Recommended Products
As an Amazon Associate and member of other affiliate programs, I earn from qualifying purchases.


More Adding Legs to Furniture Tutorials
- How to Easily Add Legs to Dressers
- How to Add Feet to a Dresser
- DIY Dresser with Hairpin Legs
- How to Add Legs to a Cabinet
- How to Add Legs to a Buffet
Follow us on YouTube to get more tips for painting furniture. Or share your project with us on our Facebook Group and be part of our community. See you there!
