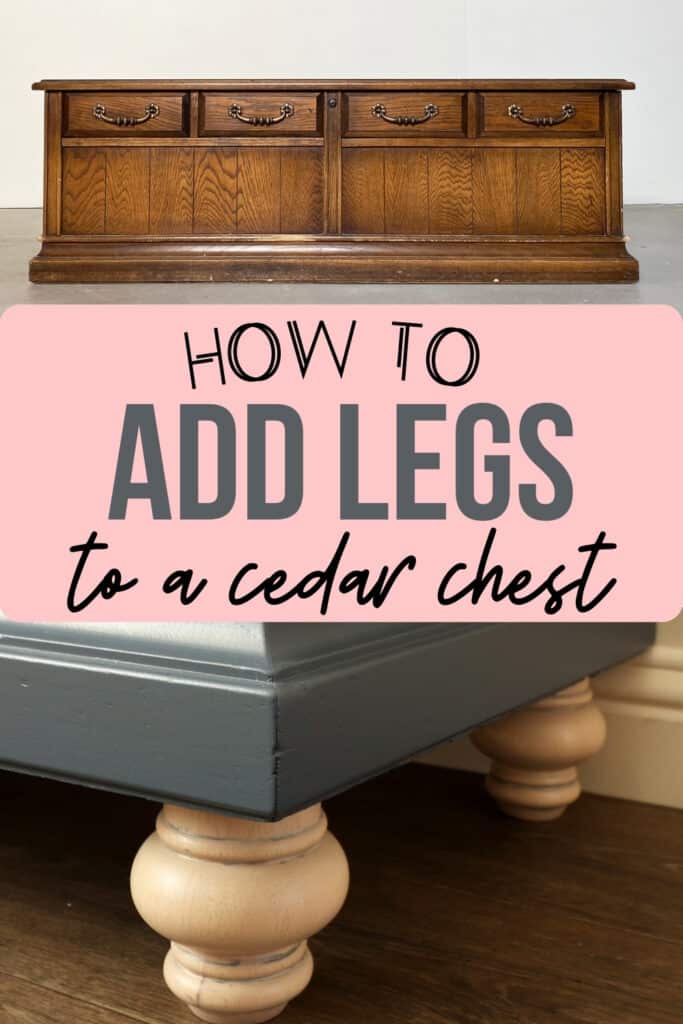
Adding Legs to a Cedar Chest


Today, I’m sharing how to add legs to furniture, specifically this lane cedar chest. There are all sorts of ways to add legs, depending on what your furniture looks like on the bottom. But here’s how we went about adding legs to a cedar chest.
One of the ways of repairing old furniture is by giving it a new and updated look. And you can do that by adding legs! It’s a simple trick that not only makes it look better but also makes it more functional by adding height and making it easier to use.
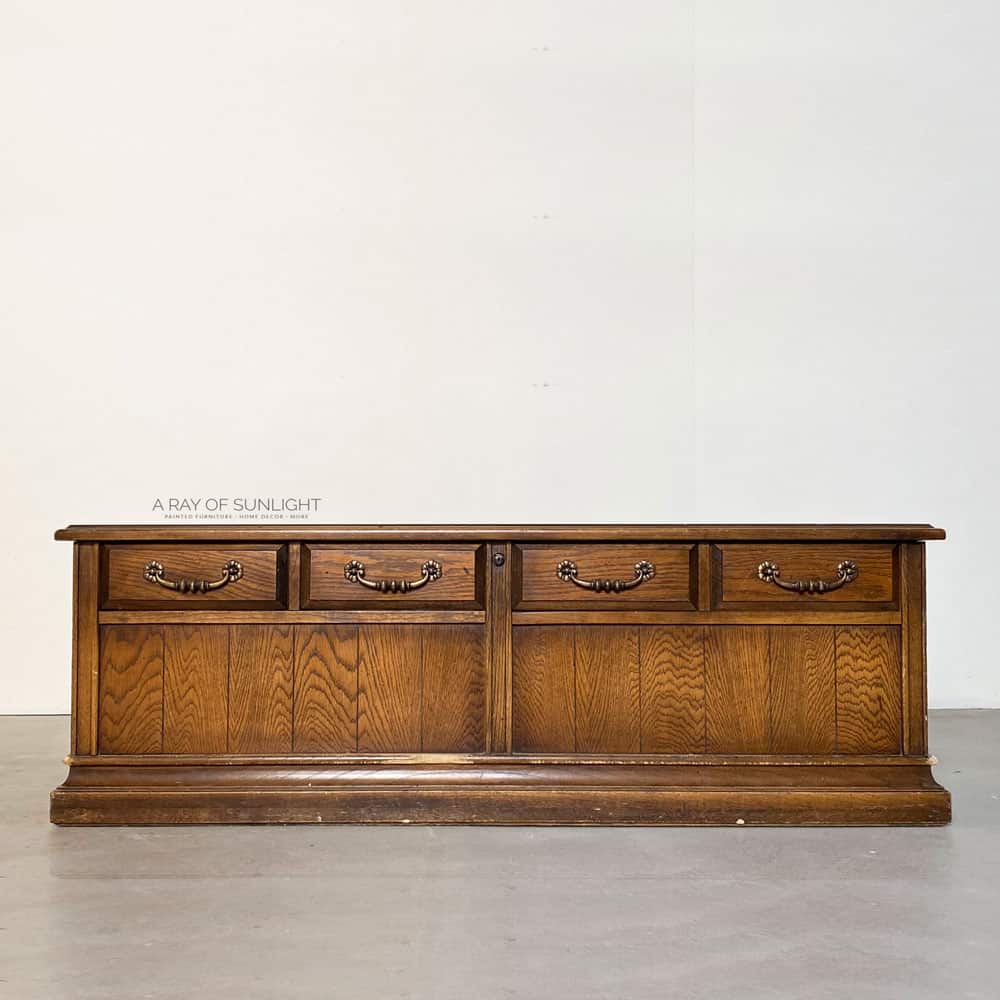
Above is what the cedar chest looked like before. I honestly loved it already, but I really wanted to add little bun feet to it. And I didn’t want to remove the base that was already there, I just wanted to add to it.

Adding height to furniture can make a huge difference in how it looks and functions in a space. It can also give it a more modern and updated feel. Plus, the new legs can also add extra stability and support to the furniture.
When choosing legs for your furniture, consider the overall style and design you want. There are so many options available, from simple bun feet to more intricate designs. You can also choose from different materials like wood or metal, depending on the look you’re going for.

Supplies Used for Adding Legs to a Cedar Chest
As an Amazon Associate, I earn from qualifying purchases. I also may earn from other qualifying purchases with other companies or get free product to review and use. All opinions are my own.
- Heavy Duty Metal Leg Plates
- Furniture Legs
- Hanger Bolts
- Power Drill
- Miter Saw
- 1″ x 6″ Wood
- Wood Glue
- Brad Nailer
- Brad Nails
- Air Compressor
- Oscillating Saw
Check Out the Bottom of Cedar Chest
First, we flipped the cedar chest onto its back so we could check out how the base was held on and if there was support we could put the legs on. This cedar chest was a little bit tricker than most pieces because I wanted to keep the base that was already on here.
I could have easily taken that part off by removing these screws and then I would have had a flat, solid bottom to attach the legs to. But, I really like the look of this base, so I wanted to keep it on. When I looked at it a little closer though, the inside of the base sits at a 12-degree angle.
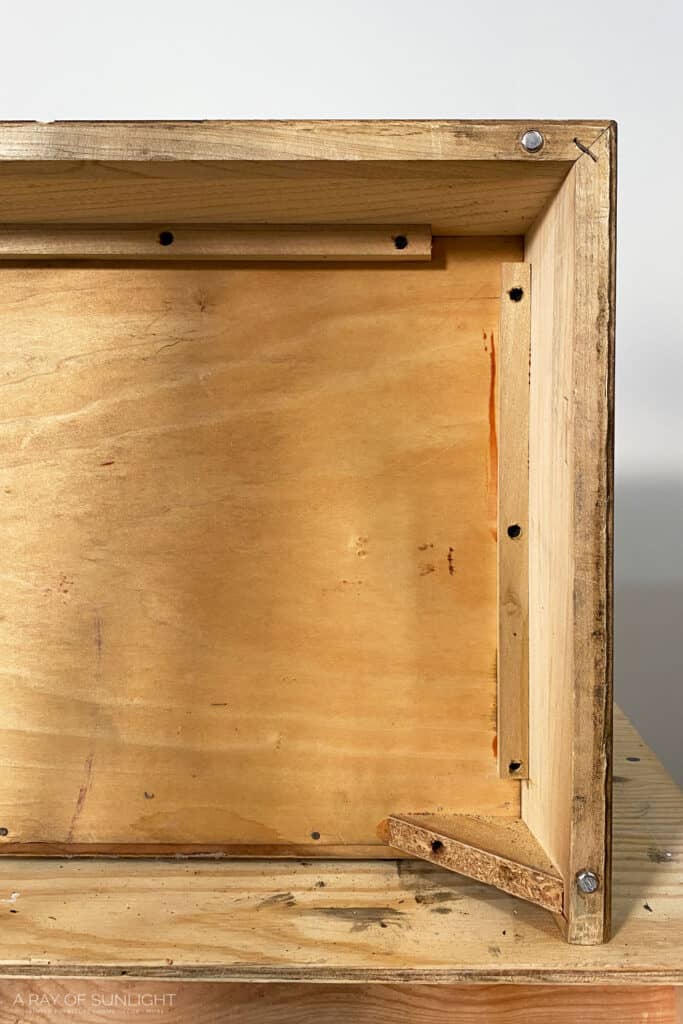
To add to the puzzle, these wood supports that held the base onto the cedar chest would be in the way
of anything I wanted to put right on the bottom of the cedar chest. So I couldn’t just put a block in the corners to support the legs, I had to think of something else.
Add New Supports
After going back and forth for a little bit, we decided the easiest and best support would be to cut and add 1 x 6 boards to the inside of the base. Thank goodness my husband was around to help me out with this one!
Cut the New Supports
First, we cut the boards to about 13” long so we could miter and bevel them on our miter saw. Then we made 12 degree bevel cuts on both sides, ripping the board to the same width that the base of the cedar chest was.
We used clamps and wood to hold the wood secure to the saw, while making sure that our hands weren’t near the saw blade at all. Then we made a 12 degree miter cut on both ends of the board, turning it into some sort of beveled parallelogram.
The last cut was to crosscut the board in half, making 2 support pieces about 6 inches long, which is plenty of room for our legs. We replicated those cuts until we had supports for all of the corners.
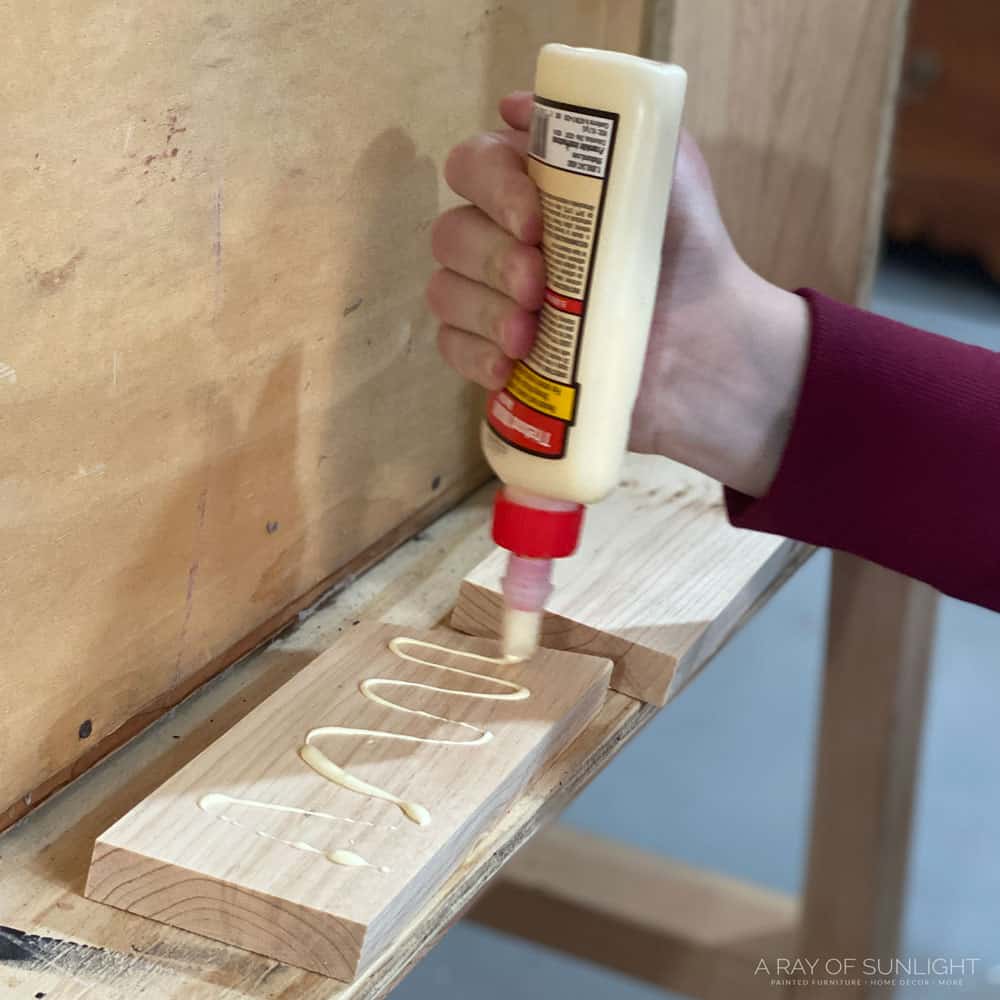
Attach the New Supports
Then we used wood glue and 1 ¼” brad nails to secure the supports into each corner.
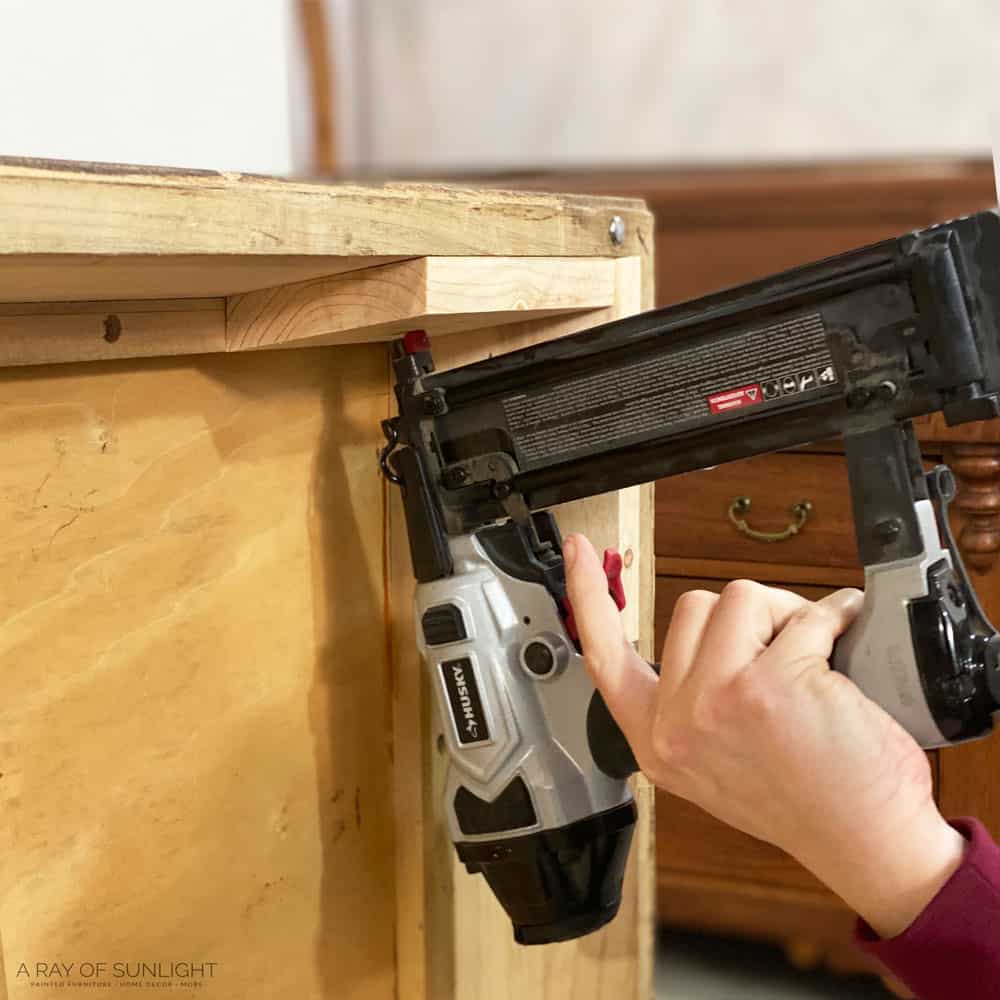
For the back supports, we had to cut these supports a little bit to make room for the new leg supports. These 2 very back supports didn’t need the beveled edges because the back support wasn’t angled out like the sides of the base were.
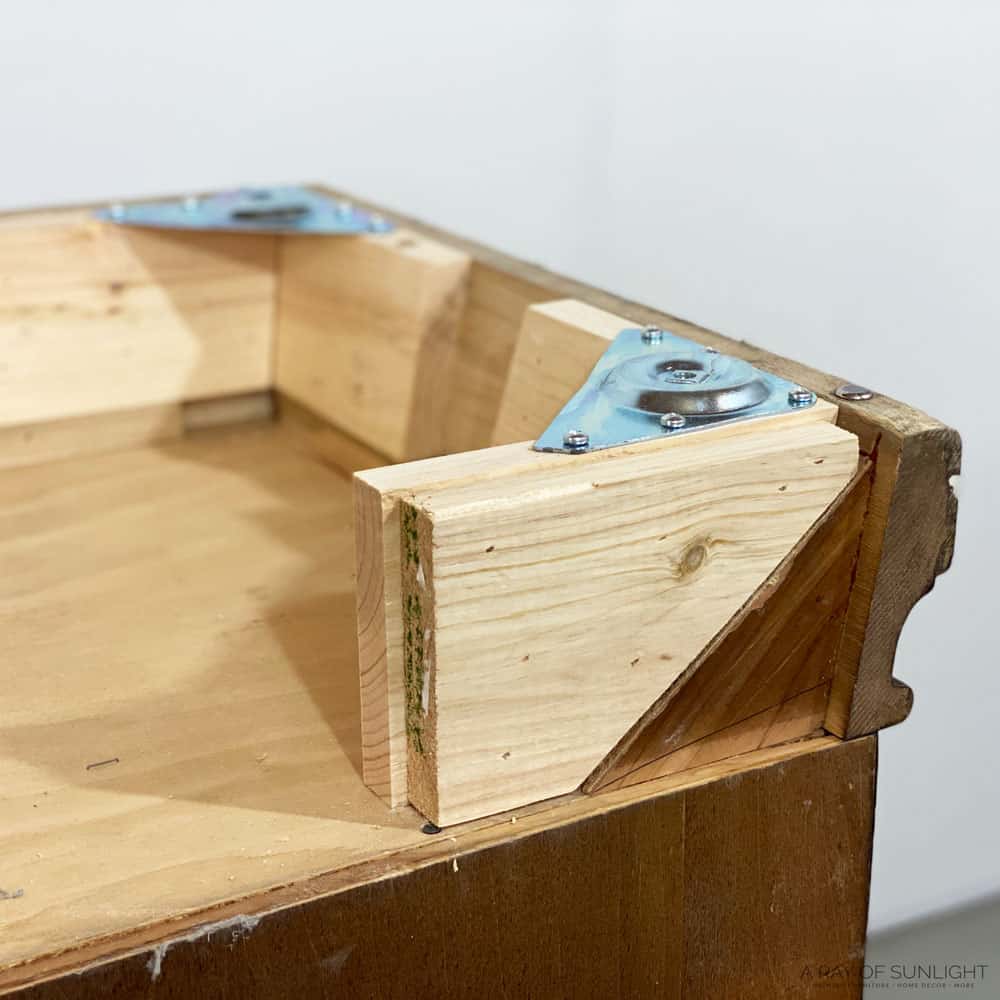
Attach Leg Hardware
Then we busted out the best things for adding legs to any piece of furniture, these heavy duty metal leg plates. We drilled little pilot holes where each of the screws needed to go, and then secured the metal plates in place with the screws that were included with the plates.
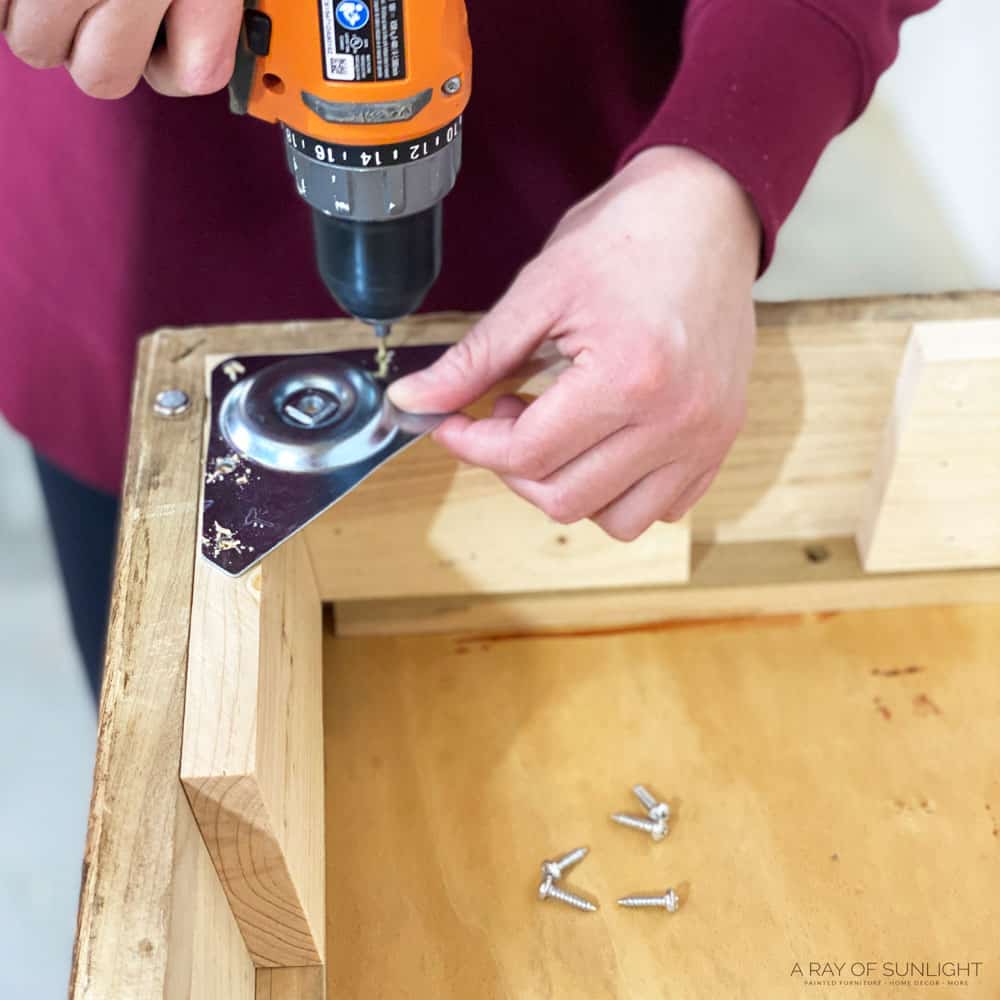
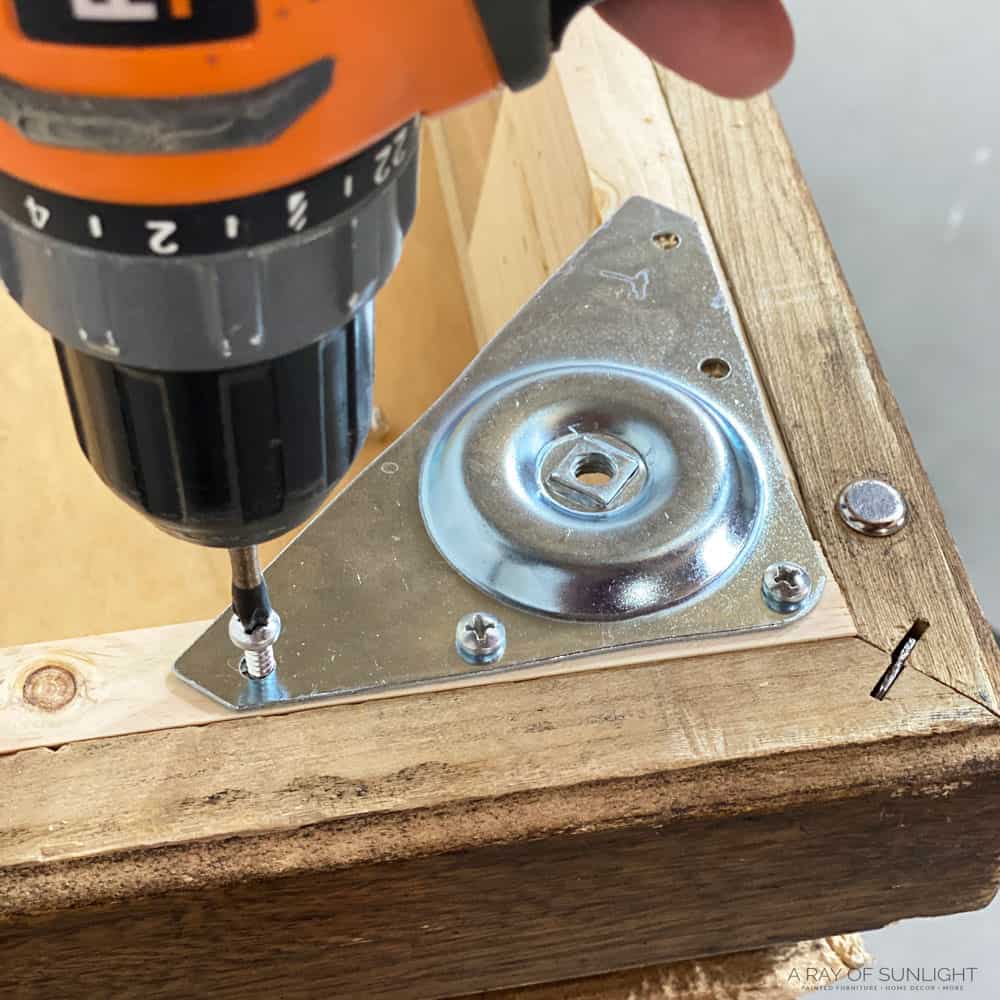
You might notice right here, that we could have attached the metal plates to the base that was already
there, and we could have. BUT, the spot where the legs screw into the leg plates sticks out about a ¼”, creating a gap between the bottom of the base of the cedar chest and the top of the legs.
The other issue is that the legs have a big enough diameter that they would be close to the edge, making the ¼” gap even more noticeable.
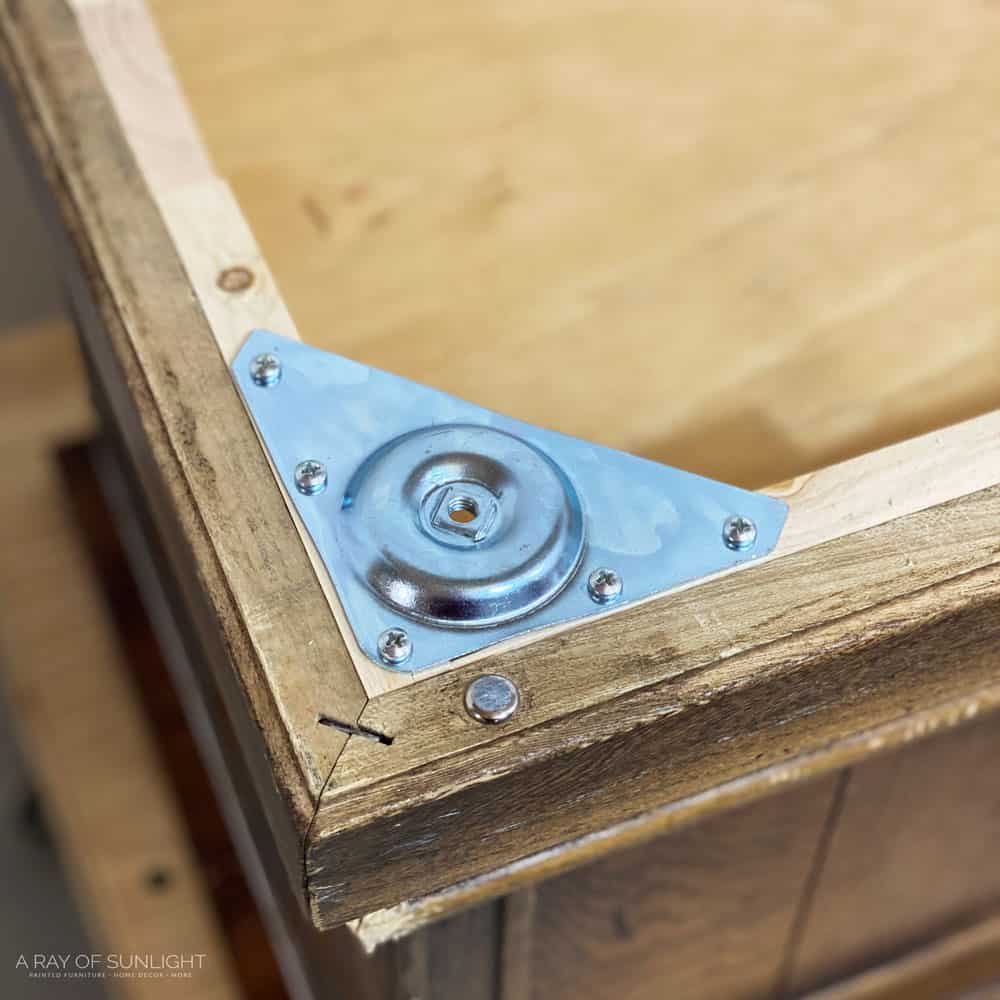
If we had skinnier legs, the gap wouldn’t have been as noticeable, so I might have just attached the leg plates to the existing base, and it would have been just fine!
Would you like to save this?
We also cut out some extra wood supports with the jigsaw, and attached them to the support just for extra support.
Add New Cedar Chest Legs
Now it’s time to add the new legs to the cedar chest!
Add Hanger Bolts (If your legs don’t come with them attached)
These legs that I used don’t come with the hanger bolts attached to them, so I used a 5/16” drill bit
to drill holes into the middle of each leg. Then I used a pair of pliers to twist the coarse thread of the hanger bolts into the legs.
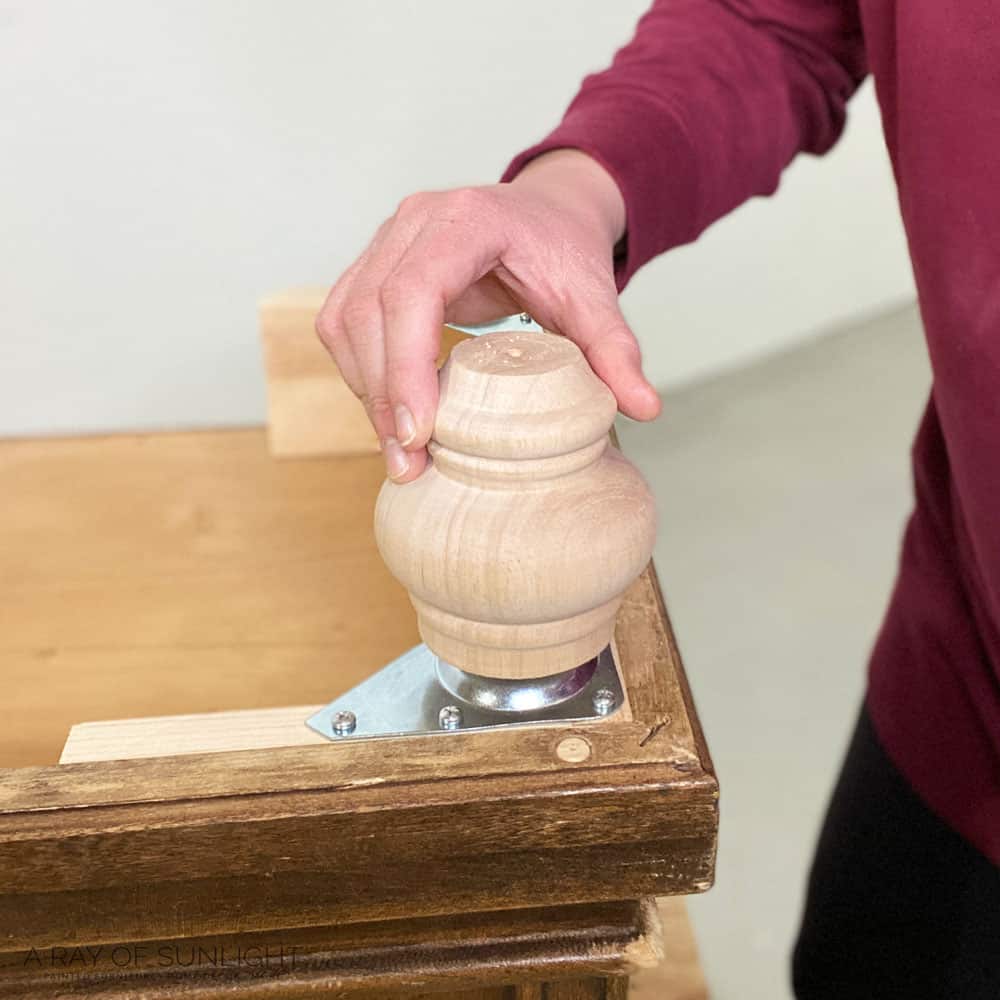
Screw the Legs into the Hardware
And then I screwed the legs into each leg plate.
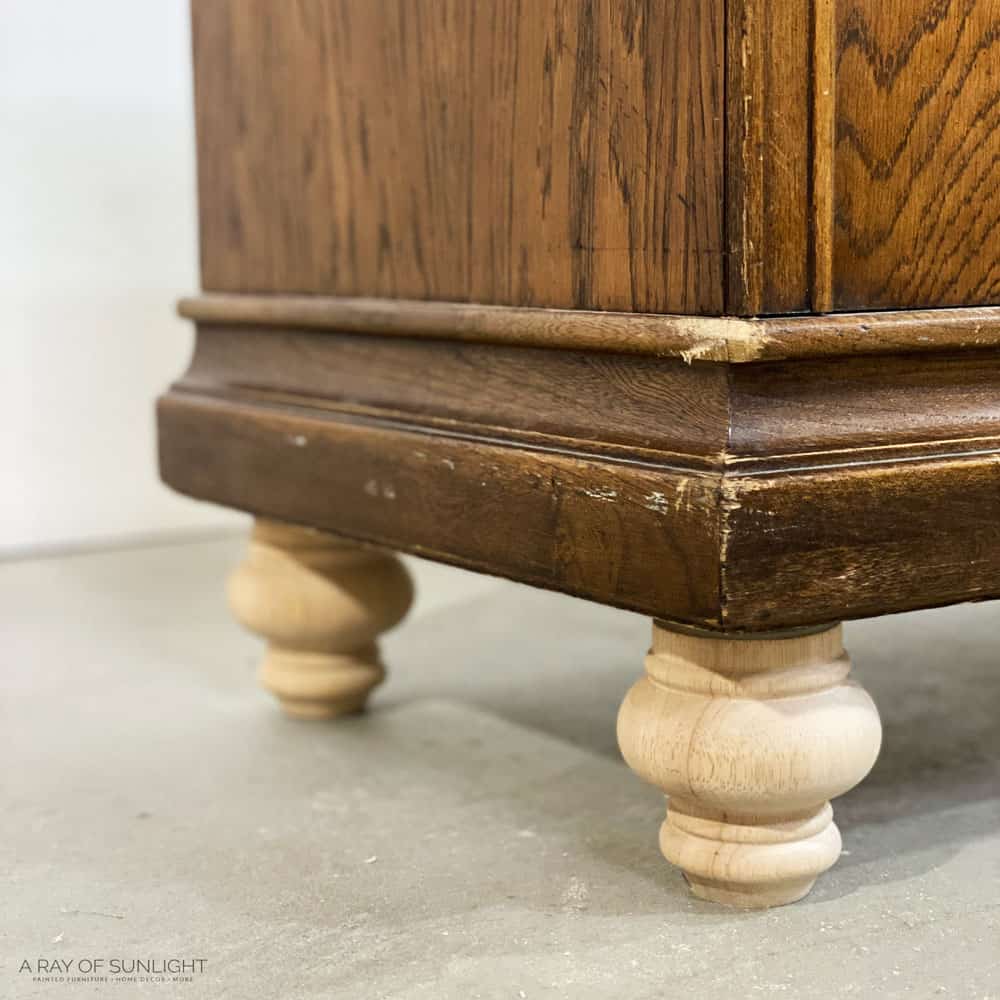
Here’s what the cedar chest looks like now with new little feet! Isn’t it cute?! Here’s painting a chest of drawers with chalk paint where we added feet the same way.
Adding legs to furniture is one of my favorite things to do! And there are so many different styles of legs you can add to make a piece look completely different.
Watch the full process in our YouTube video below:
Update: Check out how we finished the cedar chest with legs in this post on how to whitewash furniture, or check out how we ended up painting the cedar chest without brush marks in this DIY cedar chest makeover here!
More Ways to Add Legs to Furniture
Over the years, we’ve added legs to multiple pieces of furniture, but mostly dressers. And each time I feel like we come up with a different way to do it. Haha but that’s probably because almost every single piece of furniture looks a little bit different on the underneath.
Some are super easy, and you just have to unscrew the base that is there. Here’s an example of how to add feet to a dresser by unscrewing the base. Sometimes the base doesn’t just unscrew, and then it’s time to break out some power tools.


I’ve found that this is how to easily add legs to dressers when you can’t just unscrew the old base. Or, you can keep the base on and add some plywood to make a new base. Here’s adding legs to a nightstand for a guide on creating a new base.
You can also add support for the base using pieces of wood like how we add legs to a cabinet here. And then, if you want to add hairpin legs to a dresser, instead of bun feet, we have a tutorial for that as well in this DIY dresser with hairpin legs post!
Here’s how to add legs to a buffet if your furniture has a skirting. We’ve also listed the best wood legs to add to furniture here to help you choose the best one for your project.
Can you remove legs from furniture?
Alternatively, you may want to remove legs from furniture instead of adding them. This could be for various reasons, such as wanting to change the style or height of the piece, or simply because the legs are damaged and need to be replaced.
The good news is, in most cases, you can remove legs from furniture! The first step in removing furniture legs is to determine how they are attached. Some furniture may have removable screws or bolts holding the legs in place, making it a simple process of unscrewing them.
However, other pieces may have glued or nailed on legs, which can make removal a bit trickier. In these cases, you may need to use a saw or pry bar to carefully remove the legs without damaging the rest of the furniture.
Once the legs are removed, you may be left with holes or other marks where they were attached. These can easily be filled in with wood filler and sanded down for a smooth surface. Then, you can either leave the furniture without legs or add new ones using any of the methods mentioned above.
Adding legs to a cedar chest is an easy and fun way to totally change up its look. You could be adding legs for extra support or just for style – either way, it’s a project that can easily be done with the right tools and materials. And if you ever change your mind and don’t want the legs anymore, or you want to replace them to update the look, it’s easy to remove them too!


How to Add Legs to a Cedar Chest
Learning how to add legs to a cedar chest is a simple way to give it a whole new look without losing its charm.
Instructions
- Check out the bottom of your cedar chest and see how the base is held on and if there is support to put the legs on.
- Cut wood boards to the same width of the base of your cedar chest. Crosscut the board in half, making 2 support pieces. Replicate those cuts until you have supports for all of the corners.
- Now use wood glue and 1 ¼” brad nails to attach and secure the supports into each corner of your cedar chest base.
- To attach leg hardware, drill little pilot holes where each of the screws need to go, and then secure the metal plates in place with the screws that were included with the plates.
- Screw the legs into each leg plate!
Recommended Products
As an Amazon Associate and member of other affiliate programs, I earn from qualifying purchases.


More Cedar Chest Makeovers
- Painting a Cedar Chest
- Painted Cedar Chest Makeover
- Painting Furniture Black
- How to Refinish a Cedar Chest

Follow us on YouTube to get more tips for painting furniture. Or share your project with us on our Facebook Group and be part of our community. See you there!