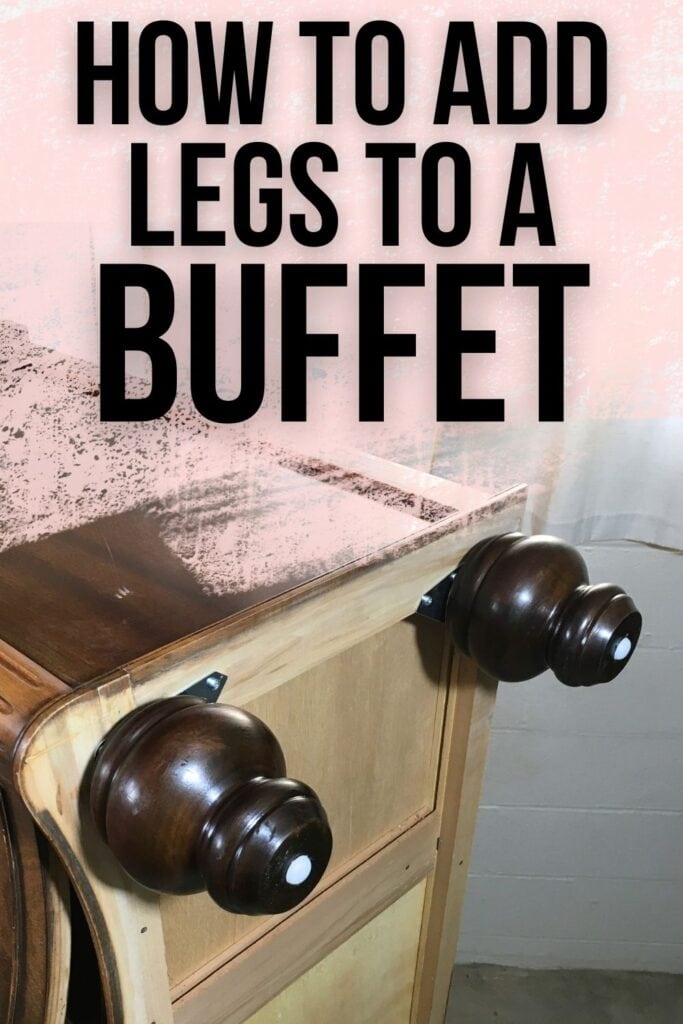
How to Add Legs to a Buffet
If you have an old wooden buffet, and want to give it a new look, adding legs is the perfect solution. In this post, we’ll show you how to add legs to a buffet, plus, and here’s some more gray painted furniture ideas to inspire your own makeover.
Not only will adding legs change the overall appearance of your buffet, but it can also make it easier to move around and clean under. So let’s get started on this awesome DIY project!
Buffets are a versatile piece of furniture that can be used in many different rooms and for various purposes. Whether you put them in the dining room, living room, or hallway, buffets effortlessly combine functionality and aesthetics, making them a valuable addition to any home.

However, if you’re tired of the traditional look of your buffet, or if your buffet come with a base or skirting that may not fit your desired style, adding legs is an easy way to give it a whole new personality.
With the variety of leg styles available, you can choose one that fits your personal style and complements your existing decor.
So let’s get into the steps of adding legs to your buffet and transforming it into a unique piece of furniture that reflects your individual taste.
Supplies Used for Adding Legs to a Buffet
As an Amazon Associate, I earn from qualifying purchases. I also may earn from other qualifying purchases with other companies or get free product to review and use. All opinions are my own.
- Electric Screwdriver
- Hammer or Flat head Screwdriver
- Measuring Tape
- Power Drill
- Drill Bits
- Leg Plates
- Buffet Legs
- 220 Grit Sandpaper
- Zibra Round Brush
- Shackteau Interiors Milk Paint in Magnolia Pier
- Citristrip (for stripping wood stain)
- Dark Walnut Wood Stain (stained top)
- Water-based polyurethane (for topcoat)
Removing the Buffet Skirting
First, carefully flip over your buffet and inspect the underside. Look for any screws that secure the base to the main part of the buffet. You might come across small pieces of wood that are screwed into both the base and skirting.
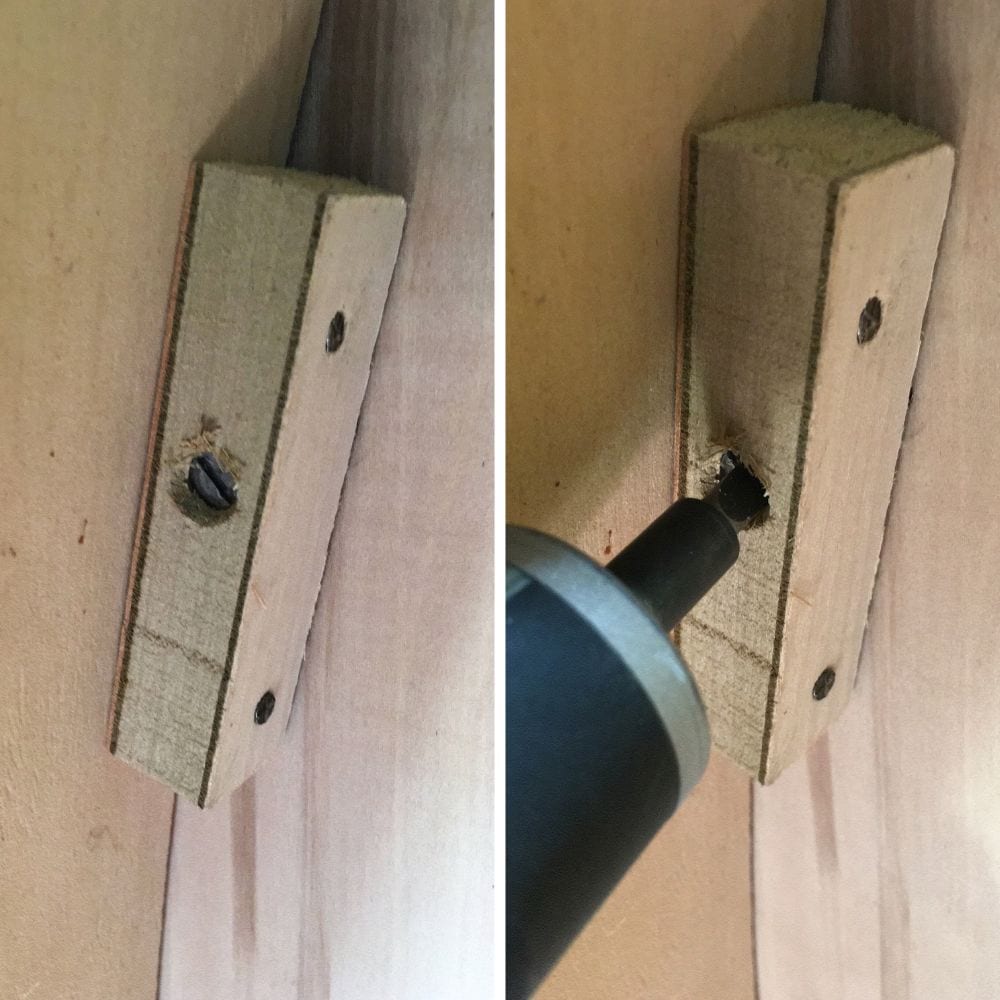
Simply use a screwdriver or drill with a screw bit attachment and unscrew each one.
Next, use a tool (such as a pry bar, hammer, or flat head screwdriver) to gently pry off the skirting if it is still stuck on. If your skirting is also glued on, use caution when prying it off to avoid damaging the base.
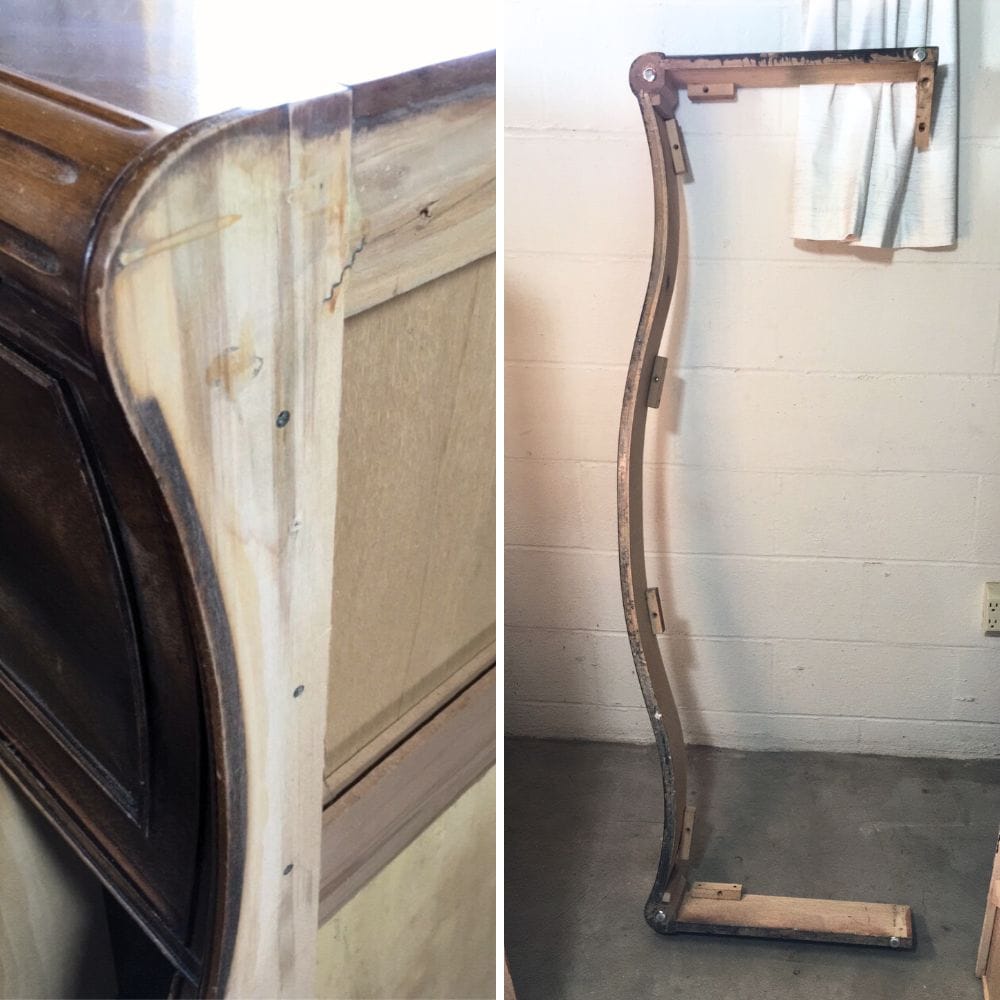
This step may require some patience and effort, but with a little bit of prying, you’ll be able to remove the skirting easily. You can also check out our post on adding legs to dressers, where we used a multi-functional tool to easily cut off the dresser skirt.
Measuring and Placing the Buffet Legs
After removing the skirting, measure and decide where you want to place your legs. It’s important that you make sure the leg hardware remains hidden from view because it can look unattractive if visible. Be sure to position it at least a half inch away from the edge of the buffet’s main base.
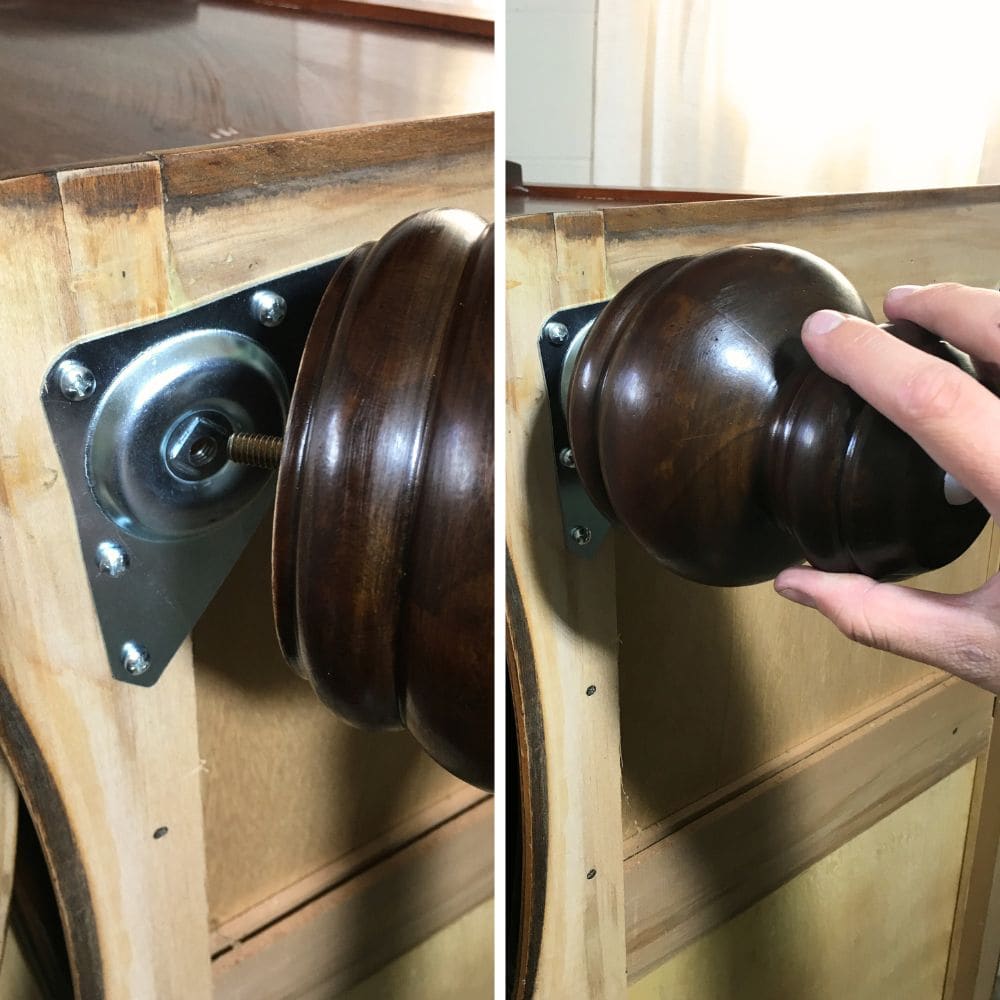
Installing Leg Plates and Attaching Buffet Legs
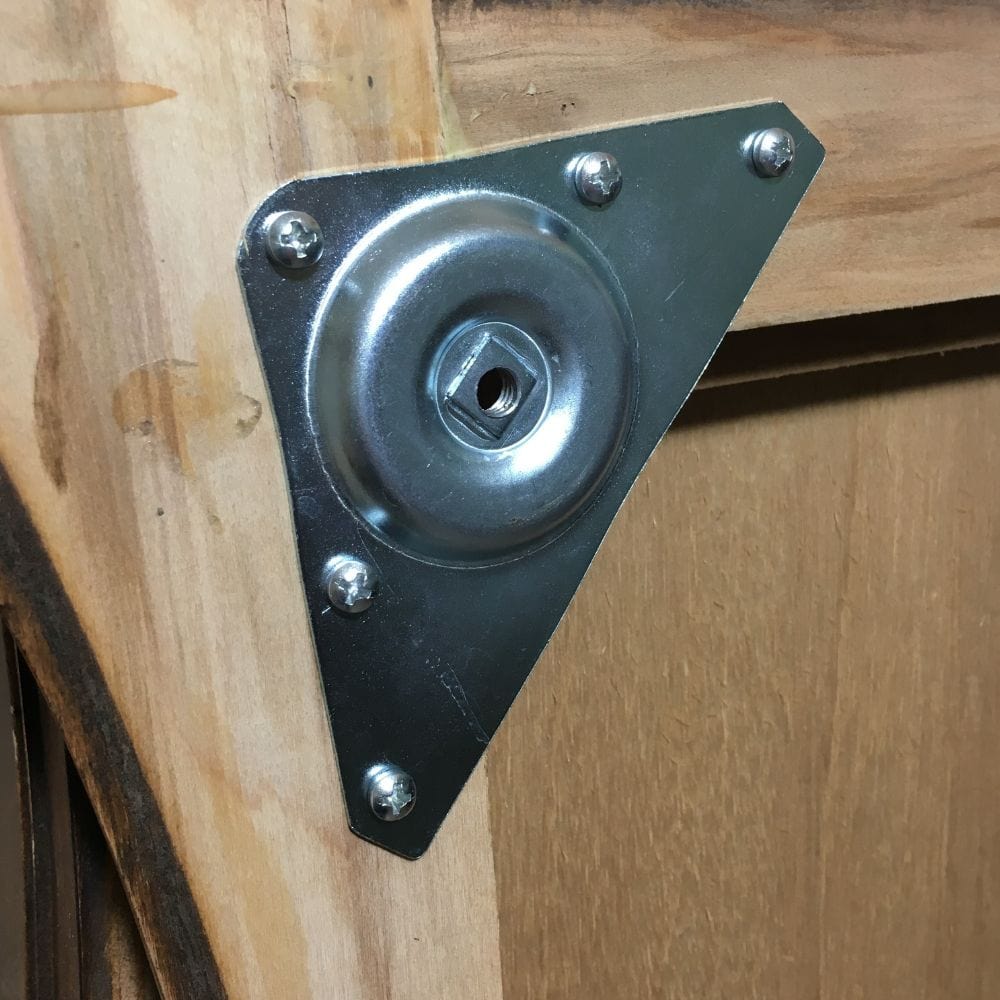
Before attaching the legs, you’ll need to install heavy duty leg plates onto the bottom of each corner of the base. To prevent splitting the wood, drill small pilot holes before screwing in the leg plates.
Once you’ve got them securely attached, you’re all set to attach the legs to your buffet!
Most legs already come with bolts that easily attach to the leg plates, making this step a breeze. Just screw in each leg until it’s securely attached to the buffet base. Make sure to tighten the legs firmly for stability and to prevent any wobbling.
After you’ve attached the legs, give them a quick once-over to make sure they’re all even and level. If any adjustments are needed, go ahead and make them. Once you’re happy with how everything looks, carefully flip the buffet back over and do a final check.
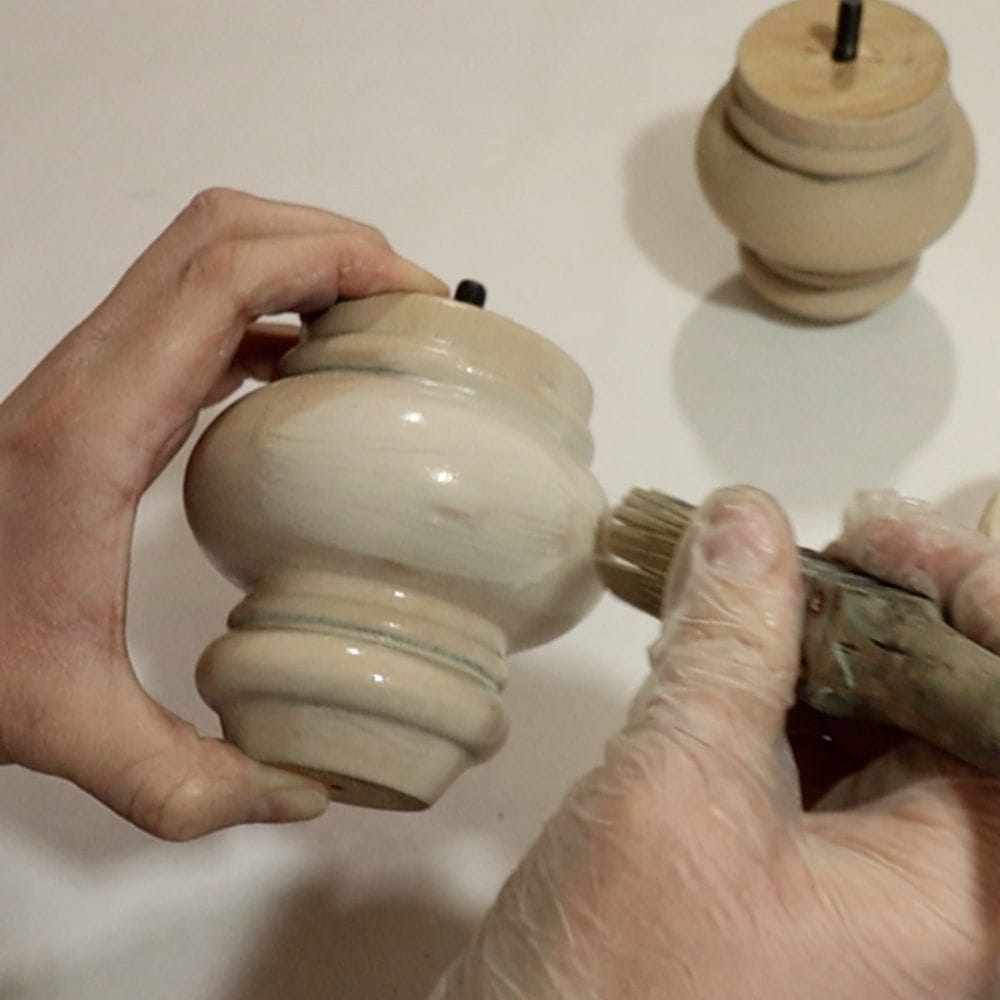
Painting Your Buffet
If you want to take your buffet makeover to the next level, consider painting it in a color or finish that complements your overall decor.
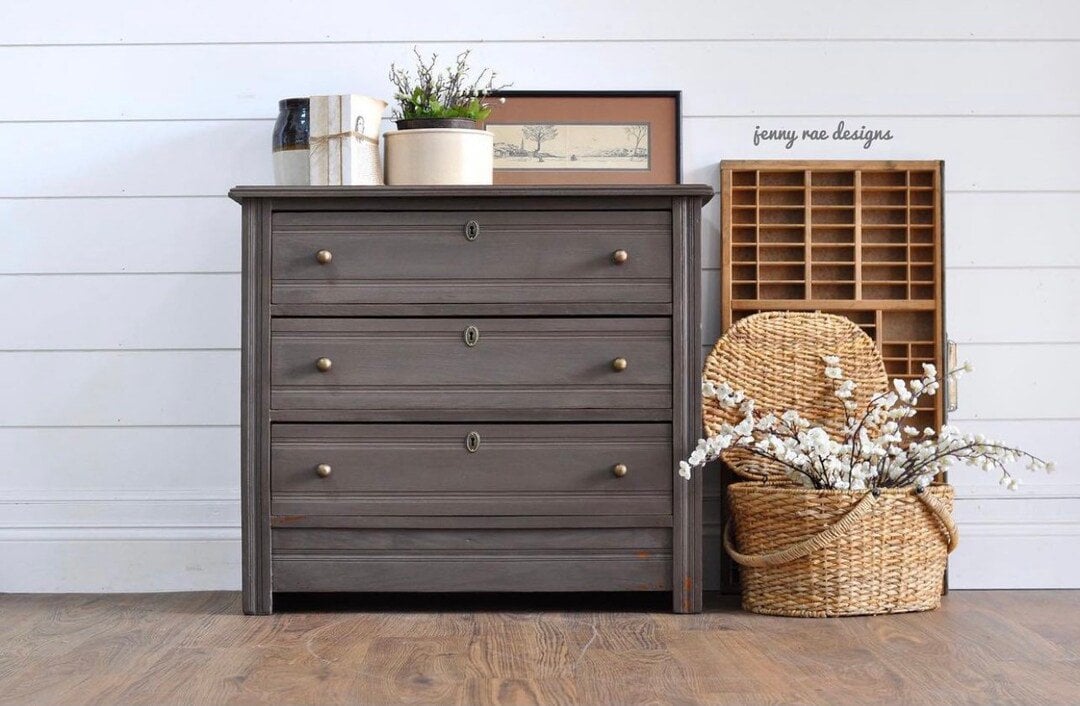
For this project, we used Shackteau Interiors Milk Paint in Magnolia Pier, a weathered grayish brown color that added a rustic touch to the buffet. We also used this paint in this chippy gray milk paint dresser makeover.
Would you like to save this?
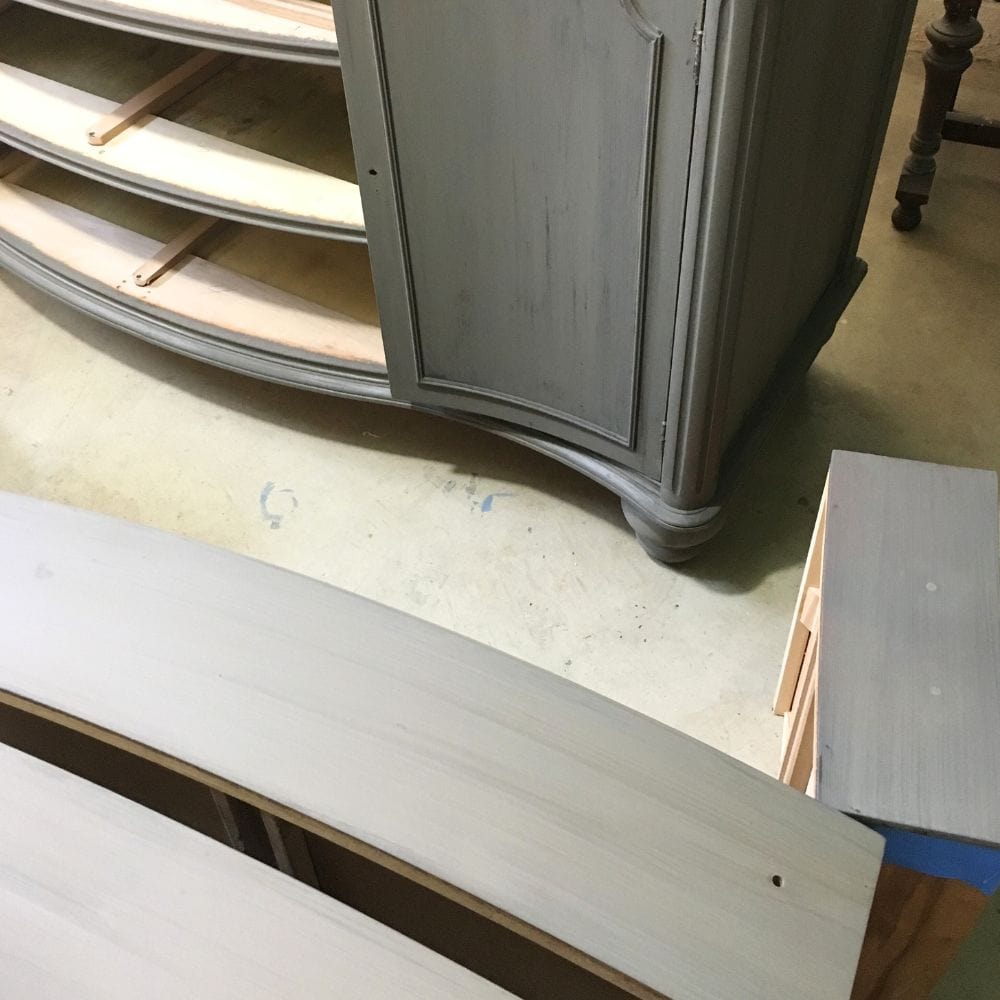
As always, we prepped the furniture for painting and sanded before painting furniture.
We lightly scuff sanded the glossy finish of the buffet then applied 2 coats of the milk paint with a Zibra round brush. You can learn more about the Zibra brush and the other best paint brushes for painting furniture in our post.
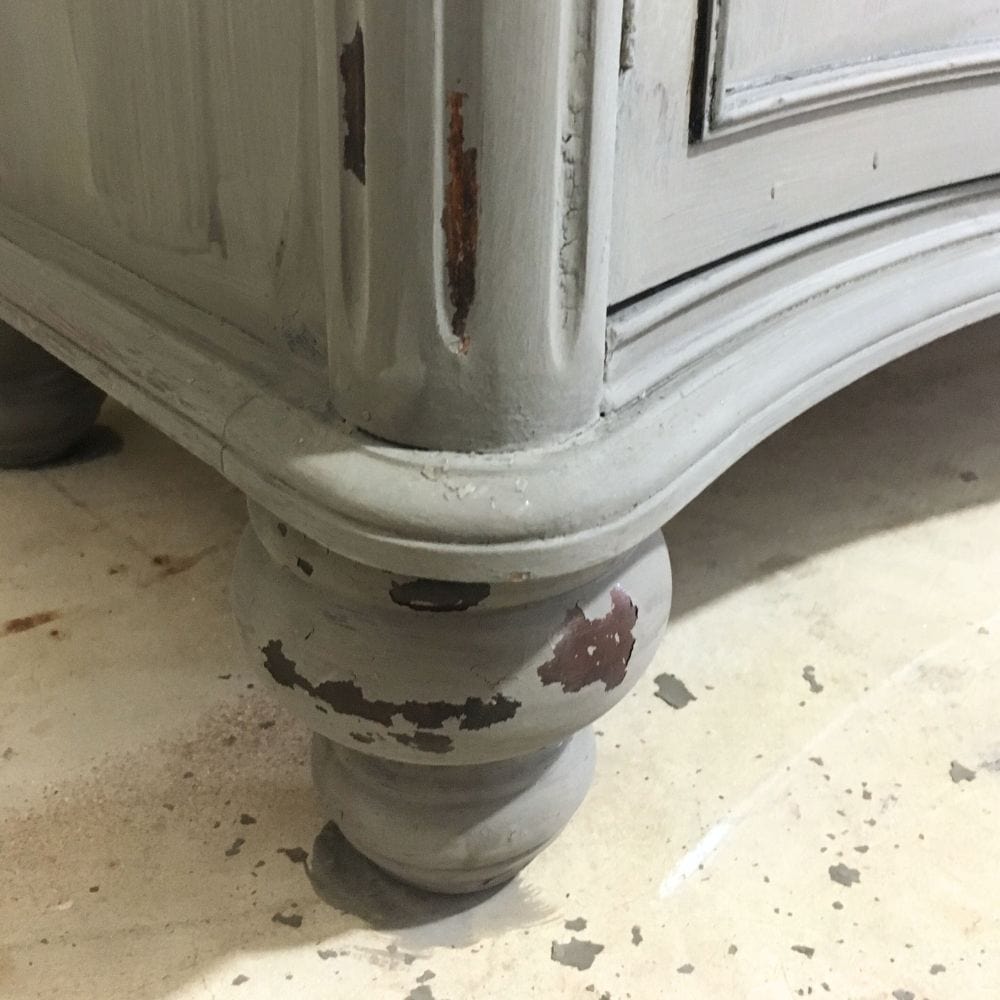
Once dry, lightly sand and distress the milk paint with 220 grit sandpaper for a chipped, vintage look. Learn about your options for the best sandpaper for furniture painting here so you can get the best results.
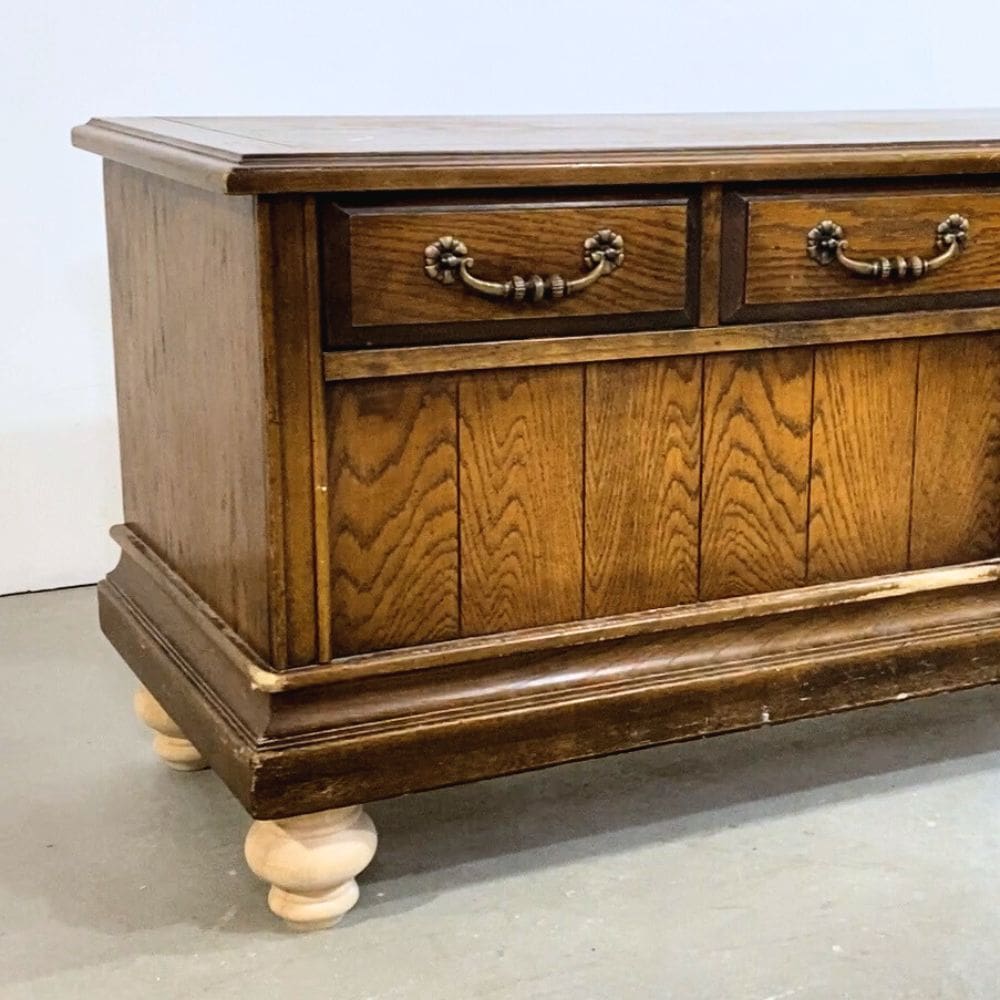
For the top of the buffet, we used Citristrip to strip off its wood stain. If you’re curious about the step-by-step process, here’s our guide on how to remove wood stain.
After staining the top in a dark walnut color and letting it dry for 48 hours, we added a water-based polyurethane topcoat to both the stained wood top and milk painted buffet. Using a topcoat for painting furniture will provide extra protection and durability to your piece.
To complete this transformation, we added new dark farmhouse cup pulls and matching knobs. These small details can make a big impact on the overall appearance of your buffet. Here’s how to change hardware on a dresser to help you with this step.


Can I add legs to any type of buffet?
Yes, as long as your buffet has a flat and solid base, along with sturdy corners that can bear the weight of the added legs. You’ll want to avoid buffets with thin or weak bases though, as they might not give enough stability and support.
But you can make it work! See how we cut new plywood bases and added legs to a nightstand here. And for this makeover where we added legs to a cabinet, we didn’t remove the base but added new supports.
Also, if your buffet is very skinny, it will easily tip when you add legs, so be sure to anchor it to the wall if your furniture feels at all tipsy.
How do I know if the added legs are sturdy enough to support the buffet?
It really depends on the kind of legs you go for and how they’re attached to the buffet. Our list of the best wood legs to add to furniture has a variety of options for you to choose from!
Plus, if you’re using heavy-duty leg plates and securing them tightly with bolts, chances are the legs will be sturdy enough to support the buffet.
You also need to think about the size and weight of your buffet, and make sure the weight is evenly spread across the legs. If your buffet is very long (6 feet) consider adding a leg to the very middle of the buffet to keep it from warping.
If the legs seem to wobble, try tightening the bolts or adjusting their placement until the buffet feels stable and secure.
Can I skip painting my buffet after adding legs?
Of course! It’s completely up to you how much or how little you want to do with your buffet makeover. Adding legs alone can already transform your buffet, but if you want to take it a step further, painting furniture and distressing furniture are always options.
You now have a beautifully transformed buffet with added legs that give it a whole new look! Adding legs to your buffet is a simple DIY project that can make a big difference in the style and functionality of your furniture.
We hope this step-by-step guide has been helpful and has inspired you to give your own buffet new legs and a fresh coat of paint.

How to Add Legs to a Buffet
From removing the skirting and adding new legs, we cover all the helpful tips and tricks on how to add legs to a buffet.
Materials
Instructions
- Remove skirting from the base of the buffet using a screwdriver and prying tool.
- Measure and decide on placement for the legs, making sure they will not be visible once attached.
- Attach heavy-duty leg plates to each corner of the buffet base. Make sure to drill small pilot holes before screwing in the leg plates to prevent the wood from splitting.
- Attach legs to the leg plates, making sure they are securely tightened for stability. Check that all legs are even and level, and make adjustments if needed.
- Optionally, paint the buffet with Shackteau Interiors Milk Paint in Magnolia Pier. For a distressed look, lightly sand and distress the milk paint with 220 grit sandpaper.
- Refinish the top of the buffet by stripping off any existing wood stain using Citristrip. Stain with a desired color (I used dark walnut) and finish with a water-based polyurethane topcoat for durability.
- Add new hardware, such as cup pulls and knobs.
Recommended Products
As an Amazon Associate and member of other affiliate programs, I earn from qualifying purchases.


More Adding Legs to Furniture Tips
- Adding Legs To A Cedar Chest
- Adding Legs To A Dresser
- Adding Legs To A Nightstand
- How to Fix a Broken Table Leg
Follow us on YouTube to get more tips for painting furniture. Or share your project with us on our Facebook Group and be part of our community. See you there!