The Chippy Gray Milk Paint Dresser
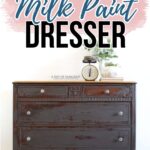
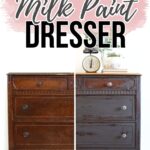
Create a yummy chippy painted finish on your old wood furniture with milk paint! Real powdered milk paint creates a farmhouse, old world, rustic look, but is unpredictable when it comes to chipping. Let’s dive into the chippy gray milk paint dresser makeover!
This is one of the gray painted furniture ideas that has a unique and stylish finish. Plus, the neutral color makes it versatile and easy to incorporate into any decor style. So, let’s get started!
I’m not gonna lie. I’ve been in a bit of a funk lately. I’ve been having a hard time choosing colors for pieces, second guessing my choices, and stewing for literally hours about what I want to do. It’s nooo good.

And then I spotted the Shackteau Interiors Milk Paint that I recently bought, and I decided it was time to have a little bit of fun. It was time to go completely out of the norm. And that’s how I ended up with this chippy gray milk paint dresser.
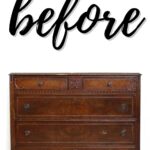
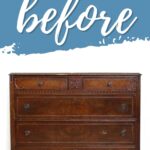
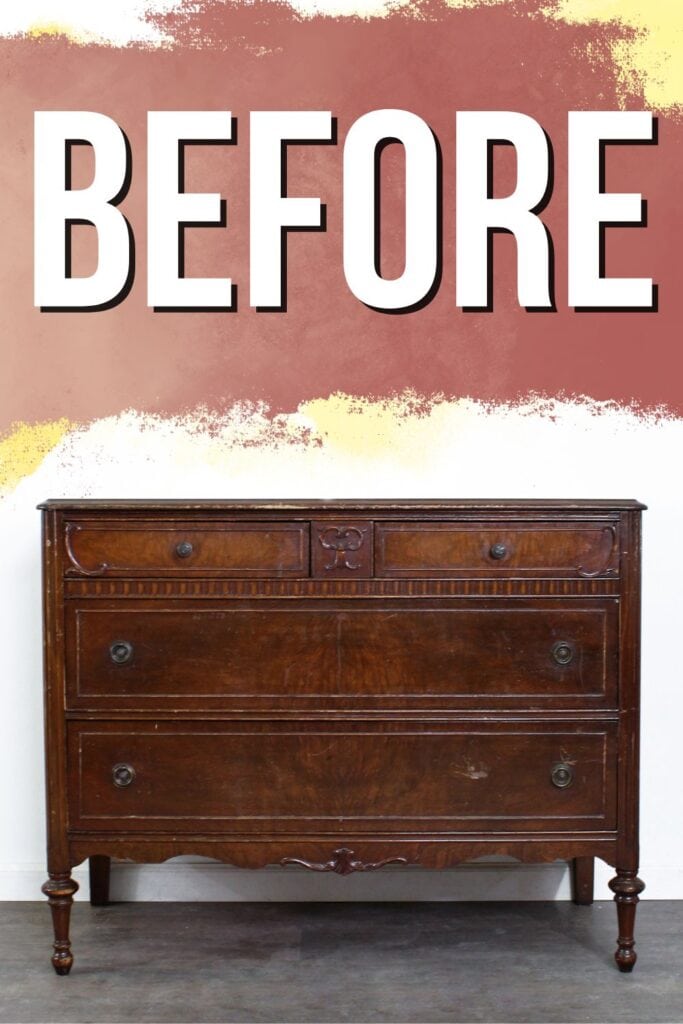
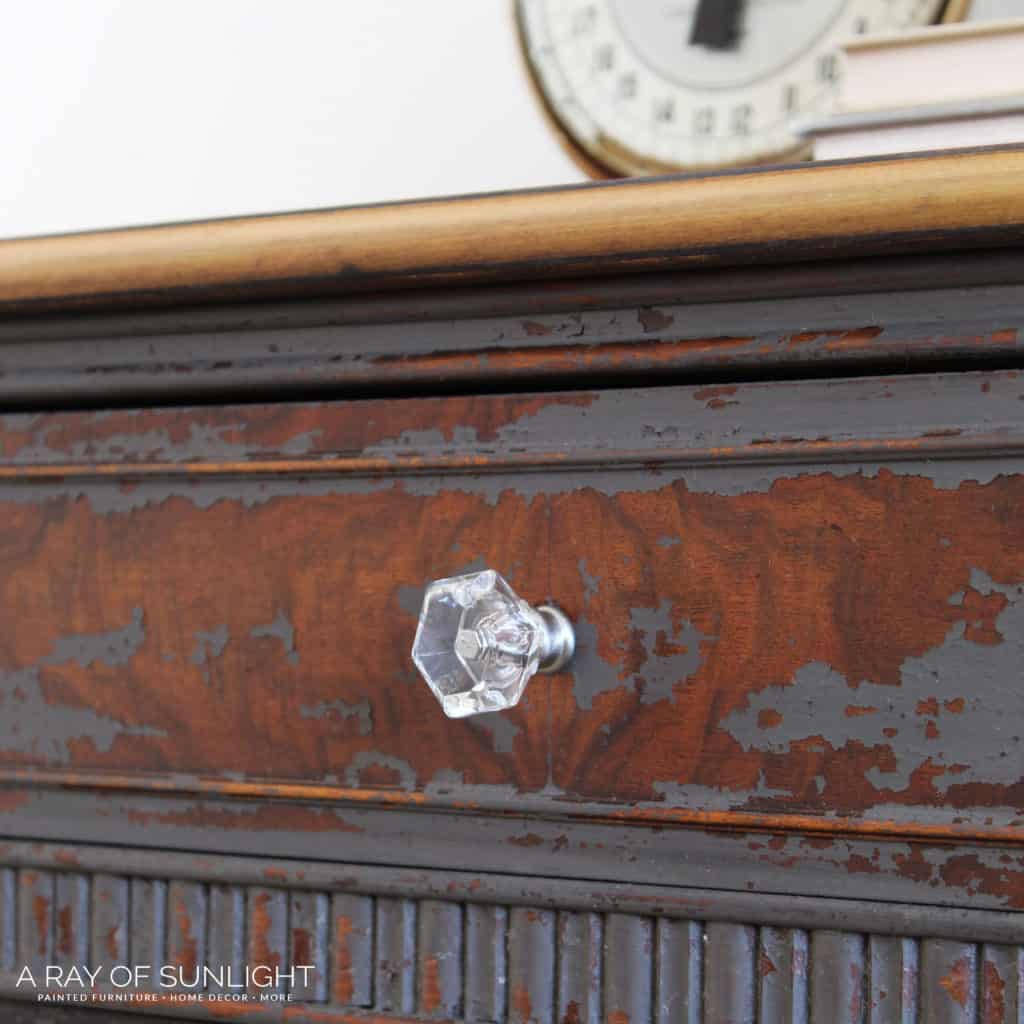
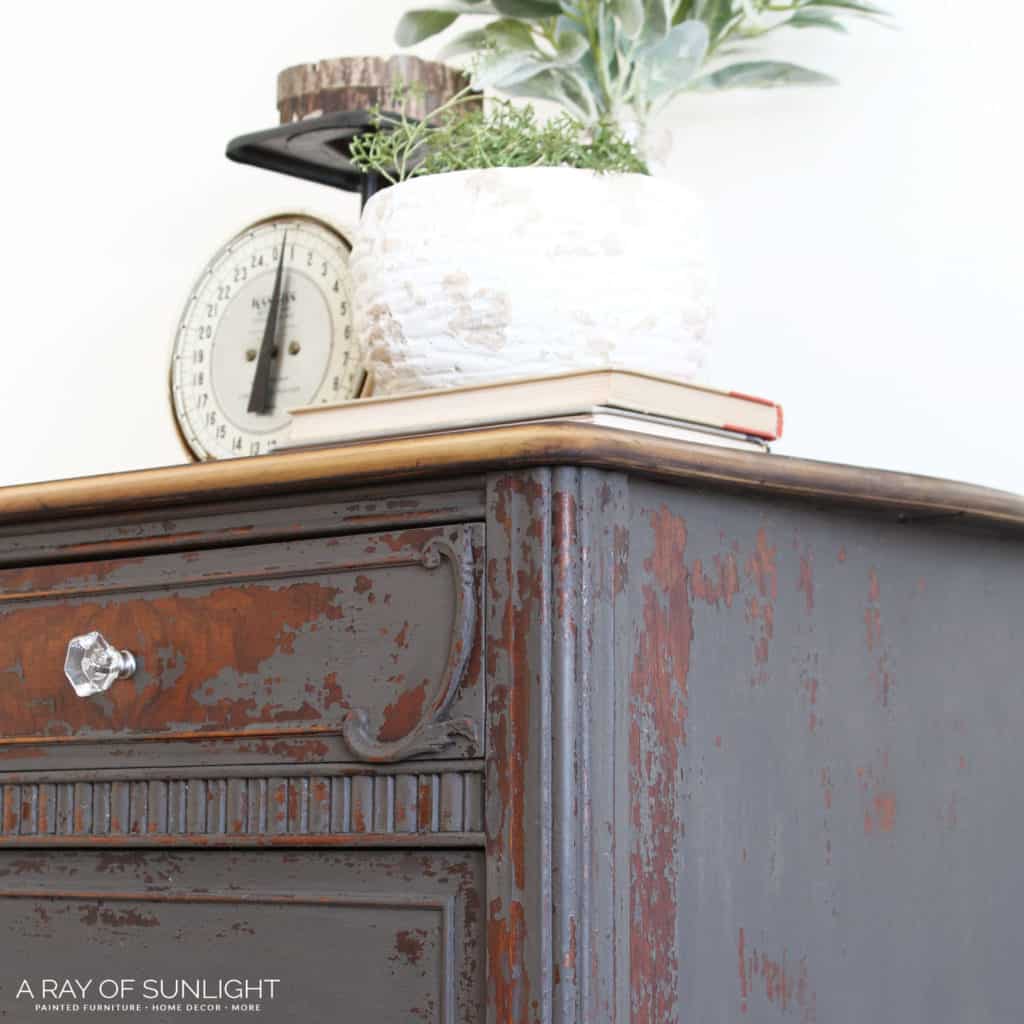
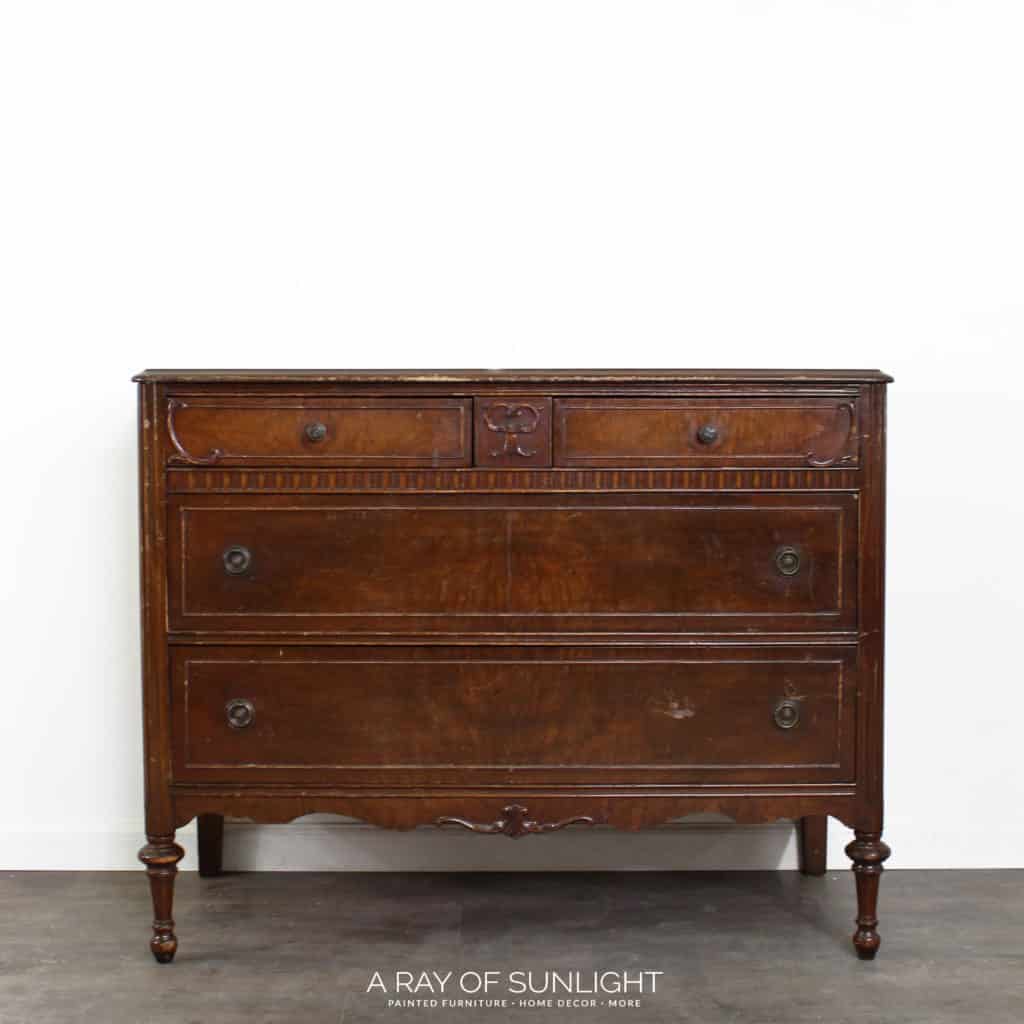
I picked this piece out of my inventory. I love the details on the top drawers and I really love the little legs. So, keep reading to see how I transformed it into a farmhouse beauty!

Supplies Used for The Chippy Gray Milk Paint Dresser
As an Amazon Associate, I earn from qualifying purchases. I also may earn from other qualifying purchases with other companies or get free product to review and use. All opinions are my own.
- Shackteau Interiors Milk Paint in Magnolia Pier
- 80 Grit and 220 Grit Sandpaper
- Orbital Sander with 80 Grit and 220 Grit Sandpaper
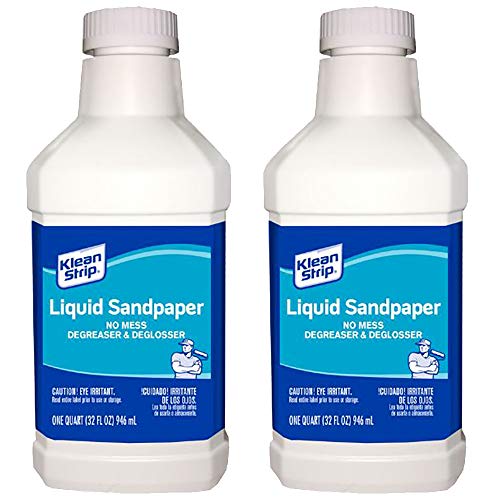
- Sander Deglosser
- Quality Paintbrush and Cheap Brush
- Hemp Oil ( I used Country Chic Hemp Oil because I had it on hand. Shackteau sells hemp oil as well!)
- New Hardware
Sanding the Legs
The first thing I knew for sure was that I wanted the legs to have a farmhouse worn look. I didn’t want to wait for the stripper to do its work, so I went all in with sanding the legs down by hand. Read this post to learn about the best sandpaper for furniture painting!
It took about 30 minutes to sand them both down by hand, so really, I spent more hands on time on that than if I had used stripper on them.
I first used 80 grit, and then I smoothed down the wood with 220 grit sandpaper. You can learn more about sanding legs down by hand in this post on how to refinish wood furniture legs.
Sanding the Top
The old finish on the top was really rough and needed to be sanded down. And then we uncovered the coolest wood grain, so I didn’t want to cover it up with paint!

I used this orbital sander, first with 80 grit and then 220 grit sandpaper. Check out more best sanders for furniture you can use here.
* Note: The lower the grit number, the more rough it is, which means that it will take off an old finish a lot faster. The higher the grit number, the more smooth it is, which means that it will create a smooth surface. Learn more about the importance of sanding before painting furniture here.
How to Mix Powdered Milk Paint
Before I start to prep the piece, I mix up a small batch. This milk paint comes in a powdered form, so you have to mix it with water first. That’s one thing that makes it so unique and fun to work with.
It doesn’t last long once it’s mixed up, but has a very long shelf life in the powdered form. So you’ll want to mix up small batches and only what you will use for the day.
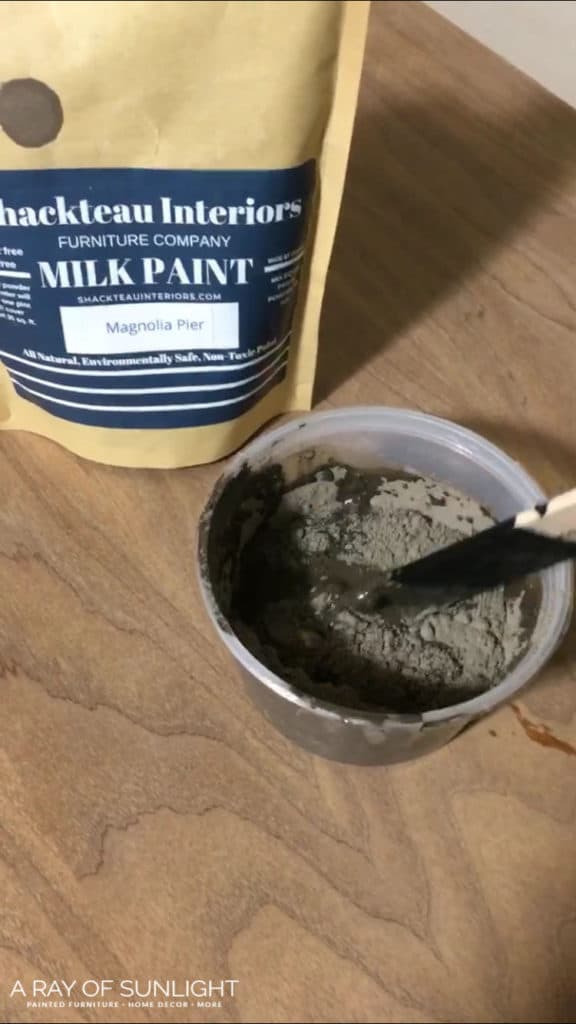
The recipe calls for a 1:1 ratio of powder to water. I measure out the amount of coating that I need into a clean container, and then mix in the same amount of warm water. A small whisk works really well for mixing the powder and water together to create a super smooth consistency.
No need to buy special containers to mix everything in. Personally, I like to save old food containers like pasta sauce jars, sour cream, and yogurt containers after they are empty. Then, clean them out and use them for mixing.
Once everything is mixed up, I cover it and let it sit for at least ten minutes. That extra time will create a smoother consistency and thicken up the coating a bit. After I let it sit, if it’s too thick for my liking, I add a little bit of water.
There is nothing wrong with thickening it up or thinning it out to create the thickness that you like! Just add more powder to thicken it up, or add more water to thin it out. Learn more about how to mix milk paint here.
How to Prep Wood Furniture
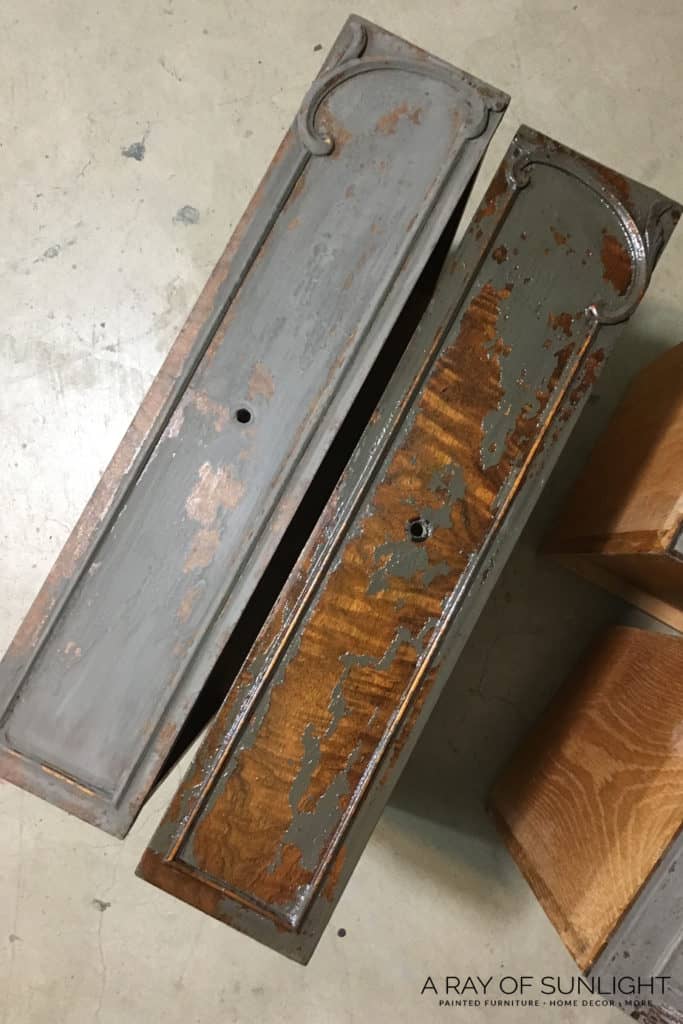
While the milk coating sits for a bit, it’s time to prep. For this dresser, I wanted to create a chippy look, not too much, but I also didn’t want the coating to completely stick and not create any chipping.
In theory (milk paint really has a mind of its own, though), it will soak into raw wood. When it soaks in, it will bond to the wood and create a full coverage finish. If it doesn’t have much to stick to, it will start chipping off once it dries.
So if you want it to stick (and not chip), it’s best to scuff sand it really well with 220 grit sandpaper and mix some Extra Bond into the first coat.
BUT… If you want it to really chip, it might be best to skip sanding. That’s not always a guarantee, though, depending on how glossy or dry your wood piece is, to begin with.
Glossy surfaces will always resist paint. That is why we always scuff sand on our usual prep. Learn more about how to prepare furniture before painting here!
Dry wood is ready to soak in anything that it comes across, just like raw wood, so scuff sanding isn’t as important. I hesitate to say that because, with normal coating, I always scuff sand, even if it says it will adhere without doing that. But milk paint seems to be in a category of its own.
Since I wanted something right in the middle (the wood on this piece was dry in some places, shiny in others, and rough in others), I decided to try using the sander deglosser, hoping that it would create some areas where the coating would stick, and others where it wouldn’t.
I put on plastic gloves, poured a little bit on my old rag, and then wiped it onto the piece. Then, I let it dry completely. Thankfully, it worked!
Would you like to save this?
How to Paint With Milk Paint
I applied two coats with a brush, letting each coat dry completely. Check out the best paint brushes for painting furniture here.
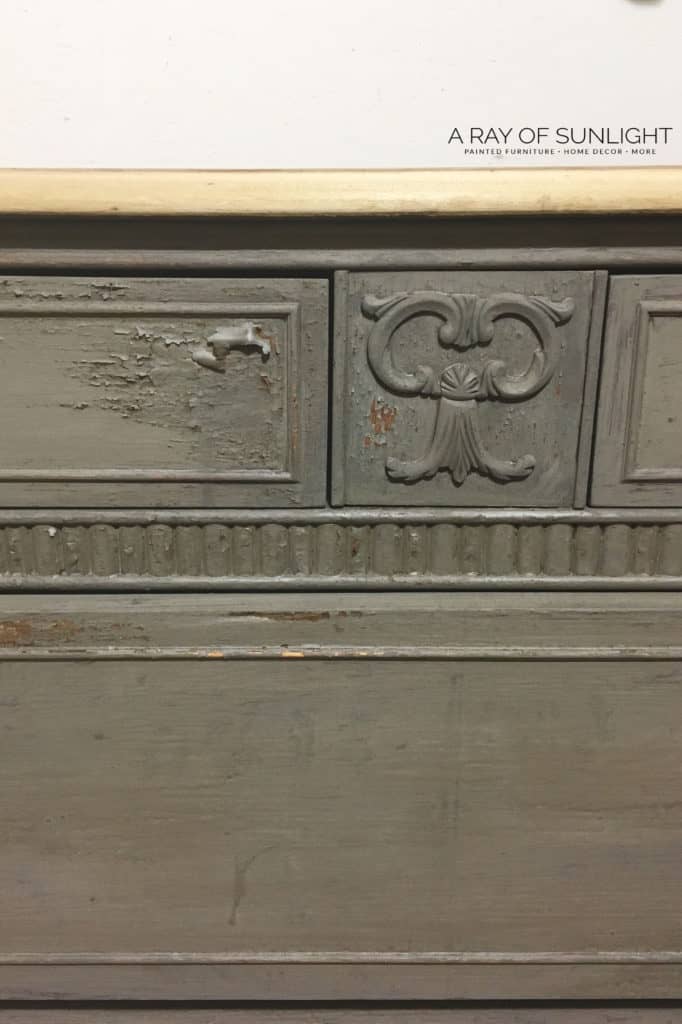
After the first coat, there was a good amount of chipping! I was so excited to see what would chip. I also wanted to smooth the finish a bit, so I started sanding.
Next time, though, I don’t think I will mess with the chipping or sanding until the 2nd coat is dry. Otherwise, the spots where it chipped and I went over it with the sandpaper only got one coat, and it looked streaky in those areas until I put another coat on them.
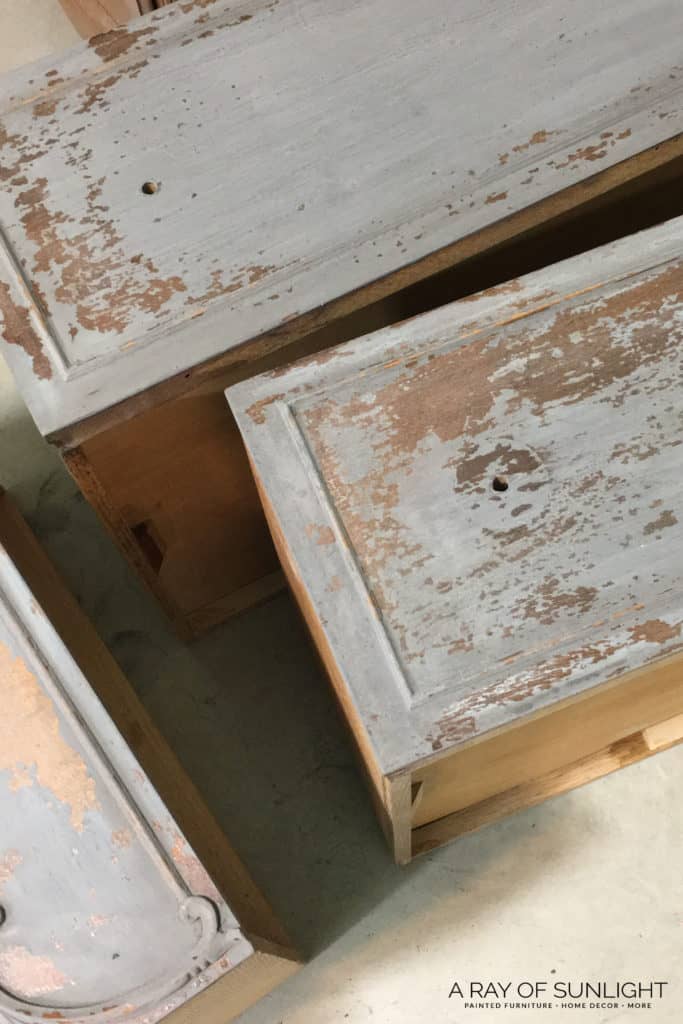
When the second coat was drying, I took my hair dryer (on its hottest highest setting) and tried to quickly dry certain areas, creating more chipping in that area. In some places, it worked really well; in others, the finish wouldn’t flake at all!
When everything was dry, I rubbed off the chipping, sanded the finish down a bit smoother, and wiped off all the flakes and dust with a tack cloth.
Read through this post to learn more about how to use milk paint on furniture. Get more milk painted furniture ideas here for your next project.
How to Seal Milk Paint
On this dresser, I used hemp oil all over it. On the top, the legs, and over the new finish.
Hemp oil is a little different than what I usually use for a topcoat. Learn all about the different topcoats for painting furniture here!
I brushed it on and walked away for about 6 hours. Then I wiped off all of the excess that didn’t sink into the wood and paint. Then I put another coat of hemp oil on and repeated the process of waiting for it to soak in and then wiping off the excess.
Since it was the weekend, I let the hemp oil dry for a couple of days until I got back to work. Learn more about how to seal milk paint here.
Add New Hardware
We finished it off with some clear knobs from D Lawless Hardware.
If you want to have some fun with paint and old furniture, I think you’ll like milk paint. It’s not my usual style of finish, but I had a blast and it was so much fun to look forward to how much it was going to chip.
Head on over to our posts on distressed dresser ideas, rustic painted furniture, rustic dresser ideas, and shabby chic dresser ideas for more inspiration and tips if you want this style and look. And if you like the grey color, here are more grey painted bedroom furniture ideas and grey painted dresser ideas!

More Before and After Makeovers
See All >
Click any of these “before” photos below to view the “after” of that makeover.


How to get milk paint to chip every time
This type of coating is known to chip, but it can be a bit unpredictable. So, if you want to make sure you get your chipped finish every time, here’s what you can do! Do the usual prep work of cleaning your piece.
Next, apply 1-2 coats of Dixie Belle BOSS in Clear. This primer not only prevents bleedthrough, but it’s the one we tried that gives us the perfect chippy finish every time. The secret is in this product! Let it dry.


Then, apply Shackteau Interiors Milk Paint. If you want it to dry faster, use a hair dryer or heater! After the second coat, distress with 220 grit sandpaper. Learn the best distressing furniture techniques in this post. Remember to clean off the dust afterward. Here are more tips on how to clean wood after sanding.
For an even more flaky finish, seal with a waterbased poly. And that’s how you get chipped results! We haven’t tried Dixie Belle BOSS with other brands, so if you do, let us know how it works out! Here’s a more detailed guide to this chippy paint finish technique. Check out this DIY painted chippy farmhouse dresser for inspiration using this method.


The Chippy Gray Milk Paint Dresser
Create a yummy chippy painted finish on your old wood furniture with milk paint! Here are the steps for the chippy gray milk paint dresser.
Materials
Tools
Instructions
- Strip off the old finish from the legs and the top of the dresser with sandpaper.
- Mix up a small batch of milk paint with water with a 1:1 ratio.
- Wipe some sander deglosser onto the dresser to prep it for paint.
- Apply 2 coats of paint letting each coat dry completely.
- Rub off the chipping paint and sand the finish down to make it smooth.
- Seal the milk paint and the rest of the dresser with some hemp oil.
- Attach new hardware and enjoy the chippy goodness!!
Recommended Products
As an Amazon Associate and member of other affiliate programs, I earn from qualifying purchases.


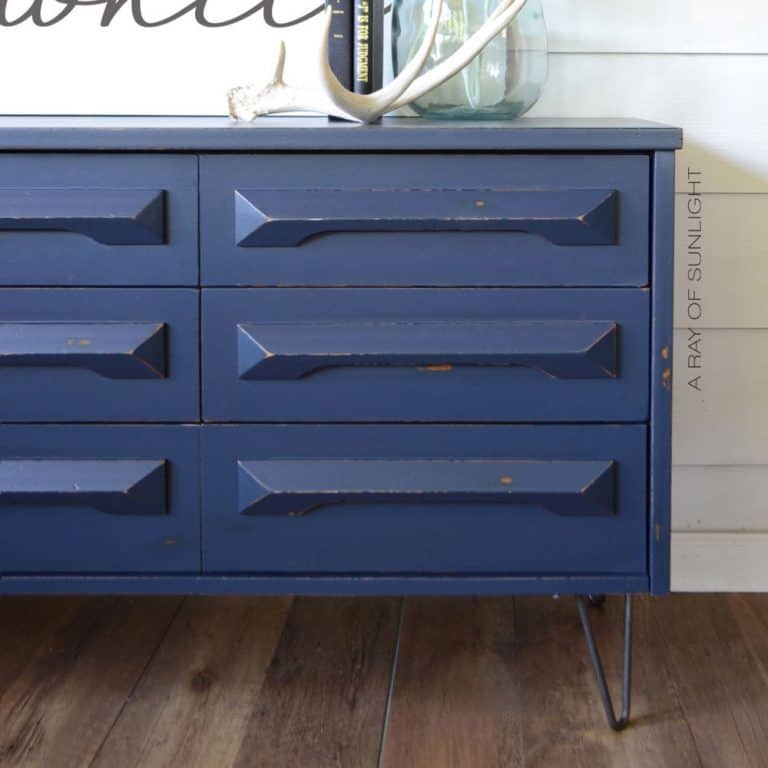
More Milk Paint Makeovers
- Navy Blue DIY Dresser Makeover
- Chippy Blue Painted Hutch Makeover
- Dark Green Buffet Makeover
- Repurposed Sewing Table
- Painted Display Cabinet: Before and After
Follow us on YouTube to get more tips for painting furniture. Or share your project with us on our Facebook Group and be part of our community. See you there!
I think it’s got character, and is beautiful!
This turned out gorgeous! I just bought some milk paint and am super excited to try it myself after seeing this. 🙂
L LOVE this chippy paint finish. That’s my kinda furniture.
Natalie,
You’re skill and a few possible happy accidents expected with milk paint make this the mostly beautifully executed piece of milk paint furniture I’ve seen.
Ever. It’s a vision!