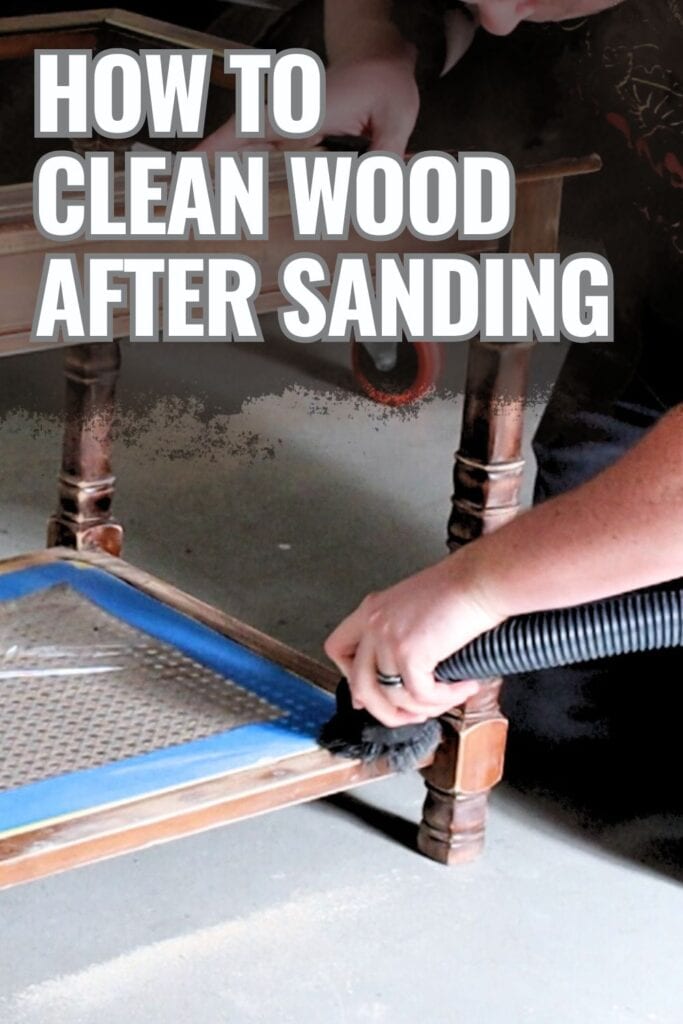
How to Clean Wood After Sanding
If you’ve just finished sanding furniture, an important step to make sure your project looks its best is learning how to clean wood after sanding. Sanding can leave behind fine dust particles and residue that need to be removed before applying any finishes or paints.
In this guide, we’ll walk you through the steps on how to properly clean wood after sanding your furniture, so you can create a flawless finish that will make your hard work shine!
When you’re working on these painting furniture ideas, sanding is a key step in the process. It helps smooth out imperfections and creates a clean surface for finishes to adhere to. You can learn the basics in our sanding furniture for beginners guide here.
However, if you’ve ever sanded anything before, you know that it can create quite a mess! The fine tiny particles of wood and old finish don’t just disappear magically. And of course, you don’t want to leave them there.
It’s going to take a little bit more work, but we’ll show you the best approach to get your pieces squeaky clean and ready for their new finish.
Supplies For Cleaning Wood After Sanding
As an Amazon Associate, I earn from qualifying purchases. I also may earn from other qualifying purchases with other companies or get free product to review and use. All opinions are my own.
- Shop Vacuum
- Tack Cloth
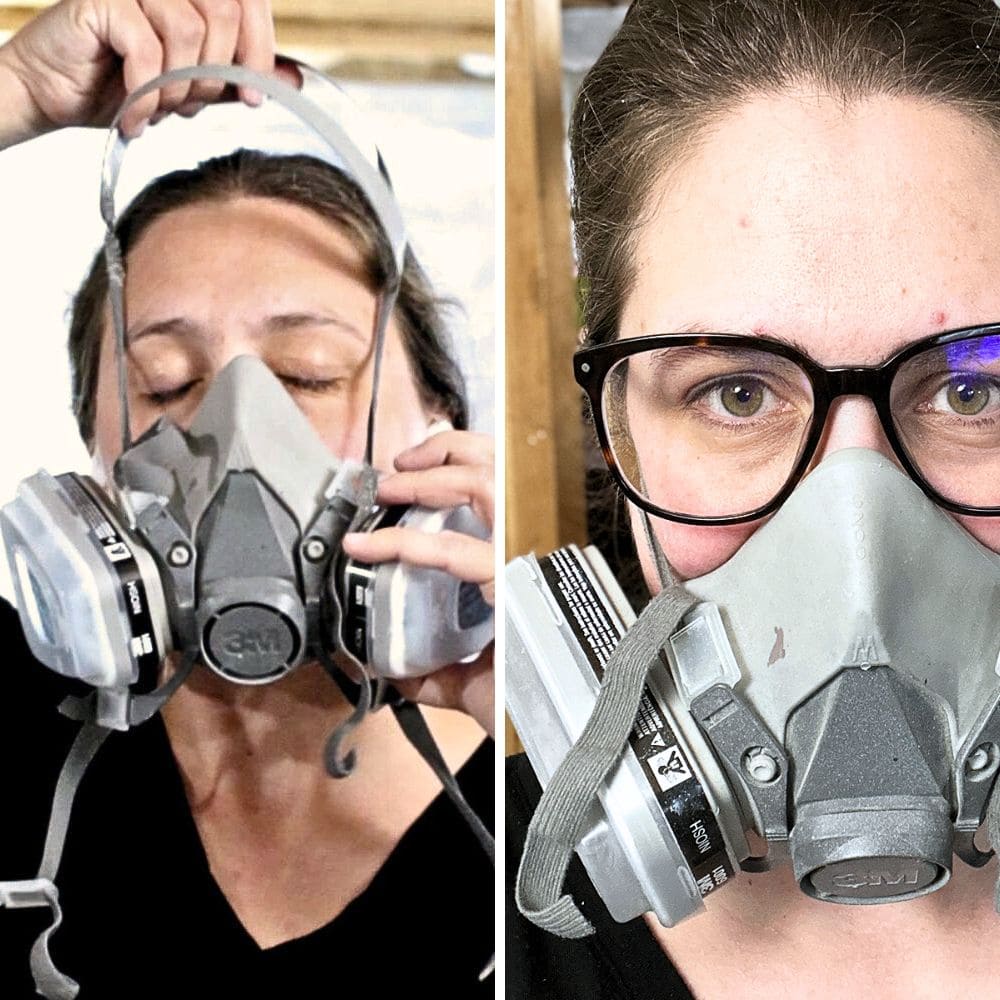
- Mask or Respirator
- Trash Bag
Why You Need to Remove Dust from Sanding
But first, why is it important to remove dust from sanding? Well, for one, you’ll want to have a clean surface to work with. You need to remove as much dust and debris as possible before moving on to the next step of your project.
Secondly, leaving dust on the wood can ruin the finish you worked so hard to create. Any dust that is left behind can get into your finish, causing an uneven or worse, dirty appearance.
Keep this in mind, especially with a clear finish, as dust can really show up and stand out on this type of surface.
Lastly, removing dust from sanding for paint prep also guarantees that your finishes adhere properly to the wood. If there’s any residue left behind from the sanding process, it can prevent paints and stains from bonding to the wood, leading to a poor finish.
Also, when you clean up dust, you’re making sure to have a smooth, blemish-free final product. So take the extra time to properly clean your wood after sanding for best results!
Oh, and one more thing- don’t forget about safety! Fine wood dust particles can be harmful if inhaled, so make sure to wear a mask and work in a well-ventilated area when sanding.
And now, let’s get on with the cleaning process.
Clean Dust with Shop Vacuum
Alright, it’s time to bust out that trusty shop vacuum! This will be your best friend when it comes to cleaning up after sanding. I like using one with a brush attached to the end of the hose because it’s gentle on the wood while still being effective.
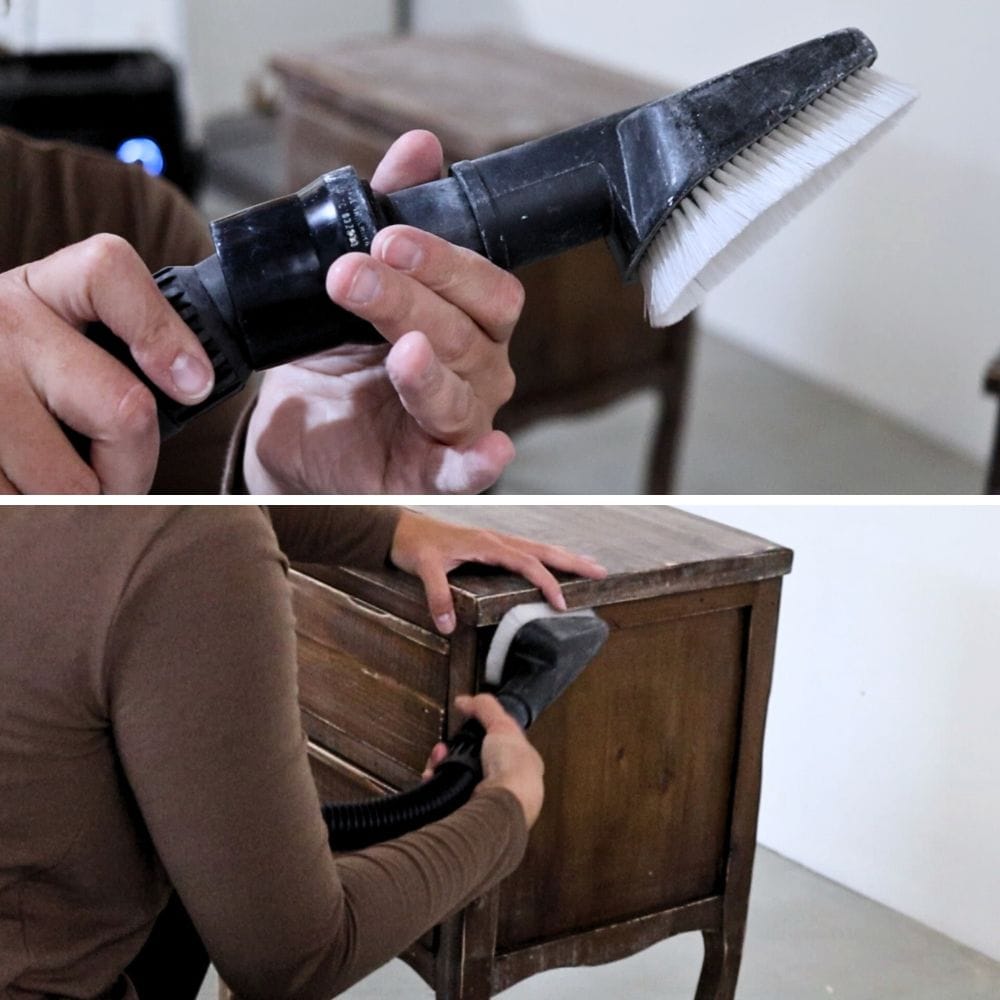
Even if you used a sander that’s attached to a shop vacuum or dust collection system, there will still be some dust left behind on the surface of the wood. So it’s definitely a good idea to go back over the surface with a vacuum to make sure most if not all of the dust is gone.
When using a shop vacuum, make sure to go over the entire surface of your project, including any joints or crevices. You don’t want to miss any spots where dust may have accumulated.
And don’t worry, the vacuum won’t harm the wood surface unless you press too hard or use too strong of a setting.
Here’s SurfPrep sander with vacuum if you want a sander that sands surfaces smoothly and effectively, but also sucks up the dust and debris as you work.
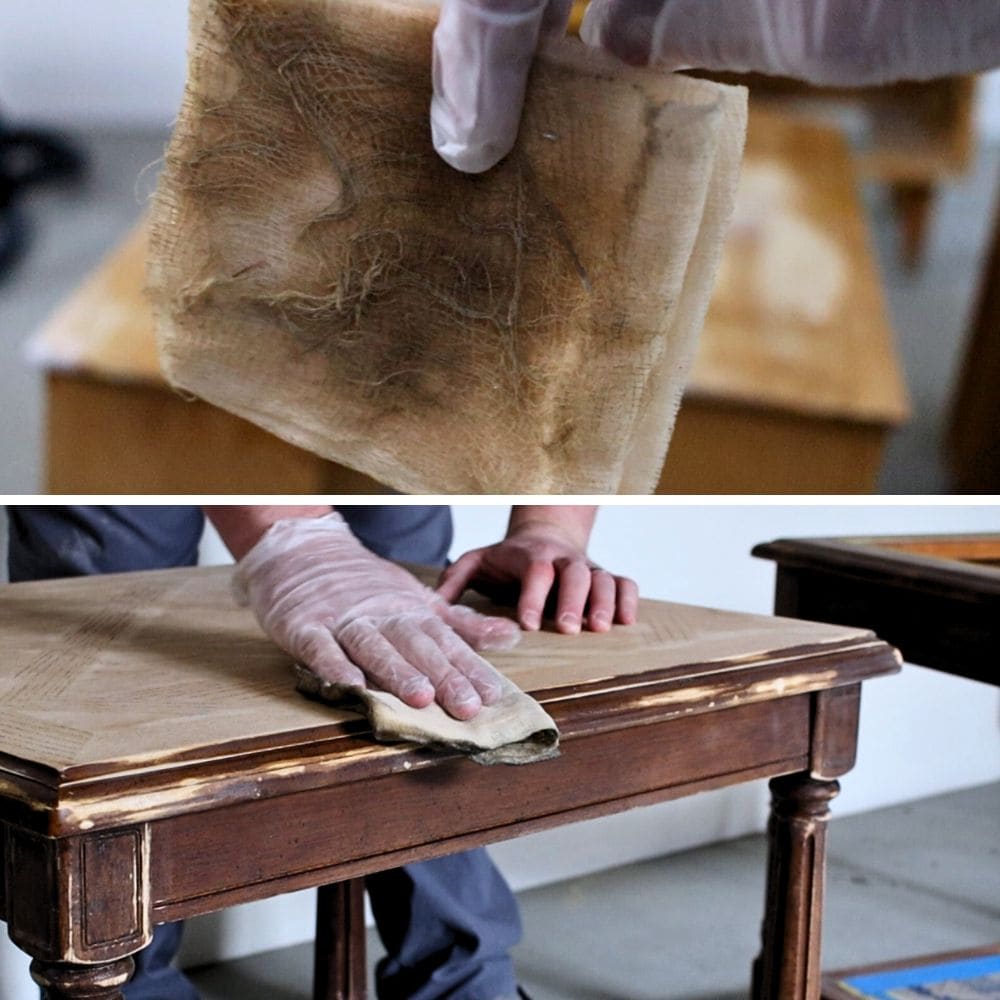
Wipe Remaining Dust with Tack Cloth
Now that you’ve sucked up most of the dust with your trusty shop vac, it’s time to tackle any remaining particles.
For this step, grab a tack cloth – it’s basically a very sticky cheesecloth-type rag that will pick up any lingering dust. Trust us, it does a way better job than a damp cloth would.
Gently wipe down the entire surface, making sure to get into any nooks and crannies where dust may have settled. You’ll be amazed at how much more dust the tack cloth can pick up!
Would you like to save this?
If you can’t get your hands on a tack cloth, the next best thing to use is a damp rag – just make sure it’s lint-free. Microfiber rags are great for this job, but any lint-free cloth will work just fine. It won’t be as effective as the tack cloth, but it will get the job done!
Wipe down all surfaces thoroughly, again making sure to get into any small crevices and joints where dust may hide.
Can you reuse tack cloth to clean dust?
Tack cloth is a handy tool for cleaning up dust after sanding, but many people wonder if it can be reused. The answer is yes and no – technically, you can reuse tack cloth, but usually, it’s more trouble than it’s worth.
Since tack cloths are basically sticky rags, they will lose their effectiveness over time as the stickiness wears off.
If you’ve used your tack cloth on a project that had a lot of dust and debris, it’s best to toss it after one use. Reusing a super dirty tack cloth can actually transfer the dirt and particles onto your clean surface, defeating the whole purpose of using it in the first place.
Plus, trying to clean out all the tiny dust particles from the tack cloth can be a tedious and frustrating task.


How to Safely Dispose Dust from Sanding
The best way to dispose of dust from sanding is to carefully empty the contents of your vacuum into a trash bag and then throw it away in the trash. Make sure to seal the bag tightly, so that no dust particles escape into the air.
You may also want to consider still wearing a mask while disposing of the dust, just in case any particles manage to escape.
Remember, don’t just sweep or blow dust around. It could become airborne and be risky if breathed in. Make sure to dispose of it properly and responsibly.
Another tip is to do your sanding outside if possible. This way, any dust particles that may escape from the vacuum can easily disperse into the air without causing a mess inside your home or workspace. And again, make sure to wear a mask or respirator for added protection!
And that’s all there is to it! Removing dust from sanding is an important step in any project and can make a big difference in the final result. Clean up your dust properly and responsibly, and you’ll have a beautifully clean surface to work with.

How to Clean Wood After Sanding
Learn how to clean wood after sanding so you can create a flawless finish that will make your hard work shine.
Materials
- Tack Cloth
- Trash Bag
Tools
Instructions
- After sanding, use a shop vacuum to suck up most of the dust from your wood surface. Be sure to go over all areas for thorough cleaning. Wear a mask and work in a well-ventilated area to minimize the risk of breathing in fine dust particles.
- Next, wipe down the wood with a tack cloth or lint-free damp rag to remove any remaining dust particles. Make sure to be gentle and get into all nooks and crannies for a completely clean surface.
- If using a tack cloth, it's best to only use it once and then dispose of it properly. Trying to reuse a dirty tack cloth can actually make your wood dirtier and be more hassle than its worth.
- After cleaning, safely dispose of the dust by emptying your vacuum into a tightly sealed bag and throwing it away in the trash.
- Consider doing your sanding outdoors if possible, to minimize any dust escaping into your living or workspace. And always remember to properly dispose of the dust afterwards for the safety and wellbeing of others.
Recommended Products
As an Amazon Associate and member of other affiliate programs, I earn from qualifying purchases.


More Sanding Furniture Tips
- How To Sand Down Wood
- How To Sand Curved Surfaces
- How To Sand Furniture Before Painting With Chalk Mineral Paints
- Easy Way to Sand Spindles
- Best Sandpaper For Removing Paint from Wood
Follow us on YouTube to get more tips for painting furniture. Or share your project with us on our Facebook Group and be part of our community. See you there!