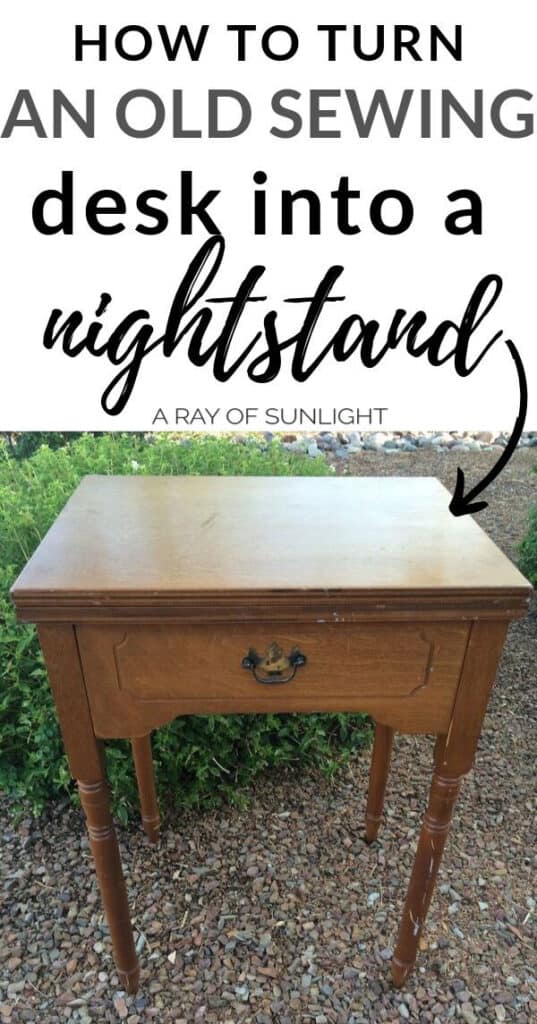
Repurposed Sewing Table


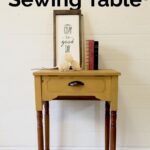
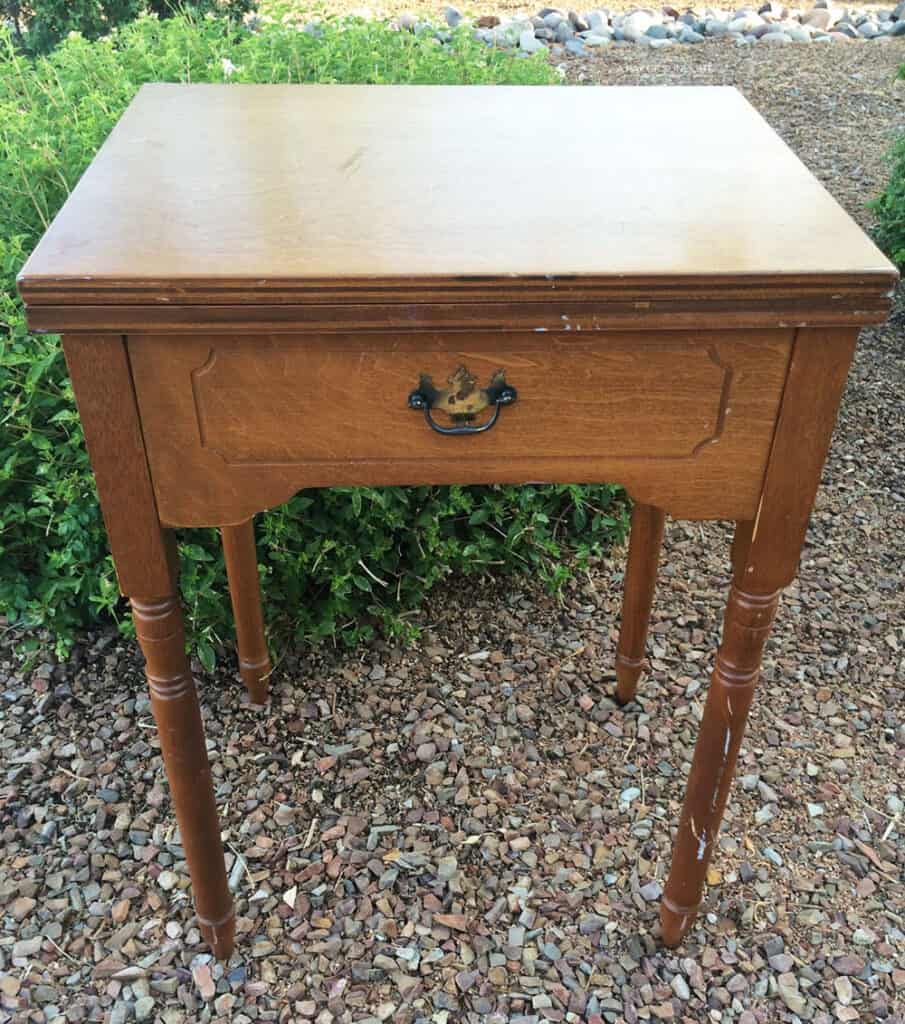
Have you ever seen a sewing table at a thrift store or yard sale, but you didn’t know what to do with it? Today I’m sharing my favorite repurposed sewing table idea! It’s a simple, quick project that can breathe new life into any old sewing table you find.
After seeing this, you’ll agree that it’s one of the best painted furniture ideas out there that combines functionality with creativity. So, let’s dive in and learn how you can turn a drab sewing table into a stunning piece!
Even though I love to sew, most of the time these old tables aren’t able to hold our new sewing machines without a lot of changes made to the table. If you are lucky enough to find a sewing table, with a working sewing machine AND you love to sew, you would be scoring big time! But that is so few and far between.

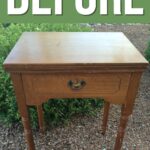
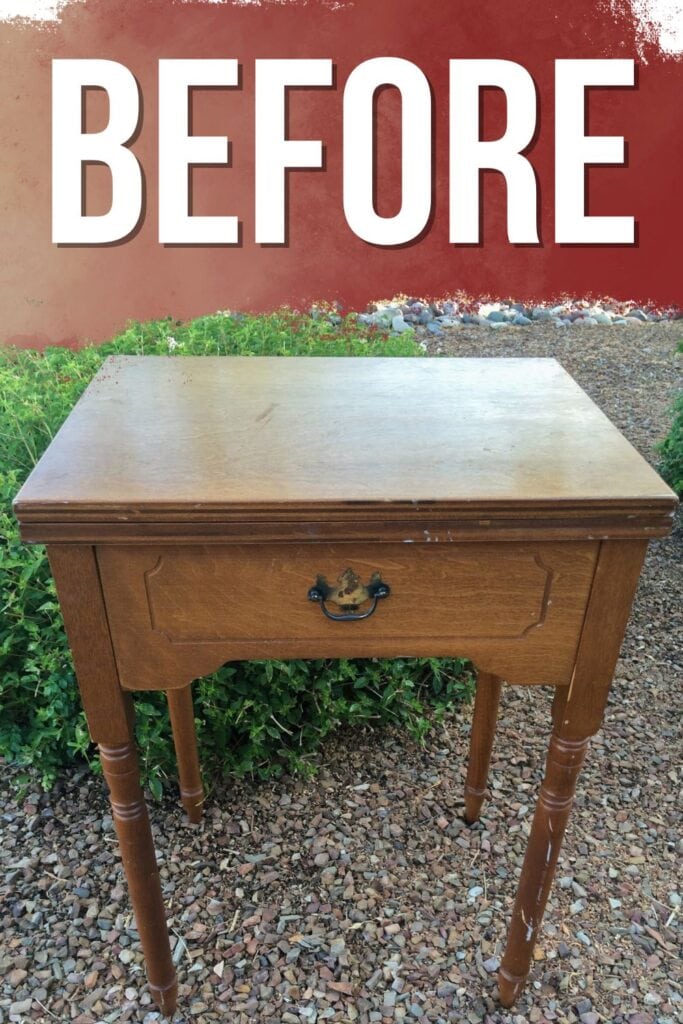
These sewing tables can look outdated and out of place in modern homes. They may also have some wear and tear from years of use. But don’t let that stop you from picking one up and giving it a second chance.
SO what do you do? The fix is easier than you would think! Instead of just letting it collect dust or passing on it, why not repurpose it into something useful and fun? Here’s how to repurpose sewing machine table into a functional and stylish piece!

Supplies Used for Repurposed Sewing Table
As an Amazon Associate, I earn from qualifying purchases. I also may earn from other qualifying purchases with other companies or get free product to review and use. All opinions are my own.
- Screwdriver or Power Drill with screw bit
- Bondo and Spreader
- Sandpaper for the Bondo
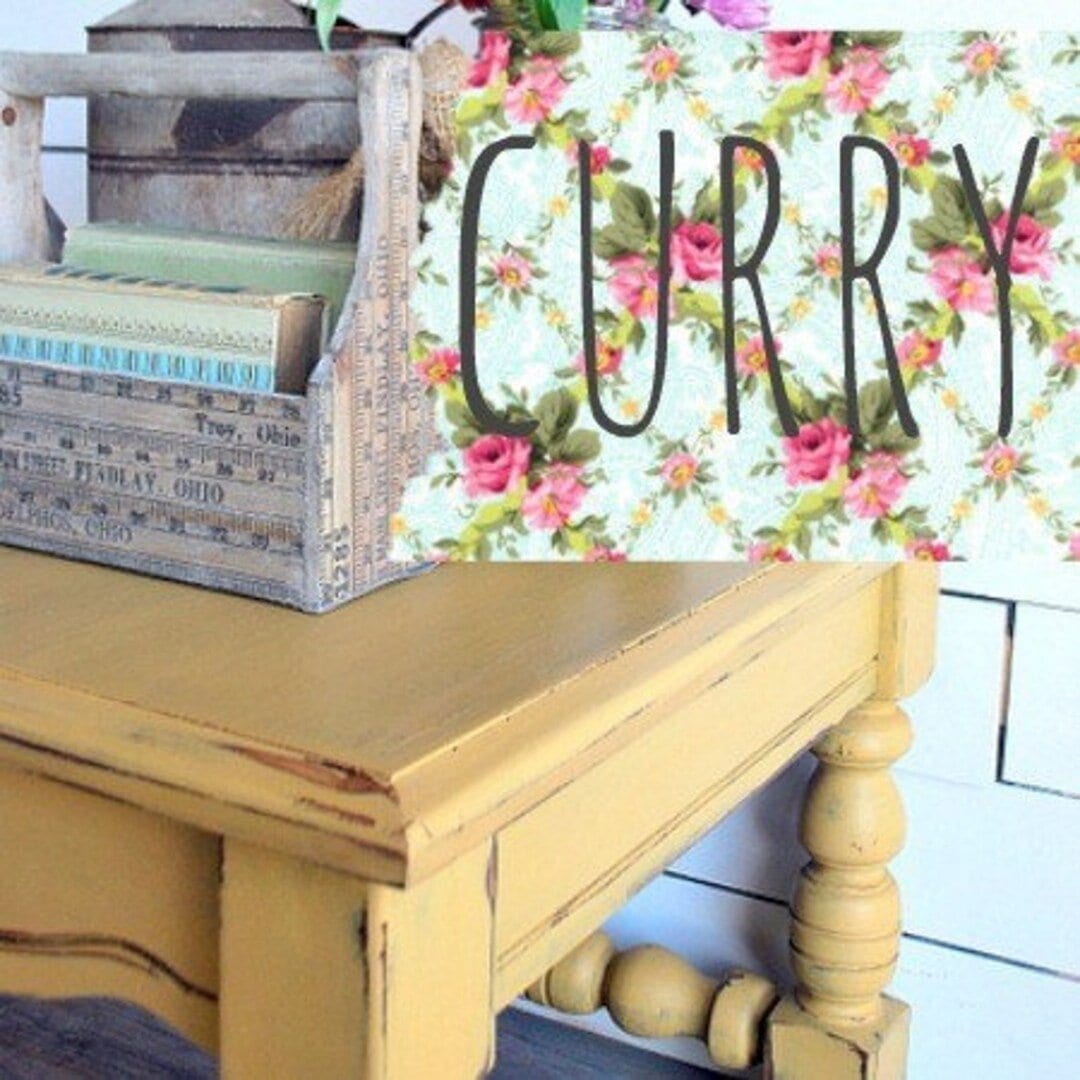
- Sweet Pickins Milk Paint in Curry (I didn’t use a whole sample on this)
- Clear Shellac
- Painters Tape
- Minwax Gel Stain in Aged Oak
- Lint Free Rags
- My Favorite Waterbased Topcoat
Note: You definitely don’t have to take the sewing table apart to repurpose it! You can refinish it as is. I just like to remove the hinges and remove the excess that I can’t use anymore.
Another note: If your sewing table has a top that opens up on both sides, you may want to replace the whole top with a new piece of wood. Check out these repurposed sewing machine tables to see how to replace the top with new wood with other sewing tables.
Unscrew Top of Sewing Table
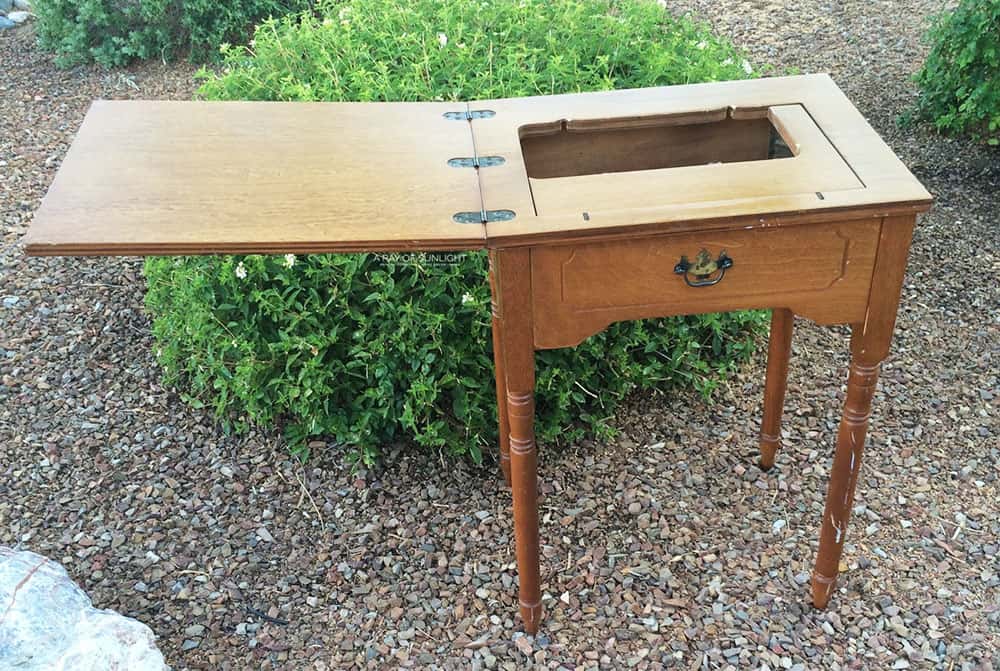
To start this sewing table makeover, open up the hinged top of the table and unscrew the hinges until it is detached from the table.
Once it is detached, you will easily be able to flip the whole table over onto its top without worrying about the hinged top opening up on you.
Next, remove the screws that are holding the top onto the base and legs. I have seen one where the base had pocket holes with screws holding on the top, and another where the corner braces also had screws holding on the top.
Either way, find the screws that are holding your top piece on and unscrew those. You should now have three pieces.
- The top part that used to open up
- The top part with the big hole for the sewing machine
- The base with the legs attached
You can also remove the other random things that are inside the table if you want. These aren’t going to serve any purpose anymore. If you want to keep them there, you totally can keep them as well! Then set aside the top with the hole in it, and all the stuff from inside the table.
Fill in Hinge Holes of Sewing Table
Now that the hinges are all removed, you’ll see some cuts in the wood where those hinges used to be. Now is the time to fill them in.
My favorite way to fill chunks of missing wood like this is with Bondo. It dries harder and quicker than wood filler, and it’s easy to sand. Learn more about filling holes when replacing furniture hardware here, including how to use Bondo. You can also use Bondo for tackling those pesky chips and cracks – here’s how to fix chipped wood furniture to guide you.
The biggest downside is that it’s pretty stinky, and you have to mix it up… and work super fast at spreading it when it’s all mixed. You can use multi purpose Bondo, wood filler Bondo, or autobody Bondo. They are all pretty similar. Check out the best wood fillers for furniture here, aside from Bondo.
How to Use Bondo Wood Filler
It comes with a can and a little tube of hardener. Follow the ratio and directions on the can, but don’t make it until you are ready to slather it into your holes. Then fill in your holes, and overfill them just a little. But make sure to keep it as smooth as possible so you don’t have to sand extra once it is dry.

Bondo stinks, so make sure you are outside in a well ventilated area, but this stuff sure works wonders where wood filler would take a long long time to dry and then shrink and crack. After an hour the Bondo should be completely dry.
Now get out your electric sander (you can hand sand too, but it will take longer) and go to work making it all flush with the wood around it. Learn more about the best sanders for furniture here if you’re still shopping for one.
Screw Sewing Table Top Back On
You can now attach the top part (that doesn’t have the big hole) onto the base. Simply use the hardware and screws that held the old top (the one with a huge hole) onto the base. Make sure to measure and line it up so your new top is centered on the base.
Painting Sewing Table with Milk Paint
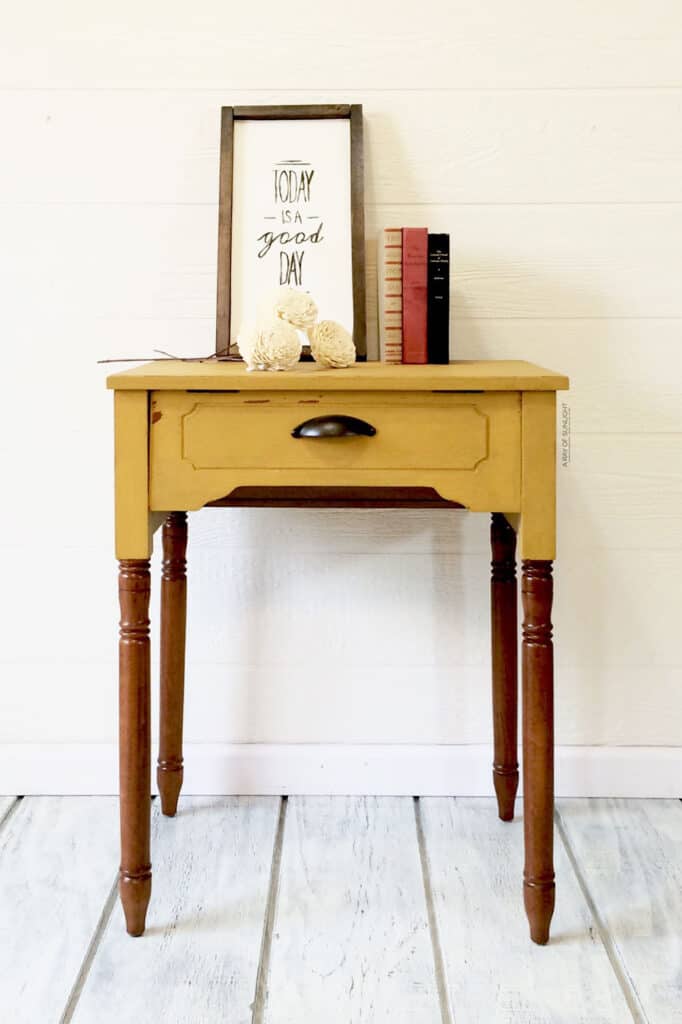
That’s all there is to it! Now go grab your paint and create something beautiful! For this particular table, I used Sweet Pickins Milk Paint in Curry and Minwax Gel Stain in Aged Oak.
First, I taped off the top of the legs so no paint got to them. To get a more crackling old look I brushed on a coat of shellac, then right away brushed on Sweet Pickins Milk Paint. After 2 coats the coverage was perfect. I used my clean putty knife to get it to chip a bit and removed the tape from the legs.
Would you like to save this?
You can learn more about painting furniture with milk paint here, especially if you’re new to this type of paint. And here’s our guide on how to use milk paint on furniture for the best results!
How to Restain Wood Without Stripping
For the legs, I used Minwax gel stain to restain the wood without stripping. After wiping down the legs I used an old cut up shirt to apply the gel stain. I wiped the stain on, and after a couple of minutes, wiped some of it back off with a clean rag. Check out our detailed guide on how to stain wood with a rag here.
Do you see how that mark on the right leg is gone? I love gel stain for restaining furniture! See gel stain in action with this tutorial on how to stain wood darker. And here’s more about how to restain wood furniture, including more restaining tips and tricks using gel stain.
How to Seal Milk Paint and Gel Stain
Once dry, it all received 3 coats of Varathane water based polyurethane in Satin. (I let the gel stain dry for 48 hours since it’s oil based.) I sprayed the polyurethane on. You can learn how to spray polyurethane here to make the finish smooth and flawless.
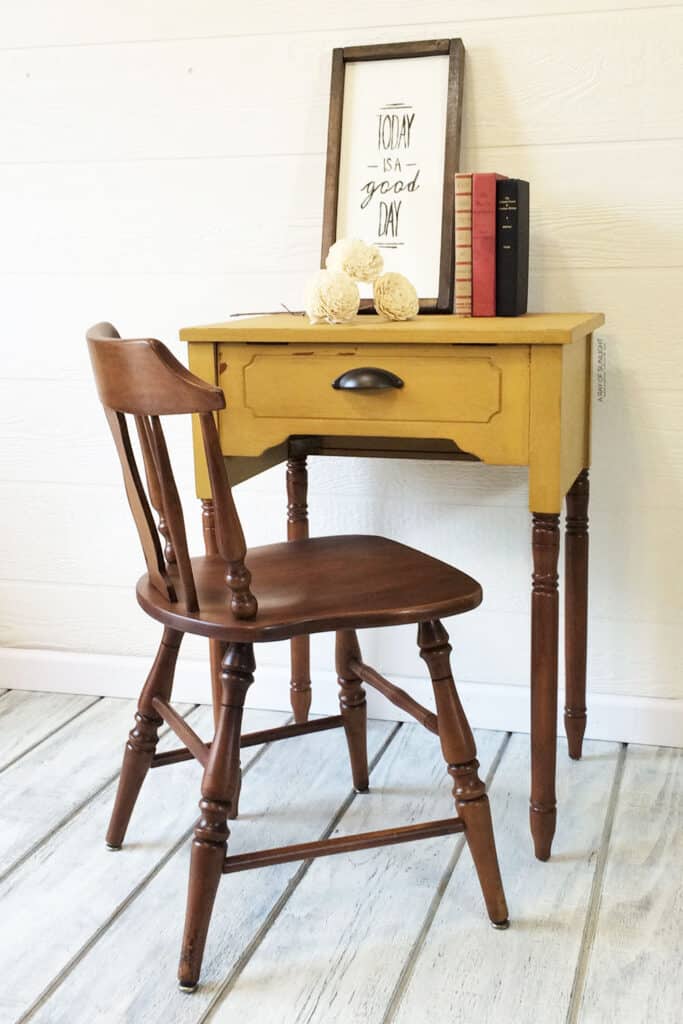
Restaining Sewing Table Chair
The chair was another find from a different day, but you would never know that it wasn’t made to go with the table. Since the chair was the same color of wood as the table originally was, it received the same treatment as the table legs.
You can check out our blog post about restaining furniture where we used regular wood stain instead of gel stain.
More Before and After Makeovers
See All >
Click any of these “before” photos below to view the “after” of that makeover.


This table is now ready to be a small desk, perfect for a child or teenager, or even a tall nightstand for your tall bed OR even a small entry table! Check out more painted desk ideas and painted roll top desk ideas, and if you want to add more yellow to your home like this, here are yellow dresser ideas and yellow chalk painted furniture.
If you also have a china cabinet, get inspired with these repurposed China cabinet ideas.


Repurposed Old Sewing Machine Table Ideas
Now, if you’re thinking to repurpose sewing table for your home decor but still not sure how or what to do, we’ve got you covered with some creative ideas here!
One of the most popular and practical uses for a repurposed sewing table is turning it into a desk or work table, just like this sewing machine table makeover. You can use it in your home office or even as a small desk in your bedroom. With its compact size and storage compartments (if any), it’s perfect for creating a productive workspace without taking up too much space.
Another repurposing idea is to transform it into a unique side table for your living room or bedroom. You can use a vibrant paint color or bold patterns to give it a fun and funky touch that will surely become the focal point of any room.
And if you want to get really creative, why not turn it into a vanity? Add a mirror to the top and use the drawers to store your makeup and beauty products. This repurposed sewing table vanity will surely add a charming touch to your bedroom or bathroom.
So don’t overlook those old sewing machine tables at thrift stores or garage sales. You can totally update them and turn them into anything you need for your space. You can read more on why I still paint thrifted furniture after all these years here. There are so many possibilities for where these repurposed old sewing machine tables can go in your home.


Repurposed Sewing Table
Upcycle your old sewing table into a new piece of furniture! Here are the steps for the repurposed sewing table.
Materials
Instructions
- Open up the top of the sewing table and unscrew the hinges until it is detached from the table. Flip the table upside down and remove the top.
- Now, fill in the hinge holes with Bondo. Overfill them just a little but make sure to keep it as smooth as possible. Bondo stinks, so make sure you are outside in a well-ventilated area. After an hour the Bondo should be completely dry. Sand the wood by hand or with a sander.
- Screw the top back onto the table. Measure and line it up so your new top is centered on the base.
- Before painting, tape off the top of the legs so no paint gets to them. For a more crackling old look, brush on a coat of shellac then right away brush on milk paint. Do 2 coats.
- You can restain the table legs without stripping using gel stain. Use an old cut up shirt to apply the gel stain. Wipe the stain onto the legs, and after a couple of minutes, wipe some of it back off with a clean rag. Let the gel stain dry for 48 hours.
- Once everything dries, apply 3 coats of waterbased polyurethane.
Recommended Products
As an Amazon Associate and member of other affiliate programs, I earn from qualifying purchases.


More Old Sewing Machine Table Makeovers
- How to Repurpose a Sewing Machine Table
- Beyond Paint Review – Thrifted Sewing Table Makeover
- Painted Sewing Machine Table
- Painted Sewing Table With Silk All in One Mineral Paint
Learn the Art of Updating Furniture!
If painting furniture feels overwhelming or your past attempts didn’t go as planned, this course will guide you step by step.

Follow us on YouTube to get more tips for painting furniture. Or share your project with us on our Facebook Group and be part of our community. See you there!
I used the original screw holes from the underneath or inside of the table.
I’m working on my first piece and ready to throw my hands in the air. I did everything done the list but I sprayed on bills eye primer. During first color I saw yellow instantly. Should I had of brushed it on? The primer is white. Paint is going to be dark green. What would you do now?
brushing won’t prevent the yellow unfortunately. If you used the spray can bulls eye 123 primer, you can use another coat or 2 of that to block the bleed (since the spray can version is oil based). Or, we use bin shellac primer to prevent the bleed. Keep priming until the bleed is blocked. Then paint.
I am SO doing this! We have been going through my MIL’s home (she is in assisted living now) and I have been gifted a sewing machine cabinet much like this one. The sewing machine is still in it and it’s a type I have never heard of before (DELCO by General Motors). It’s very unique so I don’t want to get rid of the sewing machine head but I do want to rework the cabinet. Maybe in the same color you used! It’s perfect for my home!
Hey Jill, I’m so glad you can keep a piece from your MIL and update it to be something you will love even more! Best of luck with your sewing table!
Redid a cabinet just like this years ago for my living room. Inside where the sewing machine used to sit I made a wooden box and attached it. Not the prettiest on the inside, but lift the cover and you have a great place to store remotes, etc.
Ahh that’s so awesome!!
I inherited my MIL’s sewing table, old singer machine included. The machine could not be repaired, so I removed it. I left the hinged top in place and painted the table. I use it as a night stand next to a trundle bed in my guest bedroom. I love the idea of making a box for the inside. I may try this. I love these old tables! And your table turned out beautifully! I love the yellow and wood stain combo!
Aww thank you so much! So glad you love the yellow and wood stain combo. If you do end up making it, I’d love to know how it turned out. Best of luck to you!
Hi Natalie,
You can also make a serving table out of it. Take out the machine and either put a piece of wood over the hole, or leave the hold and put in a plastic bin to hold ice and drinks. Will be doing this for my Son in Penn State colors for his outdoor BBQ!
Aww thanks for sharing this tip Janice!