Restaining Furniture


Welcome to our guide on restaining furniture! If you’re looking to give your old furniture a new lease on life, these refinishing furniture techniques are fantastic. Not only is refinishing an eco friendly way to revamp your space, but it can also save you money and allow you to customize pieces to your liking.
However, restaining can be a daunting task if you’ve never done it before. That’s why we’ve put together this comprehensive guide to help you through the process. From the beginning to the end, and everything in between, we’ll cover everything you need to know to create a professional quality finish. So, grab your materials, and let’s get started!
Restaining furniture can be a satisfying and rewarding experience. Not only does it allow you to breathe new life into old pieces, but it can also be a fun and creative way to personalize your home decor.

With the right tools and techniques, anyone can restain furniture and achieve beautiful results. In this guide, we’ll walk you through the process step by step and provide tips and tricks along the way.
Whether you’re a seasoned DIYer or a novice looking to take on a new challenge, we’re here to help make your restaining project a success. Let’s dive in!
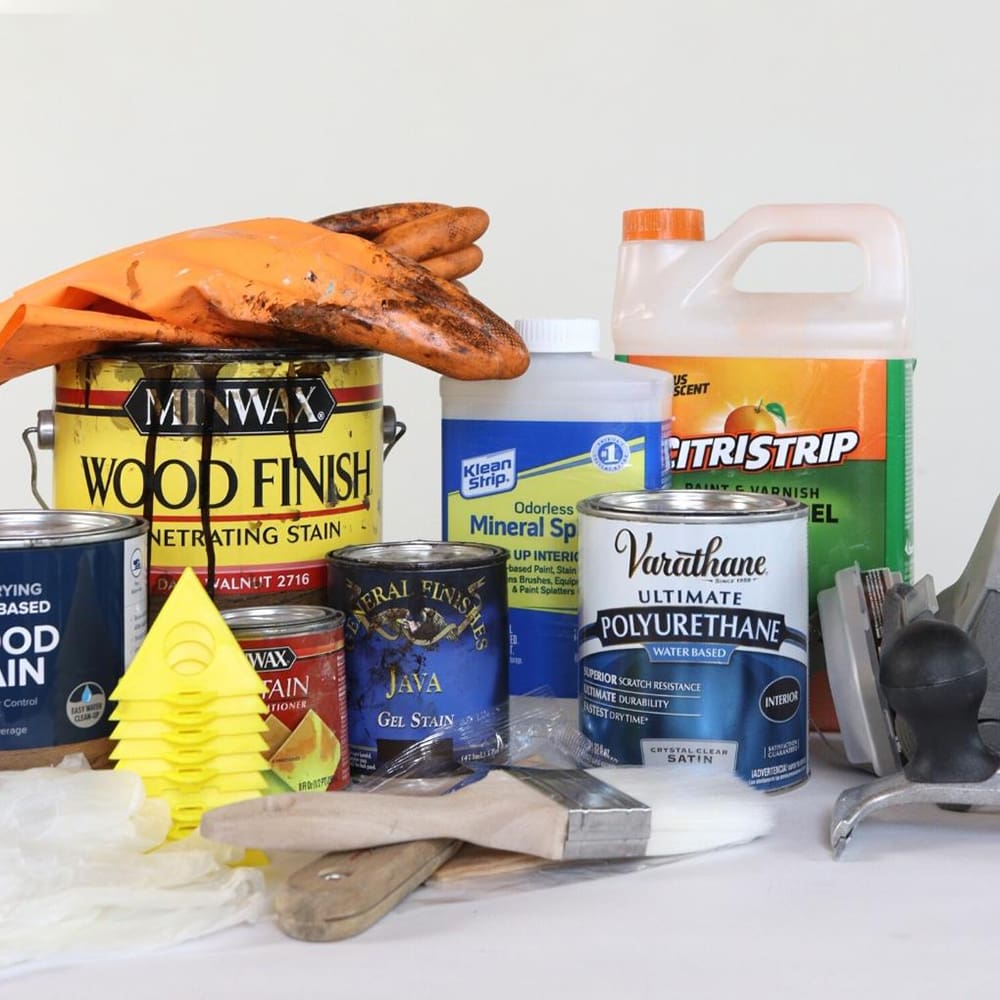
supplies used for restaining furniture
As an Amazon Associate, I earn from qualifying purchases. I also may earn from other qualifying purchases with other companies or get free product to review and use. All opinions are my own.
- Chemical Stripper
- Foam Sanding Pads (Use code RAY10 to get 10% off your order)
- Power Sander
- Gloves
- Respirator
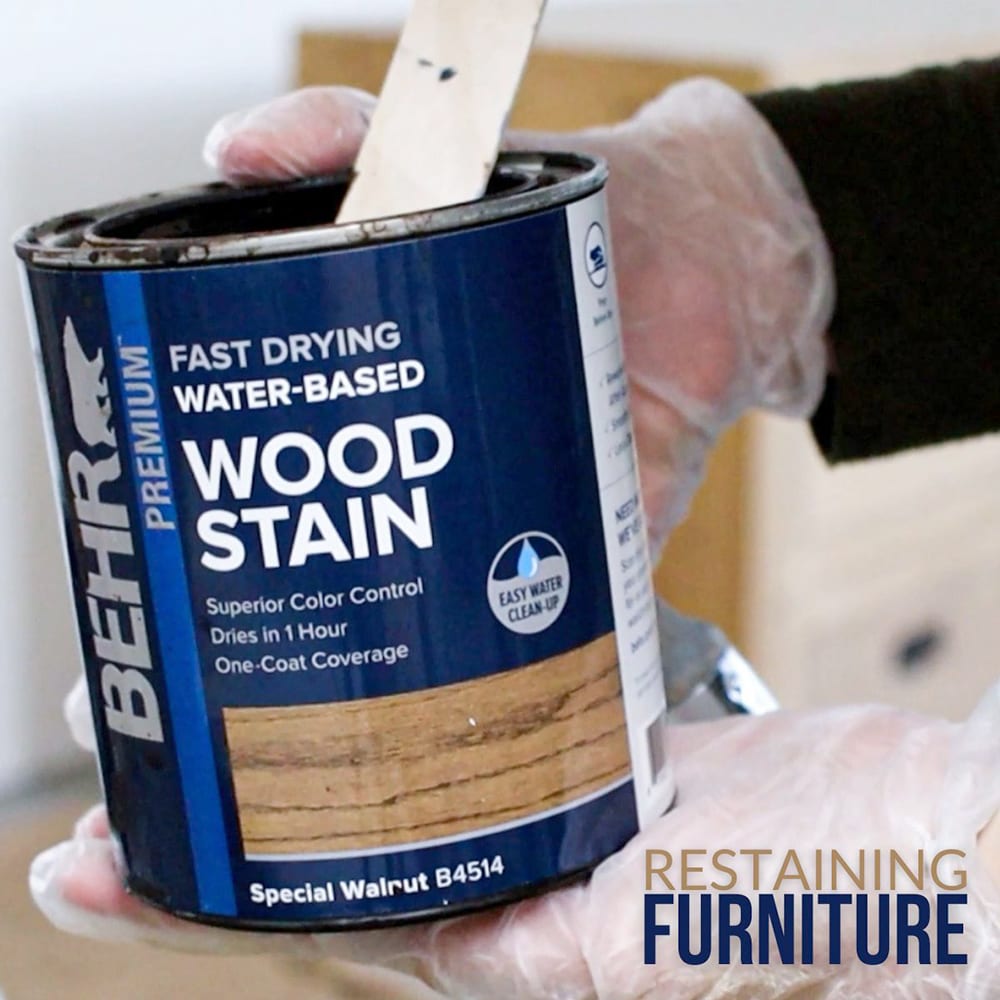
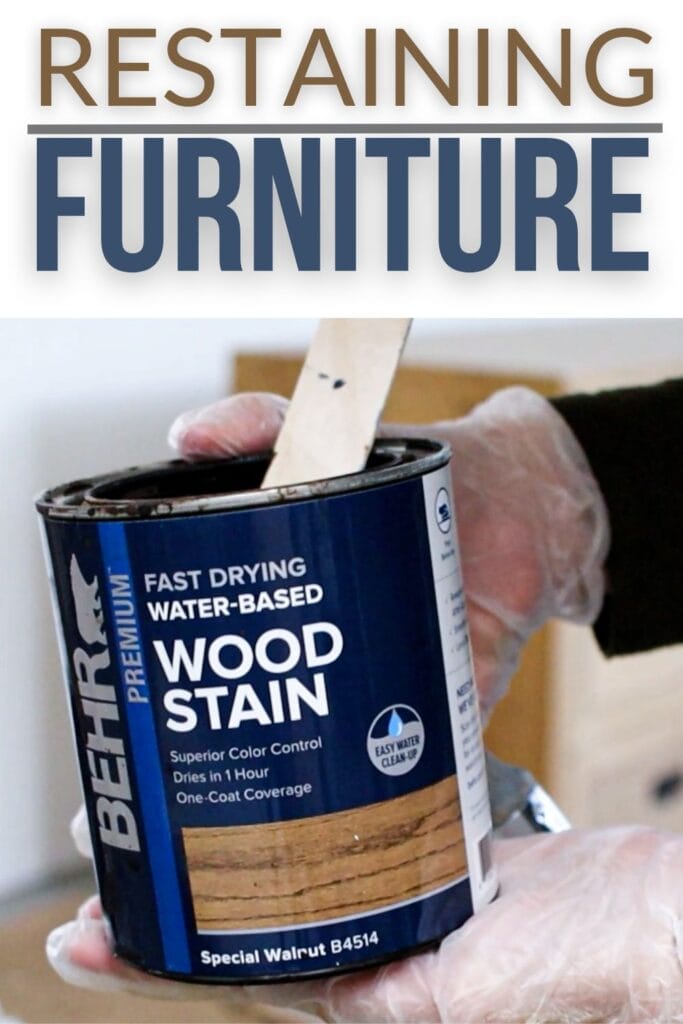
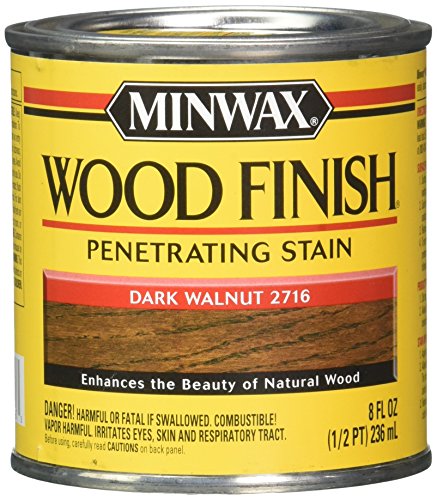
- Wood Stain
- Paintbrush
- Rags
- Waterbased Polyurethane or Oil based Polyurethane
- Topcoat Brush
How to Restain Furniture
Before you begin restaining your furniture, it’s important to take the time to prepare. This will help you get the best possible results and avoid any issues along the way. Here are some key steps to follow when preparing your furniture for restaining:
Gather Necessary Materials
To get started, you’ll need to gather all the necessary materials for your project. This may include foam sanding pads, a power sander, chemical stripper, wood stain, a paintbrush, gloves, rags or paper towels, and topcoat.
Make sure you have everything you need before you begin to avoid any unnecessary interruptions that will drag out your project.
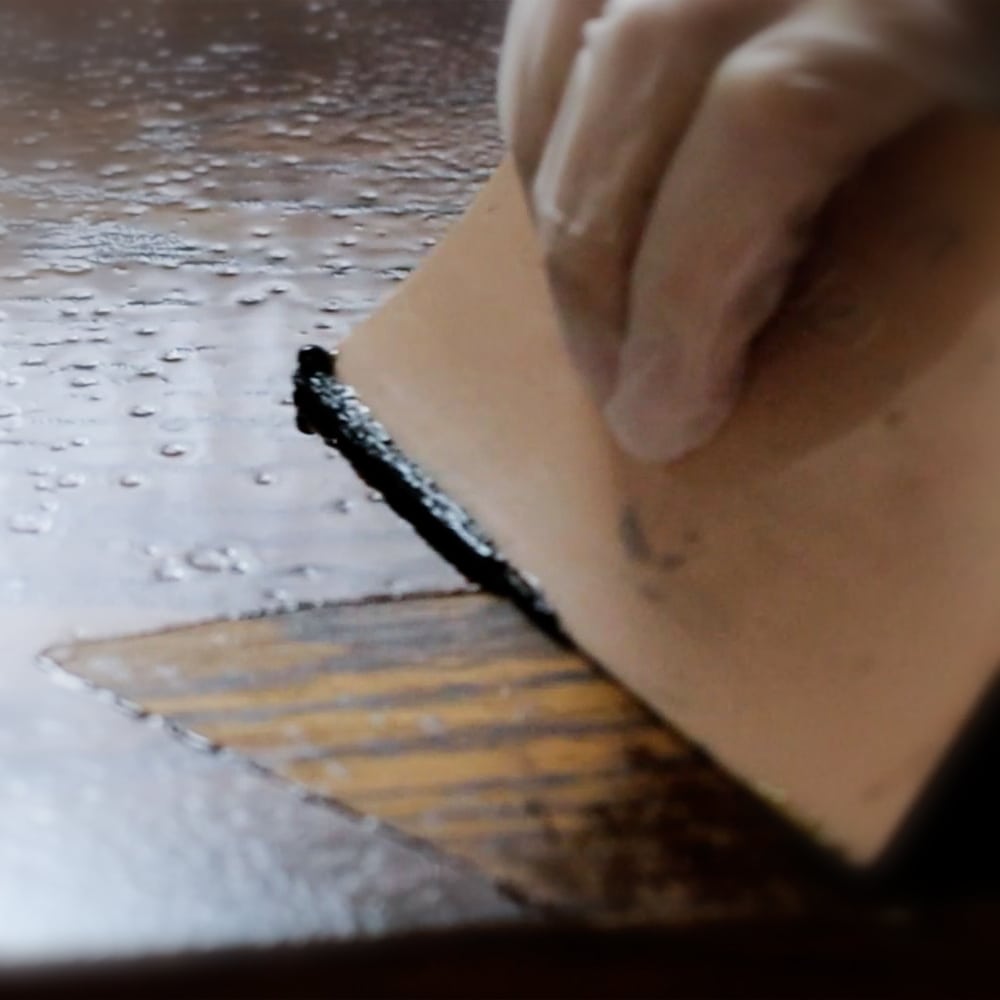
Removing the Old Finish
Once you have your materials ready, the next step is to remove the old finish. If you’re working with furniture that has an old finish, it’s important to remove it before applying a new stain.
There are several ways to do this, including using a chemical stripper or sanding the finish off manually.
We have removed the old finish from many of our furniture makeovers, so we have quite a few helpful posts on how to remove wood stain, and how to remove paint from furniture with chemical strippers.
We’ve also written about the best wood stain removers and the best tools for refinishing furniture here.
If you would like to sand the old finish off your furniture, buy yourself some of these foam sanding pads (Use code RAY10 to get 10% off your order) (they come in different shapes to fit your sander) to help you sand the curves and details with your power sander.
Otherwise, you’ll be stuck sanding those by hand.
I also love my SurfPrep sander for sanding furniture. The pad is a 3×4″ rectangle, so it fits almost anywhere. Paired with the foam sanding pads, it’s a game changer if you’re sanding a lot.
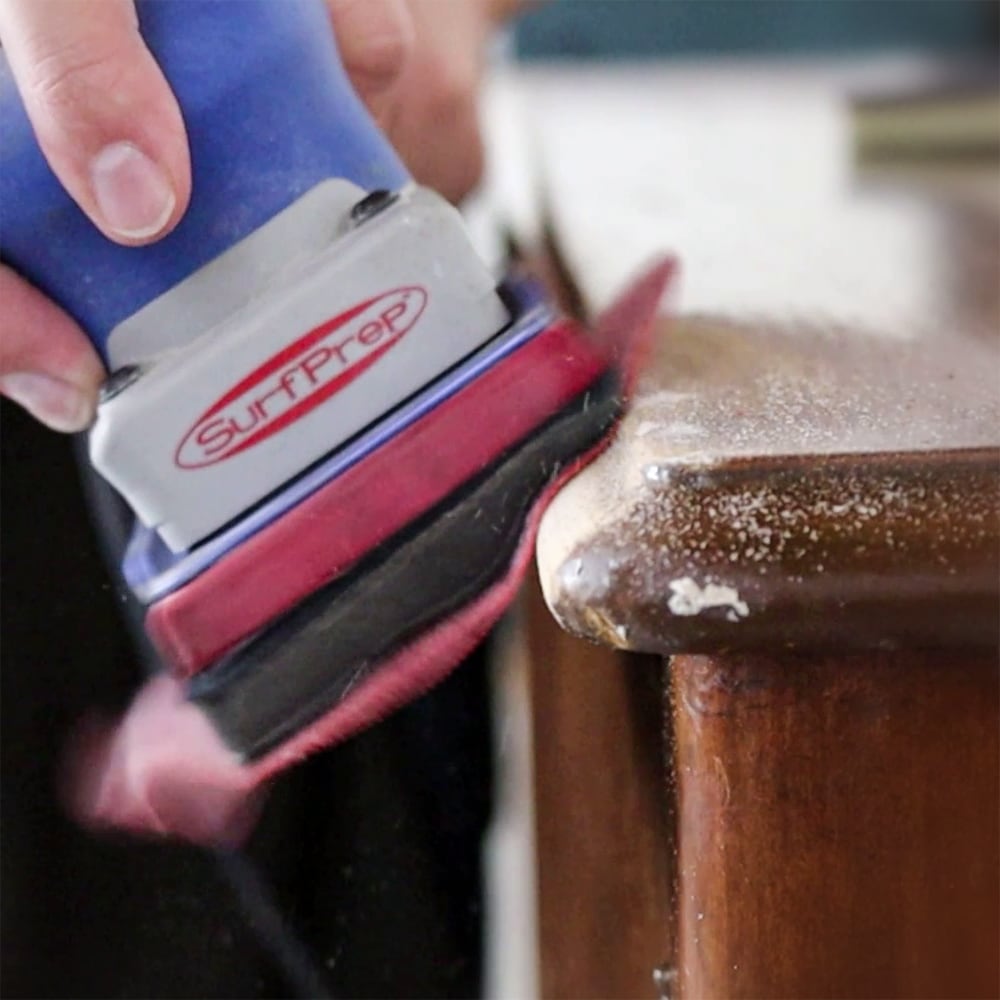
Here are the best sanders for furniture if you’re looking for a sander!
In this MCM black dresser makeover, I talked a lot about how to sand furniture down to raw wood and the specific things that I do to get the best results. Here’s how to restain a dresser without stripping where I sanded as well.
If you want to save time and avoid the long process of sanding on the old finish, check out this post on how to change wood color without sanding. Or if you don’t want to go through the hassle of completely refinishing it, here’s how to stain over stain!
Whichever method you choose, make sure to follow the instructions carefully and wear protective gear to avoid any harm from chemicals, like gloves and a respirator. Be patient and take your time, as rushing this step can ruin your project.
Now that you’ve prepped your furniture, it’s time to choose the right stain for your project. With so many options available, it can be overwhelming to know where to start.
Here are some tips to help you choose the perfect stain:
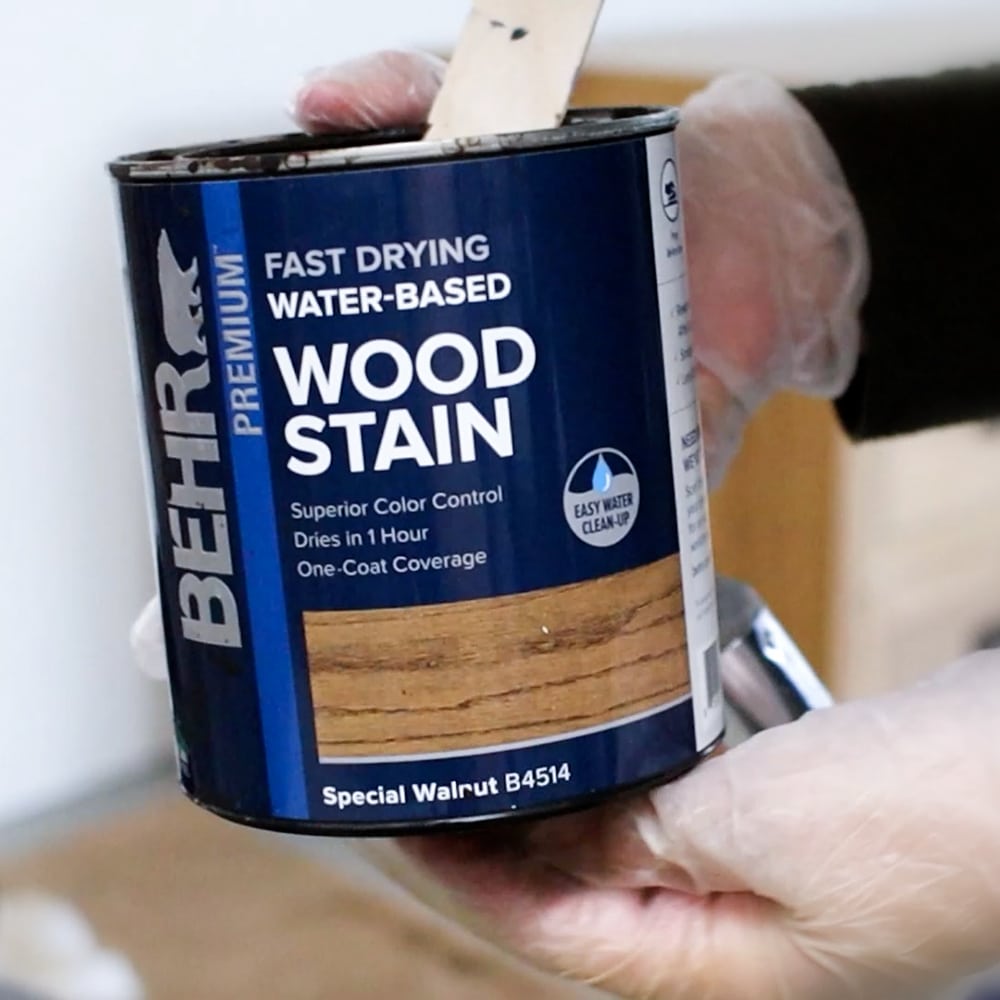
The Best Wood Stain
There are a variety of different types of stains available, each with its own unique properties. Some of the most common types of stains include oil based, waterbased, and gel.
Each type has its own advantages and disadvantages, so it’s important to do your research before making a decision. Check out our helpful guide on the best wood stains for more information.
Would you like to save this?
Some of the most popular stain choices for wood furniture include classic wood tones like cherry, mahogany, and oak, as well as more modern options like gray and white wash. Learn how to whitewash wood here if you want this look instead.
You can also use Retique. Here’s how to use Retique It to learn about this product and how to apply it on your furniture.
Don’t be afraid to get creative and mix and match stains to achieve a unique look! Some of the prettiest stains are mixtures of colors or layering of different stain colors.
Check out my blog post about Heirloom Traditions All in One Stain to help you decide among the different stains available.


Now that you’ve got the perfect stain for your furniture, it’s time to restain your furniture.
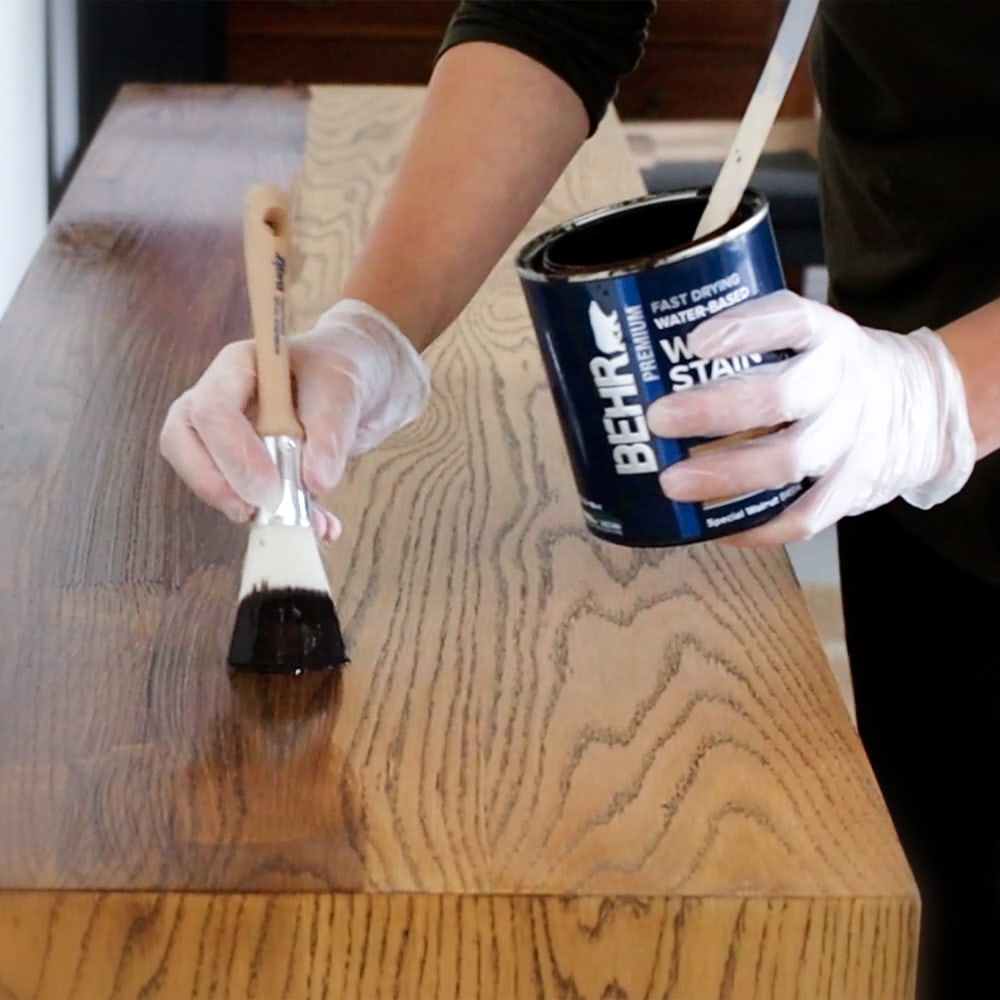
How to Stain Furniture
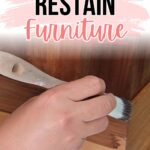
Using a brush or rag, apply the stain in the direction of the wood grain. Be sure to work in small sections, especially if you’re using water based stain to ensure even coverage. Here are the best brushes for staining wood.
If you’re working on a larger area and wondering if can you spray wood stain with a paint sprayer, check out this post to find out.
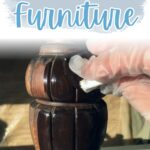
After applying the first coat, let the stain soak into the wood, then use a clean rag to wipe off the excess. Wait for it to dry completely before applying additional coats as needed. Don’t forget to stir the stain regularly too. Check out this post to learn more about how to stain wood with a rag.
If you’re using oil based stain, be very careful. Lay your rags and tools outside to dry. And wear protection to protect yourself from harmful fumes. Oil based products are flammable and so proper care should be taken when using it.
Here is a great post on refinishing a dresser, where I removed the old finish and restained the dresser. I shared a lot of tips about staining in this post, so if you’d like more information, check it out. Read through my step by step guide on how to stain wood furniture to learn more about this process.
You can also check out this post on how to refinish wood furniture with gel stain and a paint brush. And if you want to lighten your old dark wooden furniture, here’s our guide on how to change dark wood stain to light.
Topcoating Stained Wood
You’re almost finished with your restaining project. The final step in the process is to topcoat your newly restained furniture to protect it, and to make it easier to keep it clean. Here’s how to topcoat stained wood.
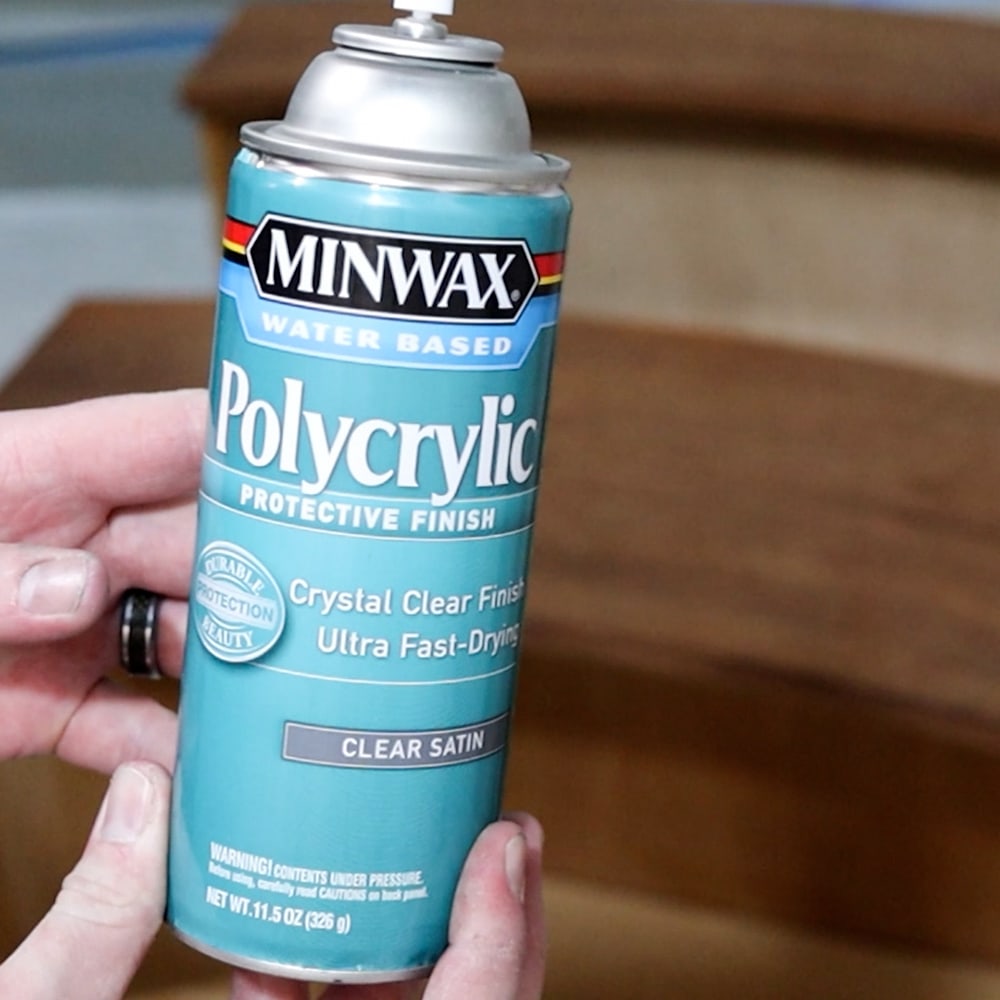
Using a topcoat brush, apply a thin coat of waterbased polyurethane or oil based polyurethane onto the stained wood. Work in small sections, and apply the polyurethane in the direction of the wood grain to help hide any streaking that may occur.
Read through this post on how to apply polycrylic to learn more about how to apply it by hand. You can also spray polyurethane instead. Here is how to spray polyurethane with a paint sprayer.
Let the topcoat dry completely before applying 2 more coats for maximum durability.
Here is more information on the best polyurethane for furniture, to help you decide which one is best for your project.
You could also apply a wax topcoat to your stained wood. If you’re considering a wax topcoat, here is our wax vs polyurethane post that will help you know if it’s right for you.
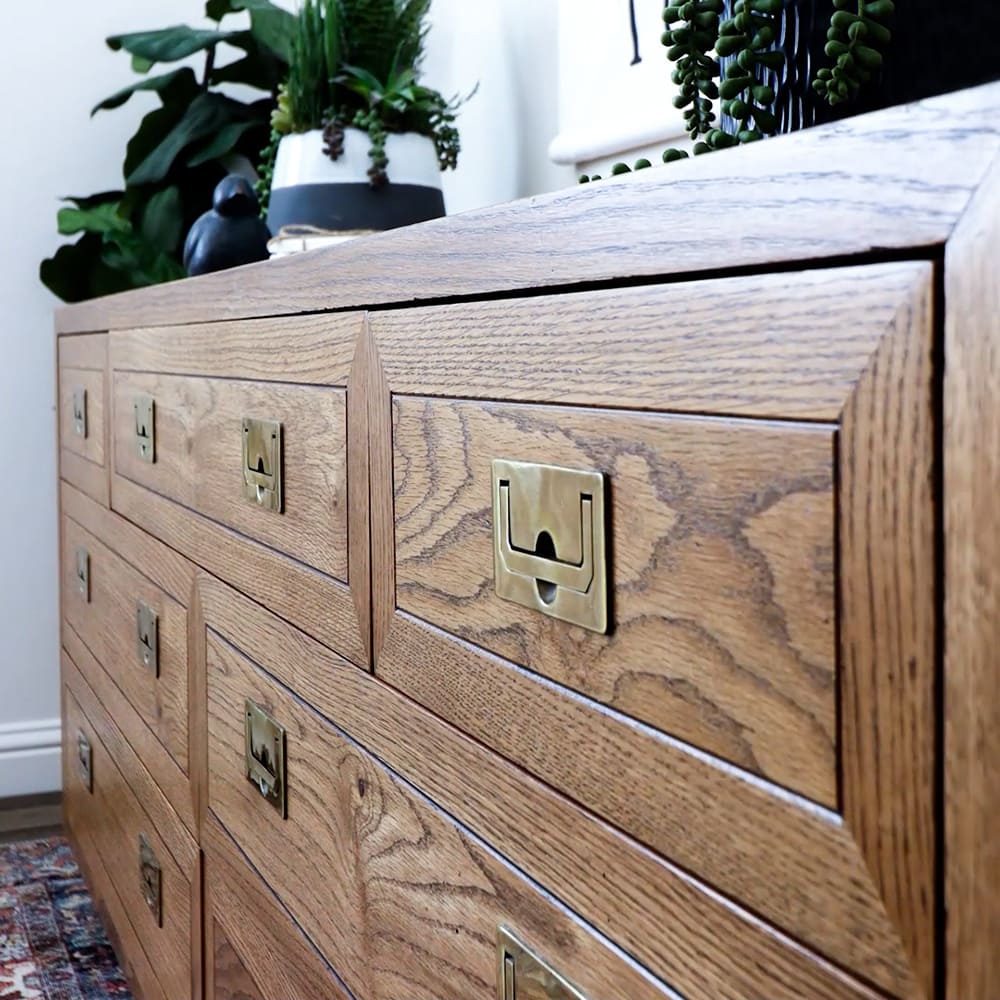
Caring for Newly Restained Furniture
Now that you have a beautifully transformed piece of furniture, you’ll want to make sure you take proper care of it to make sure it lasts for years to come. Here are some tips for caring for your newly restained furniture:
- Avoid placing hot or damp items directly on the surface of the furniture, as this can cause damage to the finish.
- Use coasters, placemats, and tablecloths to protect the furniture from scratches and spills.
- Dust the furniture regularly with a soft cloth to remove any dirt or debris.
- If there are any spills or stains, clean them up immediately with a damp cloth. Avoid using harsh chemicals or abrasives, as these can damage the finish.
- Consider using a product like Old English to protect and nourish the wood, and also hide any scratches from normal wear and tear. For more details about it, here’s what does Old English do to wood. And check out our antique dresser makeover to see the result when we applied it.
Scratches and blemishes on wood furniture are inevitable over time, so it’s important to learn about wood surface repair and know how to care for your piece.
We hope this guide has been helpful in providing you with the necessary information to successfully restain your furniture. Remember to take your time, be patient, and have fun with the process.
Thanks for choosing us as your guide and happy restaining!

Restaining Furniture
If you want to give your old furniture a new life, here's our guide to restaining furniture, which includes removing the old finish and staining furniture using regular wood stain.
Materials
Instructions
- Remove the old finish using a chemical stripper or manually sand with a power sander and foam pads. Don't forget to wear protective gear like gloves and a respirator.
- If you use a chemical stripper, use 220 grit sandpaper to smooth the wood after the wood is dry. Remove the dust with a shop vacuum and tack cloth.
- Apply wood stain in the direction of the wood grain using a brush or rag.
- After applying the first coat, use a clean rag to wipe off the excess. Then wait until it is completely dry before applying additional coats.
- Apply a waterbased or oil based topcoat using a topcoat brush to the stained wood. Let dry before applying 2 more coats for durability.
Recommended Products
As an Amazon Associate and member of other affiliate programs, I earn from qualifying purchases.


More Wood Staining Tips
- How To Stain Wood Darker
- How To Stain Wood With Paint
- The Best Stain For Weathered Wood Look
- Staining Wood Filler
- How to Stain Already Stained Wood

Follow us on YouTube to get more tips for painting furniture. Or share your project with us on our Facebook Group and be part of our community. See you there!