How to Whitewash Wood

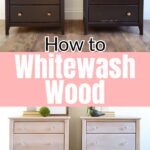


Whitewashing furniture is a great way to give new life to old pieces. In this post, we’ll share the easiest method on how to whitewash wood! With just a few simple steps and these refinishing furniture techniques, you can create a beautiful look that is perfect for adding a rustic or farmhouse touch to your home decor.
This allows the natural beauty of the wood grain to show through while still adding a subtle white tint. Let’s get started!

Whitewashing is becoming a popular technique for finishing wood. It’s a great way to add interest to a piece without creating an excessively heavy or dark finish. In this blog post, we’ll cover the basics and break it down into 6 simple steps so that you can try this technique on your next project.

One of the great things about this technique is that it creates a unique look on each piece. The grain, texture, and amount of whitewash all vary, so every piece ends up with its own character and beauty. So, let’s dive in and see how you can create this look yourself!
What is Whitewashing?
This is a finishing technique where the surface is coated with diluted white paint or stain. This type of finish can be used to brighten up a space or add an antique look to furniture. It’s also a good way to salvage any damage—knots, dents, and scratches can all be blended with this kind of finish.

Supplies Used to Whitewash Wood
As an Amazon Associate, I earn from qualifying purchases. I also may earn from other qualifying purchases with other companies or get free product to review and use. All opinions are my own.
- Krud Kutter
- Power Sander (I used an orbital sander and the Multi Max with the included mouse sander attachment to get into the corners)
- 80, 220 Grit & 400 Grit Sandpaper
- Waterbased Polyurethane
- Painting Sponge
- White Glaze or Wash (I used Simplicity mixed into Clear Glaze from Country Chic Paint. Watered down Simplicity would work great too!)
- Lint Free Rags or Paper Towels
- Cheap Paint Brush (optional)
Get our list of the best painting furniture supplies here, so you’re always ready for your next DIY project!
Cleaning Finish Before Stripping
I know it sounds like a joke that you need to clean the finish before taking it off, but it’s honestly really important, especially if you’re sanding. I wouldn’t say that it’s super important if you’re stripping, though. And here is why.
As you’re sanding, the surface that you’re working on gets hot. When wax, grease, or oil gets hot, it tends to melt, which then makes it easier to spread everywhere and easily fall down into the natural wood.
So you could end up with grease spots in your fresh surface. And to make matters worse, the sealer may or may not stick in those spots. So it’s best to spray your whole piece down with something like Krud Kutter that will clean those problems up before they become an issue.
Learn more about how to clean furniture before painting here.
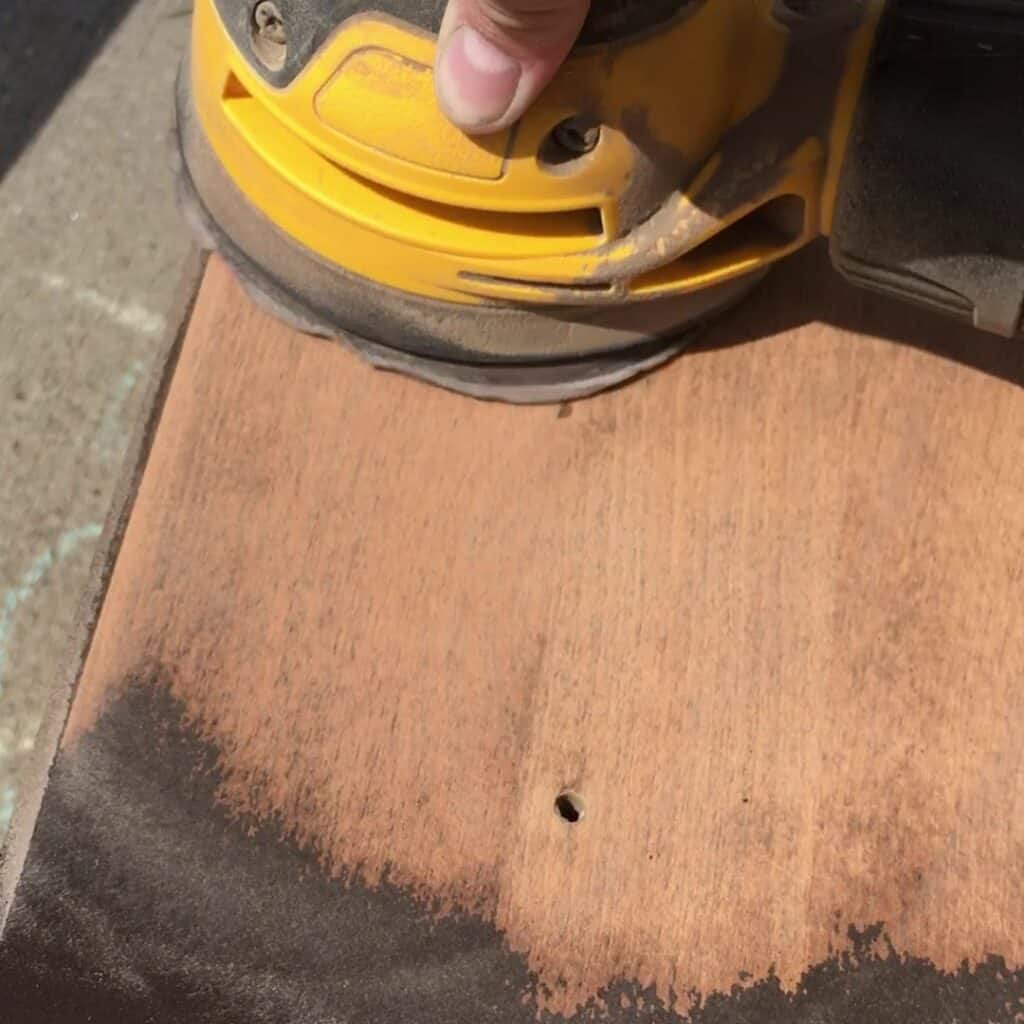
How to Strip Furniture
Okay, there are two options here. I will say that I ended up sanding these ones completely without any stripping agent. But the smartest route is always to strip.
If your piece is completely solid wood with no veneers and it doesn’t have any details or curves, you’ll be alright to sand.
But if there is any chance (and that chance is really likely) that there are wood veneers on your piece, then you run the risk of sanding right through the very thin veneer, and into wood that is a different color, or worse, MDF or particle board.
Stripping and painting particle board can be a bit tricky – learn more on how to paint particle board furniture here.
If you strip with a chemical first, the risk is much lower because the stripper gets rid of 90% of the finish, and you just have to lightly sand the rest. It also can get into details, corners, and curves really easily. Even the tops on these nightstands were a little bit iffy with the power sander.
If you’re dead set on sanding, here are the best sanders for furniture and here are some great tips for sanding before painting furniture.
Stripper really isn’t as bad as a lot of people make it sound. I would say that it’s faster, especially around details and corners. And you have a lot of downtime between putting it on and taking it and the finish off.
Learn everything you need to know about how to remove wood stain here or how to remove paint from wood furniture here. Learn more about the best tools for removing paint from wood here.
Once the stripping and/or sanding is done, vacuum off the dust and wipe everything down. I like to use a tack cloth to wipe away any dust after vacuuming.
How to Bleach Wood
After you have sanded or stripped, if the surface is still not very light, you can bleach it to make it lighter! You can use regular household or wood bleach. Check out this post on how to bleach wood to see how homemade bleach can create this look!
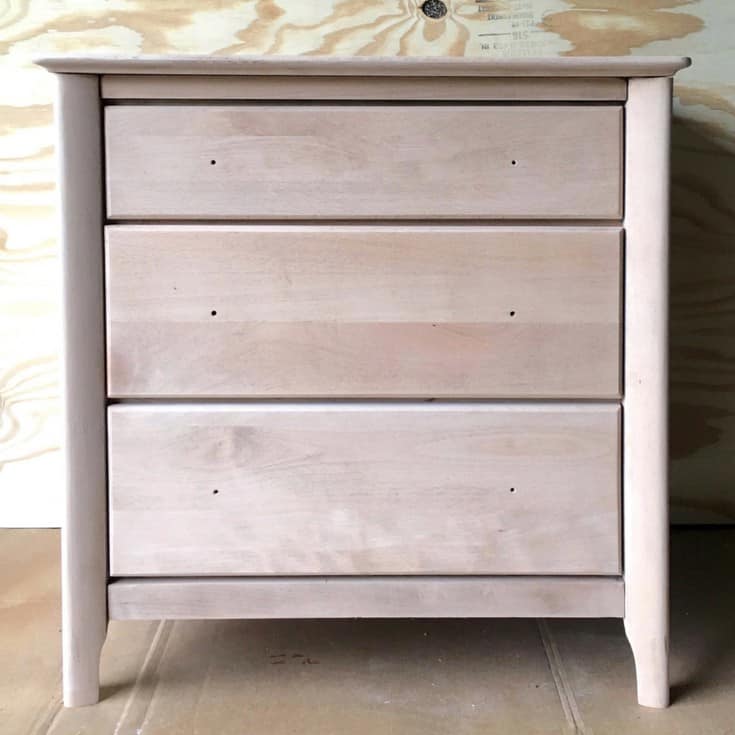
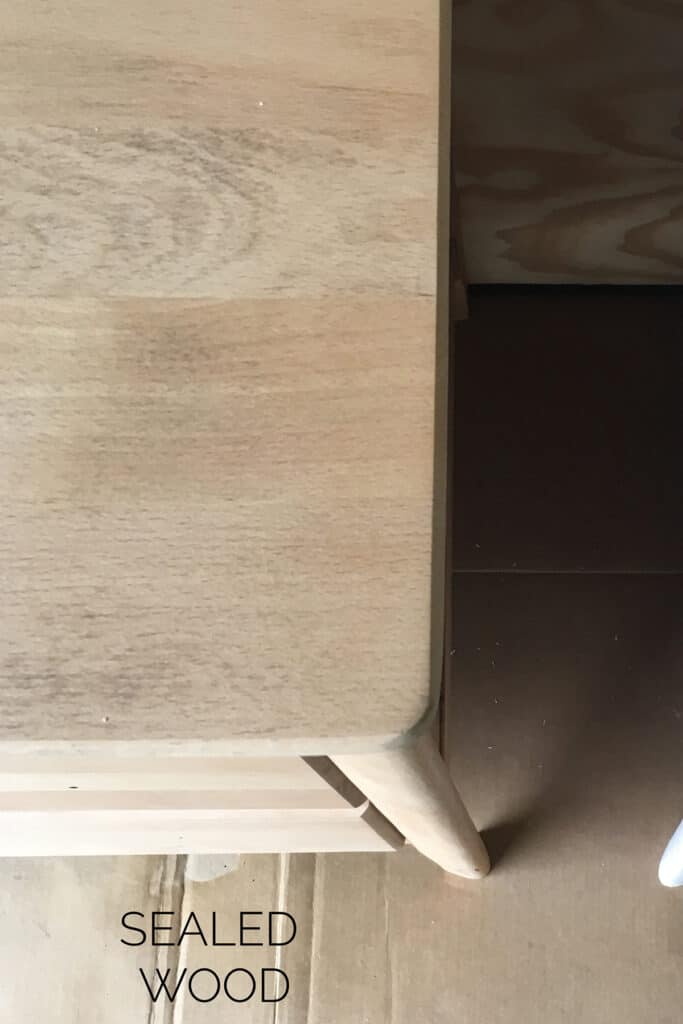
How to Seal Raw Wood for Durability
This part kind of hurts. Not in a physical way, but after seeing that really pretty freshly sanded raw wood, it’s tough to put anything on it. But, we have to seal it, or else it will easily stain and scratch when you use it every day. I personally love to spray on the poly topcoat.
But the next best thing is to use a sponge. I just get the sponge damp, pour a little bit of poly on a paper plate, and then dip the sponge into the poly. You’ll probably want to wear gloves if you don’t want poly all over your hands, but the sponge helps prevent the streaky, foggy finish you get with a brush.


Just remember to work fast and only touch the poly once or twice once it’s on the furniture. Or you can go the easy route and spray it on. Learn ALL of my tips and tricks on how to spray polyurethane here! Or you can even get it in a spray can if you want to spray it but you don’t want to buy a sprayer.
Check out my comparison between polycrylic vs polyurethane to learn more about the two, and learn more tips and tricks about topcoats for painting furniture here.
Would you like to save this?
How to Whitewash Wood
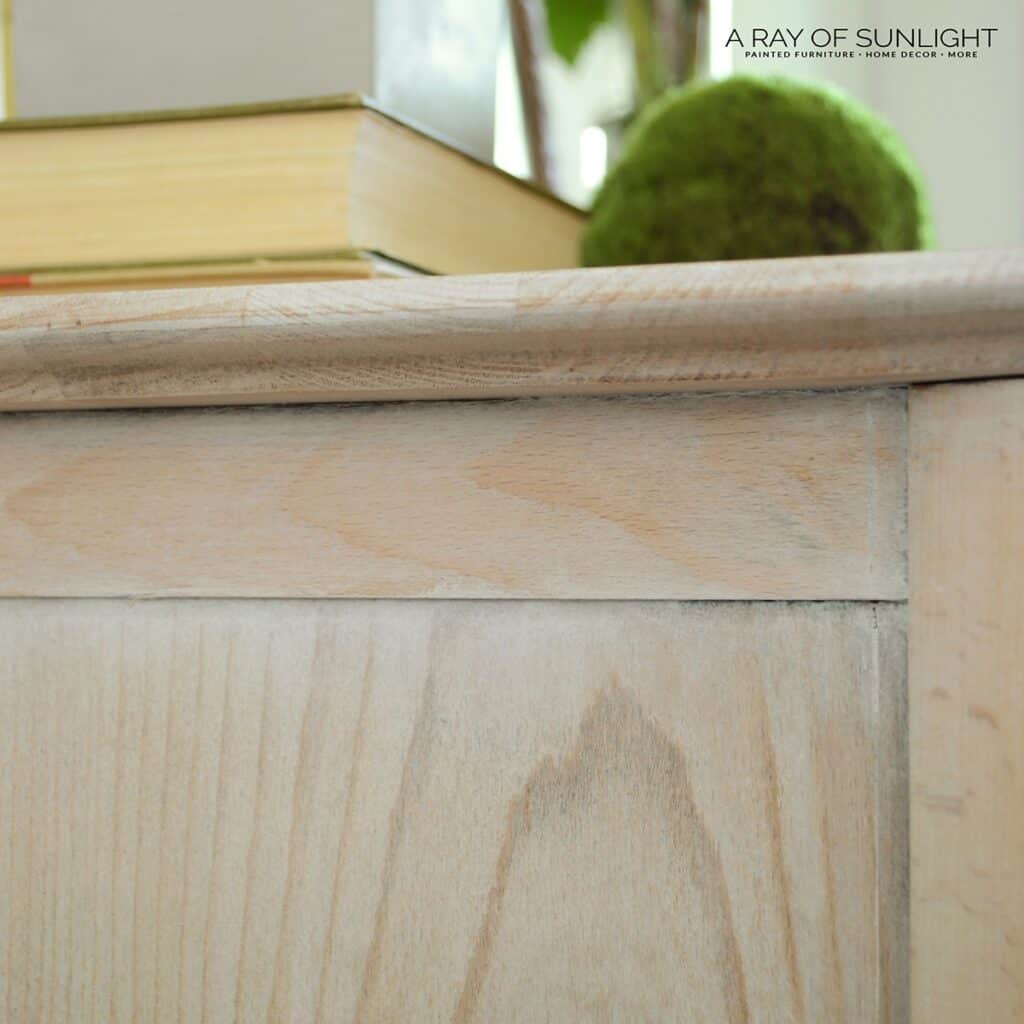
If you want to make the sealed raw finish light again, don’t worry! I have you covered. A simple white glaze or wash will lighten it up to imitate the freshly sanded, raw coastal look you just had to cover up. It’s not going to be the exact same, but it definitely helps!
Just make sure to properly seal before doing this technique. All you need is one or two coats, but the sealer really helps you be able to manipulate the natural white finish before it dries up or soaks too heavily.
How to Make Whitewash
I used a white glaze that I had on hand, Country Chic Paint’s Clear Glaze mixed with white chalk paint called Simplicity. Check out my list of the best white chalk paint for furniture here, including Simplicity.
Once it was mixed (per the label) I watered it down just a touch so it would go onto the nightstands thinner. You can also make up a simple mixture with watered down Simplicity (probably a 3 parts water to 1 part Simplicity). There is also a premixed whitewash wood stain that’s easy to use.
How to Apply Whitewash
I used a cheap brush to get the glaze into the corners and to brush it everywhere else. I let the glaze sit for about 30 seconds, and then I wiped it all off with paper towels.
Normally I wouldn’t use paper towels, but since I was working with white glaze, any lint that was left behind blended in with the glaze. It would be best to use an old white cut up T-shirt, though.
For the drawers, I just dipped a paper towel into the glaze and then I wiped it all over the drawer, making sure to wipe with the grain. Once it was all on, I made sure that it was all even by wiping it with a clean paper towel. This method applied it really thin and I loved it.
But the bodies of the nightstands were too big for this method, and the glaze dried too fast. Speaking of drying too fast, make sure to stick to small areas, like one drawer or one side of the nightstand at a time. And if it’s still drying too fast, water down your mixture a little bit more.
Once all the glaze was on and dry, I lightly sanded everything down with 400 grit sandpaper again to make it completely smooth and to bring out the grain a little bit. Then I vacuumed and wiped it down.
How to Seal Whitewashed Wood
Just like before, I want to protect my hard work and finish from getting ruined with everyday use. So I applied 3 final coats of waterbased polyurethane to my nightstands. Here’s how to apply polycrylic to painted furniture.
I sprayed mine on again, but applying the poly with the sponge or the spray can are great options, too! Check out the best polyurethane for furniture here.
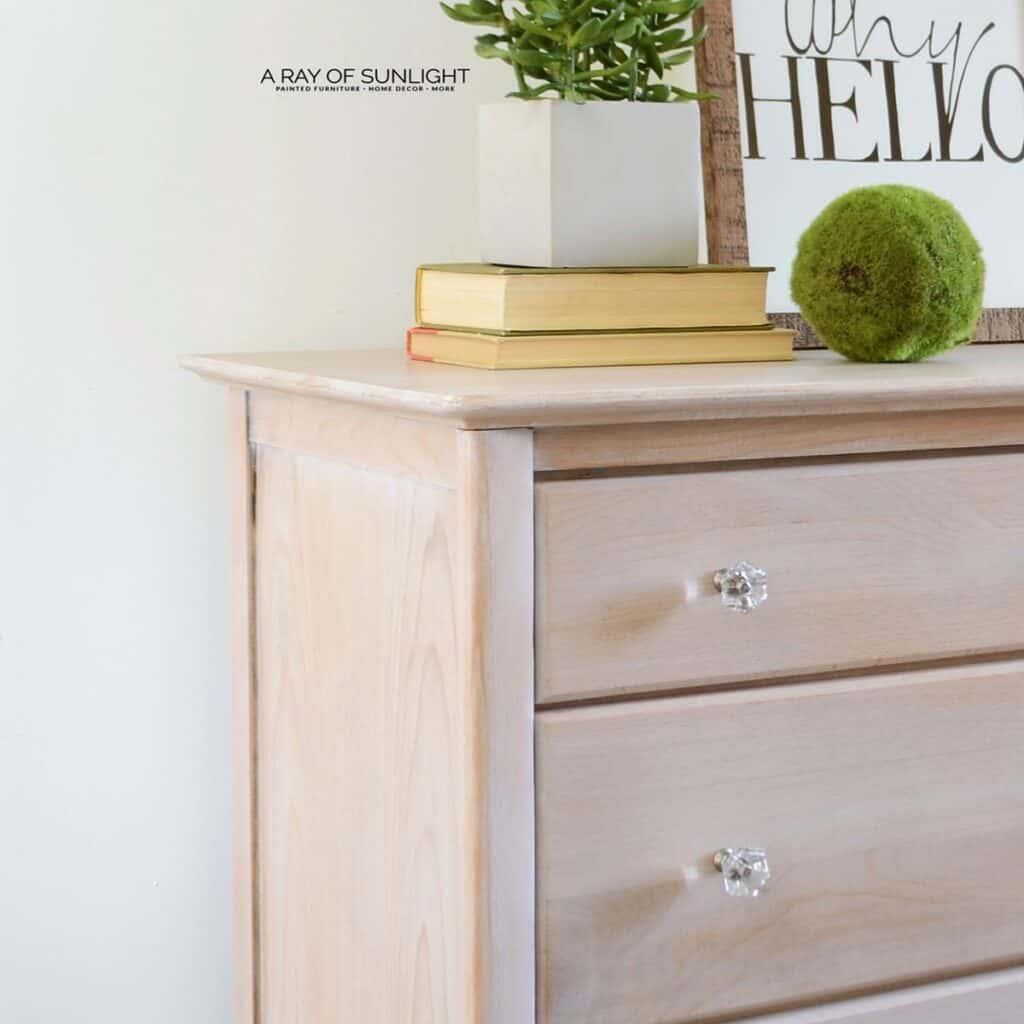
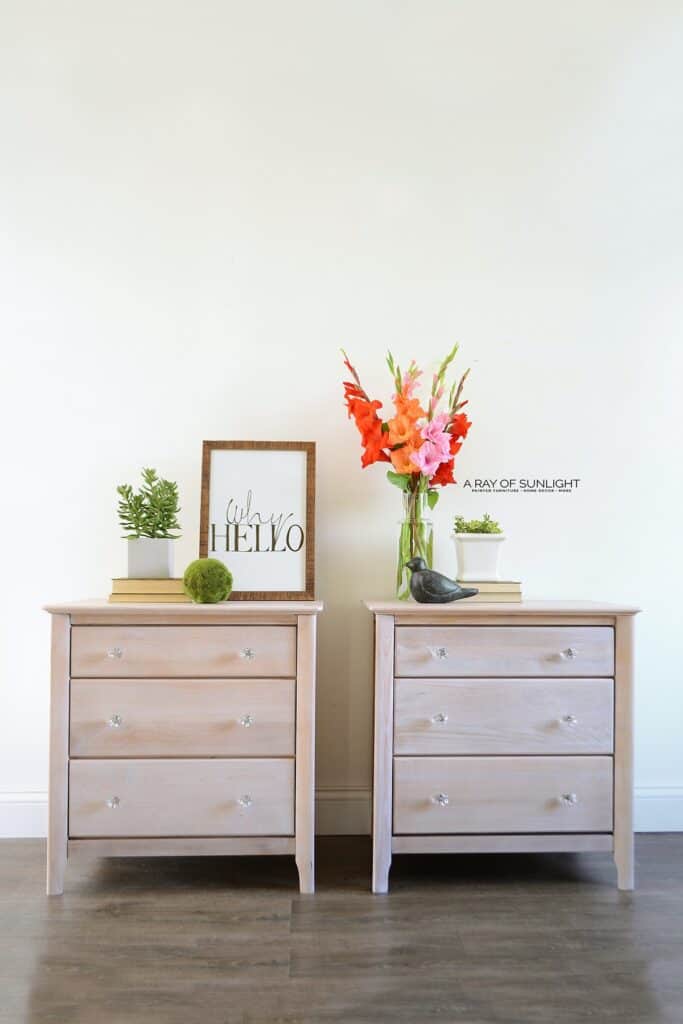
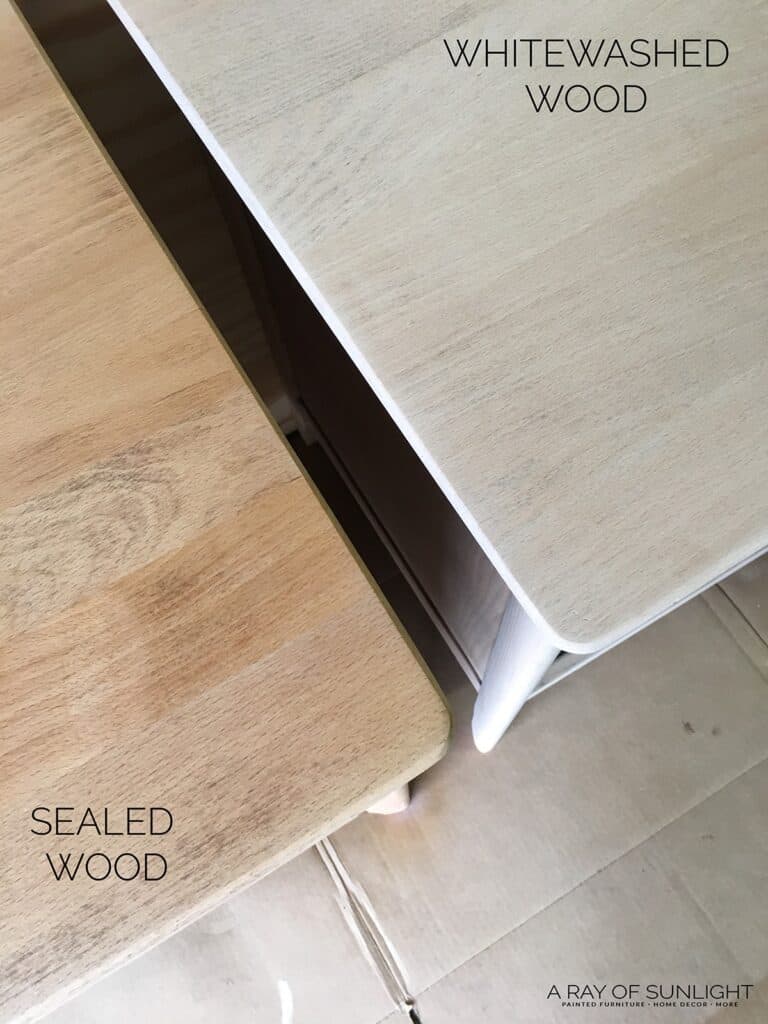
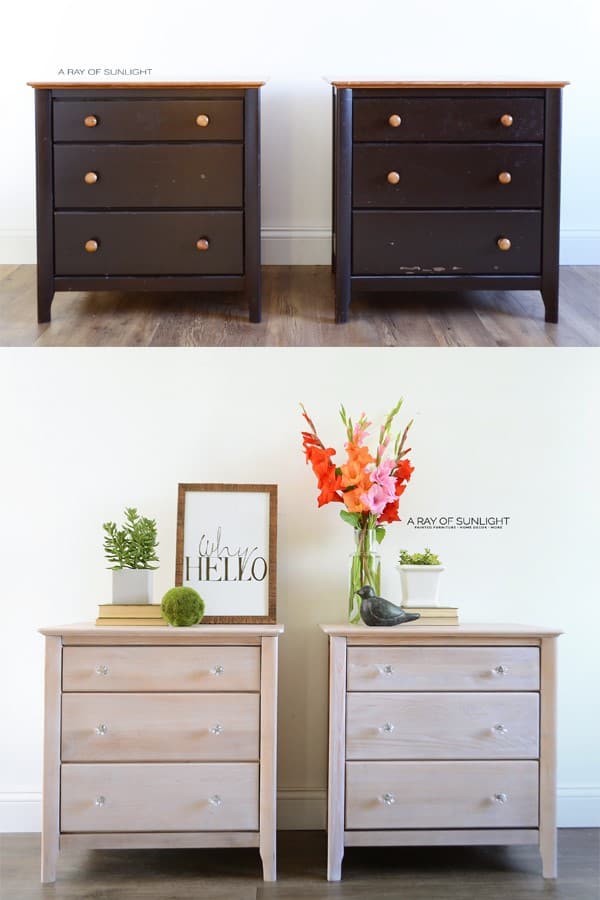
It’s done!! And there’s nothing like a coastal whitewashed finish to admire all day long. Now the question is.. would you have left it sealed or added whitewash to it?? For more nightstand makeovers, here’s our list of tall nightstand ideas!
More Before and After Makeovers
See All >
Click any of these “before” photos below to view the “after” of that makeover.


Can you whitewash particle board?
Unfortunately, if you have a piece made of particle board and want to update it with this white rustic finish, it won’t work. Particle board is not like solid wood, which has a natural grain and texture. Sanding it down will ruin the piece, and if you try to stain it, the finish will not stick properly.
If you still want to update it, you can paint it instead. Lightly sand the surface, prime it with a good quality primer, and then apply white coating. Keep in mind that this will result in a more solid white finish rather than the natural white effect.
If you want to skip sanding, you can learn how to paint particle board furniture without sanding in this post. For other ways to update this kind of surface, check out our post on can you refinish particle board furniture.
Now you know how to make and apply whitewash to create a gorgeous rustic finish on your furniture! You can use a pre made product or mix up your own, and then seal it with a topcoat for long lasting protection. Just remember, it may not work on all surfaces, so be sure to do your research before trying it out on your own piece!


How to Whitewash Wood
Whitewashing wood is a great way to lighten it up and create a coastal, bohemian look. Here's how to whitewash wood furniture.
Materials
Instructions
- Clean furniture with a degreaser to make sure oils, grease or wax aren't on the old finish. You don't want to heat it up with a power sander and push it further into your wood.
- Strip furniture with Citristrip or sand it with a power sander. Be careful with the power sander to not take off too much and go through what might be a wood veneer top! Vacuum up and wipe off the dust
- Seal stripped and sanded furniture with water-based poly to protect the wood from everyday use. Oil based poly will amber over time, so be sure to use water- based poly.
- For the whitewash, use a white glaze and mix it with white chalk paint. Brush the whitewash onto furniture, let it sit for about 30 seconds, and then wipe it all off with paper towels. Once the whitewash was all on, make sure it was all even by wiping it with a cleaner paper towel.
- Once all the glaze is on and dry, lightly sand everything down with 400 grit sandpaper to make it completely smooth and to bring out the grain a little bit. Then vacuum and wipe it down.
- Apply 3 coats of waterbased polyurethane to the nightstands to seal the whitewash.
Notes
The first step of sealing the wood is optional. But it helps create a barrier, so the wood doesn't soak up the whitewash so fast, making it hard to remove excess whitewash.
Recommended Products
As an Amazon Associate and member of other affiliate programs, I earn from qualifying purchases.


More Whitewashed Furniture Ideas
- DIY Whitewash Dresser
- How to Whitewash Furniture
- Black Coffee Table Makeover with Whitewashed Top
- Whitewashed Furniture
- Buffet Turned Into Bathroom Vanity
Follow us on YouTube to get more tips for painting furniture. Or share your project with us on our Facebook Group and be part of our community. See you there!
There is a finish that doesn’t darken raw wood. Found it by accident and I’m currently using it on practically everything! I’m veneering cabinets and using it to preserve the gorgeous white oak grain.
Anyway…
Pick up some dark paint base. You know, the can they put the pigment into? Get DARK (for navy, charcoal, black, etc) Exterior, FLAT, latex. It goes on WHITE OH NO! But it dries so incredibly invisible you have to mark where you left off. Absolutely no change in the raw wood underneath. It’s smooth, and the wood shouldn’t oxidize under it because of the UV protection, water proof-ness, etc. It’s beautifully sealed against water and other bad things.
I just smooth it and give things a 2nd coat for sealing.
A bonus: If you use this over chippy paint, it glues it down without the gummy look of polys. Again, invisible, but you can’t pick the chips off with your fingernail.
You have so many tools in your tool box, I thought you might enjoy another one I find brilliant!
Beautiful job on this nightstand!
Hey Christine! Thank you so much for the info! I’m not sure I’m exactly understanding what the product is though.
This is late, but I think she means to pick out flat latex paint that is meant to be tinted dark colors – but then don’t tint it. It will dry clear.
I don’t understand. How can a dark tinted paint go on white and dry clear?????
I haven’t tried this out yet, but I think she means that the tint base is dark. It isn’t actual paint. But I’m not 100% sure.
Your nightstands turned out beautiful!!! The difference in the before and after is like night and day. I would love to know what product she was talking about too.
Wow, I love the bleached nightstands. I love the work you do. I wish I had the patience to do something like this.