Modern Dresser TV Stand Makeover


We all know the struggle of finding the perfect piece of furniture that fits both our aesthetic and practical needs. Well, with this modern dresser TV stand makeover, you can create a customized piece that is not only stylish but also serves its purpose.
With just a few simple steps, you can transform an old dresser into a chic and practical TV stand. This is one of the DIY dresser makeover ideas perfect for those looking to add a unique touch to their living space while also repurposing old furniture.
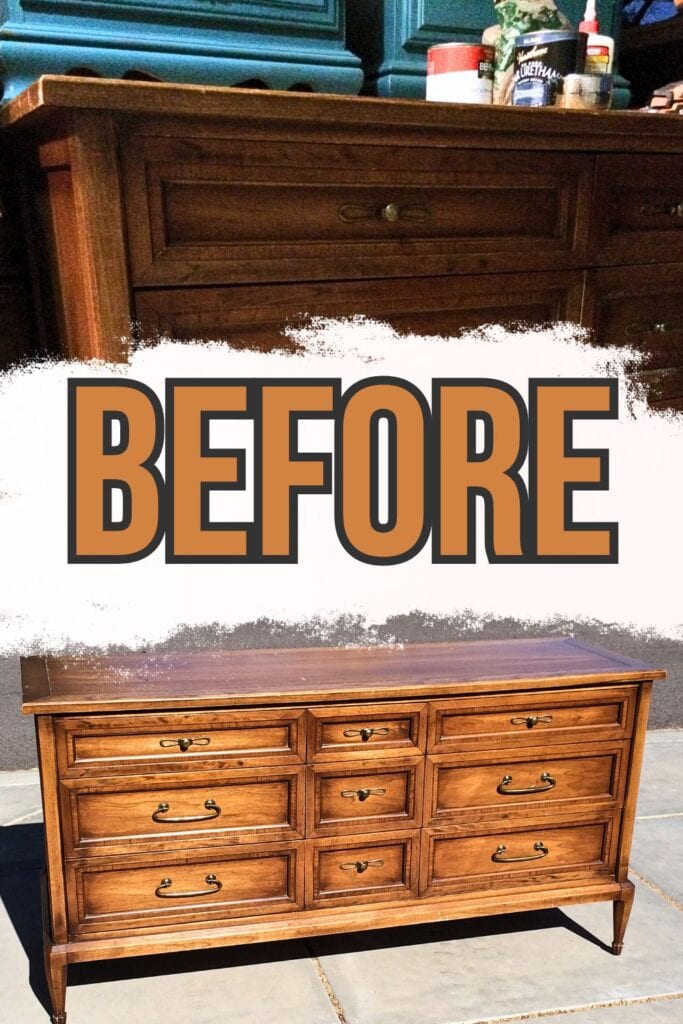
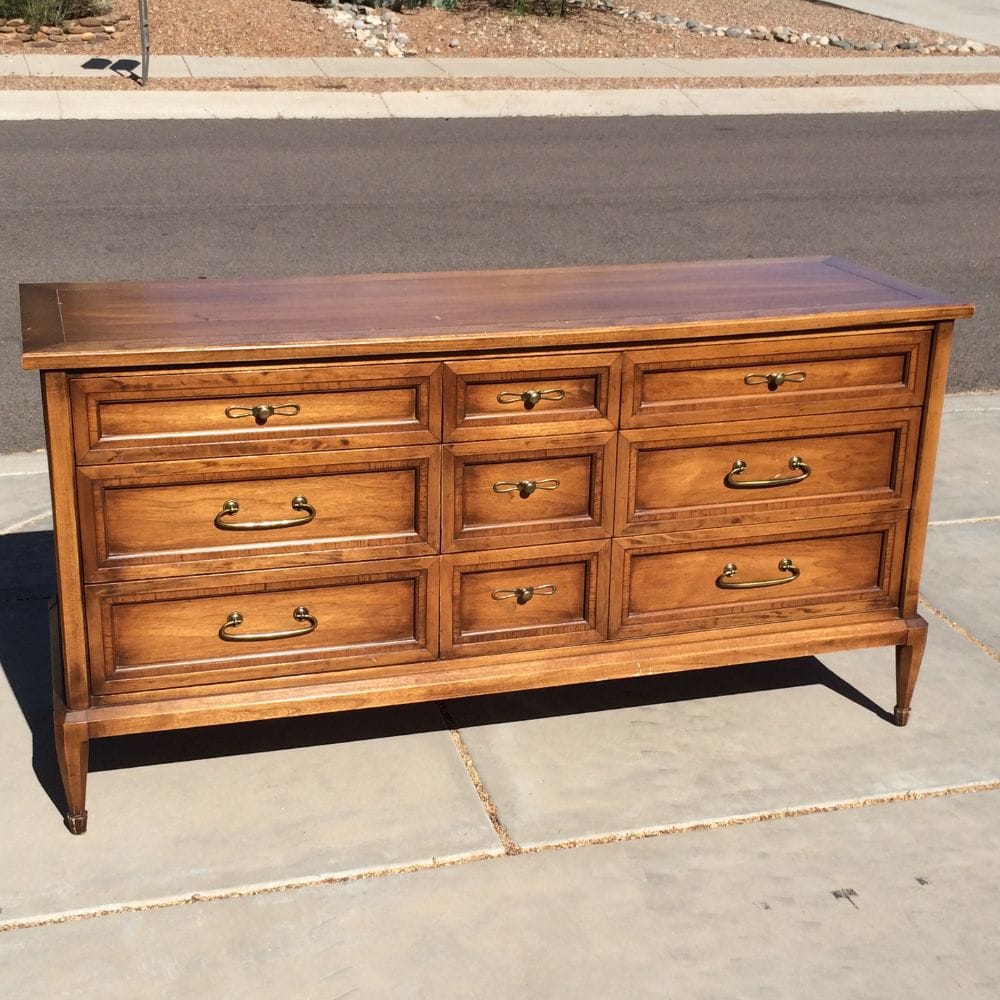
We had this modern dresser and decided to repurpose it into a TV stand. The sleek design and sturdy construction made it the perfect candidate for a makeover.

We decided that we wanted the 2 top drawers to swing open like doors so that we can access all of our TV equipment easily. But when the doors are closed, it will look just like a regular dresser! How cool is that? So here’s how we did it!

Supplies Used for Modern Dresser TV Stand Makeover
As an Amazon Associate, I earn from qualifying purchases. I also may earn from other qualifying purchases with other companies or get free product to review and use. All opinions are my own.
- JigSaw
- Hinge
- Extra Wood
- Krud Kutter
- 220 Grit Sandpaper
- Shop Vacuum
- Tack Cloth
- Clear Shellac Spray Primer
- Latex Paint color matched to Annie Sloan Chalk Paint in Napoleonic Blue
- Calcium Carbonate Powder
- Varathane Polyurethane in Satin
- Drill
Turning Dresser to TV Stand
It was actually pretty tricky to turn the dresser into a TV stand. We cut the drawer front off with a jigsaw, and it took quite a bit of thinking and trial and error to create a working hinge. But in the end, we were able to get the top 2 drawers to swing open like doors for easy access.
The key was using some scrap wood to recreate the drawer front and box, making sure that the hinge was attached correctly and would function properly.
We also had to secure some extra wood underneath the drawer box since it was quite thin and the screws for the hinge needed more support.
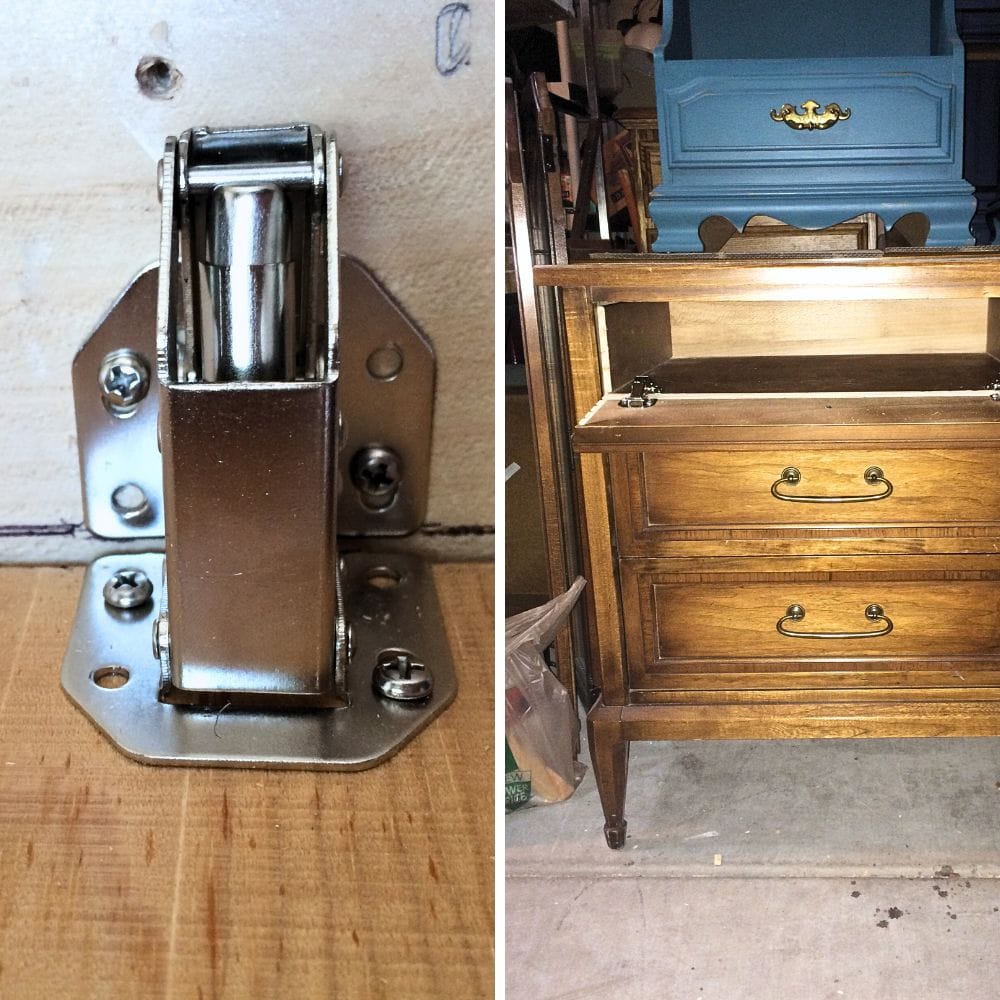
The drawers also needed to be pulled out a few inches in order for the front to be pulled down, but it all came together in the end. And that’s how we were able to make the dresser appear normal when the drawers are closed!
Removing Hardware from Dresser TV Stand
After figuring out the mechanics of the drawer fronts, we then removed all the hardware from the dresser. This included the knobs, drawer slides, and any other unnecessary pieces that would interfere with our painting.
Cleaning and Sanding Dresser TV Stand
Next, we cleaned the dresser TV stand with Krud Kutter to remove any dirt and grime. If you want your paint to adhere properly, it’s important to have a clean surface. Cleaning furniture before painting also helps to remove any odors that may be trapped in the wood.
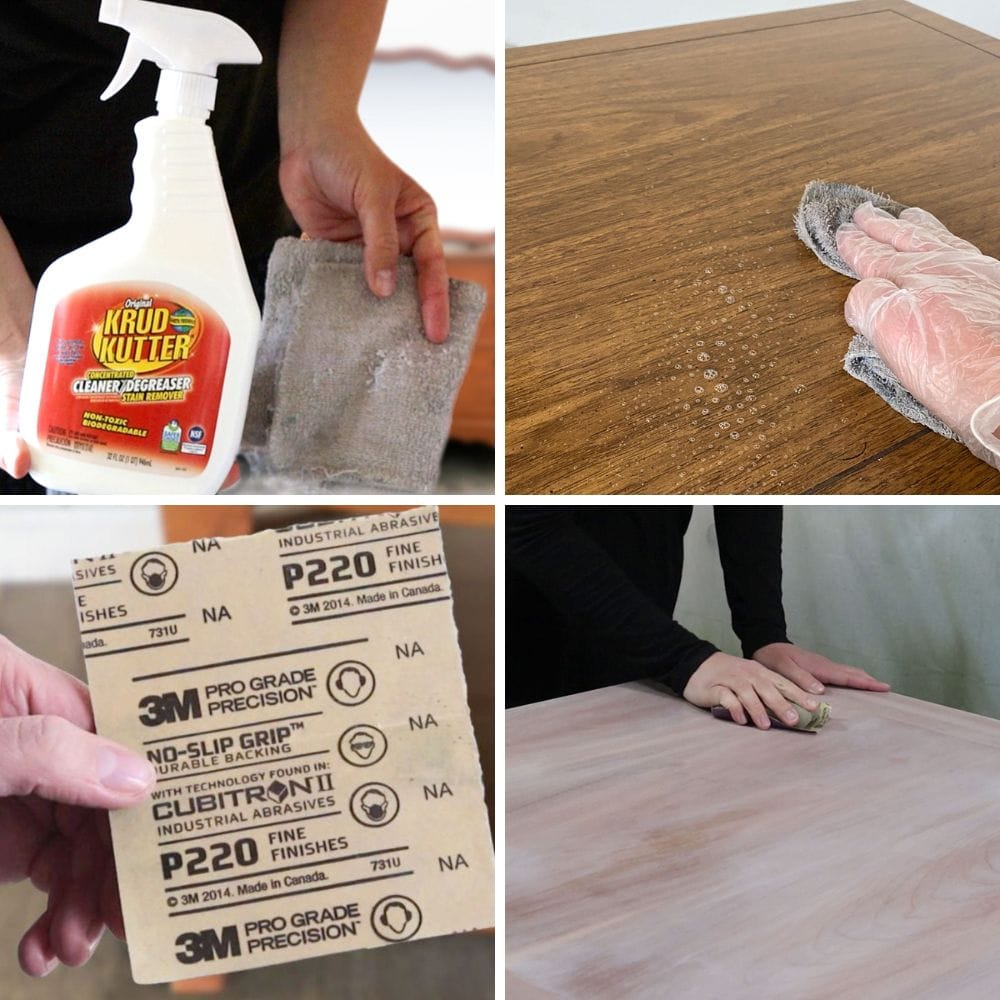
After cleaning, we gave the dresser TV stand a light scuff sanding using 220 grit sandpaper. This helps to create a rough surface for the paint to stick to and also removes any glossy finish. Here’s sanding before painting furniture to learn more about the importance of this process.
We made sure to clean off all dust with a shop vacuum and a tack cloth. You don’t want any dust or debris sticking to the paint!
Priming Dresser TV Stand
The next step in our dresser TV stand makeover was priming. We used a clear shellac spray primer to make sure that the paint would properly adhere to the surface.
Clear shellac is one of the best primers for painting furniture and we chose it because it dries quickly, seals any stains or odors, and provides a good base for paint.
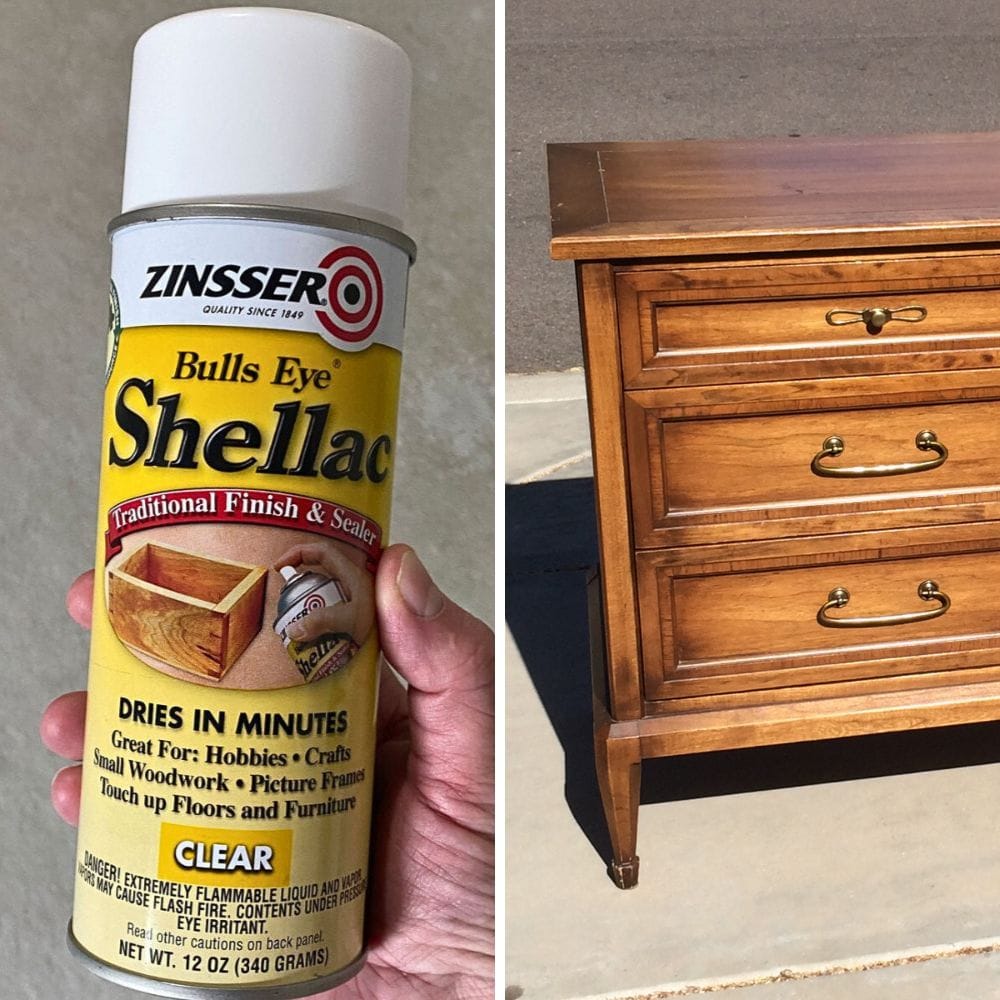
After giving the primer a good shake, we sprayed an even coat all over the dresser, making sure to cover every nook and cranny. It’s important to let the primer dry completely before moving on to the next step. We left ours to dry overnight!
Painting Dresser TV Stand
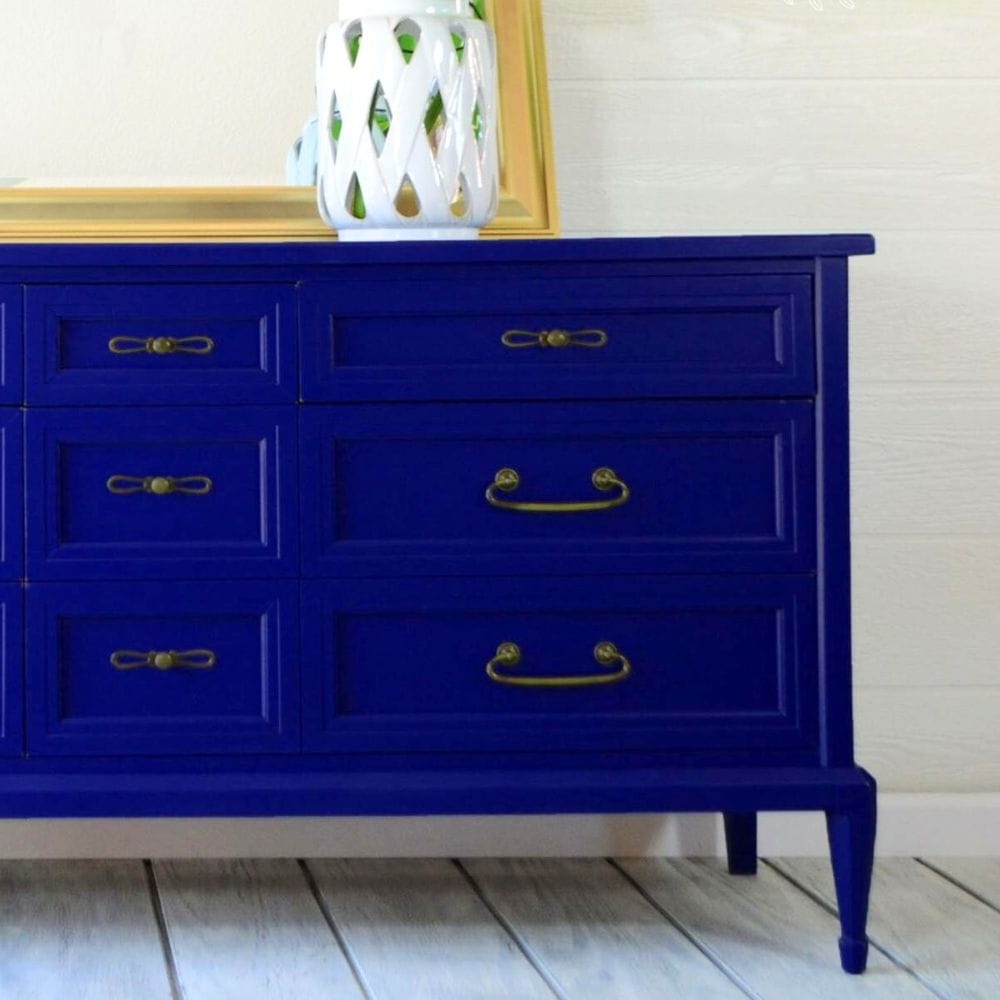
For painting our dresser now TV stand, we chose a beautiful shade called Napoleonic Blue from Annie Sloan Chalk Paint. Check out our honest Annie Sloan chalk paint review for our personal experience with this brand. And here’s turn a headboard into a bench makeover where we used Annie Sloan in Napoleonic Blue.
We got it color matched at Home Depot with latex paint for a cheaper price, and then turned it into homemade chalk paint with calcium carbonate powder. You can follow our homemade chalk paint recipe here!
Would you like to save this?
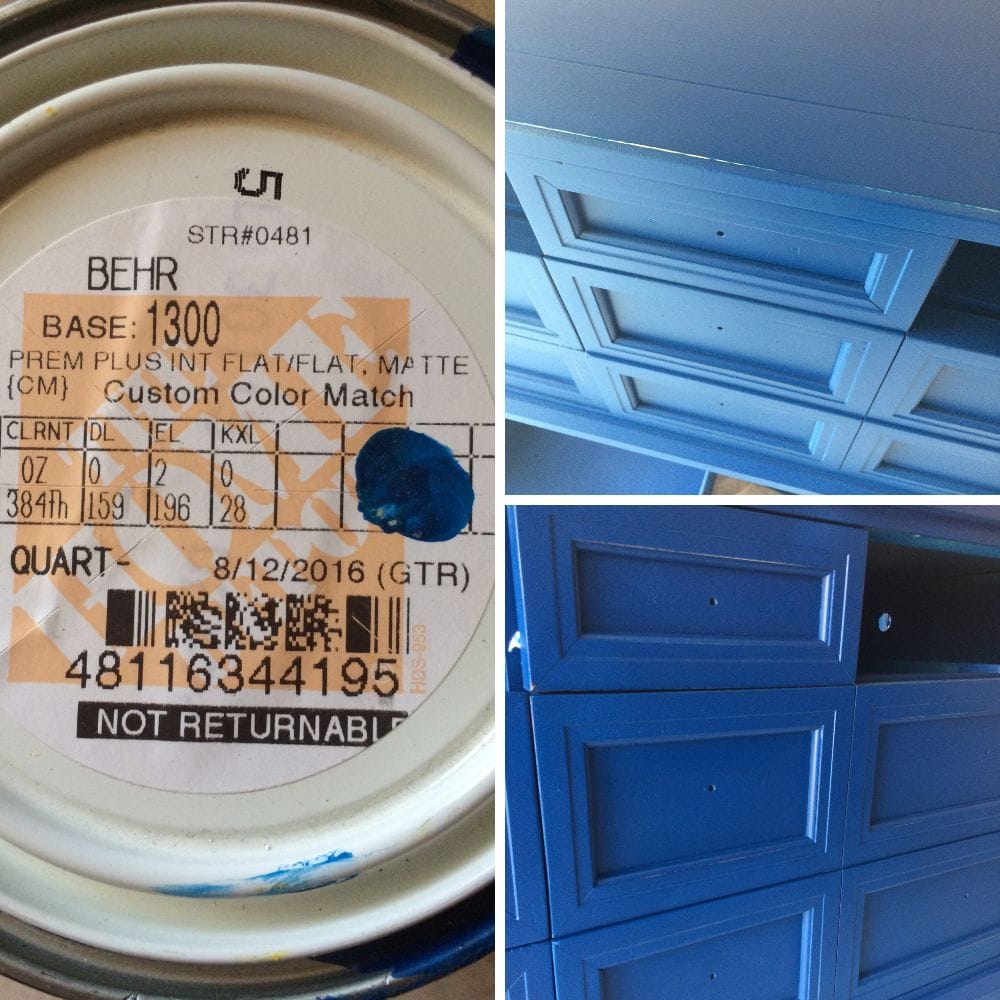
You can also see the color code in the photo above so you can easily replicate this gorgeous blue hue. We painted our dresser TV stand with 3-4 coats of the Napoleonic Blue, letting it dry for about 2 hours between each coat. Since this is a bold color, it took multiple coats to get full coverage.
We also painted the inside of the drawers that we modified to function as doors, as well as inside the dresser where they sat. We did this for a more cohesive look and to make sure that there were no unfinished areas visible when the doors were open.
After painting, we lightly distressed the dresser TV stand with 220 grit sandpaper by hand for a slightly worn and vintage look. And we had our shop vac and tack cloth handy to clean off any dust that was created during the distressing process. Learn more distressing furniture techniques here!


Sealing Painted Dresser TV Stand
Once we finished painting and distressing our dresser TV stand, it was time to seal the paint with a topcoat for painting furniture. We used Varathane polyurethane in a satin finish for a durable and protective coat.
We sprayed three coats of polyurethane over the entire piece, making sure to cover every surface. We let the polyurethane dry overnight. By morning, it was completely dry and our dresser TV stand was ready to be put back together!
We attached the hardware back onto the drawers, making sure they were properly aligned and functioning.
Another thing we did was drill 1.5″ holes in the back of the drawer and the back of the dresser for cords to go through. This way, we could keep our cords organized and hidden while still being able to use our dresser TV stand as a functional piece of furniture.
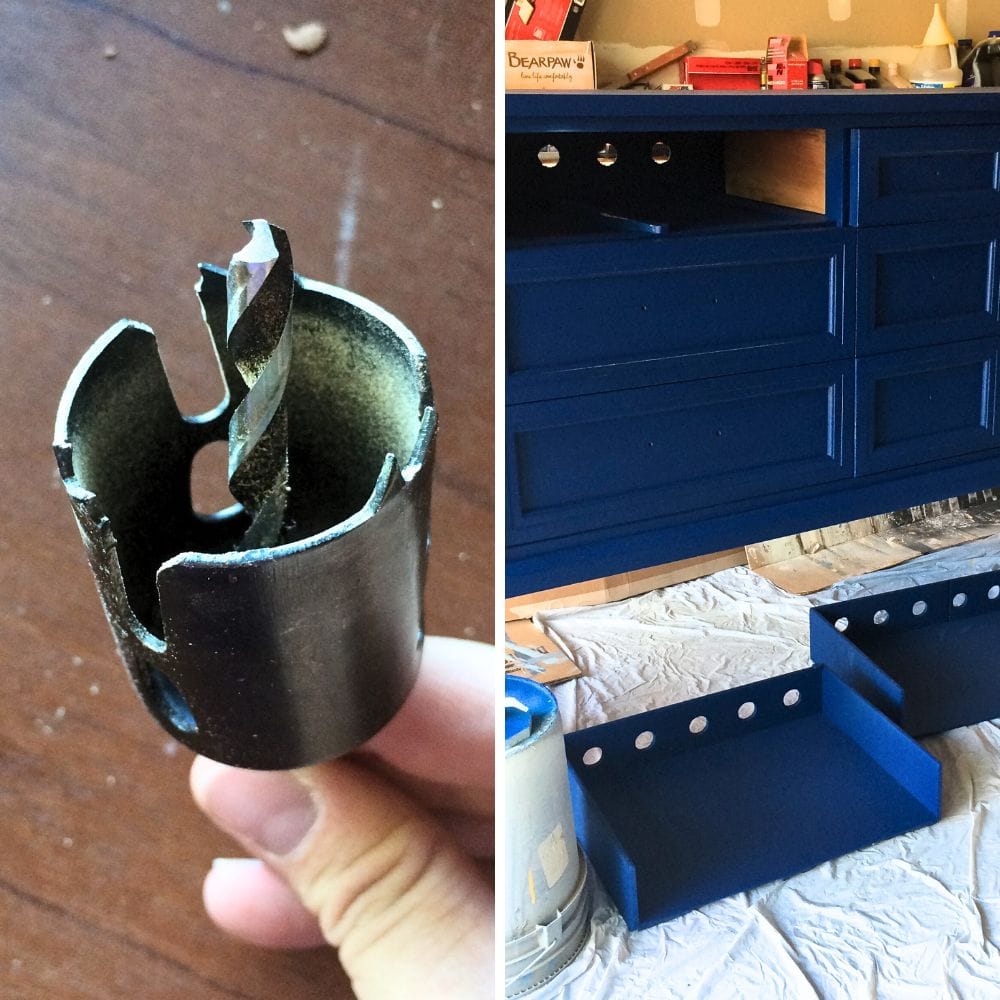
We also drilled multiple holes to help with air flow and prevent any overheating from electronics inside. This may seem like a small detail, but it’s important to consider when using furniture for dual purposes.
We wanted to make sure our dresser TV stand would be both stylish and functional in every way possible. For similar makeovers, check out this DIY TV stand and this list of painted TV stand ideas. If you like this modern style, here are modern dresser ideas and modern chalk painted furniture ideas you can try, too!

And that’s how our dresser TV stand makeover went! It started a bit tricky with the drawers, but in the end, we created a beautiful and functional piece of furniture that now serves as both storage and an entertainment center. If your dresser doesn’t have drawers, check out these repurposed ideas for old dressers without drawers.

More Before and After Makeovers
See All >
Click any of these “before” photos below to view the “after” of that makeover.


We hope this inspires you to repurpose old furniture and get creative with your home decor!


Modern Dresser TV Stand Makeover
With this modern dresser TV stand makeover, you can create a customized piece that is not only stylish but also serves its purpose.
Materials
Tools
Instructions
- Cut the drawer fronts with a jigsaw to create doors, and secure with hinges. Pull out the drawers a few inches for proper alignment.
- Remove all of the hardware from the dresser to prepare for painting. Do this so they won't interfere with the painting process.
- Clean the dresser TV stand with Krud Kutter for a smooth and dirt-free surface for painting. This also helps to remove any odors trapped in the wood.
- Give the dresser TV stand a light sanding with 220 grit sandpaper to create a rough surface for paint adherence and remove any glossy finish. Make sure to clean off all dust with a shop vac and tack cloth.
- Apply a clear shellac spray primer evenly over the entire dresser TV stand, letting it dry completely before moving on to the next step. This will provide a good base for the paint.
- Paint the dresser TV stand with 3-4 coats of your chosen color, letting it dry for about 2 hours between each coat. Use a homemade chalk paint for a cheaper alternative - mix calcium carbonate powder with latex paint.
- Lightly distress the painted dresser TV stand with 220 grit sandpaper by hand for a vintage look then clean off any dust created during this process.
- Apply 3 coats of polyurethane in a satin finish over the entire piece to seal and protect the paint. Let it dry overnight.
- Reattach all hardware back onto the drawers and make sure they are aligned properly and functioning. Drill holes in the back for cords to go through, as well as added air flow for electronics inside.
Recommended Products
As an Amazon Associate and member of other affiliate programs, I earn from qualifying purchases.


More Dresser Makeover Ideas
- Blue Nursery Dresser Makeover
- DIY Navy Blue Bedroom Dresser
- Antique Dresser Revival
- Light Blue French Provincial Dresser Makeover
- Midnight Blue Dresser Makeover
Follow us on YouTube to get more tips for painting furniture. Or share your project with us on our Facebook Group and be part of our community. See you there!
Lots of good information here! The blue cabinet was a huge improvement from its’ original self.
Aww thanks so much!
Lately, your pictures do not load. The last picture of the completed item does load but everything in between does not load.
Hey Judy! Thanks so much for the feedback, it really helps us. We’re so sorry to hear the photos aren’t loading properly for you. We’ll check on it and get it sorted out 😊