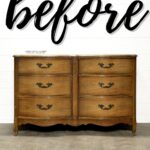
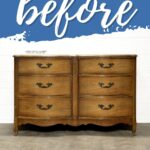
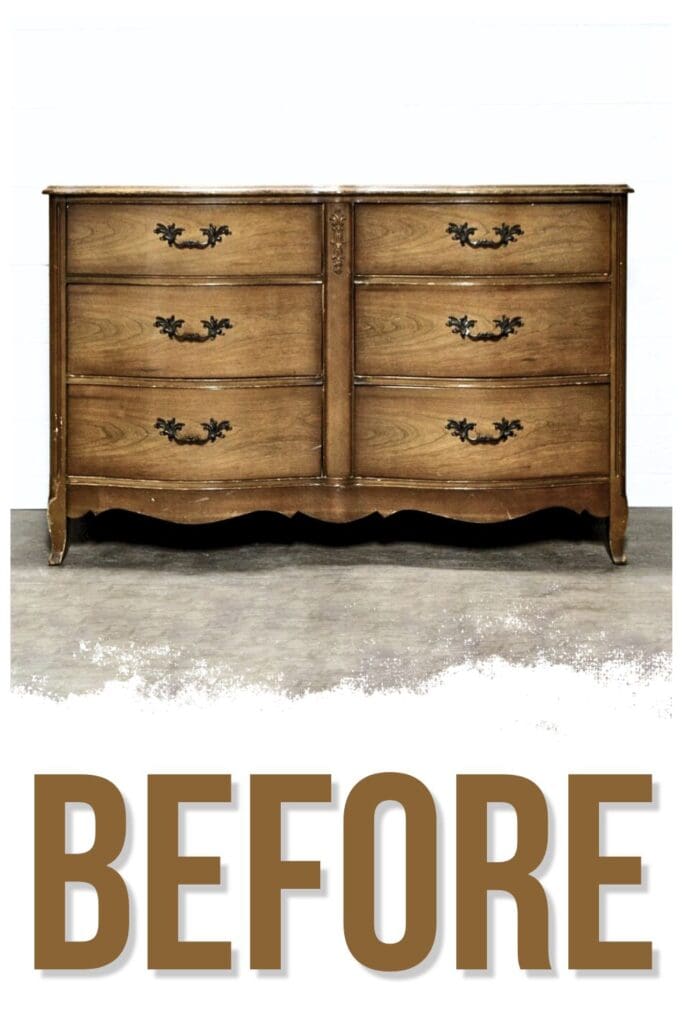
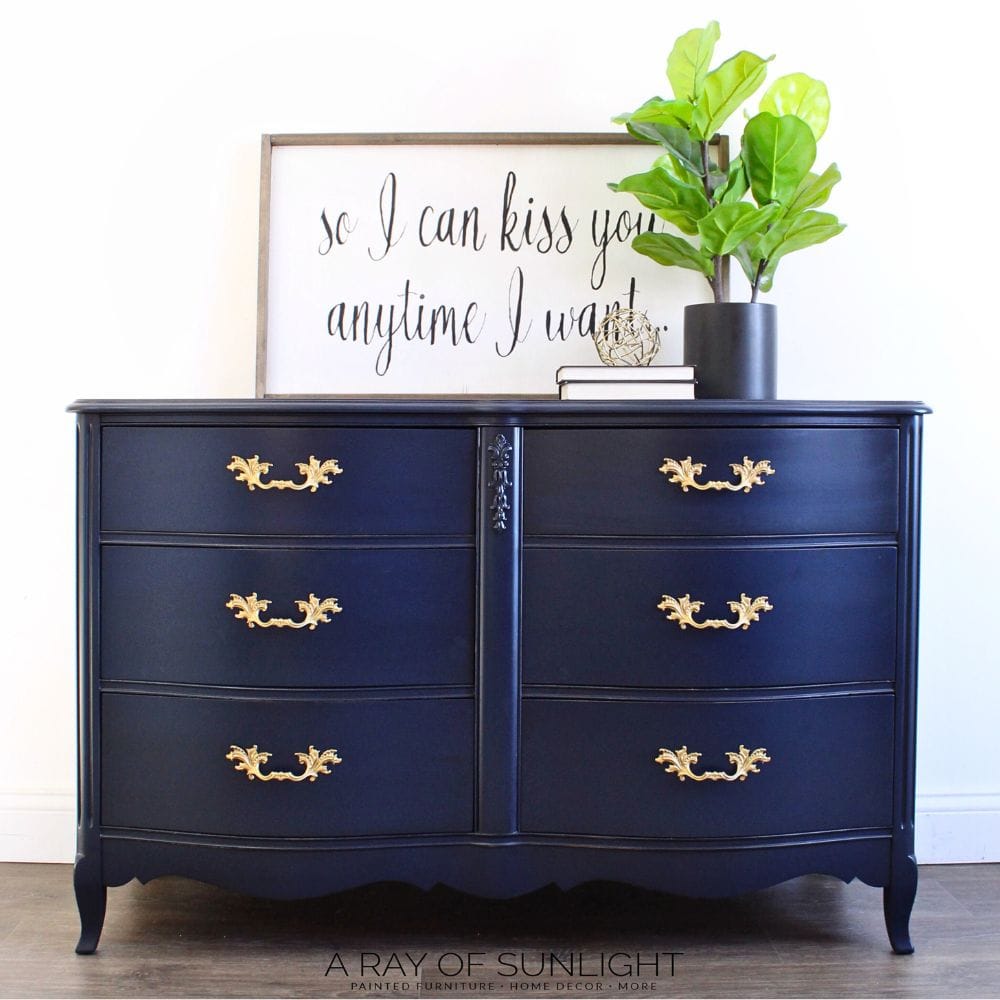
DIY Navy Blue Bedroom Dresser


Are you looking to add a statement piece to your bedroom? Why not try this DIY navy blue bedroom dresser! It’s the perfect way to add color to your room and create a personalized piece of furniture. And with so many different shades of blue available, there’s bound to be one that fits your style perfectly.
Plus, these blue painted furniture ideas are a popular trend in home decor right now, making this project both fun and on trend.
Is your bedroom in need of a little refresh? One of the easiest ways would be to update your dresser with a fresh coat of paint. And what better color to choose than a beautiful navy blue? The deep, rich color adds an element of sophistication and effortlessly blends in with any style or theme.

Navy blue is also known for its calming effect, making it the perfect choice for a bedroom dresser. It creates a peaceful ambiance while still being bold enough to make a statement. Plus, it pairs well with a variety of colors, from neutrals to brights.
Let’s dive into the steps of how you can turn your old bedroom dresser into a beautiful navy blue piece!

Supplies Used for DIY Navy Blue Bedroom Dresser
As an Amazon Associate, I earn from qualifying purchases. I also may earn from other qualifying purchases with other companies or get free product to review and use. All opinions are my own.
- Degreaser
- Sandpaper or Sander
- Lint Free Rag
- Clear Shellac
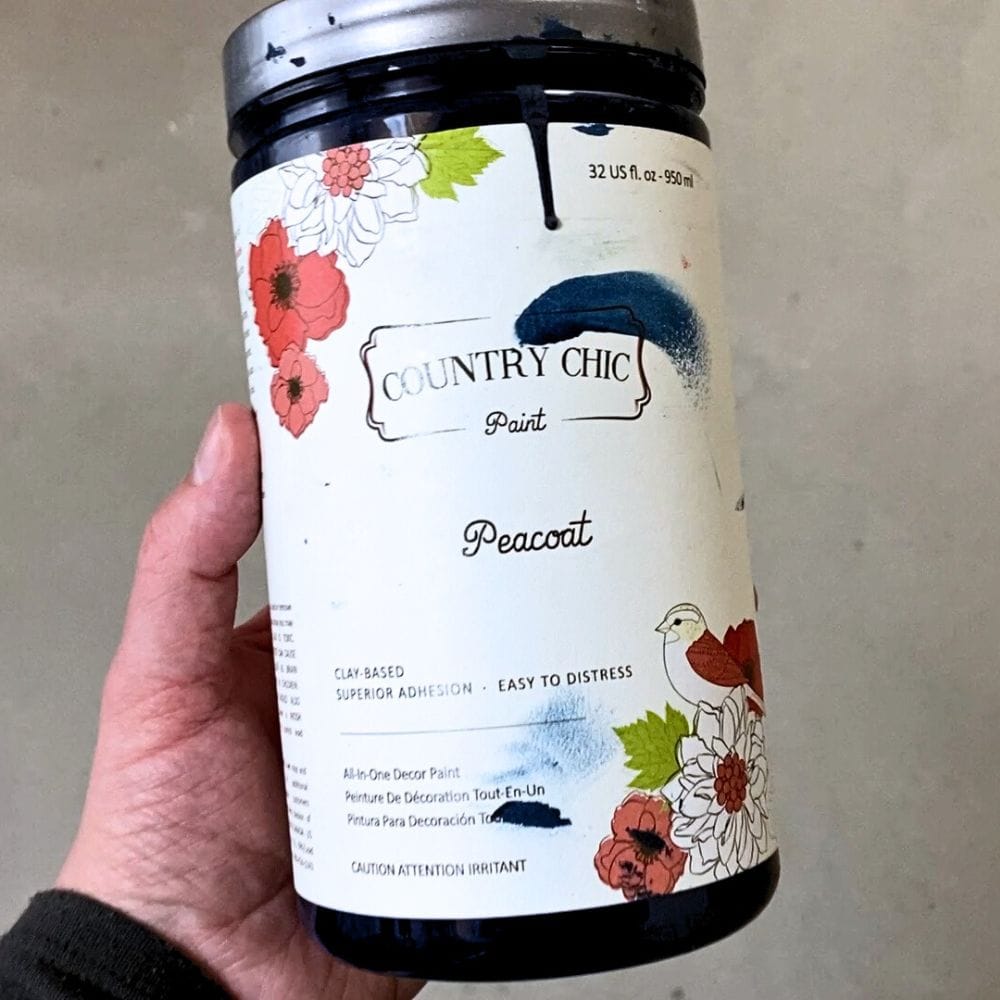
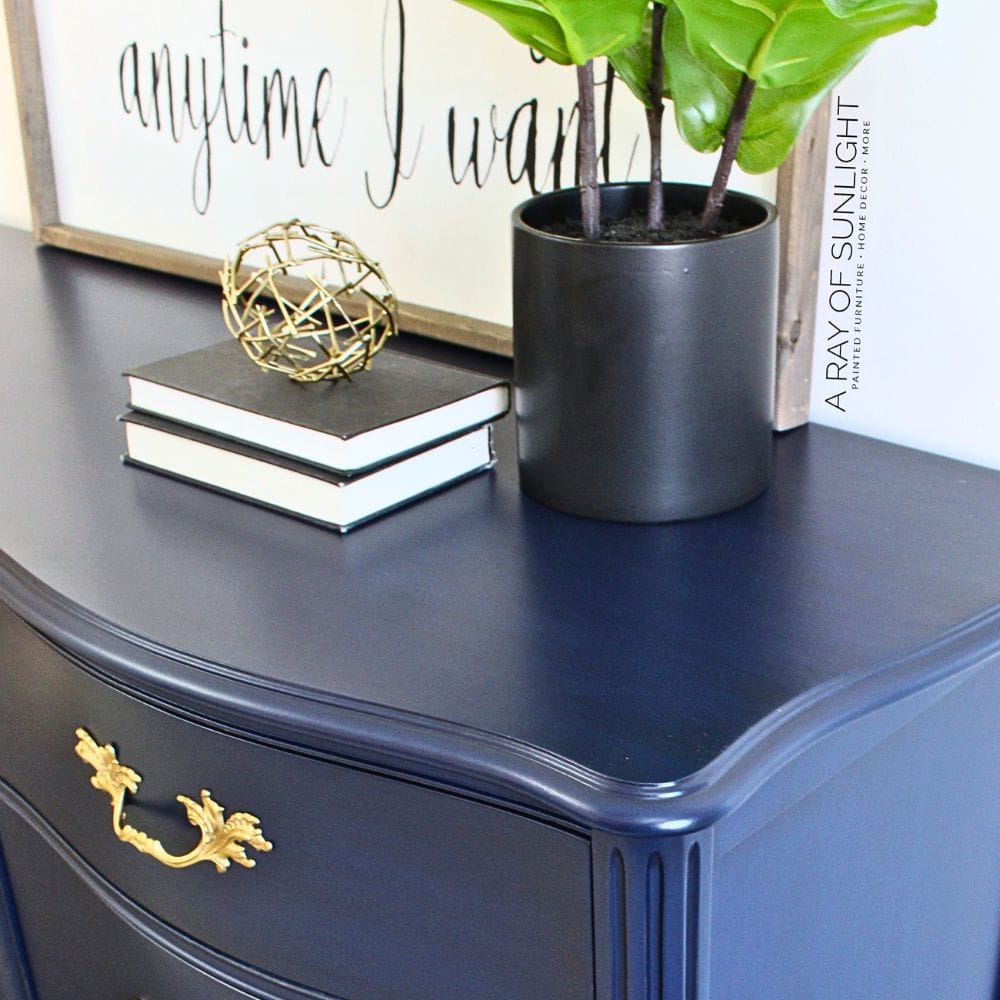
- Country Chic Paint in Peacoat Blue
- Fuji Q4 Platinum Paint Sprayer
- Varathane Polyurethane in Satin Finish
- Black Chalk Paint
- Country Chic Paint Clear Glaze
- Baby Wipes
- Rub N Buff in Gold Leaf
Prepare Bedroom Dresser
Before you get started, make sure to remove all the hardware from your dresser. This includes knobs, pulls, and any other decorative elements. Set them aside in a safe place so you don’t lose them.
Next, give your dresser a good cleaning. Use a grease-cutting cleaner to remove any dirt, grime, or oils that may be on the surface.
Cleaning furniture before painting will help your paint adhere better and prevent any imperfections in the final result.
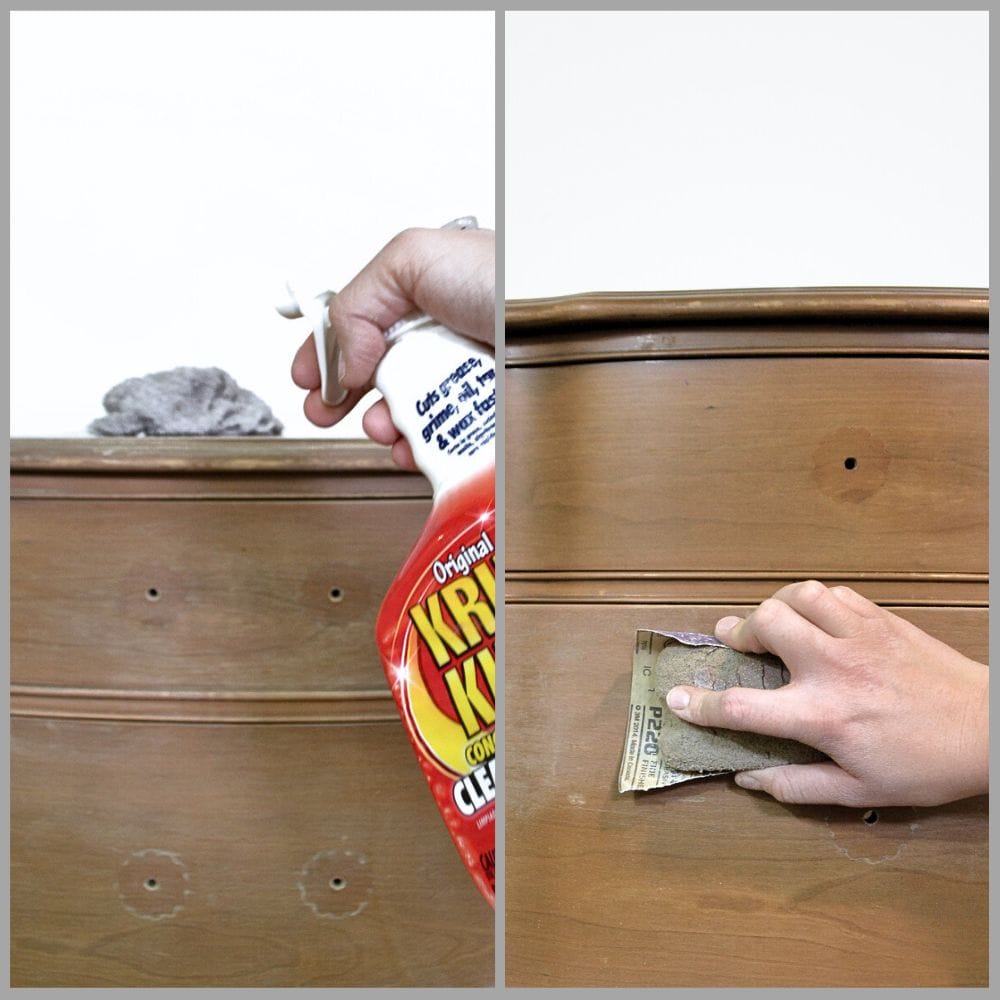
Once your dresser is clean and dry, scuff sand it with 220 grit sandpaper to remove any shine and create a rough surface for the paint to stick to. Wipe away any remaining dust with a damp lint-free rag.
Don’t skip sanding before painting furniture as it is an important step for a professional-looking finish. You can sand wood by hand or use one of these best sanders for furniture.
We’re using chalk paint for this project, which is known for its ability to stick to most surfaces without any prep work.
But since dressers get their own share of activity, we’re going to prime it with clear shellac. Priming stops stains from coming through paint so if you don’t want to worry about bleedthrough, we highly recommend priming your dresser.
Painting A Bedroom Dresser Navy Blue
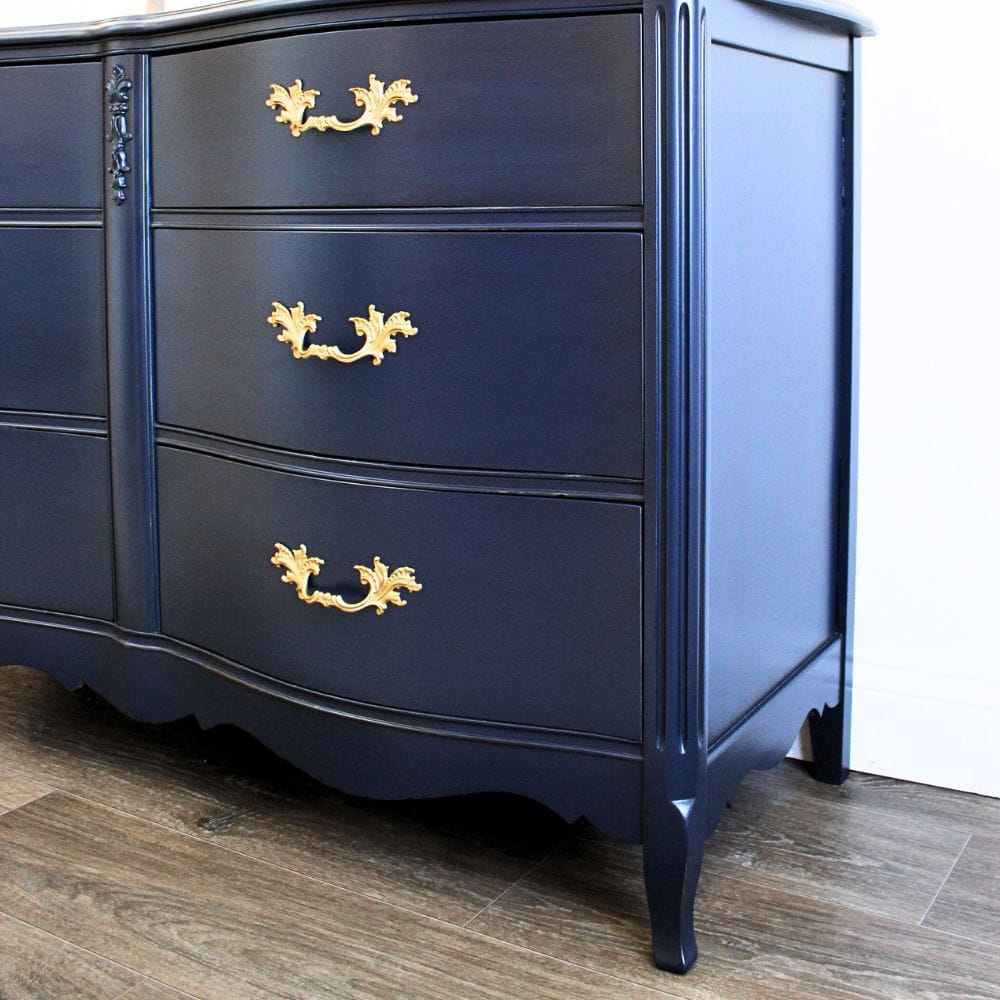
For our dresser makeover, we used Peacoat Blue from Country Chic Paint. It’s a rich, deep navy blue with excellent coverage and adhesion. Its low VOC content makes it a great option for those looking for eco-friendly and non-toxic paints. And with a quick drying time, you can move on to the next step of your project in no time!
You can read our Country Chic Paint review for more information on this brand. For other options for navy blue paint, here’s our list of the best navy blue furniture paint!
To get a smooth and professional finish, we used a paint sprayer to apply the navy blue paint onto our bedroom dresser.
We specifically used the Fuji Q4 paint sprayer, which is known for its high quality results. Here’s how to use a Fuji Q4 Platinum paint sprayer for painting your dresser.

You can also check out our honest review and thoughts on the Fuji Q4 paint sprayer to help you decide if this is a tool you should invest in too.
However, if you don’t have access to a paint sprayer, you can still get great results by using a brush or roller.
We have listed our recommendations for the best paint brushes for painting furniture here and the best rollers for painting furniture here.
Just make sure to use thin, even coats and let each coat dry completely before applying the next one. This will help prevent drips and create a smooth finish.
And don’t forget to paint in the direction of the wood grain for a more natural look.


Glaze Navy Blue Bedroom Dresser
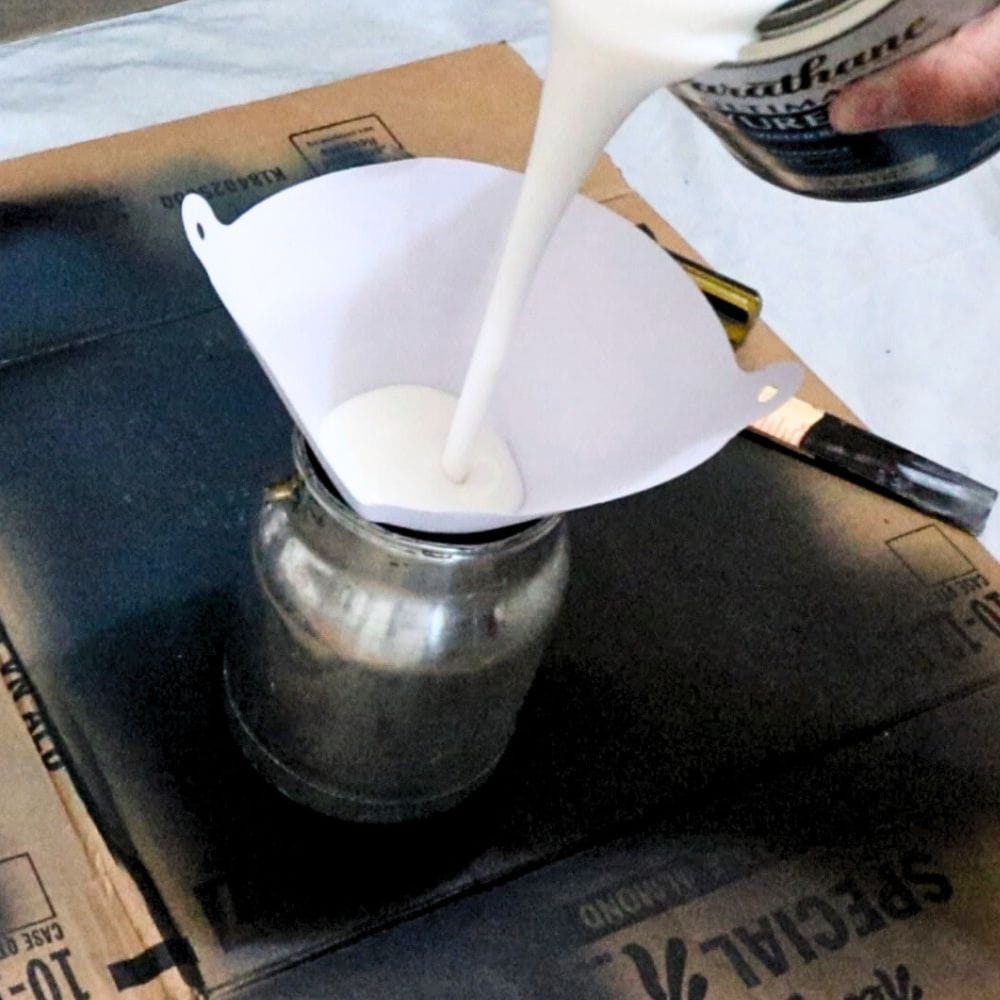
Before proceeding to the glazing process, make sure to properly seal your navy blue painted bedroom dresser with water-based polyurethane.
Would you like to save this?
Our topcoat of choice is the Varathane polyurethane in a satin finish for its durability and smooth sheen. You can check out the other options for topcoats for painting furniture here.
Sealing the paint is important because it creates a barrier between the glaze and chalk paint, preventing the glaze from soaking into the paint. This also helps prevent any lifting or scratching of the paint during the glazing process.
Let the polyurethane dry for at least 24 hours before proceeding to the glazing step.
For our glaze, we made black glaze by mixing clear glaze from Country Chic Paint with a small amount of black chalk paint.
You can also use ready-made black glaze from other brands, or create your own by mixing clear glaze with any dark-colored paint.
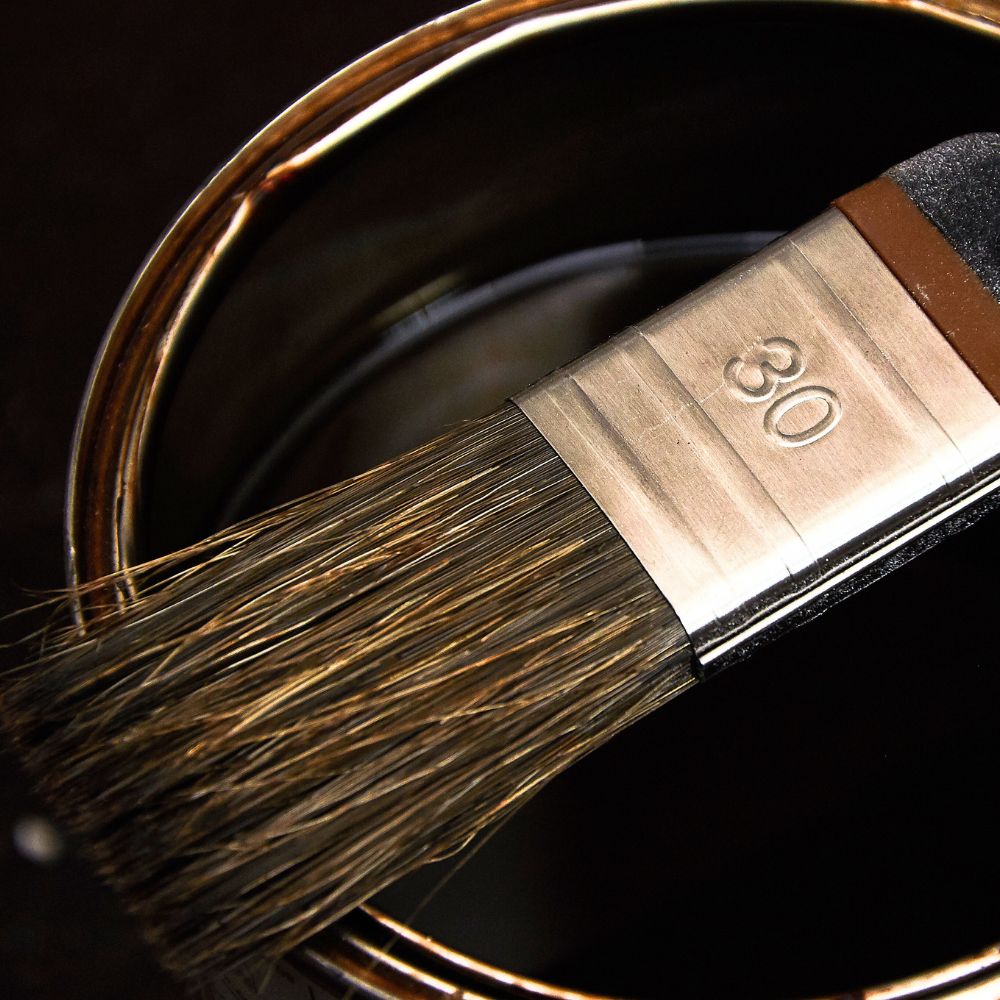
When applying the glaze, work in small sections and make sure to get it into all the details, corners, and crevices with a cheap paintbrush. You can also mix a little water into the glaze to slow down the drying process and make it easier to work with.
Apply the glaze in a thicker coat and wipe it off with baby wipes in the direction of the wood grain. Keep in mind that you can always add more glaze, but it’s difficult to remove once it’s dry.
After completing the first coat, let it dry completely before proceeding to a second coat where you can use a “dry brushing” technique for a more subtle effect.
Once the glaze is completely dry, apply three more coats of water-based polyurethane to protect and seal the glaze.
This will also help give your dresser a smooth finish and resist any scratches or damage from daily use.
Paint and Reattach Bedroom Dresser Hardware
After painting and glazing, it’s time to reattach the hardware to your transformed dresser.
Before doing so, you may want to give them a fresh new look by painting them with Rub N Buff in Gold Leaf color. This will add a touch of glam and elevate the overall look of your bedroom dresser.
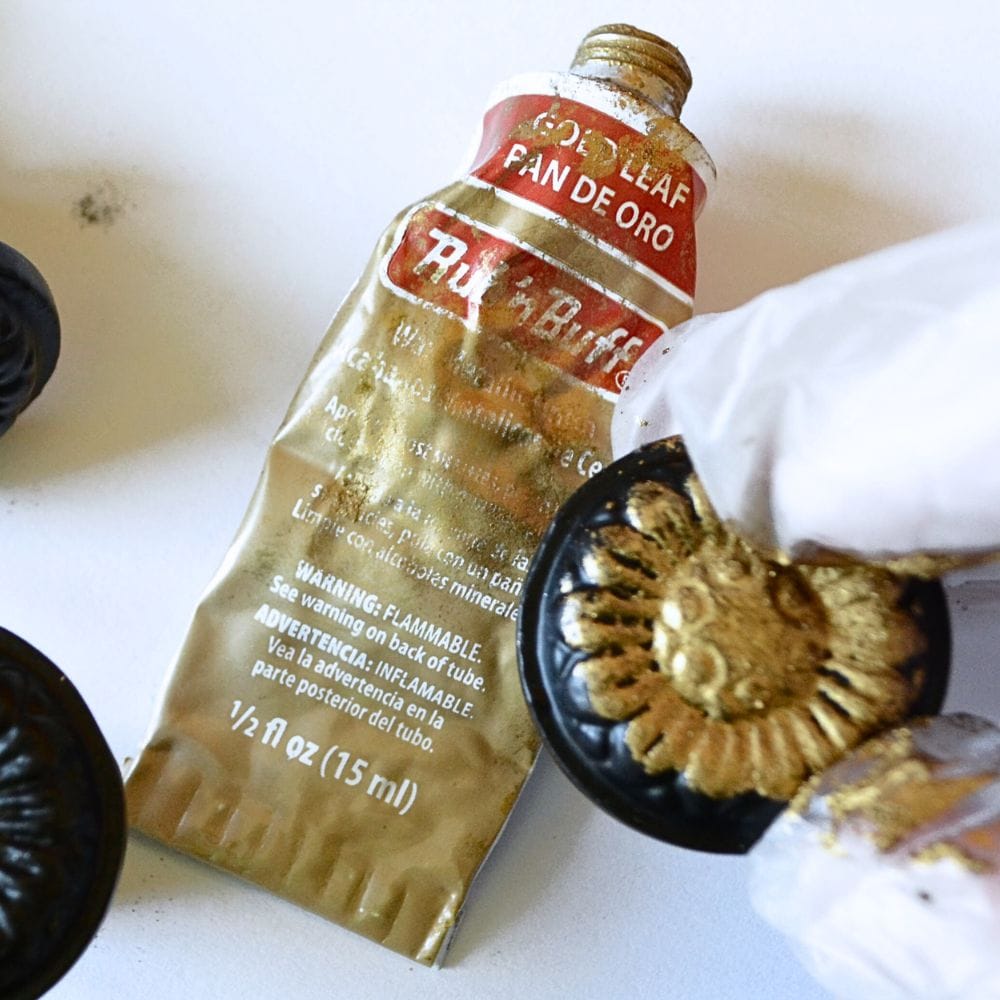
You can start with cleaning old furniture hardware and then applying the Rub N Buff.
As its name says, just rub and buff the gold color onto your hardware until you get your desired level of gold. You can also use a small paintbrush to apply it in hard-to-reach areas.
Once your hardware is completely dry, you can reattach these gold pieces to your dresser. And just like that, your bedroom dresser has new hardware that perfectly complements its navy blue finish!
You have successfully transformed your old and tired dresser into a beautiful piece of furniture you’d love to have in your bedroom. And with its navy blue color and gold hardware, you get a modern and sophisticated bedroom dresser worthy of display in your home.
More Before and After Makeovers
See All >
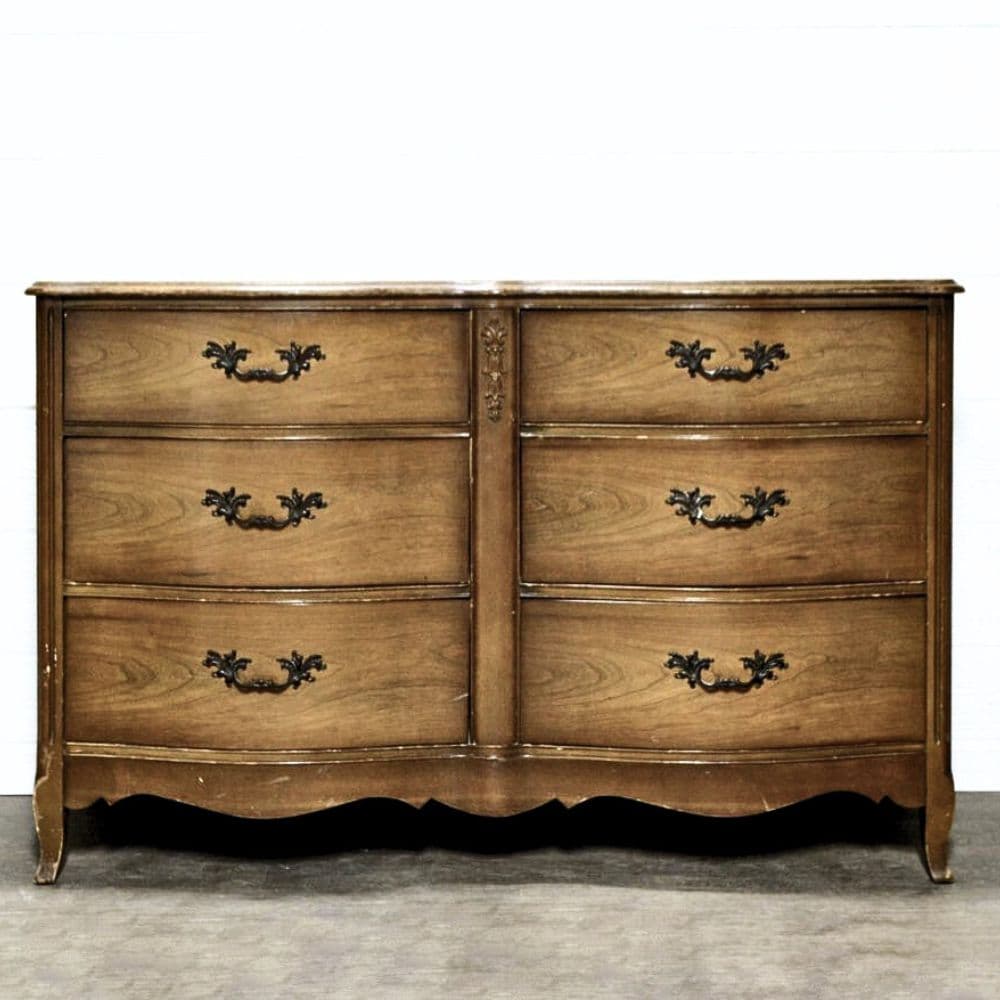
Click any of these “before” photos below to view the “after” of that makeover.


For similar makeovers, here’s our list of bedroom furniture paint color ideas and painted bedroom furniture ideas! If you like how the blue turned out, check out more blue painted dresser ideas here.


DIY Navy Blue Bedroom Dresser
Check out this DIY navy blue bedroom dresser, a modern and sophisticated piece you'd love to have in your bedroom.
Materials
Instructions
- Remove any existing hardware and give your bedroom dresser a thorough cleaning with a degreaser. This will help the paint adhere properly to the surface.
- Sand any rough or uneven areas on the dresser with a fine-grit sandpaper. This will also help the paint bond better and create a smooth surface for painting.
- Apply primer to the entire dresser, making sure to cover all the surfaces evenly. This will help prevent any stains or wood tannins from bleeding through your paint.
- Spray navy blue paint onto your bedroom dresser making sure to use thin and even coats. Remember to let each coat dry completely before applying the next one.
- Seal the painted dresser with water-based polyurethane in a satin finish for durability and protection against scratches or wear. Let it dry for at least 24 hours before proceeding to the next step.
- Create black glaze using a clear glaze from Country Chic Paint and mixing it with a small amount of black chalk paint. Apply the glaze in sections and wipe away excess with baby wipes in the direction of the wood grain. Let the glaze dry completely before applying another coat or using a "dry brushing" technique for a more subtle effect.
- Once done with the glaze, seal it with three coats of water-based polyurethane. This will protect and seal the glaze while giving your dresser a smooth finish.
- Use Rub N Buff in Gold Leaf color to give your hardware a fresh new look before reattaching them onto your dresser.
Recommended Products
As an Amazon Associate and member of other affiliate programs, I earn from qualifying purchases.


More Blue Painted Furniture Ideas
- DIY Navy Chest of Drawers
- Navy Dresser with Textured Drawers
- Mason Jar Blue Headboard Bench
- DIY Teal Blue Nightstands
- Blue Nursery Dresser Makeover
Follow us on YouTube to get more tips for painting furniture. Or share your project with us on our Facebook Group and be part of our community. See you there!
Love your work. By CT
Aww thanks so much!