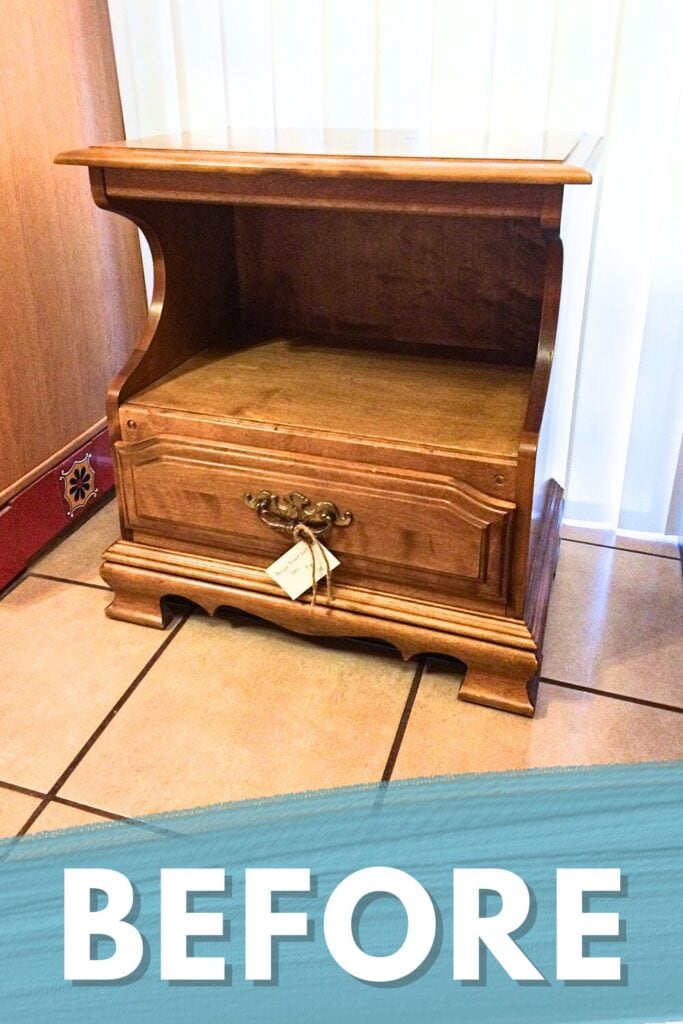
DIY Teal Blue Nightstands

If you’re looking to add some personality and color to your bedroom, then this project is perfect for you. These beautiful DIY teal blue nightstands will not only serve as functional bedside tables but also as eye-catching decor in your room.
Get ready to transform your ordinary nightstands into unique, one of a kind pieces of blue painted furniture that you’ll love waking up to every day.
Nightstands are important pieces of furniture in any bedroom, providing a convenient spot to store all your nighttime essentials. However, they don’t have to be just functional – they can also be a great way to add style to your room.

One easy and budget friendly way to do this is by painting them with a trendy and eye-catching color. Painting furniture is a fun and empowering DIY project that allows you to personalize your home decor. Not only does it save you money, but it also gives you the freedom to choose unique colors and finishes that reflect your personal style.
Teal blue is a popular color choice for furniture as it adds a bold and vibrant touch without being too overpowering. Let’s start this teal blue makeover!

Supplies Used for DIY Teal Blue Nightstands
As an Amazon Associate, I earn from qualifying purchases. I also may earn from other qualifying purchases with other companies or get free product to review and use. All opinions are my own.
- Krud Kutter
- Wood Filler
- Putty Knife
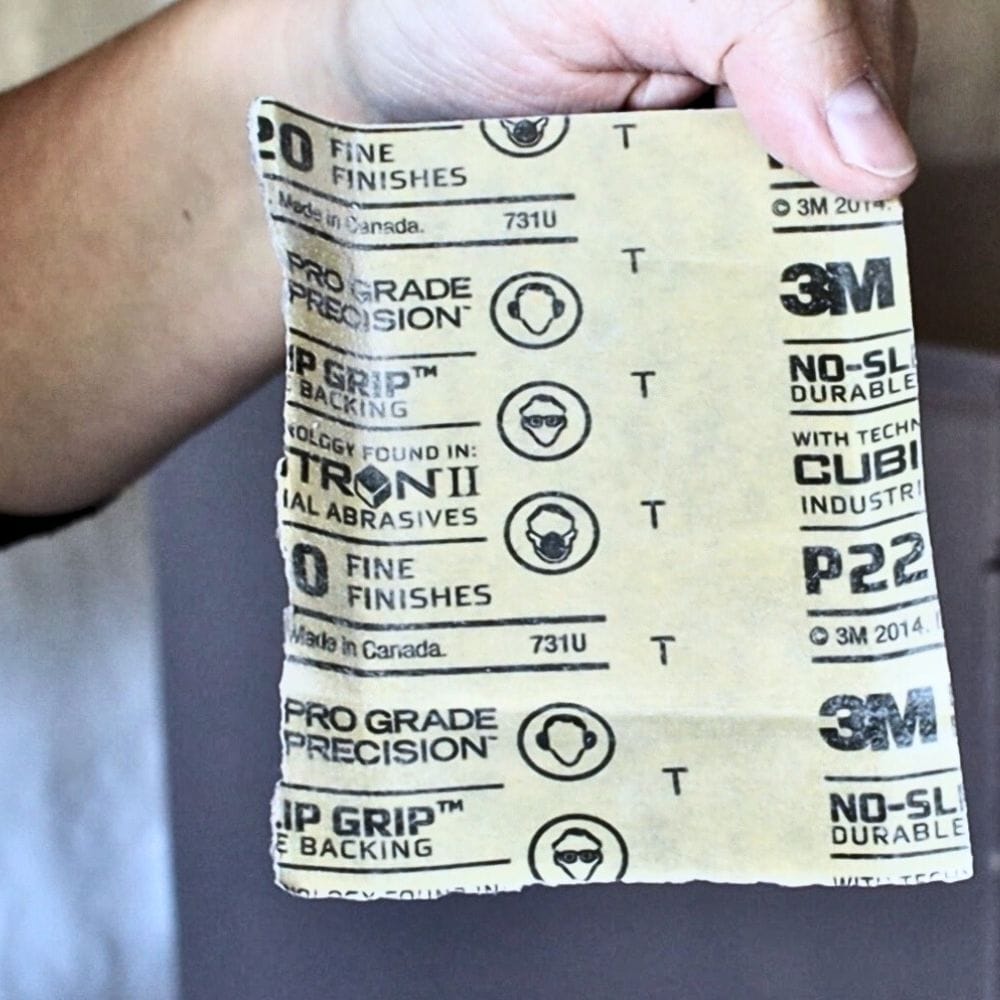
- 220 Grit Sandpaper
- Tack Cloth or Shop Vacuum
- Primer
- Annie Sloan’s Aubusson Blue
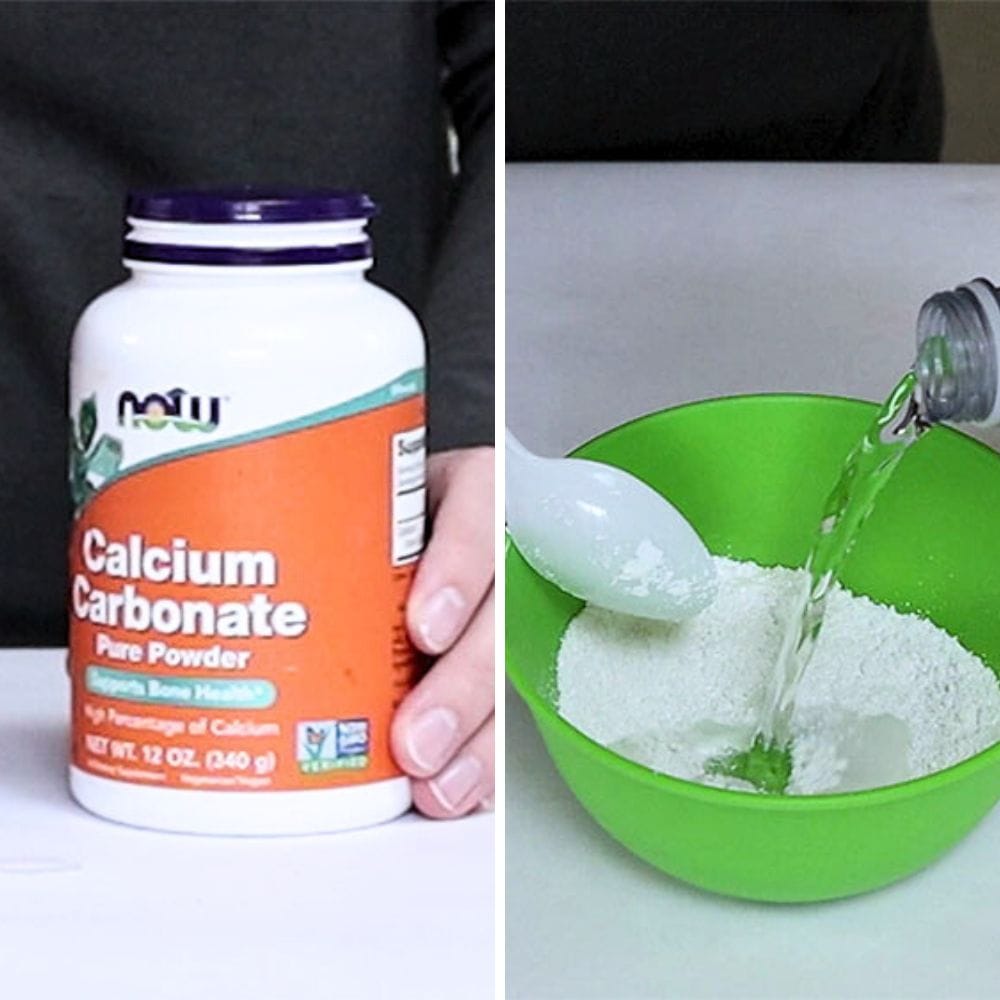
- Calcium Carbonate Powder (for homemade chalk paint)
- Zibra Paint Brush or Paint Sprayer
- Varathane Water-Based Polyurethane
- KREG Cabinet Hardware Jig
- Crystal Knobs
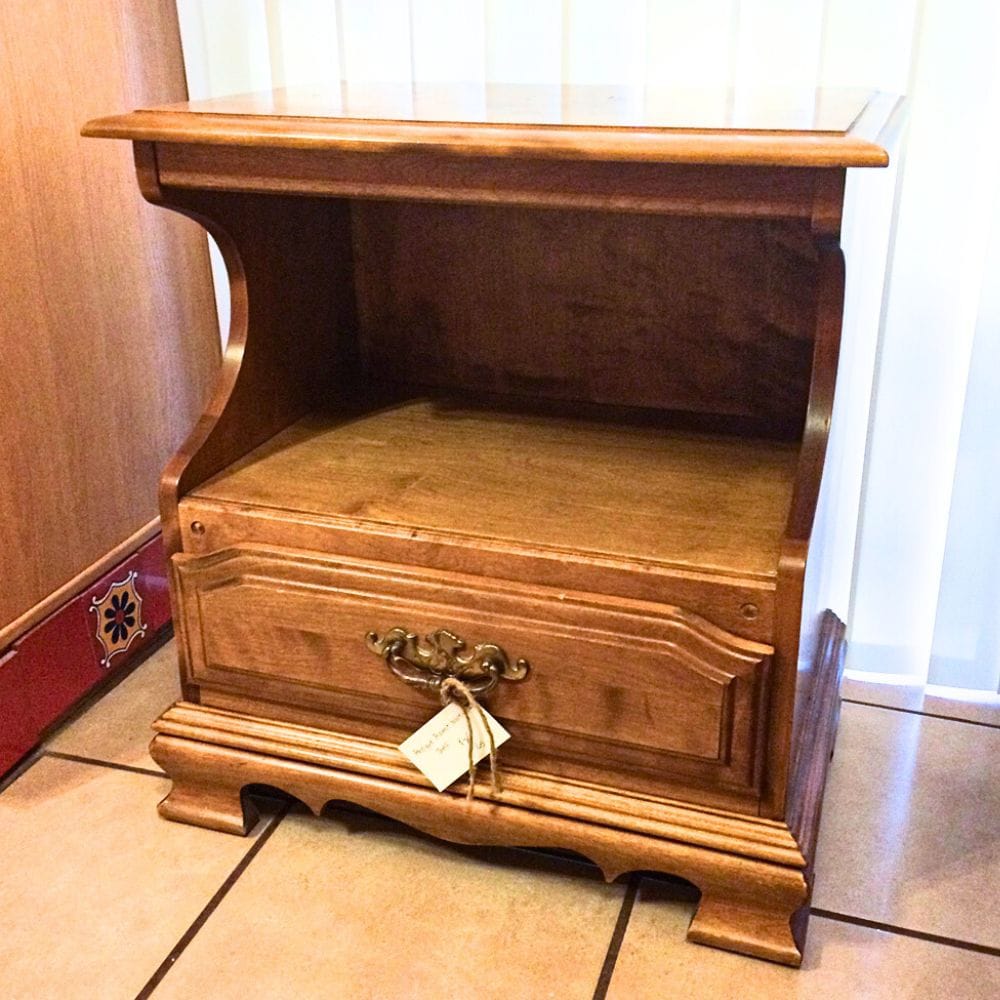
Prep Your Nightstands
The first step is to remove all hardware from the nightstand, such as handles or knobs, in order to avoid any unwanted paint coverage.
If you want to change out the hardware, make sure to do so before painting. We decided to use new hardware last minute so we had to do touch ups on the paint job.
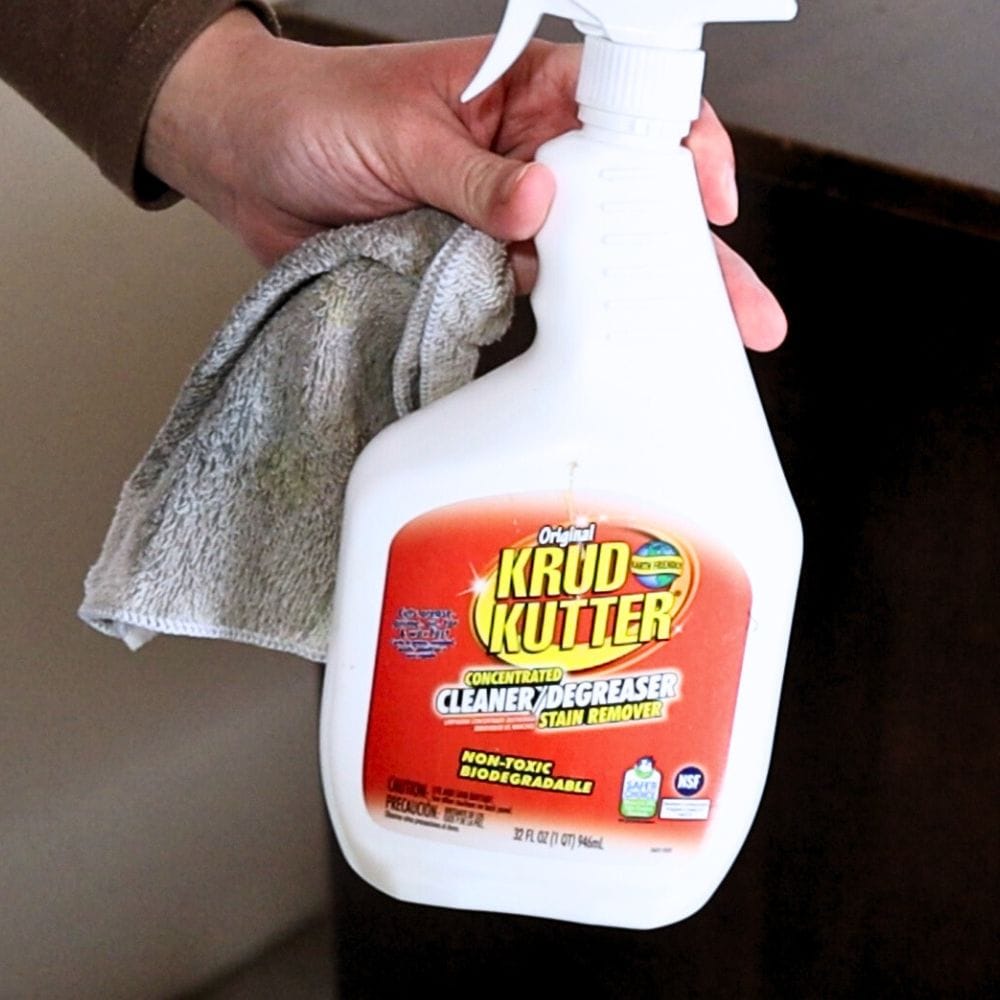
Next, give your nightstands a good cleaning using Krud Kutter or any other degreaser.
Cleaning furniture before painting will help remove any built-up dust, dirt, oil, wax, or grime that could interfere with the paint sticking to the surface.
Make sure to let your nightstands dry completely before moving on to the next step.
After cleaning, use wood filler to fill in any imperfections such as scratches or dents. This will give you a smooth and even surface for painting.
Be generous with the wood filler and make sure to let it dry completely before sanding it down. You can also use a putty knife to remove any excess filler and create a more even finish.
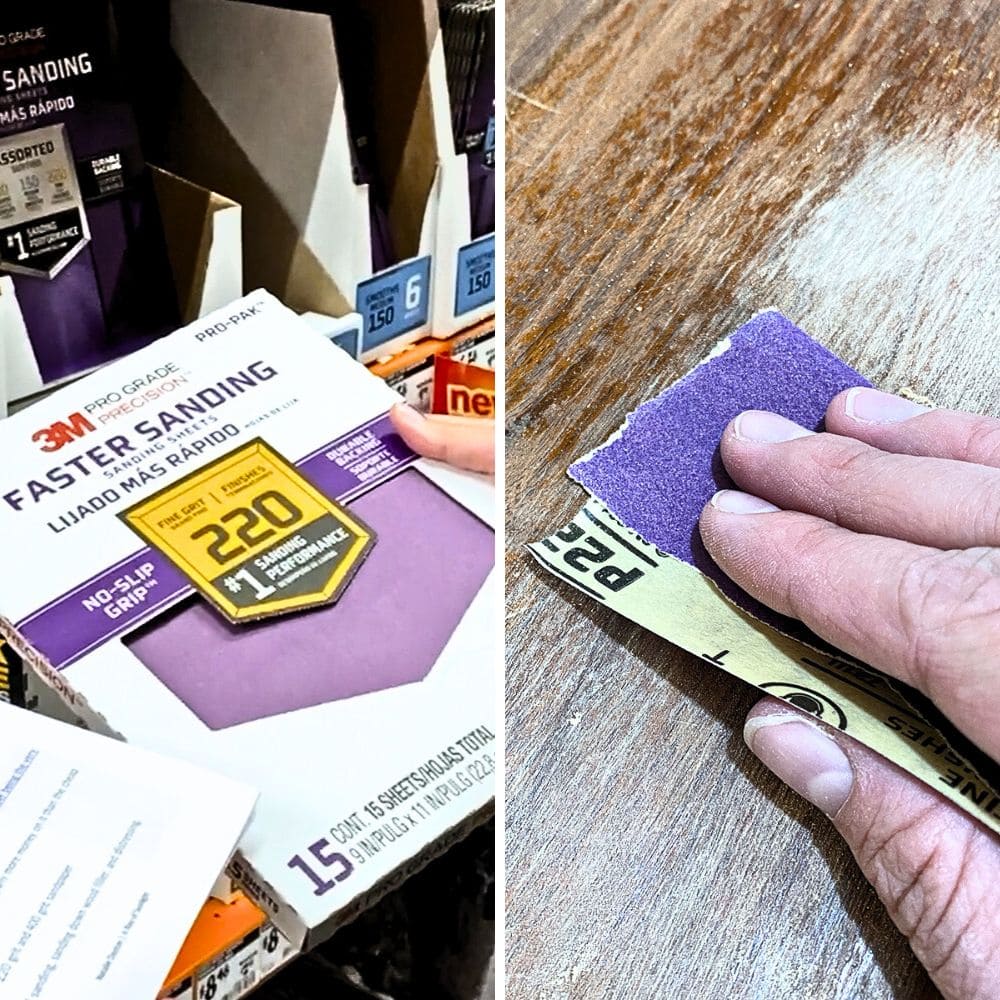
Now lightly sand the nightstands using 220 grit sandpaper to scuff up the surface. This will help the paint adhere better and create a stronger bond.
Here’s our post on sanding before painting furniture to learn more about the importance of this process.
Remember to always wipe down the nightstands with a tack cloth after sanding to remove any dust or debris. You can also use a shop vacuum with a brush attachment for this step.
Once everything is clean and dry, you should prime your nightstands using a high-quality primer.
Our list of the best primers for painting furniture can help you choose the right one for your project. This will not only help the paint stick better but also stop stains from coming through paint.
Apply one or two coats of primer and let each coat dry completely before moving on.
Paint Your Nightstands Teal Blue
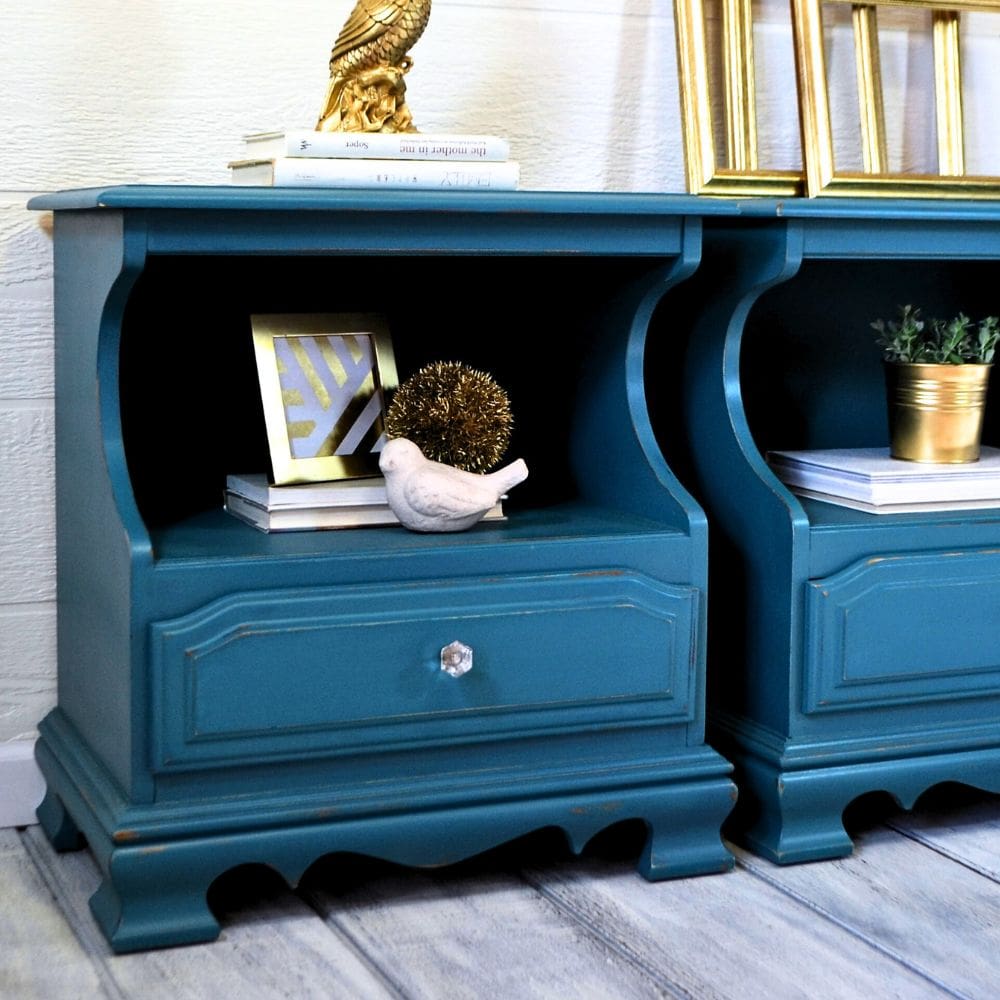
Once your nightstands are prepped and primed, it’s time to add the fun teal blue color! We used a color match of Abusson Blue from Annie Sloan – from searching online, a blogger gave the color match code for Annie Sloan’s Abusson Blue, but you can also use any other brand of paint in a similar shade.
Here’s our list of the best Annie Sloan chalk paint colors for more paint colors from this brand. For more color inspiration for your nightstands, check out these nightstand color ideas.
We made our own homemade chalk paint by mixing the color with calcium carbonate powder.
When painting your nightstands, make sure to use smooth and even brush strokes. We used a Zibra paint brush which helped us get a flawless finish.
If you’re worried about brush marks, you can learn tips and tricks on how to paint furniture without brush marks here. But if brush strokes are unavoidable, here’s how to fix brush strokes in chalk paint.
Once you’ve painted the first coat, let it dry completely before adding a second coat.
If you’re looking to save time or want a different method for painting your furniture, consider using a paint sprayer. They are easy to set up and clean up, can be used with any type of paint, and can even be used for topcoats.
Plus, they provide a smooth finish without any brush marks. Check out our list of the best HVLP paint sprayers for furniture to know your options.
Would you like to save this?


Distress and Seal Your Teal Blue Nightstands
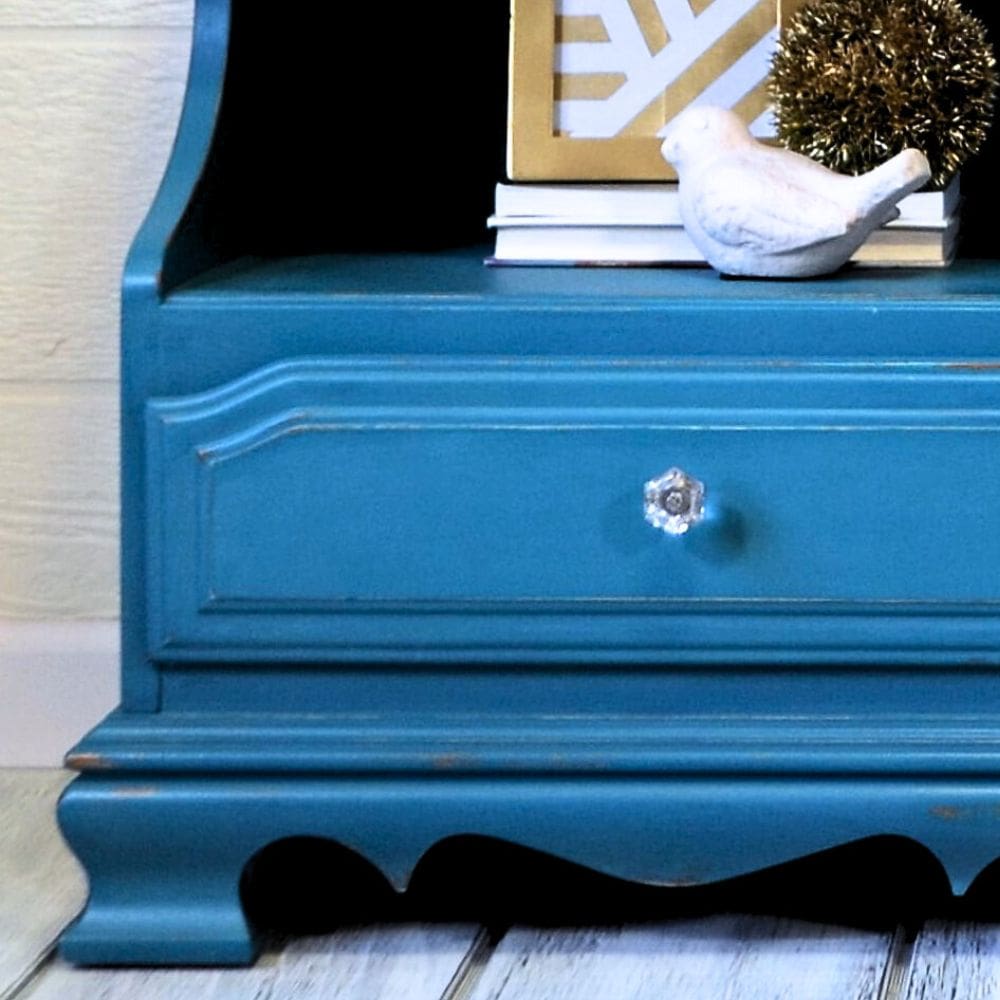
Distressing your teal blue nightstands can add a vintage and rustic charm to them, making them look like timeless pieces.
Using 220 grit sandpaper, you can easily distress the edges and corners of your nightstands to give them a worn-out look.
Make sure not to overdo it and step back every now and then to see if you’re happy with the amount of distressing.
If you’re not a fan of the distressed look, you can skip this step and just seal your nightstands with poly. Here’s our blog post about distressing furniture to learn more tips about distressing furniture!
After distressing, it’s important to seal your nightstands with a topcoat. This will not only protect the paint from wear and tear but also make it easier to clean and maintain.
We used Varathane water-based polyurethane and applied it with a paint sprayer for a smooth and even finish.
Here’s our post on topcoats for painting furniture to learn more about choosing the right topcoat for your next project!
It’s recommended to apply at least three coats of poly for the best durability and protection. This is especially important for your nightstands as they are frequently used pieces of furniture.
Here’s how to spray polyurethane to learn more about how to make your polyurethane topcoat look perfect.

Update Nightstands Hardware
When it comes to updating the hardware on your nightstands, there are a few options you can consider.
One option is repainting the original hardware. We did this by using Rub n Buff in Gold Leaf to give it a new and shiny look.
Unfortunately, we didn’t like the way it turned out, so we decided to go with a different option.
And this other option is to replace the hardware altogether. So we filled in the old holes, scuff sanded each drawer, and then repainted and topcoated them.
We drilled new hardware holes by measuring and marking where we wanted the new hardware to be, making sure each piece was evenly spaced from the edges.
You can use a KREG cabinet hardware jig to make this process easier and more accurate. Finally, we added new crystal knobs for a touch of elegance and sparkle. Read this post to learn more about how to change hardware on a dresser (this method works on nightstands too)!
More Before and After Makeovers
See All >
Click any of these “before” photos below to view the “after” of that makeover.


For more nightstand makeovers like this, check out these small nightstand ideas and modern nightstand ideas. If you don’t want a typical nightstand, recreate one of these unique nightstand ideas! These DIY nightstand ideas should give you more inspiration!
For more chalk painted furniture inspiration, don’t miss these chalk paint nightstand ideas. If you’re working with mismatched nightstands, check out these mismatched nightstands ideas for inspiration.


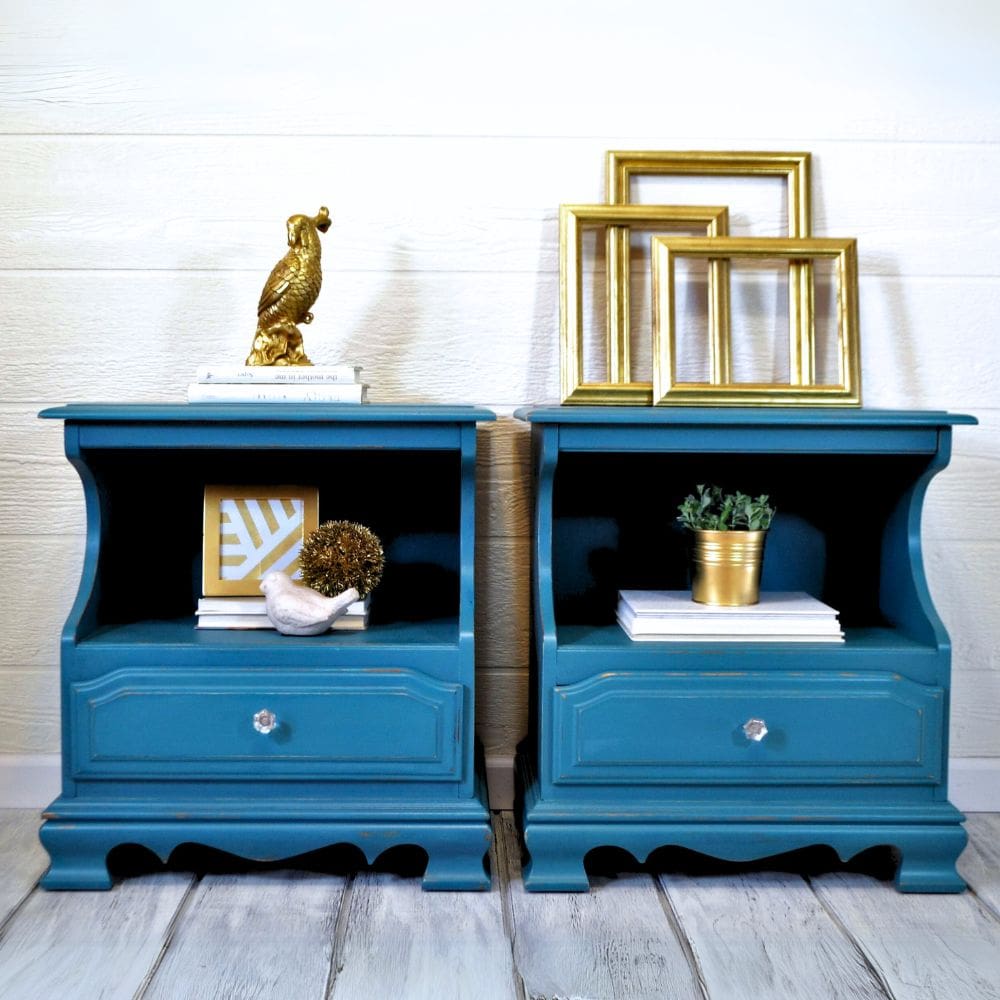
DIY Teal Blue Nightstands
These beautiful DIY teal blue nightstands will not only serve as functional bedside tables but also as eye-catching decor in your room.
Materials
Instructions
- Start by removing all hardware from your nightstands. This will make it easier to paint and protect the hardware from getting damaged.
- Clean your nightstands using a degreaser to remove any built-up dirt, dust, or grime. This will help the paint stick better and create a smooth finish.
- Fill in any imperfections with wood filler and let it dry completely before sanding it down for an even surface. This will give your nightstands a professional look.
- Lightly sand the nightstands using 220 grit sandpaper to scuff up the surface and create a stronger bond for the paint. Always wipe down your nightstands with a tack cloth after sanding to remove any dust or debris and guarantee a clean surface for painting.
- Use a high-quality primer to prime your nightstands before painting. This will help the paint adhere better and prevent any stains from coming through. Apply one or two coats of primer, making sure each coat is completely dry before moving on.
- Choose a fun teal blue color for your nightstands. Mix it with calcium carbonate powder to create your own homemade chalk paint. Use smooth and even brush strokes to paint your nightstands, and let each coat dry completely before adding a second one. Alternatively, you can use a paint sprayer for a smooth and efficient application.
- If desired, distress your nightstands using 220 grit sandpaper to add a rustic touch. Make sure not to overdo it and step back often to check the amount of distressing.
- After distressing, seal your nightstands with at least three coats of polyurethane for protection and durability. You can use a paint sprayer for an even finish.
Recommended Products
As an Amazon Associate and member of other affiliate programs, I earn from qualifying purchases.


More Blue Painted Furniture Ideas
- Painted Light Blue Dresser
- DIY Navy Blue Bedroom Dresser
- Blue Chalk Paint Coffee Table
- Antique Blue Sideboard Buffet
- Robin’s Egg Blue Rustic Chair
Follow us on YouTube to get more tips for painting furniture. Or share your project with us on our Facebook Group and be part of our community. See you there!