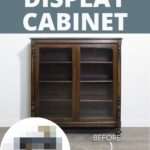
Painted Display Cabinet: Before and After

A painted display cabinet is a great way to add a personal touch to your home decor. Not only does it serve as a functional storage space, but it also acts as a statement piece that can elevate the overall look of any room.
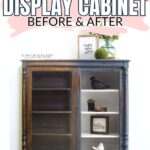
With the rise of DIY projects, there are many blue painted furniture ideas that you can explore to transform your plain old display cabinet into a unique and stylish piece. Let’s dive into the before and after of painting this display cabinet.
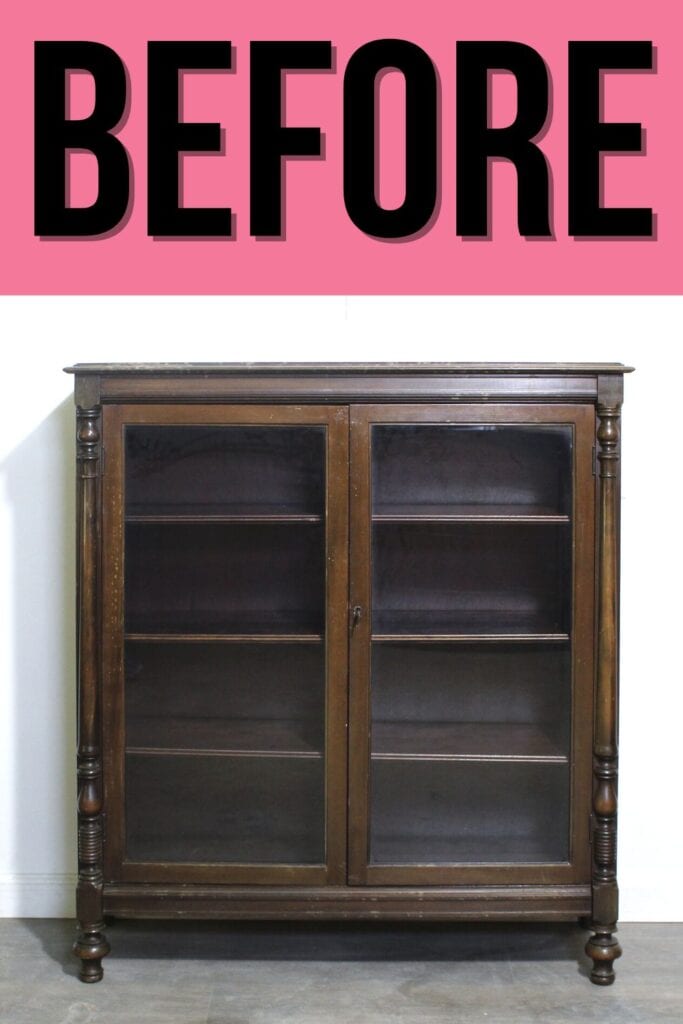
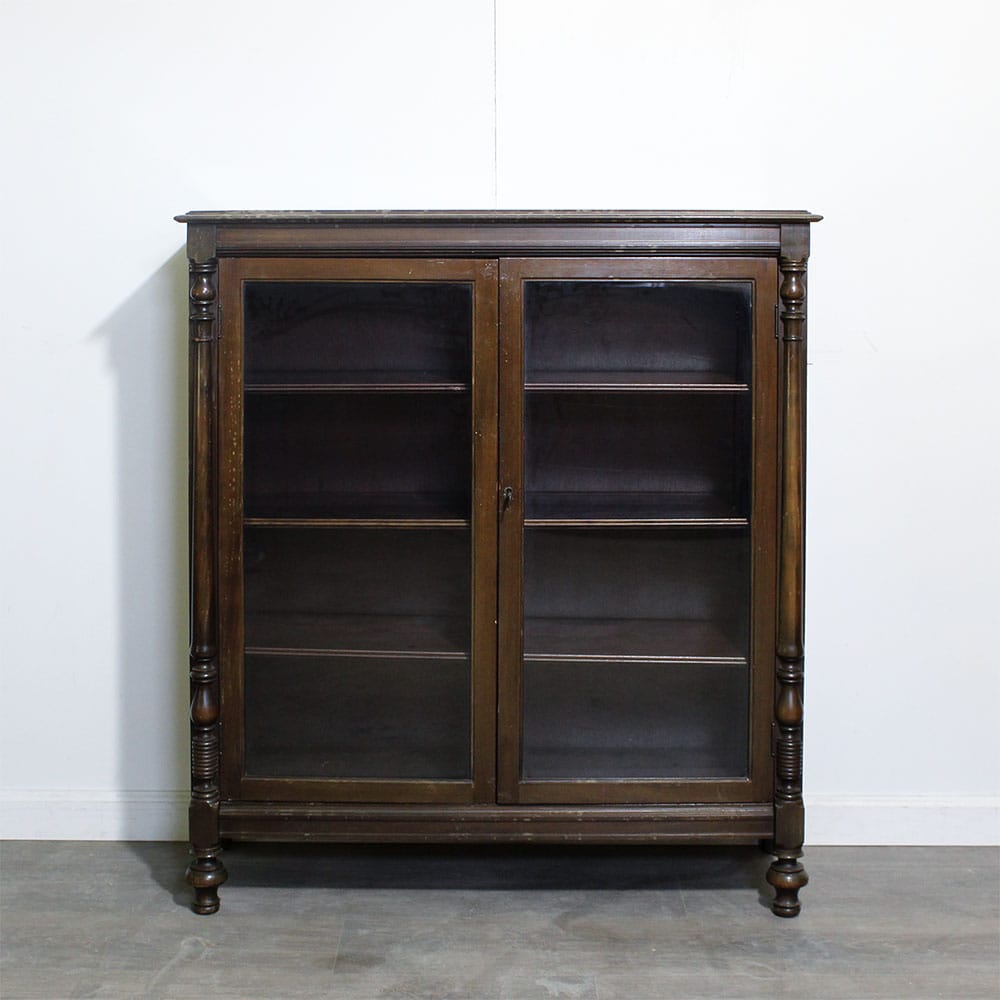
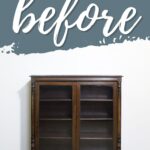
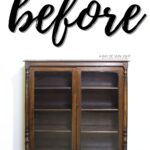
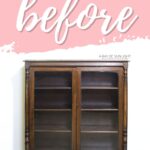
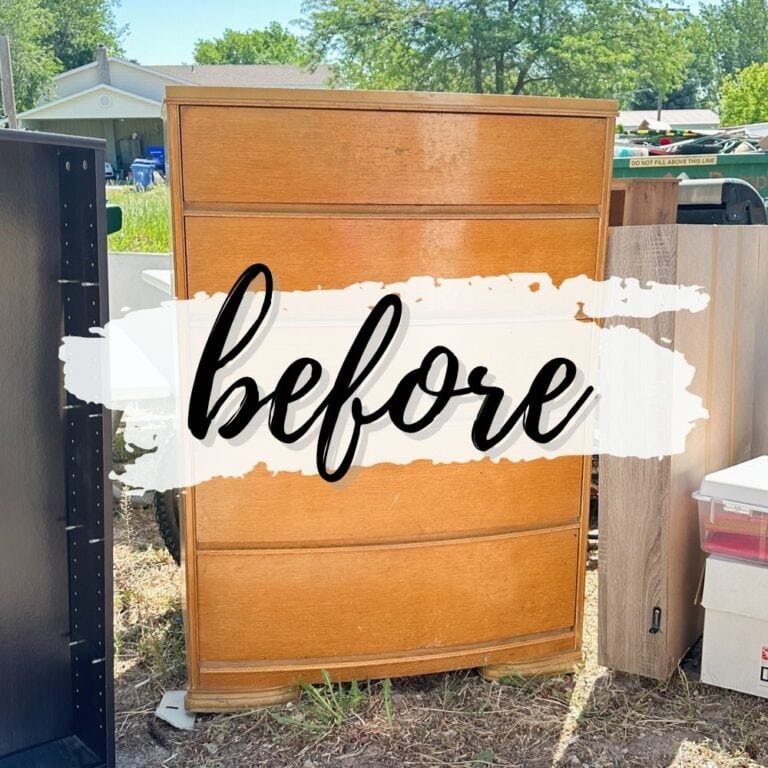
You can see above what the cabinet looked like before. Isn’t it so cute?? It was pretty scratched and worn out, so I was happy to give it a makeover. Giving your display cabinet a fresh coat of paint can make it look brand new again.

Not only does this allow you to update its appearance, but it also allows you to incorporate your style and taste into the piece. I can’t wait for you to see this makeover; it’s honestly one of my favorite furniture makeovers.

Supplies Used For Painted Display Cabinet Makeover
As an Amazon Associate, I earn from qualifying purchases. I also may earn from other qualifying purchases with other companies or get free product to review and use. All opinions are my own.
- Krud Kutter
- Shackteau Interiors Milk Paint in Deep Sea Blue and Sea Smoke
- Clean Containers with Lids
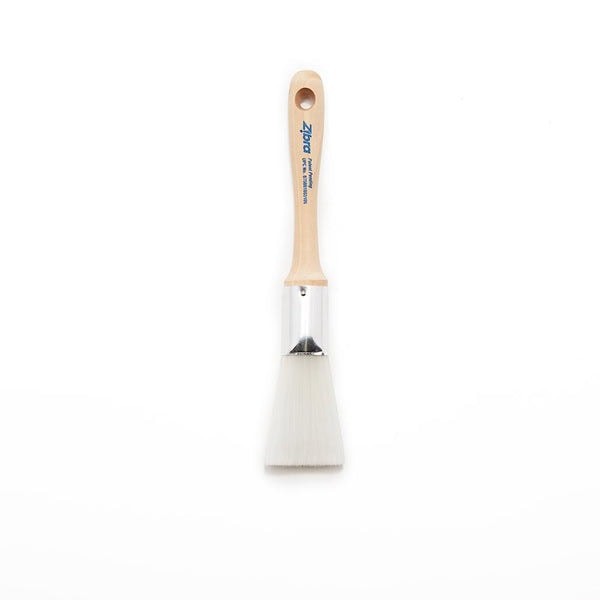
- Zibra Fan Brush
- 220 Grit Sandpaper
- Hemp Oil
- Cheap Paint Brush
- Lint Free Rags
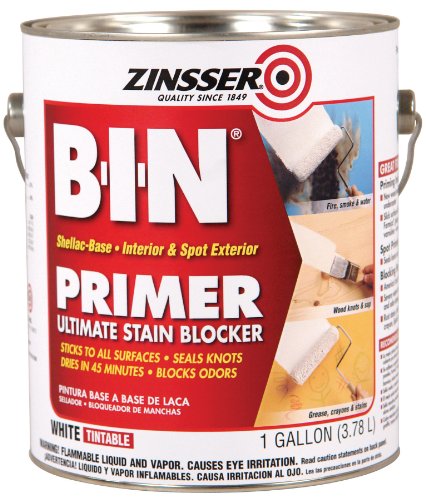
- BIN Shellac Based Primer
- General Finishes Enduro Poly in White
- Paint Sprayer
Preparing a Cabinet for Paint
Alright, first things first, I always do a couple of things to prepare the furniture for painting. But, with milk paint, because I want a chippy look, I only clean the furniture. I like to use Krud Kutter, but there are other cleaners you can use. Check out this post on how to clean furniture before painting and how to prepare furniture for painting to learn more.
Milk Painting Display Cabinet
I love the look of chippy, rustic furniture, and that’s exactly what I wanted with this cabinet. Check out more rustic painted furniture here if you want the same look.
So I mixed up some Shackteau Interiors Milk Paint in the colors Deep Sea Blue and Sea Smoke to make a medium shade of blue.
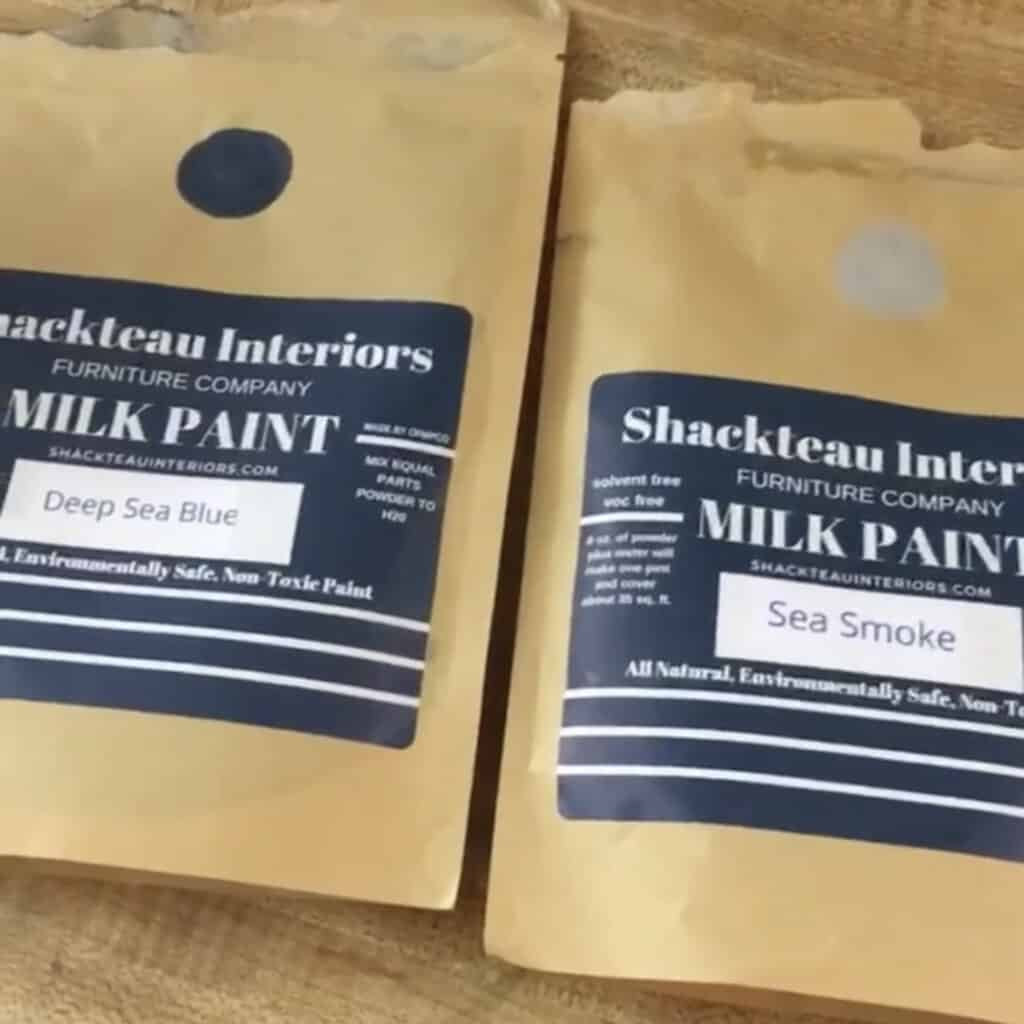
I honestly don’t remember the ratio, but it was close to 50:50. Milk paint is a powder, so I mixed it with the same amount of water to turn it into paint. Learn about how to mix milk paint here and mixing milk paint colors together here.
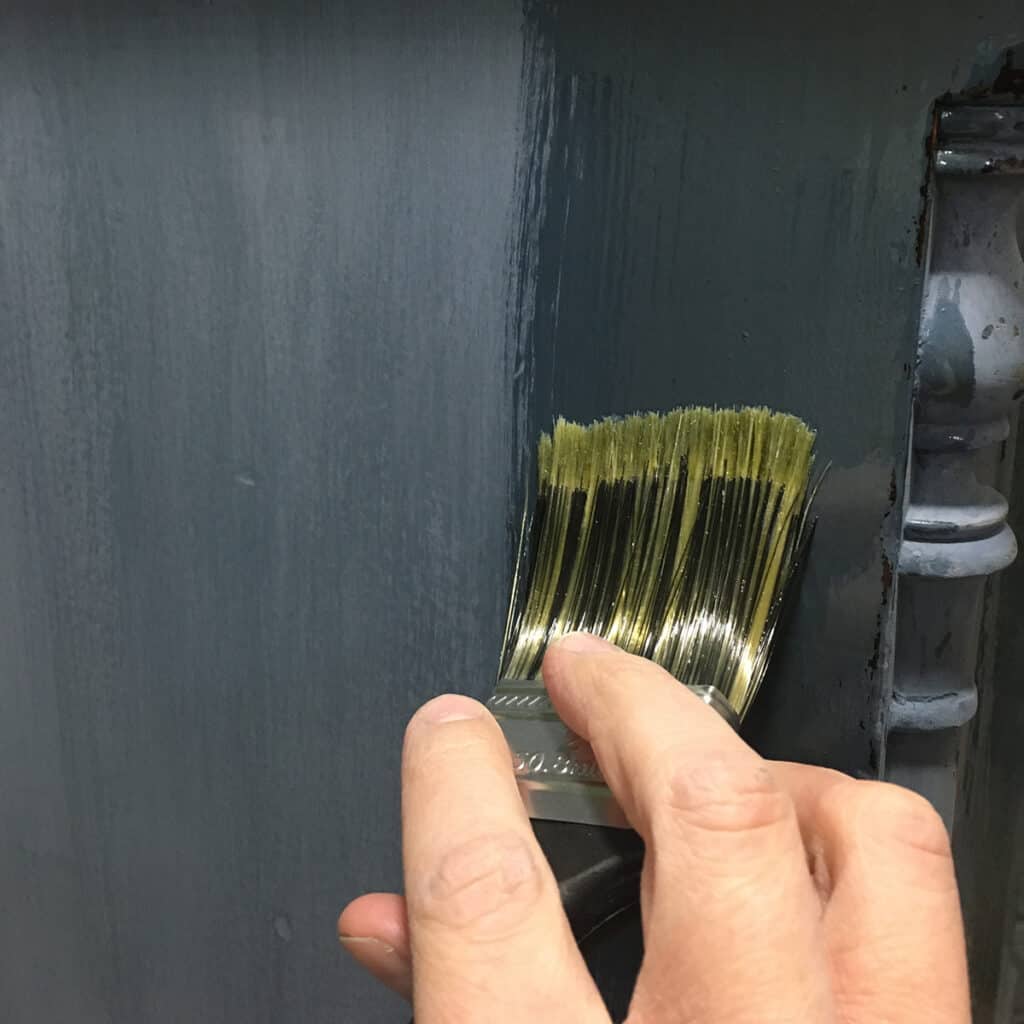
Then I brushed 2 coats of the milk paint onto the display cabinet, letting it dry for an hour or so between coats of paint. Read through this post to learn how to use milk paint on furniture.
Best Brush for Milk Paint
Zibra paint brushes are perfect for powdered milk paint.
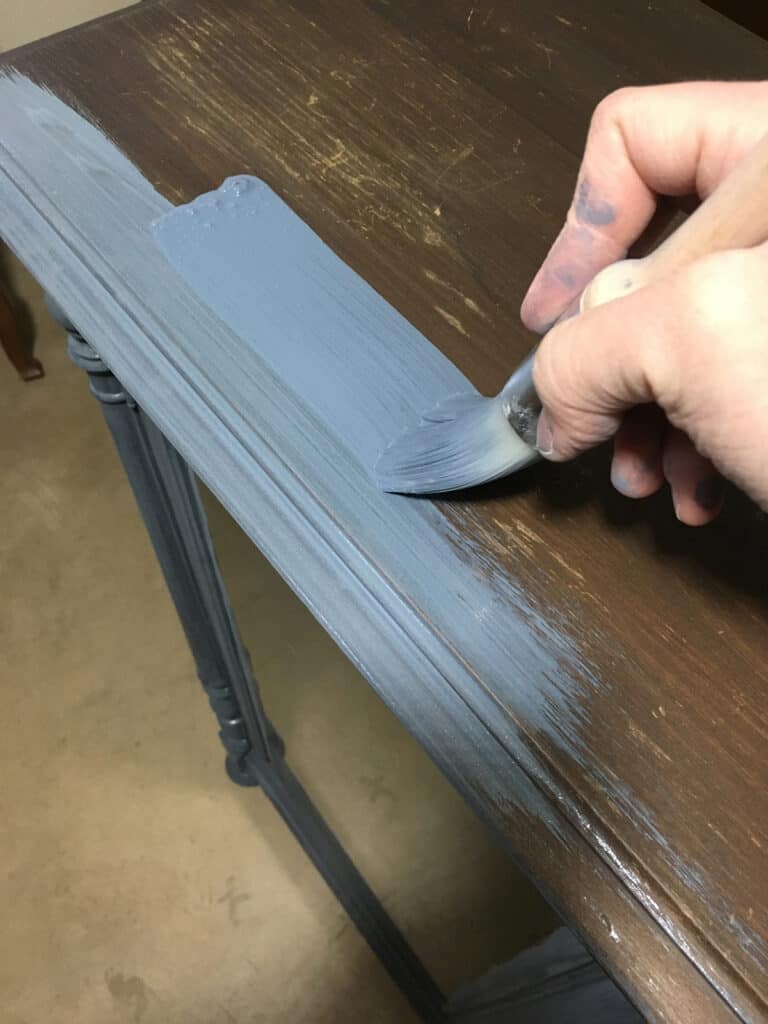
I used the Zibra fan brush on this project, but I also love to use the Zibra round brush when painting furniture. There are other great paint brushes for furniture, too! Here are the best paint brushes for painting furniture.
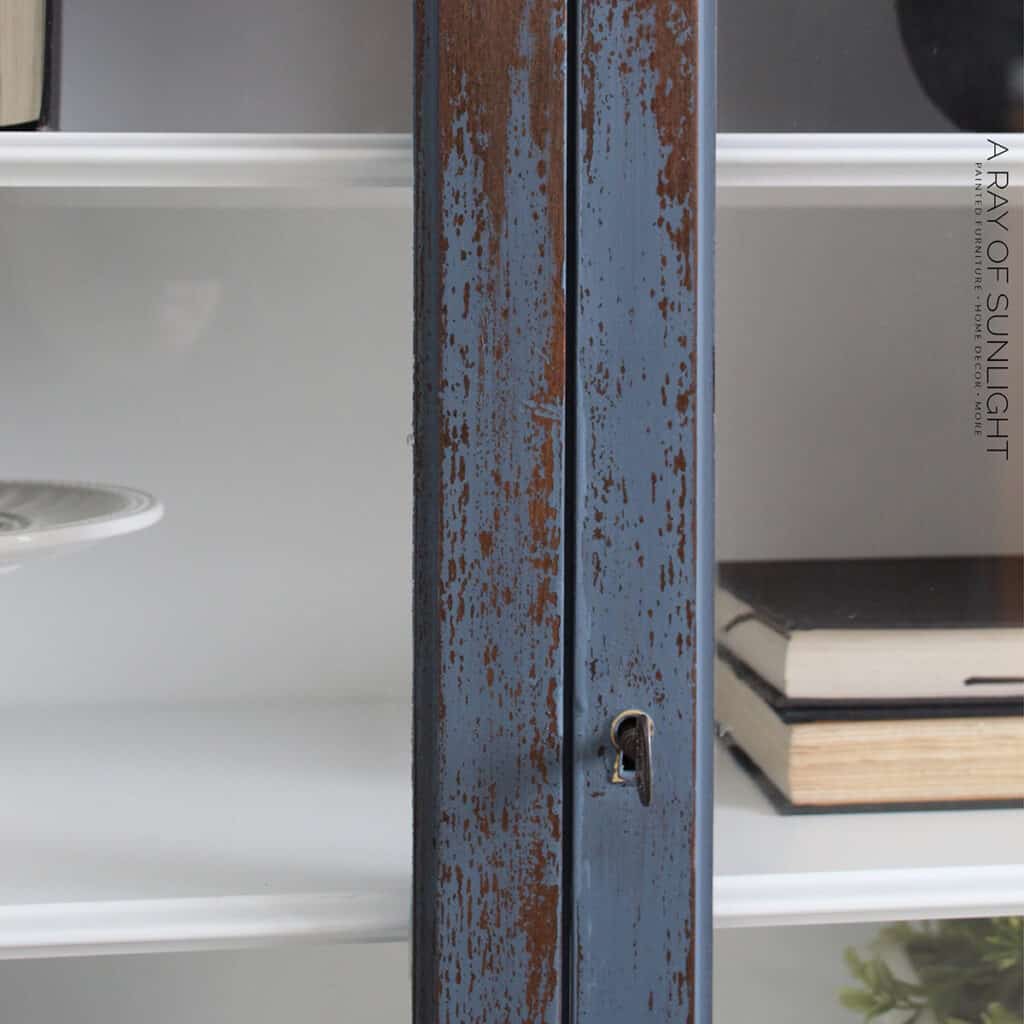
How to Distress Milk Paint
After the 2 coats of paint were dry, I sanded the milk paint with 220 grit sandpaper to distress the paint and make the paint chip off. Learn more about the best sandpaper for furniture painting here and learn the 6 distressing furniture techniques you can do here.
Some areas chipped really well, and others didn’t chip at all. That’s very typical when painting wood furniture with milk paint.
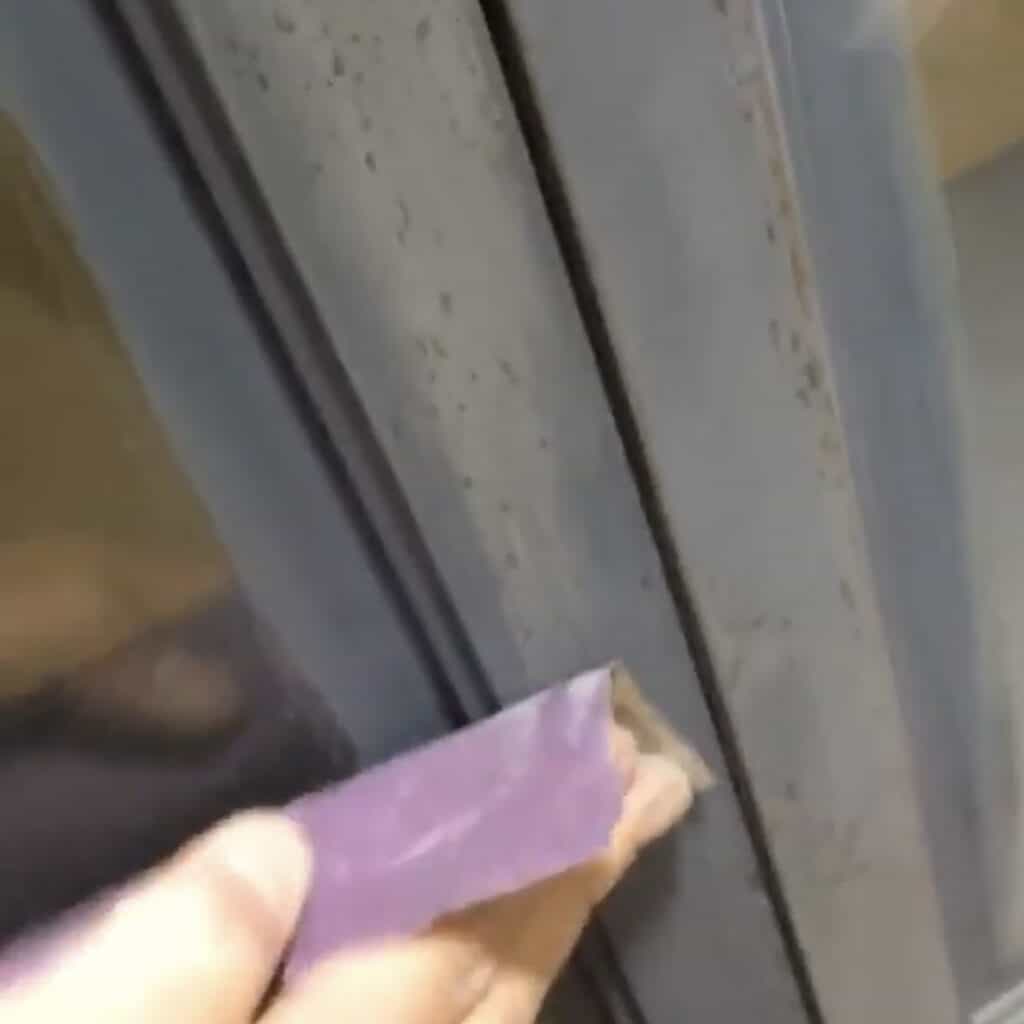
If you want a really chippy look, here is my secret to getting a chippy paint finish with milk paint every time. Then I cleaned up the dust with our shop vacuum and a tack cloth.
Sealing Milk Paint
Even though milk paint likes to chip, when it sticks, it sticks, and it isn’t going anywhere. But it’s still matte paint, so you must seal it so it doesn’t stain or get ruined with everyday use.
This time I sealed the milk paint with hemp oil. I just brushed it on with a cheap paint brush and let it soak into the milk paint.
An hour or so later, I wiped off the excess with a lint free rag. Here are 3 ways to seal milk paint, including using hemp oil.
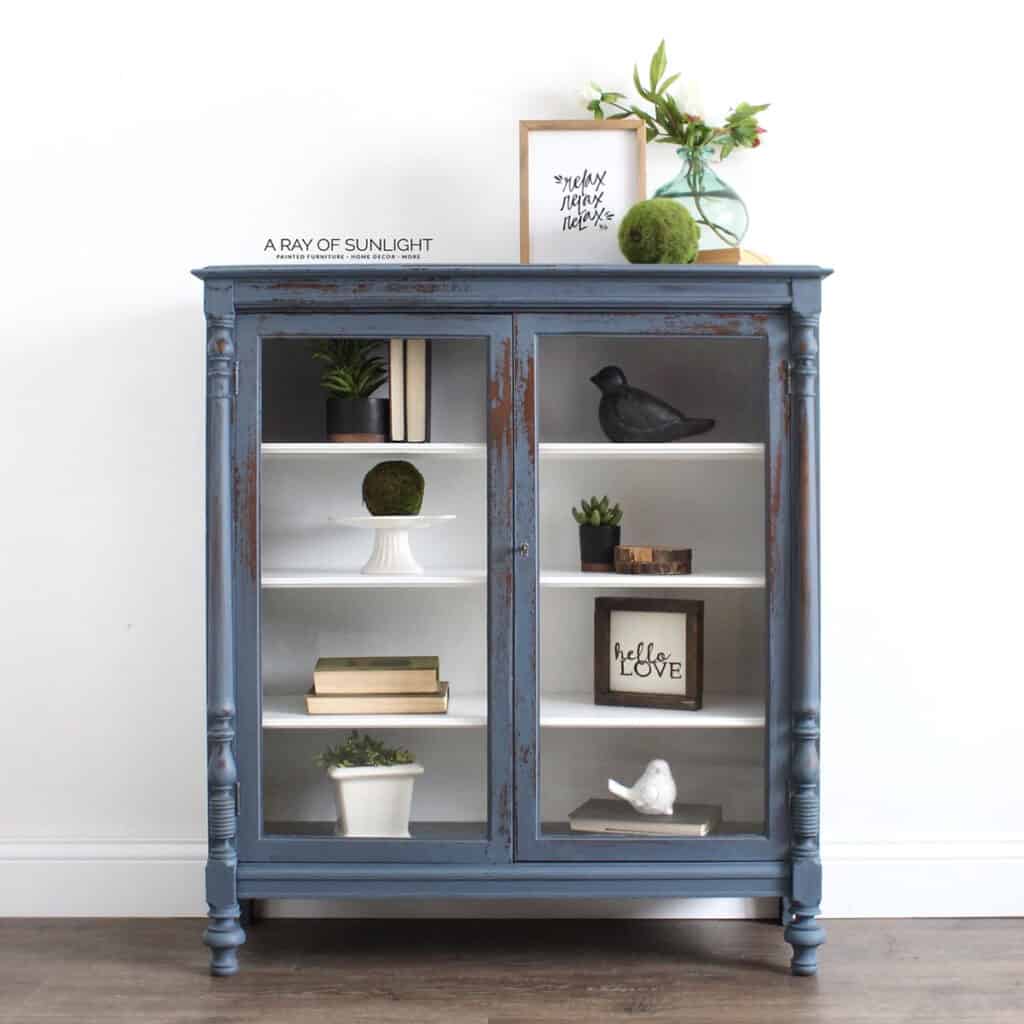
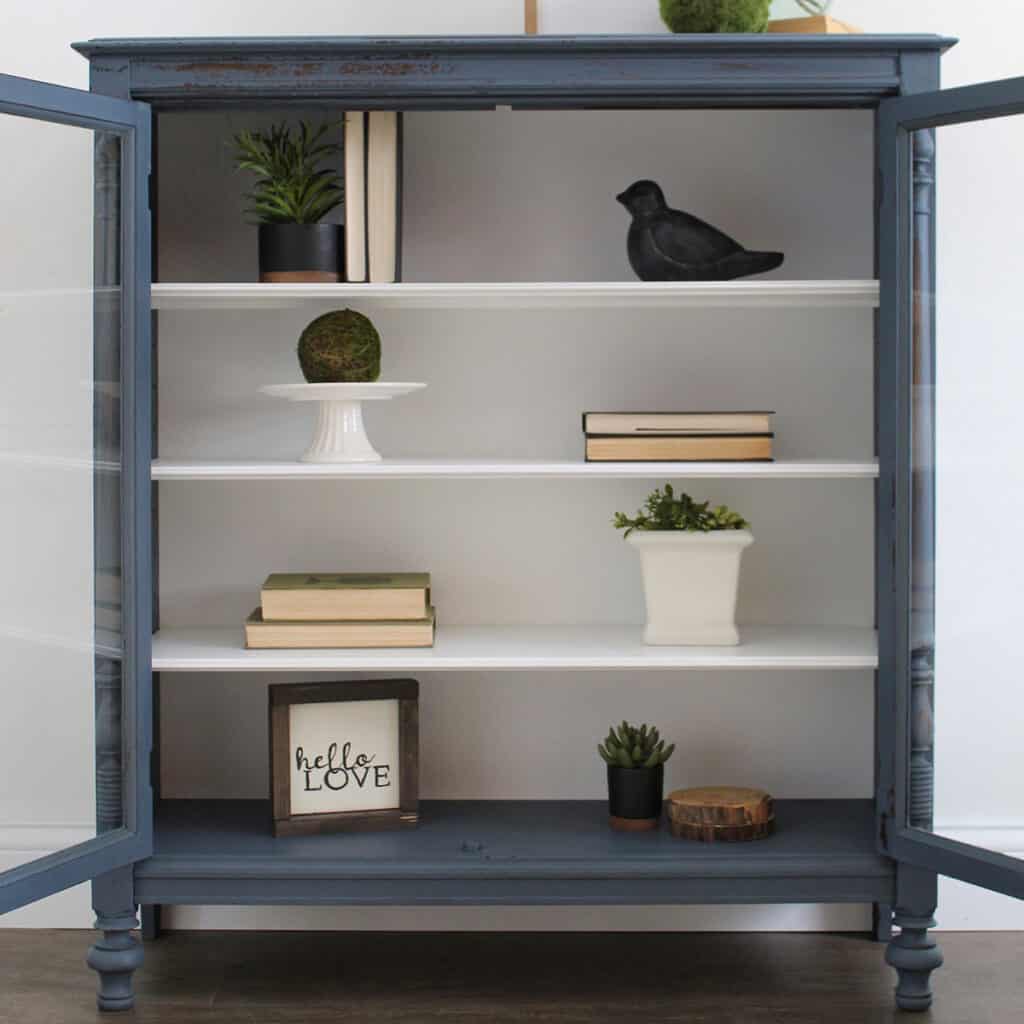
Two Tone Painted Cabinet
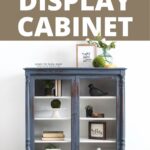
All that milk paint was on the outside and inside shell of the display cabinet. But instead of painting the shelves and back of the cabinet blue, I painted the shelves and back of the cabinet white.
Would you like to save this?
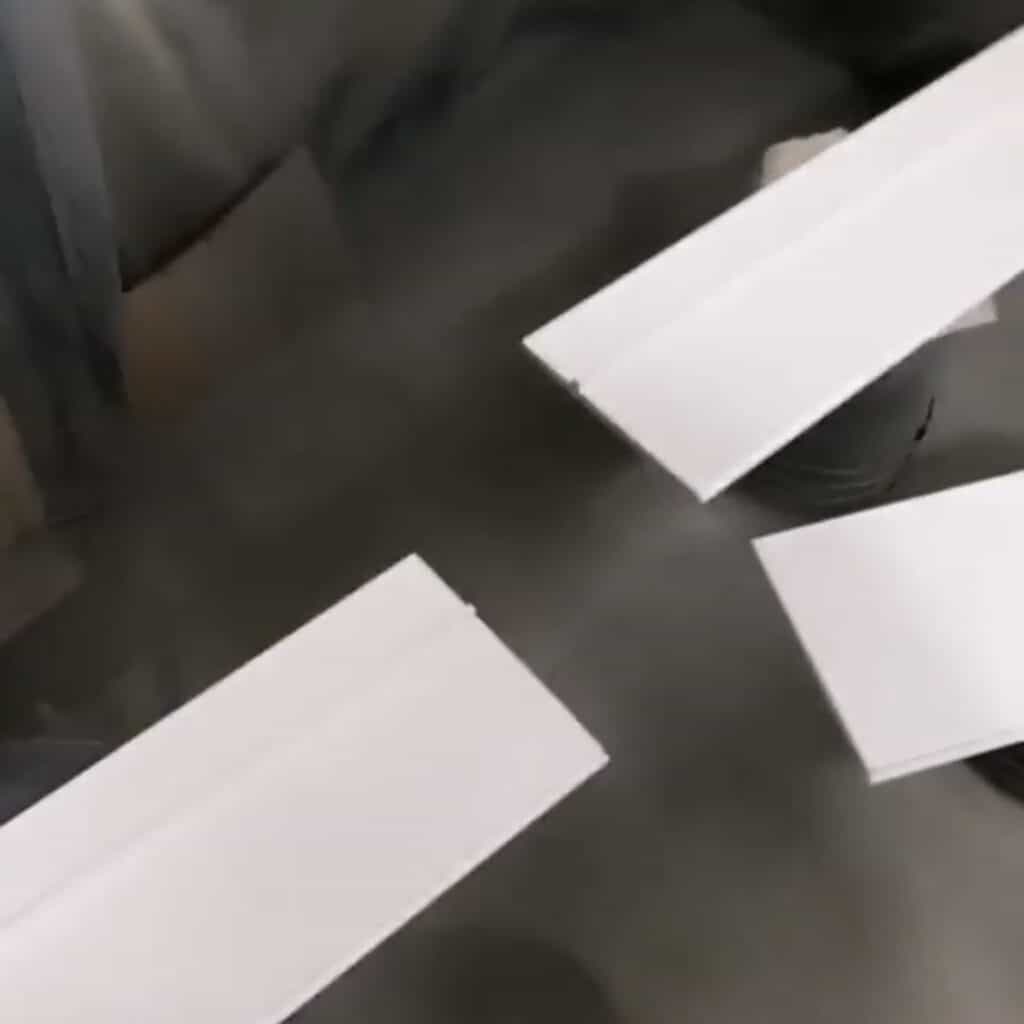
Painting Shelves and Back of Cabinet White
First, I pried the back of the cabinet off. Then, I rolled 2 coats of BIN shellac based primer onto the shelves and the back. The BIN shellac based primer is one of the best primers for painting furniture because it has great coverage.
And it is soooo good for painting furniture white because it blocks something called bleed through (stains from the wood that come through paint.) Here’s more on how to stop stains from coming through paint by priming.
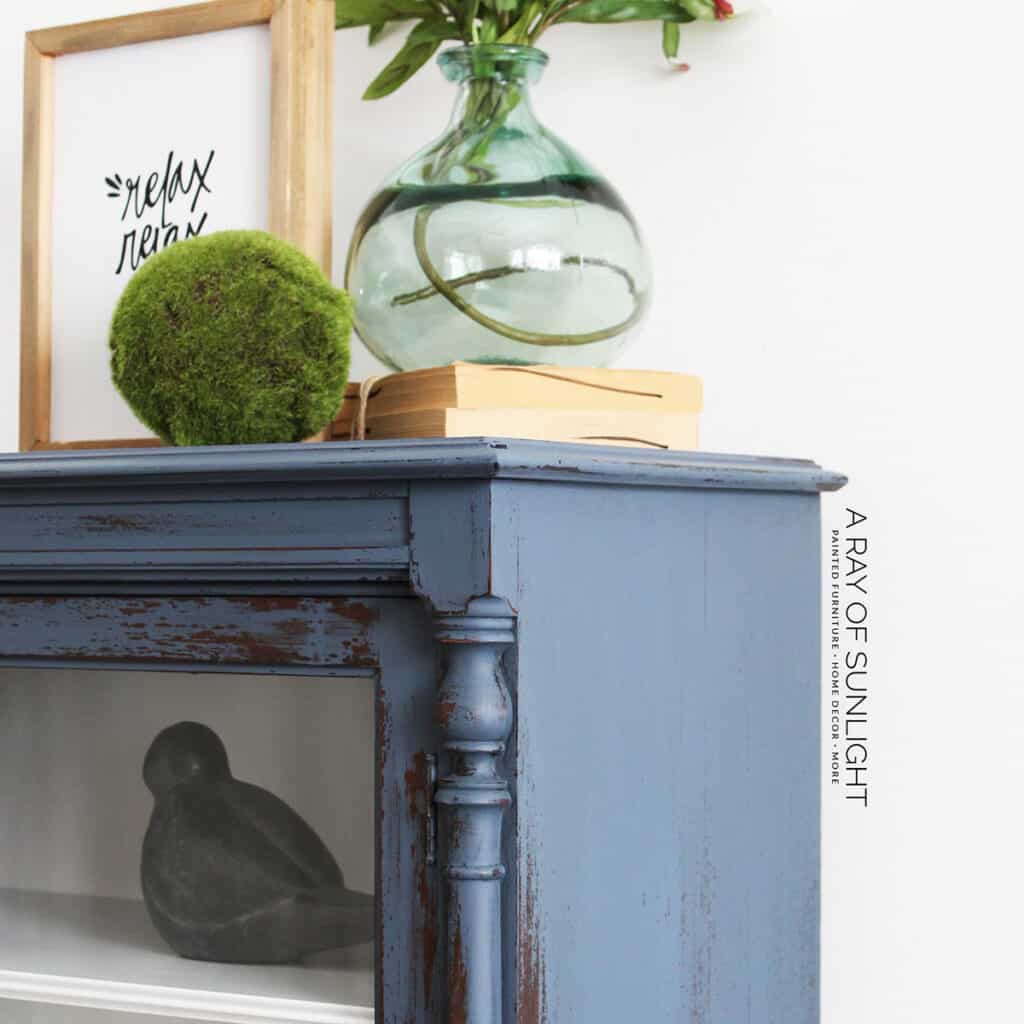
Then we sprayed 3 coats of some of my favorite white furniture paint, General Finishes Enduro Poly in White. It’s a thin, tinted polyurethane, so you can only spray it, but it doesn’t need to be topcoated, and it dries to a durable satin finish.
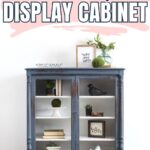
And here’s what the painted cabinet looks like now! If you like how this cabinet turned out, you can check out more shabby chic painted furniture here.
More Before and After Makeovers
See All >
Click any of these “before” photos below to view the “after” of that makeover.


How long does milk paint last once mixed?
Once mixed with water, milk paint has a shelf life of approximately two days if kept in the fridge with a tiny bit of water on the top and covered well. After two days, the paint may spoil and develop a foul odor, making it unusable for furniture projects.
That’s why it’s important only to mix the amount of milk paint needed for a specific project and use it within two days. By doing so, you’re sure that your milk paint is fresh and ready to use for a smooth and successful painting experience.
If you have mixed too much milk paint for your project, it is best to properly discard any leftovers after two days and mix a fresh batch for your next project.
Can you mix different brands of milk paint together?
Yes, you can mix different brands of milk paint. In fact, many furniture painters do this to create unique colors and tones for their projects.
However, it is important to remember that mixing different brands may alter the consistency and performance of the paint. It’s best to experiment with small amounts before committing to a larger project.
Some brands of milk paint may have different ingredients and ratios, so the resulting color may not be exactly what you expect.
We recommend sticking with one brand of milk paint for a single project to guarantee a consistent color. But mixing different brands may be the way to go if you are looking for an unpredictable and artistic finish.
Painted Display Cabinet Ideas
There are more painted display cabinets to inspire you to update yours. For instance, try painting your display cabinet a bold and vibrant color like red or yellow to add fun to any room. You can also go for these neutral furniture paint colors for a classic and timeless look.
If you’re feeling adventurous, paint each shelf of your display cabinet with a different color. This will create a playful and eye catching look perfect for showcasing collections or trinkets.
Like we did with this painted display cabinet makeover, you can paint the inside of your cabinet a contrasting color to add depth and visual interest. Two tone display cabinets are a great way to mix and match different furniture paint colors.
For those who love patterns, try using wallpaper to add a unique design to your display cabinet. You can use it on the outside or inside of the cabinet or even just on the back for a subtle touch. This will add texture and personality to your furniture piece.


How to Paint a Display Cabinet
Learn how to paint a display cabinet and see the before and after transformation of this DIY painted display cabinet makeover.
Materials
Tools
- Zibra Fan Brush
- Cheap Paint Brush
- Paint Sprayer
Instructions
- Clean cabinet with Krud Kutter to prepare it for milk paint.
- Now, get your milk paint. You can mix up the colors to get the shade you want for your cabinet. Then mix it with the same amount of water to turn the milk paint powder into paint.
- Brush 2 coats of the milk paint onto the display cabinet, letting it dry for an hour or so between coats of paint.
- After the 2 coats of paint dries, sand the milk paint with 220 grit sandpaper to distress the paint and make the paint chip off. Vacuum the dust from sanding and wipe everything with a tack cloth.
- To seal the milk painted cabinet, brush hemp oil with a cheap paint brush and let it soak into the milk paint. An hour or so later, wipe off the excess with a lint free rag.
- You can go for a two tone painted cabinet and paint the shelves and back of the cabinet a different color. Apply 2 coats of BIN shellac based primer onto these parts before painting them.
- Let the paint dry.
Recommended Products
As an Amazon Associate and member of other affiliate programs, I earn from qualifying purchases.

More Painted Cabinet Ideas
- Painting a China Cabinet
- Antique China Hutch Makeover
- How To Paint Wood Furniture With Chippy Milk Paint
- Painted Hutch Makeover
- Corner Cabinet Makeover
Learn the Art of Updating Furniture!
If painting furniture feels overwhelming or your past attempts didn’t go as planned, this course will guide you step by step.

Follow us on YouTube to get more tips for painting furniture. Or share your project with us on our Facebook Group and be part of our community. See you there!