Distressing Furniture: 6 Techniques Anyone Can Do


Do you have a piece of furniture that you love but it’s just not quite the right color or style for your farmhouse decorated home? Don’t worry, you can distress it to give it a more antique look! In this post, we’re walking you through the 6 best distressing furniture techniques for your painted furniture.
With these painting techniques for furniture, whether you are a beginner or an experienced DIYer, you’ll be able to distress your furniture like a pro!

Distressing furniture is a popular way to give old pieces of furniture a new lease on life. It involves painting your furniture and then taking off some of the paint from certain parts of the piece, revealing the original stained wood beneath.

This worn and weathered look adds character and charm to your piece, making it a perfect addition to your rustic or shabby chic home decor. It’s a great way to personalize your furniture and make it unique to your style.
Plus, if you have kids in your home, you know they can be rough on things. Distressing your furniture can help hide the scratches and dings that children undoubtedly will inflict on your furniture. So not only does it add a stylish touch, but it’s also practical, too!
Distressing Furniture Techniques
There are many ways you can distress paint on your furniture, and these techniques will give you different looks and levels of distressing. Whichever method you choose, just be careful not to go too fast. Take your time and have fun!
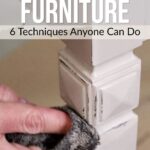
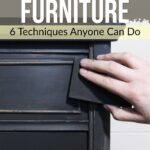
How to Distress Furniture With Sandpaper
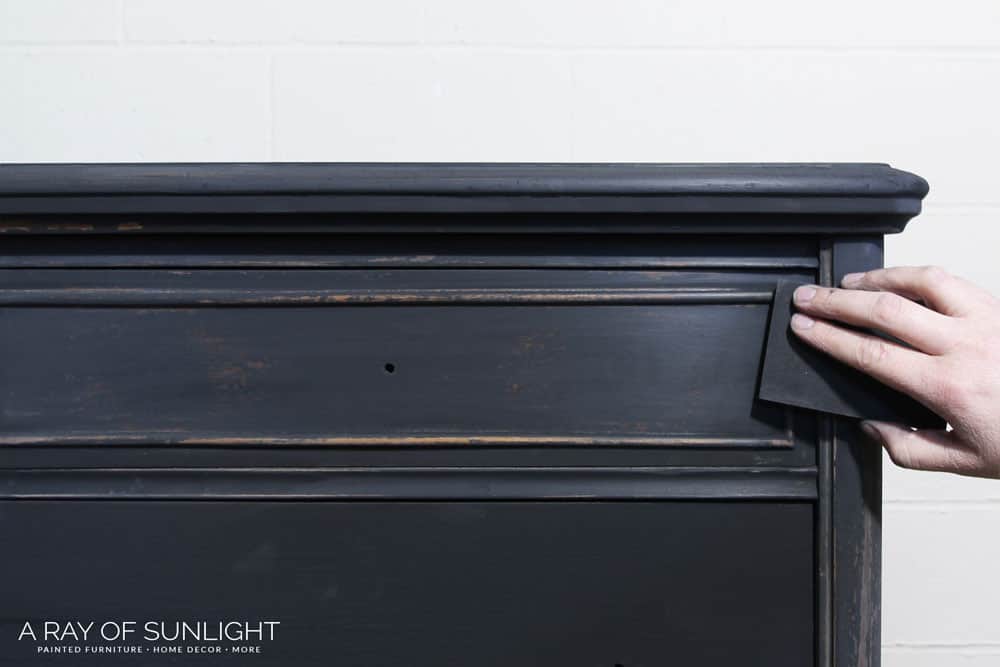
This is probably the most common way to distress furniture. You can use different grits of sandpaper, depending on how much paint you want to remove. Either way, sandpaper will take off the paint rather quickly. So be careful!
Start by lightly sanding the edges of the piece of furniture. You don’t need to sand every detail! Focus on places that stick out and cool details! You can use a little more pressure on the areas where you want to remove more paint. Start with fine grit and work your way up to more coarse sandpaper if needed.
As an Amazon Associate, I earn from qualifying purchases. I also may earn from other qualifying purchases with other companies or get free product to review and use. All opinions are my own.
What Grit Sandpaper for Distressing Furniture?
One way to distress painted furniture is to use 220 grit sandpaper. I like 220 grit sandpaper the best because it doesn’t remove the paint too quickly or too slowly.
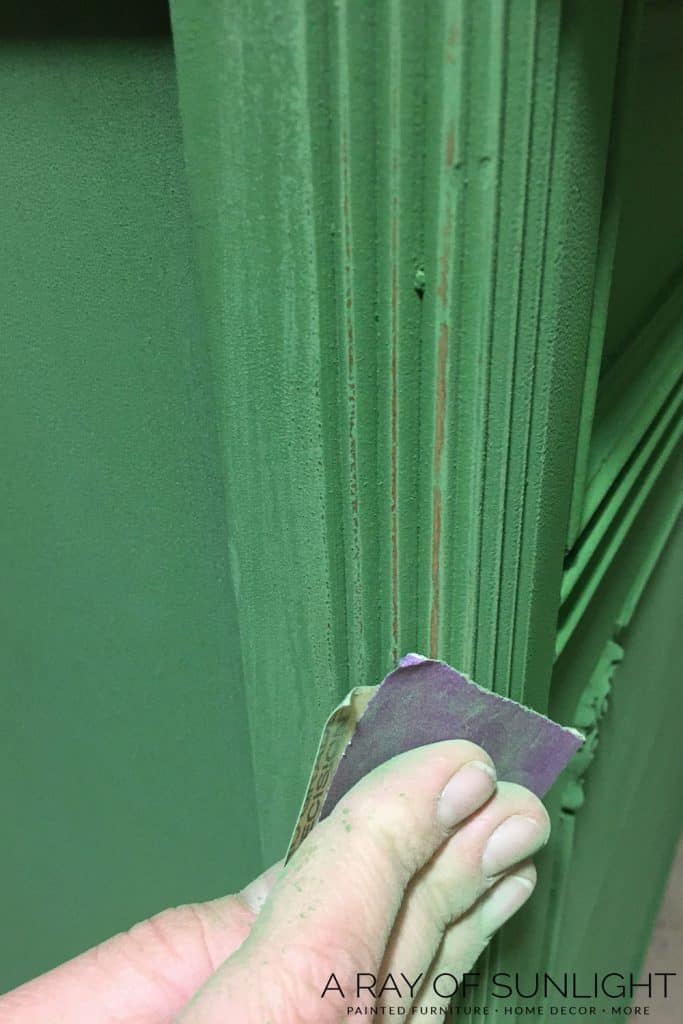
For a less distressed look, I like to use 400 grit sandpaper. For more of a distressed look, you can use coarse sandpaper like 80 grit or 100 grit sandpaper. Or you can put 220 grit sanding discs onto a power sander. Learn more about the best sandpaper for furniture painting options here.
Be extra careful on edges and details! It is so easy to sand too much when using a power sander! If you’re not happy with how it’s looking, stop and try another method.
How to Distress Painted Furniture With Wet Distressing
Another distressing furniture technique is to use a wet rag. This will take off a wider amount of paint than sanding, but you won’t damage the finish of the furniture.
Simply dampen a rag and rub it over the areas where you want to remove the paint. You can use a little more pressure if needed.
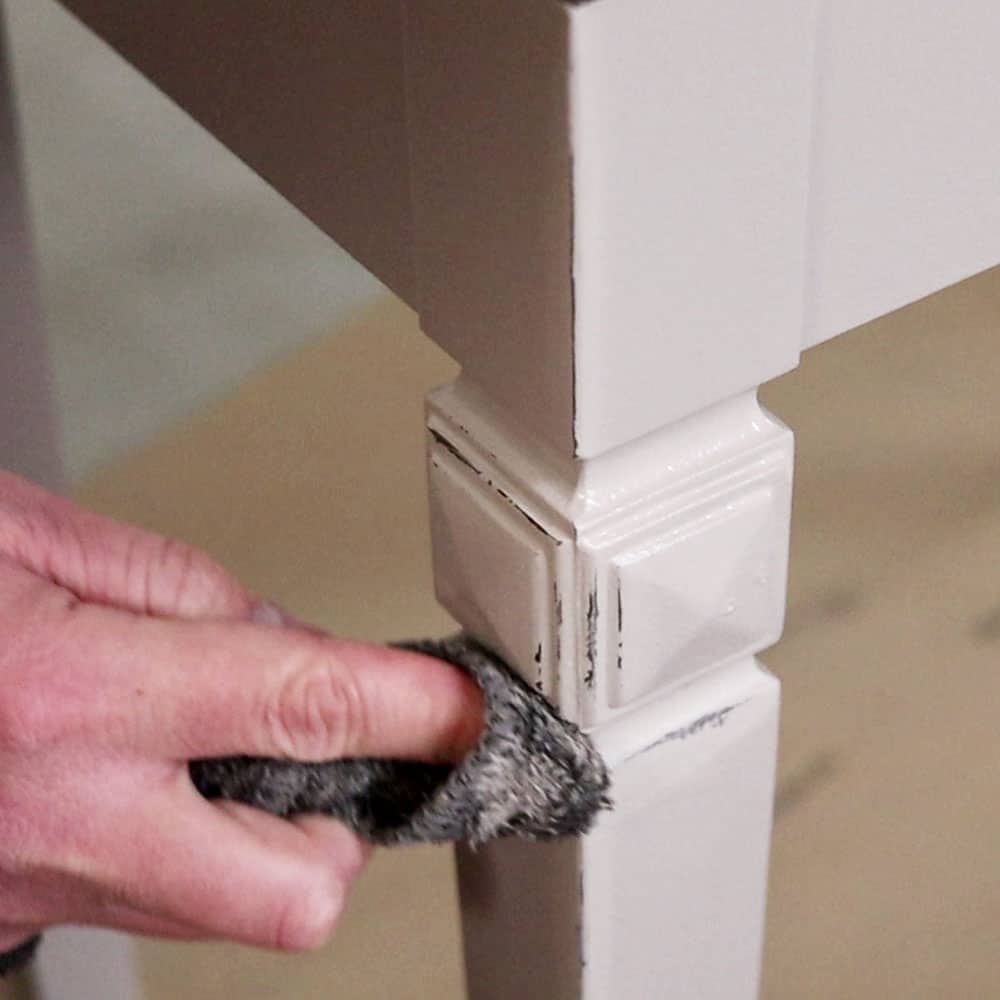
This is a great method if you want to distress furniture but don’t want to remove the original wood stain, or if you don’t want to create dust from sanding.
How to Distress Painted Furniture with Reverse Paint Distressing
How do you paint furniture to look distressed? Use a combination of very thin layers of paint and dry brushing techniques when painting your furniture.
The raised edges and details should have less paint on them, giving the surface a worn appearance. This method doesn’t require any sandpaper or rags. It’s actually all done while painting!
Carrie at Thrifty Eighth Street explains reverse paint distressing really well with examples in her blog post. Basically, reverse paint distressing is all about how you paint your piece of furniture.
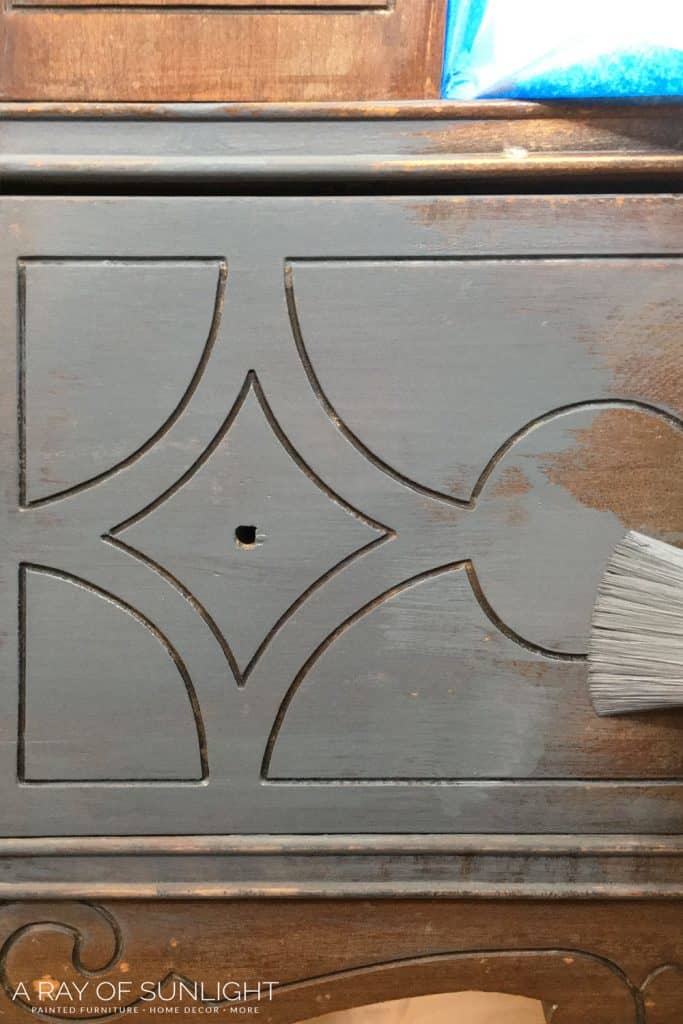
Paint with very thin coats of paint to create a worn look, don’t paint areas that you would normally distress, and use the dry brush method to paint a tiny bit of paint onto other areas.
Dry Brush Painting
All you need is a little bit of paint and a brush. To dry brush, load the brush with paint, then wipe most of it off on a paper towel. You want the brush to be mostly dry, so there’s only a tiny amount of paint on the bristles.
Then lightly brush over the areas you want to dry brush. Don’t press down hard, just let the bristles glide over the surface. If you use a paintbrush to paint your furniture, this method can be a total timesaver, and it doesn’t need any more tools. It also doesn’t make any mess either! Check out the best paint brushes for painting furniture here!
How to Distress Furniture with Vaseline
If you’re looking for a different way to distress your painted furniture, why not try Vaseline? Or any type of wax! Before you paint anything, apply a light layer of Vaseline over the areas where you want to remove paint.
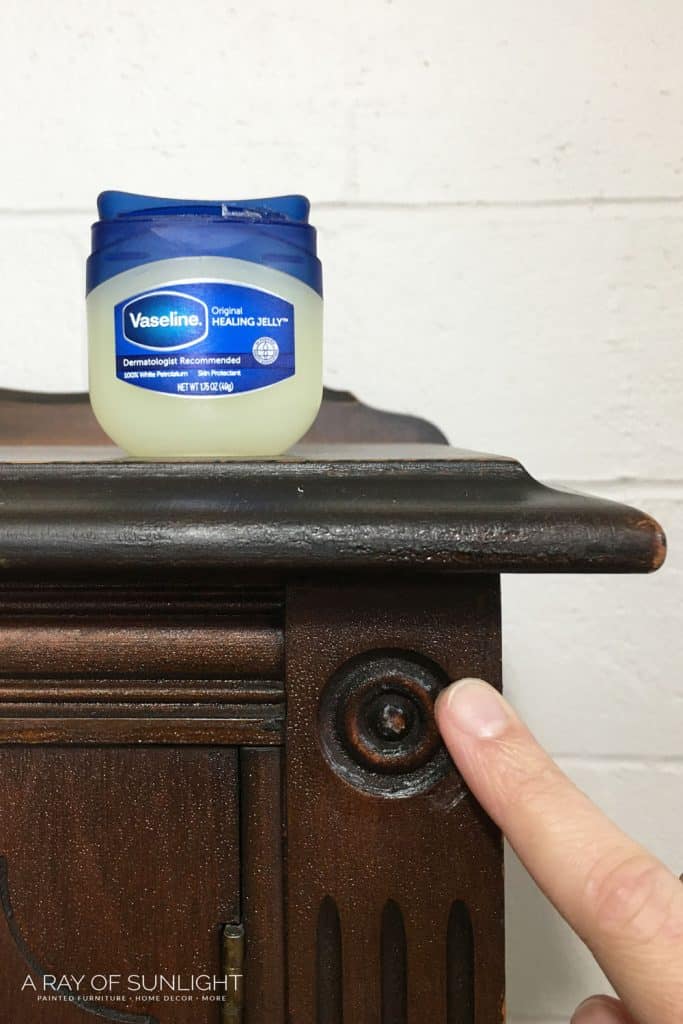
Then after your paint is dry, take a cloth and scrub off the paint in the areas where you put the Vaseline. The Vaseline will help the paint come off easier. This definitely takes more forethought than the others.
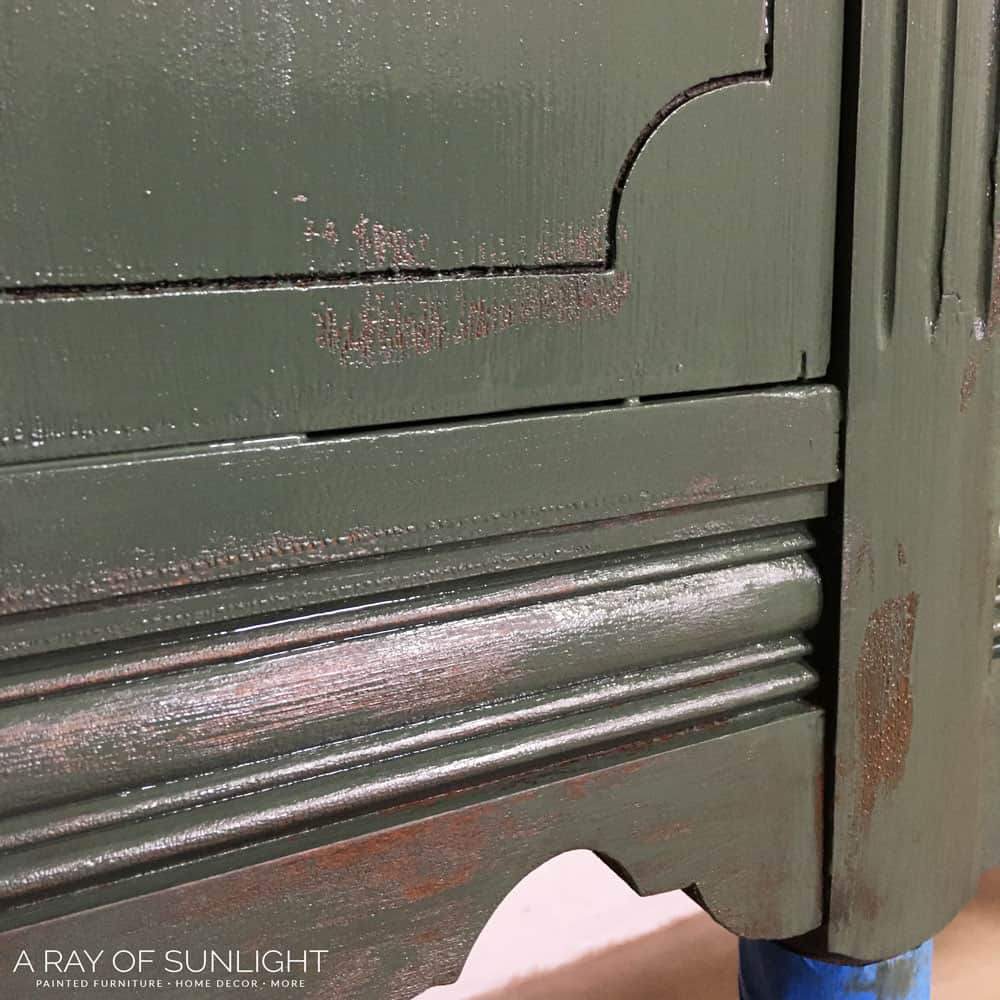
This look was created with Vaseline and then 220 grit sandpaper.
Distressed Paint With Milk Paint
If you’re looking for a very rustic distressed look, one of the distressing furniture techniques you can try is using powdered milk paint. Milk paint creates a very rustic distressed look because it typically chips off very easily, and in random spots.
Milk paint is a little different than other types of paint in that it dries with a chalky finish. But it’s completely different than chalk paint. Check out this post to see the comparison between milk paint vs chalk paint.
You have to use the powdered version of milk paint and mix it with water before brushing it on. But you brush it on as normal and let it dry. Then, it will chip off in different areas, (especially when you lightly sand it with 220 grit sandpaper) creating a very distressed look.

Learn all you need to know about painting furniture with milk paint here.
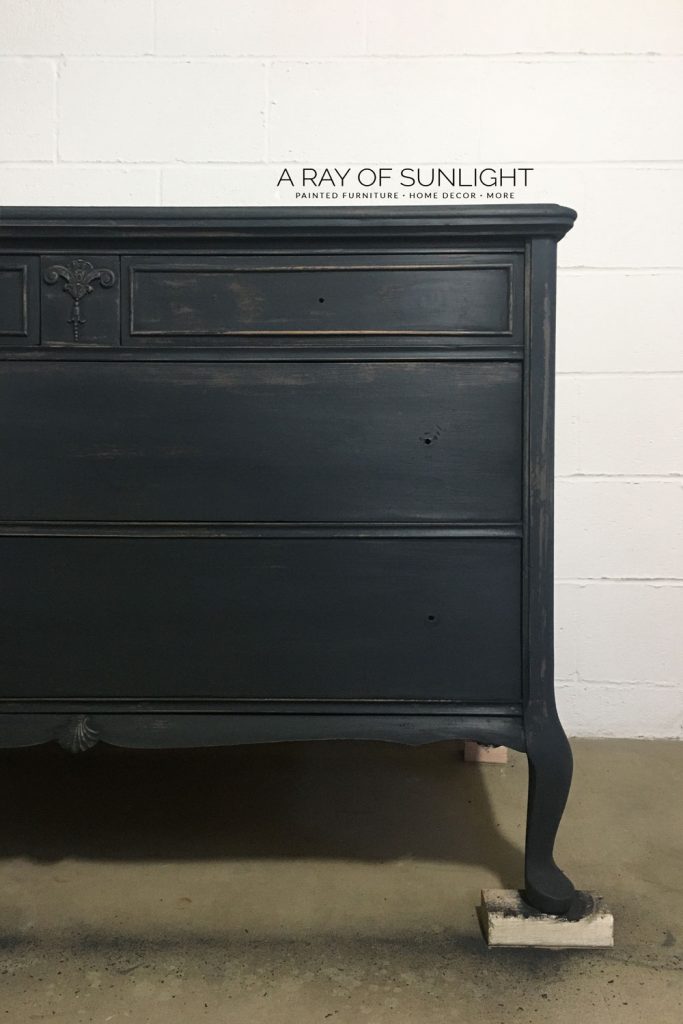
How to Distress Furniture with Antiquing Glaze or Wax
You can also get a distressed look on your painted furniture with the help of antiquing glaze or antiquing wax! Glaze comes in many different colors, but brown is best for a distressed look. Same with wax. The dark brown wax is the best for the distressed look.
Choose one, but not both. And remember, wax always goes on last. (Wax repels paint, right?) Either way, it’s best to apply a clear coat before you apply your antiquing glaze or wax.
So a clear coat of waterbased polyurethane before putting on glaze…. and if you are using an antiquing wax, be sure to put a coat of clear wax on beforehand.
A clear coat will make it so the antiquing medium you choose doesn’t just absorb right into the paint… making it impossible to wipe off or manipulate how you want it to. Check out these posts on how to glaze over chalk paint and how to paint and glaze furniture for more tips!
When distressing painted furniture, it’s important to experiment and try different methods until you find the one that works best for you.

Best Paint for Distressing Furniture
There are many types of paint that you can use, but I’m going to focus on the three most popular ones.
1. Chalk Paint
Chalk paint is probably the most popular type of paint for distressing furniture. It’s easy to apply, it dries quickly, and it distresses beautifully. When you sand it, it sands into a powder. (Unlike latex paint that gums up easily.)
Would you like to save this?
Plus, it comes in a variety of colors, so you can find the perfect one for your project. Learn more about what is chalk paint in this post, and here’s how to distress chalk paint for a more detailed guide on distressing chalk paint.
One downside to chalk paint is that you have to topcoat it with waterbased polyurethane, wax, or oil. But it’s my go-to when I want a distressed painted furniture look.
2. Milk Paint
Milk paint is the most unique of all the paints because it doesn’t have any binders in it. This means that it chips and flakes off really easily, which gives it a very rustic look.
It also comes in a variety of colors, but you have to use the powdered version and mix it with water before brushing it on. See how easy mixing milk paint is in this post on how to mix milk paint! But you brush it on as normal and let it dry. Then, it will chip off in different areas, creating a very distressed look.
The downside to milk paint is that milk paint kind of has a mind of its own. It will chip wherever it wants. And sometimes it won’t chip at all. It’s non toxic though! And it sands down beautifully! Check out this post to learn more about how to use milk paint on furniture.
3. Latex Paint
Latex paint is a good option if you’re looking to distress your painted furniture on a budget.
**Beware that it doesn’t sand into a powder… it gums up into small balls, so it isn’t AS easy to distress. But that shouldn’t stop you!
It’s the least expensive of all the types of paint, and it comes in a variety of sheens. You can also buy it at any hardware store, which is really convenient. So if you’re looking for a distressed look on a budget, latex paint is the way to go. Learn the secret to painting furniture with latex paint here.
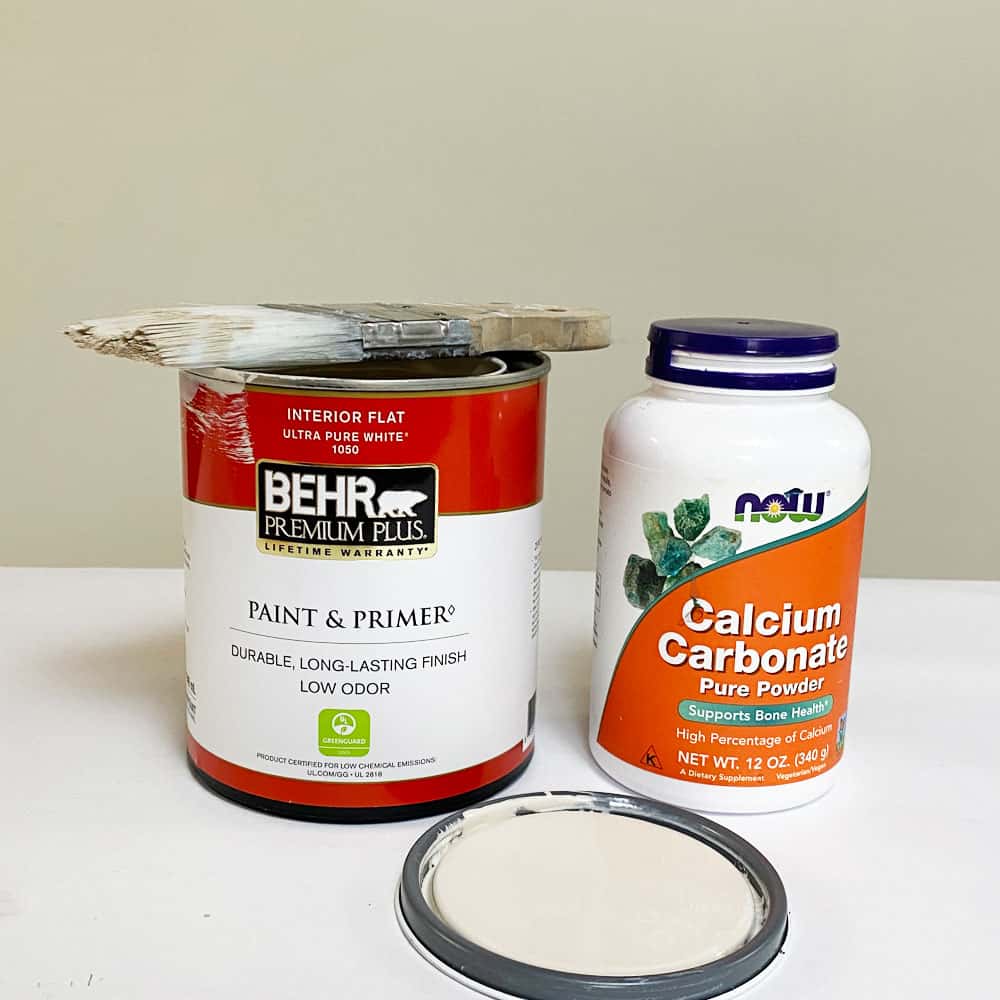
You can turn cheap latex paint into chalk paint though! Check out my homemade chalk paint recipe with latex paint here.
How to Fix too Much Distressing
If you go a little overboard distressing your painted furniture, don’t worry! There are ways to fix it.
One way is to add a layer of paint over the area that’s too distressed. This will help cover up the imperfections and give it a more finished look.
If you went really crazy, you can also use wood filler or Bondo wood filler to fill in the areas that are too distressed. Once it dries, sand it down until it’s smooth. Then paint over it with your desired color. Here’s my Bondo wood filler review to learn more about this product, and check out the best wood fillers and when you should use them here!
You can also dry brush over the overly distressed areas to add a tiny bit of paint onto those areas and make them look less distressed.
Do You Distress Furniture Before or After Topcoat?
Another question that often comes up is whether you should distress your painted furniture before or after top coating the chalk paint or milk paint. That completely depends on what type of topcoat you are using. Learn all about topcoats for painting furniture in this post.
Do You Distress Furniture Before or After Wax?
If you distress after applying wax, the sandpaper will get gunked up. So in my opinion it’s best to distress before applying wax. But if you distress with sandpaper after you wax, then you won’t get dust everywhere either. Pick which way you feel most comfortable with, and go for it!
Do You Distress Furniture Before or After Oil?
If you are top coating with oil like hemp oil, you can sand with 400+ grit sandpaper after you have applied the oil. It will make the entire surface feel silky smooth.
You can also sand the edges where you want them distressed with 220 grit sandpaper to distress. Then you can wipe the excess oil off. You can also distress before applying the oil.
Do you Distress Furniture Before or After Waterbased Polyurethane?
If you are top coating your paint with waterbased polyurethane, it’s best to distress before you topcoat. Sure, you can distress after the polyurethane dries, but you’ll need to apply another coat (a total of 3 coats is best) after you distress.
What Grit Sandpaper for Distressing Chalk Paint?
220 grit sandpaper is the best for distressing chalk paint. It is coarse enough that it removes paint easily, but it also doesn’t remove it too quickly. With 220 grit sandpaper, you can distress areas with just one swipe of the sandpaper.
How long should chalk paint dry before distressing?
If you’re using the sandpaper method, it’s best to let the chalk paint fully dry to the touch before distressing. Otherwise, your sandpaper will gunk up with paint.
If you’re using the wet distress method, chalk paint doesn’t need to dry completely before distressing. In fact, when it’s a little bit wet, it’s easier to wet distress, and more paint will come off. But if you’re not comfortable doing that, wait until the chalk paint is completely dry before starting to distress.
How to distress laminate furniture with chalk paint?
Even though chalk paint claims that it will stick without primer, I have found that when painting laminate furniture, it’s best to still prime before painting with chalk paint. (Read this post on how to paint laminate furniture to see how well (or not so well) chalk paint sticks to laminate furniture…)
Typically primer is white though, so when you go to distress a blue painted piece of furniture, you’ll see the white primer under the paint. Instead, when you plan to distress laminate furniture, you should use a clear primer before painting with chalk paint.
I really like clear shellac primer for this. It’s clear, and amazingly enough, it helps the paint stick very very well. And since it goes on clear, you can’t see it when you distress back down through the paint!
There is also a waterbased clear primer from Country Chic Paint that is made to make the chalk paint stick better to slick surfaces. I’ve tried it and have been impressed with it. Check out more of the best primers for painting furniture here!
More Distressed Furniture Ideas
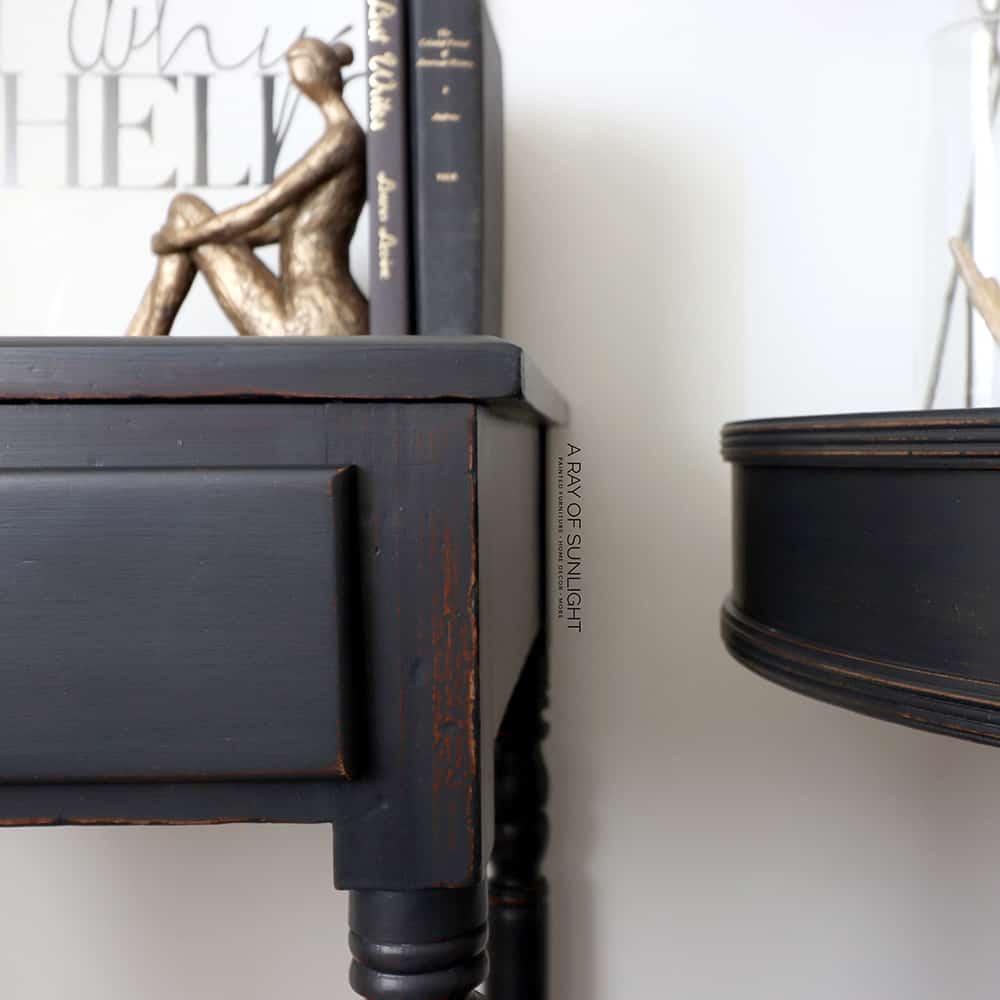
If you want to see more distressed painted wood for more inspiration, we have a lot of furniture makeovers using various distressing furniture techniques. First off, these nightstands got the distressed look with milk paint.
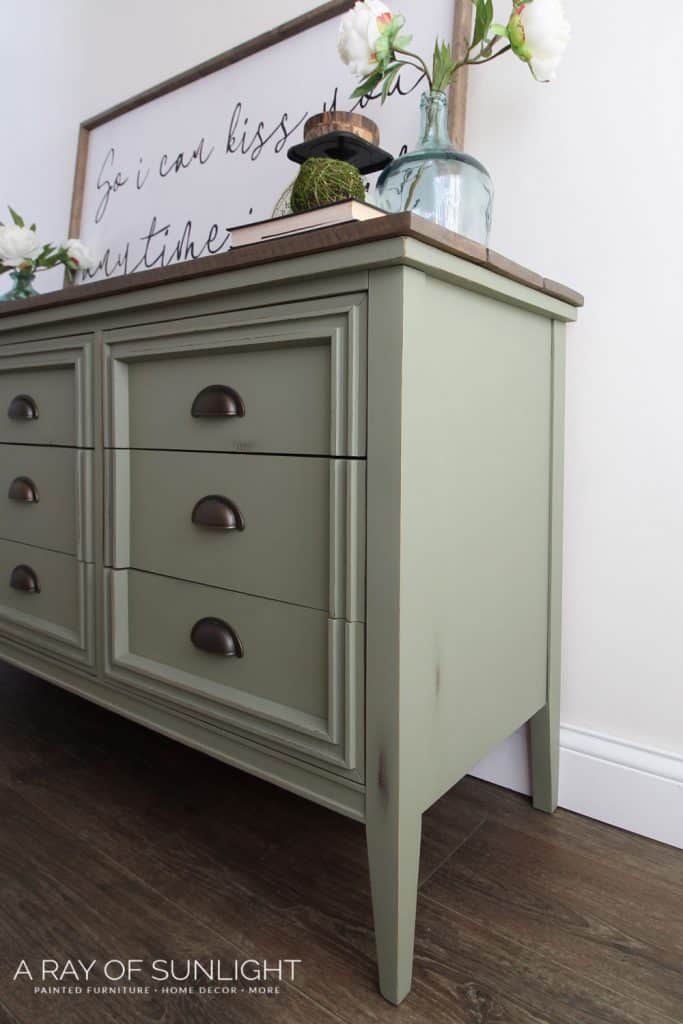
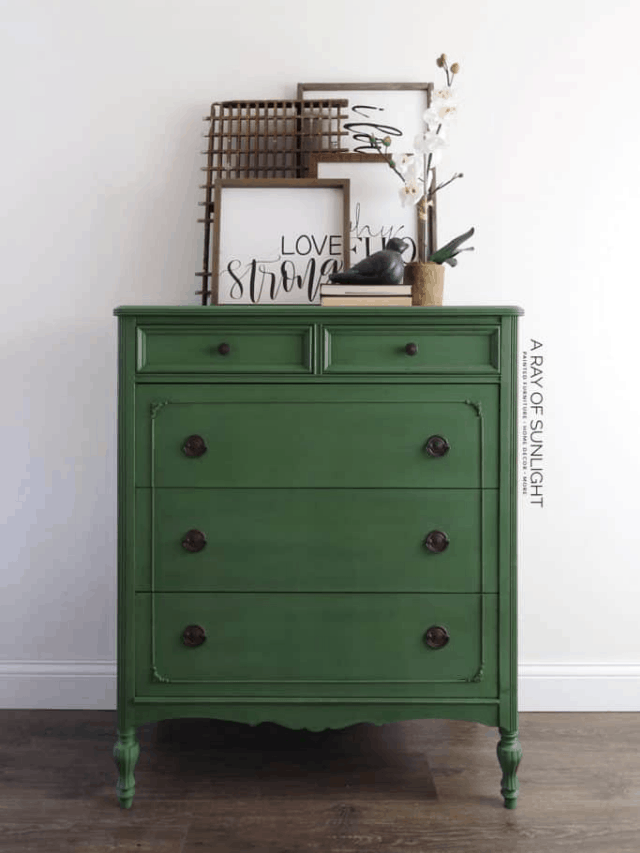
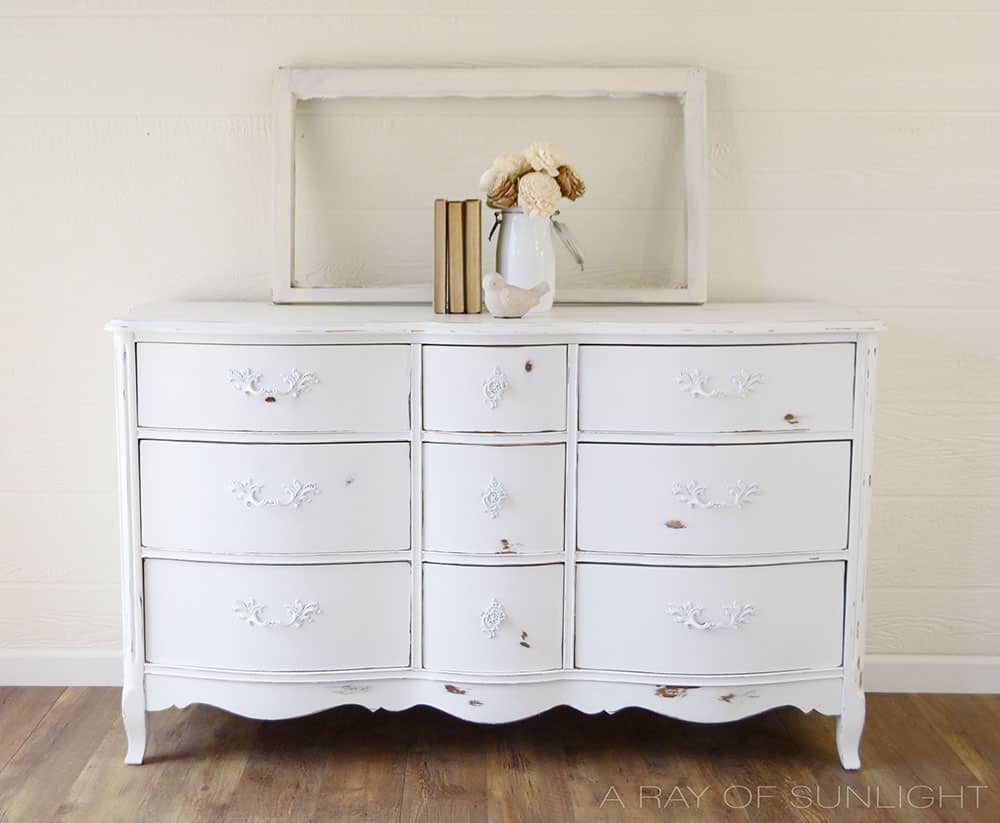
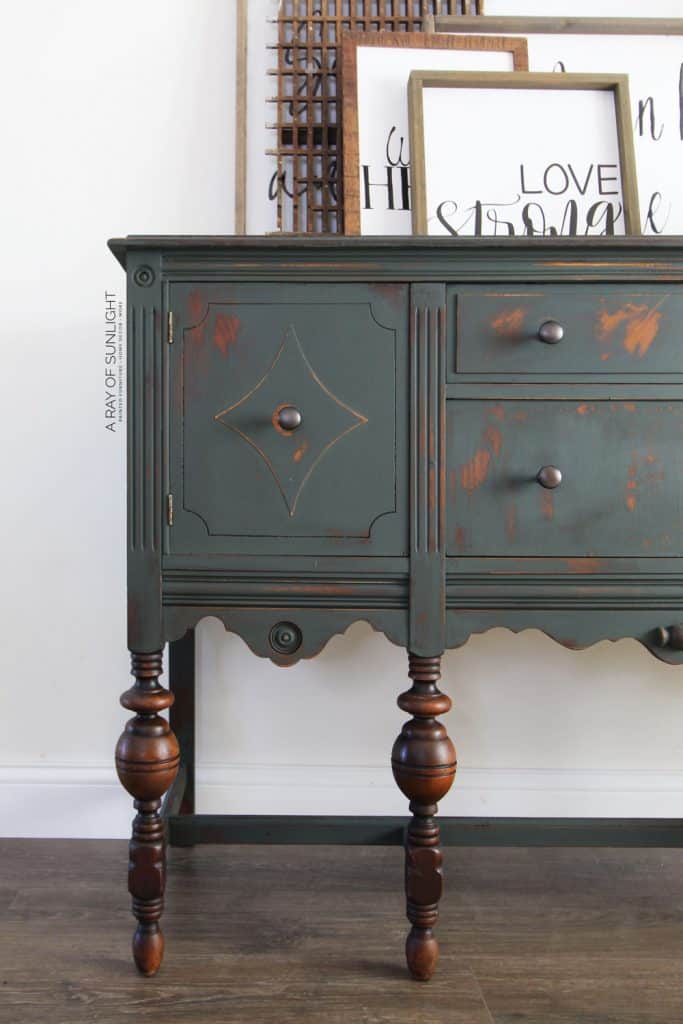
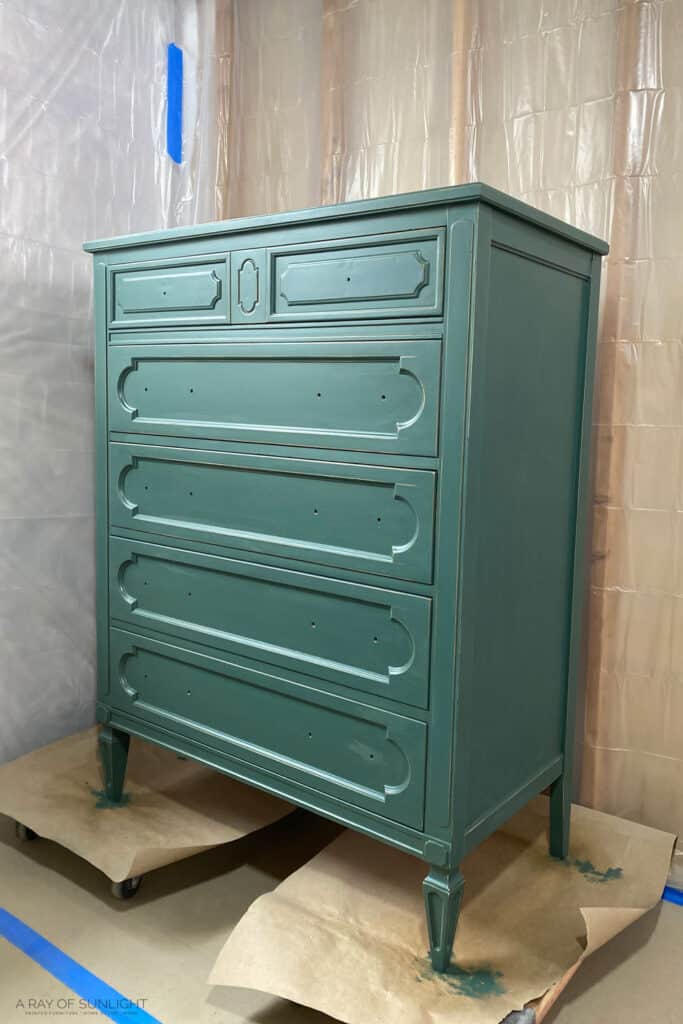
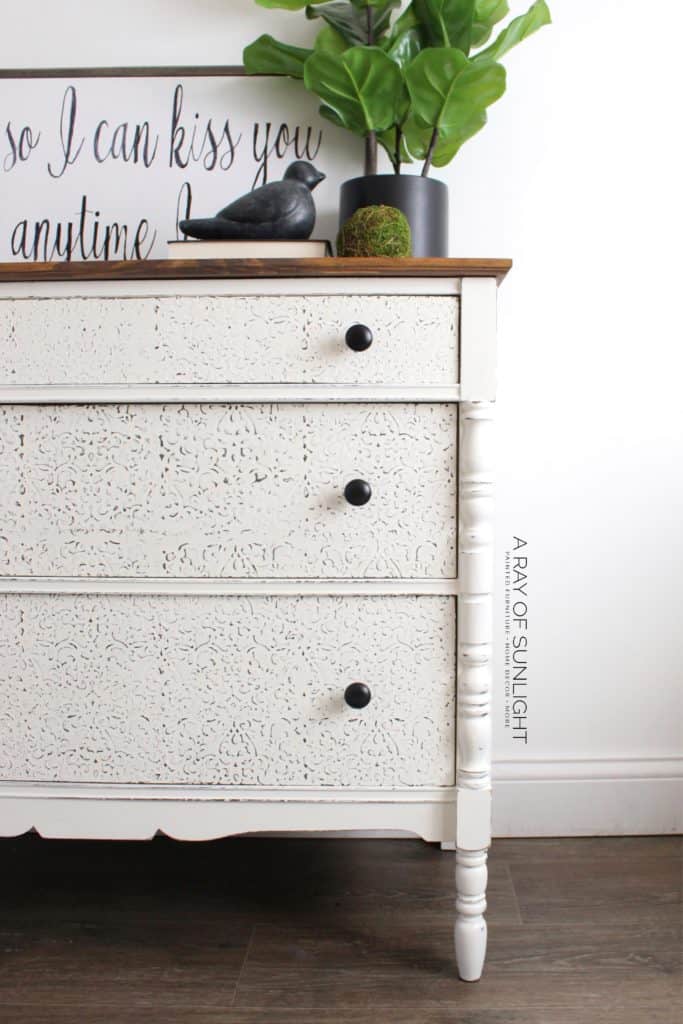
The green dresser above and this white dresser with the raised stencil technique on the drawers were both distressed with 220 grit sandpaper.
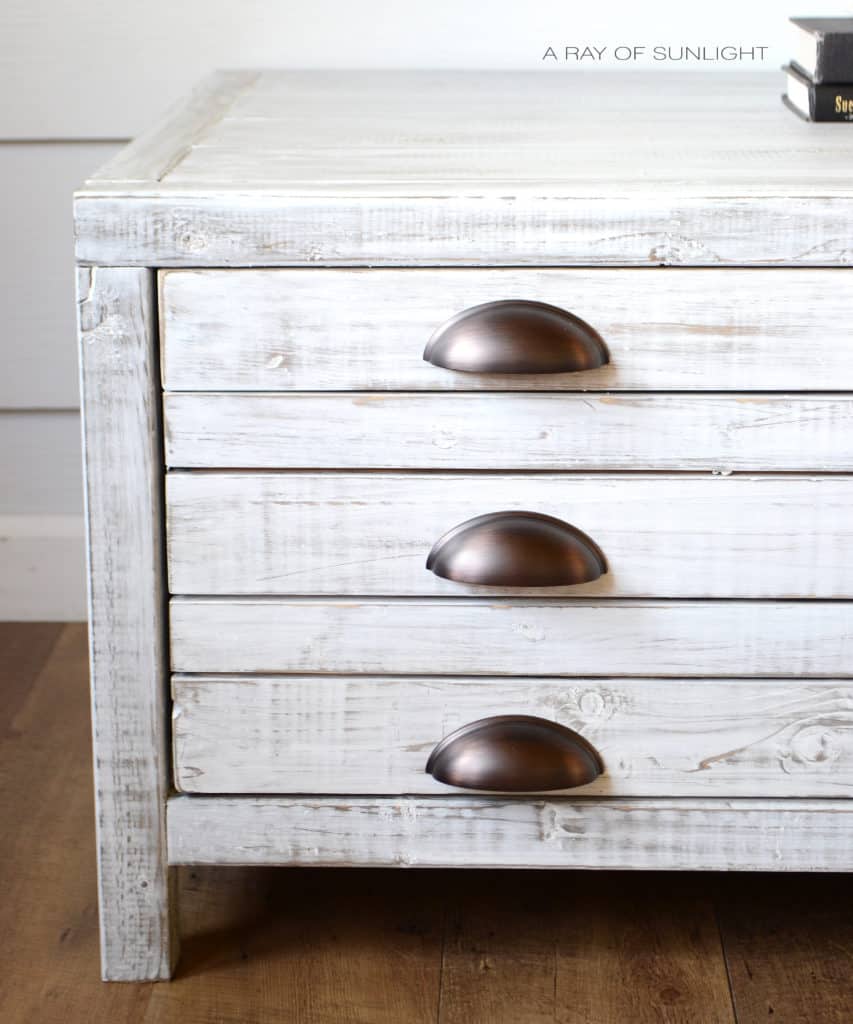
This coffee table has a whitewashed distressed look from a thin layer of whitewash and then sanding with 220 grit sandpaper.
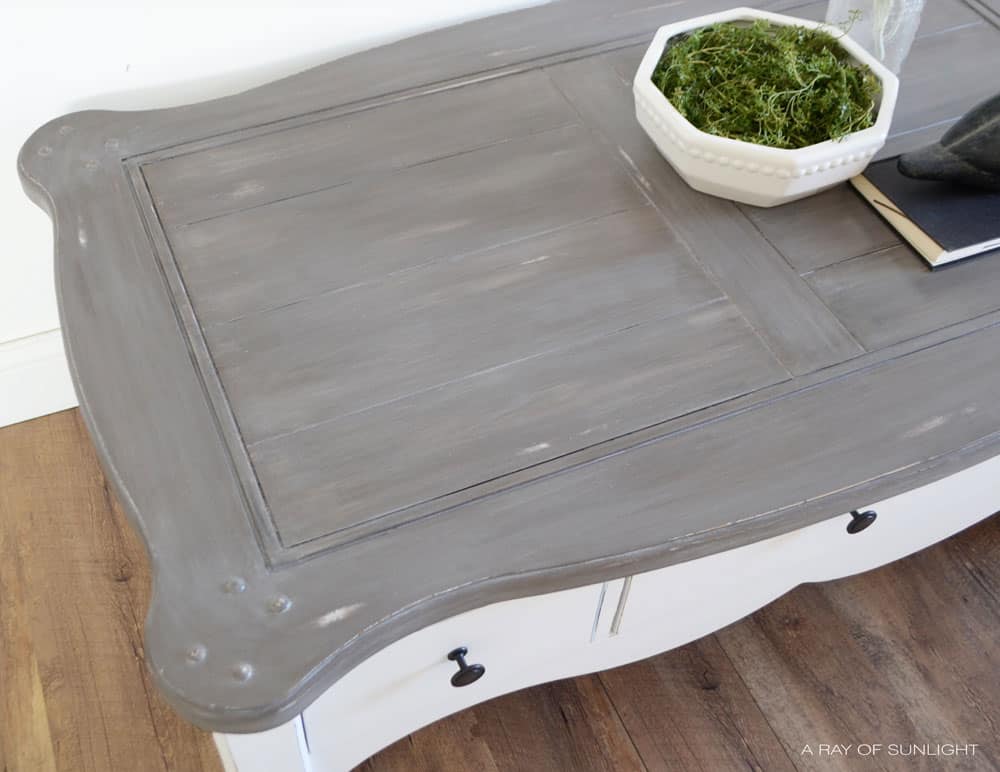
The top of this coffee table was dry brushed with multiple neutral colors and then sanded with 220 grit sandpaper in some areas.
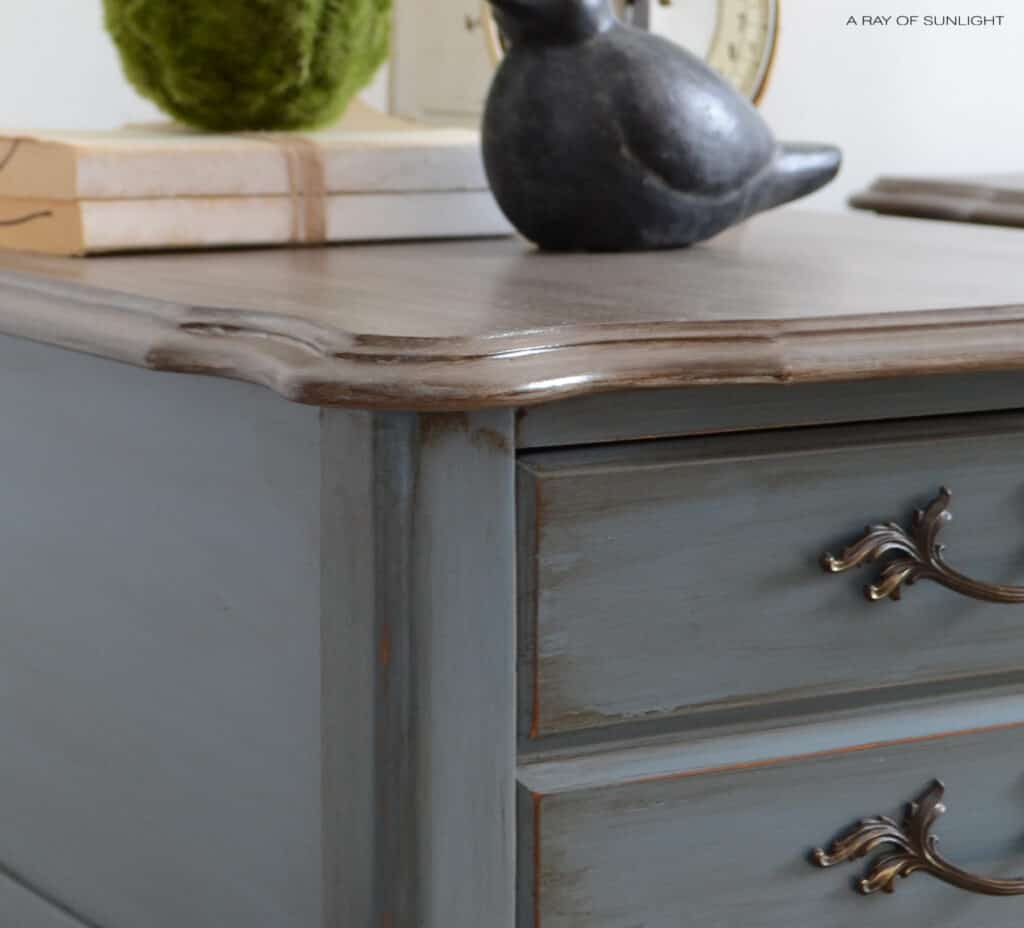
These blue tables were distressed with 220 grit sandpaper, topcoated with a clear waterbased poly, and then glazed with a brown glaze. (Then top coated again).
There’s no right or wrong way to distress painted furniture. You can try out the different distressing furniture techniques above until you find the one that you like best. The most important thing is to have fun and let your creativity run wild!


Now that you know how to distress painted furniture, it’s time to get started! Pick your favorite project and get creative.
More Painted Furniture Ideas
- The Best Paint for Furniture
- Painted Furniture Colors
- Painted Buffet Ideas
- Distressed Painted Furniture
- Chalk Painted End Tables

Follow us on YouTube to get more tips for painting furniture. Or share your project with us on our Facebook Group and be part of our community. See you there!