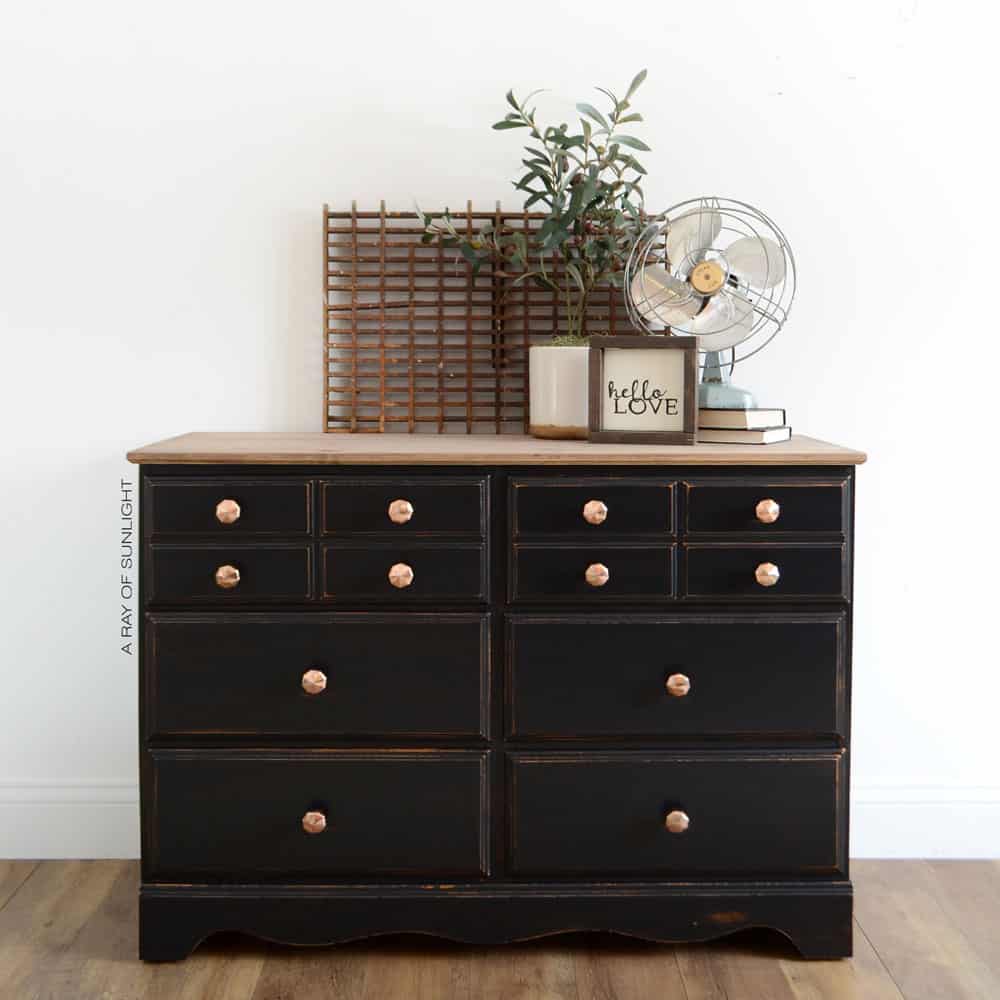
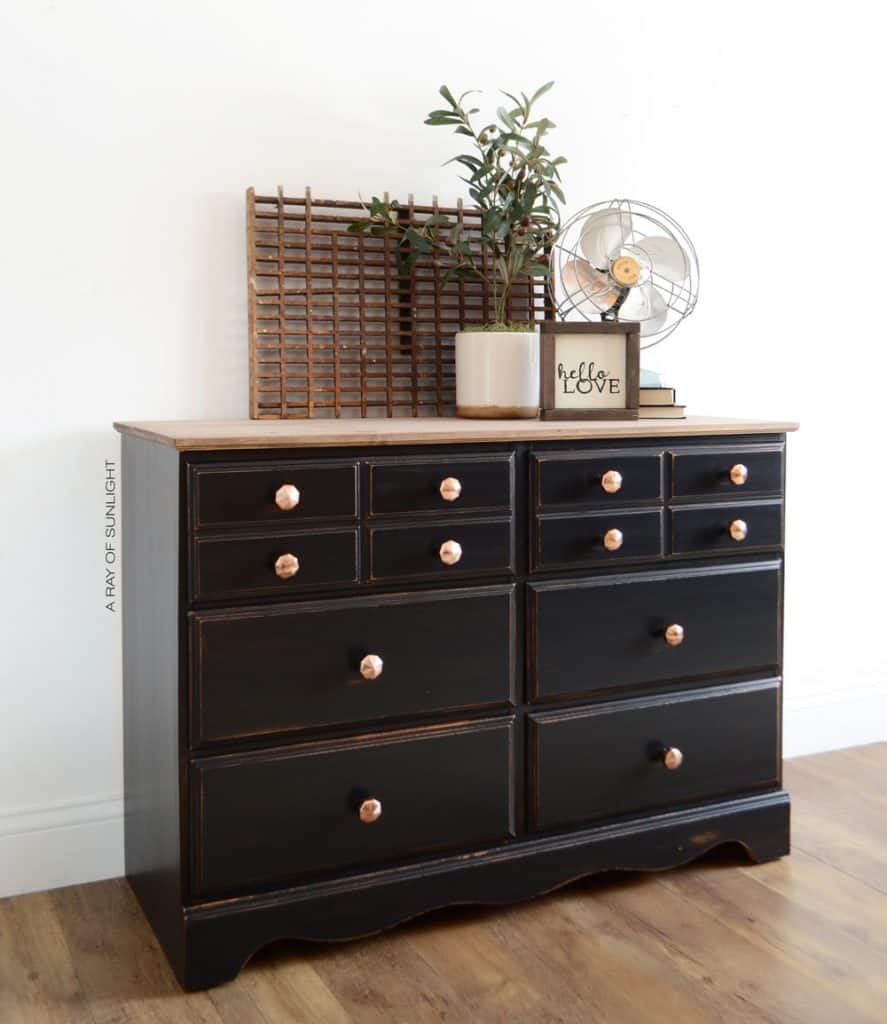
Black Vintage Farmhouse Dresser
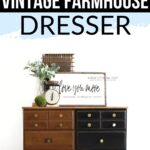

Today we’re talking all about how to paint a dresser black and how to replace a dresser top with this black vintage farmhouse dresser makeover. A black painted furniture piece like this can make any room sophisticated and chic!
Whether you’re a seasoned crafter or new to the DIY world, updating old furniture can be a fun and budget-friendly way to refresh your home decor. And if you’re into farmhouse style, this is a must try!
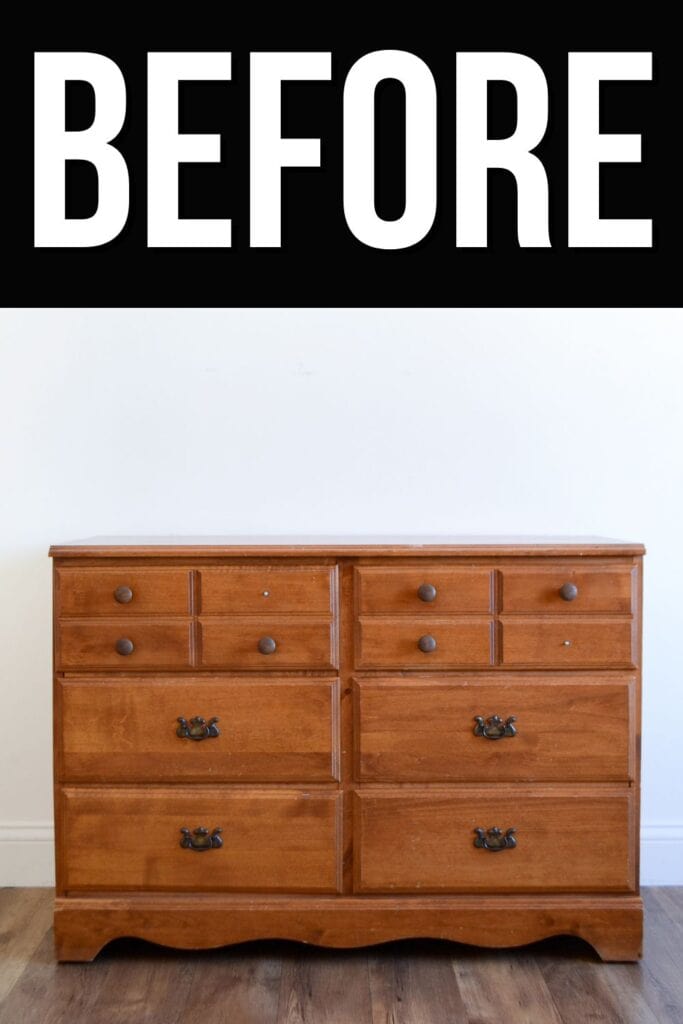
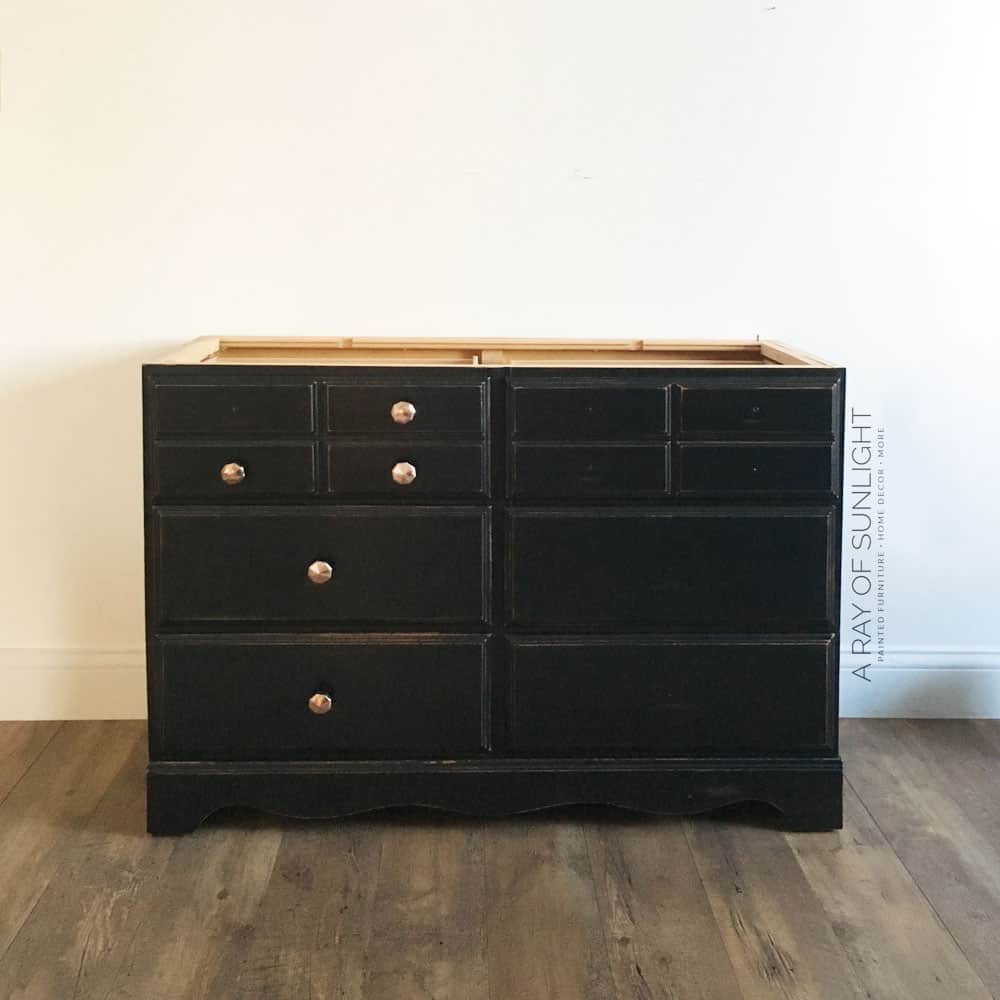
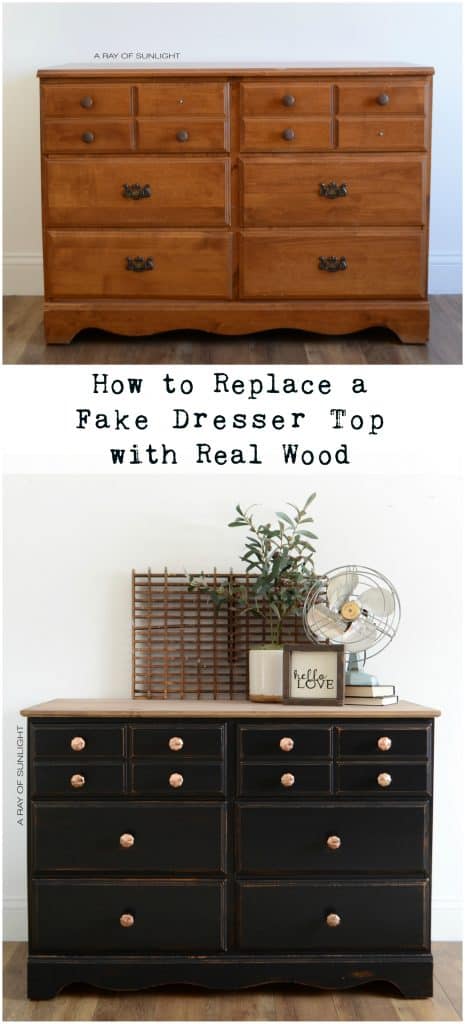
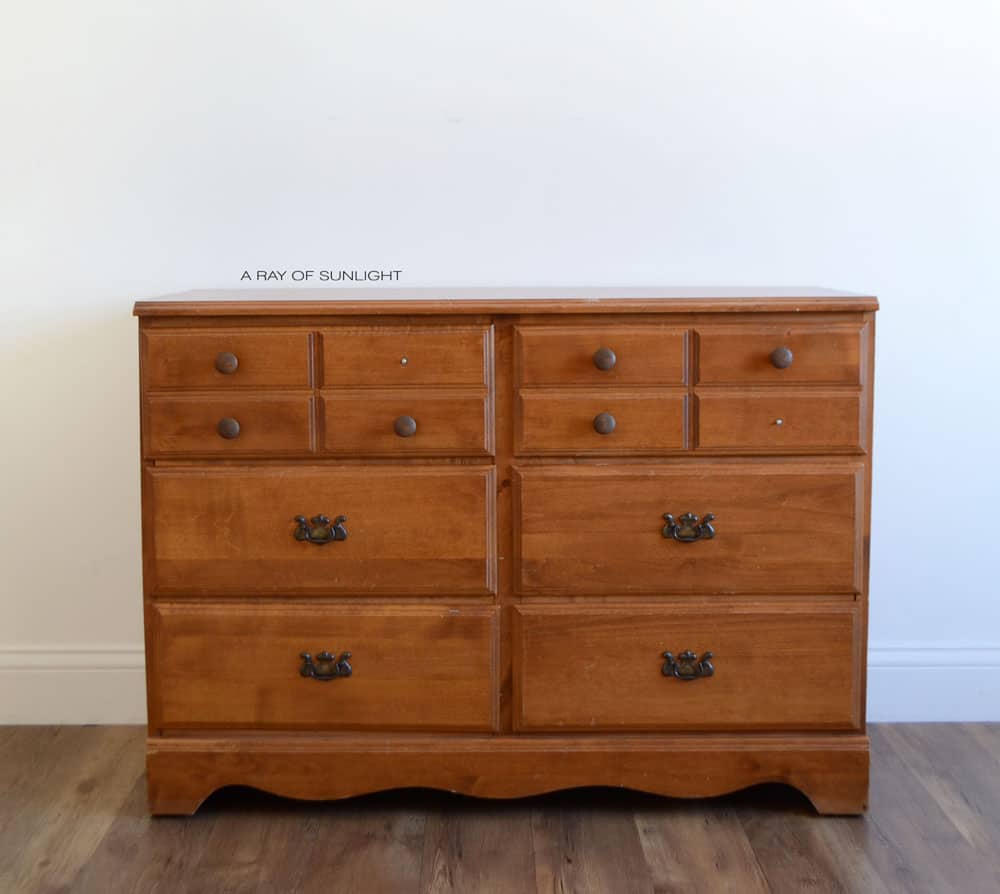
I was in search of a dresser to replace an adorable little desk in our room. Then I found this dresser just a week later! It was close to perfect! All real wood, except for the top. Ugh! Why why why do manufacturers do that?!

I could have simply painted the pressed wood top. But I wanted a beautiful wood-stained top and I wasn’t going to get that with a pressed wood fake top.
Plus I try to stay away from pressed wood as much as possible! It just doesn’t hold up as well as good ole real wood does.

Supplies Used for Black Vintage Farmhouse Dresser Makeover
As an Amazon Associate, I earn from qualifying purchases. I also may earn from other qualifying purchases with other companies or get free product to review and use. All opinions are my own.
- Edge-Glued Wood Panel
- Country Chic Paint – Liquorice
- Country Chic Paint Painting Sponge
- Waterbased Polyurethane
- Router
- Special Walnut Wood Stain
I ran to Home Depot to grab an edge-glued wood panel. I love this stuff because it’s beautiful wood all the way through, unlike plywood. And it looks farmhouse with different wood slats put together! Win-win!
I asked an employee there to cut the wood down for me so I wouldn’t have to do it when I got home. When I got back home I unscrewed the old top off and then went to work prepping and painting the base of the dresser.
Here’s all about how to prepare furniture for painting. Follow our guide so you can guarantee your paint job will last!
Painting Dresser Black
I chose Liquorice by Country Chic Paint even though I feel like I’m constantly using this stuff these days! I LOVE it! Check out the best black chalk paint and best black matte paint for furniture here.
You can also check out my honest and detailed Country Chic Paint review here to learn the pros and cons of this paint and how to use it. I used the painting sponge from Country Chic Paint to paint on thin layers. It also created a weathered finish where the wood slightly shows through in just a few places.
Then I distressed the edges and sealed the paint with Varethane Polyurethane in Satin. If you haven’t used polycrylic over chalk paint before, check out this blog post on can you put polycrylic over chalk paint? Learn the 6 best distressing furniture techniques you can do here, and check out these distressed dresser ideas for more distressed dresser makeovers.
This painting sponge is the best tool if you are looking for a brush-free finish without the use of a paint sprayer. See this painting sponge in action in this how to paint chair spindles video. Here are hand painted dresser ideas using handy DIY tools!
If you have a paint sprayer and want an easier way to paint black furniture with a topcoat built into the paint, check out this post about how to easily paint black furniture. Check out these best HVLP paint sprayers for furniture if you decide to make the jump to using a paint sprayer instead of brush painting.
Replacing Dresser Top
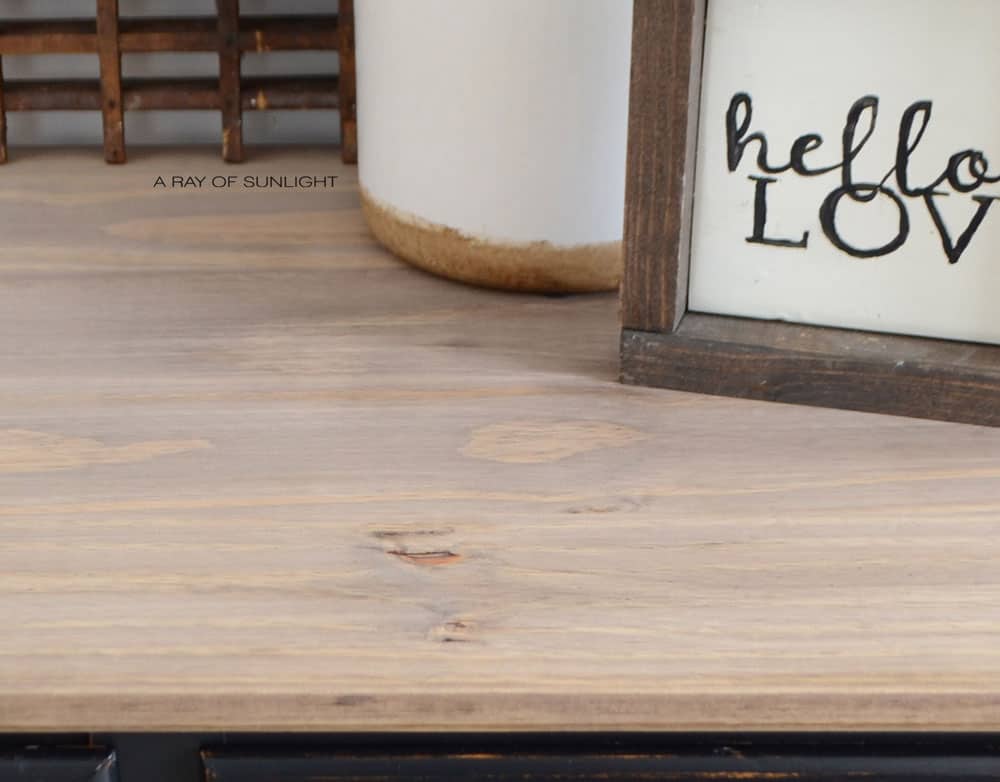
I used the router and my favorite router bit to give the new top some detail around the edges. Then I sanded and stained the wood with Special Walnut wood stain. Then sealed it up with more polyurethane for extra durability. Learn what’s the best polyurethane for furniture here.
You could use this natural homemade weathered wood stain to give your wood a weathered wood look! Another great way is to use weathered wood planks as we did in this post on how to make a plank top dresser.
Once everything was dry, my husband helped me screw the new top back in place. We used the old screws and screw holes in the dresser.
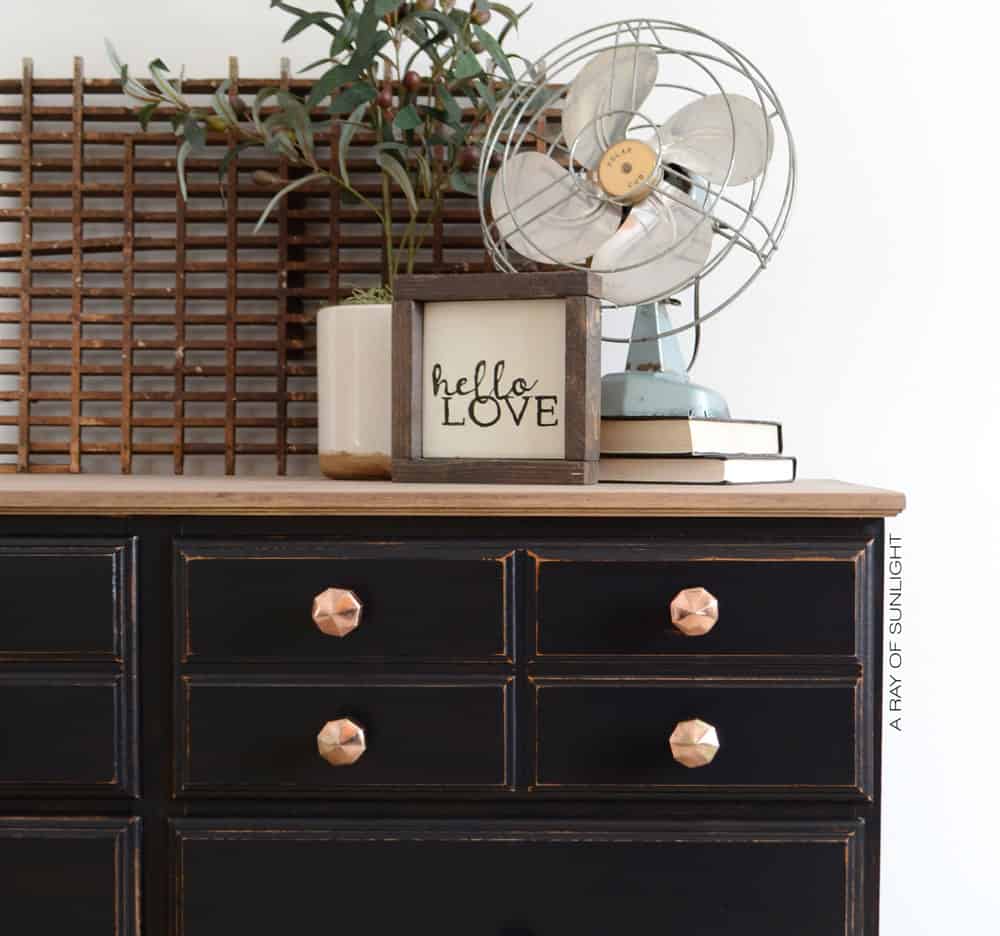
That’s probably the trickiest part! Make sure it stays exactly where it needs to be by putting a lot of weight on the top and screwing it in. But it’s sooo worth it! To finish it all up I replaced the old hardware with fresh new gold hardware that I found at Tjmaxx.
To me, the hardware is what gives neutral furniture its own personality. I love picking hot and trendy hardware to give it an updated modern flair. Learn more about how to change hardware on a dresser here. Get the whole farmhouse look with these DIY farmhouse drop cloth curtains.
Would you like to save this?
And hey, when that trend has passed, it’s easy to switch the hardware to something fresh! Thankfully these drawers were set up for knobs already! But if I needed to replace two-hole hardware, I would have filled in the old hardware holes! Check out the ways of filling holes when replacing cabinet or furniture hardware here.
More Before and After Makeovers
See All >
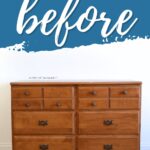
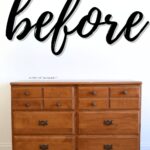
Click any of these “before” photos below to view the “after” of that makeover.


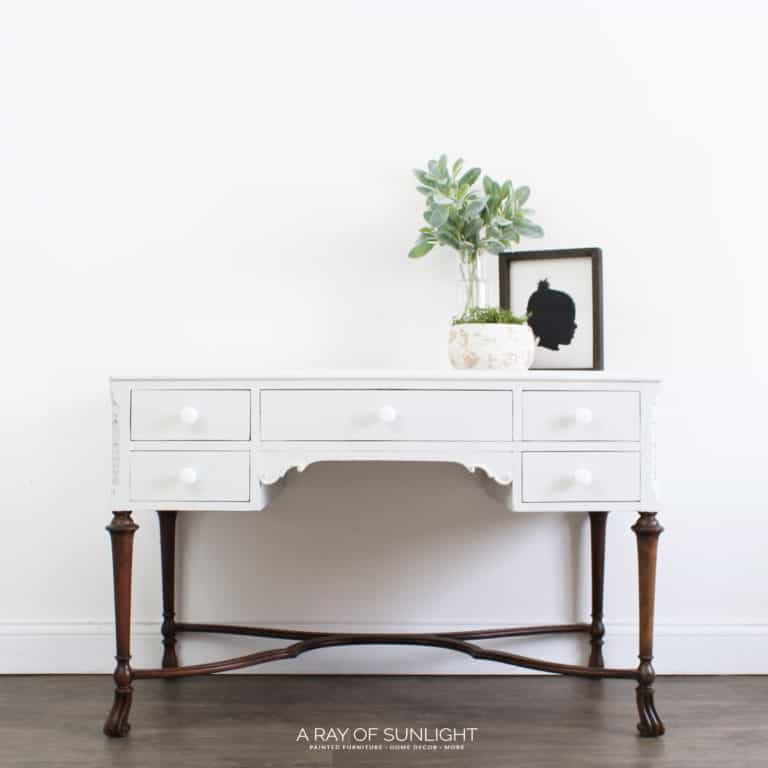

I’m so excited for the extra storage space since we never actually used the desk as a desk like we thought we would.
Here are more painted dresser ideas and boys dresser ideas you can recreate. If you like the stunning dark finish on this piece, try out these black painted dresser ideas and black chalk painted furniture.
For more projects using chalk paint, check out these chalk paint dresser ideas and chalk painted bedroom furniture. And for more farmhouse style, here’s our list of rustic dresser ideas!
Can you replace the top on any dresser?
Yes, you can replace the top on almost any dresser. However, it might require some additional work and tools depending on the design and structure of the existing top.
Some dressers have a fixed top that’s not easy to remove, while others have a separate top that you can just lift off. Before you give it a go, make sure to take a good look and see how your dresser is put together.
If your dresser has a built-in top, you may need to use tools like a router or saw to carefully remove it without damaging the rest of the piece. If the top is separate, then replacing it will be much easier as you can simply unscrew it and lift it off.
Keep in mind that some dressers may also have additional support pieces underneath the top that will need to be removed or adjusted before replacing the top.
Before you go ahead and replace the top of your dresser, think about why you want to do it. If the current top is damaged or doesn’t look good anymore, then it’s a good idea to replace it.
But if you’re just looking for a simple DIY project, there are also other ways to freshen up your dresser without replacing the top. You could try painting or refinishing the existing top for a new look.
If you have decided to replace the dresser top, just make sure to do proper measurements before purchasing or cutting anything. You don’t want to end up with a top that’s too big or small for your dresser! And remember, take your time and be careful when removing the old top and attaching the new one.


Black Vintage Farmhouse Dresser
Learn how to paint a dresser black and how to replace a dresser top with this black vintage farmhouse dresser makeover.
Materials
Instructions
- Start by removing the top off the dresser and preparing the rest of the dresser for paint.
- Apply thin layers of paint on the dresser with a painting sponge. This also creates a weathered finish.
- Once dry, distress the edges and seal the paint with a waterbased polyurethane.
- Give the new top some detail around the edges with a router. Sand then stain the wood top with wood stain. Afterward, seal the top with more waterbased poly for extra durability.
- When everything's dry, screw the new top onto the dresser.
- Replace the old hardware with new ones.
Recommended Products
As an Amazon Associate and member of other affiliate programs, I earn from qualifying purchases.


More Dresser Makeovers
- How to Paint Over Oil Based Paint
- Painting a Dresser
- DIY Black French Provincial Dresser
- Painted Light Blue Dresser
- Bedroom Dresser Ideas
Follow us on YouTube to get more tips for painting furniture. Or share your project with us on our Facebook Group and be part of our community. See you there!

What kind of wood did you use for the top? Pine, maple, oak?
I believe it’s pine.
Did you by chance do a video on this and I missed it? Would love to see that done.
I wish! Maybe I’ll do a similar video soon though.