DIY Black French Provincial Dresser


Are you looking to turn a tired piece of furniture into an updated piece of black painted furniture? Look no further than this DIY black French provincial dresser project! With just some simple materials and tools, you can transform an outdated dresser into something chic and modern.
In this blog post, we’ll be walking through the process of painting a nine drawer french provincial dresser with its accompanying mirror. From cleaning it up and fixing broken trim to applying homemade chalk paint, we’ve got all the steps covered. So let’s get started on giving your old furniture some much needed TLC!
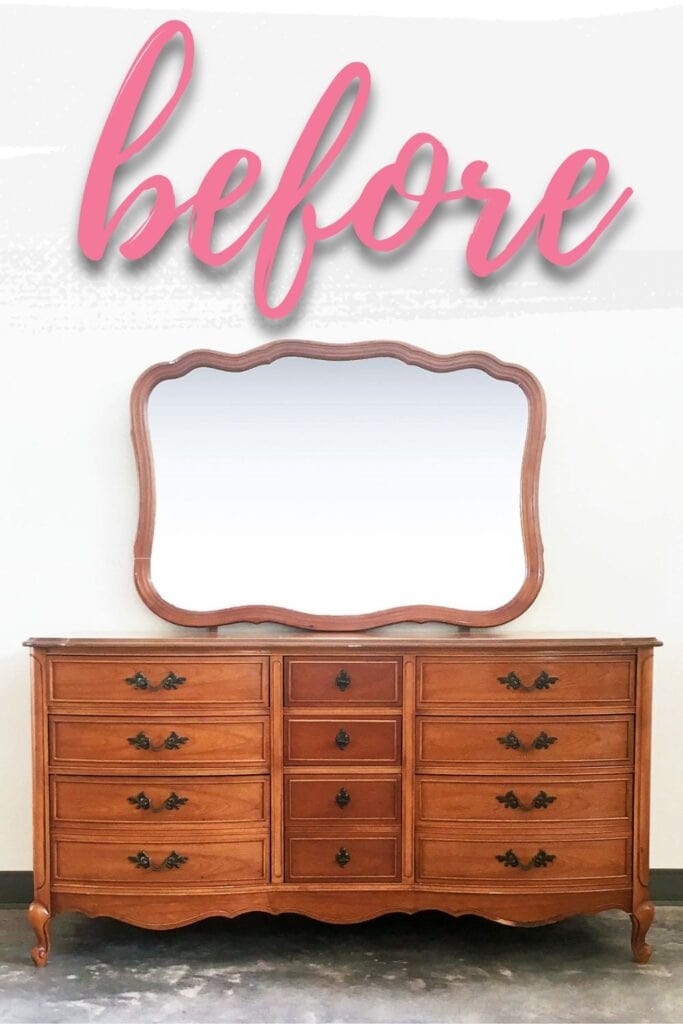
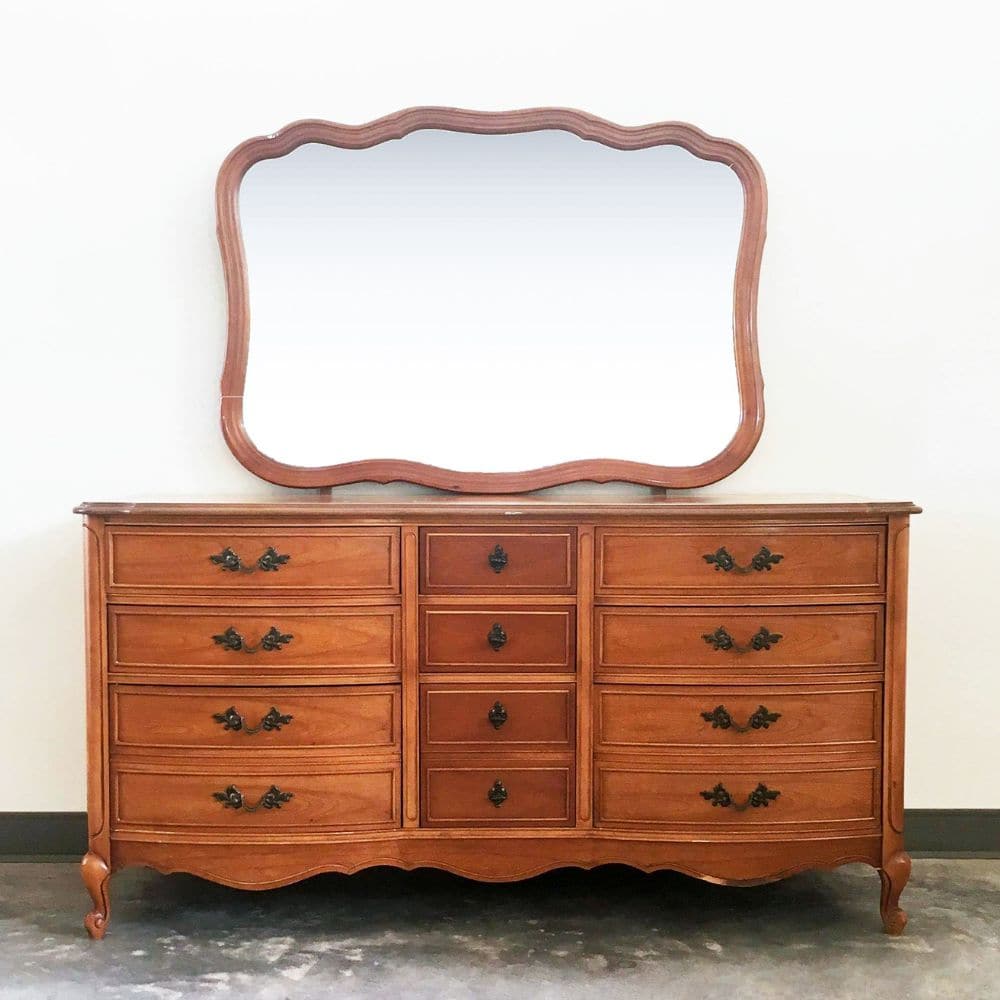
You can see above what this dresser looked like when we got it. Actually, one of our Facebook followers gave it to us! How sweet is that!?

It had some broken trim on it, and many people might pass it up because they don’t know how to make this dresser look nice again…
Upcycling furniture is an easy way to add a unique personal touch, while also helping the environment by reducing waste. And we didn’t want it to go to waste! So we fixed it up! First, we gathered the supplies. Here is what we used on this project.

Supplies for DIY Black French Provincial Dresser
As an Amazon Associate, I earn from qualifying purchases. I also may earn from other qualifying purchases with other companies or get free product to review and use. All opinions are my own.
- Electric Screwdriver
- Krud Kutter
- Hot Glue
- Vaseline
- Bondo and Spreader
- Utility Knife
- 150 Grit Sandpaper
- 220 Grit Sandpaper
- Clear Shellac Spray
- Behr Latex Black Paint
- Calcium Carbonate Powder
- Painter’s Tape
- Pre-Taped Plastic
- Wagner FLEXiO 3500 Sprayer
- Paint Filters
- Shop Vacuum
- Tack Cloth
- Waterbased Polyurethane
Prepping the Dresser for Paint
Getting a piece of furniture ready for painting takes some work, but it’s worth it when you get to enjoy the finished product for years to come.
Before beginning our DIY Black French Provincial Dresser project, we gathered all the supplies needed and began prepping the dresser for paint. The first step was removing all the hardware with an electric screwdriver and also taking off the mirror from the back of the dresser.
The mirror was also easy to unscrew with our electric screwdriver, but it’s best to have an extra pair of hands to hold the mirror.
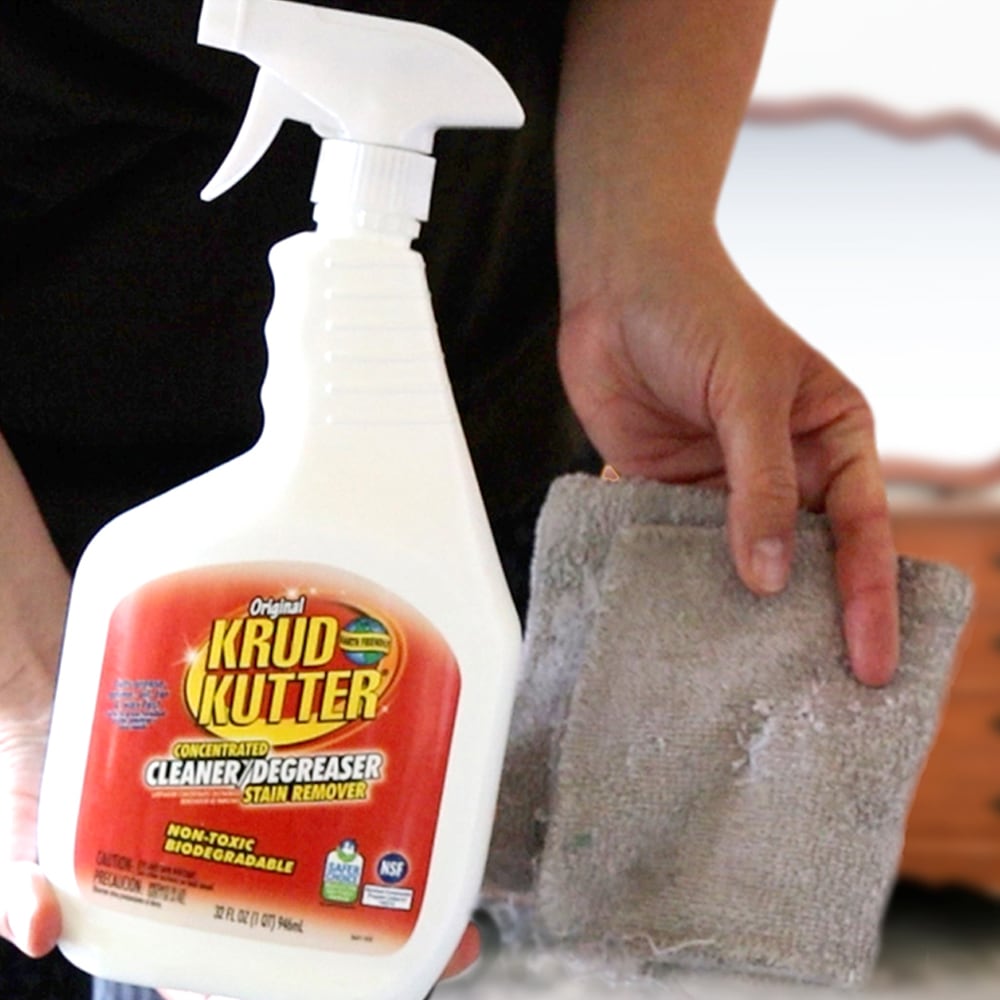
Then we cleaned everything – including the dresser, mirror frame and the hardware – with Krud Kutter to make sure there was no oil or dirt left on any surface that could affect how well the paint stuck.
Fixing Broken Trim on Furniture
Then we had to fix the broken trim. We used hot glue to make a mold of the crevice.
Since the crevice was a lot larger than it should have been because of the damage, we used the other side of the dresser to make a mold of the same shaped crevice. (Furniture usually has at least 2 of everything, so if 1 is broke, you usually can find a replica on the other side of the furniture.)
Tip: Before putting hot glue on the area you want to make a mold of, apply some Vaseline or spray some cooking spray in that area to make the hot glue not stick to the wood.
When the mold was cooled off, I removed it from the crevice and then I stuck it where the damage was, and then we applied Bondo in that area to fill in the damaged wood. Before the bondo dried hard, I removed the hot glue mold, and then let the bondo dry a little.
Check out my Bondo wood filler review to learn more about this product.
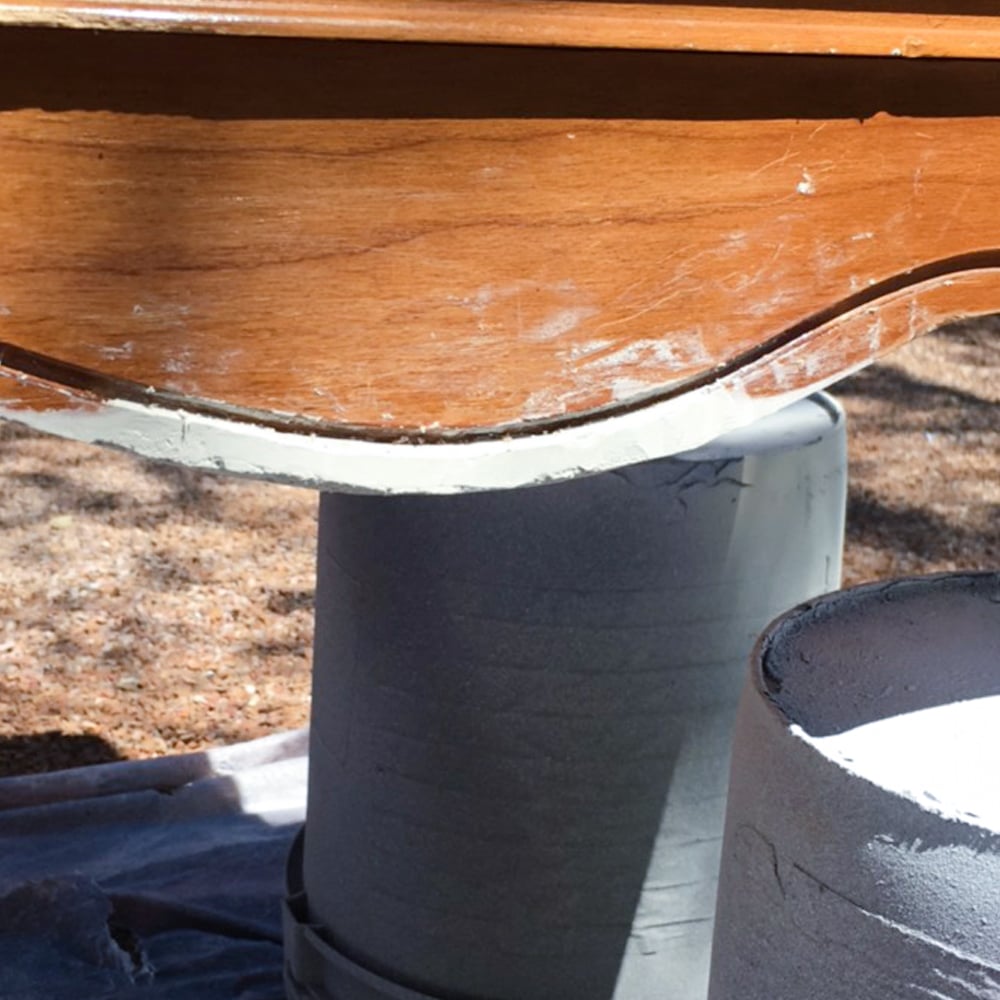
Before the bondo was hard, I used a utility knife to cut off some of the excess bondo so I wouldn’t have to sand as much. You don’t want to take too much off on this step though! Then I let the bondo dry completely.
Then I used 150 grit sandpaper to smooth out the bondo and shape it to make it look like there was never any damage. Last but not least, I sanded over it all again with 220 grit sandpaper to make it feel smooth for paint.
Get more details on exactly how to do this step in our how to repair broken trim on furniture post. I got into a lot more detail about it there.
Get Our Secrets!
Grab this super convenient How to Repair Furniture Ebook with all of our secrets on how to repair furniture for only $14.
You can print it out and have instant access whenever you come across damaged furniture, and know exactly how to fix it!
Click on the picture of the book to purchase!

Priming Before Painting Furniture
With the trim fixed, and the dresser and mirror all cleaned, there was only one more thing left to do before painting.
I sprayed a coat of clear shellac all over the dresser, mirror frame and hardware to help the chalk paint stick. Let it dry for a couple of hours.
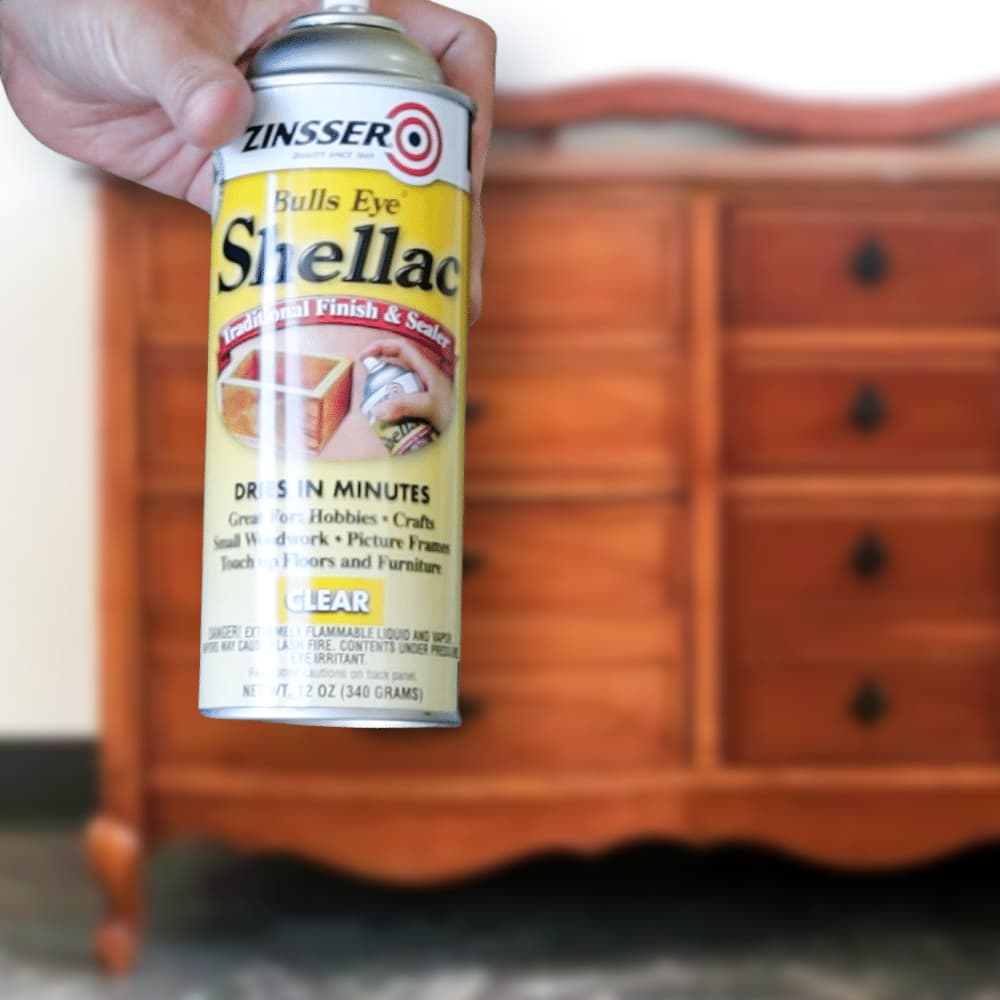
I love to use clear shellac when painting furniture with chalk paint because it helps the chalk paint stick better, it stops stains from coming through the paint (a problem you have when painting wood with water based paints), and it’s so easy to do in the spray can.
Spraying shellac is also one of the tricks on how to get rid of smoke smell in furniture or any other unpleasant odor.
I don’t have to sand the shellac smooth, and it is easy to spray onto the furniture. The one downside is that the shellac is stinky, so this is best done outdoors.
If you don’t want to use clear shellac, here is our list of the best primers for painting furniture, so you can choose the best one for you!
I like to let the clear shellac dry overnight, even though is dries within minutes.
Would you like to save this?
Painting Furniture with Homemade Chalk Paint
Then I mixed up some homemade chalk paint with Behr latex paint in black and calcium carbonate powder. Grab the instructions to easily mix up your own homemade chalk paint in our homemade chalk paint recipe post.
Check out more chalk paint recipes you can easily do for future projects.
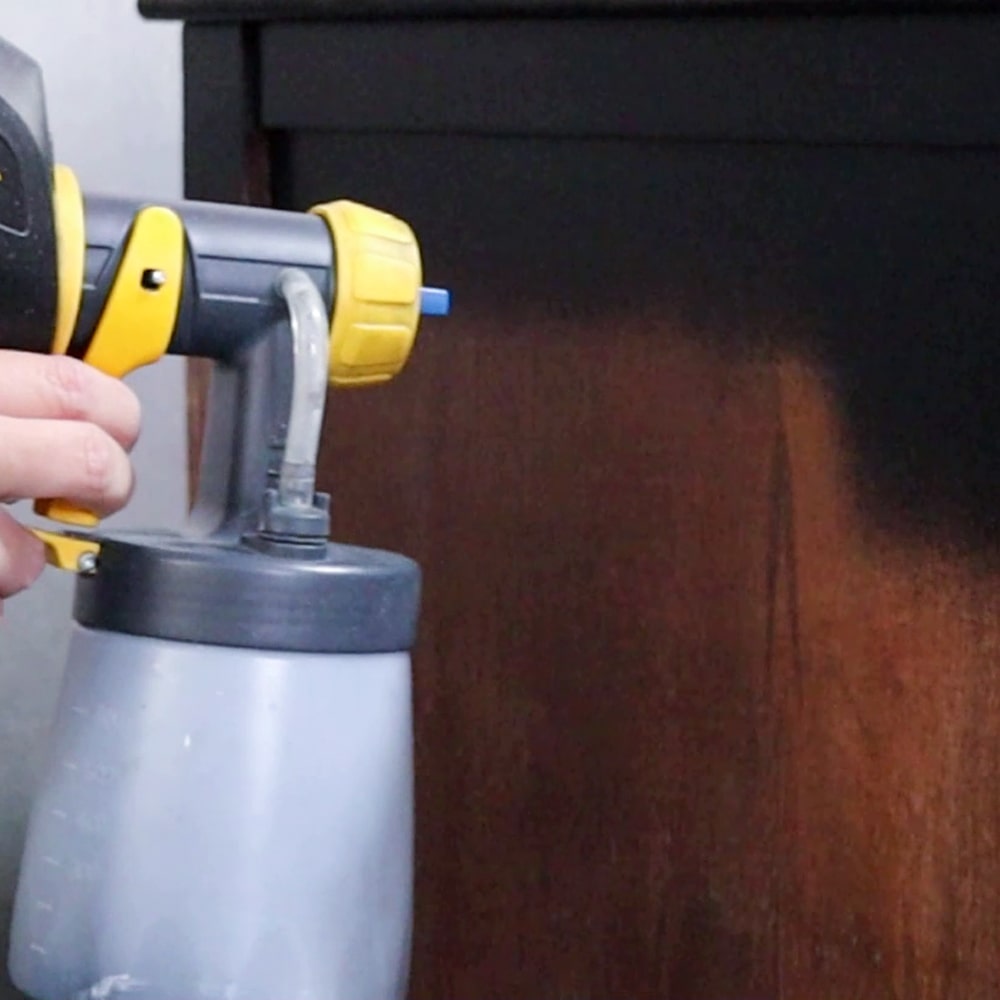
I put the homemade chalk paint into our Wagner FLEXiO 3500 sprayer, using a paint filter to filter the paint while pouring the paint into the sprayer so the sprayer won’t get clogged while spraying. And then I thinned out the paint with water to help this sprayer spray the paint.
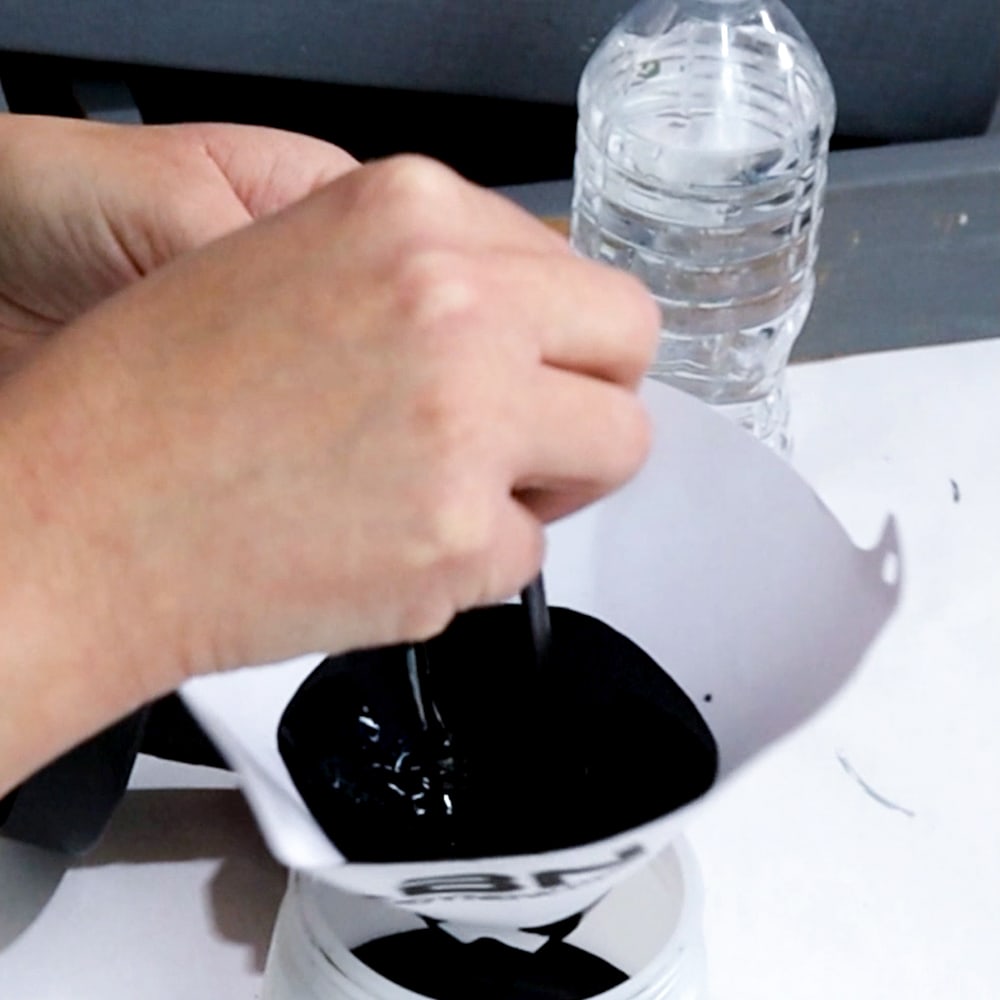
This sprayer is a cheaper one that really should be used for stains instead of paint, but it works with chalk paint if you thin out the paint enough. Here is how to thin paint for Wagner FLEXiO Sprayer.
If you want to grab a better paint sprayer, here is our list of the best sprayers for painting furniture, so you can have a professional looking finish on your furniture, and make your project so much faster!
If you’re spraying, tape off the drawers so you don’t get paint inside the drawers. Learn how to wrap your drawers in plastic in our how to prevent overspray post, so you can be extra proud of your finished project! I also covered the mirror so I could spray the mirror frame.
If you want to just brush on the paint, you totally can do that too! Here are the best paint brushes for painting furniture. You could just get a cheap paint brush, but the brush you use can make a huge difference in the look of the paint.
It honestly can either make your furniture look sloppy, or make it look professionally done.
Either way, I applied 2 thin coats of paint onto the dresser, the mirror frame and on the hardware, and let the paint dry between coats of paint.
Head on over to this post for more tips and tricks on how to paint a dresser and make the process worry free.
Distressing Chalk Paint
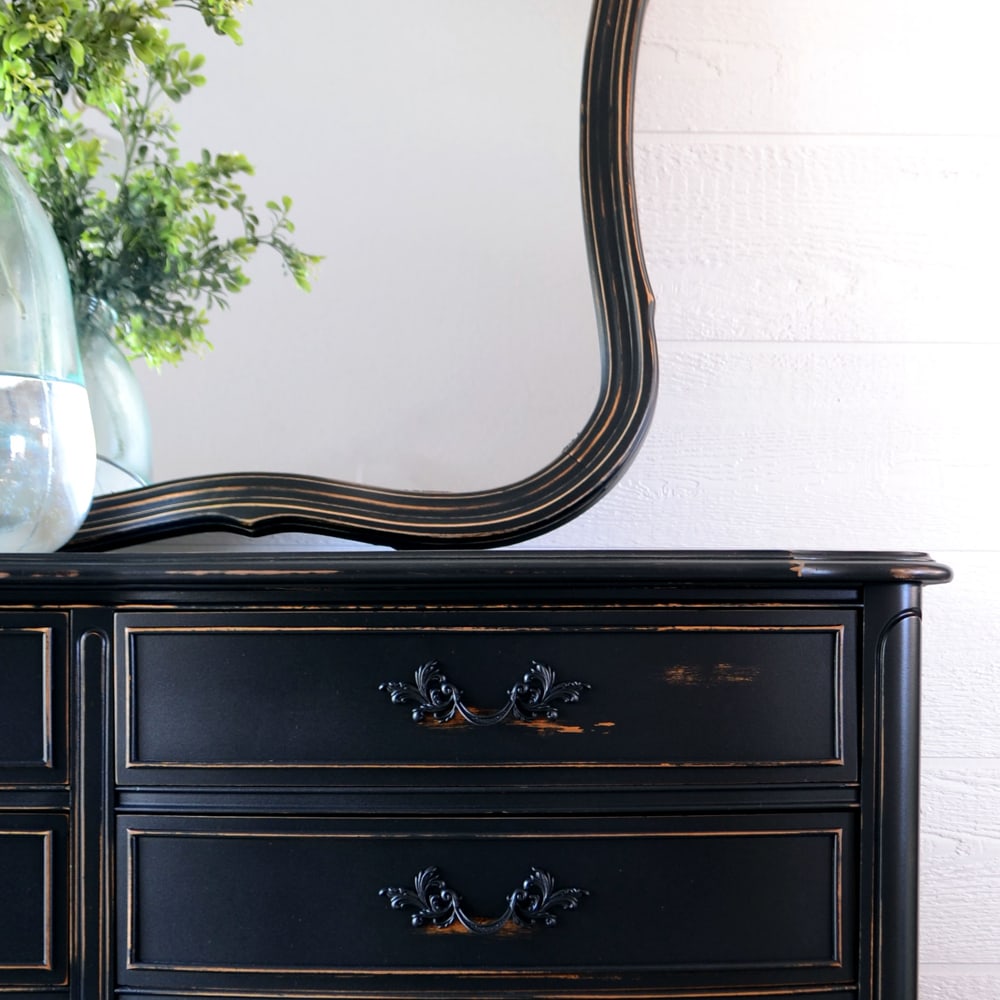
After the 2nd coat of paint was dry, I used 220 grit sandpaper to distress the paint all over, especially the edges and below each piece of hardware on each drawer.
If you aren’t sure how to distress painted furniture, check out our post on distressing furniture techniques for all of the details and less messy ways to do it. Here’s our list of distressed dresser ideas if you want more distressed dresser makeovers.
Then I vacuumed off the dust with our shop vacuum and used a tack cloth to remove any remaining dust.


Top Coating Chalk Paint with Waterbased Polyurethane
Last, but not least, I topcoated the chalk paint with waterbased polyurethane. So, I cleaned out the sprayer (learn how to clean out a Wagner FLEXiO paint sprayer here) and then put waterbased polyurethane into the sprayer and sprayed 3 coats on everything, letting it dry between coats.
Spraying waterbased polyurethane is the easiest way to topcoat painted furniture to give it a durable finish! Learn more about the easiest way to topcoat chalk paint in our how to spray polyurethane post. And you can check out sealing painted furniture here for more tips and tricks.
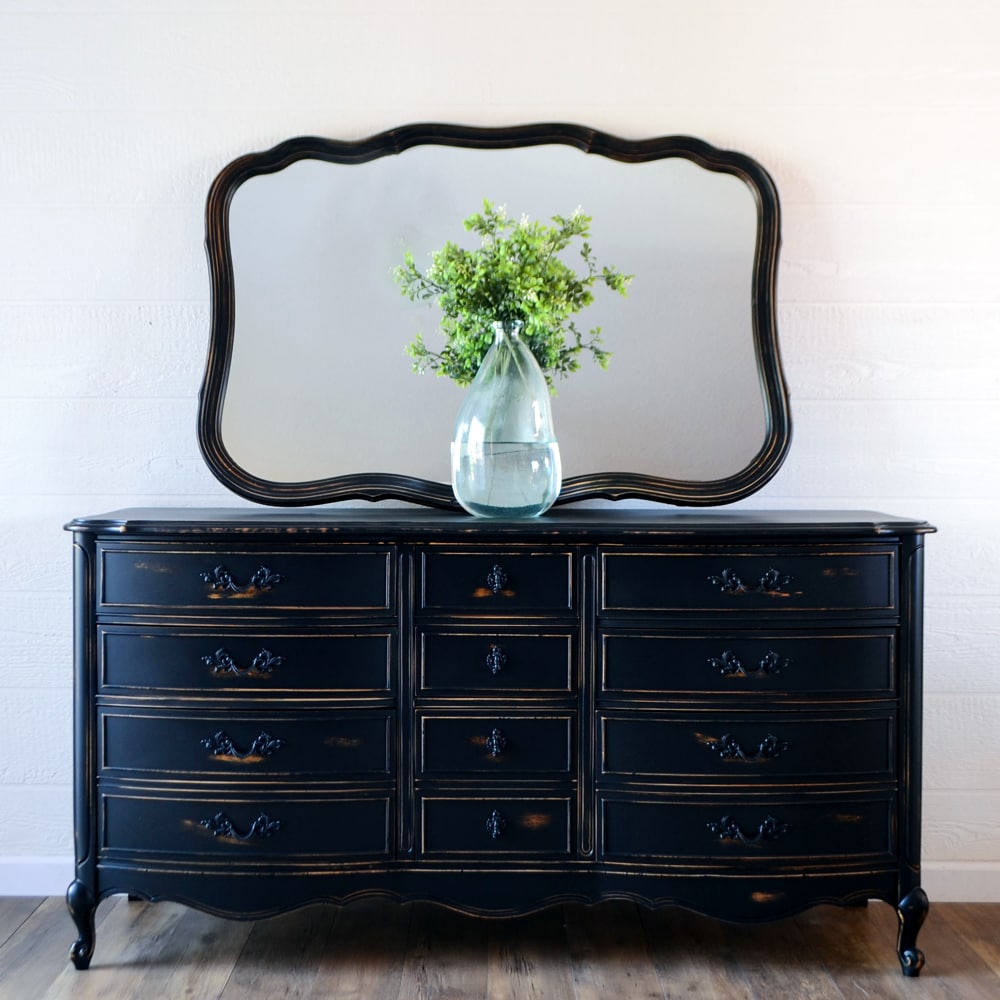
And then, after 24 hours, I attached the black painted hardware to the dresser and put the mirror back on. Learn more about the finishing touches of painting furniture for a successful project.
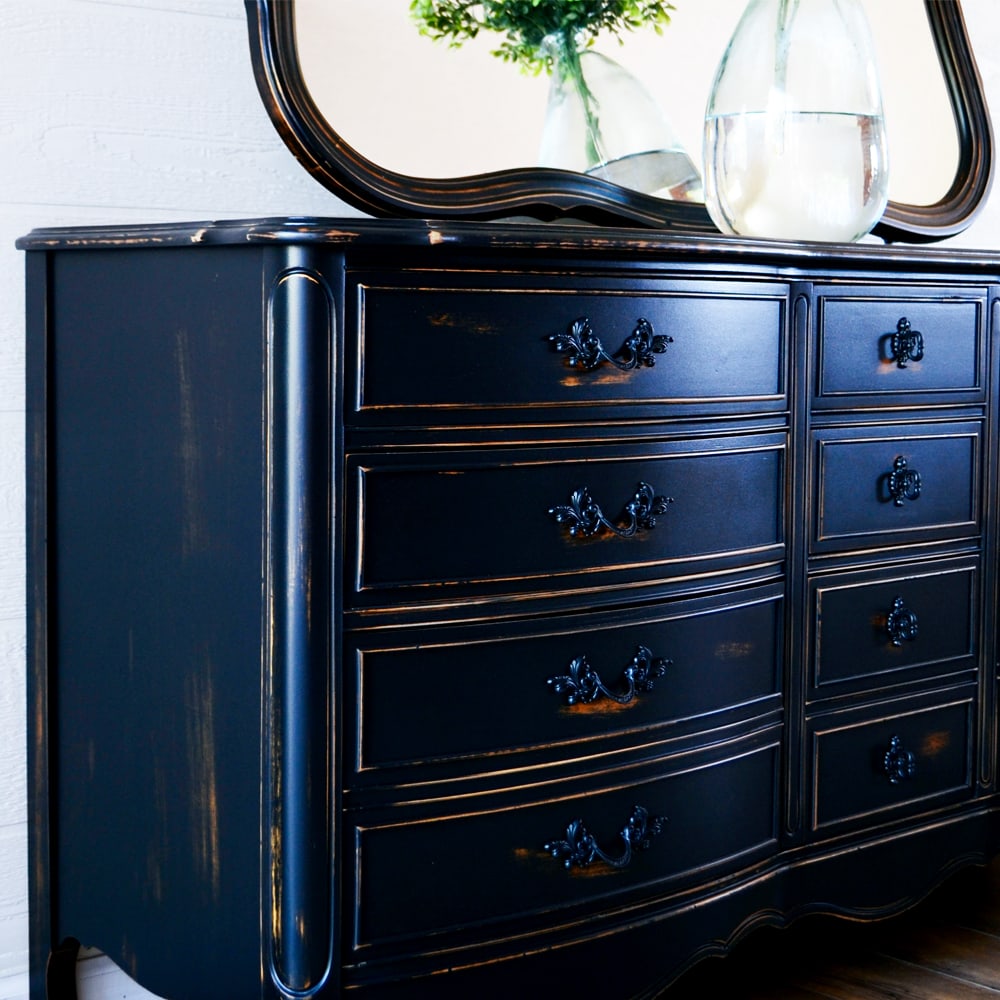
Here’s what it looks like now! Sleek, and slightly distressed for a farmhouse look! Isn’t she pretty!? Pair this up with the perfect DIY farmhouse drop cloth curtains to complete the look! For more classic color dresser makeovers, check out our list of black painted dresser ideas here and black and white dresser ideas.
More Before and After Makeovers
See All >
Click any of these “before” photos below to view the “after” of that makeover.


If you have an old dresser without drawers, here’s our list of repurposed ideas for old dressers without drawers you can do.


DIY Black French Provincial Dresser
Update your old dresser with this DIY Black French Provincial Dresser makeover tutorial. Here's how to get a black distressed look on your furniture!
Materials
Tools
Instructions
- Remove hardware and clean everything with Krud Kutter and a damp rag.
- Apply Vaseline or cooking spray on area to make a hot glue mold, then fill in damaged wood with Bondo. Sand the dried Bondo smooth with 150 grit sandpaper and then 220 grit sandpaper until flush and shaped to the right shape.
- Spray clear shellac all over dresser, mirror frame, and hardware.
- Mix up homemade chalk paint using Behr latex paint and calcium carbonate powder. Apply 2 coats of chalk paint to dresser, mirror frame, and hardware.
- Distress the painted areas with 220-grit sandpaper and clean off dust particles from furniture with shop vacuum and tack cloth.
- Top coat everything with waterbased polyurethane (applied 3 coats).
- Let dry for 24 hours before attaching black painted hardware back onto dresser.
Recommended Products
As an Amazon Associate and member of other affiliate programs, I earn from qualifying purchases.


more black dresser ideas
- Chalk Painted Black Dresser
- Black Vintage Farmhouse Dresser
- DIY Slatted Wood Dresser
- DIY Distressed Painted Dresser
- Painting a Dresser Black
Follow us on YouTube to get more tips for painting furniture. Or share your project with us on our Facebook Group and be part of our community. See you there!
Thank you for such detailed instructions. Also all of the detailed references are so helpful. I need to save them for future reference. You are truly awesome. Thank you again!💗
I am disabled and a very small time beginner, furniture flipper. I very much appreciate every post of yours. You are so thoughtful, thorough and detail oriented. I love and need that in my life!! Lol I would love to be a shadow, just watching while you bring a project to life! Thank you so, so much! ❤️❤️
Ahh this is so sweet! Thank you so much for the love on our posts! It’s so appreciated!