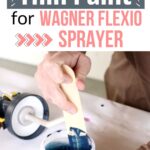
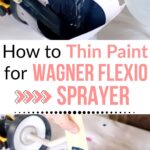
How to Thin Paint for Wagner FLEXiO Sprayer

Are you looking for a way to make paint easy to use with your Wagner FLEXiO? Do you want to make sure your finish looks professional and even without any splotches or streaks? If so, read on to learn how to thin paint for Wagner FLEXiO Sprayer.
Learning how to use a paint sprayer on furniture can be a daunting task, but this tool can make the process much easier. And understanding how much thinning to do is key to getting the right consistency.
With our tips, you’ll have perfectly thinned paint that will spray evenly and smoothly on your project without any splotches or streaks. You won’t have to worry about wasting time or money or messing up your project with crappy looking results ever again!
Many HVLP guns can already handle thick coatings, but thinning them out gives you a smoother application and better results. It also helps avoid clogs, which can ruin your finish and damage your tool over time.
So, let’s dive into how to thin paint for Wagner FLEXiO paint sprayers! It’s a simple process that is worth the time and effort for a professional looking finish on any project.
As an Amazon Associate, I earn from qualifying purchases. I also may earn from other qualifying purchases with other companies or get free product to review and use. All opinions are my own.
Do I need to thin paint for Wagner FLEXiO paint sprayer?
The paint being used with the iSpray nozzle should not need to be thinned out.
Actually, you don’t technically have to thin out most coatings for the Detail Finish nozzle, but if you want a perfectly fine finish on your furniture, then you will most likely need to do at least a little bit of thinning.
Very thick coatings like chalk paint can be applied with the FLEXiO models and the Detail Finish nozzle, but it doesn’t look good and it isn’t consistent. Check out the best paint for spraying furniture here.
How to Thin Paint for the Wagner FLEXiO Sprayer
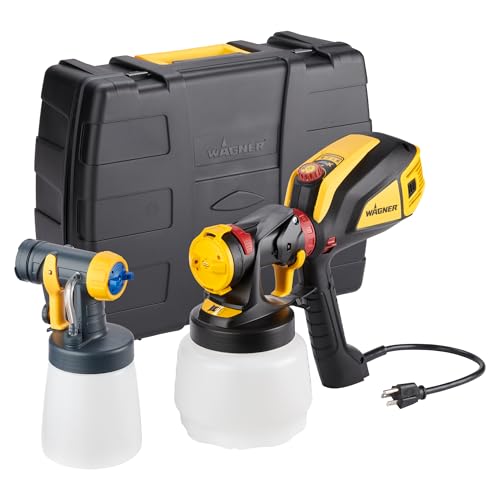
The steps in this post have been tested and work well for the Wagner FLEXiO 3500/595 and the Wagner FLEXiO 5000 with the Detail Finish nozzle. They don’t come with a viscosity cup, but a viscosity cup isn’t needed.
Check out my honest Wagner 3500 Paint Sprayer review and Wagner FLEXiO 5000 Paint Sprayer review here to learn more about their features, and pros and cons.
A viscosity cup comes with models like the Wagner Double Duty that aren’t as powerful, so you have to do more thinning with them. Check out the best Wagner paint sprayers for furniture here.
Just like with anything else, make sure to have some cardboard, paper, or scrap wood around to test the spray on before your actual project.
What to Thin Paint With for Sprayer
First, read the back of your paint container. These different types of paint for furniture require different types of thinning materials. The type you’re using will determine which thinner you should use. Waterbased coatings should be diluted with water, and oil based coatings should be diluted with mineral spirits.
Usually, if it says that you can clean up any spill with water, then you can dilute it with water. If you can clean up with mineral spirits, then you can dilute with mineral spirits.
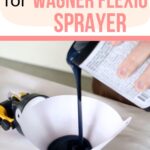
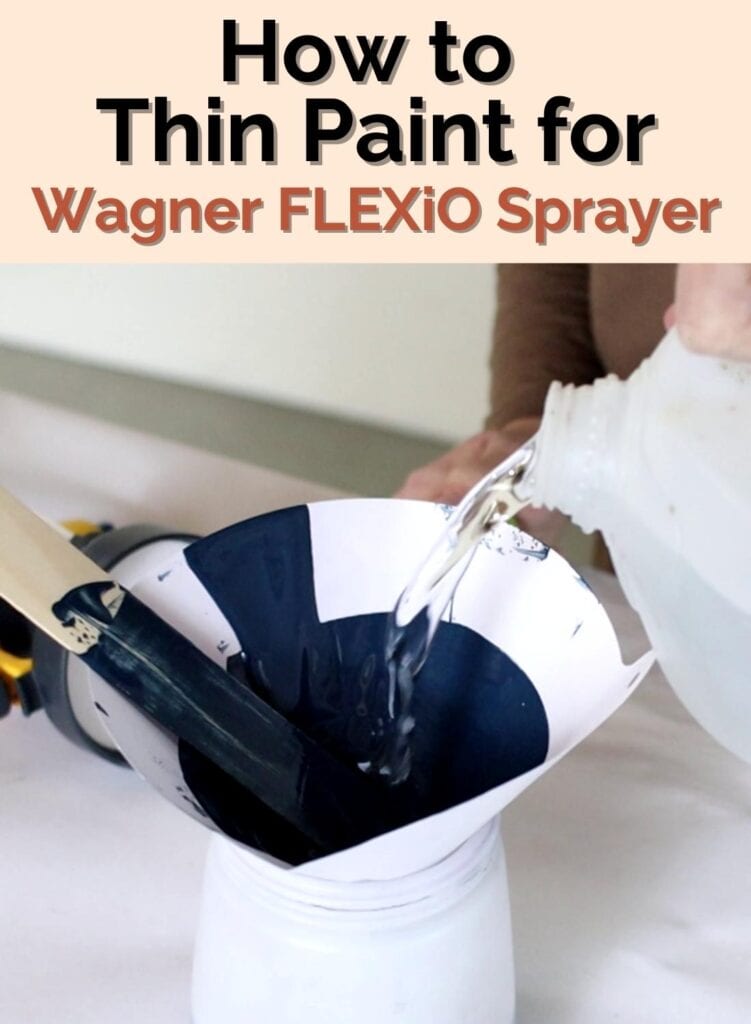
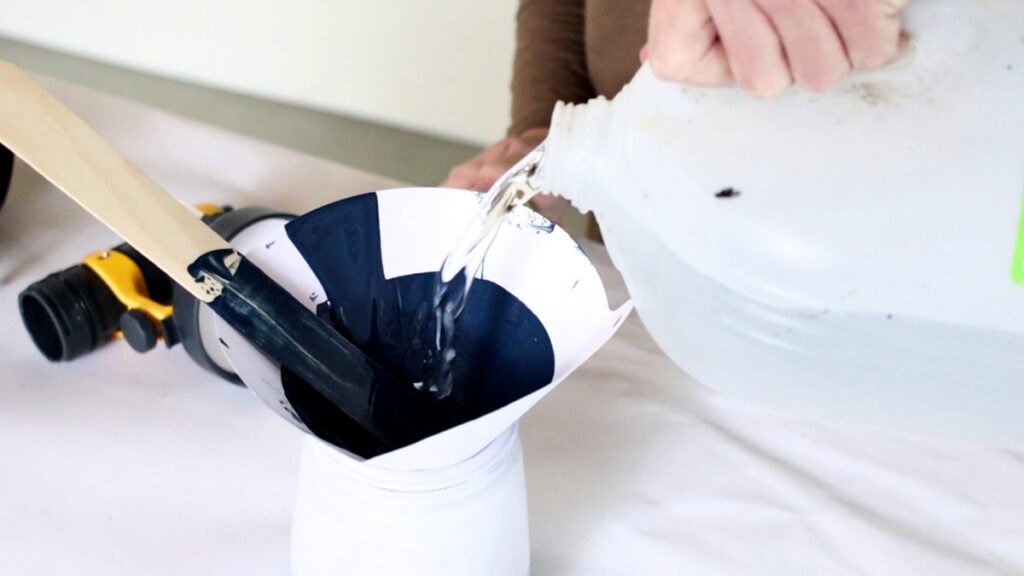
Pour Paint Through a Filter
Strain the paint through a filter and into the sprayer container. This is to make sure that there are no chunks of dried coating or any random debris that could clog up your HVLP gun.

Even if it is brand new, you very well might have clumps in it that will cause clogging. If you want your project to go smoothly, this is an important step and should not be skipped.
If you want to fuss with your HVLP gun and have issues with it, then by all means, don’t do any filtering. You can use a mesh colander if you’re in a pinch!
How Much to Thin Paint for Sprayer
Measure how much coating you have in your sprayer’s container, and then add 10% thinning material. Most containers have measurement marks on the side to help you see how much you have.
For example, if you have 16 ounces, you would need just a hint over 3 tablespoons of thinner to dilute by 10%.
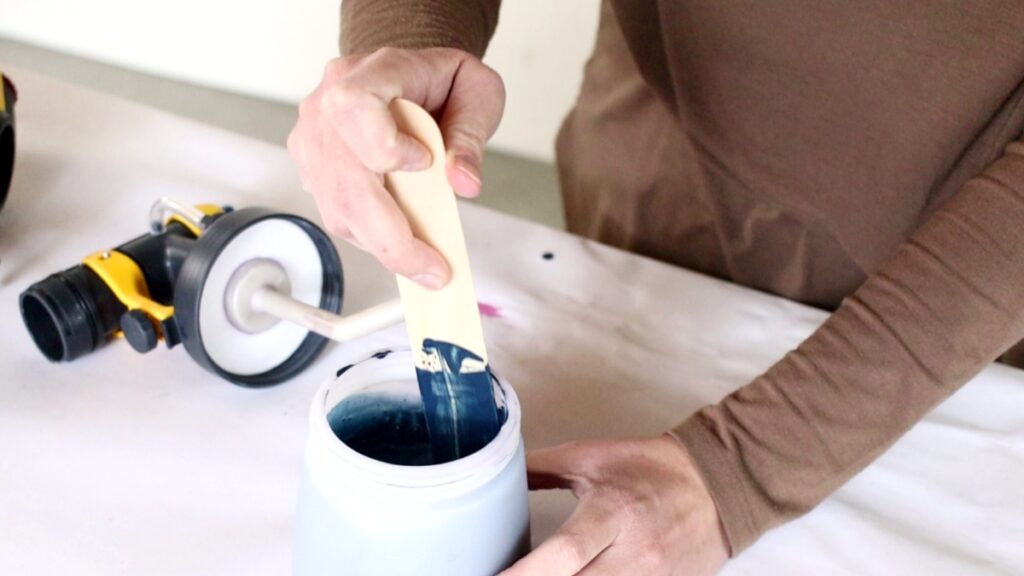
Once added, mix everything well until it has reached a smooth, uniform consistency. This is super important. You need these two ingredients to be completely mixed together for a uniform finish.
Test Spray After Thinning
Put the sprayer together, and then apply the paint onto some cardboard, paper, or scrap wood to see if you like how it sprays.
Would you like to save this?
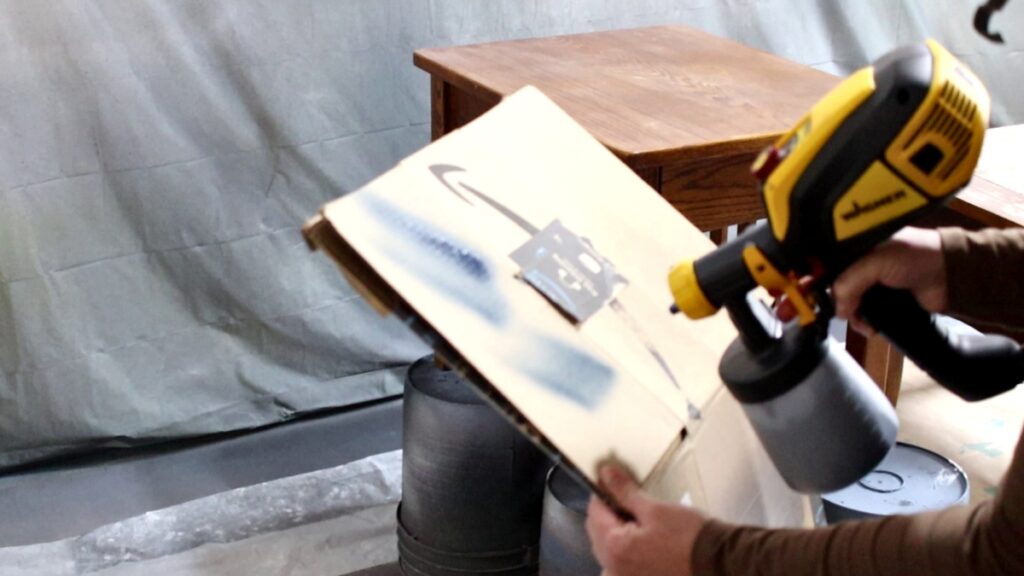
If there is too much splattering with thick drops, then add a little more thinner until it comes out in a fine mist instead of large droplets. Alternatively, if it is too thin, then add more coating until it thickens up slightly and sprays out properly again.
Note: If the brand states that you shouldn’t dilute the coating or that you should only dilute it by a certain amount, it’s best to follow those guidelines. It might not cure correctly if it is done against the manufacturer’s guidance.
With these steps in mind, thinning out your paint for use with FLEXiO sprayers should be easy!
Remember to always read the back of your specific type of paint before beginning, as different types may require different thinning materials or ratios for best results. And don’t forget to test your mixture on some scrap material before applying it to anything important! Good luck!


How to Use the Wagner FLEXiO Paint Sprayer Settings
The FLEXiO comes with an adjustable nozzle that allows you to switch between vertical, horizontal, and circular spray patterns. Just turn the adjustable nozzle to change the pattern.
If it is horizontal, it will spray vertically. If it is vertical, it will apply horizontally. And if it is diagonal, it will come out in a circle pattern.
You also have the option to adjust the spray volume with the dial behind the trigger, which will allow you to control the applied amount.
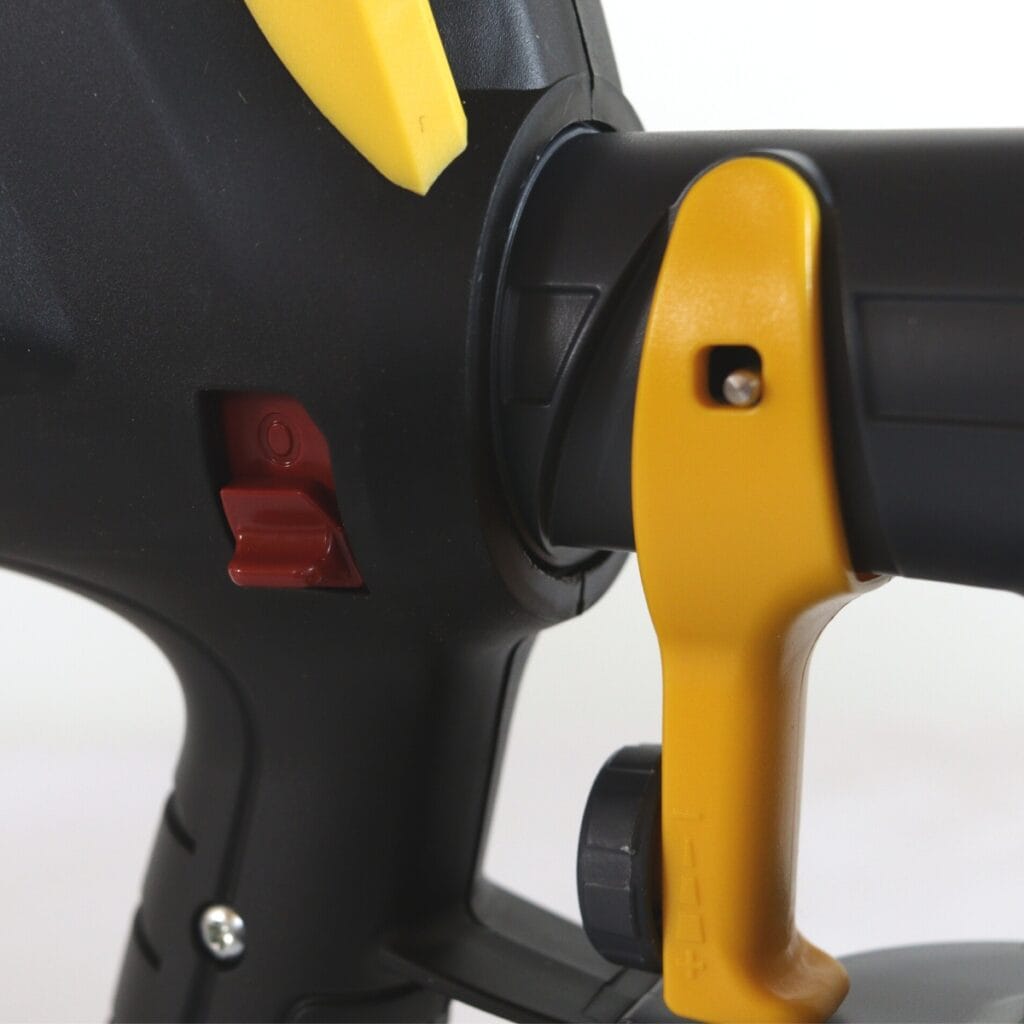
Just turn the dial closer to the trigger to make more coating come out, and turn the dial to stick out furniture from the trigger to make less come out.
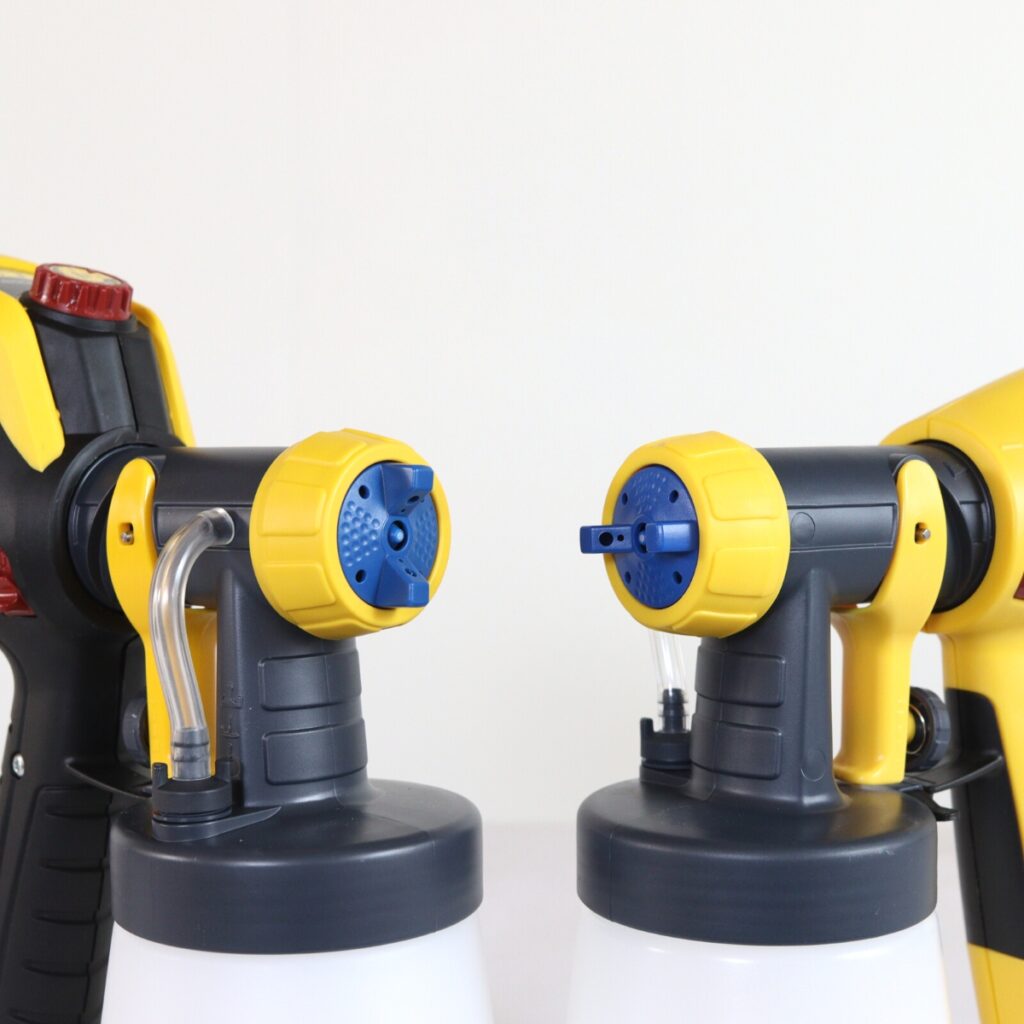
It also has two different spray heads: the iSpray nozzle and the Detail Finish nozzle.
The iSpray mode is perfect for large projects like fences and walls where you don’t care about the texture that is created, as it can cover an area in a fraction of the time it would take with a traditional brush or roller.
The Detail mode is ideal for smaller, intricate projects like furniture, where you need to have more control over the application.
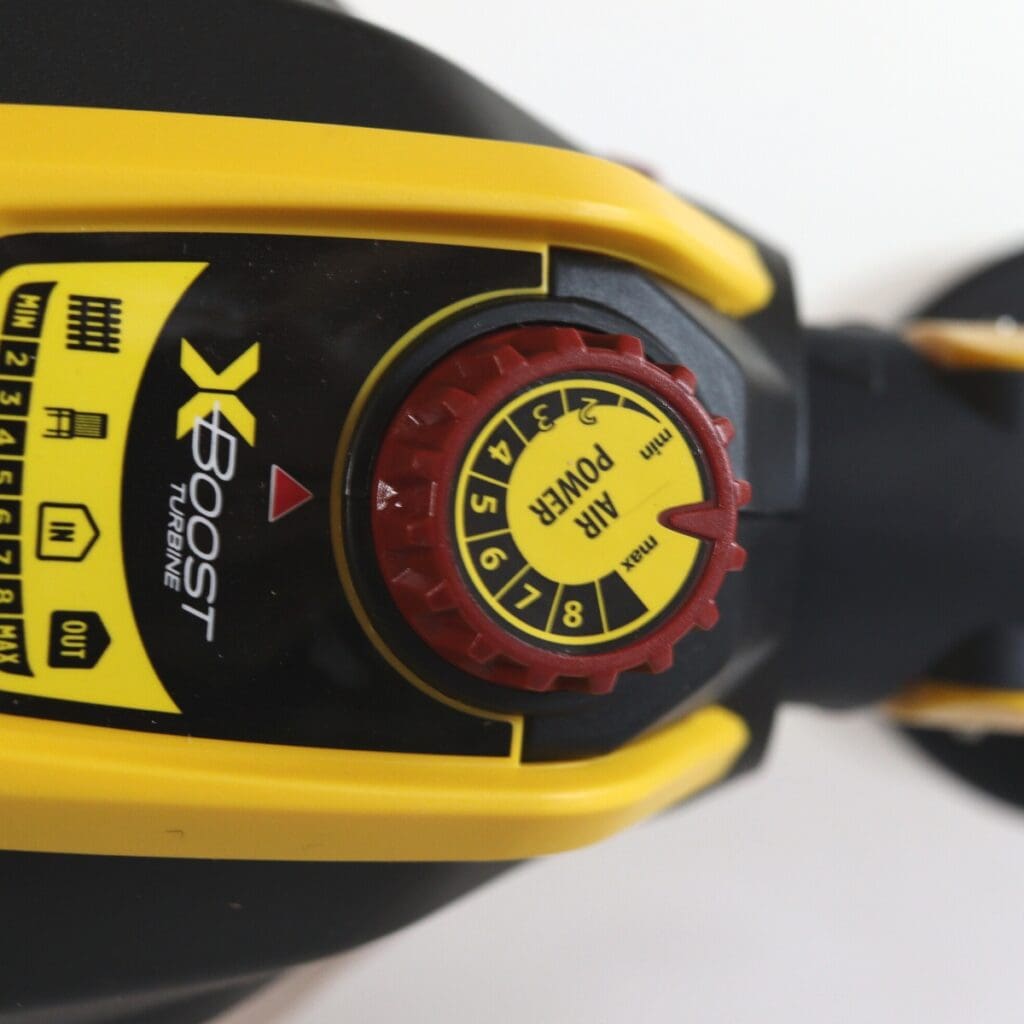
This also has a variable speed control, which allows you to adjust the air flow power. I usually keep this setting on 4-5, but I don’t notice a huge difference when this setting is changed. Learn more about these Wagner paint sprayer settings in this post.
It’s important to remember that the FLEXiO comes with a learning curve. To get the best results, it’s important to practice with it on scrap material before using it on your project. You may need to adjust the settings for different coatings and surfaces, so it’s important to take your time and be patient.
What type of paints are compatible with the Wagner FLEXiO sprayer?
It is compatible with most types, including both waterbased and oil based varieties.
Note: oil based types are harder to clean up because they can’t be cleaned with soap and water.
Also, it is important to note that shellac based primers should not be used with this HVLP gun due to their low flash point.
How to clean a Wagner FLEXiO paint sprayer after use?
After completing your project, it’s important to properly clean it for future use. But don’t worry, it’s easy! It can be cleaned using either warm soapy water for waterbased coatings or mineral spirits for oil based coatings.
It is important to note that failure to properly clean it can result in clogging and reduced performance. Check out our posts about how to clean a Wagner Paint Sprayer and how to clean a Wagner FLEXiO Sprayer to learn the step by step process. For a more thorough cleanup, here’s our guide on how to take apart a Wagner paint sprayer!
By taking the time to properly clean it after each use, you can make sure of the longevity and effectiveness of your HVLP gun.

How to Thin Paint for Wagner FLEXiO Sprayer
Here's how to thin paint for Wagner FLEXiO Sprayer to get an even and professional-looking finish every time!
Materials
- Paint
- Thinner (Water/Mineral Spirits)
- Piece of Cardboard
- Mesh Filter
- Stir Stick
Tools
Instructions
- Check what type of paint you have to figure out the correct thinner that you should use.
- Strain the paint through a paint filter into the sprayer container.
- Measure how much paint you have in the sprayer container then add 10% thinning material.
- Mix the paint and thinning agent together really well.
- Test the sprayer onto some cardboard, if it's still too thick - add more thinner, if it's too thin - add more paint.
- You're all set to spray paint your furniture!
Recommended Products
As an Amazon Associate and member of other affiliate programs, I earn from qualifying purchases.


More Paint Sprayer Resources
- Spray Paint Tools You Need When Painting Furniture
- Wagner VS HomeRight Paint Sprayers
- Painting Furniture with a Sprayer
- How to Use Wagner FLEXiO 5000 Paint Sprayer
Follow us on YouTube to get more tips for painting furniture. Or share your project with us on our Facebook Group and be part of our community. See you there!