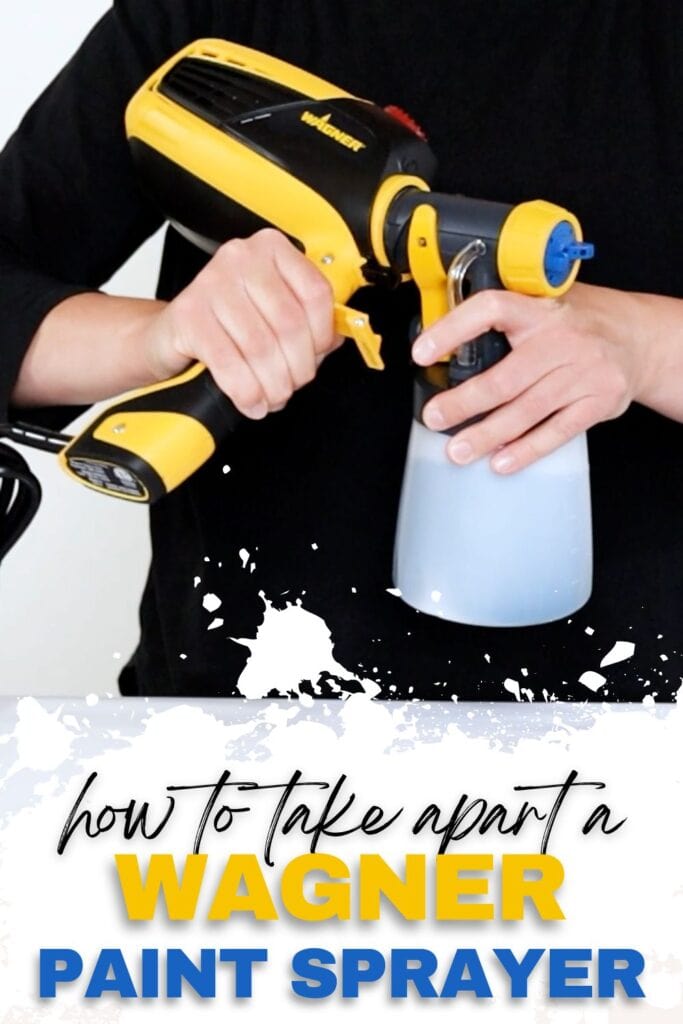
How to Take Apart a Wagner Paint Sprayer
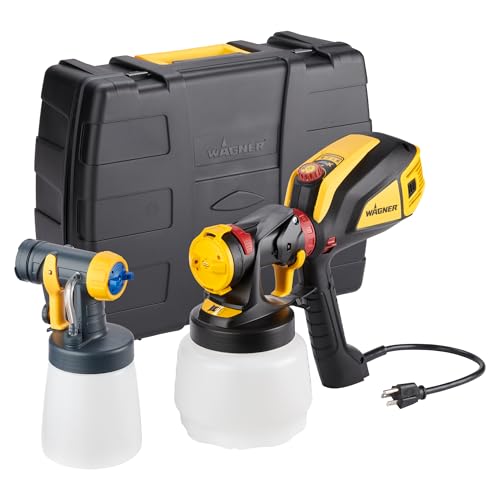
After you’ve decided to use a paint sprayer on furniture, and got yourself a Wagner paint sprayer, you’ll need to learn how to assemble and disassemble it. Knowing how to take apart a Wagner paint sprayer is especially important so you can properly clean and maintain it.
Keep reading for the steps to safely disassemble your Wagner sprayer to keep it running smoothly for all your furniture painting projects.
As with any tool, proper maintenance is needed to keep your Wagner paint sprayer in top working condition.
Your paint sprayer needs to be taken apart and cleaned to prevent clogs and build up of dried paint. Taking apart your sprayer also allows for a more thorough cleaning, compared to just wiping it down on the surface. Plus, taking good care of your tools means they’ll last longer – you’ll get more use out of your Wagner paint sprayer and won’t have to replace it as often.
Besides, taking apart your paint sprayer is not as complicated as you think! So let’s dive into how you can properly and safely take the parts of your Wagner sprayer apart.
Steps to Take Apart a Wagner Paint Sprayer
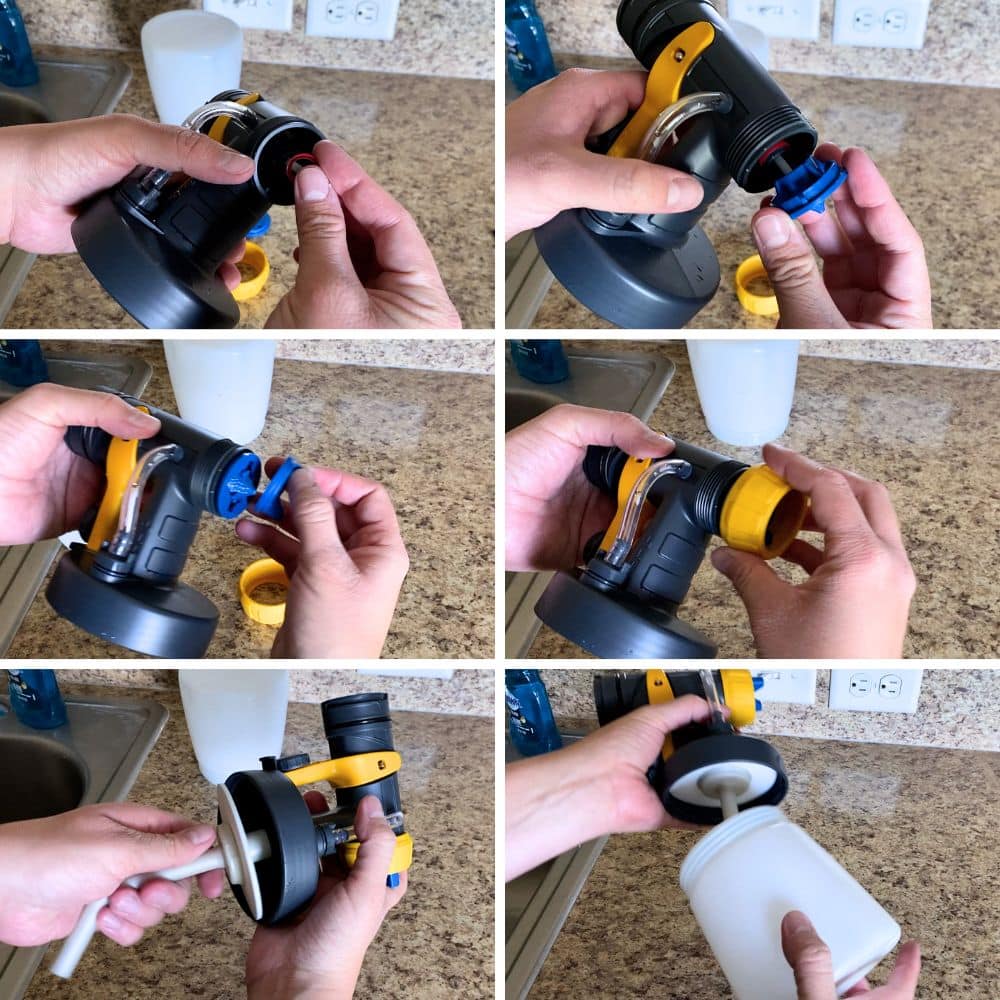
When handling an electric tool like a paint sprayer, it’s always best to start by unplugging it. Safety first! Once you’ve done that, you can proceed to disassembling the rest of the parts.
Now remove the nozzle from the turbine. To do this, twist it until it comes loose. You will then be able to remove it completely.
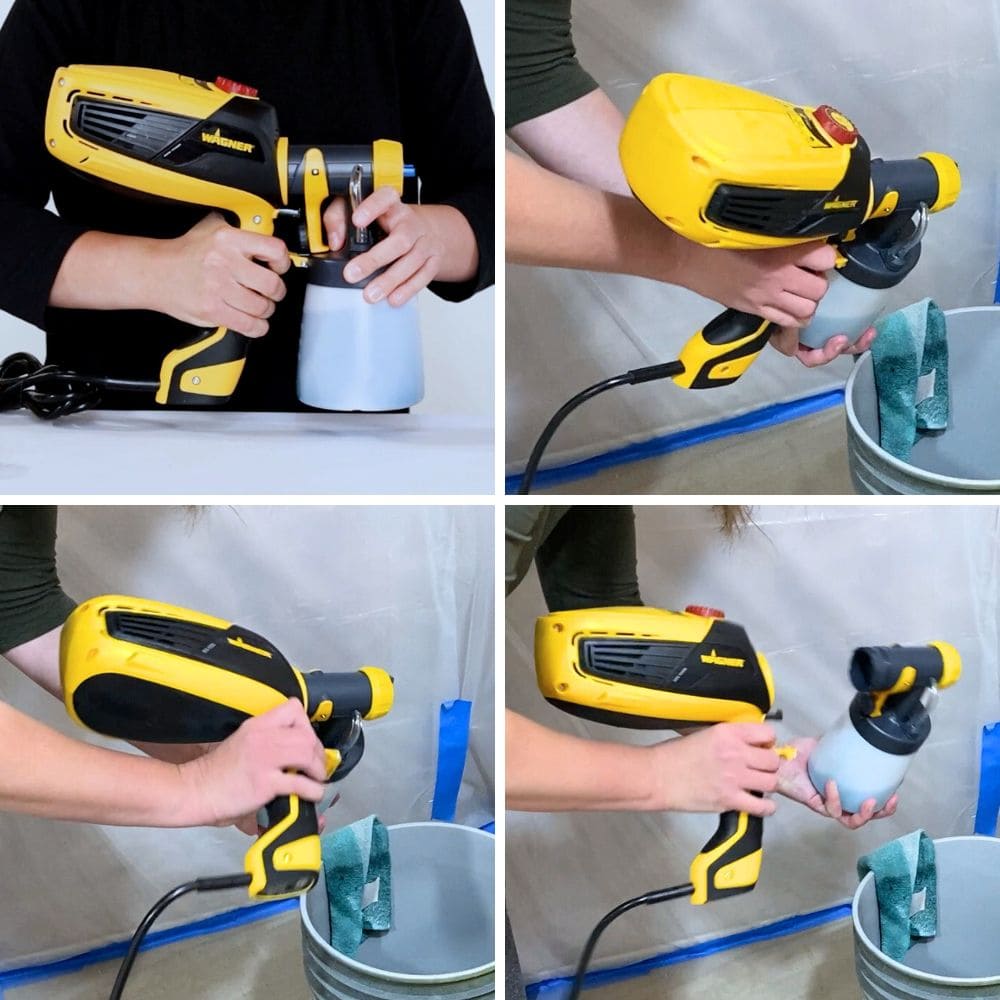
Next, unscrew the cup from the nozzle assembly. Be extra careful so you don’t accidentally spill any leftover paint if there’s any inside. With the cup and nozzle removed, you can now access the suction tube. Pull it out gently from the intake opening.
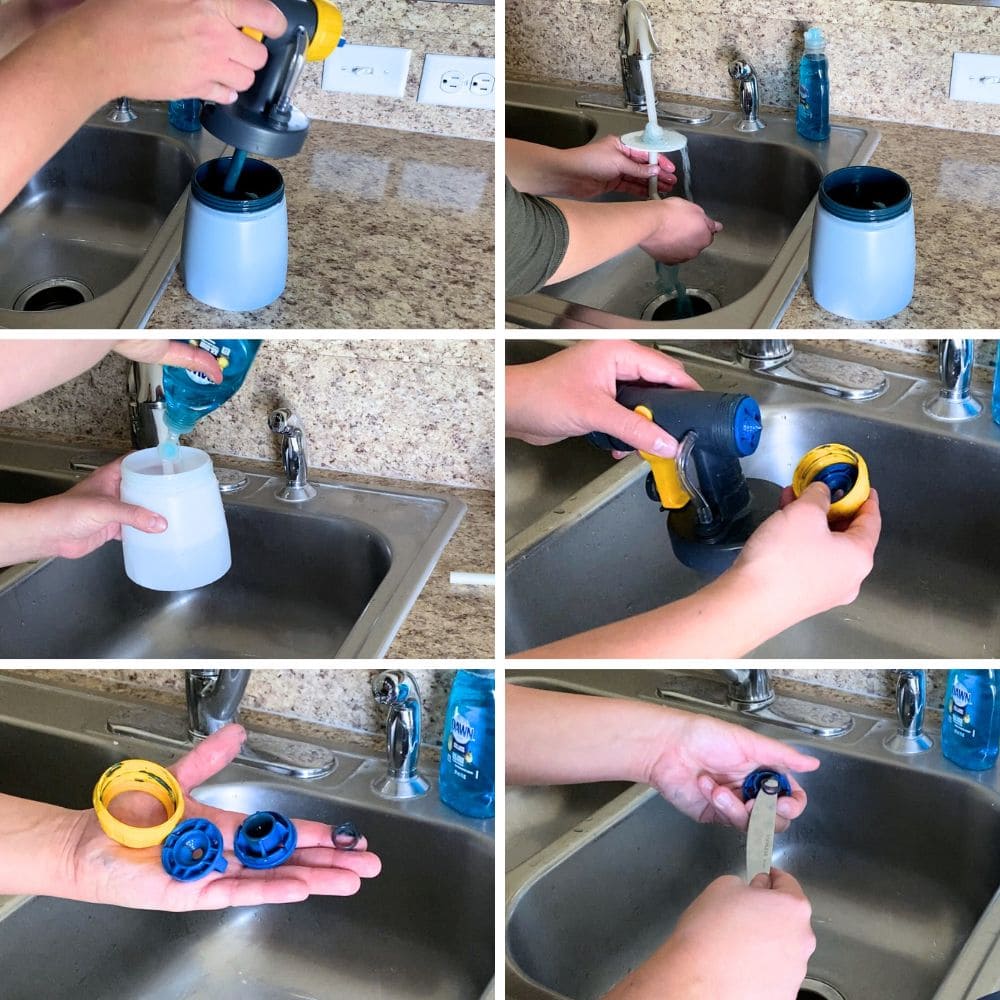
Now that all of these main parts are separated, you can start cleaning them. If you’re not sure what to use to clean paint sprayer, you can check out our post for guidance.
Our guides on how to clean a Wagner paint sprayer and how to clean a Wagner FLEXiO sprayer also have detailed steps on cleaning and maintaining your Wagner sprayer.
If you have a Wagner stain sprayer and you don’t know how to clean it, here’s how to clean Wagner stain sprayer! Or if you have a Vonforn paint sprayer, here’s our guide on how to clean Vonforn paint sprayer.
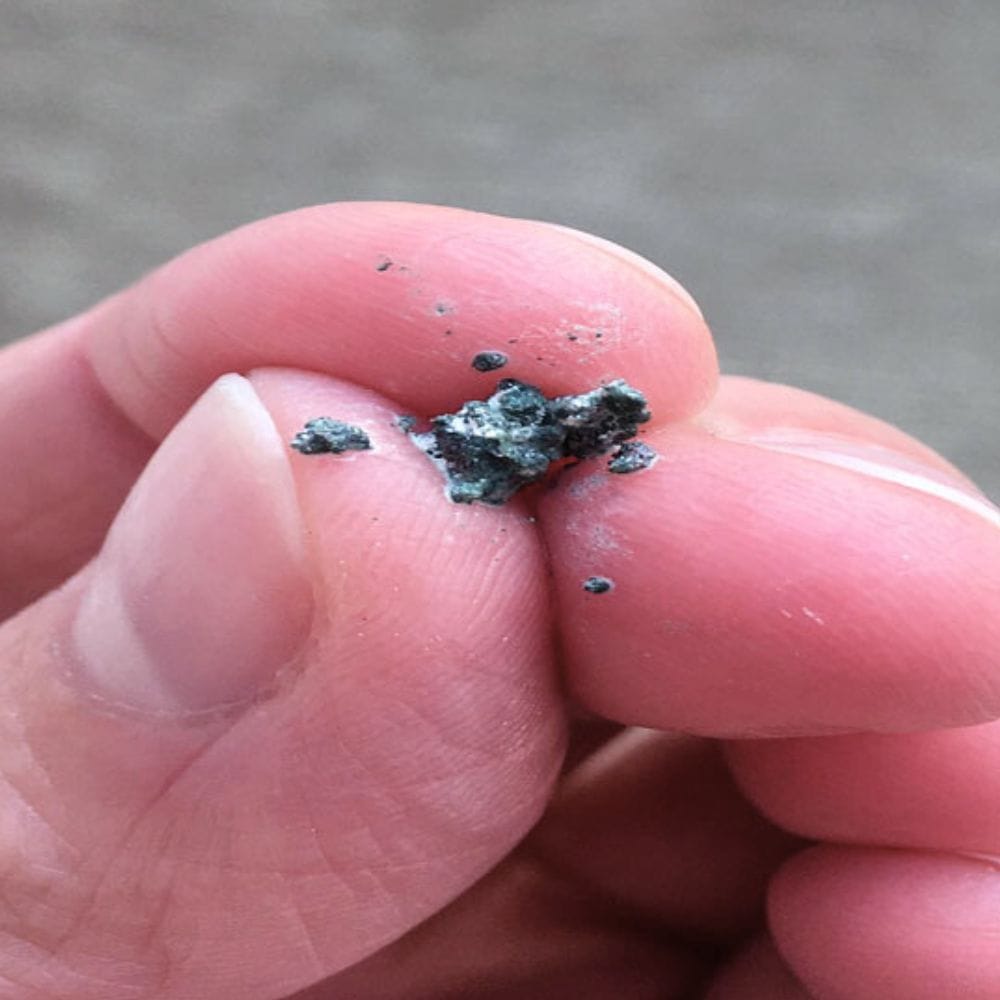
Remember to also inspect each part for any signs of wear and tear, and replace them if needed. You want your paint sprayer to continue to work effectively and efficiently in all your furniture painting projects, so it’s always a good idea to keep an eye on its condition regularly.
As an Amazon Associate, I earn from qualifying purchases. I also may earn from other qualifying purchases with other companies or get free product to review and use. All opinions are my own.
Wagner Paint Sprayer Assembly Instructions
We’ll also cover how to assemble your Wagner paint sprayer. It’s basically just following the disassembly steps in reverse, but it’s still important to pay attention to details.
First, make sure the power cord is unplugged before starting any assembly. Also, keep the spray gun pointed away from you while you’re at it, just to play it safe.
Would you like to save this?
Then, insert the suction tube into the intake opening and align it properly depending on which direction you will be spraying. Remember to insert it as far as it can go for a secure fit.
Next, carefully screw the cup onto the nozzle assembly and tighten it firmly. You want to make sure it is securely attached to avoid any paint spills or leaks.
Now, the most important step in assembly – aligning and locking the nozzle with the turbine. The arrow of the nozzle should align with the “unlock” symbol on the turbine. After you do so, twist the nozzle towards the “lock” symbol and listen for the click. This click means the tab below the trigger has locked the two pieces into place.
Lastly, make sure to do a quick check of all the parts and connections before using your Wagner paint sprayer. Everything should be properly aligned and tightened for a smooth spray painting experience.


For more helpful tips, here’s our post on Wagner paint sprayer tips!
Can you clean paint sprayer without taking it apart?
You won’t be able to clean your Wagner paint sprayer thoroughly without taking it apart. While you can wipe down the exterior and clean the nozzle, a full cleaning requires disassembling the various parts of the sprayer.
Doing so allows you to access all areas where paint may have built up and clogged the sprayer. This buildup can affect the spray pattern and lead to a poor painting result. So you definitely don’t want to skip taking apart your sprayer for cleaning.
If you’re hesitant about taking your Wagner paint sprayer apart, I understand. It can be a bit intimidating at first. But if you’ve successfully assembled it, that means you’ll also be able to take it apart! We also hope this guide will make the process less daunting for you.
How to know if a part needs to be replaced in A Wagner paint sprayer?
As you use your Wagner paint sprayer, you should pay attention to its performance. If you notice any changes in the spray pattern or its efficiency, it could be a sign that a part needs to be replaced. Listen for any strange noises or vibrations while using the sprayer as well.
Another indicator is physical damage. Whether in assembly or disassembly, if you see any cracks, breaks, or other visible damage on a sprayer part, you might want to look closely and consider replacing it. This is especially important if the damaged part affects the function of your sprayer.
Additionally, if you’ve had your Wagner paint sprayer for a while and have used it extensively, it might be time to replace certain parts. Just like any tool, wear and tear can take a toll on your sprayer’s performance.
Taking care of your Wagner paint sprayer not only includes proper cleaning and maintenance, but also keeping an eye out for any potential issues. Don’t ignore any warning signs and wait until it’s too late to replace a part and deem your entire sprayer useless.
More Paint Sprayer Tips
- Paint Sprayer Reviews
- Wagner Paint Sprayer Troubleshooting
- Trying the Graco TC Cordless Paint Sprayer
- Best Latex Paint Sprayer
- Spraying Fusion Mineral Paint
Follow us on YouTube to get more tips for painting furniture. Or share your project with us on our Facebook Group and be part of our community. See you there!