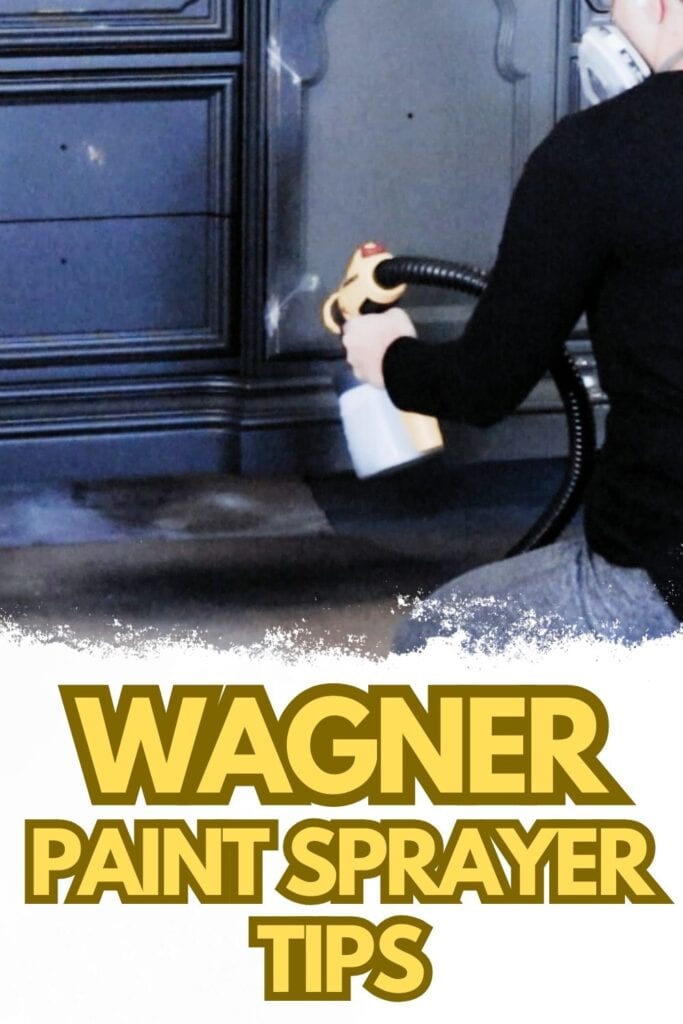
Wagner Paint Sprayer Tips
Are you looking for some helpful Wagner paint sprayer tips? Whether you’re new to using a Wagner paint sprayer or have been using one for years, these tips will help you get the best results when painting your furniture.
How to use a paint sprayer on furniture is a common question, and with these tips, you’ll be able to tackle your next project with confidence. We’ll tackle everything from perfecting your technique to troubleshooting common issues.
Using one of these best Wagner paint sprayers for furniture can be a game changer when it comes to painting furniture.
However, like any tool, you need to know how to use it properly to get the best results. And you might even be wondering, can a beginner use a paint sprayer? – read my take on this here.
Yes, there is always room to improve your technique and troubleshoot any issues that may arise. So don’t get discouraged if you don’t have perfect results on your first try – practice makes perfect!
Let’s start with know-how on applying paint with your Wagner paint sprayer.
As an Amazon Associate, I earn from qualifying purchases. I also may earn from other qualifying purchases with other companies or get free product to review and use. All opinions are my own.
Successful Application with Wagner Paint Sprayer
When it comes to painting furniture with a Wagner paint sprayer, there are a few key tips to keep in mind for a successful application.
Paint Thinning and Filtering Before Spraying
Before using your Wagner sprayer, you will need to get your paint ready for application. Start with thoroughly mixing your paint so all the ingredients are well combined.
A common mistake is not mixing the paint well enough, which can result in uneven spray and even clogging of the sprayer.
For a smooth and consistent spray, most types of paint for furniture will need to be thinned. You can refer to the instructions on your specific paint to determine if thinning is necessary and how much to thin it.
Thinning the paint will result in a better finish on your furniture. You can learn how to thin paint for a Wagner sprayer by following our tutorial. If you are using latex paint, here’s our guide on thinning latex paint for Wagner sprayer.
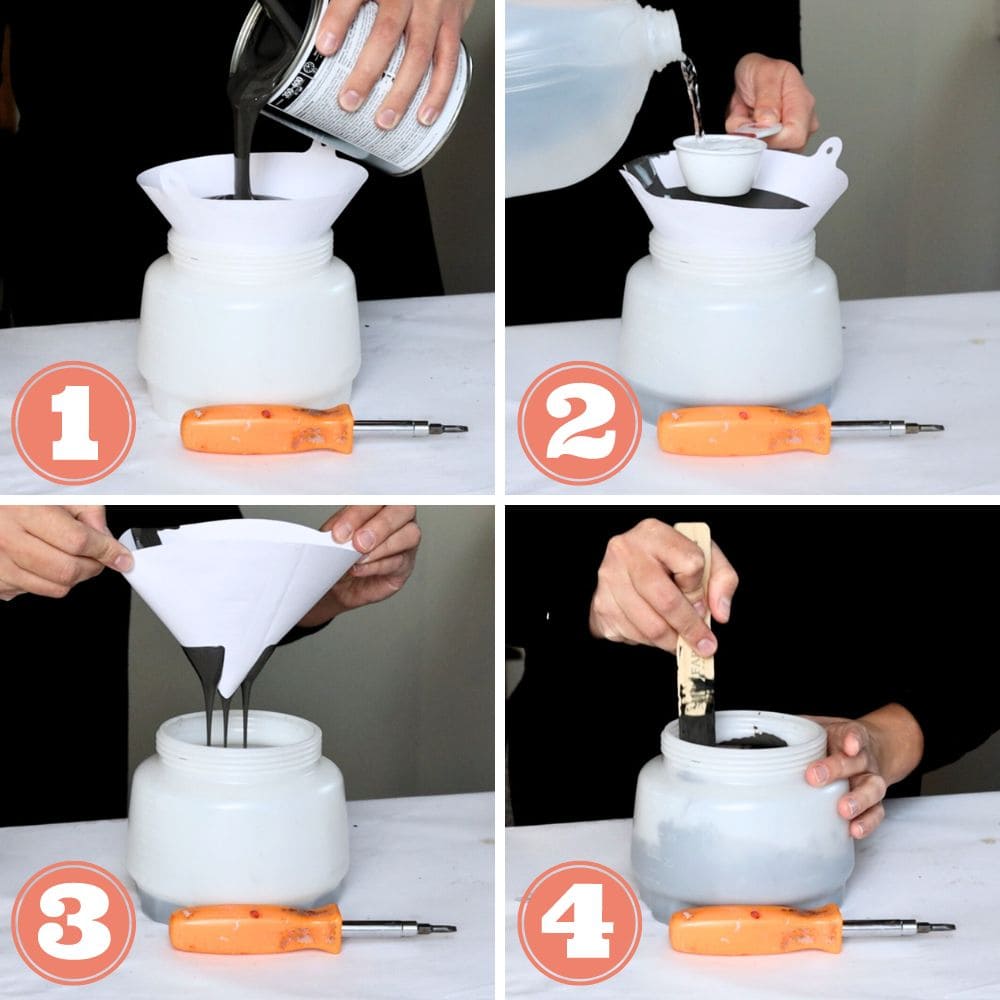
And before putting the paint in your sprayer, be sure to filter it using a mesh paint filter.
This important step helps prevent clogs in your sprayer and guarantees a smooth application. Even if you’re using brand new paint, you still need to filter it.
Once you’ve mixed, thinned, and filtered your paint, you’re ready to start painting with your Wagner sprayer!
Paint Sprayer Settings
The settings on your Wagner paint sprayer can greatly affect the outcome of your project. It’s important to experiment and find the right settings for each type of paint you use.
First off, make sure to tighten the lid on your sprayer before starting. This will prevent any leaks or spills while painting.
Next, you will need to adjust the air power setting and dial behind the trigger. These settings can vary depending on the thickness of your paint.
It’s best to start with a lower air power setting and gradually increase it until you find the right one for your specific paint.
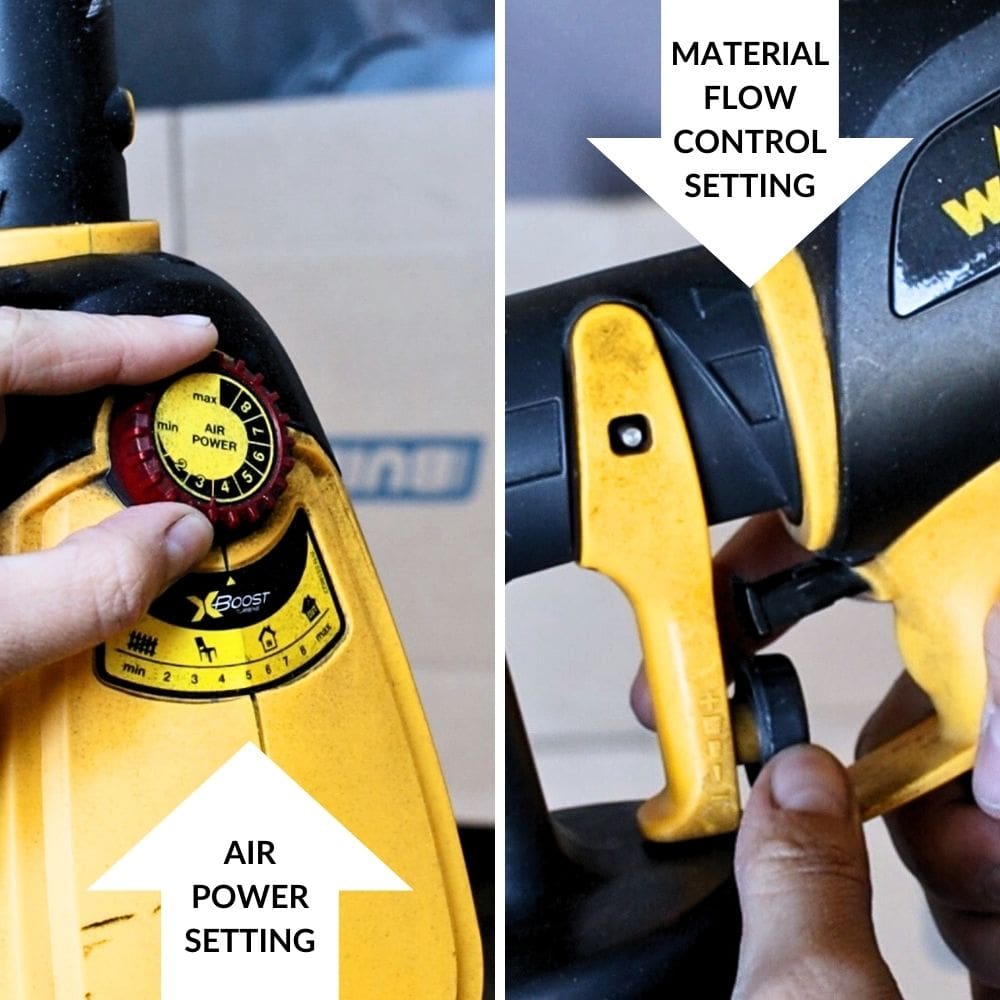
The same goes for the dial behind the trigger (material flow control dial) – start in the low to middle range and make adjustments as needed.
It’s always better to start with a lower setting and work your way up, rather than starting too high and potentially ruining your project with an uneven spray.
Check out our post on Wagner paint sprayer settings to learn more about the different settings and get familiar with them.
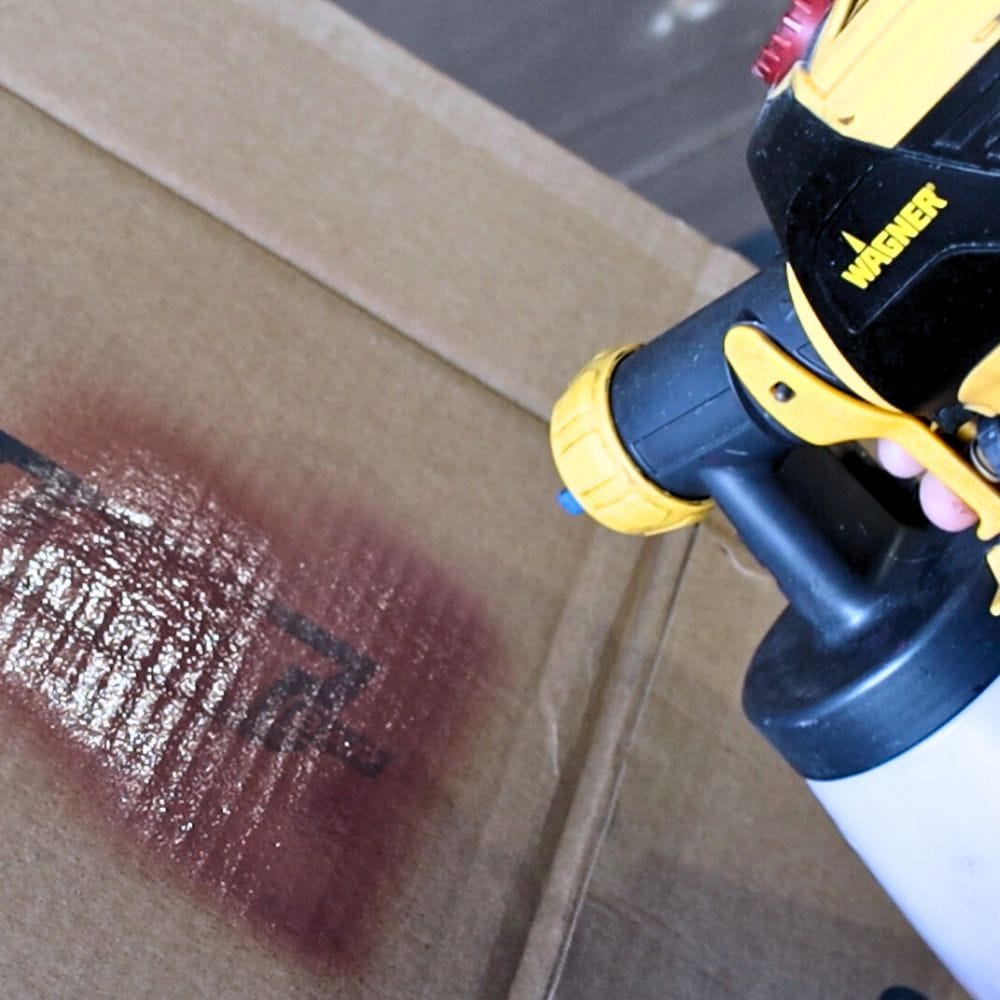
Paint Sprayer Testing
Along with adjusting your paint sprayer settings, testing the spray before starting your project is important. Wear a respirator to protect your lungs and eye protection if you’re spraying inside of cabinets.
Use a piece of cardboard or scrap wood to test the spray before applying it to your furniture. This will give you an idea of how much paint is being sprayed and if any adjustments need to be made.
If the spray is too heavy, turn down the fluid dial on the back of the trigger to reduce paint output.
If you’re not satisfied with the spray test, don’t continue with your project. Instead, go back and adjust your paint thickness and try again.
And if you notice any runs in the spray, that means your paint is too thin – add more paint to the mix for a better consistency. It’s better to take the time to get it right than to have a poor result on your furniture.
If your Wagner FLEXiO not spraying, check out our post to learn how to troubleshoot the problem and get your project back on track!
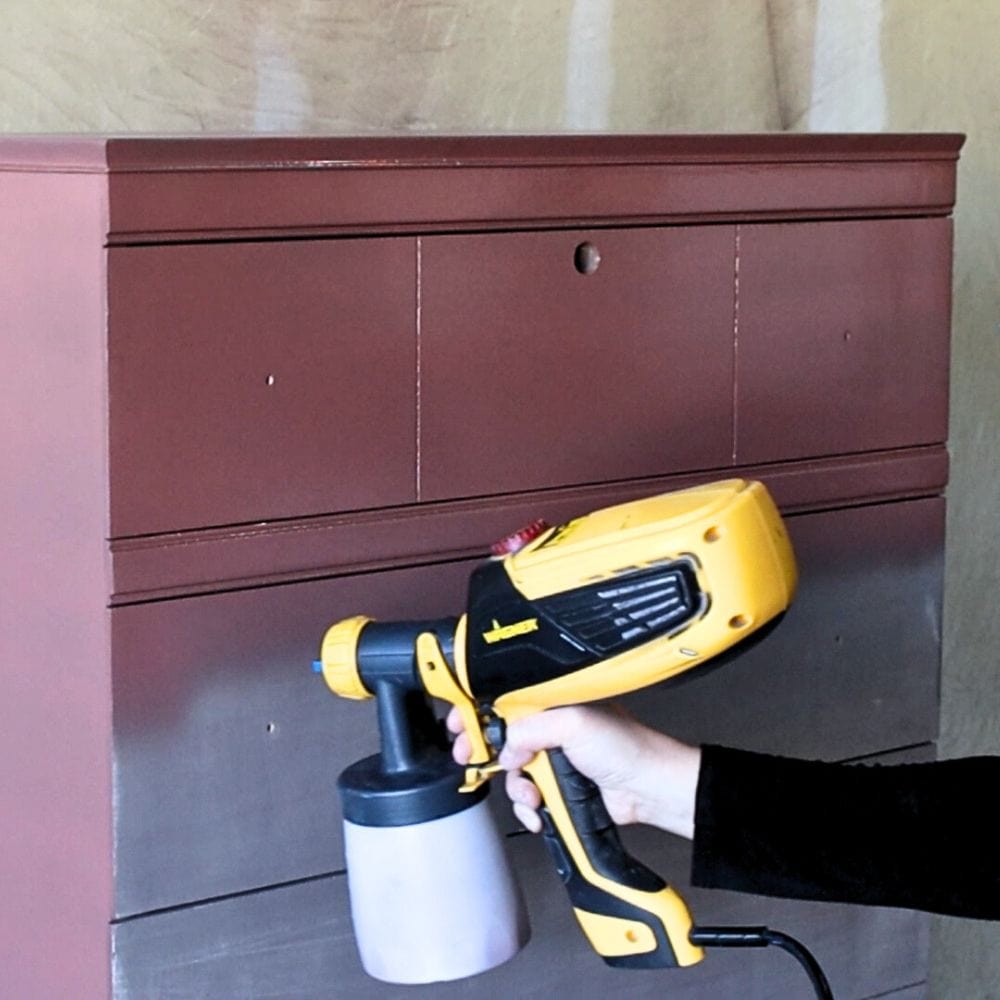
Spray Painting Techniques
One helpful tip for spray painting with a Wagner sprayer is to start with the front side of your furniture. This helps prevent any roughness on the top due to overspray from lack of ventilation. Or you can spray the top first then go back over it at the end for a smoother finish.
Another important technique is to adjust the spray pattern to your liking. You can choose between vertical, horizontal, or circular sprays by adjusting the tip of the sprayer. This allows for more control over how the paint is applied and can result in a more pro looking finish.
Would you like to save this?
You also have to maintain a consistent distance from the surface while spraying and overlap each stroke by 50% for even coverage. It’s important to keep your movements steady and not rush, as this can result in an uneven spray or runs in the paint.
And don’t forget to angle the sprayer when getting into detailed areas, but be careful not to let too much paint accumulate in one spot so it doesn’t drip or puddle.
Our posts on how to use the FLEXiO 3000, how to use Wagner FLEXiO 3500, how to use Wagner FLEXiO 590 paint sprayer, and how to use Wagner FLEXiO 5000 go into further detail on specific Wagner models and techniques for spraying paint.
And for a closer look and our personal experience with one of the Wagner paint sprayers, here’s my Wagner FLEXiO 3000 review! We also did a comparison between Wagner FLEXiO 3500 VS 590 to learn more about the differences and similarities between these two models.
Check out our top picks of Wagner FLEXiO paint sprayer series in our blog post about which Wagner FLEXiO is best? here.
Troubleshooting with Wagner Paint Sprayer
As with any other tool, you can come across issues while using your Wagner paint sprayer. Don’t worry, there are solutions to common problems!
Splattering Paint
When you first start spraying and try to get the motor started, pull the trigger back halfway then pull it back all the way to get the paint to come out smoothly.
If your paint is still splattering after that, then adjusting the settings. It could also be due to the incorrect thickness of the paint. Check the thickness of your paint – it shouldn’t be as thin as water, but it shouldn’t be too thick either.
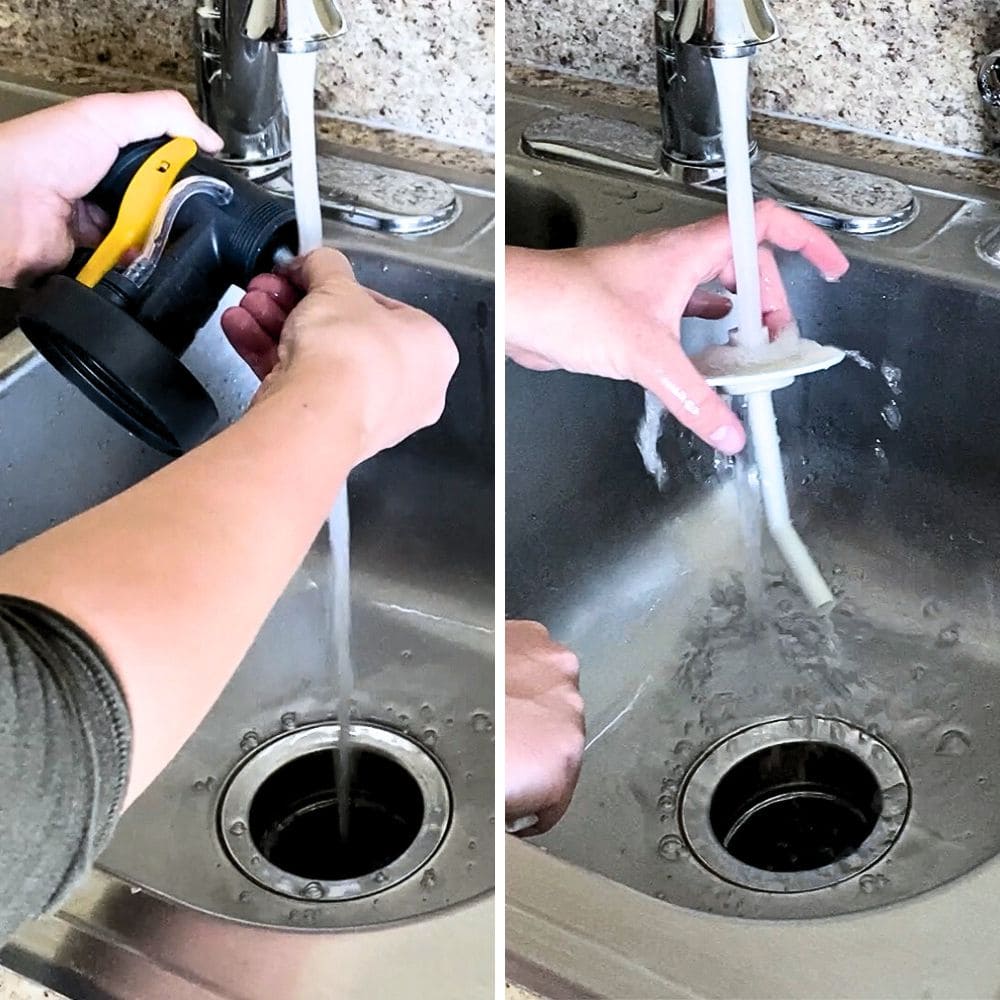
Clogged Sprayer
A clogged sprayer can be a frustrating issue to deal with while using your Wagner paint sprayer. There are multiple solutions you can try!
Again, the thickness of your paint can be the culprit. Make sure you have thinned your paint correctly. There could also be debris in the paint itself. That’s why we have suggested above that you filter your paint before using it in the sprayer.
Check your spray paint container to make sure it is properly sealed and screwed on. If not, the pressure needed for spraying will not build up, so the paint won’t spray out.


If you don’t clean your paint sprayer properly after the last use, it could lead to clogging issues. Take apart all the pieces and clean them thoroughly. Learn how to clean a clogged Wagner paint sprayer in detail in this post. Here’s how to unclog a paint sprayer for more tips to get that cleared up!
Don’t forget to check the pressure tube (if you have a Wagner FLEXio sprayer) and remove any dried paint that may be causing blockage.
If your Wagner FLEXiO not spraying at all, check out our post to learn how to troubleshoot the problem and get your project back on track!
Here’s more on how to clean a Wagner paint sprayer so you can maintain it and avoid any clogging in the future. Or, if you have a Wagner FLEXiO 3500, here’s how to clean Wagner FLEXiO 3500!
If you are using an oil based paint in your paint sprayer and don’t know how to clean it, here’s how to clean oil based paint from Wagner paint sprayer! And for cleaning the Wagner stain sprayer, here’s how to clean Wagner stain sprayer.
You should also not leave paint in your sprayer too long. If you’re curious how long can you leave paint in a Wagner sprayer, check out our post to know! Also, make sure your sprayer performs at its best by using the right paint. Learn more in this guide on what paint to use in Wagner sprayers.
Rough Paint or Topcoat
Rough paint or topcoat is another frustrating thing to deal with, especially after spending time and effort on your project.
One possible cause is the paint drying too quickly, so you should avoid painting in direct sunlight or hot temperatures.
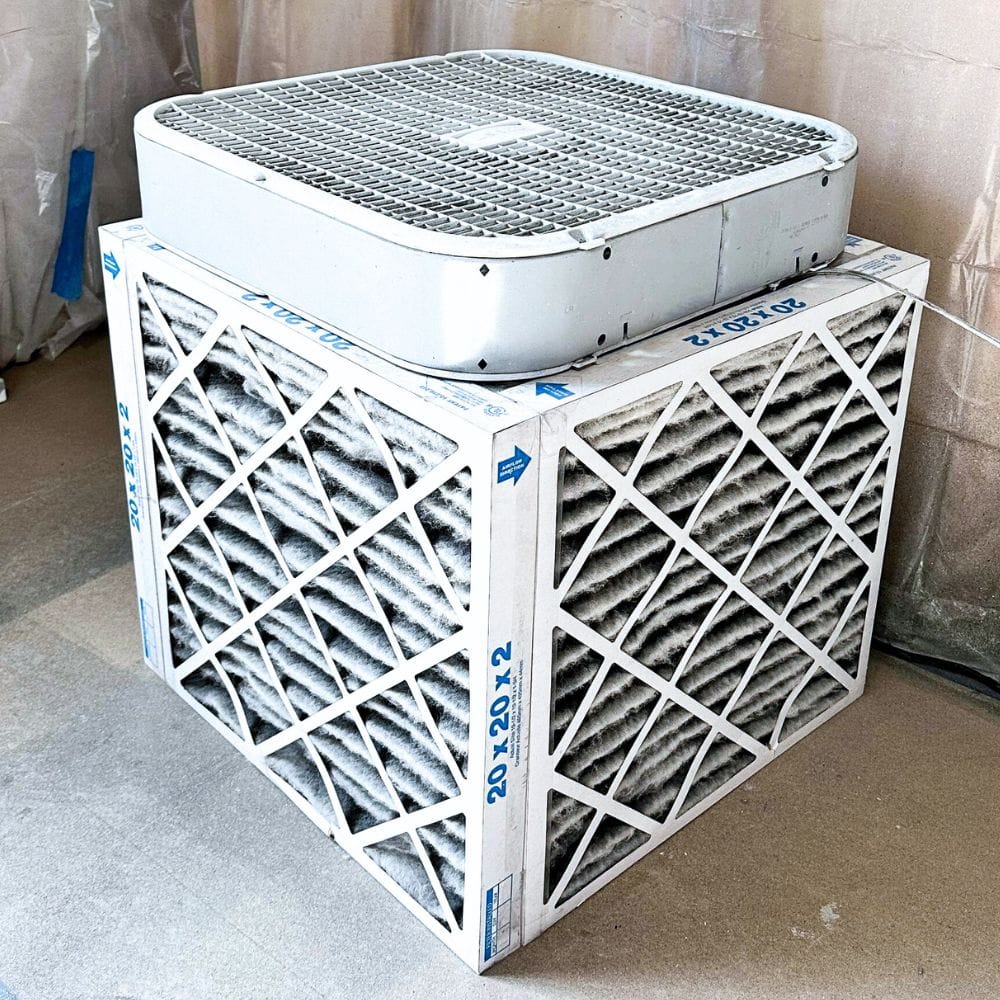
Another potential cause is overspray settling back onto your furniture while the paint dries, which can be prevented by using proper ventilation or setting up a DIY filter system.
My homemade filter is made from four 2x20x20-inch air filters taped together to create a box, with a box fan on top to suck in overspray and push out clean air.
Paint Drips
Paint drips happen when the paint is too thin and when too much paint is being applied in one spot. Aside from not over-thinning your paint, you should also make sure to use a back-and-forth motion when spraying and hold the sprayer at an appropriate distance from the surface you’re painting.
It’s also important to adjust the fluid output setting to avoid excess paint being sprayed out.
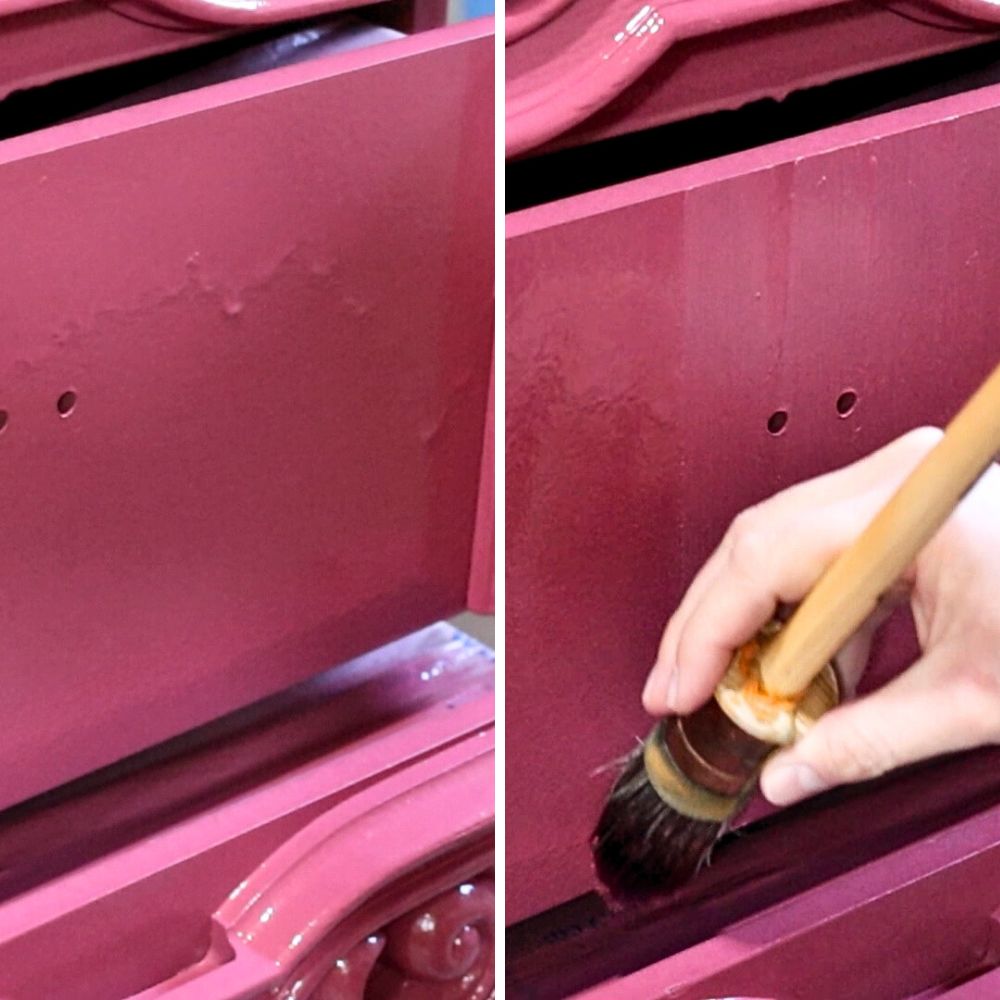
If you do notice drips forming while you are painting, it’s best to address them immediately while the paint is still wet. Use a paintbrush to remove the excess paint, even if it means leaving some brush marks.
These can easily be sanded down later on, compared to trying to fix a large drip after the paint has dried. We have a tutorial on how to fix spray paint drips here you can check out.
Our post on Wagner Paint Sprayer troubleshooting tackles more about these sprayer solutions and fixes.
Hopefully, these tips and techniques have helped you feel more confident in using your Wagner paint sprayer. With the right preparation, practice, technique, and maintenance, you’ll be a pro with your Wagner sprayer!
More Paint Sprayer Tips
- Paint Sprayer Reviews
- Best Paint Sprayer For Home Use
- Why I Use a Paint Sprayer
- Best Latex Paint Sprayer
- How to Thin Paint for a Sprayer
Follow us on YouTube to get more tips for painting furniture. Or share your project with us on our Facebook Group and be part of our community. See you there!