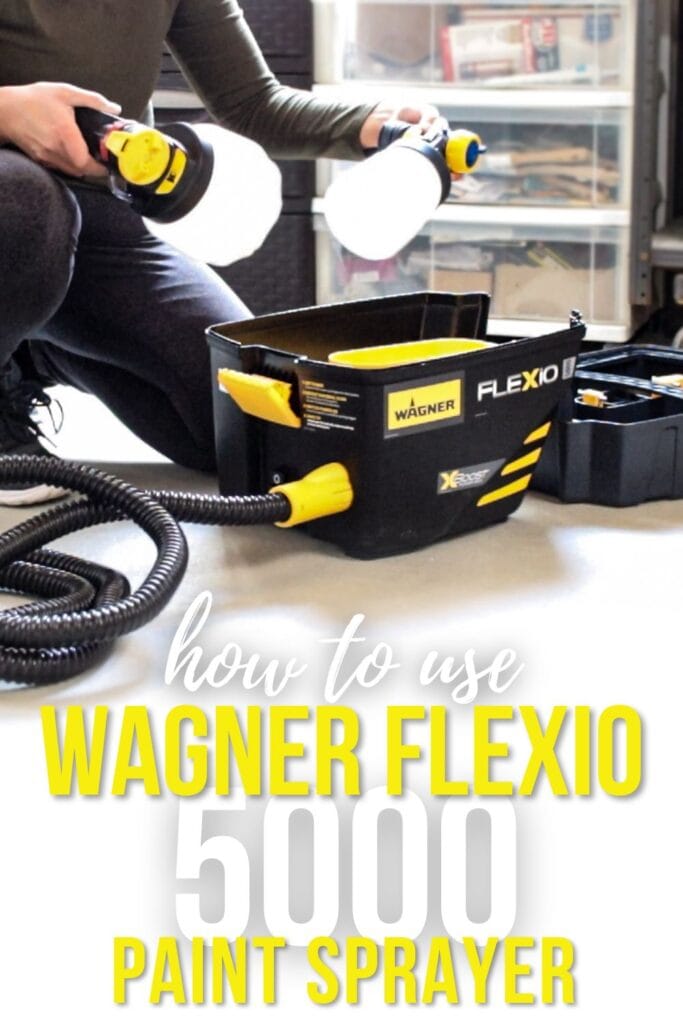
How to Use Wagner FLEXiO 5000 Paint Sprayer
Welcome to our guide on how to use Wagner FLEXiO 5000 Paint Sprayer – a tool that’s about to change the way you update your furniture. Whether you’re a seasoned DIYer or a newbie just dipping your toes in the world of painting furniture, you’ve come to the right place.
After learning how to use a paint sprayer on furniture, say goodbye to tedious brush strokes and embrace a smooth, even finish that’ll make your old furniture look professionally done, and brand new. Let’s dive in and get you familiar with your new best friend in home renovation.
The Wagner FLEXiO 5000 is a game-changer in the realm of home improvement, allowing you to breathe new life into your old furniture with a fresh coat of paint. We promise you, it’s anything but daunting.
Think of it as a fun, rewarding process where you get to see your creativity come alive! This guide is designed to make your painting journey as effortless and enjoyable as possible. Keep reading to discover how to get the most out of your Wagner 5000 Paint Sprayer!
Please note, this post is intended to guide those who want to paint furniture with their sprayer, but for the most part, similar principles apply when painting walls or fences. So this post will still be very beneficial for those projects as well.
Supplies for Using the Wagner FLEXiO 5000
As an Amazon Associate, I earn from qualifying purchases. I also may earn from other qualifying purchases with other companies or get free product to review and use. All opinions are my own.
- Wagner FLEXiO 5000 Paint Sprayer
- Paint
- Paint Filters
- Water or Mineral Spirits for thinning paint (if needed)
- Safety Glasses
- Respirator
- Cardboard or Scrap Wood
- Tape
- Pre-Taped Plastic
- Cleaning Brushes
Prepping Furniture for Paint
Before you start using your paint sprayer, make sure the surface you’re working on is prepped and ready to go. This might involve cleaning it, scuff sanding, or applying a primer if needed. Here is everything you need to know about how to prepare furniture for painting.
Priming will help the paint stick to any surface, and help make the paint look better. Trust me on this one. Here is our list of the best primers for painting furniture. You can brush, roll, or even spray some primers. But, please, do not spray shellac based primers with this paint sprayer.
It is not rated for the low flash point of shellac products. Here are the best brushes for painting furniture and the best rollers for painting furniture if you want to use these for the primer.
A lot of primers also come in a spray can version, which is what I typically use if I use a shellac primer. Then I can still get a brush free finish and paint faster still!
Assembling the Wagner FLEXiO 5000
Alright next up, let’s carefully put together the sprayer. Just follow the step by step instructions in the user manual. Start by taking out the hose and choosing the nozzle you want from the handy storage container.
When painting furniture, we always use the Detail Finish nozzle. The iSpray nozzle is great for walls and fences, but the Detail Finish nozzle creates a fine finish that we want on our furniture. Pick whichever nozzle is best for your project.
Then, gently twist the nozzle onto the end of the hose, making sure it fits snugly. Once it’s secure, tighten the container that goes onto that nozzle, to prevent any leaks or spills.
Remember, it’s important to double check that everything is fitted properly before trying to use the sprayer. If something isn’t on correctly, it can mess up the way the sprayer sprays.
For more information on the FLEXiO 5000, check out our Wagner FLEXiO 5000 paint sprayer review post. Here’s Wagner FLEXiO 3500 VS 5000 to learn about the differences between these two paint sprayers if you’re also considering the 3500.
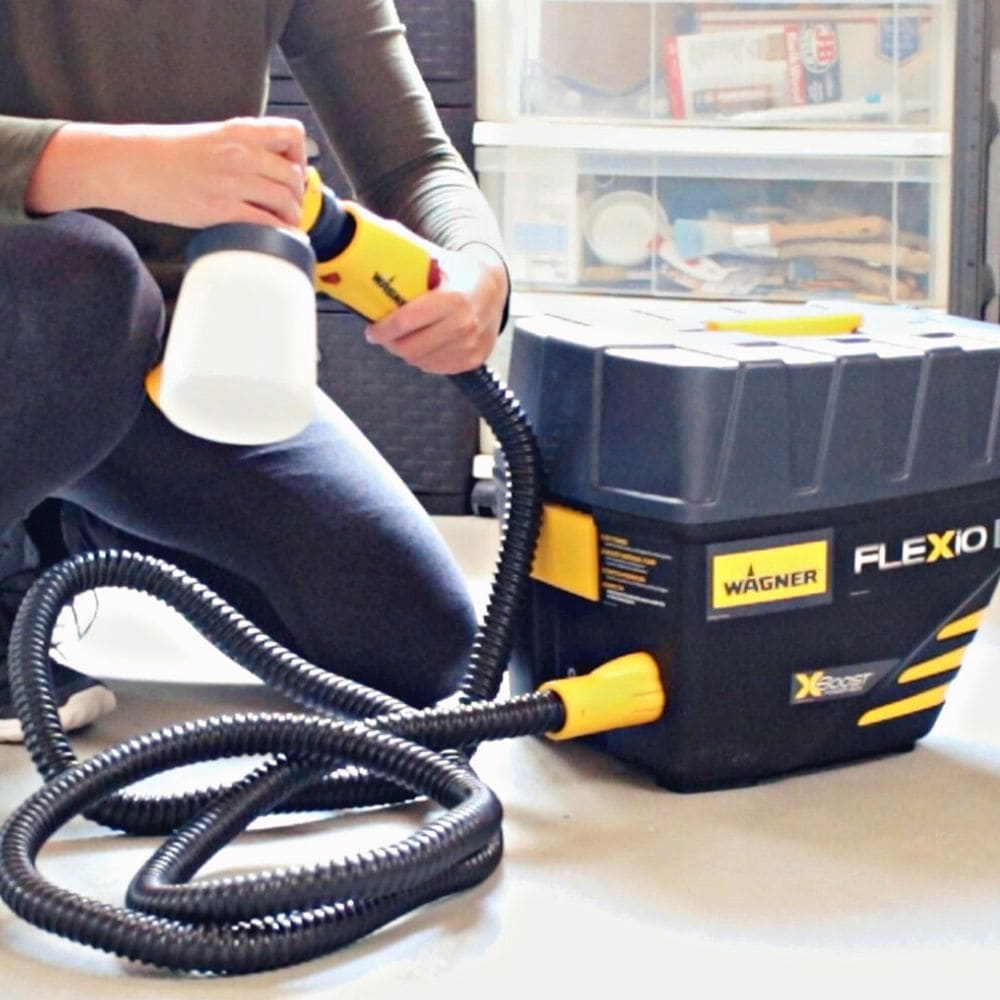
Testing the Sprayer with Water
If you’re nervous about using the sprayer for the first time, fill it up with some water first. I also make sure my suction straw is pointing forward.
If you plan to point the sprayer up, instead of down then the suction straw should be pointing backward. This straw sucks up the paint and helps reach the paint when the container is getting empty.
Screw the container back on tightly, and plug in and turn on the sprayer. There is a switch on the storage container, as well as on the sprayer’s handle. Make sure they are both turned on. Then you can spray the water out of the sprayer while adjusting the settings on the sprayer.
Adjusting the Settings on the Wagner FLEXiO 5000
Safety first! Don’t forget to wear safety glasses, and a respirator to protect yourself when spraying paint!
Turn the air power (on the top of the sprayer) up and down to see if it sprays with more power or less power. If the air setting is up too high, the water might start to splatter. I usually leave this setting on a 4 or 5.
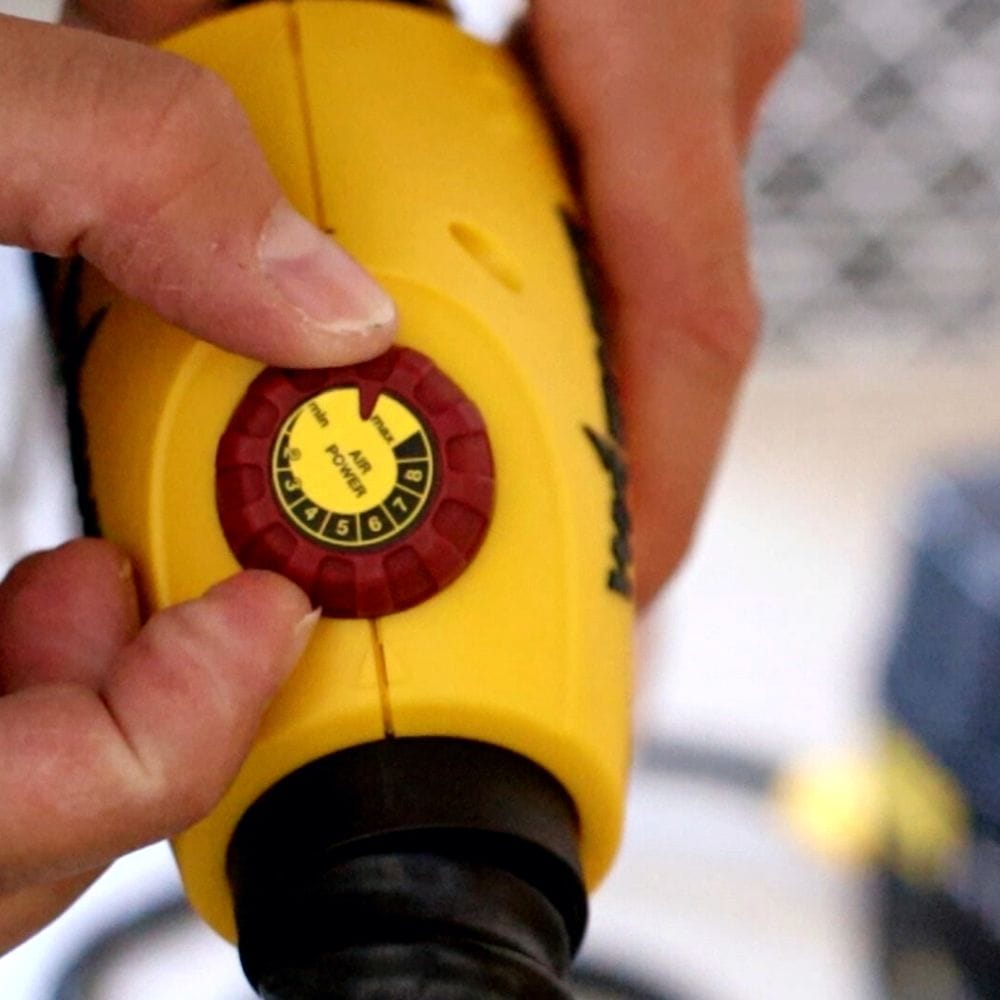
Adjust the dial behind the trigger to make more or less water come out as well. This is the fluid setting that should be used the most to dial in the exact amount of paint that comes out of the sprayer.
Turn the tip of the nozzle in different directions to get the water to spray in a different pattern, vertical, horizontal, or circular.
Up and down will produce a horizontal fan spray, side to side will produce a vertical fan spray, and if it is diagonal in any way shape, or form, it will produce a circular spray pattern. I like to use a vertical fan pattern and a horizontal spray pattern, depending on the direction I am spraying.
Keep spraying the water until you feel confident spraying water and have adjusted the settings where you can pretend to spray the water like you want the paint to come out. Here’s Wagner paint sprayer settings to learn more about the different settings of Wagner paint sprayer and help you maximize them.
Adding Paint to the Paint Sprayer
Now, let’s fill up the paint container with your chosen paint. Don’t forget to give the paint a good mix, and put a paint filter over the container to filter the paint as it goes into the container.
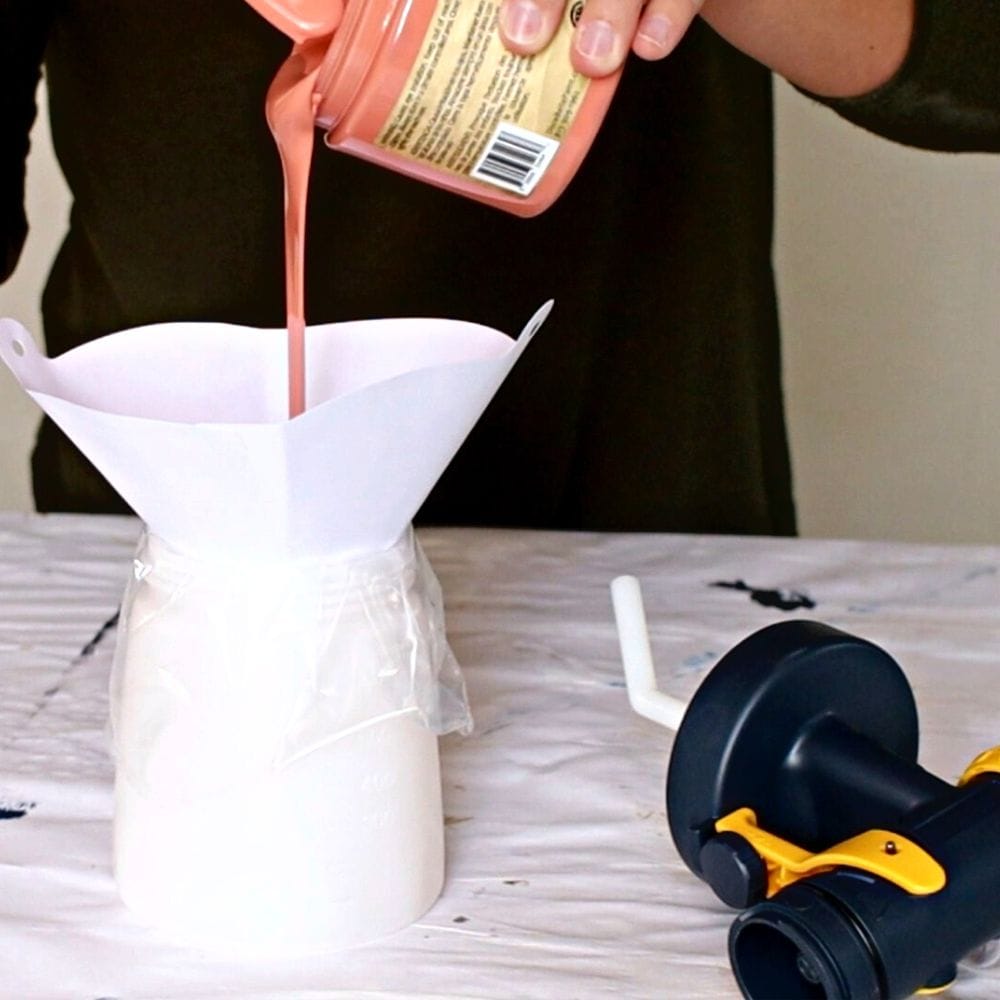
These paint filters are a must for a hassle free project. If you don’t filter your paint, more than likely, your sprayer will get clogged up.
In the event you do encounter clogging problems, we have a guide on how to unclog a paint sprayer that you can follow. If your Wagner paint sprayer spitting, check out our post to learn more about why and how to fix this issue!
Would you like to save this?
Can you use any paint in Wagner sprayer?
Yes, you can use oil based and water based paint in a Wagner sprayer! One of the great things about the Wagner FLEXiO 5000 is its versatility. This makes it perfect for all kinds of projects. Check out this guide on what paint to use in Wagner sprayers to learn more about your options.
You’ll also want to check out our best paint for spraying furniture post for more options to use with your sprayer. Some paints are just better suited for spraying than others, so it’s always good to do some research beforehand.
Do you need to thin paint for Wagner FLEXiO 5000?
Thin the paint to make it spray with a fine finish when using the Detail Finish nozzle. This sprayer can spray thick paints without thinning, especially if you use the iSpray nozzle, but the finish will look much better for furniture if you thin regular paint by 10%-20% and use the Detail Finish nozzle. (Note: You don’t need to add water or mineral spirits to very thin paint.)
Read your container of paint to make sure your paint is compatible with thinning, and make sure to use water for water based products or mineral spirits for oil based products. Learn more about how to thin paint for the Wagner FLEXiO sprayer here, and if you are using latex paint, here’s our guide on thinning latex paint for Wagner sprayer!


Can you use thick paint in a sprayer?
The Wagner FLEXiO 5000 paint sprayer is made to handle thicker paints, so if you prefer not to thin your paint, you can definitely use it straight from the can. Just keep in mind that thicker paint might not give you the smoothest finish, so thinning it a bit could really help you get a more professional look.
Thicker paint can also cause clogging in your sprayer, so it’s important to clean and maintain your sprayer regularly if you’re using thicker paints. This will help prevent any build up or blockage and guarantee that your sprayer continues to work smoothly for future projects.
Test the Sprayer Before Spraying Paint
Reassemble the sprayer and adjust the settings for the paint. Always test the spray on a piece of cardboard or scrap wood to get the desired spray pattern and coverage before painting your project.
Adjust the settings as necessary until you have a little more than a light mist coming from the sprayer. It’s better to start it low and slow and adjust the settings as needed, instead of the other way around.
how to spray paint evenly with Paint Sprayer
Now it’s spraying time! Keep the sprayer moving smoothly across the surface, making sure to spray evenly. Overlap each line by about 50% to get even coverage on your project. Avoid lingering in one area too long to prevent uneven coverage and drips.
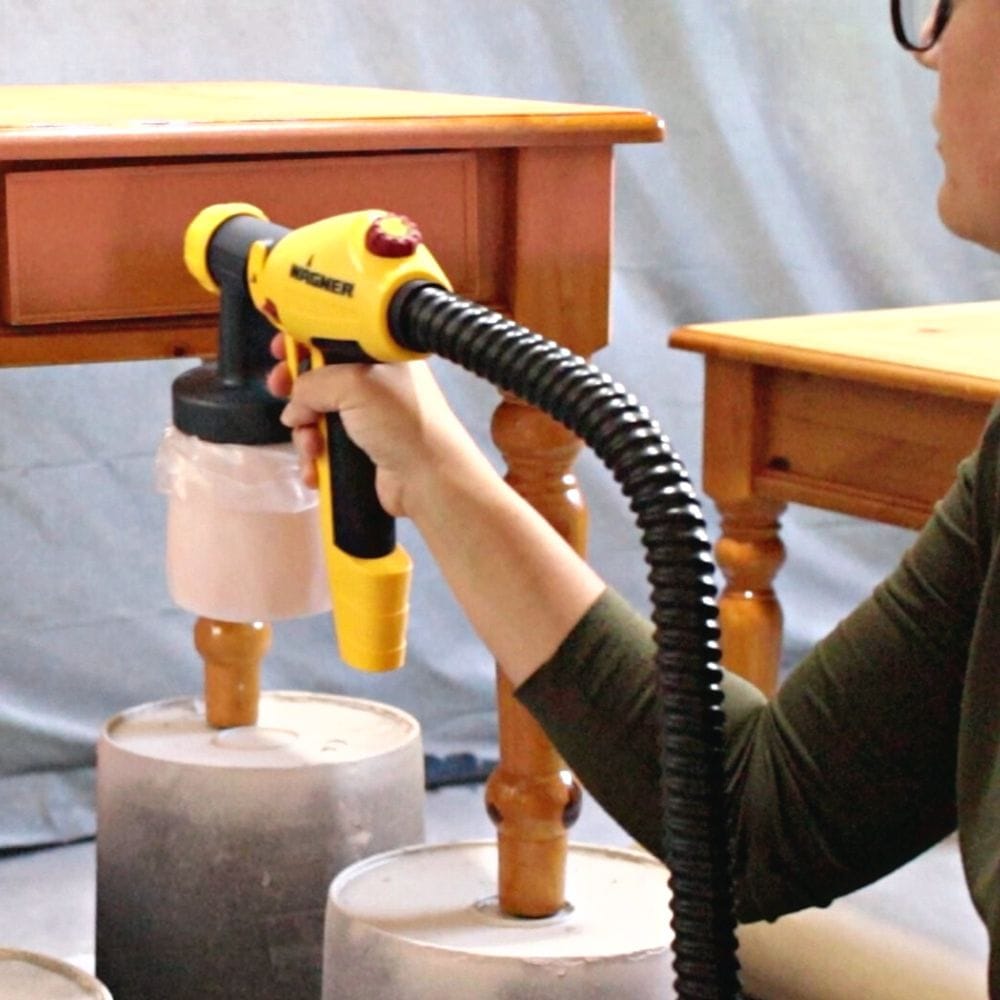
If the sprayer isn’t spraying much paint, you will move a lot slower than if the sprayer is spraying a lot of paint at once. Adjust the settings so you can slowly move across the surface without rushing. This will help you avoid any mistakes or wasting paint.
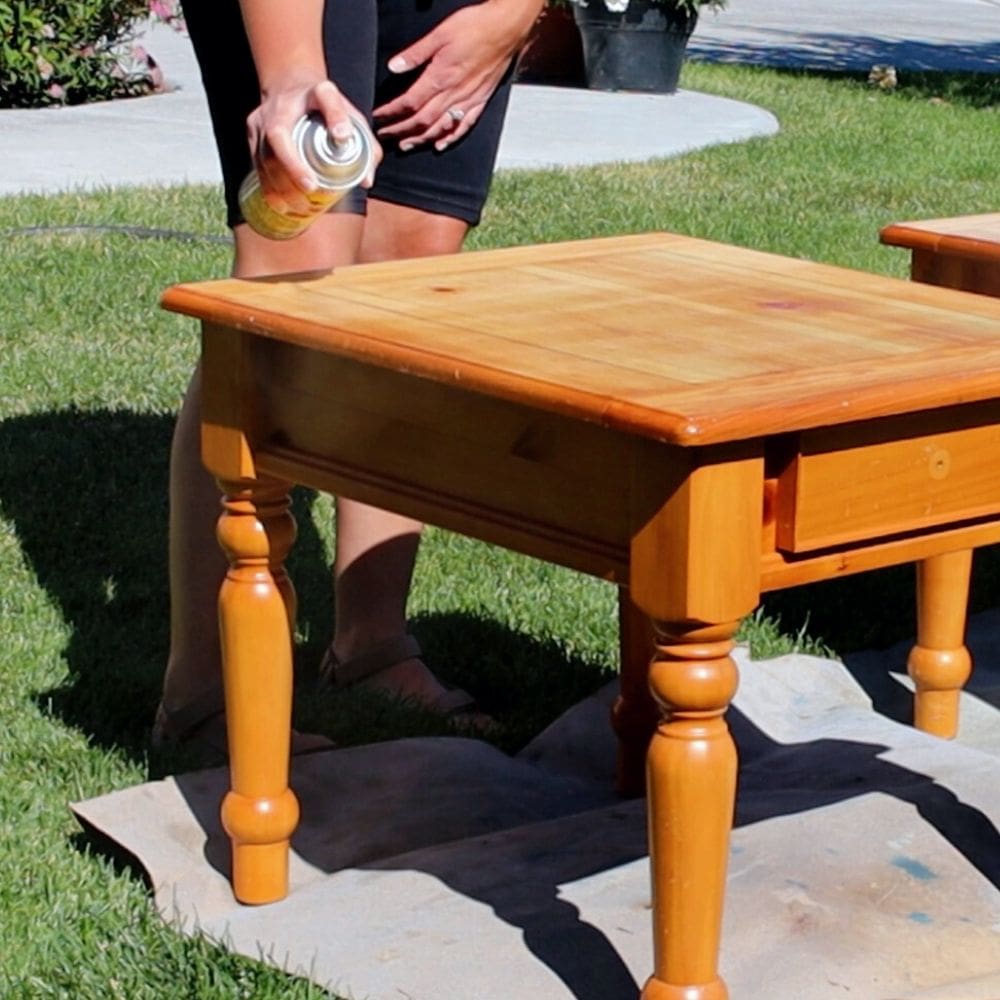
You can also check out this Wagner FLEXiO sprayer in action in my chalk painted end tables makeover.
Cleaning the Wagner FLEXiO 5000 Sprayer
Once you’re done, make sure to clean the sprayer. For the most part, you can leave paint in the sprayer for a few hours, unless it is oil based, or a very fast and hard drying paint like enamel paints. I make sure to clean my sprayer before closing up shop for the night.
Basically, empty out the paint from the container, rinse out the container with your cleaning agent, and then spray it through your sprayer into a bucket or something similar. Then empty the container and rinse everything off. Here’s how to take apart a Wagner paint sprayer to guide you.
Disassemble the tip of the nozzle to clean the 3 small pieces there. A set of small cleaning brushes will help you clean the inside of these pieces! Make sure to let your sprayer dry completely before putting it back together, or the water will drip out as you spray more paint.
Learn more how to clean a Wagner FLEXiO paint sprayer in our blog post. If you used oil based paint in your paint sprayer, here’s how to clean oil based paint from Wagner paint sprayer!
Do the Paint Sprayer Cup Liners Work?
Included with your sprayer are a couple of cup liners, so I tested them out. They are supposed to make cleanup easier and help you save paint. The instructions say to make sure to fill the container up at least halfway to help the sprayer build up the pressure it needs, so that’s what I did.
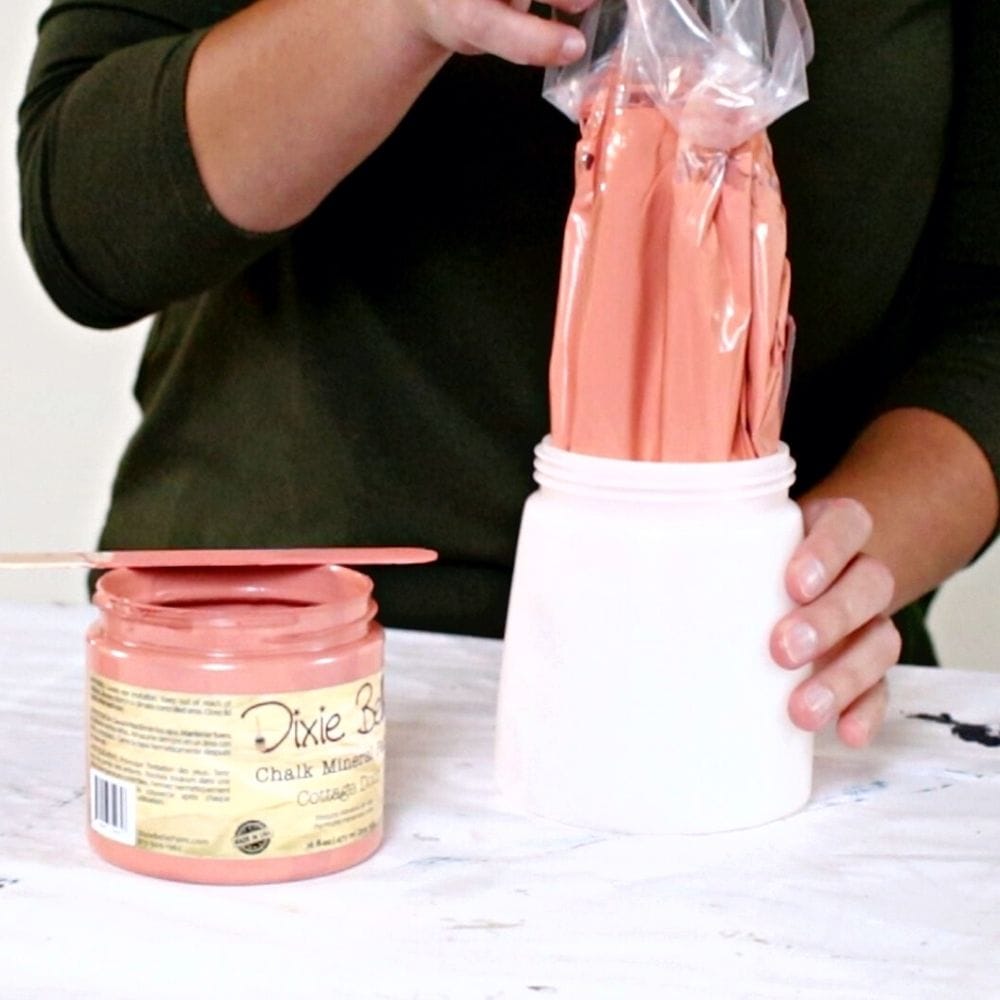
When I cleaned up the sprayer, it was indeed easier to clean the sprayer because of the liner. There was no paint in the container to have to rinse out, and then I could easily squeeze the leftover paint out of the liner and back into my paint.
Yes, there was still paint left in the liner, but since I was able to squeeze the paint from the liner, I believe that there was less paint waste than normal.
Plus, the paint left in the liner didn’t get washed down my drain, it got left in the liner to dry out, and then I threw it away, which is how our waste management wants our paint to be disposed of here.
So do they work? Yep! I will continue to use them. Are they necessary? Nope, you can do without them if you don’t want to use them.
You now have all the tips and tricks you need to successfully use the Wagner FLEXiO 5000 paint sprayer. From thinning the paint to spraying it evenly, and properly cleaning the paint sprayer afterwards, you can now confidently take on any painting project with your FLEXiO 5000 sprayer.

How to Use Wagner FLEXiO 5000 Paint Sprayer
Ditch the overwhelm with this post on how to use Wagner FLEXiO 5000 paint sprayer. We walk you step by step through the process and share dos and don'ts to make your project a success.
Materials
Instructions
- Prep the furniture for paint.
- Assemble the paint sprayer, then add water to your paint sprayer so you can test it out while getting used to the settings, without committing to or wasting paint.
- Place a paint filter on the sprayer's container, then pour your paint into the container.
- Thin the paint with 10%-20% thinning agent. Water for water based paint, mineral spirits for oil based paint. Mix well.
- Assemble the sprayer again and test the sprayer's settings on cardboard or scrap wood until you get the paint to spray a fine mist that you are comfortable with. Less paint is better than too much paint when you are first learning.
- Paint your project with smooth, overlapping passes back and forth across the surface.
- Clean the paint sprayer. Let dry before reassembling.
Recommended Products
As an Amazon Associate and member of other affiliate programs, I earn from qualifying purchases.


more paint sprayer tips
- How to Fix Spray Paint Drips
- Best HVLP Paint Sprayers for Furniture
- Best Wagner Paint Sprayers for Furniture
- Can You Spray Wood Stain With a Paint Sprayer
- Can You Use Paint in a Wagner Stain Sprayer
Follow us on YouTube to get more tips for painting furniture. Or share your project with us on our Facebook Group and be part of our community. See you there!