Can You Spray Wood Stain With a Paint Sprayer
Wood staining is an important step in refinishing furniture, and it can be a tedious process if you do it by hand. Well, you can speed up the process by using a paint sprayer! If you’re wondering, can you spray wood with a paint sprayer? The answer is yes – you can!
With the right equipment and technique, you can quickly apply wood stain with a paint sprayer to create a professional-looking finish on your furniture. I’ll show you how to use a paint sprayer to apply wood stain, plus I’ll share tips on keeping it clean and well-maintained for future projects. So grab your paint sprayer and let’s dive in!

Compared to brushing or wiping on the stain, spraying wood stain with a paint sprayer can be a real time-saver and make your furniture projects a breeze! Plus, it gives that pro touch to all your DIY endeavors.
A paint sprayer is an incredibly versatile tool that can help you take your DIY projects to the next level. Whether you’re working on small craft projects or tackling a large home renovation, having a quality paint sprayer in your toolbox will make all the difference.
So if you’re looking to save time and effort on your next project, then you need to invest in a quality paint sprayer.
Now let’s get into how to use a paint sprayer for wood staining!
As an Amazon Associate, I earn from qualifying purchases. I also may earn from other qualifying purchases with other companies or get free product to review and use. All opinions are my own.
Tools for Spraying Wood Stain
When it comes to staining wood with a paint sprayer, you’ll need certain tools to make sure everything goes smoothly.
You need to have an airless or HVLP (high-volume, low-pressure) paint sprayer, and it should be a quality one that’s specifically designed for thin materials like stain. Here’s our blog post about the best HVLP paint sprayers for furniture to choose the right paint sprayer for your project.
If you have a paint sprayer that can work with paint, that’s great too!
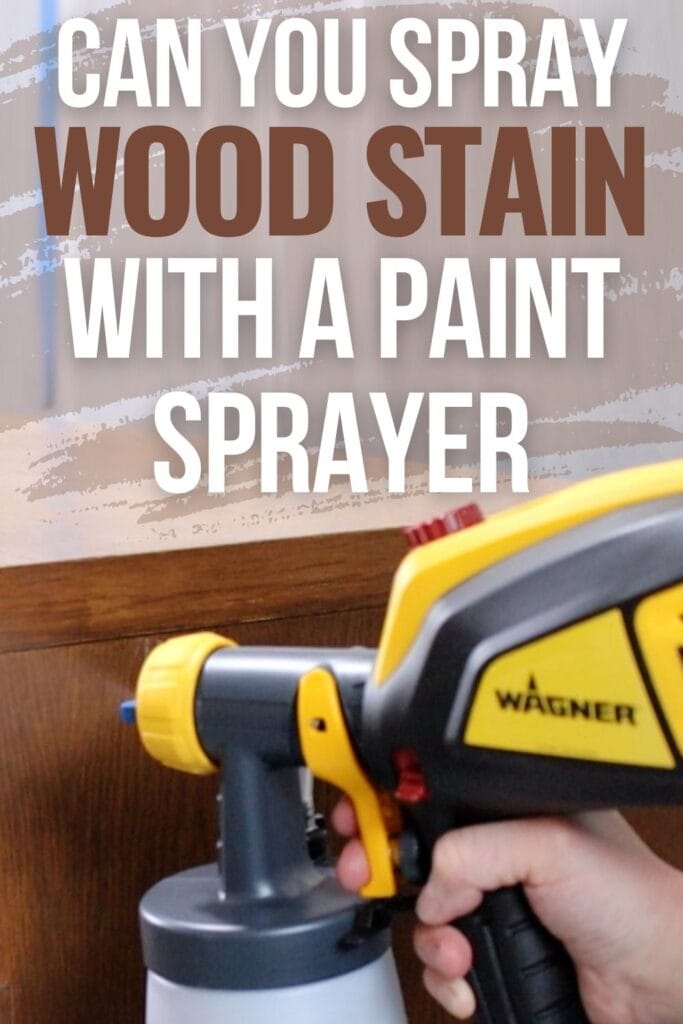
The Wagner Double Duty Paint sprayer is perfect for this job! It features two containers – one smaller and one larger – so you can easily switch back and forth between 2 different products.
Additionally, the Wagner Double Duty Paint sprayer is lightweight and easy to use with no air compressor, making it a great choice for DIYers of all skill levels.
Here is more information on how to use a Wagner Double Duty paint sprayer so you can learn exactly how to use the paint sprayer. That post talks about using paint instead of stain, but other than that, how to use it is the same. You just wouldn’t need to thin the stain.
Even though our post on the best paint sprayer for furniture talks about paint, you can learn a lot about the best budget friendly paint sprayers to make sure you get the right sprayer for you.
Plus, if you pick a sprayer that can work with stain and paint, you will be able to accomplish so much more around your house!
But if you have a stain sprayer and wondering if can you use paint in a Wagner stain sprayer, check out this post to learn more.
Also, when it comes to wood, different projects call for different treatments. So, make sure you pick the right stain for your project. It would be near impossible to spray gel wood stain from a paint sprayer, unless you thin it out.
But regular wood stain, whether oil or water based will work well in a paint sprayer.
Oil based wood stains are more forgiving and take longer to dry, so you don’t end up with streaks and uneven staining on large projects. Water based wood stain is easy to clean up and dries quickly, which is great for small projects but can be a hassle on large surfaces.
For more information on what stain to choose for your project, visit our best wood stain for refinishing furniture post.
Spraying vs Brushing
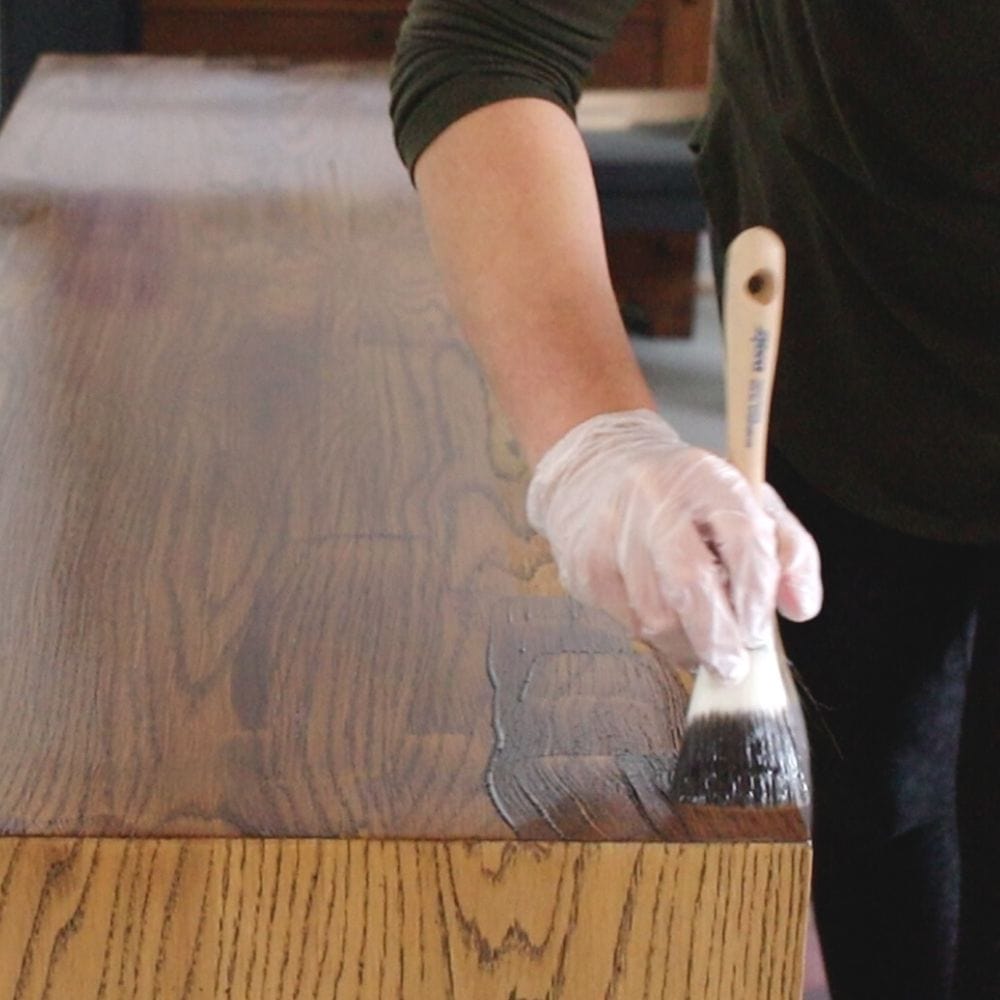
You have two main options when applying wood stain: brushing on the stain or spraying it.
Although brushing or wiping it on with a rag or pad is typically the most common method, spraying with a paint sprayer can be much faster than brushing if your wood has a lot of crevices and details to get into, and you’ll get an even coat of stain on your wood surfaces.

Either way, you will most likely have to wipe off the excess stain to prevent drips, puddles, or to prevent the stain from not drying properly.
For a large project, spraying may be the best and fastest option for you! But if you’re working on a small project, dealing with a paint sprayer may take more time than it is worth.
Here are the best brushes for staining wood to check out the one that fits your needs perfectly if you don’t want to use a paint sprayer.
Be sure to weigh your options here before you start your project!
How to Spray Wood Stain
Spraying wood stain with a paint sprayer is actually quite easy! Once you’ve picked out the right stain and stain color for your project, you’re ready to start spraying. Here’s a step-by-step guide on how to spray wood stain:
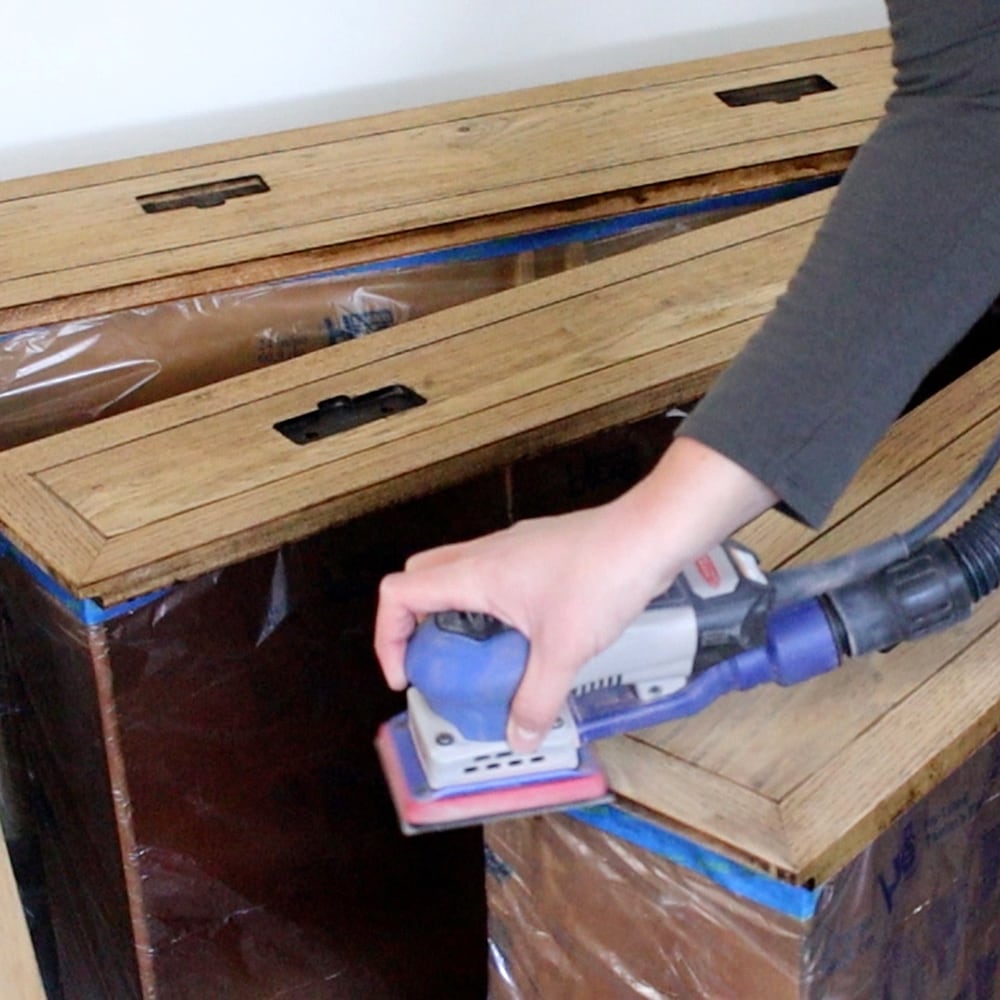
First things first, prep your wood surface. Sand it down to get rid of any imperfections and use a shop vacuum to suck up the dust and then wipe it clean with a tack cloth to remove any remaining dust.

Grab our sanding cheat sheet for our tips on how to sand like a pro!
Make sure you have a well-ventilated area to work in, ideally outdoors or in a large garage. Cover all surrounding areas with drop cloths or plastic sheets to protect them from overspray.
If spray painting indoors is your only choice, here are essential tips that you should follow.
Read this post to learn more about How to Prevent Overspray When Painting (or Staining) Furniture.
If desired, apply a wood conditioner to prevent blotches and streaks.
Stir your can of stain well, then fill the sprayer’s reservoir with your selected wood stain. Use a paint filter to filter out any dried clumps of debris that can clog your sprayer or make your stain look bad.
Adjust the sprayer settings to control how much stain comes out of the sprayer. Start with a low fluid setting, you can always adjust it as you go.
Always test your spray pattern on a piece of scrap wood before beginning your actual project to make sure it is spraying correctly. This will prevent many mistakes from happening on your actual project and prevent a lot of frustration.
Here are the other five furniture makeover mistakes to avoid for a successful painting project.
Then hold the sprayer 6 to 8 inches from the surface and spray in a consistent, even motion. Remember to overlap your passes by about 50% for a uniform finish. Adjust the amount of stain that comes out of the sprayer if needed. Less is more here!
Check out our blog post about Wagner paint sprayer troubleshooting to learn more about how to fix common problems when using a Wagner paint sprayer.
If needed, after spraying, use a clean lint free cloth to wipe off any excess stain. This will prevent pooling and drips, and create an evenly stained finish on your project.

Depending on the desired color, you may need to apply multiple coats. Let each coat dry fully before applying the next.
It’s important to clean your paint sprayer thoroughly after every use. This will help maintain its performance and prolong its lifespan. Remember, if you’ve used an oil-based stain, you’ll need to clean the sprayer with mineral spirits.
Cleaning the Paint Sprayer
After you finish staining, it’s super important to clean your paint sprayer properly. If you don’t, the leftover stain can build up in the sprayer’s lines and parts, causing clogs and issues. It can mess up the internal components and make it less effective for future projects.
Should you ever come across clogging issues, here’s how to unclog a paint sprayer.
Dump the leftover stain out of your paint sprayer, and then clean out the sprayer.

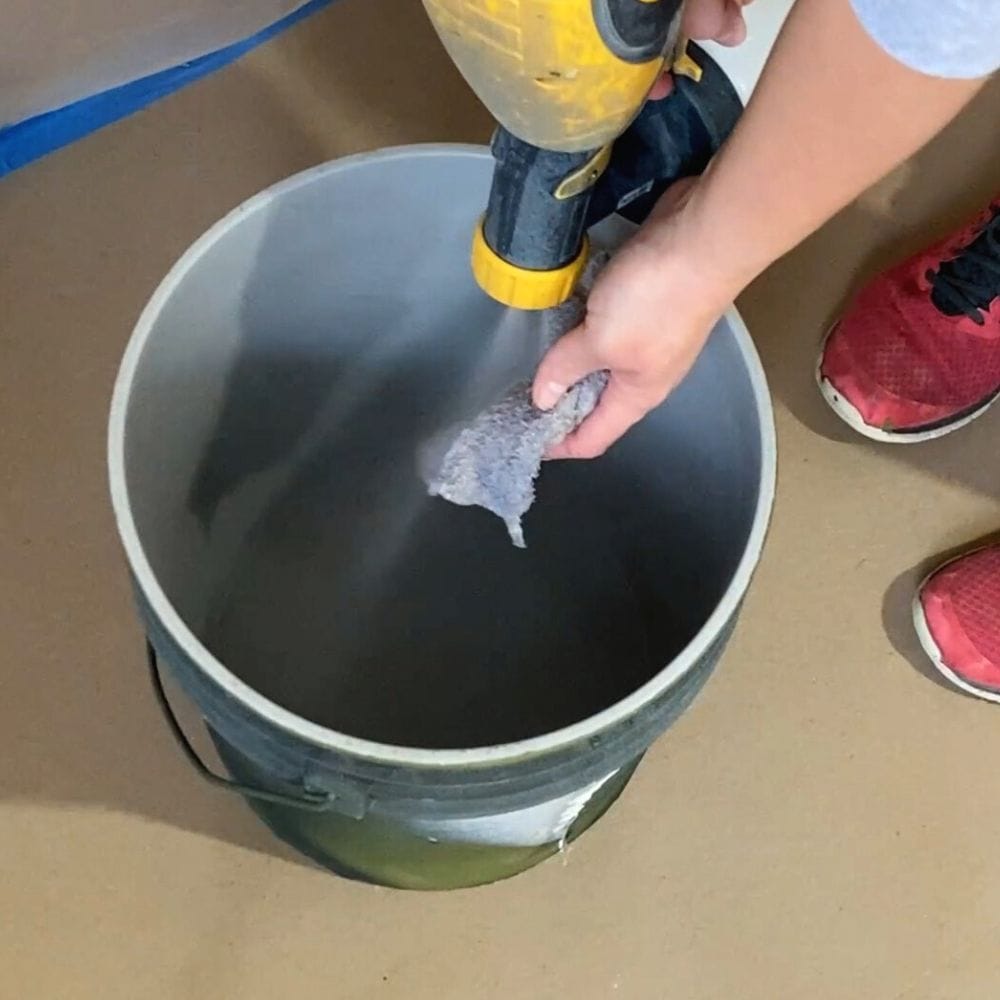
If you’re using oil-based wood stain, use mineral spirits to clean the sprayer. Soapy water works great for water based wood stain, but it will not clean up oil based products. If you aren’t sure, read the instructions on the can of stain to see what they recommend you use to clean the stain up.
For oil based stain, pour a generous amount of mineral spirits into your paint sprayer, then turn on the sprayer and spray the mineral spirits through the sprayer to clean out the inside of the sprayer.
Use the same process for water based stain, but use warm soapy water instead of mineral spirits.
Unplug the sprayer and finish cleaning out the sprayer’s container and other parts until everything is cleaned off.
Continue using mineral spirits until the oily residue is gone. Check out our post on how to clean a Wagner paint sprayer to learn more.
Making sure your paint sprayer stays in top shape is crucial, so make it a habit to give your equipment a good clean after using it.
More paint sprayer tips
- Best Electric Paint Sprayer
- Using A Paint Sprayer To Paint A Dresser
- Best Paint Sprayer for Home Use
- Homeright Finish Max VS Super Finish Max
- Homeright Finish Max Paint Sprayer Review
Follow us on YouTube to get more tips for painting furniture.
Or share your project with us on our Facebook Group and be part of our community. See you there!
