How to Unclog a Paint Sprayer
Learning how to use a paint sprayer on furniture can be a game changer for DIY projects. However, clogs can occur, and knowing how to unclog a paint sprayer is important for smooth operation. In this guide, we will walk you through unclogging paint sprayer, from immediate actions to deep cleaning and even dealing with thick paint.
Whether you’re an experienced DIYer or just starting out with paint sprayers, these tips will help you get the most out of your equipment. Let’s dive in and get that clog cleared up!

Paint sprayers can get clogged for a variety of reasons. Sometimes, it’s due to dried paint or debris in the sprayer parts. Other times, it could be because the paint was not filtered before being put into the container. Thick paint can also cause clogs, especially if the sprayer is not designed for that type of paint.
Clogs can happen at any time, whether you’re a beginner or an experienced user. Whatever the reason may be, a clogged HVLP gun can be frustrating and hinder your project progress.
So knowing how to troubleshoot and unclog your paint sprayer will save you time and frustration in your DIY projects. Plus, knowing how these clogs happen can help you prevent them in the future and extend the life of your painting tool.
Supplies Used for Unclogging a Paint Sprayer
As an Amazon Associate, I earn from qualifying purchases. I also may earn from other qualifying purchases with other companies or get free product to review and use. All opinions are my own.
- Cardboard or Scrap Wood (for testing)
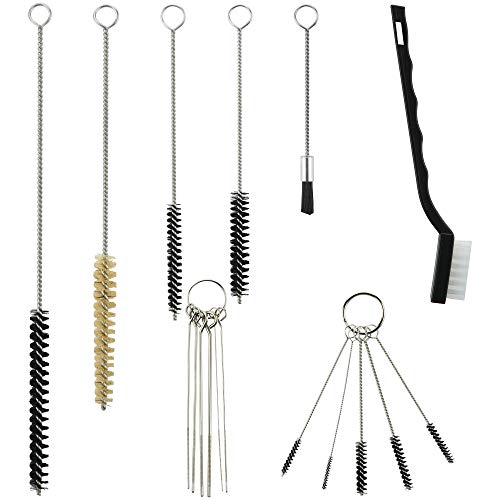
- Cleaning Brush
- Cleaning Solution
- Paint Filter
- Thinner (if required)
- Viscosity Cup (only for certain sprayers)
Immediate Actions on How to Unclog Paint Sprayer
When you encounter a clog while using your paint sprayer, there are a few things you can try right away to get the paint flowing again.
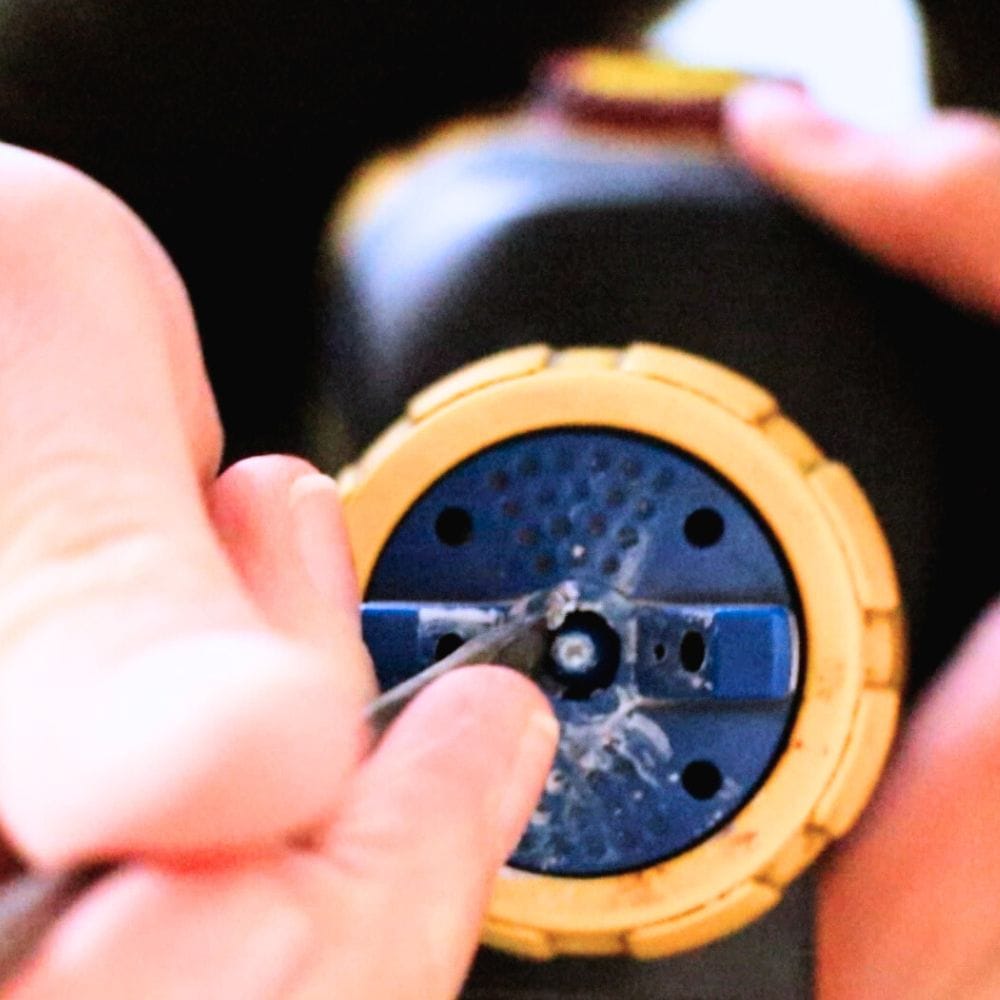
If your paint sprayer has been sitting idle for even an hour after use, gently scrape off any dried paint that may have accumulated on the tip where the paint comes out. Sometimes, a little buildup of paint can hinder the proper flow of paint. Simply scrape it off and test your paint sprayer again.
If you’re wondering, can I leave paint in a sprayer between coats? – get answers here!
You can also tweak the fluid and air power settings to amp up the power and paint flow of the sprayer. Open up the fluid all the way to let out the maximum amount of paint. Crank up the power setting to the max and give it a go by spraying on some cardboard or scrap wood. Sometimes, that’s all it takes to unclog your paint sprayer.
how to clean a clogged paint sprayer
If the above immediate actions don’t work, it’s time for a deep clean. This process may take some time but it’s important for maintaining a properly functioning sprayer.
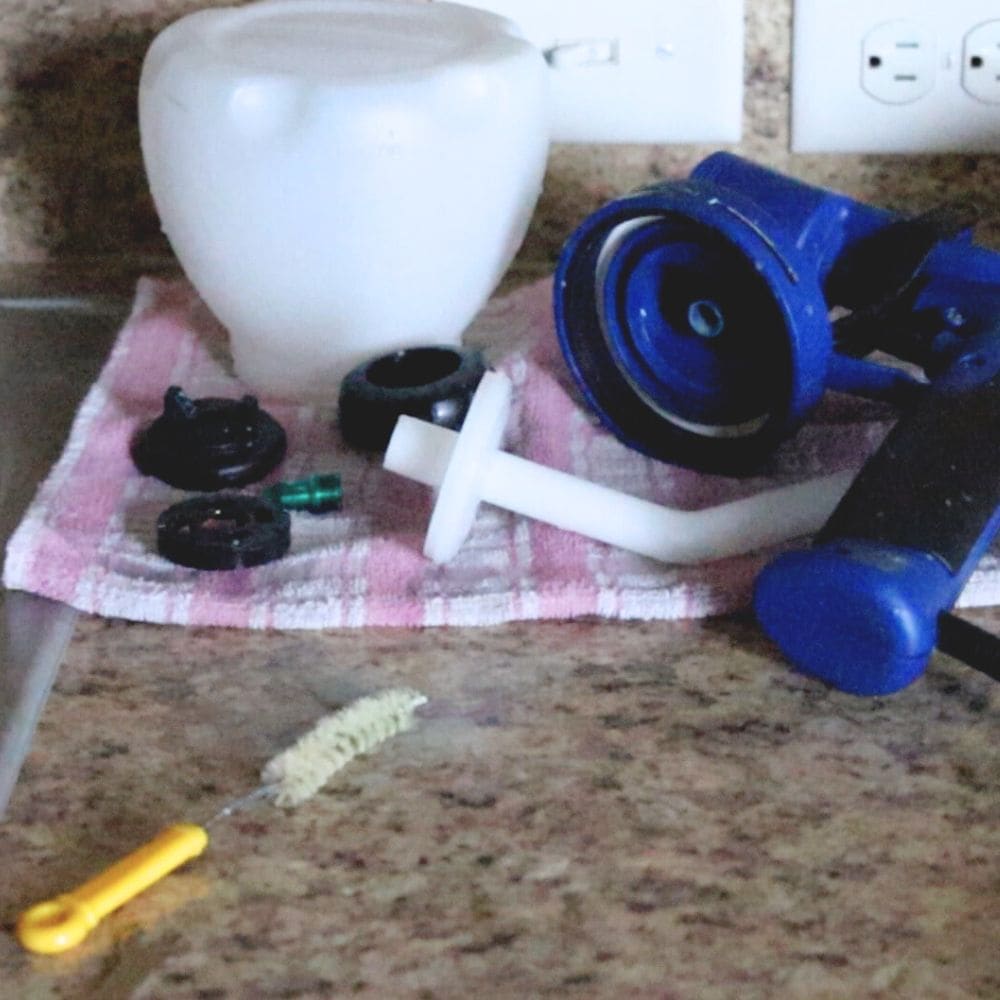
If your paint sprayer is still clogged and not working properly, the best thing to do is to empty the paint, give it a thorough cleaning, and start fresh. Make sure it’s completely dry before putting it back together. Also, make sure to clean every single component carefully.
It’s possible that the sprayer isn’t spraying because there’s leftover paint blocking the internal parts or clogging the tip and cap openings. Use a small cleaning brush to get into all the nooks and crannies, especially the tip and inner workings of the sprayer.
Make sure you also spray the cleaning solution through your paint sprayer to give its interior a good cleanse. If your paint sprayer can expel the water or cleaning solution, it usually means the clog has been cleared.
For a complete tutorial, here’s our blog post on how to clean a clogged Wagner paint sprayer. You can get more tips on how to clean a Wagner paint sprayer. Or if you are using a stain tool, check out this detailed guide on how to clean Wagner stain sprayer!
Filtering Paint for Paint Sprayer
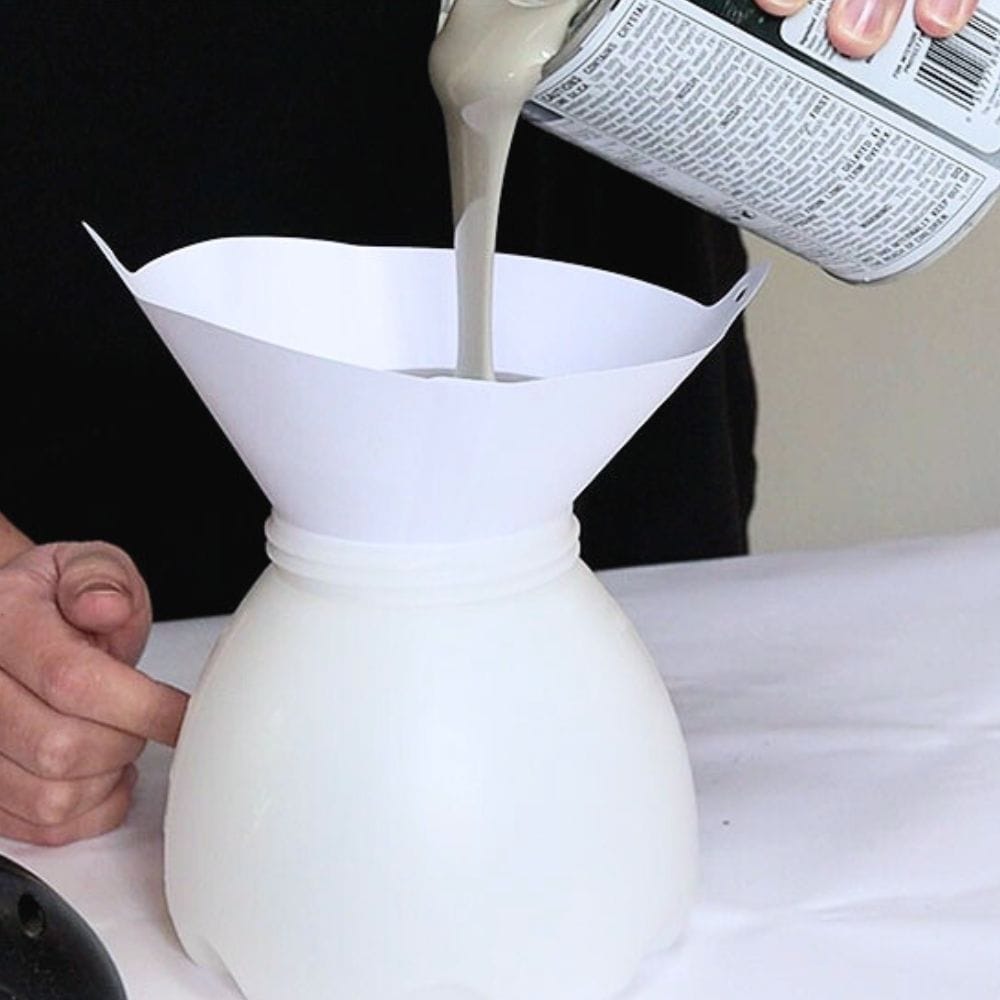
Now that your paint sprayer is completely dry and properly assembled, you can fill it up with paint. But, before you do that, it’s super important to filter the paint. Skipping this step is often the reason why paint sprayers get clogged.
I know it might sound a bit tedious and different, but trust me, this simple step really helps prevent clogs. So, just remember to strain your paint using a filter before pouring it into the container of your paint sprayer.
Would you like to save this?
Next, reattach the container to your paint sprayer, making sure everything is securely and accurately in place. Then, readjust your fluid settings to their usual position. No need to have them fully turned up.
The same goes for your power settings. No need to crank them up all the way. Once that’s done, give it a test spray on a piece of cardboard to confirm it’s working properly again. Here’s our how to use a paint sprayer on furniture to learn more about other things you need to do before using the sprayer.
Thinning Paint for Paint Sprayer
If your paint sprayer isn’t spraying after cleaning, and filtering the paint, it could mean that the paint is too thick. In that case, you’ll have to thin it out.
First, remove the thick paint from inside the sprayer. Then, for the best results, make sure to clean the inside of the paint sprayer once again. You don’t have to clean the container unless you need it cleaned out to clean the inner parts of the sprayer.
Make sure you thin your paint as instructed in the manual for your paint sprayer. This is particularly important for sprayers designed for stain and not necessarily for paint. Otherwise, they can get clogged because the paint is too thick.
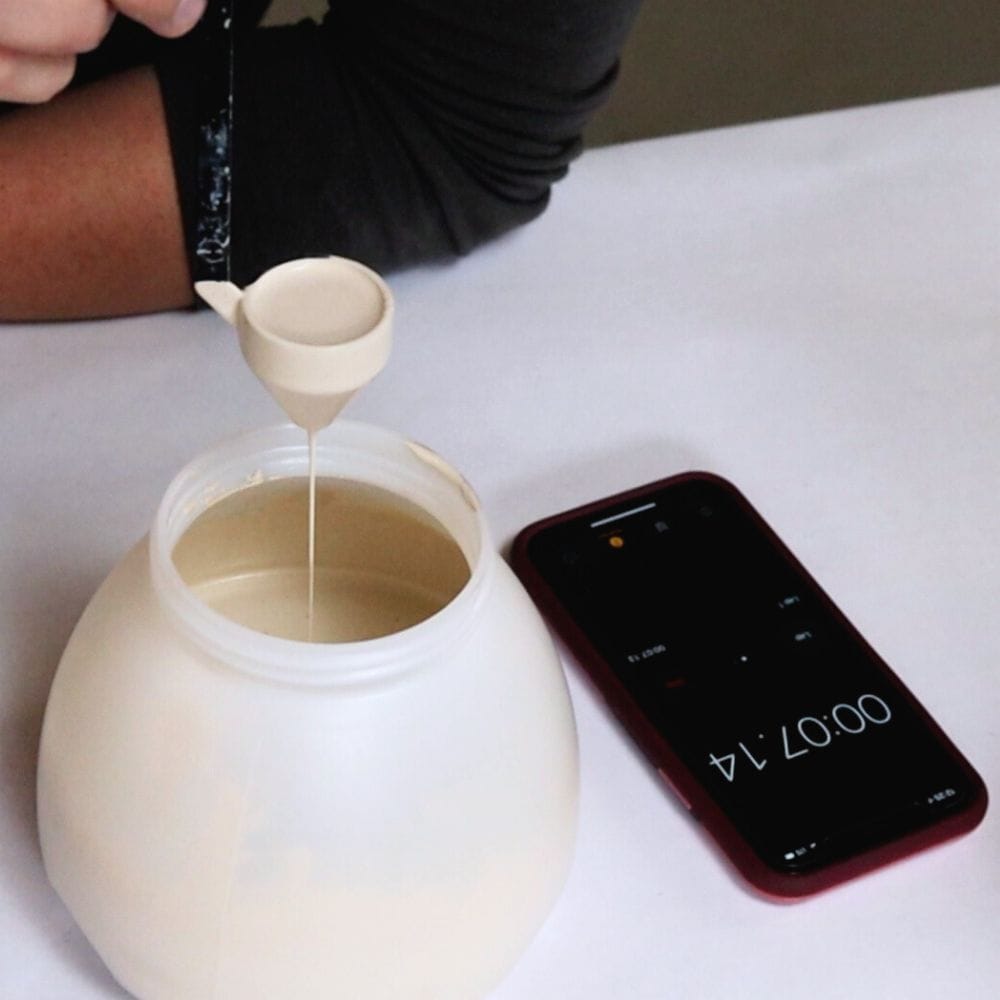
Check out our post on how to thin paint for a Wagner sprayer, and if you are using latex paint, here’s thinning latex paint for Wagner sprayer. We’ll guide you through thinning paint using a viscosity cup instead of just eyeballing it. Not all paint sprayers require this method though.
For the Wagner FLEXiO sprayers, there is no need for a viscosity cup – here’s how to thin paint for Wagner FLEXiO sprayer. Honestly, you should be able to spray thick paint with FLEXiO sprayers, but it might not give the best results.
If you still can’t figure out why your Wagner FLEXiO not spraying, check out our blog post to dive more into fixing this issue.


Paint Sprayer Keeps Clogging
But if you find that your paint sprayer keeps clogging, even after following all the steps mentioned above, there may be some other underlying issues. One common problem is using low quality or expired paint. Make sure you are using good quality paint and that it hasn’t passed its expiration date.
Another issue could be the type of paint you are using. If you can, try switching to another type of paint to see if that helps. Some paints just don’t work well with certain sprayers, so it’s a good idea to check the manual or do a little research first.
Faulty or worn out parts could also be causing clogs in your paint sprayer. Check all the parts and make sure they are functioning properly. If you notice any damage or wear and tear, it’s best to replace those parts before using the sprayer again.
Finally, don’t forget to clean your paint sprayer well after each use. Skipping this can cause paint build up and clogs. Plus, keeping your sprayer in a clean, dry spot helps it stay free of rust or other damages.

Knowing how to troubleshoot and unclog your paint sprayer is important for smooth and successful furniture painting. Try adjusting the fluid and air power settings, deep cleaning the sprayer, and filtering your paint before use.
Thin out thick paint and properly reassemble your sprayer as well. And don’t forget to give it a good clean after each use and follow the manufacturer’s instructions for maintenance. With proper care, your paint sprayer will serve you well for many projects to come!

How to Unclog a Paint Sprayer
Discover the easy steps on how to unclog a paint sprayer for smooth and efficient paint jobs. We've got you covered with everything from quick fixes to handling thick paint!
Materials
- Cardboard or scrap wood (for testing)
- Cleaning Solution
- Paint Filter
- Thinner (if required)
Instructions
- Quick Fixes: Give it a shot by scraping off any dried paint from the tip and adjusting the fluid and air power settings.
- Thorough Cleaning: If that doesn't do the trick, give your paint sprayer a good cleaning, making sure every single part is properly cleaned.
- Filter the Paint: Before refilling the sprayer, don't forget to filter the paint to prevent future clogs.
- Reattach and Adjust: Once refilled, attach the container back to the sprayer and adjust the fluid and power settings to normal.
- Give it a Test Run: Test the sprayer on a piece of cardboard to make sure everything is working fine.
- Handling Thick Paint: If the sprayer still acts up after cleaning and filtering, the paint might be too thick. In this case, follow the sprayer's manual instructions to thin out the paint.
- Reassemble and Test Again: Once the paint is thinned, put the sprayer back together and give it another test.
- Keep it Clean and Maintained: Lastly, remember to clean your sprayer after each use and follow the manufacturer's maintenance instructions to keep it in good shape.
Recommended Products
As an Amazon Associate and member of other affiliate programs, I earn from qualifying purchases.


More Paint Sprayer Tips
- How To Clean Homeright Paint Sprayer
- How To Clean The Fuji Q4 Paint Sprayer
- Can You Spray Wood Stain With A Paint Sprayer
- Best Paint Sprayer for Walls
- Best Cheap Paint Sprayers
Follow us on YouTube to get more tips for painting furniture. Or share your project with us on our Facebook Group and be part of our community. See you there!