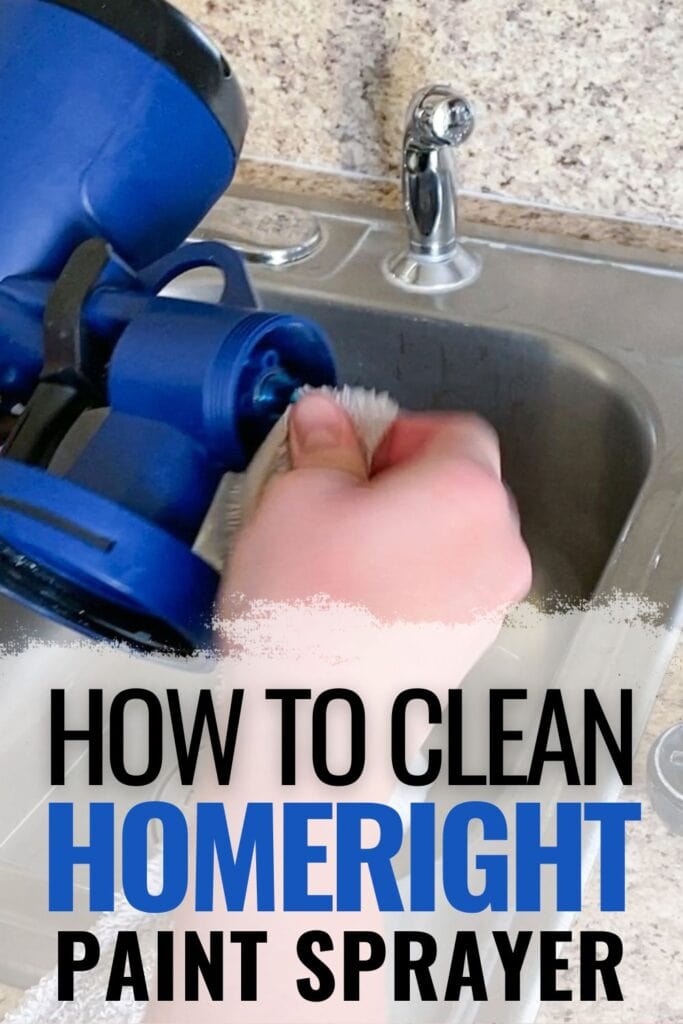
How to Clean Homeright Paint Sprayer
Today, we’re diving into the nitty-gritty of how to clean Homeright Paint Sprayers. If you’ve ever experienced the magic of transforming a piece of furniture with a paint sprayer, you’ll know that keeping it clean is key to its performance.
So, whether you’re a seasoned sprayer or just learning how to use a paint sprayer on furniture, we’ve got your back with this easy-to-follow guide on cleaning your Homeright Paint Sprayer. And stay tuned, we have some thoughts to share about the Homeright Rapid Clean tool.
Cleaning your Homeright Paint Sprayer doesn’t have to feel like climbing Mount Everest. Like anything else, with the right information and a little bit of time, it can be as simple as pie!
Taking good care of your paint sprayer and keeping it clean will not only make it last longer but also guarantee those super-smooth finishes you adore.
So, no need to worry! We’ve got you covered with every step, and in no time, you’ll be a cleaning pro! Ready to jump in? Let’s do this!
Keeping your Homeright Paint Sprayer clean is super important for its best performance. Over time, gunk and paint particles can build up inside, possibly clogging the nozzle and other parts.
This not only messes up the spray pattern and finish but also shortens the sprayer’s lifespan. Plus, a well-maintained sprayer makes every painting project a breeze. So, remember, a clean sprayer is a happy sprayer!
This guide is all about keeping your Homeright Paint Sprayer in top-notch condition. We want to make sure your sprayer always performs at its best and lasts a long time.
So, we’ll walk you through the step-by-step cleaning process, and share some tips and tricks to get the most out of your sprayer.
supplies used for cleaning a homeright paint sprayer
As an Amazon Associate, I earn from qualifying purchases. I also may earn from other qualifying purchases with other companies or get free product to review and use. All opinions are my own.
- Homeright Paint Sprayer
- Water
- Dawn Dish Soap
- Brush or Toothpick
Is the Homeright Rapid Clean tool worth it?
In my personal opinion, I tried the Rapid Clean Tool, and you have to be very close to a faucet that can accept the hose connection. It needs a threaded connection, and most faucets in homes don’t have a threaded connection. At least my home doesn’t have it.
My only option was our hose spigot, which worked, but it was so low to the ground that I had to bend over and my back hurt so bad by the time I was done.
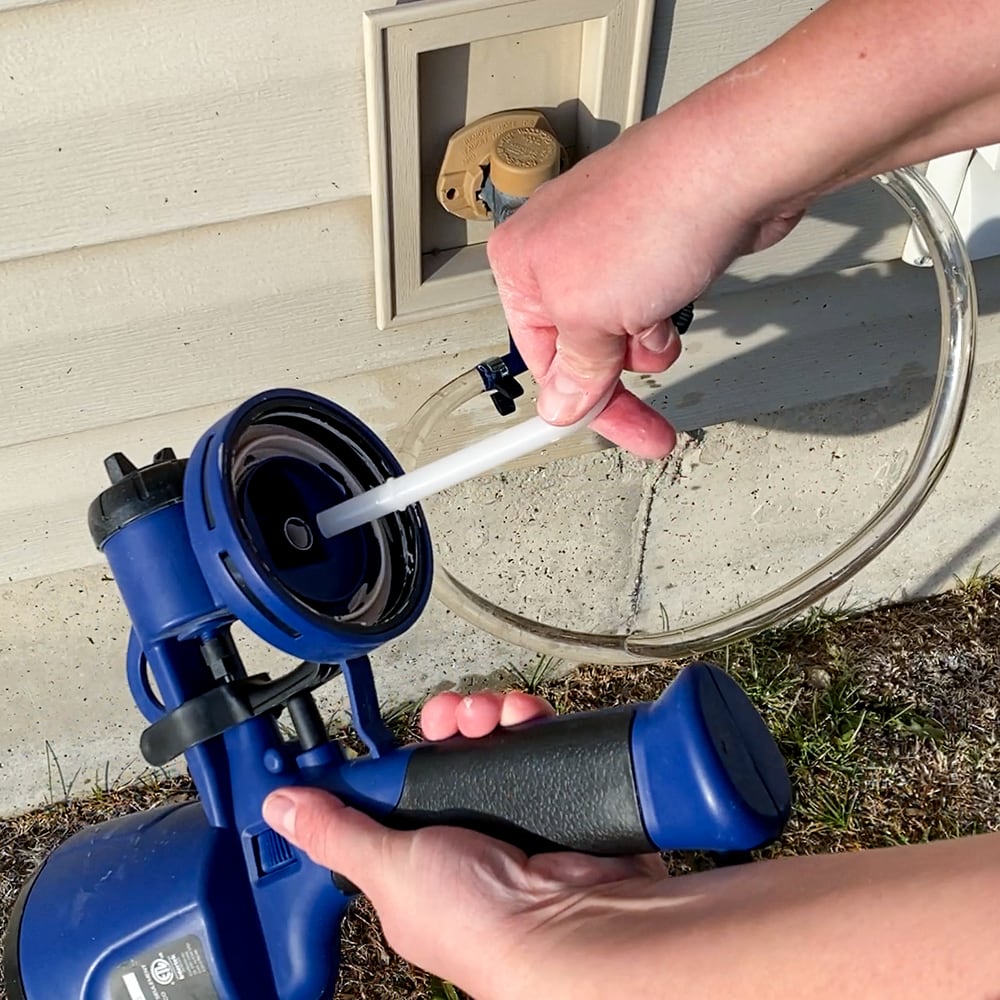
The way that it cleaned worked, but I did still have to take it apart and make sure everything was cleaned after running the rapid clean tool.
If you can use it in your utility sink, then it might be worth it for you!
How to Clean Homeright Paint Sprayer
Ready to dig into a detailed guide on how to clean your Homeright Paint Sprayer? Remember, giving it a good clean is key to keeping it in top shape and performing at its best. Let’s go through it step by step.
Before you get started, make sure to unplug the Homeright paint sprayer for safety. After that, unscrew the container from the sprayer and then pull back the trigger to let the paint inside the sprayer empty into the container.
Empty out the container and scrape off as much paint as you can, then give the container and the suction rube a good rinse with warm water if you are using waterbased paint in the sprayer.
If you use oil based or shellac based products, refer to the product can for instructions on what to clean your product up with. Here’s a more detailed guide on how to clean shellac primer out of sprayer. You can also check out our post on what to use to clean paint sprayer for other products you may have used.
Would you like to save this?
Then fill the container with warm soapy water, or whatever it is you are cleaning your sprayer with depending on the paint you used. Spray the warm soapy water into a bucket to rinse the inside of the paint sprayer and get rid of any hidden paint residue.
If you don’t think it got cleaned out enough, fill the container with clean water and spray it again. This will get rid of any remaining soapy water as well as any paint left inside of the sprayer. It’s optional, but it’s best for a thorough clean.
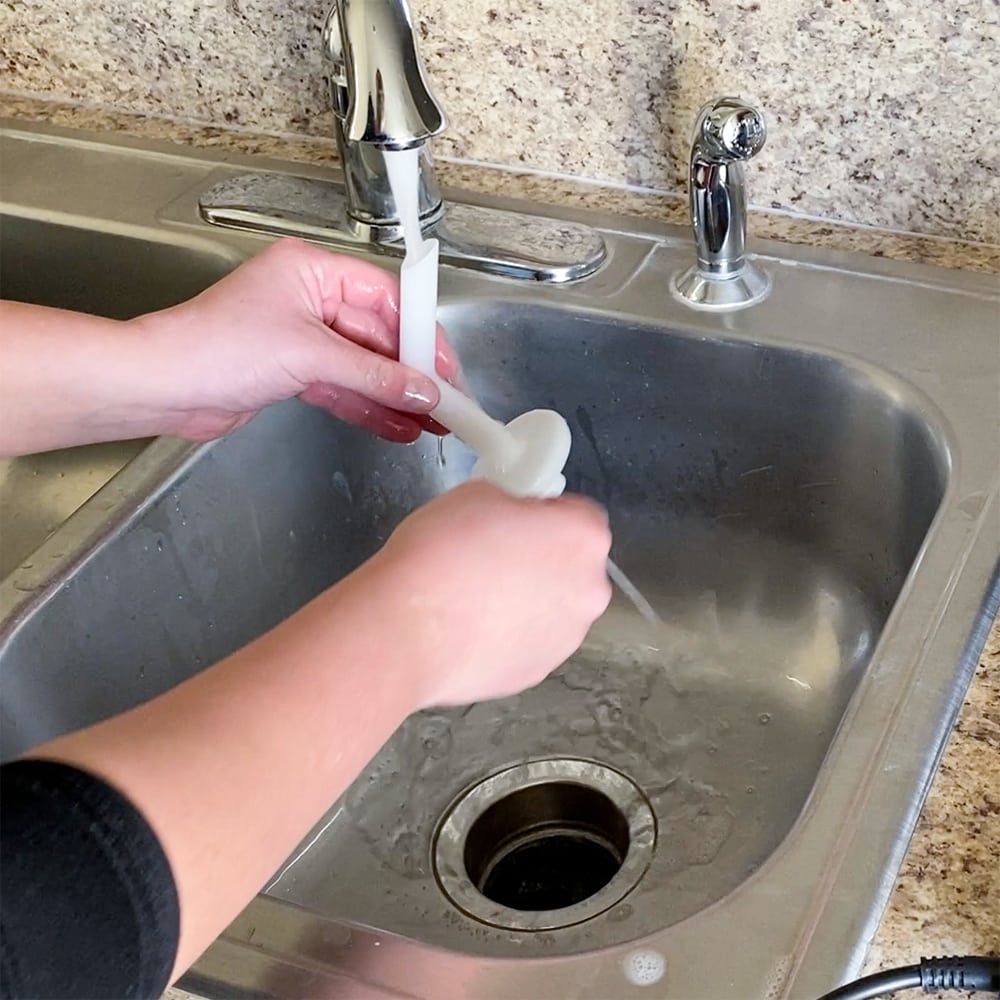
After the rinse, unscrew the cap and tip from the sprayer head and give them a good rinse-off. These parts often trap small bits of paint that can affect the sprayer’s performance later on.

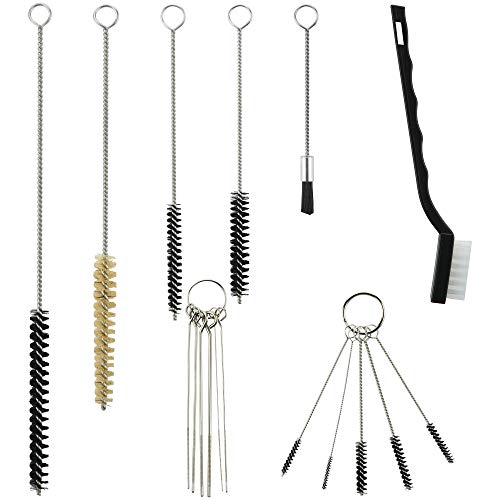
Take some extra time to clean the area where the sprayer attaches to the container. There’s a black part inside that can be a bit tricky to clean, but using a brush or toothpick will do the trick in removing stubborn paint particles.
And remember, the motor doesn’t detach from the sprayer head, so be careful not to get it wet. Water damage can seriously mess up the functionality of your paint sprayer.
Then let everything dry before putting it back together. And voila! Your Homeright Paint Sprayer is sparkling clean and ready for your next project! Scroll down for a simple step by step print out of these steps!
If you’re also using a Vonforn paint sprayer, check out this guide on how to clean Vonforn paint sprayer!


How to Use Homeright Super Finish Max Paint Sprayer
New to painting with the Homeright Super Finish Max? In our Homeright Super Finish Max blog post, we walk through the steps to get the best results with your Super Finish Max paint sprayer.
From preparing your paint for spraying to adjusting the settings and starting the painting process, we’ve got you covered over there!
Check out our honest Homeright Finish Max Paint Sprayer review here to learn more about this paint sprayer. We’ve also compared Homeright Finish Max VS Super Finish Max – check out the pros and cons of each in this post.
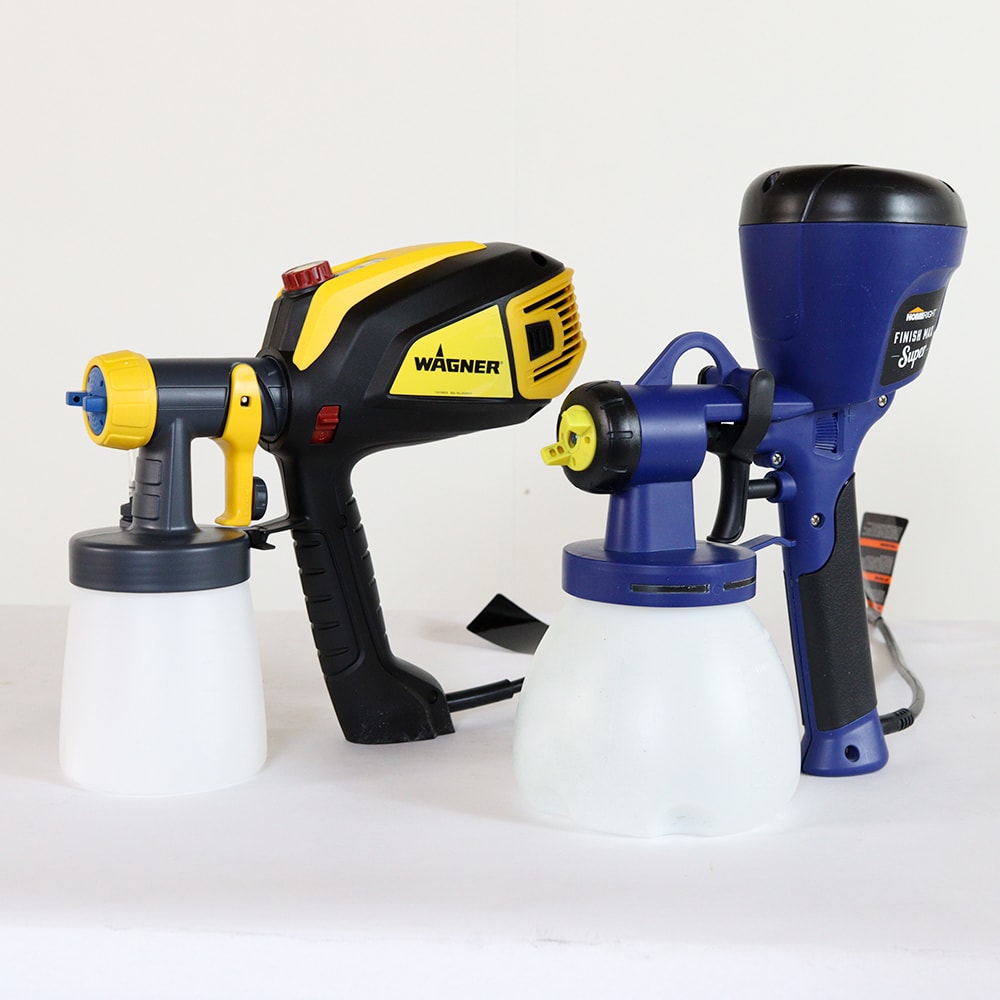
Wagner VS Homeright Paint Sprayers
When it comes to choosing between Wagner and Homeright paint sprayers, it’s a matter of personal preference and specific project needs. Wagner sprayers are my favored for how easy they are to clean.
On the other hand, Homeright sprayers are still provide you with a great finish. Both brands offer top-notch performance, durability, and versatility, but your final choice should align with your specific needs.
For more detailed comparison of Wagner sprayers vs HomeRight sprayers, check out our Wagner VS Homeright Paint Sprayers post.
And check out our blog on the best Wagner paint sprayers for more information on Wagner Sprayers.

How to Clean Homeright Paint Sprayer
To keep your sprayer in tip top shape, you'll need to keep it clean after each use. Here is how to clean Homeright paint sprayers.
Instructions
- Unplug the Homeright paint sprayer.
- Pull back the trigger to release any leftover paint from inside the sprayer.
- Empty the container of any residual paint and rinse it out.
- Rinse off the suction tube and fill the container with warm soapy water. If you've used a product that isn't water-based, use the cleaning agent that the paint manufacturer recommends.
- Spray the warm soapy water into a bucket to rinse the inside of the paint sprayer.
- Fill the container up again, this time with clean water, to rinse out any remaining soapy water. (optional)
- Unscrew the cap and tip from the sprayer head and rinse these pieces off.
- Pay special attention to the area where the sprayer attaches to the container. There is a black part in there which is tricky to clean.
- Remember, the motor does not detach from the sprayer head. Be careful not to not get the motor part wet.
Recommended Products
As an Amazon Associate and member of other affiliate programs, I earn from qualifying purchases.

more paint sprayer tips
- How to Clean a Wagner FLEXiO Sprayer
- How to Clean a Wagner Paint Sprayer
- How to Clean the Fuji Q4 Paint Sprayer
- Wagner Flexio 5000 Paint Sprayer Review
- Can You Use Paint in a Wagner Stain Sprayer
Follow us on YouTube to get more tips for painting furniture. Or share your project with us on our Facebook Group and be part of our community. See you there!