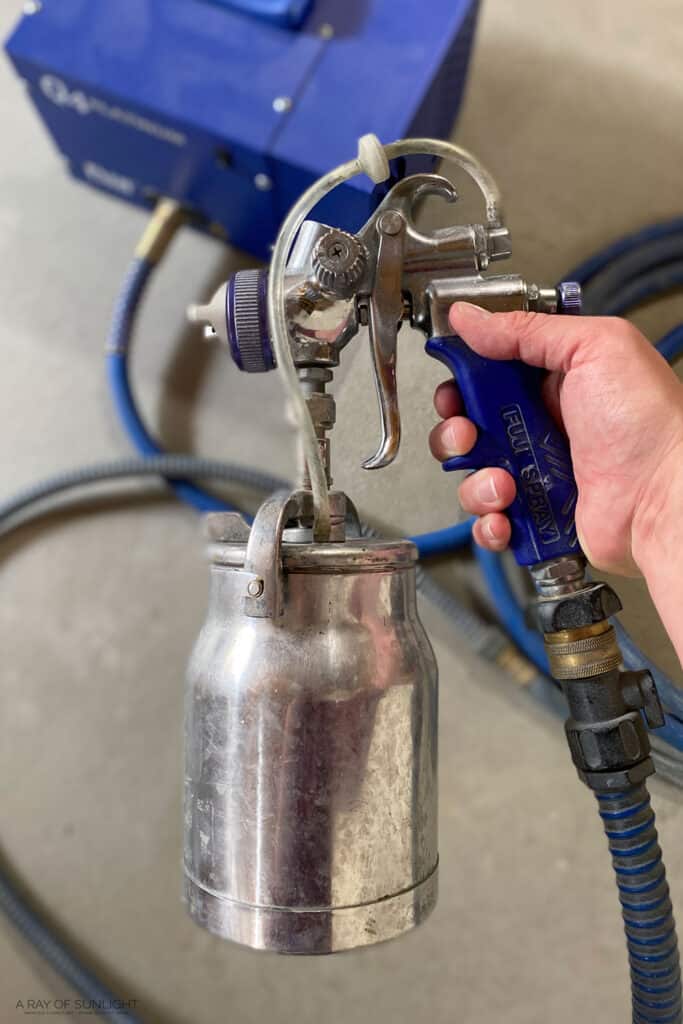
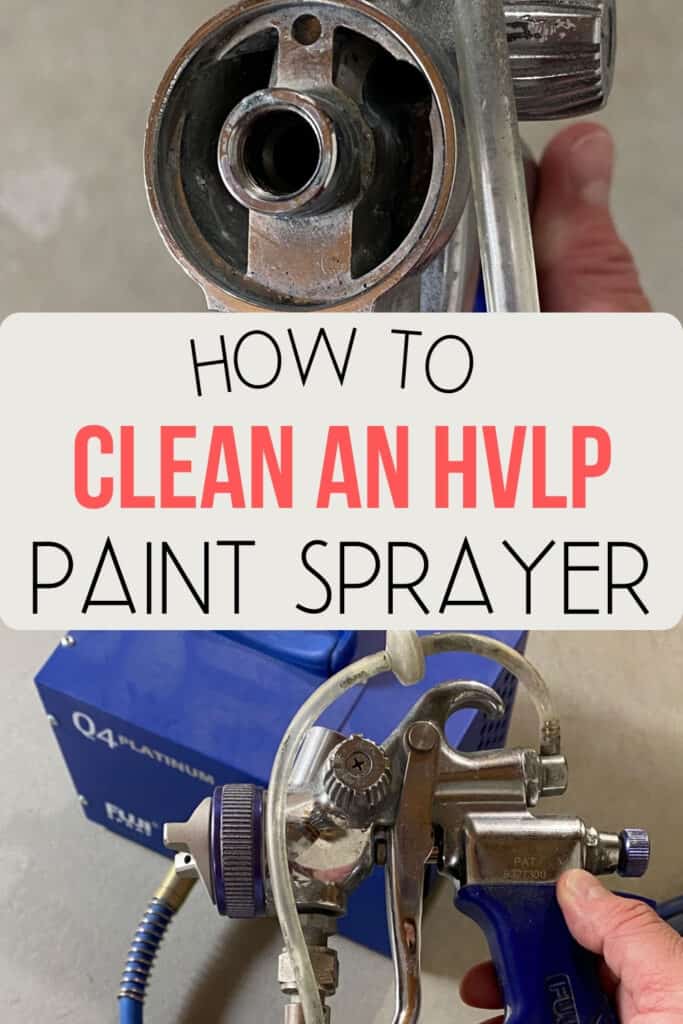
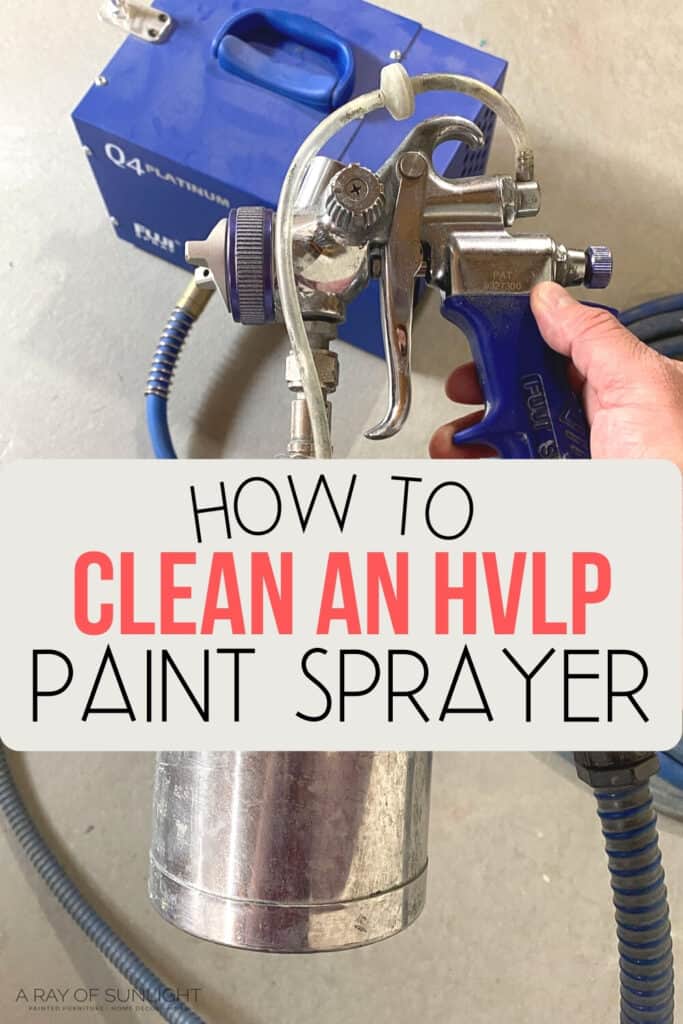
How to Clean the Fuji Q4 Paint Sprayer
Part of learning how to use a paint sprayer on furniture is knowing the importance of keeping your equipment clean and maintained. You should clean your paint sprayer to keep it working for a long time. If you have a Fuji Q4 model, here’s the best way to clean a Fuji Q4 paint sprayer!
We will walk you through the step by step process of cleaning your sprayer so that it is always in top condition for when you need to use it.
If you use your paint sprayer frequently, it is important to clean it regularly and actually even after use. Paint can easily clog the nozzle and other parts of the sprayer, affecting its performance and possibly damaging it in the long run.
Keeping your paint sprayer clean helps you get a smooth finish every time. Any dried-up paint or debris left behind from previous use can cause spray patterns to be uneven and create a messy application.
Plus, frequent cleaning of your paint sprayer can help you save time and money down the road. If you skip proper cleaning, you might end up facing expensive repairs or needing to get a new sprayer altogether.
Each cleaning usually takes about 5-10 minutes. It’s actually pretty much the same with all HVLP paint sprayers.
Supplies Used to Clean a Fuji Q4 Paint Sprayer
As an Amazon Associate, I earn from qualifying purchases. I also may earn from other qualifying purchases with other companies or get free product to review and use. All opinions are my own.
- Fuji Q4 Paint Sprayer
- Cleaning Agent (Water for water-based products, Mineral Spirits for oil based products)
- Water
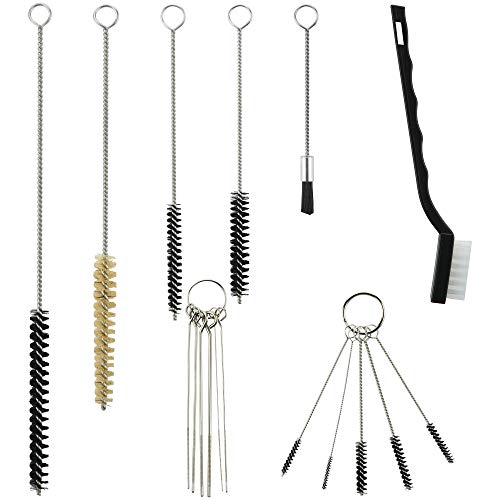
- Small Cleaning Brushes
- Old Rag
- 5 Gallon Bucket
- Wrench (that came with the sprayer)
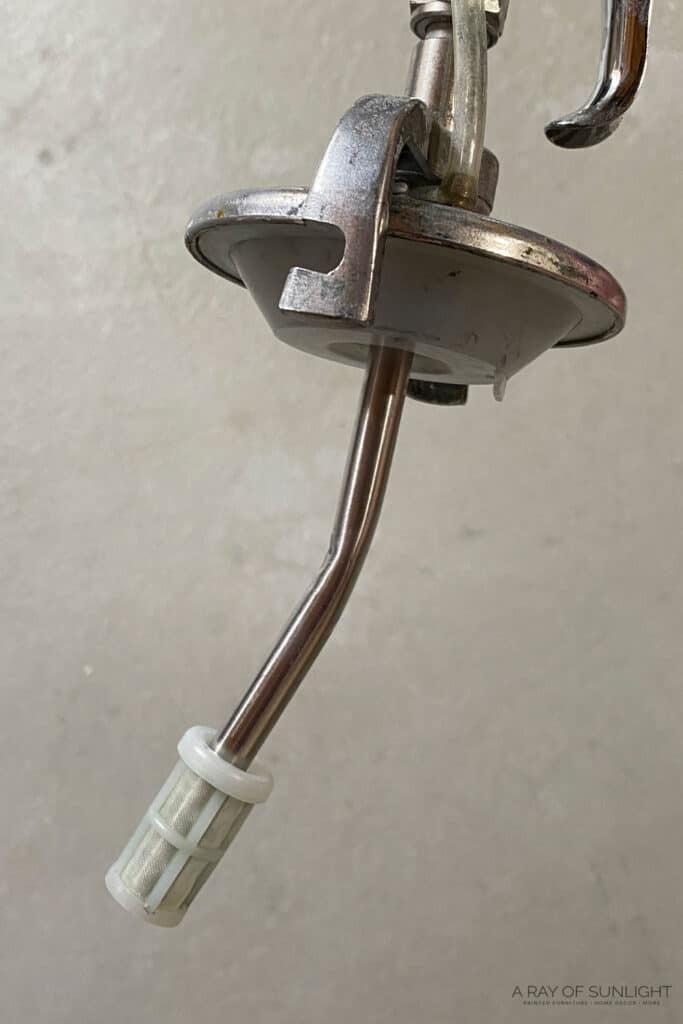
Rinse Out Sprayer Container
So, first I dump out any remaining paint from the sprayer’s container and put it back into the original paint container. Then I rinse out the container, the suction tube, and the little filter at the end of the suction tube.
Spray Cleaning Agent and Water Through Sprayer
When it’s all rinsed out, I fill it with hot soapy water (for water-based products). If you use oil-based or shellac-based products, check out our post on what to use to clean paint sprayer to learn more about how to handle them.
And then I spray the hot soapy water out of it and into a 5-gallon bucket. Spraying hot soapy water gets all the paint out from the inside of the sprayer. Then I spray clean water through the paint sprayer to rinse out the soapy water.
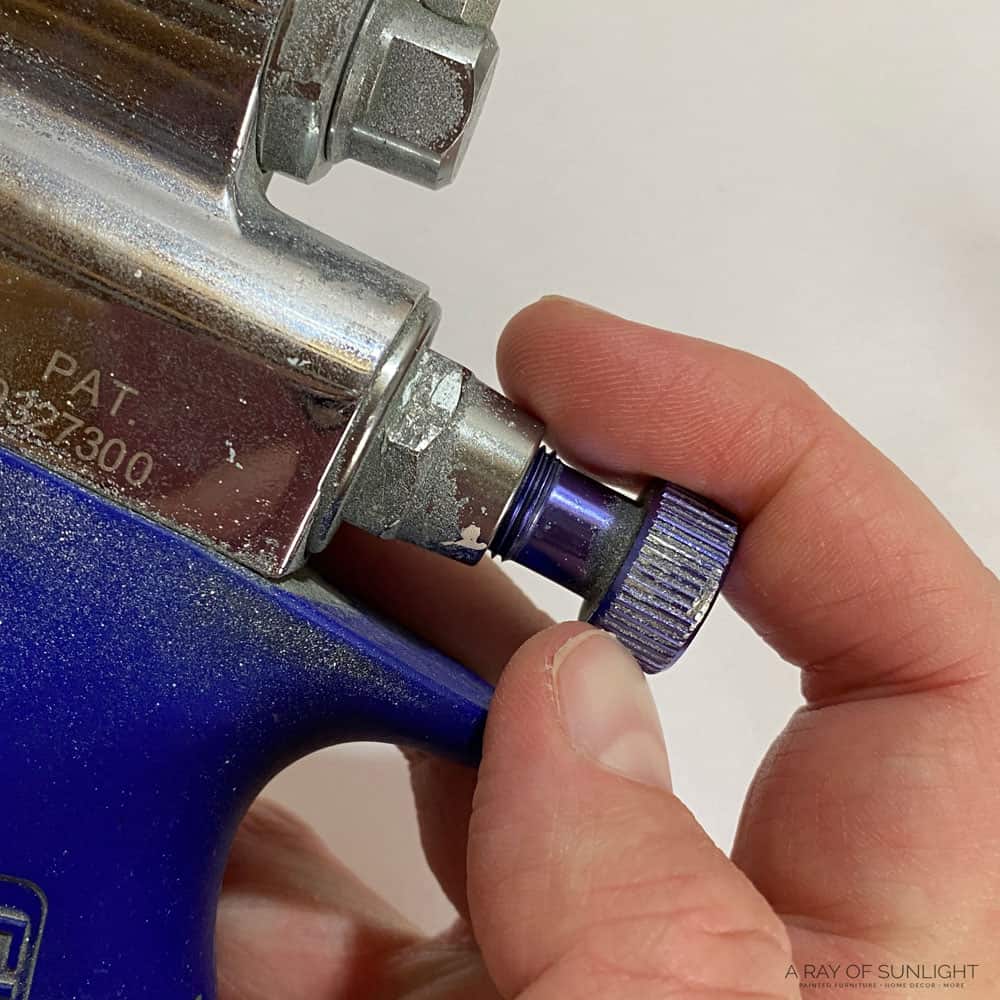
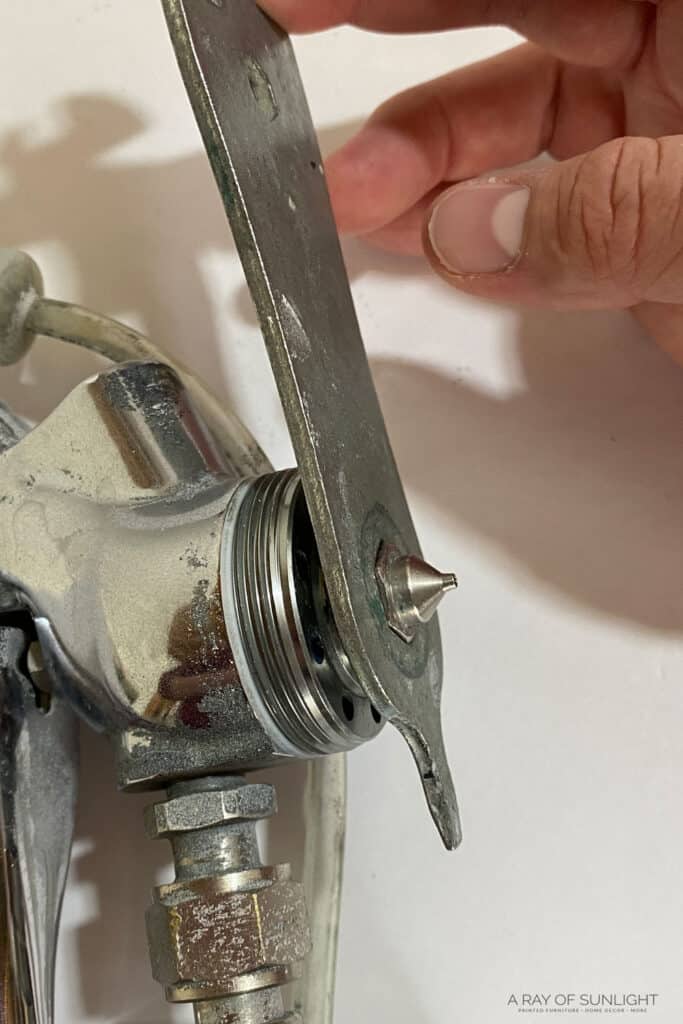
Disassemble the Tip and Needle Areas of Sprayer
Then I remove the container and start taking the sprayer apart. I unscrew the knob on the back that holds in the needle.
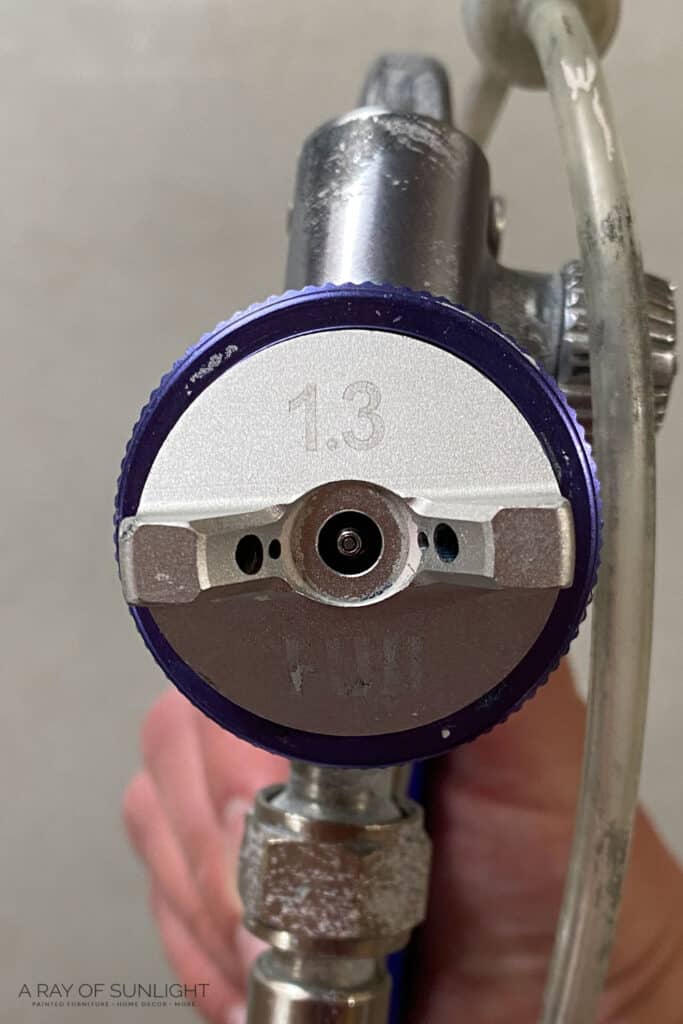
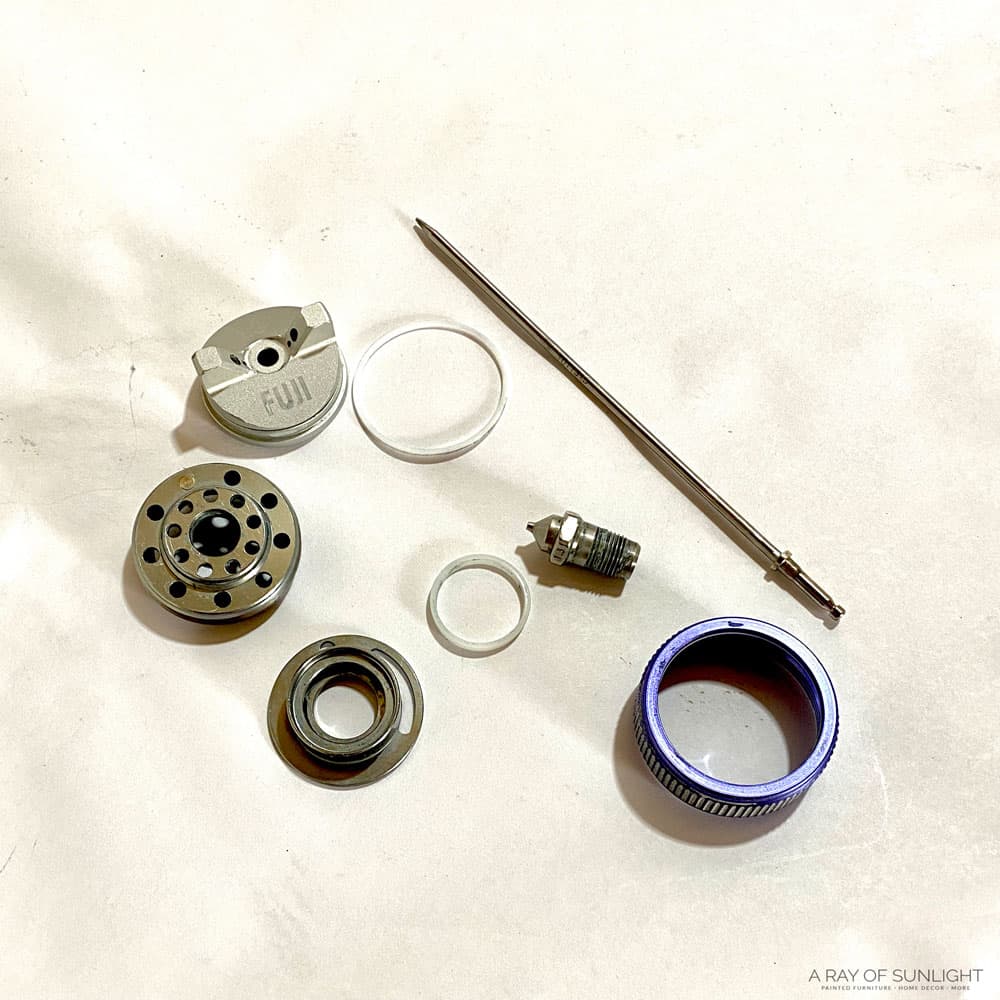
And then I unscrew and remove all of the little pieces on the front of the sprayer, including the tip, diffuser, and plastic seals. You’ll need the wrench that came with the sprayer to unscrew the tip!
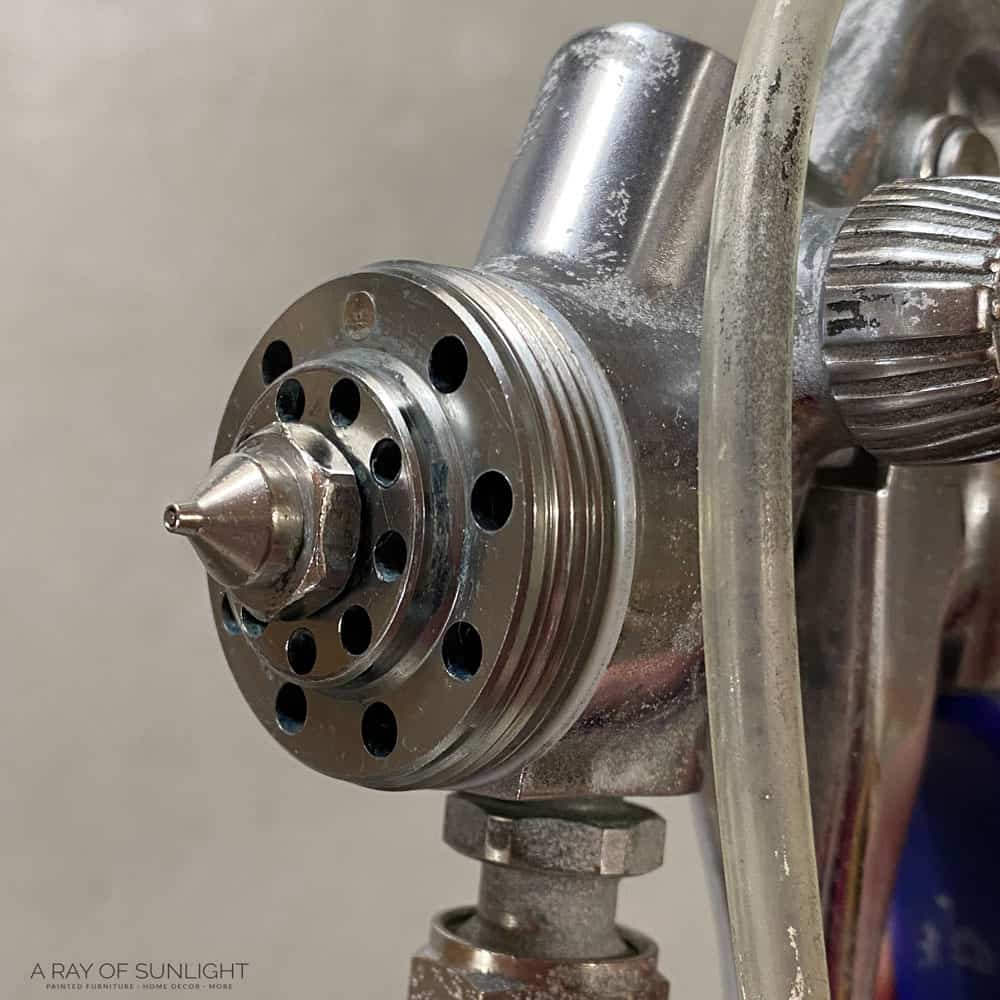
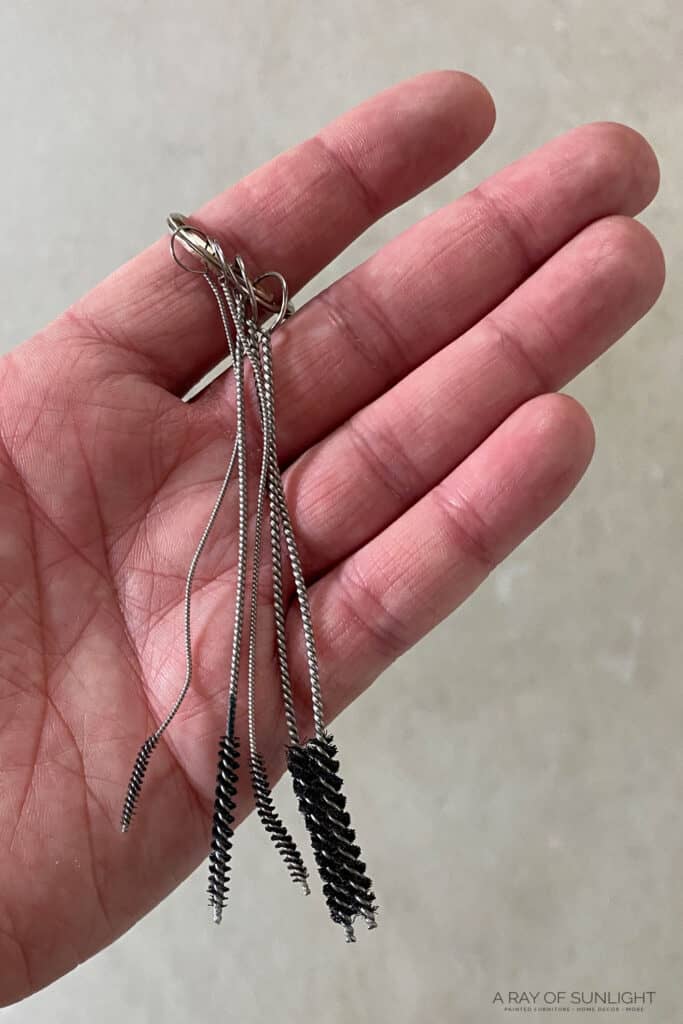
Clean the Small Parts of Sprayer
Then I rinse all of those pieces off and use a brush to get into the tip and any little spaces.
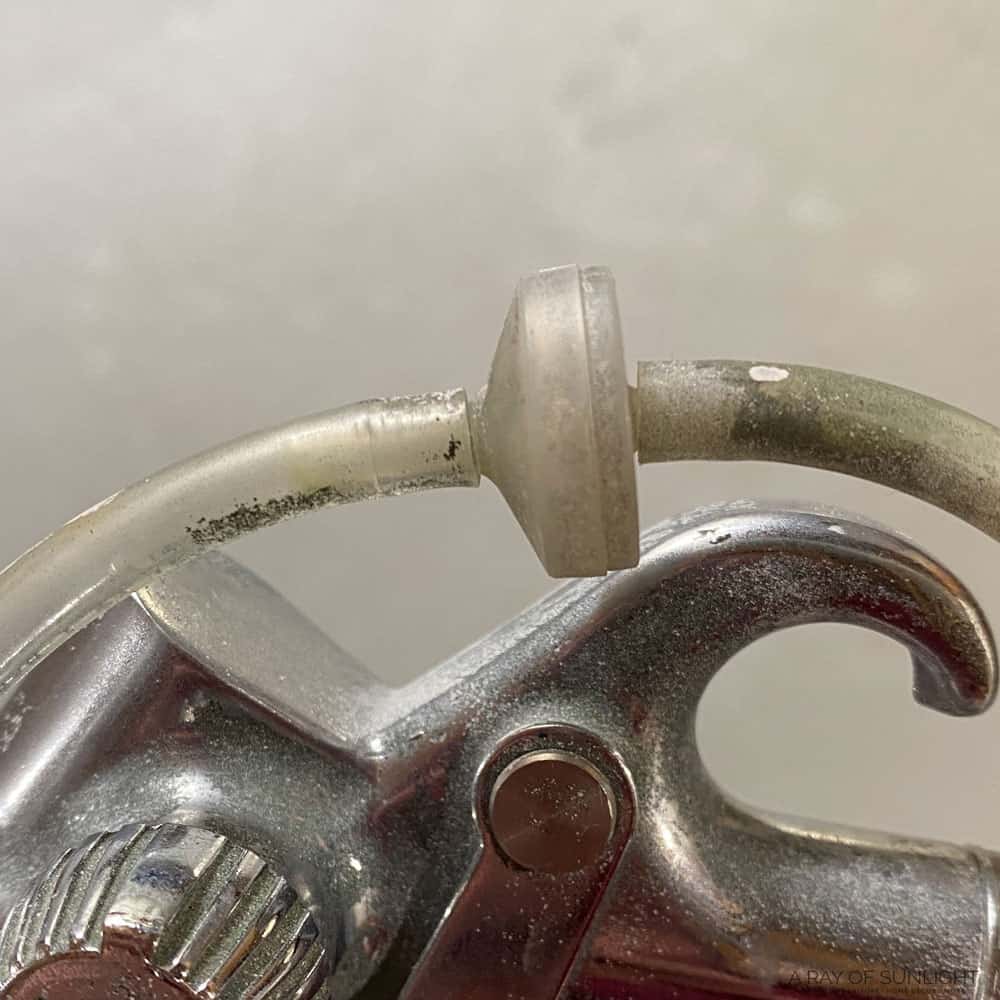
I also make sure there isn’t any paint in the pressure tubes, and if there is I run water through the pressure tubes to get the paint out. I don’t ever put the whole sprayer under running water!
Would you like to save this?
If there is paint on the outside of the sprayer, I use a wet rag to rub it off as much as possible.
Let Paint Sprayer Dry
And then I set everything on a towel to dry. That’s it! Once you get used to the sprayer and all of the pieces, it’s a really quick process!
Check out this video to see more about how to clean the T70 spray gun.
You can also read these posts about how to clean a Wagner paint sprayer and how to clean Vonforn paint sprayer to get more of an idea. The process is the same! The parts are the only thing that’s really different.
Learn everything you need to know about using the Fuji Q4 Platinum paint sprayer here. Best of luck!!
Sprayer not working properly after cleaning
Oh no, your sprayer isn’t working properly after cleaning! Before you start panicking or thinking you did something wrong, let’s troubleshoot together.
First things first, double check that you assembled everything correctly after cleaning. It’s easy to miss a small piece or not tighten something enough. Make sure all the parts are in place and secure.
If everything looks good, the next step is to check if there may be any clogs or build up left inside the sprayer. Use a small cleaning brush to gently remove any debris that may be blocking the flow of paint. Sometimes even after cleaning, there can still be residue left behind causing issues.
If there are no clogs or build up, the next step is to check the consistency of your paint. If it’s too thick, it may not properly spray and cause issues with your sprayer. Try thinning out the paint a bit – here’s a guide on how to thin paint for paint sprayer to help you out.
If none of these solutions seem to work, it’s possible that there may be an issue with the sprayer itself. Check for any damaged or worn parts that may need to be replaced. If all else fails, don’t hesitate to reach out to the manufacturer or a professional for further assistance.

More Maintenance Tips for Your Paint Sprayer
So you’ve learned how to clean your Fuji Q4 paint sprayer, what’s next? Well, there are a few more maintenance tips to follow so your sprayer stays in top shape.
First off, make sure to never leave paint sitting for too long inside the sprayer. This can cause clogging and damage over time. Always clean your sprayer right after use!
Another important tip is to always use the appropriate cleaning agent for the type of paint for furniture you are using. Using the wrong cleaner can damage your sprayer and affect its performance. It’s better to be safe than sorry and double check before starting the cleaning process.
It’s also important to take care of your paint sprayer even when you’re not using it. After cleaning, make sure to store it properly after each use, and regularly check for any worn or damaged parts that may need to be replaced.
You’d want your sprayer to last as long as possible, right? So remember, clean after each use, use the right cleaning agent, store properly and check for damage – these steps are simple but effective in keeping your paint sprayer running smoothly for years to come.

How to Clean the Fuji Q4 Paint Sprayer
Cleaning your paint sprayer is one of the most important things to do to keep your sprayer working for a long time. Here’s the best way to clean a Fuji Q4 paint sprayer!
Materials
- Water (Cleaning agent for water-based products)
- Mineral Spirits (Cleaning agent for oil based products)
- Small Cleaning Brushes
- Old Rag
Tools
- Fuji Q4 Paint Sprayer
- 5 Gallon Bucket
- Wrench (that came with the sprayer)
Instructions
- Dump out any remaining paint from the sprayer’s container and put it back into the original paint container.
- Rinse out the container, the suction tube, and the little filter at the end of the suction tube.
- When it's all rinsed out, fill it with hot soapy water (for water-based products) then spray the hot soapy water out of it and into a 5-gallon bucket.
- Then spray clean water through the paint sprayer to rinse out the soapy water.
- Disassemble the tip and needle areas of the sprayer. You’ll need the wrench that came with the sprayer to unscrew the tip!
- Rinse all of those pieces off and use a brush to get into the tip and any little spaces.
- If there is paint on the outside of the sprayer, use a wet rag to rub it off as much as possible.
- Set everything on a towel to dry!
Recommended Products
As an Amazon Associate and member of other affiliate programs, I earn from qualifying purchases.

More Paint Sprayer Resources
- Best Wagner Paint Sprayers for Furniture
- Wagner VS HomeRight Paint Sprayers
- Spray Paint Tools
- How to Clean a Wagner FLEXiO Sprayer
- Wagner Paint Sprayer Troubleshooting
Follow us on YouTube to get more tips for painting furniture. Or share your project with us on our Facebook Group and be part of our community. See you there!