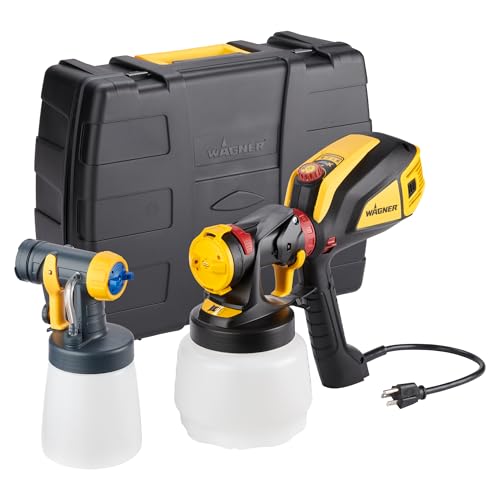
Wagner Paint Sprayer Settings
One of the biggest perks of using a Wagner paint sprayer is the ability to adjust its settings to fit your project. Whether you’re tackling a large home project or giving an old piece of furniture new life, knowing and understanding the different Wagner paint sprayer settings can help you maximize their potential.
Let’s look into how to use a paint sprayer on furniture with these settings in mind.

The last thing you want is a one size fits all approach when painting furniture. You want your paint sprayer to be as versatile and customizable as possible to get your desired results.
Luckily, Wagner HVLP paint sprayers offer the flexibility and control you need with their various settings. With just a few adjustments, you can control a lot of aspects of your painting process, from the paint flow to the pattern shape and size.
Let’s dive into the settings on your Wagner paint sprayer that you should get familiar with.
As an Amazon Associate, I earn from qualifying purchases. I also may earn from other qualifying purchases with other companies or get free product to review and use. All opinions are my own.
Spray Pattern
The first and most basic setting of a Wagner paint sprayer is the spray pattern. This rotating air cap affects your spraying process in a major way.
You can adjust it for horizontal, vertical, or round patterns, depending on your project’s needs. This is especially useful when you need to spray in different directions, instead of just back and forth.

If you want the spray to fan out vertically up and down, make sure the ears on the cap are on the left and right side. This will create a flattened vertical spray pattern that allows you to use a side to side motion while spraying.
And if you need to spray in an up and down motion, rotate the air cap so that the ears are on the top and bottom. This will give you a horizontal spray pattern that is perfect for up and down spraying.
Lastly, for spraying in all directions, just twist the air cap diagonally and you’ll have a circular spray pattern that allows for complete freedom of movement. Keep in mind though, that this spray may not be as wide as the other patterns.
Material Flow Control
Another important setting on your Wagner paint sprayer is the material flow control dial. This dial directly affects how much paint or stain is sprayed onto your surface with each pull of the trigger.
If you find that too much product is being released, turn the dial to a lower setting. On the other hand, if you’re not getting enough coverage, increase the flow by turning the dial higher.
It’s important to test it out on a scrap piece of wood or cardboard before starting your project. This will give you a better idea of how much product is being released and help you make any necessary adjustments. If you don’t, your furniture may end up with uneven or splotchy coverage.

Another thing to keep in mind is that thicker paints or stains will require a higher material flow setting, while thinner ones will need less. This is because thicker products need more force to come out of the sprayer, so adjusting the dial can help you get a consistent spray pattern.
Many Wagner paint sprayer models can handle thick paints straight from the can, but for best results, it’s always a good idea to thin your paint for a smoother and more even finish. Here’s how to thin paint for a Wagner sprayer for the steps to follow.
Now the following settings may or may not be on your Wagner paint sprayer.
Would you like to save this?
On/Off Switch
The on/off switch on newer Wagner paint sprayer models is a game changer. This switch allows you to turn on the motor without any product being released from the nozzle until you pull the trigger.
Having this feature means no more splattering of paint when you first start spraying, giving you a clean and smooth finish from the get-go.

If your paint sprayer doesn’t have an on/off switch, don’t worry! You can still get the same effect by only pulling the trigger halfway to start the motor and then pulling it back all the way to release the paint.
This way, you also avoid the splattering and mess that can come with starting the sprayer. This may need some practice, but once you get the hang of it, it’ll become second nature.
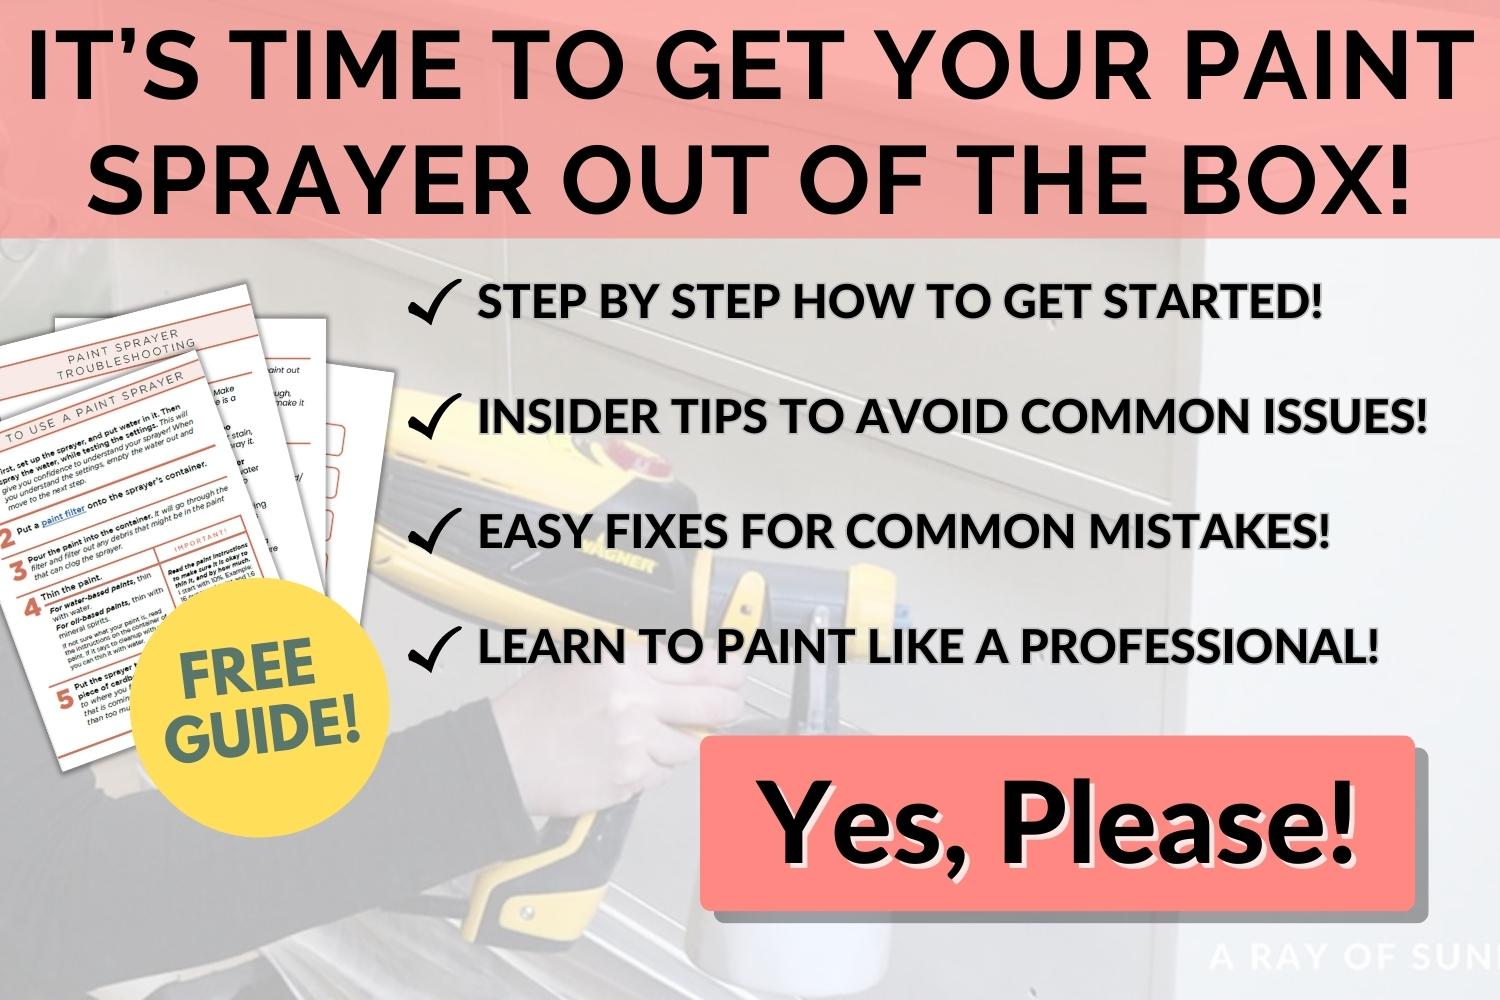
Here’s a post about Wagner paint sprayer troubleshooting to learn more about how to fix common problems that arise when using a Wagner paint sprayer!
X-Boost Power Dial
Now let’s talk about the Xboost Power Dial. Depending on the model of your Wagner paint sprayer, this could be a dial or a switch. But either way, its function remains the same – to control the air speed.

Think of it like your very own turbo button for your sprayer. By increasing the Xboost power, you’re giving your sprayer an extra boost of air pressure and allowing it to spray more efficiently and smoothly. A lower air power level, on the other hand, will spray a larger drop of material and will create a rougher finish.
It’s important to find the right balance with the Xboost power. Play around with it and find the sweet spot that works best for your specific project. For my FLEXiO sprayers, I usually keep the Xboost power around 4-5 when spraying furniture.
For a closer look at one of the Wagner FLEXiO paint sprayers, here’s my Wagner FLEXiO 3000 review! Or if you want to know the difference between two Wagner FLEXiO sprayers, here’s Wagner FLEXiO 3500 VS 590!
Can you use the same settings for all types of paint and stain?
Well, yes, you can, but it’s not recommended. Different types of paint for furniture and stains have different consistencies and viscosities, which means they may require different settings on your Wagner paint sprayer for optimal results.


For example, thicker materials like chalk paint may require a higher material flow setting and a stronger Xboost power to push the product through the sprayer. On the other hand, thinner materials may need a lower material flow setting and less air pressure for a smoother finish.
Additionally, different types of projects may also call for different settings. For larger surfaces, you may want to increase the material flow and air power to cover more area in less time. However, for detailed or smaller projects, a lower setting may be necessary for better control and precision.
Again, it’s best to test out your settings on a scrap piece of wood or cardboard before starting your project. This will give you an idea of how each type of paint or stain behaves with your specific Wagner paint sprayer, and you can make any necessary adjustments before committing to your actual project.
So there you have it, all the important settings on your Wagner paint sprayer! Don’t hesitate to tweak and adjust them to find what works best for you and your specific project. Every sprayer and material combination is different. You should take the time to practice so that you can get the perfect finish every time!
More Paint Sprayer Tips
- How To Clean A Wagner Paint Sprayer
- Can You Use Paint In A Wagner Stain Sprayer
- Paint Spray Gun For Beginners
- Wagner Paint Sprayer Tips
- Best Latex Paint Sprayer
Follow us on YouTube to get more tips for painting furniture. Or share your project with us on our Facebook Group and be part of our community. See you there!