DIY Slatted Wood Dresser
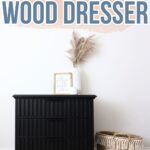

I’m super excited to share my latest thrifted furniture makeover with you! We completely transformed it into a DIY slatted wood dresser (super similar to the fluted style) and added a modern oak base to it. I also tried a new to me paint that I’ve heard a lot of raving reviews about.
These DIY dresser makeover ideas are perfect for anyone looking to update their furniture – you can easily transform any old piece into something stylish and functional. So, let’s get started on this fun project together!
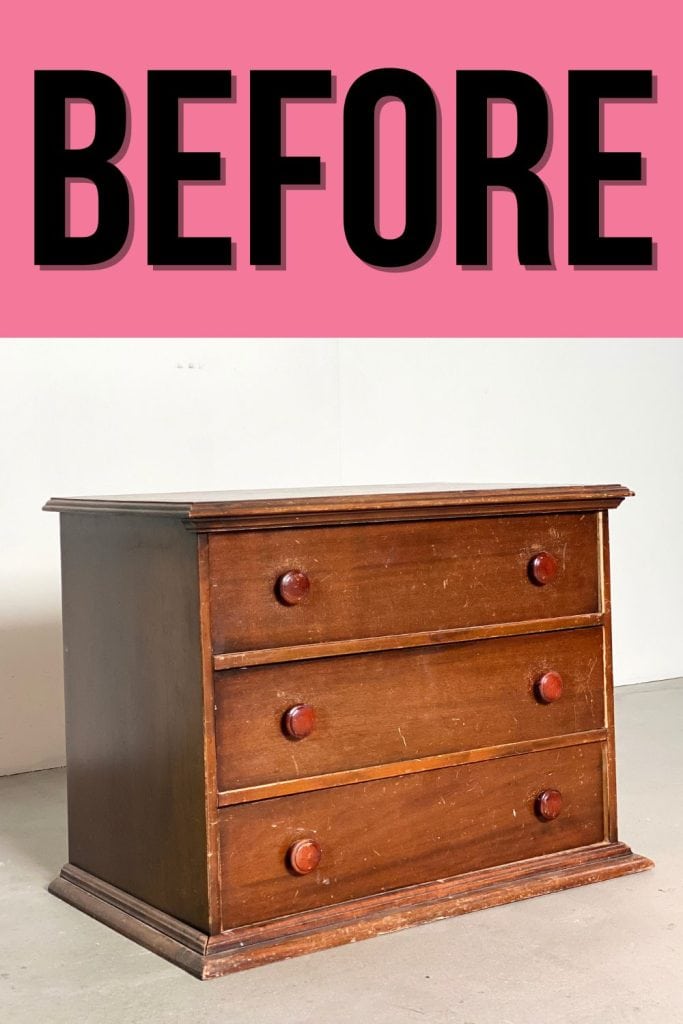
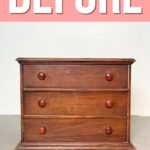
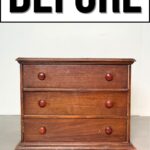
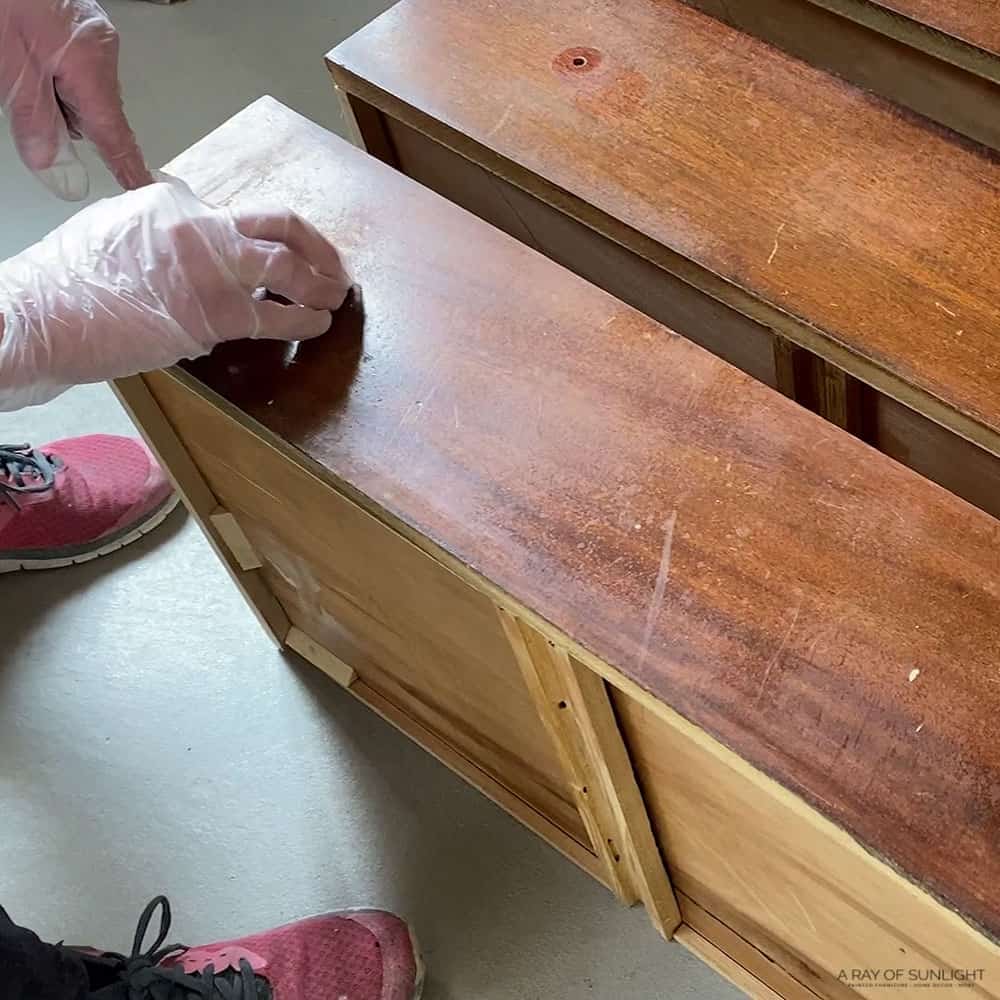
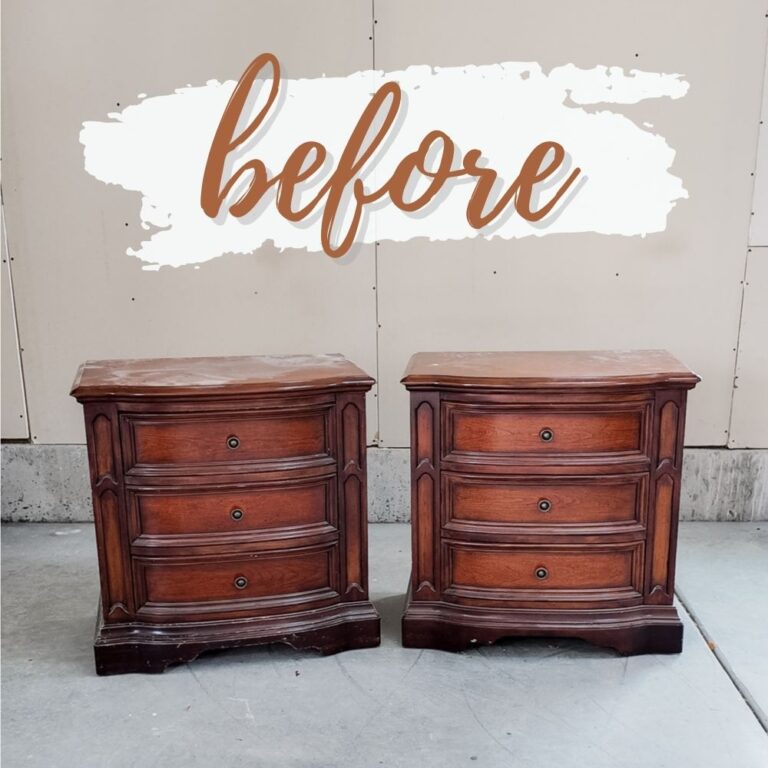
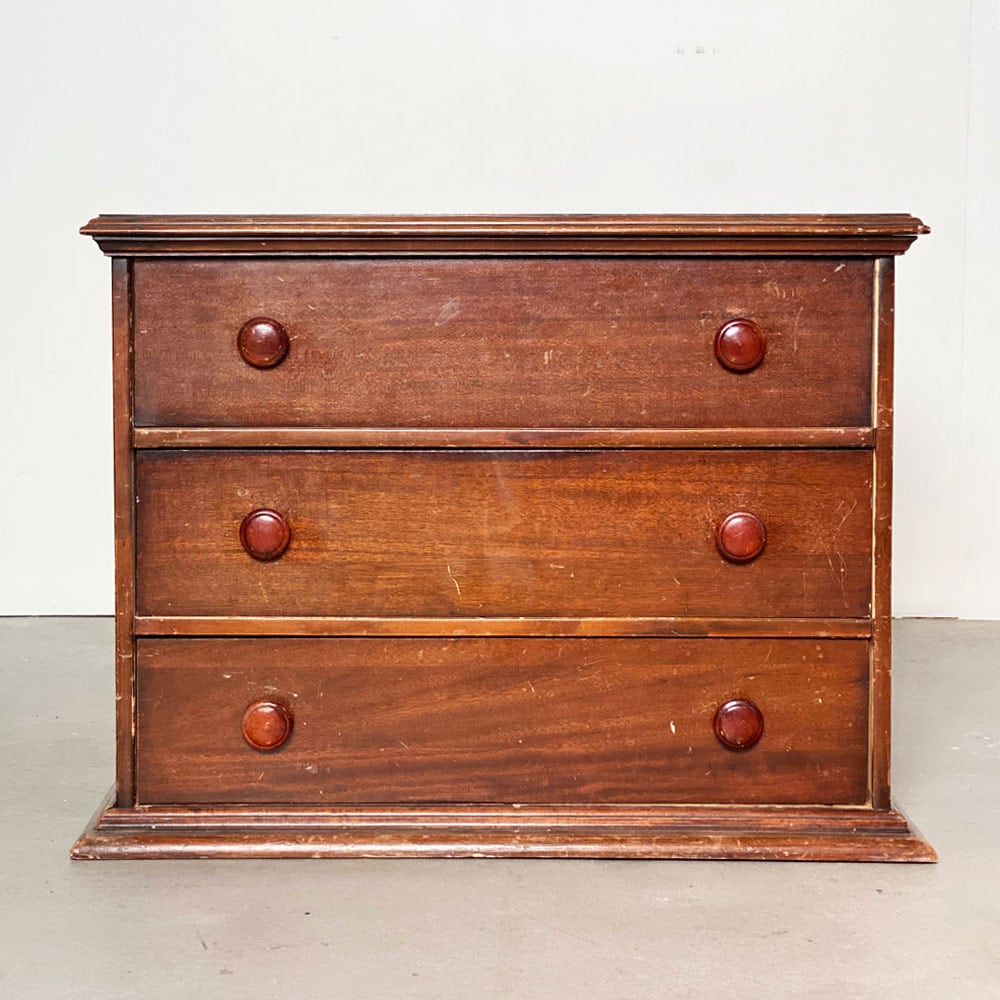
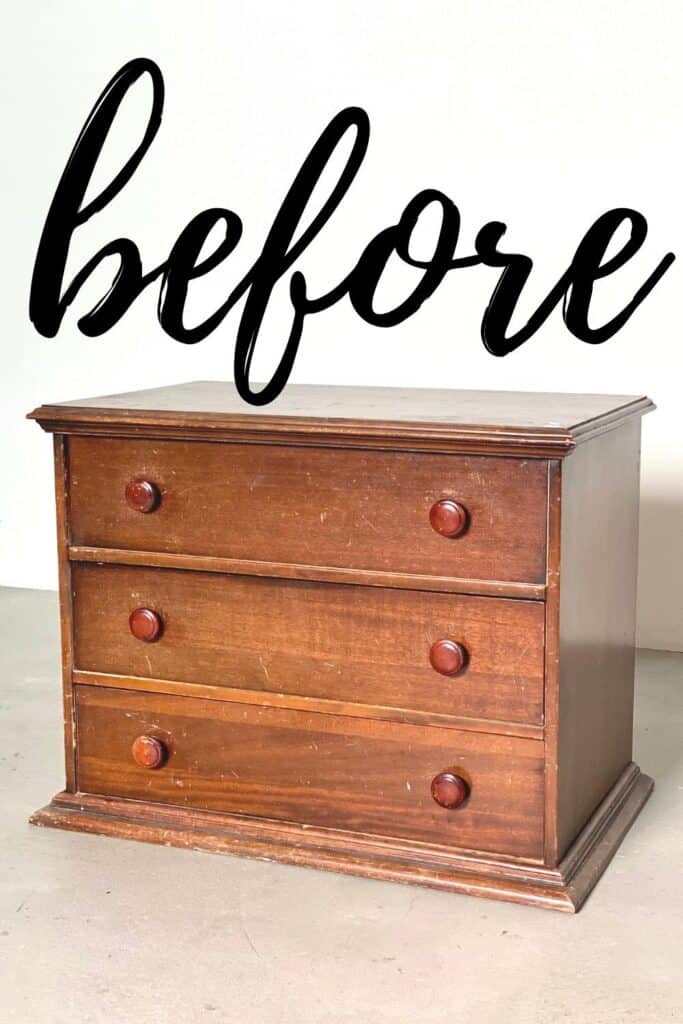
Above is what the chest of drawers looked like after we picked it up from our local thrift store. It was $25, which is a steal in my area, missing its base, and it was pretty beat up. Here are the best places to get good furniture for cheap if you’re interested in thrifted finds for your projects!

But I loved its simplicity, and I was excited that it was a blank canvas to play around with. I wanted to go for a fluted style, especially after seeing these DIY fluted furniture ideas. It’s such a trendy and chic look!
So, let’s dive into this DIY slatted wood dresser tutorial, where I’ll walk you through the steps to creating this unique and modern farmhouse piece. Plus, I’ll share my experience with a new brand in this makeover.

Supplies Used for DIY slatted wood dresser makeover
As an Amazon Associate, I earn from qualifying purchases. I also may earn from other qualifying purchases with other companies or get free product to review and use. All opinions are my own.
- KwikWood
- Drawer Stops
- Krud Kutter
- Wood Filler
- SurfPrep Sander 3×4 Vacuum Compatible (Use code RAY10 to get 10% off your order)
- 220 Grit Sandpaper
- 400 Grit Sandpaper
- 150 Grit Sandpaper
- Shop Vac
- Tack Cloth
- Clear Shellac
- Wooden Dowels 1/2″ and 5/8″
- Miter Saw
- Gorilla Glue
- Pin Nailer
- Melange One Paint
- Wagner FLEXiO 3500 Paint Sprayer
- Paint Filters
- Respirator
- 1″x2″x8′ Oak Board
- Kreg Jig Pocket Hole Jig
- 1 1/4″ Pocket Hole Screws
- New Drawer Pulls
Check out this list of my 10 must have painting furniture supplies here.
Remove Paint From Top
Before I could really get started on this project, I had to undo what I did for another project that I did. In that project, I taped it off so I could compare different stain blocking primers, basically to show why I prime before adding a new coat.
I’ll link to that do I have to prime before using chalk paint video here for you! Or you can read all about how to stop stains from coming through paint here!
Anyway, I stripped everything on top, so I had a clean slate for this project, while I worked on the rest of the piece. Learn more about how to strip paint from wood furniture here.
Prep for Makeover
This had a lot of spiders and webs inside of it… so my husband vacuumed it out for me. We also cleaned all the dirt and grime off with some Krud Kutter and a damp rag. Learn more about how to clean furniture before painting here!
If you’re worried about germs, bacteria, and bad odors lurking inside, check out our guides on how to disinfect wood dresser and how to get rid of smoke smell in furniture.
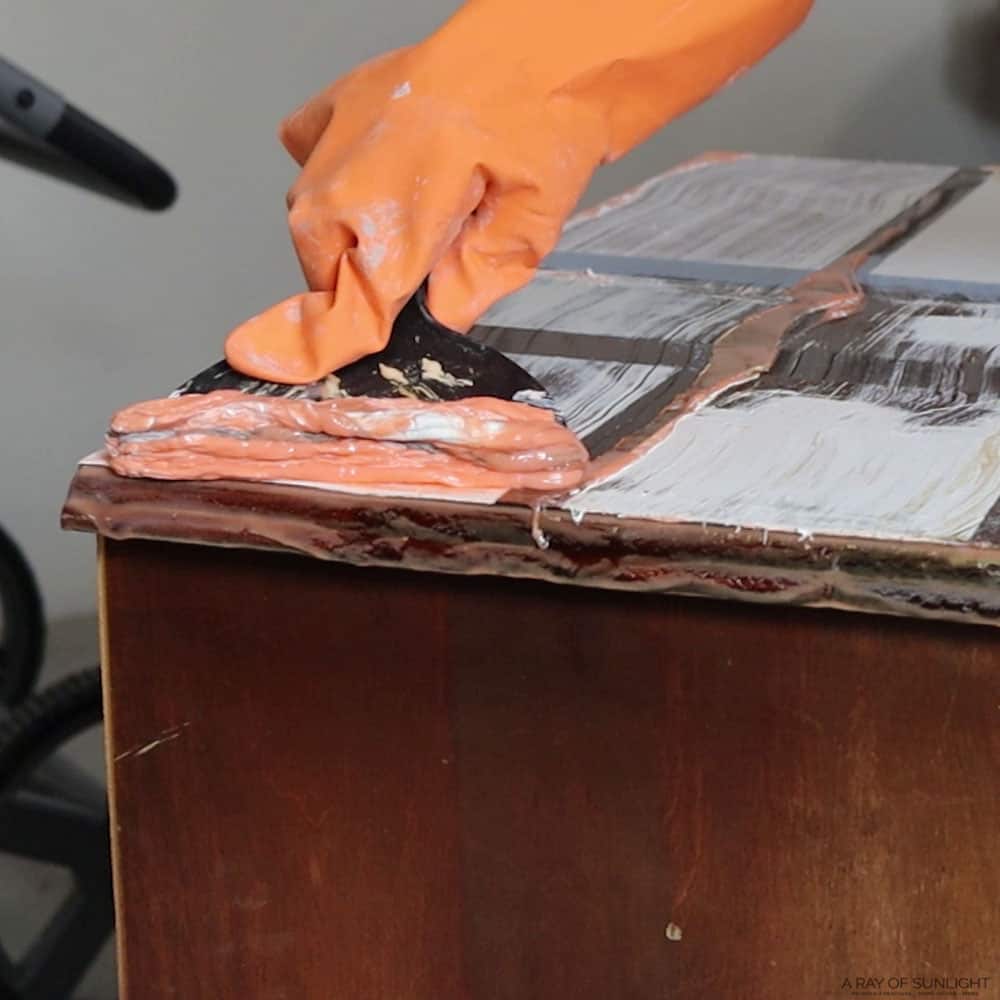
And then I replaced the missing drawer stoppers with new ones that I bought on eBay a long time ago. And I feel like I do this in about every single makeover, but I filled in the old hardware holes with my very favorite filler for filling hardware holes. Learn more about how to use KwikWood here, and check out this post on filling holes when replacing cabinet or furniture hardware for a comparison with other fillers.
If there are nicks on the furniture and you don’t have any idea how to fix it, here’s how to fix nicks in wood furniture.
Cut Wooden Dowels
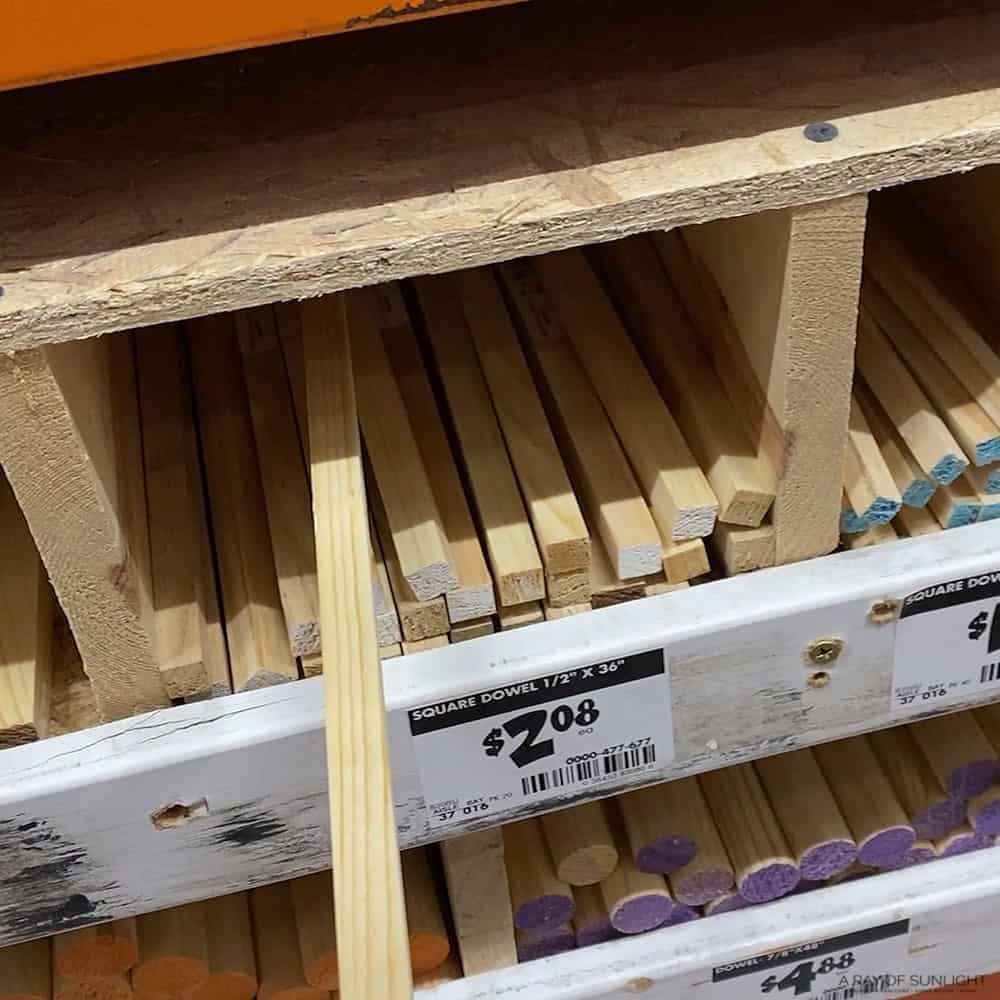
Then things got really fun! We went to Home Depot and bought a bunch of ½” and 5/8” square dowels. While we were at it, I made sure they were all straight, with no warping or twisting.
When we got home, I measured the drawers and somehow managed to realize that I needed to take into account the new hardware before I did the cutting. So I put the new hardware on, and then I measured again.
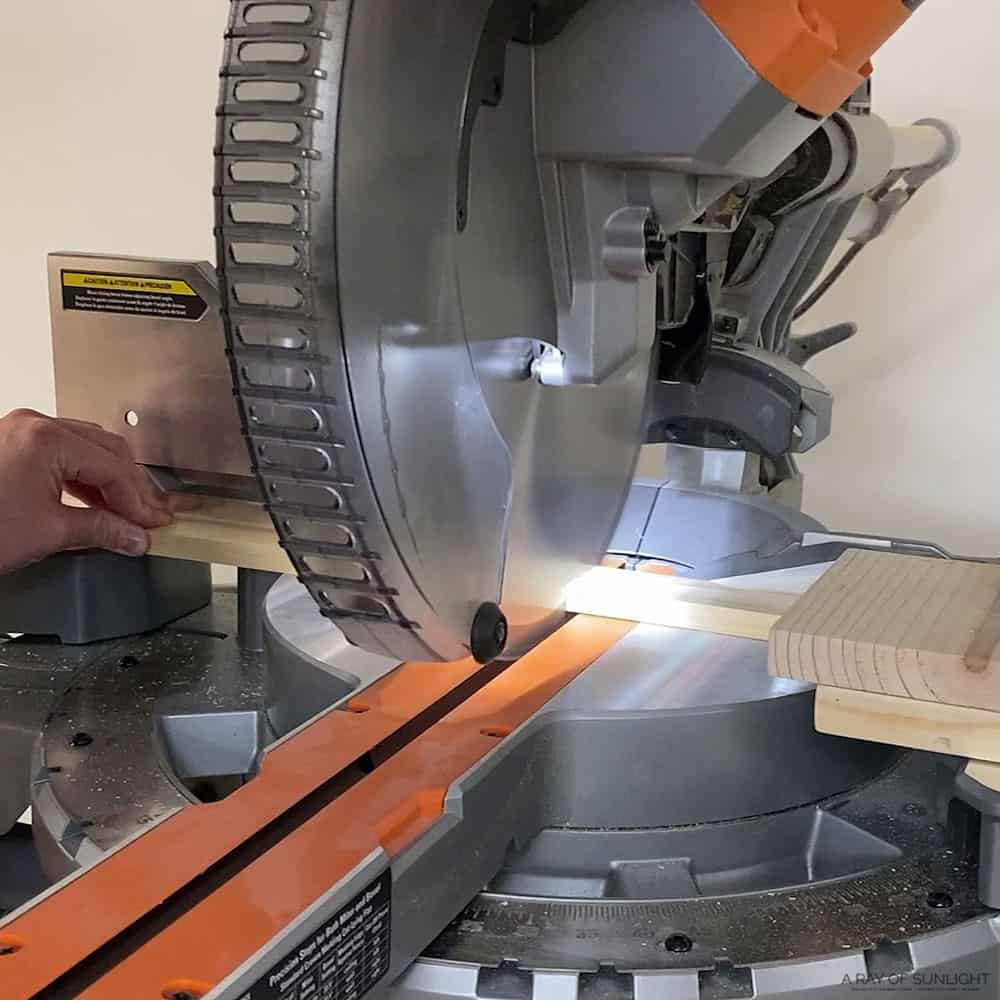
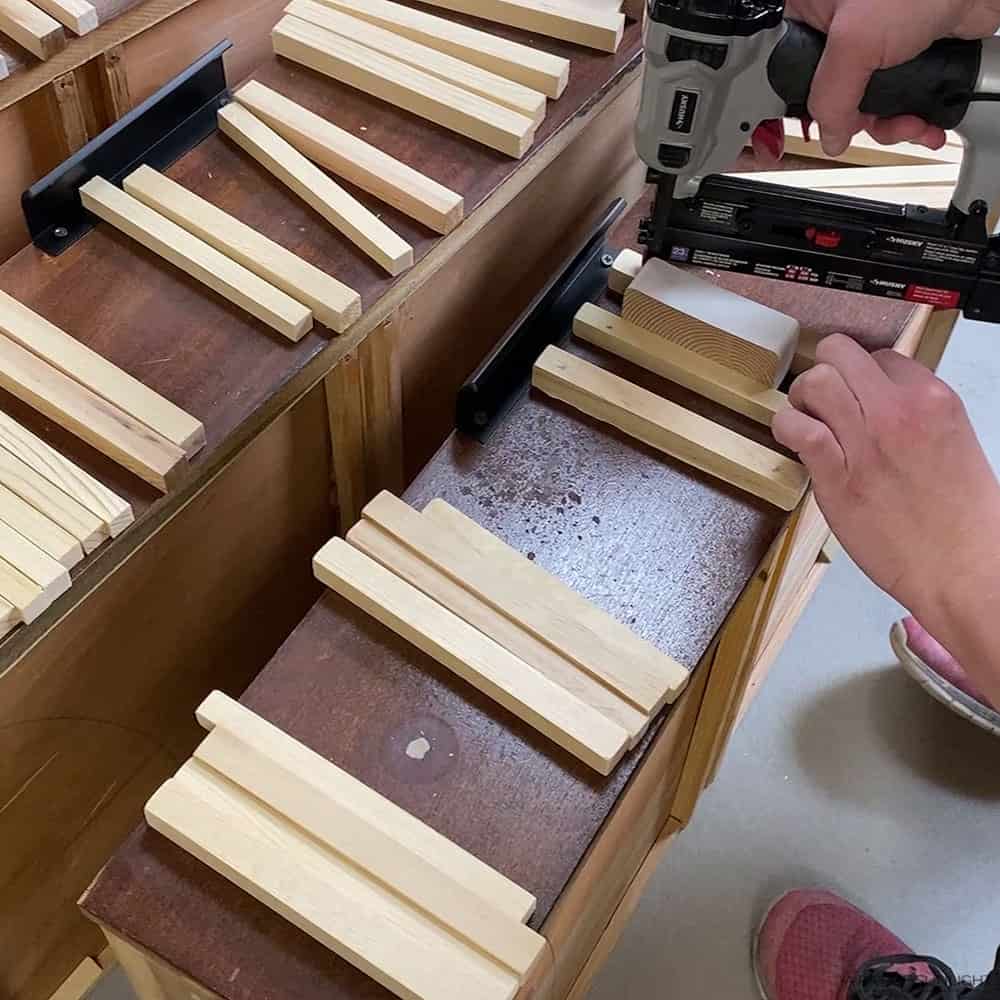
And then, I cut the dowels with my miter saw. I clamped some wood down onto the saw to make sure I cut them all the same length, and I cut them in groups of 3.
In total, I used 12 three-foot-long dowels for 3 drawers. And then I laid them out on the drawers to make sure I cut enough and that they were all cut the right size, haha.
And then, before I attached them to the drawers, I removed the stickers and sanded each piece so they didn’t have any splinters on them. Read this post to learn what’s the best sandpaper for furniture to use!
How to Attach Dowels to Drawers
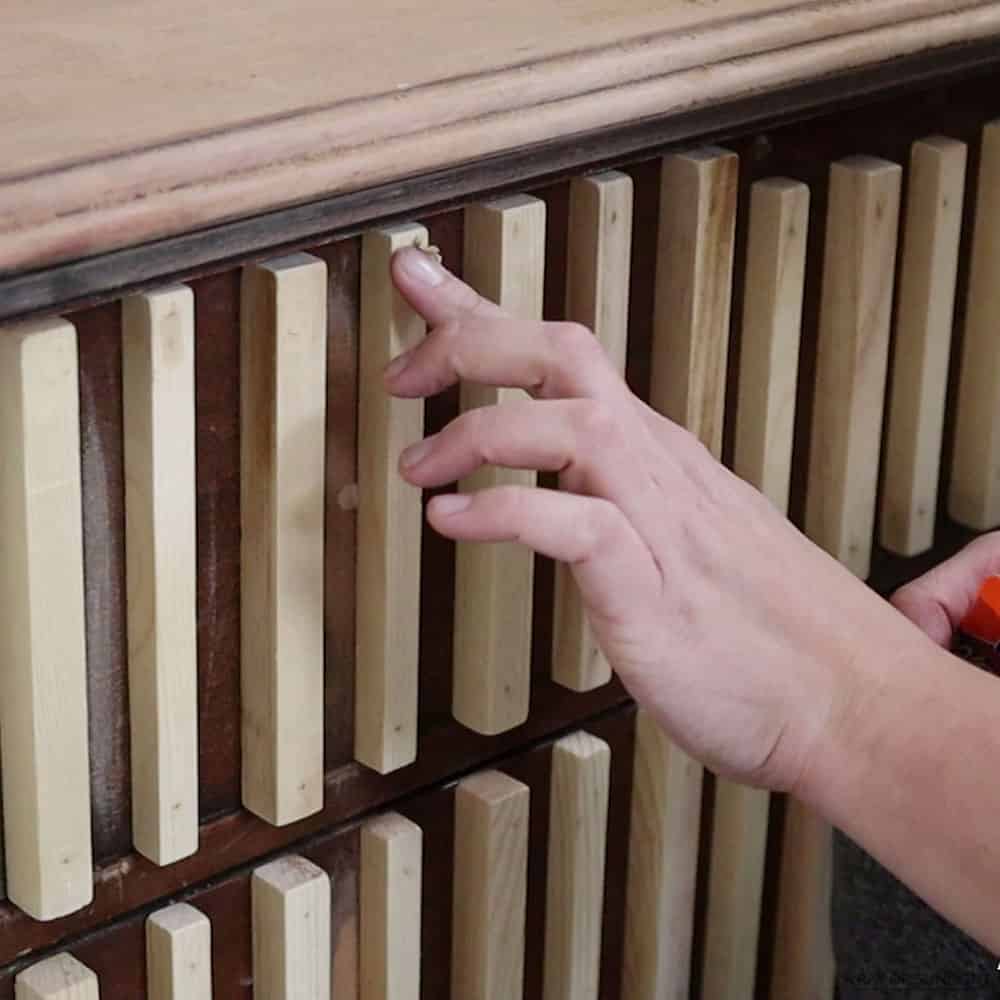
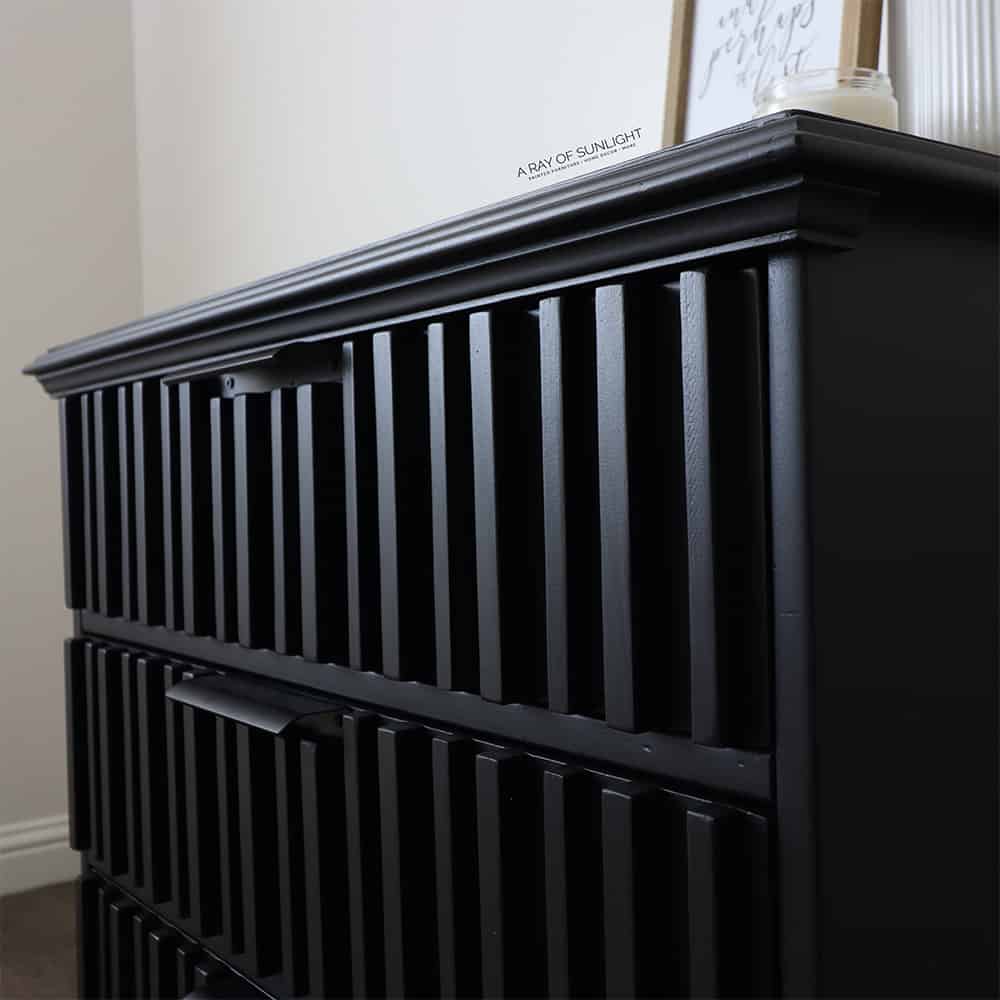
Then I started in the center of the drawer, attaching them with a pin nailer and some gorilla glue.
I went for a 1” gap between each dowel and alternated between the ½” and the 5/8” dowels.
The most frustrating part of the whole process for me was that the pin nailer kept getting jammed, so I had to keep fixing it. But I didn’t want to use my regular nail gun for fear that it would split the dowels. And I needed something to keep the dowels in place while the glue dried because they kept moving around with a space in between each of them.
The whole process of measuring, cutting, sanding, and attaching took about 3 hours for the 3 drawers. And I enjoyed every part of it… except for the sanding and the pin nailer jamming. Haha
At the very end, I gave up on using the pin nailer and I just clamped the last pieces on.
Check out this painting wood end tables makeover to see how we created a similar look on end tables. During that project, the pin nailer acted up again, so I used painter’s tape to hold the dowels in place while the glue dried…and it worked great!
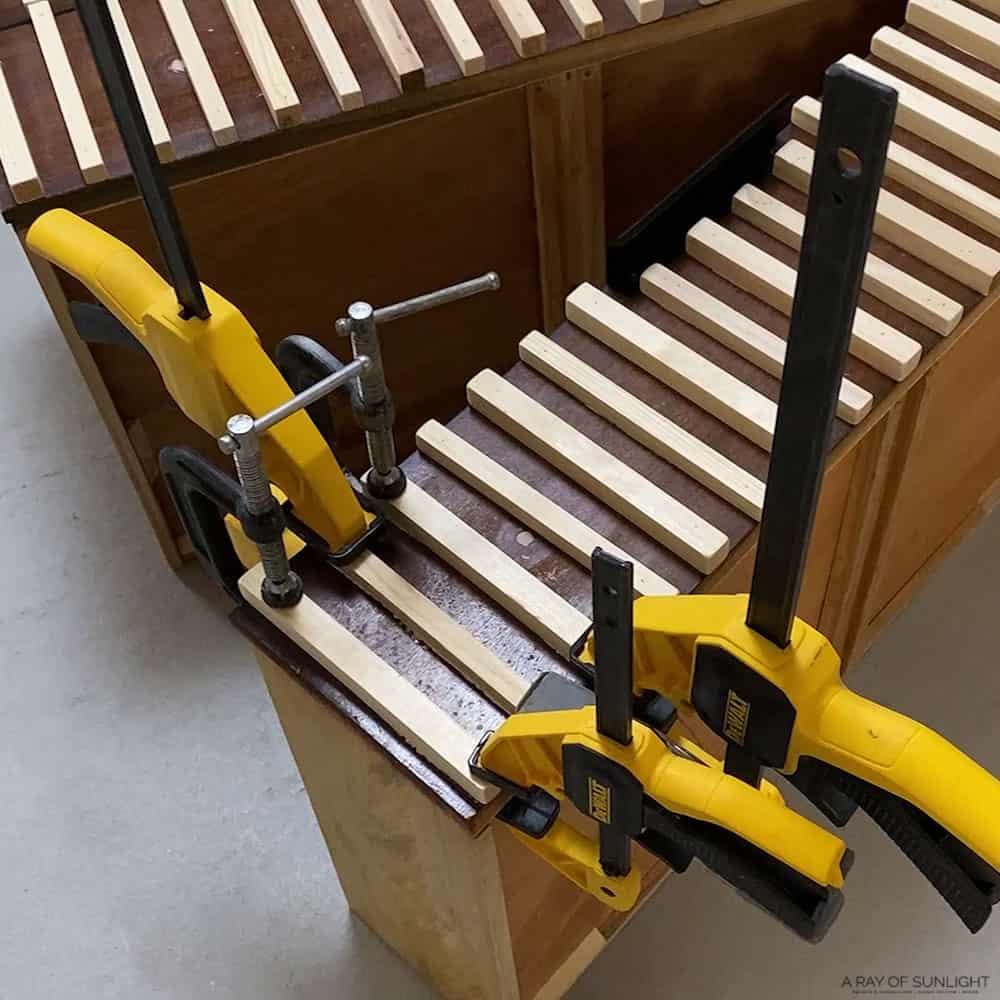
And then, I let it all dry overnight.
Sanding and Priming DIY Slatted Wood Dresser
The next day, I sanded the top and sides… and realized that I needed to sand the filled-in holes… so I sanded those down smooth with some 150 grit sandpaper.
And then, I put some wood filler over the pin holes. Then waited for it to dry. Here’s our list of the best wood fillers for recommendations.
And then, I sanded that wood filler down with 220 grit sandpaper. If sanding is confusing to you, here are all of our tips on sanding before painting furniture. Here’s our list of the best sanders for furniture if you want to make the sanding process easier and quicker.
Oh, and then, if that wasn’t enough, I also sanded the top of all of the dowels to make sure they were level with the drawer and to make them a little bit more smooth. Finally, I was able to clean up all of the dust and move on to the next step.
And the next step was to prime. I used clear shellac in a spray can. If you’ve seen any of my previous stuff… I bet you’ve seen this stuff. Haha It’s my favorite thing to use to prevent bleedthrough… and I’ve found that it makes the finish stick to even really slick surfaces, too.
I know, it’s weird. I get so many comments about shellac and if it really helps with adhesion. And yes, finishes of all kinds really do cling very very well to it! It still blows my mind. Here’s our list of the best primers for painting furniture if you want more options and recommendations.
Anyway, I sprayed two coats of clear shellac, and then I let it dry overnight.
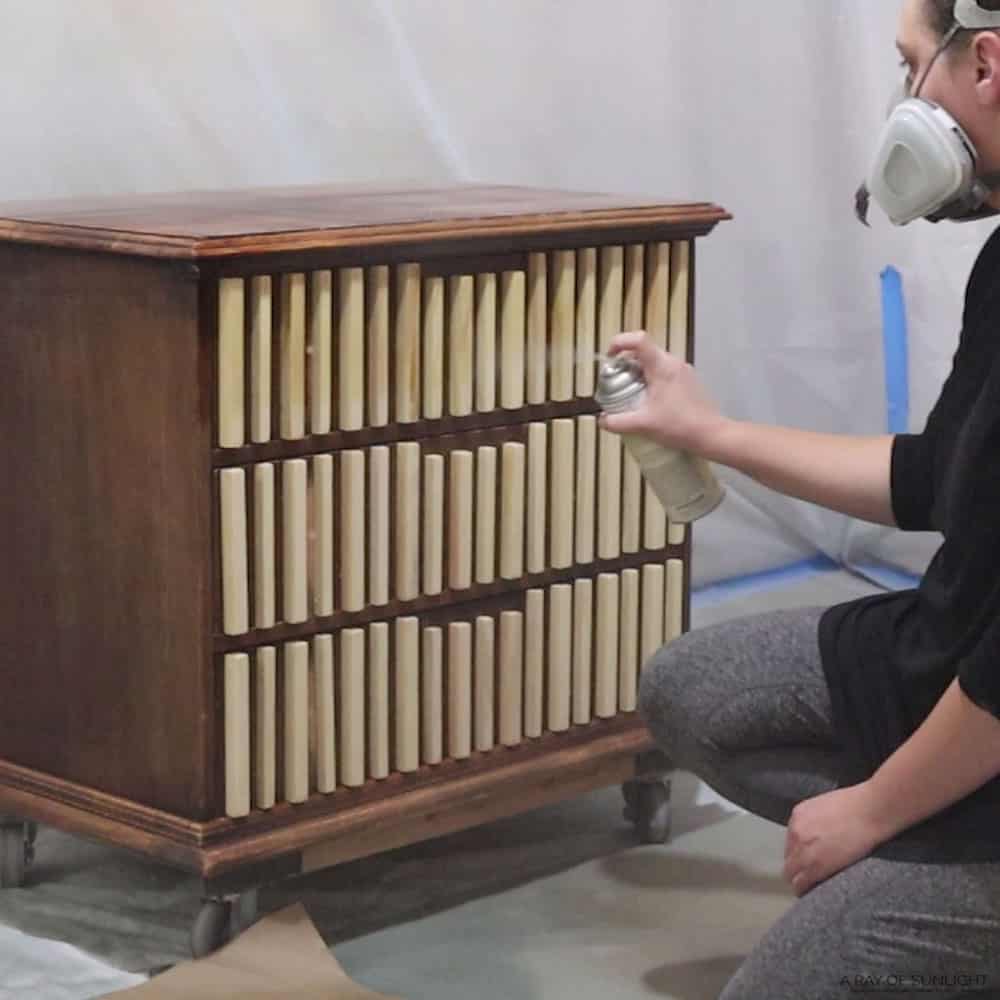
Painting DIY Slatted Wood Dresser
So, I used Melange’s single-step paint called ONE in the color Jett Black. I’ll talk a little bit more about it later.
Anyway, I chose to spray it this time, so I poured it into my Wagner FLEXiO 3000 sprayer (the newest model is now called the FLEXiO 3500/595). This is an entry level HVLP gun that I’ve seen a lot of other DIY-ers using, so I tried it out a few months ago.
Would you like to save this?
I liked the detailed finish nozzle part of it, and it seems to be similar to but better than the cheaper Wagner sprayer I first sprayed with. But I chose to use this sprayer this time because I want to keep testing it so I can help you guys with your sprayer questions more. Haha I’m so glad that I did!
*Update: I have since tried several of them, and this one ranks as one of the best, in my opinion. Read my full review of the best HVLP paint sprayers for furniture here!
Check out these posts to learn more about how to use the FLEXiO 3000 and how to use Wagner FLEXiO 3500.
Thinning Melange ONE
When I thinned it out, I started by just eyeballing around 20% water-to-paint ratio.
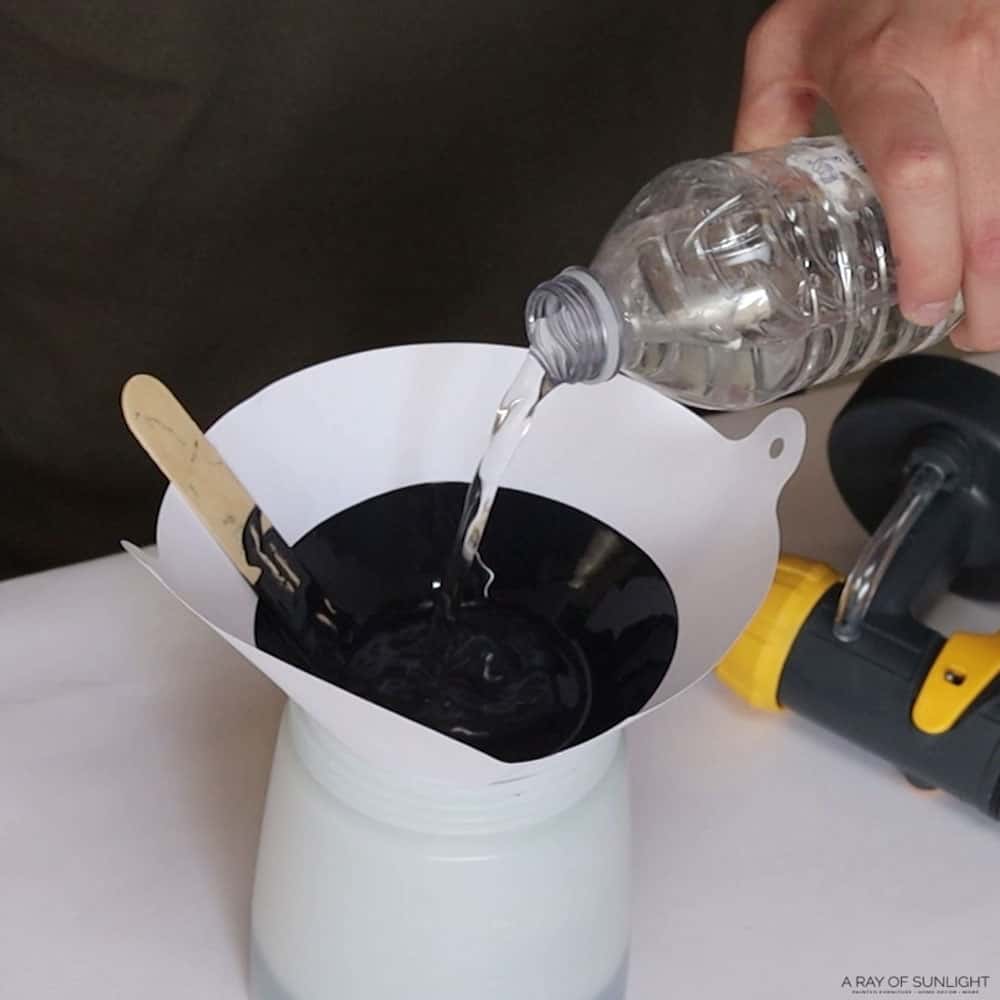
And then, I used the viscosity cup that came with my other Wagner sprayer to see how close it was to the thinning guidelines in the manual.
(The FLEXiO 3000 doesn’t give much info on how much thinning to do with the detail nozzle.)
With the other Wagner, it usually needed to run out of the viscosity cup at around 40 seconds. It was still SO much thicker than that with only 10% water.
So I kept mixing in water until I got it to run out of the viscosity cup at 43 seconds. I think it ended up being around 40% water ratio! So 6oz of water to 15 oz of paint! Read more about how to thin paint for a Wagner sprayer and how to thin paint for Wagner FLEXiO sprayer in these posts!
Oh, before I started spraying, I taped the drawers with some plastic – here are more ways how to prevent overspray when painting furniture.
Testing the Sprayer Settings
Then I plugged in the sprayer, set the setting to 3, and tightened the dial behind the trigger all the way into the trigger, and then I turned it 20 strokes to loosen it.
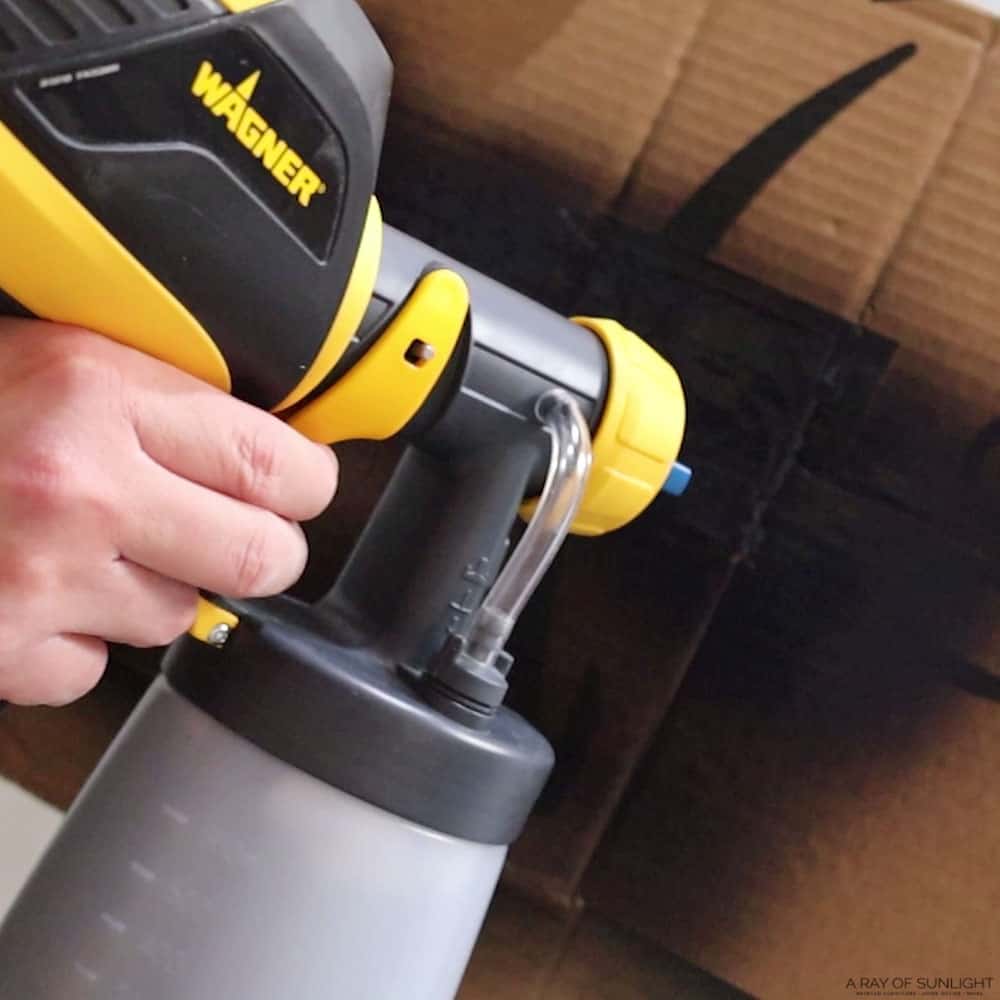
After I tested it on some cardboard, I wanted more coating to come out, so I tightened it back up 5 strokes (making it a total of 15 strokes away from being completely tightened) and tested the spray again. I was super happy with those settings, so I moved on to spraying!
Learn more about the different Wagner Paint Sprayer settings here, especially if you’re just starting out with using it!
Spraying Melange ONE
This is the first time I have used Melange, but I’ve heard SO MUCH about it. So I had to try it. Especially after I heard my girl Sarah at Sitting Pretty Home Décor rave about this brand.
This is their all-in-one formula that has a satin sheen. But I’ve heard that it levels so well, even when brushing. And they have an absolutely amazing color pallet to choose from. Read through my detailed Melange One Paint review to learn more about this product.
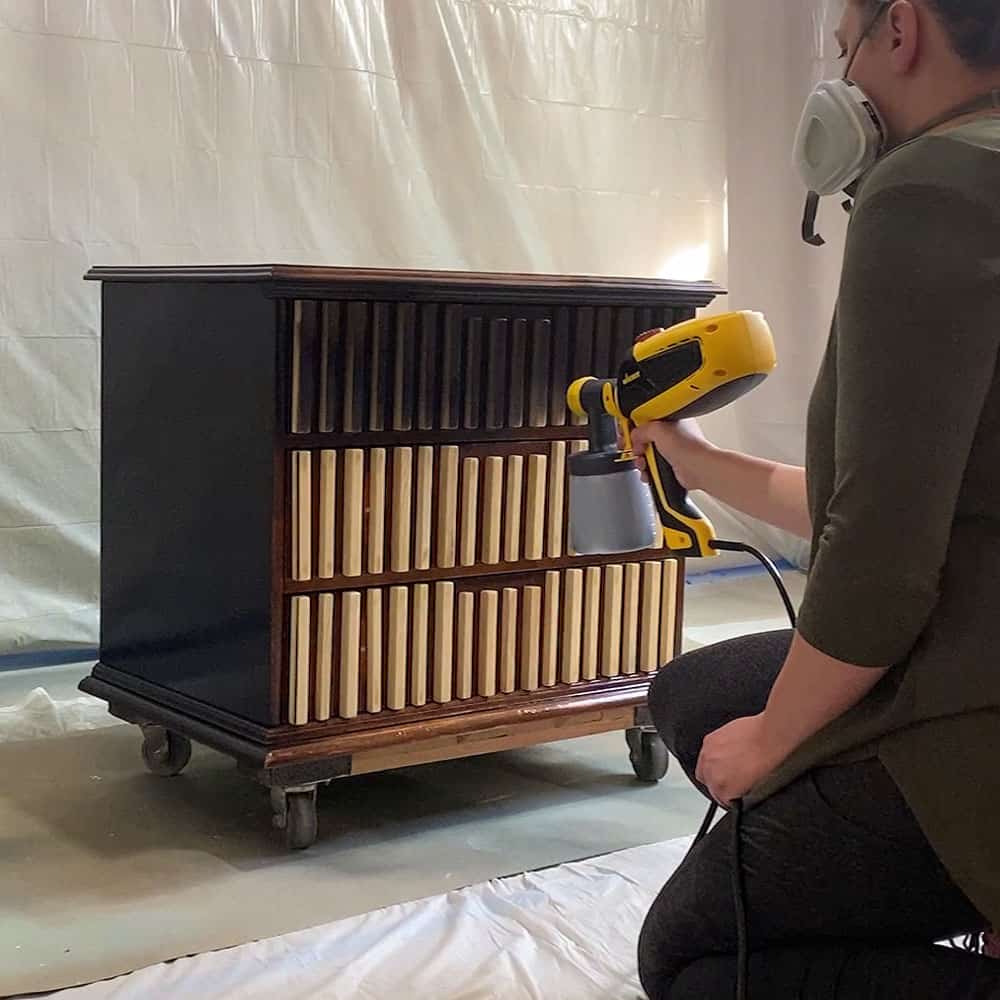
Anyway, after the 1st coat, I let it dry for about an hour. In between coats, I left the sprayer right there, not doing anything to it. Before I sprayed the next time, I used my nail to pick off the dried coating from the tip of the sprayer.
For the second coat, I sprayed the drawers again, getting the sides of the dowels better, and opened up the drawers so I could spray the sides and tops of the drawers too. Then I let it dry for about 2 hours.
When I came back, the dowels were super rough feeling, so I sanded them smooth with 400 grit sandpaper, cleaned off the dust, and applied the 3rd and last coat.
I was so impressed with how it sprayed and leveled out. There is absolutely no texture or splatters of any kind in the finish. It looks SO GOOD! Learn everything you need to know about painting furniture with a sprayer here.
**UPDATE: I have now used Melange ONE several times and I think I love it even more than the first time I used it. Check out this how to fix damaged wood furniture before painting post where I used it on this dark green dresser!
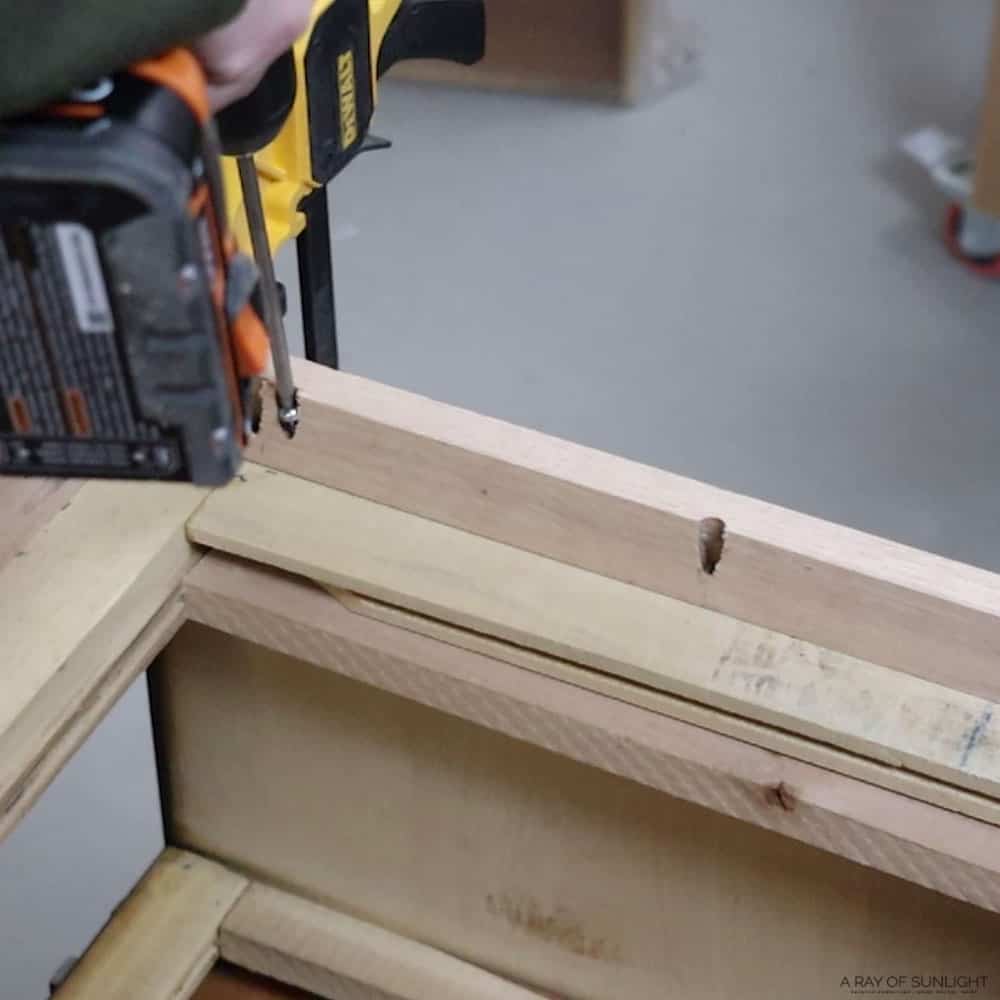
Make New Dresser Base
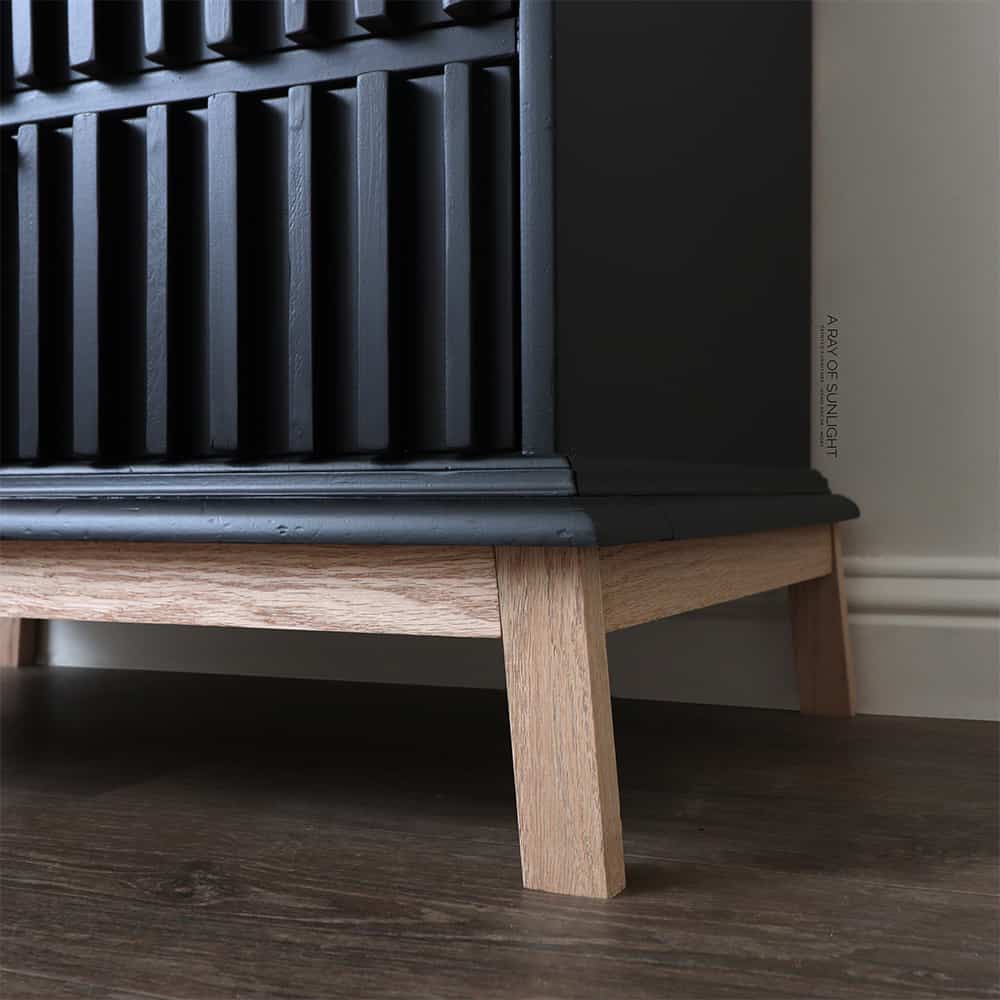
A few days later, we flipped over the piece and built a new base for it. I cut a 1” x 2” x 8-foot oak board at a 5-degree angle to make the legs. Here’s adding legs to a cedar chest for more tips on adding some height to your piece.
And then I cut some more of that same board at the same angle for the front of the base. And then some more straight cuts for the 2 sides of the base. Then we put the base together and attached it to the bottom with some Kreg Jig pocket holes and screws.
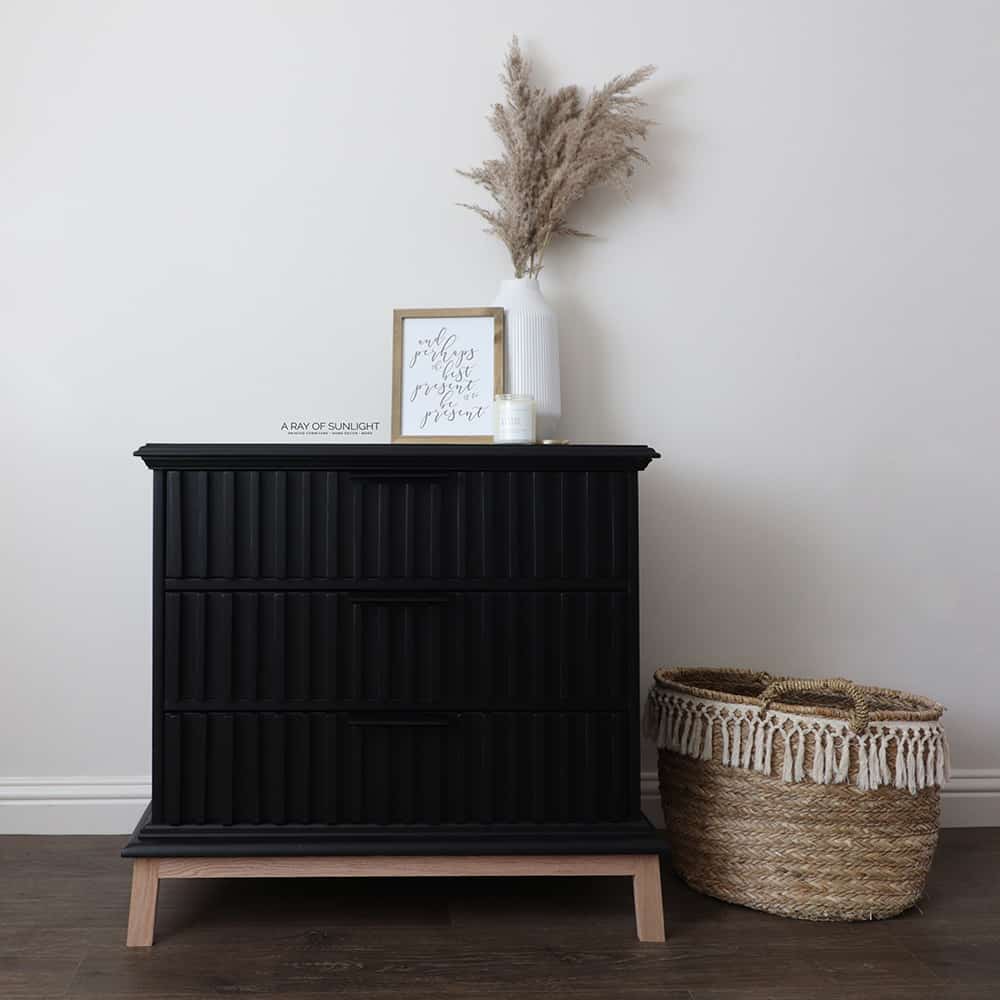
Maybe one day, I’ll share more about building a base. Let me know if that’s something you want to see! And here’s what this DIY slatted wood dresser looks like now.
More Before and After Makeovers
See All >
Click any of these “before” photos below to view the “after” of that makeover.


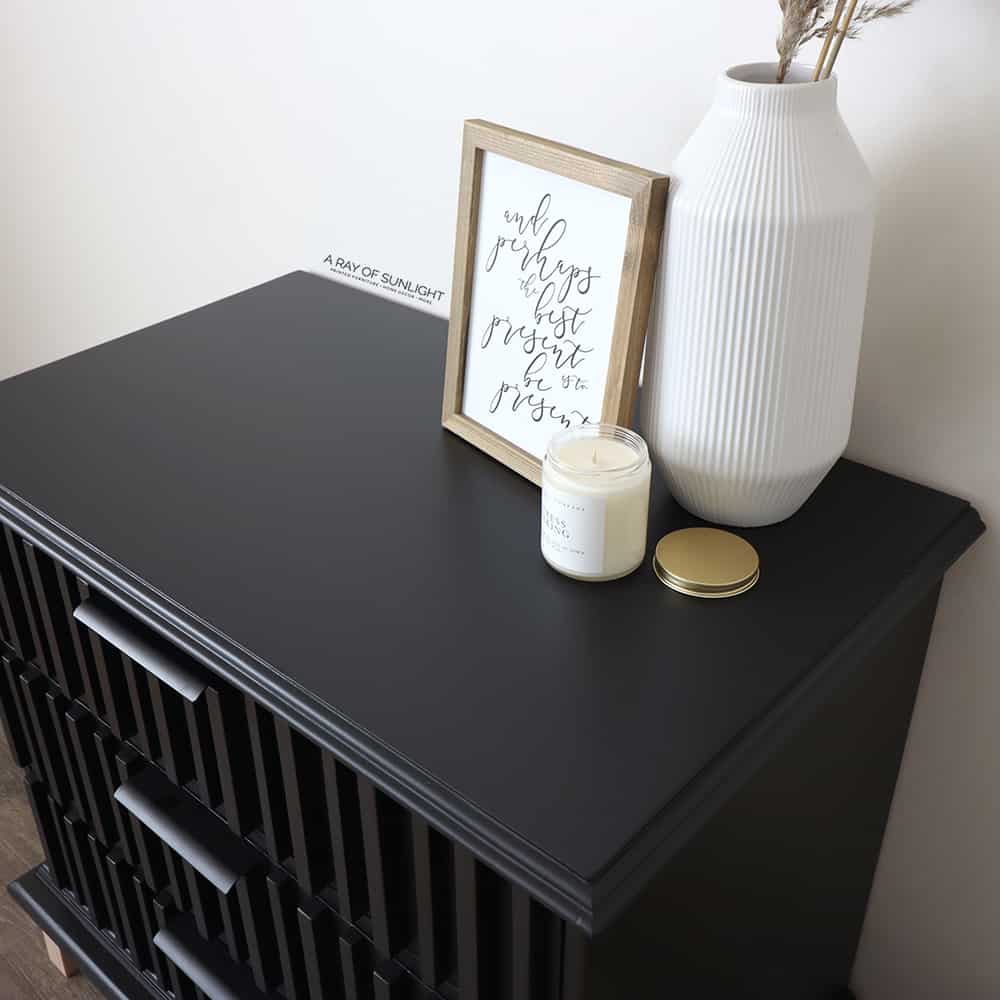
I can’t wait for the chance to use Melange ONE again! It looks SO SO GOOD! It’s very durable as is without any topcoat! I’ve tried scratching at it, and it’s not going anywhere! I LOVE the satin finish, too, instead of the matte finish that most all-in-one products seem to have.
Here are more of the best all in one paints for furniture and the best paints for furniture I have used on our own projects.
For more makeovers like this, here are black painted dresser ideas, modern dresser ideas, and painted dresser ideas to inspire you! If you want something unique, check out these creative dresser ideas!
I think the slatted style is so much fun! I’m not sure if I’ll do it this exact way again, and yeah, it’s probably not the most profitable thing to be doing with my time… but these extra things bring me so much joy.
And the new base. Well, I love the look! I wish that I could find some 2”x2” oak for the legs. When I do, I’ll probably be making another base for another piece of furniture. Anyway, what do you think of this makeover??
More Slatted Dresser Ideas
If you loved this look, then you’ll definitely want to check out these other ideas for incorporating it into your own projects! One idea is to use thicker slats for a bolder and more rustic look.
You could also use different colors to create a fun pattern or design. Just make sure the colors aren’t too busy, and they complement each other well, unless you’re going for a funky and eclectic look! Or you can leave them natural for a unique contrast with the rest of the piece.
You can also experiment with different widths and spacing between the slats to customize your design. For added visual interest, you can play with their direction, whether horizontal, vertical, or diagonal.
You can also add it on just certain parts, such as the drawers or sides, for a more subtle and unexpected touch. And don’t limit yourself – you can incorporate this into any piece of furniture, such as nightstands, coffee tables, or even headboards.


So, that’s how I transformed a plain piece into a stunning fluted masterpiece! It’s amazing what a little bit of creativity and some slats can do. If you’re feeling inspired, try incorporating this technique into your own furniture makeover projects for a unique and eye catching look.


DIY Slatted Wood Dresser
Give your old furniture a modern look with black paint and wooden dowels. Here's how to recreate this DIY slatted wood dresser.
Materials
Instructions
- Remove paint from the last project. Make repairs, clean the dresser, remove hardware and fill in hardware holes.
- Cut up the wooden dowels to the height of the drawers. Sand each piece so they don't have any splinters on them and attach them to the drawers with gorilla glue starting from the center. Let it all dry overnight.
- Sand the top and sides of the dresser as well as filled in holes. Put some wood filler over the pin holes. Wait for the wood filler to dry then sand it down with 220 grit sandpaper. Sand the top of all of the dowels to make sure they are level with the drawer and to make them a little bit more smooth. Clean up the dust from sanding.
- Next is prime the dresser for paint with 2 coats of clear shellac. Let it dry overnight.
- Get your paint and thin it with around 20% water-to-paint ratio. Apply 3 coats of paint onto the dresser. After the 1st coat, let it dry for about an hour. For the 2nd coat, let it dry for about 2 hours. If the dowels are rough, sand them smooth with 400 grit sandpaper, clean off the dust, then paint the 3rd and last coat of paint.
- Make a new base and legs and attach them to the bottom of the dresser.
- Add hardware to the dresser.
Recommended Products
As an Amazon Associate and member of other affiliate programs, I earn from qualifying purchases.


More Wooden Furniture Makeovers
- DIY Fluted Dresser
- DIY Mid Century Modern Slatted Wood Cabinet Upcycle
- Painting Furniture Grey
- Painting a Bed Frame Black
- DIY Farmhouse Dresser in Black
Follow us on YouTube to get more tips for painting furniture. Or share your project with us on our Facebook Group and be part of our community. See you there!
Stunning and so creative! I would keep it too!!!
I love the way you did the front. Not sure about the base, beautiful piece of furniture!!
It’s very pretty, but I personally would not want to have so many extra surfaces to catch dust! I like your shellac trick!
Have you tried brushing with Melange One Paint ?
Is it better than Benjamin Moore Advanced ?
I have. I think Benjamin Moore Advance levels a little bit better.
Oh I love it! Can it be shipped to Texas? Lolol