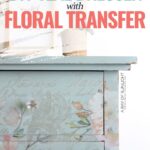
Easy DIY Teal Dresser with Floral Transfer


Looking to spruce up your furniture without spending a fortune? Decor transfers are so easy to use on refinished furniture and come in pretty floral or text designs. This easy DIY teal dresser with floral transfer is perfect for those looking to add a touch of uniqueness and personality to their home decor. Learn how we easily added this floral pattern to our teal painted dresser in this DIY dresser makeover!
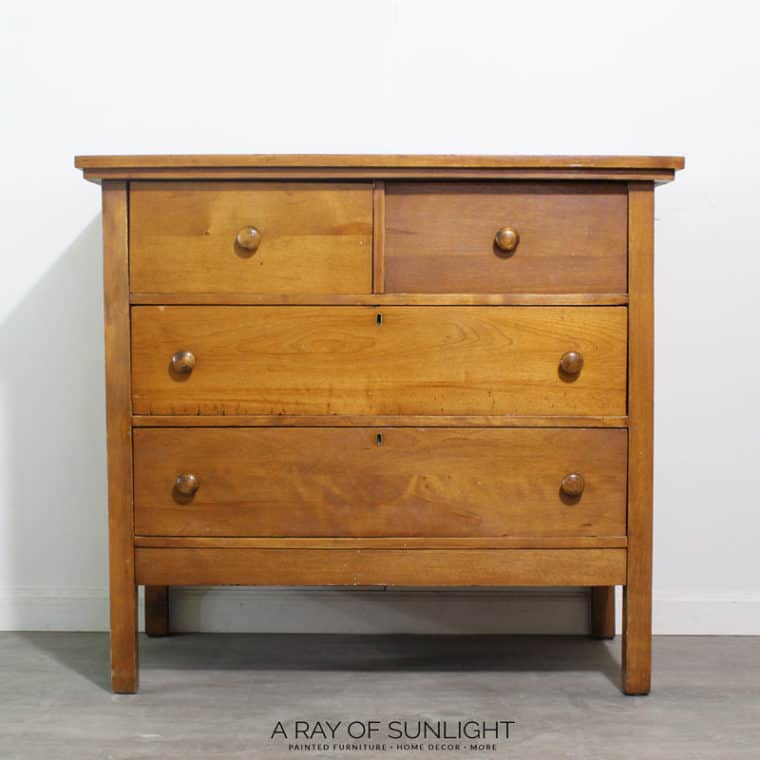
Hey friends! I have a super fun furniture makeover for you today!! This old vintage dresser was all sorts of bland and blah before we got our hands on it! Here’s a quick picture of what it looked like when I bought it.
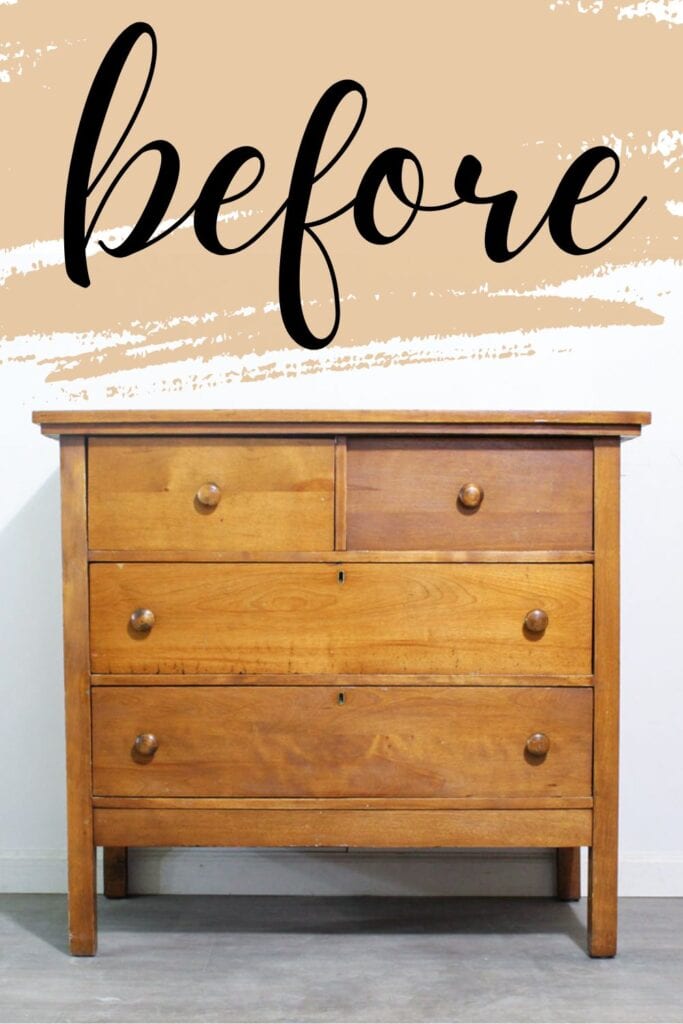
The finish was very orange, and it definitely needed an update! Sooo I decided to go with the floral theme on this cute little dresser!

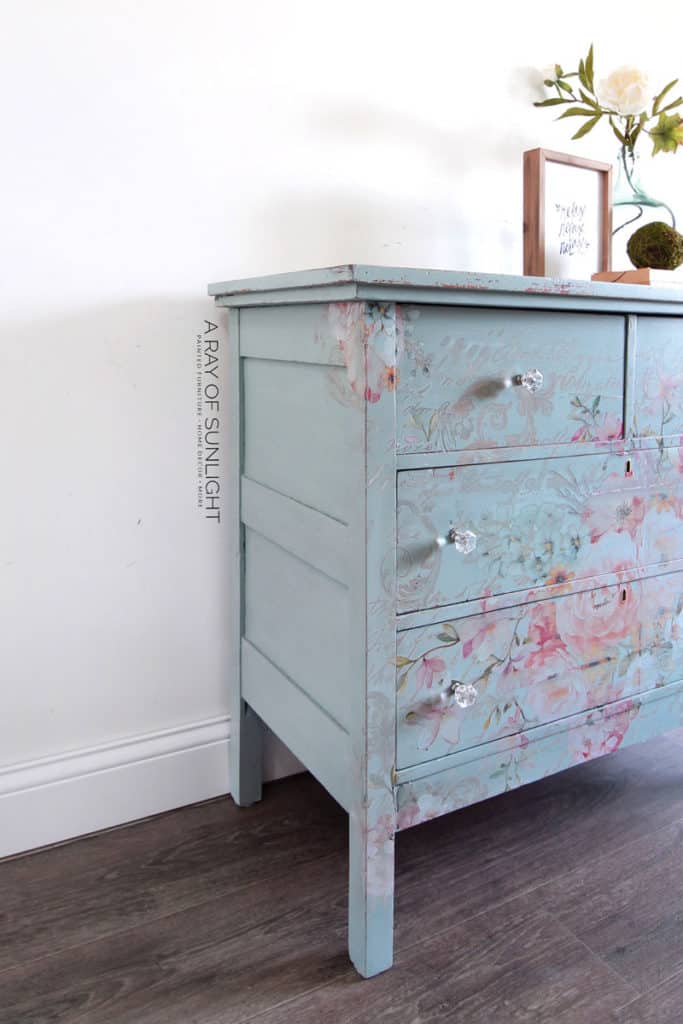
What do you think?? I really wanted the painted finish and flowers to be chippy and old looking. I think it turned out perfect! Get more painting furniture tips and ideas here!
We used Shackteau Interiors Milk Paint in a custom mixed color for the gorgeous teal color on this dresser. Then, the flowers were easily transferred onto the dresser using a Redesign with Prima Decor Transfer.

Supplies Used for Easy DIY Teal Dresser with Floral Transfer
As an Amazon Associate, I earn from qualifying purchases. I also may earn from other qualifying purchases with other companies or get free product to review and use. All opinions are my own.
- Thrifted Dresser
- Sandpaper
- Krud Kutter
- Shellac
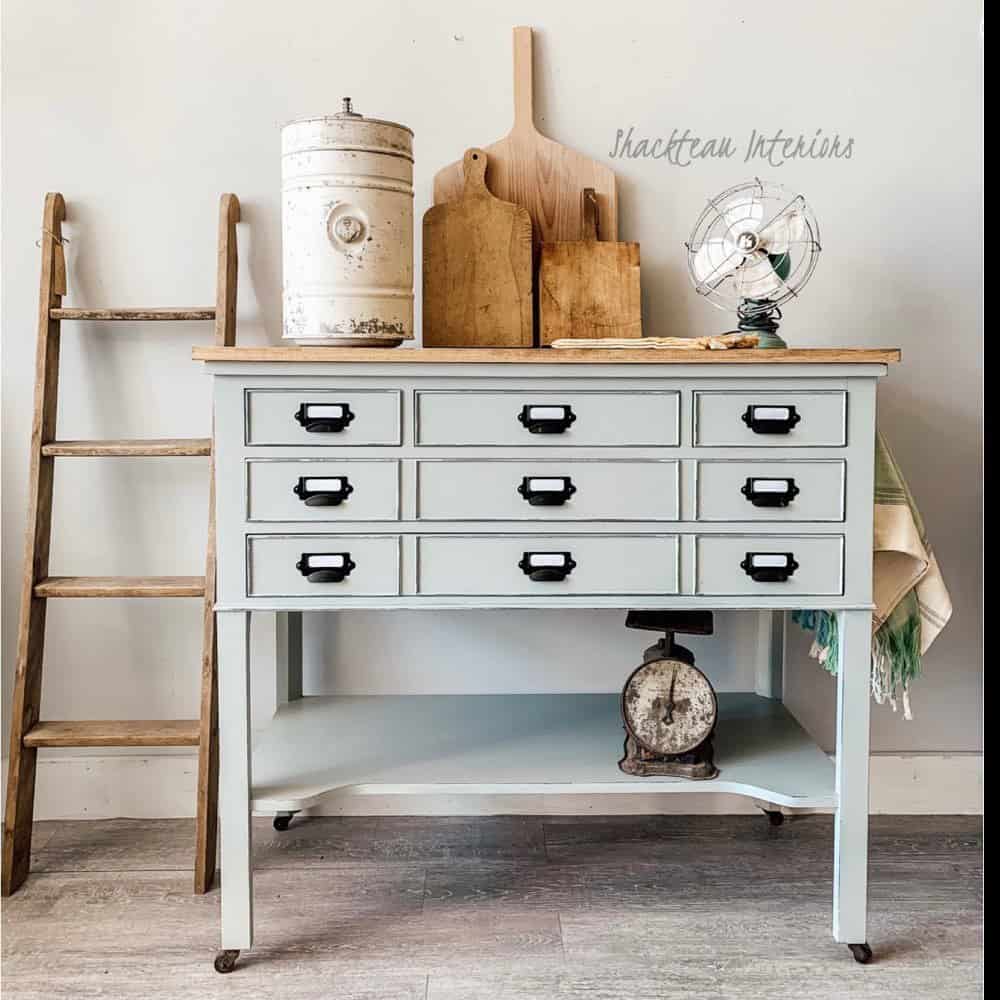
- Shackteau Interiors Milk Paint in Kettle Cove Green and Sand (I mixed the two together)
- Budget Friendly Paint Brush
- Rose Celebration Decor Transfer by Redesign with Prima
- Water-based Poly
Prepping Dresser Before Painting
No matter what paint you use, it’s always always, always best to prep the wood for paint. Learn all about how to prepare furniture for painting here.
Our favorite method is to wipe it down with Krud Kutter, then scuff sand by hand with sandpaper. The combination of cleaning with a degreaser and scuff sanding gives the paint something to hold onto.
Check out this post on how to clean furniture before painting and learn about the importance of sanding before painting furniture here.
If you skip this step, it’s very likely that you’ll end up with paint that easily chips and scratches off… even if you use chalk paint.
Once the dust from sanding is cleaned up, I always like to seal the wood with a tannin-blocking product.
For this dresser I used shellac. But there are other products I love to use when I have to paint indoors and don’t want the fumes and smell of shellac in my workspace.
We prep every single piece of furniture with a stain-blocking primer because sometimes the bleed through doesn’t show up until you’ve sealed the piece with poly.
Annnd then at that point, you basically have to redo it or touch up those places. It’s not worth the extra hassle, and bleedthrough is not pretty!
Here’s more about how to stop stains from coming through paint. Check out our lists of the best primers for painting furniture and the best primers to stop tannin bleed.
Shellac dries super fast though! So prep doesn’t have to take very long at all!
Milk Paint – The easy way to get a chippy paint finish
Shellac also plays a big role in making the milk paint crackle, and this dresser has a lot of crackled paint! If you like this look, check out these crackle painted furniture for more inspiration.
Milk Paint creates a completely unique painted finish compared to any other paint out there. If the conditions are right, it will resist the old finish and chip here and there, but not everywhere.
You can also make it stick to the old finish just like any other paint! Just add some Extra Bond into your mixed milk paint! The Extra Bond will make the paint stick to the old finish, creating a completely opaque finish. But even then, milk paint is completely unique to other types of paint!
Learn everything you need to know about how to use milk paint on furniture here.
Milk paint is also known for having a lot of variations in the color, making the painted finish look even more old and weathered.
I’ve tried a few different brands of milk paint, and I can honestly say (and no I don’t get paid to say this) that Shackteau Interiors Milk Paint is my favorite! She has really really pretty colors in her paint line as well!
How to Use Milk Paint on Furniture
- Milk Paint comes in a powdered form. So it has to be mixed with water before you can use it.
- Mix 1 part water to 1 part powder. Mix it really well to get the clumps all mixed in.
- It also doesn’t last very long after being mixed up, so it’s best to only mix up the amount you need for the day.
- Let the mixed up milk paint sit for 10-15 minutes before you paint. It will gel up a little bit during this time.
- Paint with a high quality paint brush for better results.
- Milk paint needs to be sealed for durability and wipe-ability.
- Sand the milk painted piece of furniture down before sealing it with hemp oil, wax or water-based polyurethane.
For more information on how to paint furniture with milk paint, check out this chippy gray milk paint dresser makeover! Learn more tips on painting furniture with milk paint here.
How to Mix a Custom Milk Paint Color
This color was a custom mix of Kettle Cove Green and Sand. To be completely honest, I’m really not sure of the exact ratio because I just kept mixing and adding until the color was perfect. But if I had to guess, it would be 1 part Kettle Cove Green to 2 parts Sand.
To mix a new color of milk paint, mix the powders together. You can test a small amount of paint by putting a sprinkle of the powder onto a paper plate and getting it wet with a drop or two of water. Learn more about mixing milk paint here.
Painting the Dresser
Once I had the perfect paint color, I painted it onto the dresser using my chiseled wedge Zibra paint brush.
I highly recommend Zibra paint brushes if you’re on a budget but want a nice paint brush. These paint brushes are made specifically to help get into details on things. Check out the best paint brushes for painting furniture here.
This dresser took a total of 3 coats of paint and I didn’t sand between coats or anything. But I did let them dry out in the sun because heat can make the paint chip and crackle more!
Distressing the Milk Painted Dresser
When all 3 coats of paint were dry, I lightly sanded all of the paint down with the 220 grit sandpaper. Sanding after the paint has dried does two things.
It makes the paint really really smooth, AND it distresses the paint to help the paint chip more, creating an even more worn look to the paint. Learn more about distressing furniture techniques here!
If you don’t want to put a transfer over the paint, now would be the time to seal the milk paint. BUT since we wanted to put a decor transfer on this dresser, we waited to seal the paint until after the transfer was on.
How to EASILY Create a Floral Design on Furniture
Now for the extra fun part! I’m not going to lie, I was actually kind of nervous about it! It was my first time using a transfer, but it went on easily and is just what I dreamed of!
I chose the Rose Celebration Redesign with Prima decor transfer for this dresser. The transfer itself was actually just a little bit larger than the front of the dresser, but it came in 6 smaller pieces.
Would you like to save this?
*Update: I loved doing this floral transfer so much that I decided to try it again with a slightly different floral design on this chalk painted desk with floral transfer in this chalk painting furniture makeover!
Get more floral painted furniture ideas here, and check out these cute dresser ideas for more cute and unique dresser inspiration! For charming vibes to your room, here’s our list of shabby chic dresser ideas, and for unique dresser makeovers, here are fun dresser paint ideas and creative dresser ideas!
How to Use a Decor Transfer
First, lay out where you want the design on the dresser. I laid the dresser on its back, with all the drawers left inside the dresser. Looking back, next time, I will leave the dresser upright and just tape the transfers into place.
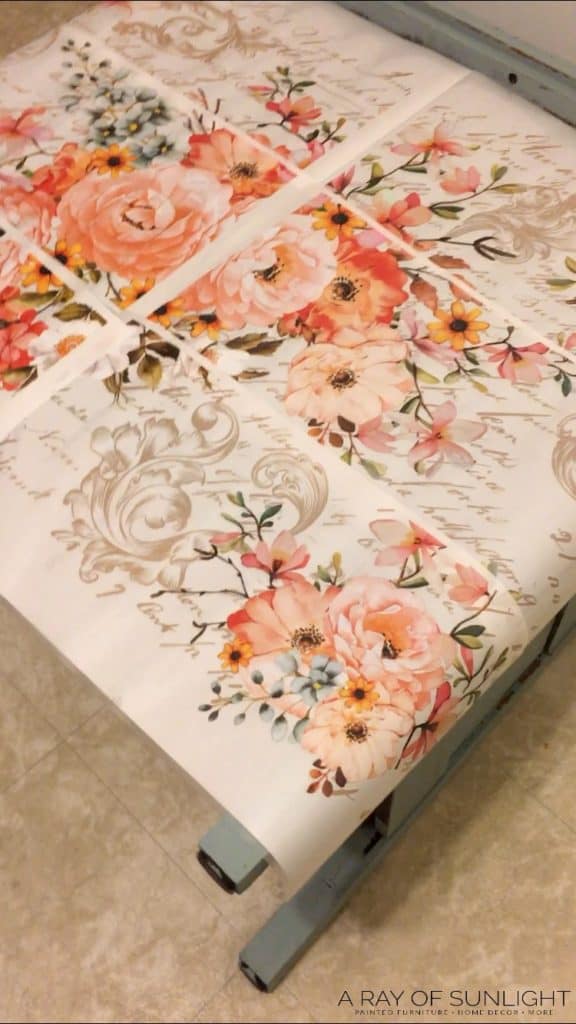
Laying the dresser on its back made the drawers fall back just a little bit, which made it harder to get the transfers perfect.
Don’t be afraid to cut the transfers up into smaller pieces if you don’t like one part of it or if you need it to fit in a certain spot.
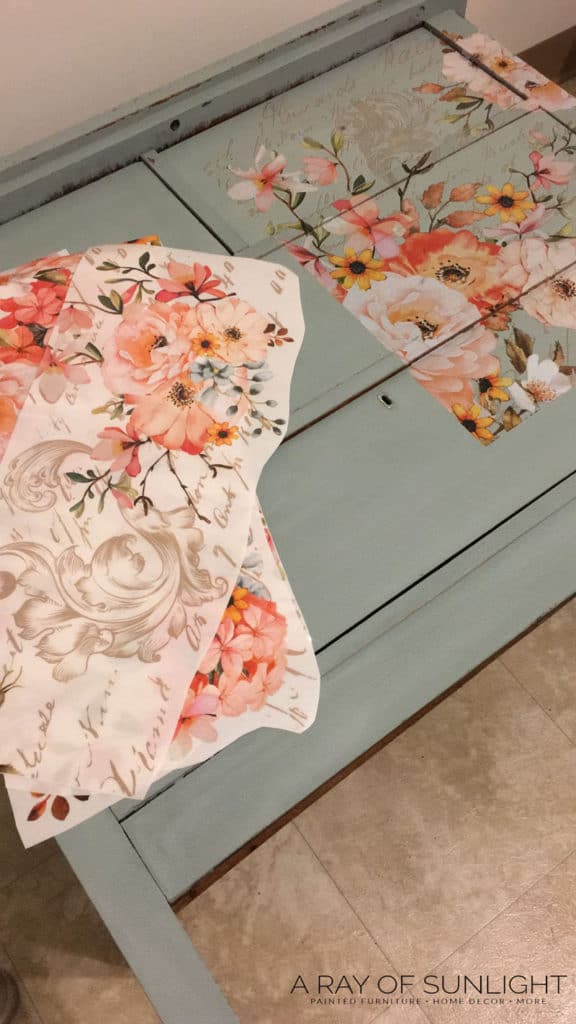
When you’re ready to transfer the design onto the dresser, just peel off the backing and place the transfer back onto the dresser.
Be super careful to not let it touch where you don’t want it to, because it will stick to the paint really easily and you won’t be able to get it back off.
When you have the transfer in place, rub it on really well with the little wooden stick that is provided and then peel the plastic off.
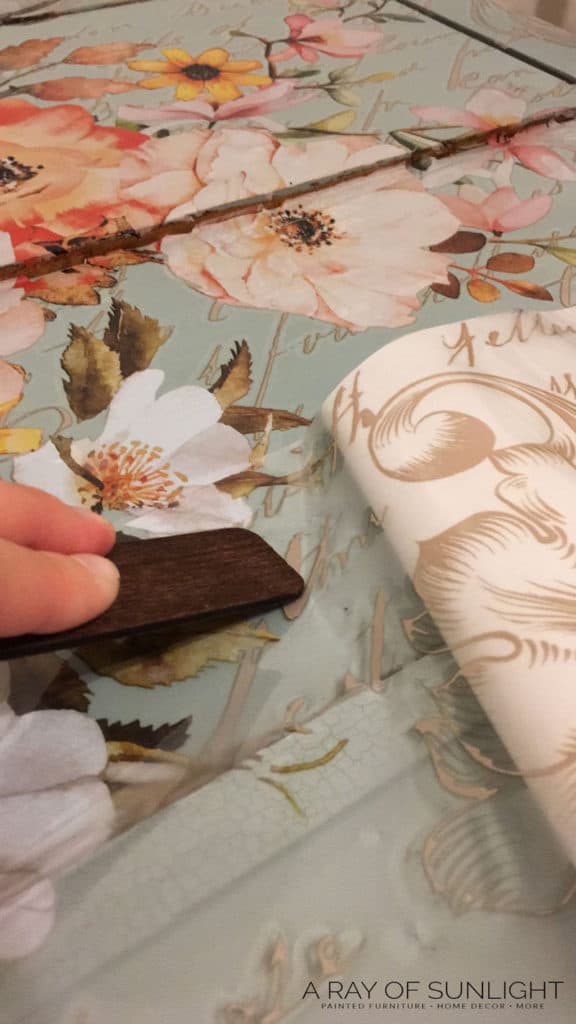
I worked on one section at a time and then moved forward with the next area. Once the majority of it was on, I went back with the scraps that I had and added the lettering here and there to fill in any gaps.
Read our detailed guide on how to apply furniture transfers here. If you want inspiration to update your dresser drawers, here’s our list of dresser drawer painting ideas!
Making the Transfer Look Old and Worn Out
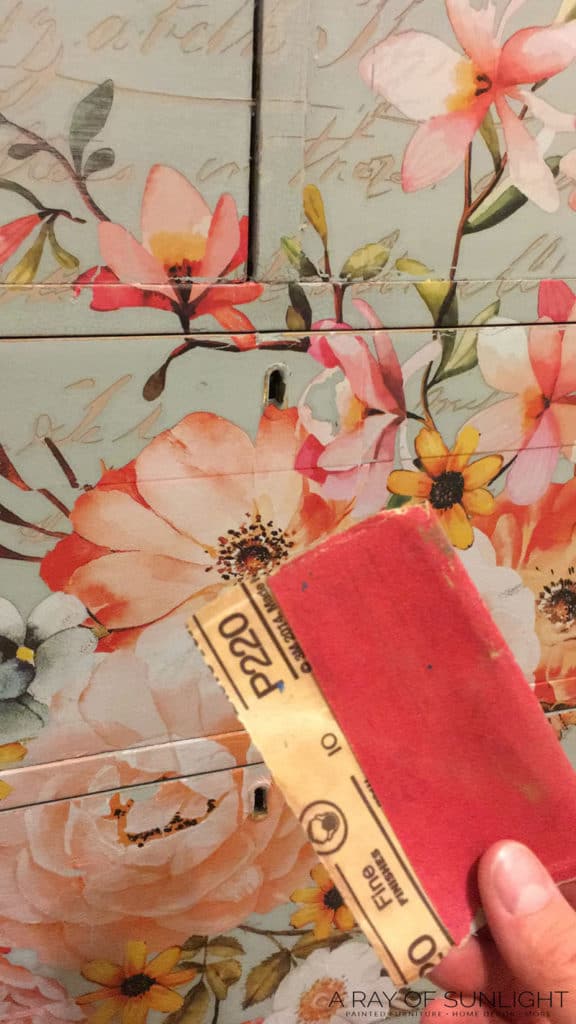
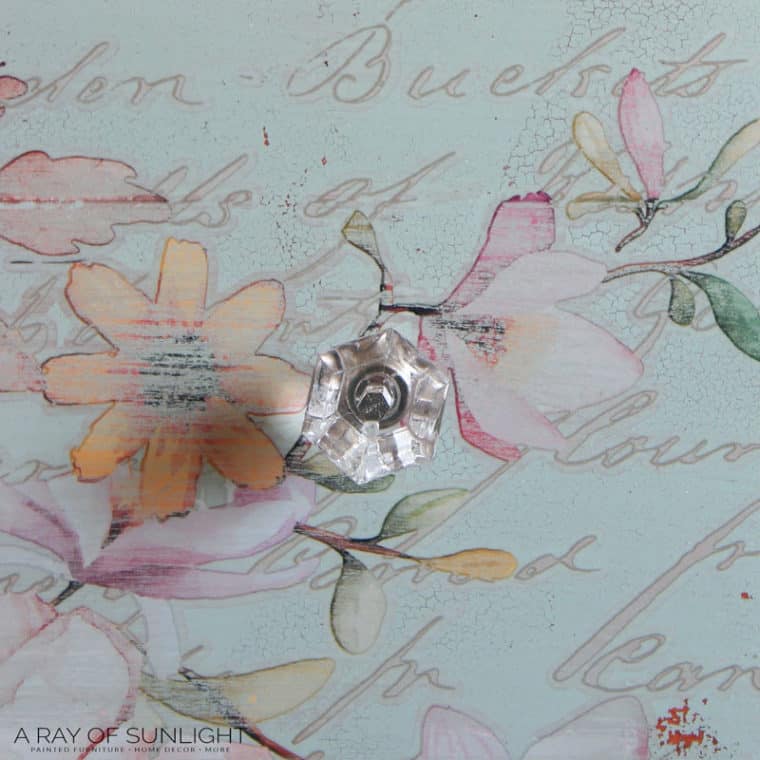
After the transfer was completely on, I sanded it down with 220 grit sandpaper. The sandpaper made the transfer look old and worn – exactly what I wanted! Check out the best sandpaper for furniture painting here.
Sealing the Dresser and Floral Transfer
Be sure to seal the paint and transfer with water-based poly. The poly will give the finish extra durability, but it will also help the transfer stay on and give everything the same sheen.
You can wipe or spray the poly on, but I personally prefer to spray polyurethane in a paint sprayer for a nice and smooth finish! Here’s how to spray polyurethane, and you may also try these 3 ways of sealing milk paint.
Now you can step back and admire your work!! Check out more teal painted furniture and light blue painted furniture ideas here for your next furniture makeover. For more colorful projects, check out ombre chalk painted furniture.

More Before and After Makeovers
See All >
Click any of these “before” photos below to view the “after” of that makeover.


I’ve seen these transfers on so many different things. From furniture to decor! What would you put them on?


Can furniture transfers be applied to any surface?
Yes, furniture transfers can be applied to almost any surface! They work best on smooth surfaces like painted or varnished wood, glass, and metal. However, it is recommended to test a small area first before applying the transfer to the entire surface.
The great thing about furniture transfers is their versatility. They can be applied to a variety of furniture pieces such as dressers, cabinets, tables, and more. They can also be used on home decor items like mirrors, frames, and trays.
As long as the surface is clean and smooth, you can get creative and use furniture transfers on just about anything!
How long do furniture transfers last?
When properly applied and sealed, furniture transfers can last for years. Make sure to apply the transfer onto a clean and smooth surface, and then seal it with a water-based polyurethane. This will help protect the transfer from wear and tear, so it stays looking good for a long time.
Can furniture transfers be removed or repositioned after being applied?
Unfortunately, once the transfer touches the surface, you will not be able to reposition it. You can sand it off to remove it though!
Removing a transfer will cause damage to the transfer or the surface it’s applied on. So, you have to make sure to plan the placement carefully before applying it.
Get Our Secrets!
Grab this super convenient How to Repair Furniture Ebook with all of our secrets on how to repair furniture for only $14.
You can print it out and have instant access whenever you come across damaged furniture, and know exactly how to fix it!
Click on the picture of the book to purchase!


Easy DIY Teal Dresser with Floral Transfer
Give your painted furniture a unique look with decor transfers. Here's how we easily added this floral pattern to our teal-painted dresser.
Materials
Instructions
- Clean and scuff sand the dresser to prep for paint. Clean all the dust from sanding then seal and prime the wood with clear shellac to block stains.
- Mix powdered milk paint and water in a 1:1 ratio. Mix it really well to get the clumps all mixed in. Let the mixed up milk paint sit for 10-15 minutes before you paint. It will gel up a little bit during this time.
- Apply 3 coats of milk paint onto the dresser with a nice quality paint brush.
- Once dry, lightly sand the paint with 220 grit sandpaper to make the paint smooth and distress it a bit.
- Decide where you want the floral design on the dresser. When you have the transfer in place, rub it on really well with a wooden stick and then peel the plastic off. Don’t be afraid to cut the transfers up into smaller pieces if you don’t like one part of it, or if you need it to fit in a certain spot.
- You can sand down the transfer to make it look old and worn out.
- Seal everything with waterbased polyurethane. The poly will give the finish extra durability and help the transfer stay on long.
- Attach new hardware and enjoy!
Recommended Products
As an Amazon Associate and member of other affiliate programs, I earn from qualifying purchases.

More Furniture Design Ideas
- Beyond Paint Review – Sewing Table With Hidden Floral Transfer
- Raised Stencil
- DIY Distressed Painted Dresser
- How to Decoupage Furniture with Rice Paper
- Wallpaper Dresser Ideas
Follow us on YouTube to get more tips for painting furniture. Or share your project with us on our Facebook Group and be part of our community. See you there!
I love this beautiful. I’m looking for Paris theme
For my daughter. She just love’s it. Anyone know of where I could find that theme of Paris
Hey Irma! Is this the Paris Decor Transfer one you’re looking for?
I for one liked the first redo but this one is so sweet!! I thought you weren t supposed to put a top coat on before the transfer? You didn t seem to have any problems though. Hmmm. I love the way this looks. I just started using transfers and i love them lots. Thank you for your blog. It makes me smile every time.
Hi there, can you tell me a little bit more about the sanding? I am looking to mute this very same print but I don’t want to take away too much! I saw you had a 220 grit. Can you remember how many passes you made with the sand paper to get this look? I want to get somewhere between the original and yours. thank you. ps your piece is gorgeous
Hey! I honestly have no idea how many passes it took to get this exact look. I’d just take the sanding slow until you get the look you want. Best of luck!
SIMPLY GORGEOUS
Oh wow; that floral transfer is so beautiful!
Right?? 😍
This is SO pretty, what a beautiful upcycle. This will be a feature this week over at Handmade Monday 🙂
Aww thanks so much!
That is absolutely beautiful. I’m delighted to tell you I’ll be featuring it today at Thursday Favorite Things! 🙂
Pam
Aww thanks so much Pam! We appreciate it!