DIY Raised Stencil on Furniture

Stop painting the same way over and over again, and add some texture and personality to your piece! There are many painting techniques for furniture, and this unique stenciled finish will set your painted piece apart from the rest in no time. Check out this must see tutorial on how to do a DIY raised stencil on furniture!
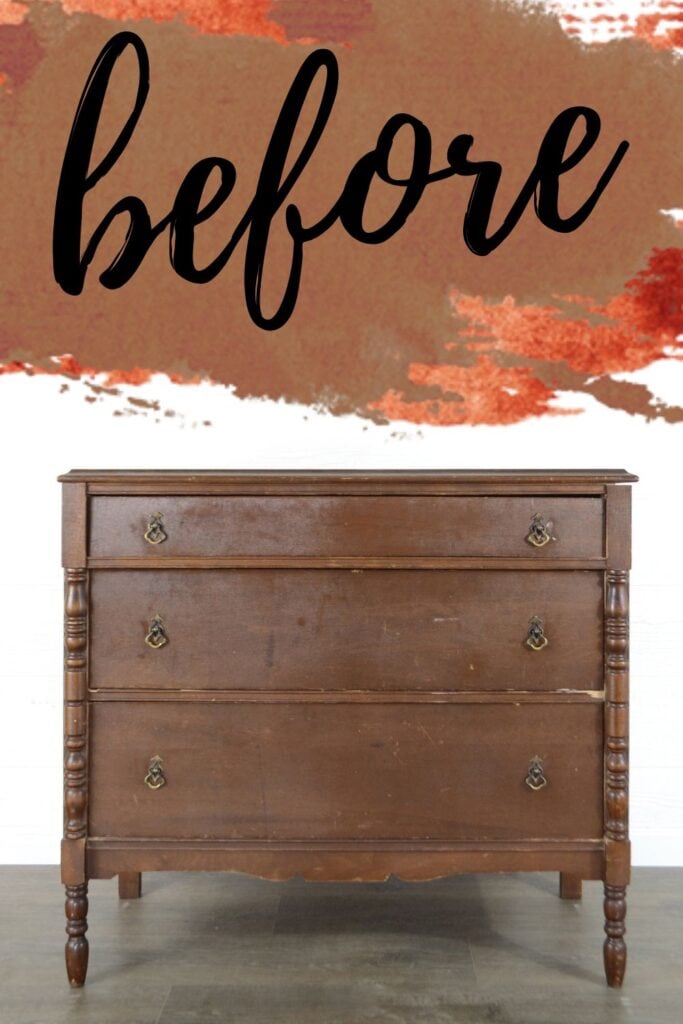
Here is what the dresser looked like before the makeover. It was pretty beat up, huh? Keep reading to see how it turned out!
I’m sure you have seen details painted on furniture all over the place. Some people hand draw these details, and others use a template. We’re taking it one step further, though, by adding texture to those details AND tinting the texture brown so it looks like it is wood detailing. What does that even mean?

Well, you can use a stencil, some special powder, and some paint to make these stenciled details look like they are part of the dresser and part of the wood. That’s what is so unique about this painted furniture finish!
So, if you want to change things up and try something new, keep reading. This DIY raised stencil on furniture will add depth and character to your piece in a fun and easy way. Okay, so here’s how you can get this look.

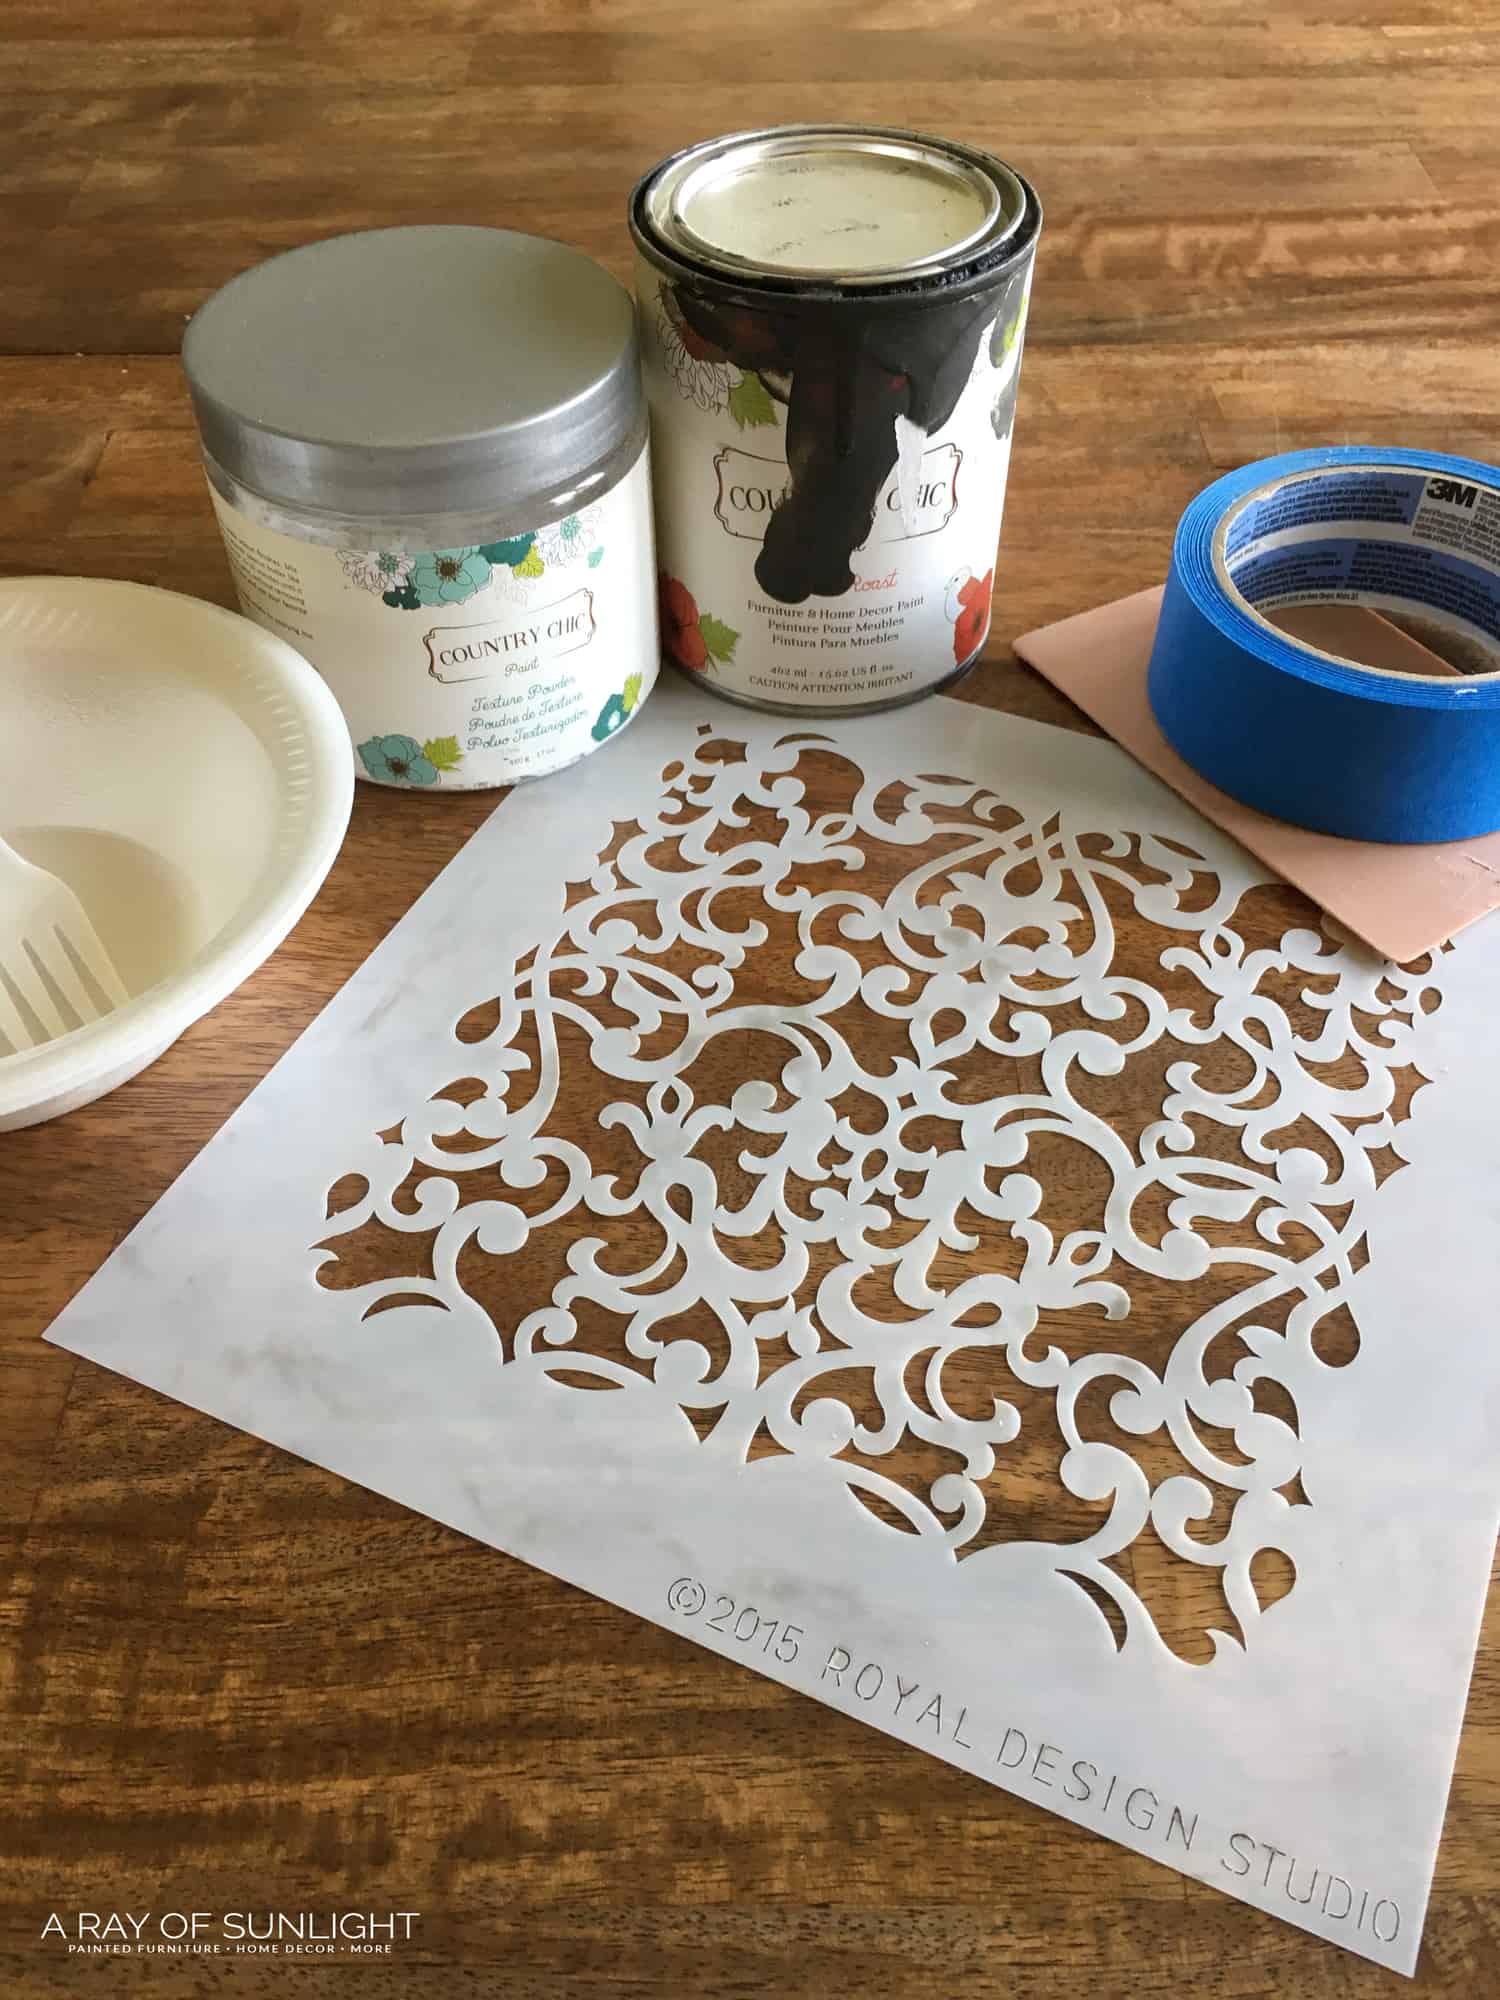
Supplies Used For Raised Stencil on Furniture
As an Amazon Associate, I earn from qualifying purchases. I also may earn from other qualifying purchases with other companies or get free product to review and use. All opinions are my own.
- Donatella Damask Craft Stencil
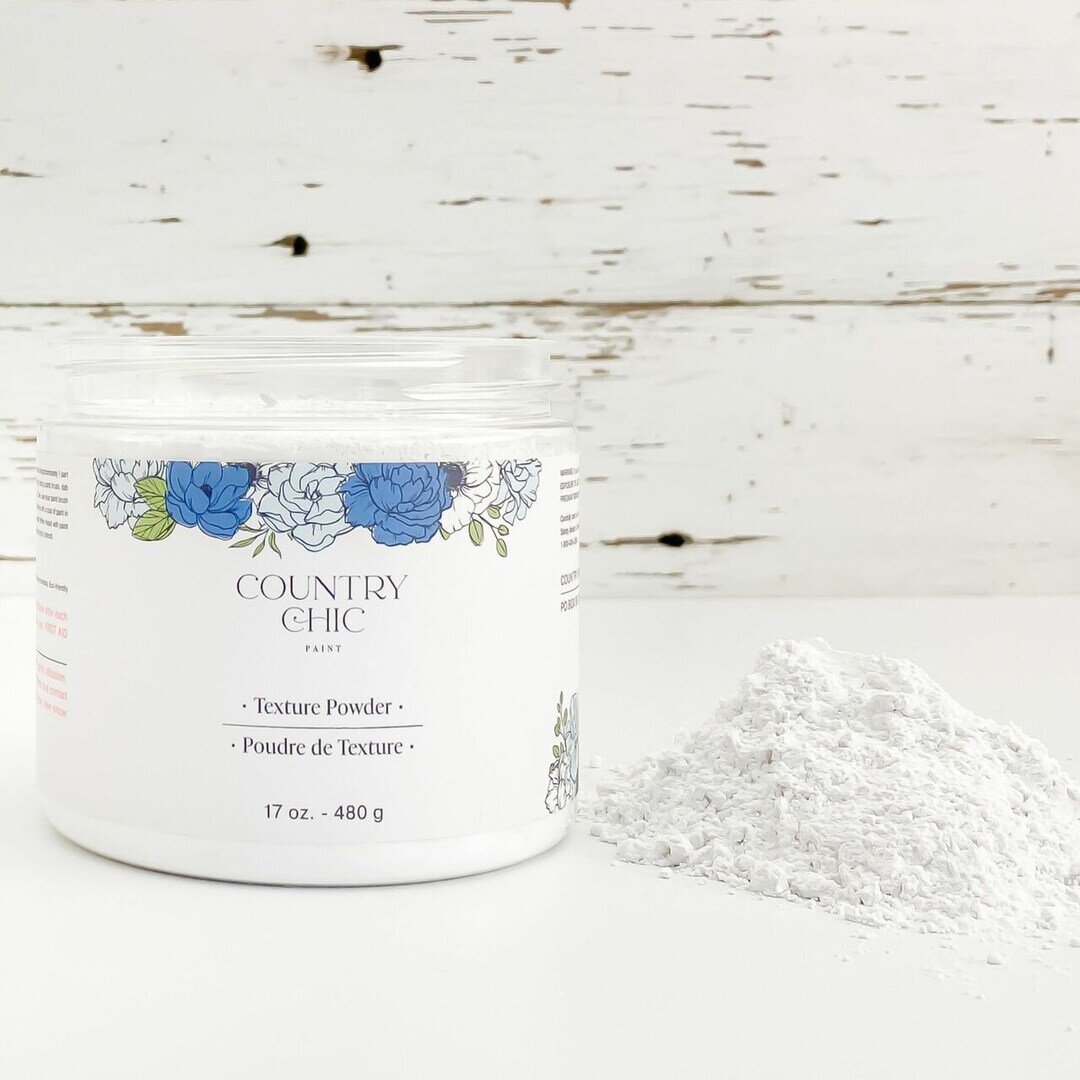
- Texture Powder
- Dark Roast Paint
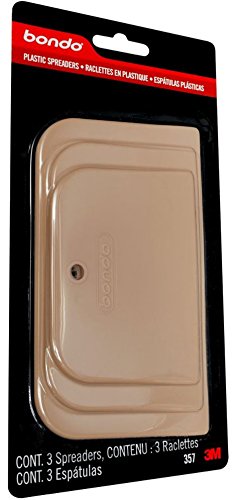
- Straight Edged Tool
- Paper or Plastic Bowl and Fork
- Painters Tape
- Behr Interior Flat White Paint
- Paint Sprayer
- 220 Grit Sandpaper
- Tack Cloth
- Varathane Polyurethane
How to Choose the Best Stencil
I’ve created this finish many times, with a different one each time. But you don’t want to pick just any old stencil. You’ll want one that has a lot of small details and not so many straight lines.
Another thing to consider is the size. You’ll want one that covers a lot of area, especially if you’re planning on adding texture to a lot of places on your piece. I personally love the 12″ x 12″ ones or those that are at least as wide as the drawers are tall.
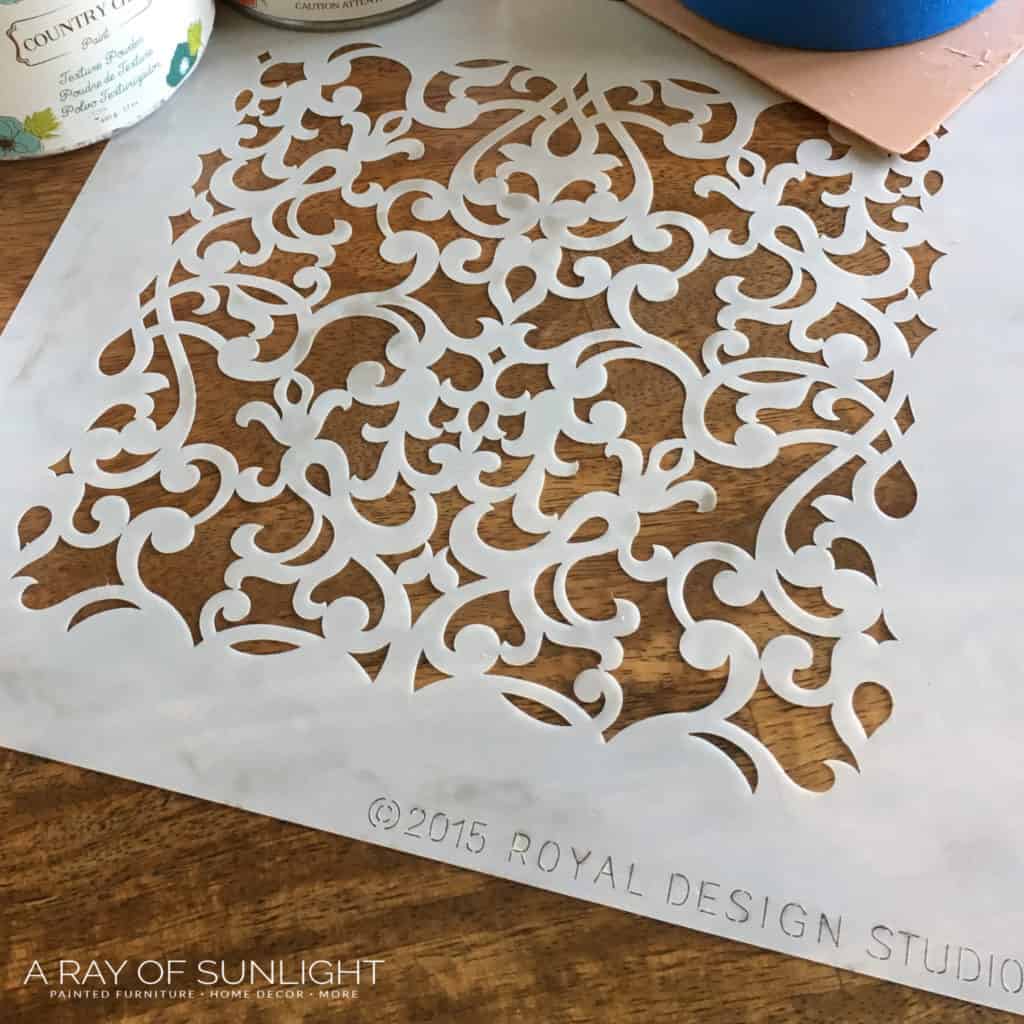
This particular one is smaller than most, but I fell in love with the pattern that I decided it was worth a little bit of extra work. If you do get a smaller one, you’ll just have to keep moving it around until all of the area is covered, which isn’t a big deal. It might take about 5 minutes longer to stencil everything that way.
DIY Raised Stencil with Texture Powder
There are so many reasons that I love the texture powder by Countrxy Chic. But first and foremost, I love that you can tint it whatever color you want by adding paint to it. The powder is colorless, so, really, you could have a raised stenciled design in any color!
You could match it to the color you’re using for the rest of the piece or make it a fun shade to really stand out. Here are fun dresser paint ideas if you need inspiration!
I also love that it’s all natural, so I don’t have to worry about any harsh chemicals at all! And I love how versatile it is. You can dabble it onto wood to create a weathered texture finish, or you can mix some of it alone to create spackling to fill in small holes in the wall.
(I also want to try it for hiding wood grain. Here’s more on how to hide wood grain when painting.)
Choosing Stencil Placement
Okay, you have your products, and you have done the process of how to prep furniture for painting. Now, it’s time to create this unique finish –
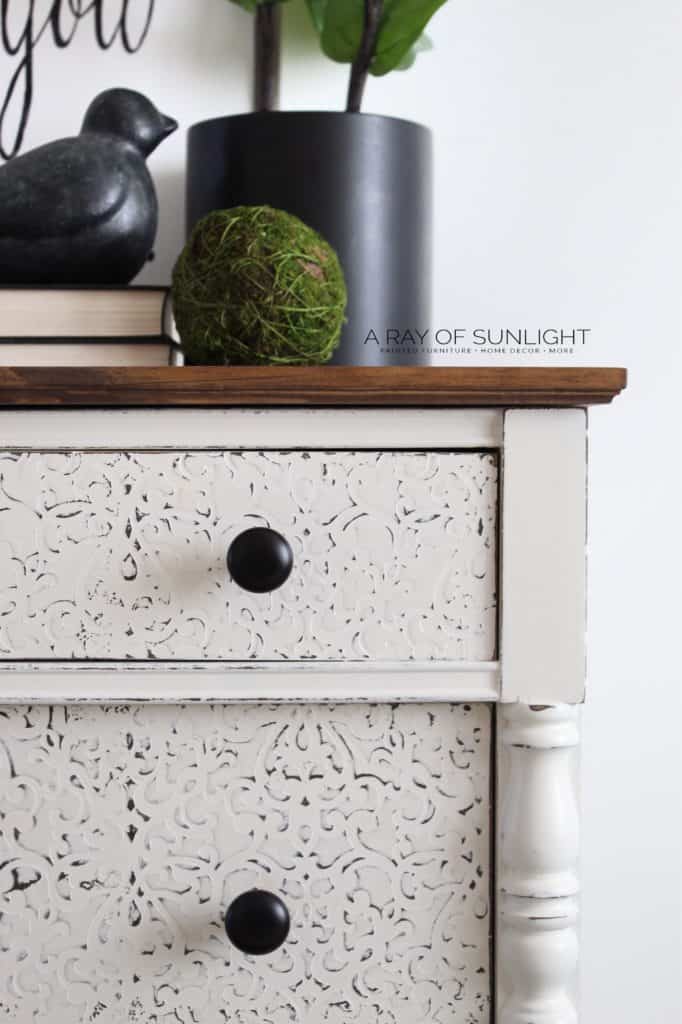
I personally love to add an overall raised stencil to the drawer fronts of dressers or nightstands. And then I leave the rest of the piece as is. But, I have also used a single stencil to add a circular detail to a cabinet door, making it look like a wood applique or carved detail. The concept or process is the same either way.
Here are more unique ways to update your drawers with these dresser drawer painting ideas, including stenciling.
First, it’s best to decide the placement of the pattern. So, I decide if I want it to be exactly centered in the very middle of the drawer or if I want it centered lengthwise, but maybe have the center of it up just a bit so it doesn’t look too perfect.
For this piece, I found the center of each drawer’s length. When I placed the stencil, I put it in the exact center, and then I moved it up just a bit so it wasn’t in the exact center.
Once you’ve decided on where you want it, tape the edges just a bit with painters tape to keep it from moving.
**It’s best to start in the middle of the drawer and work out, just so you have the same details all the way around the drawer.
How to Make DIY Raised Stencil on Furniture
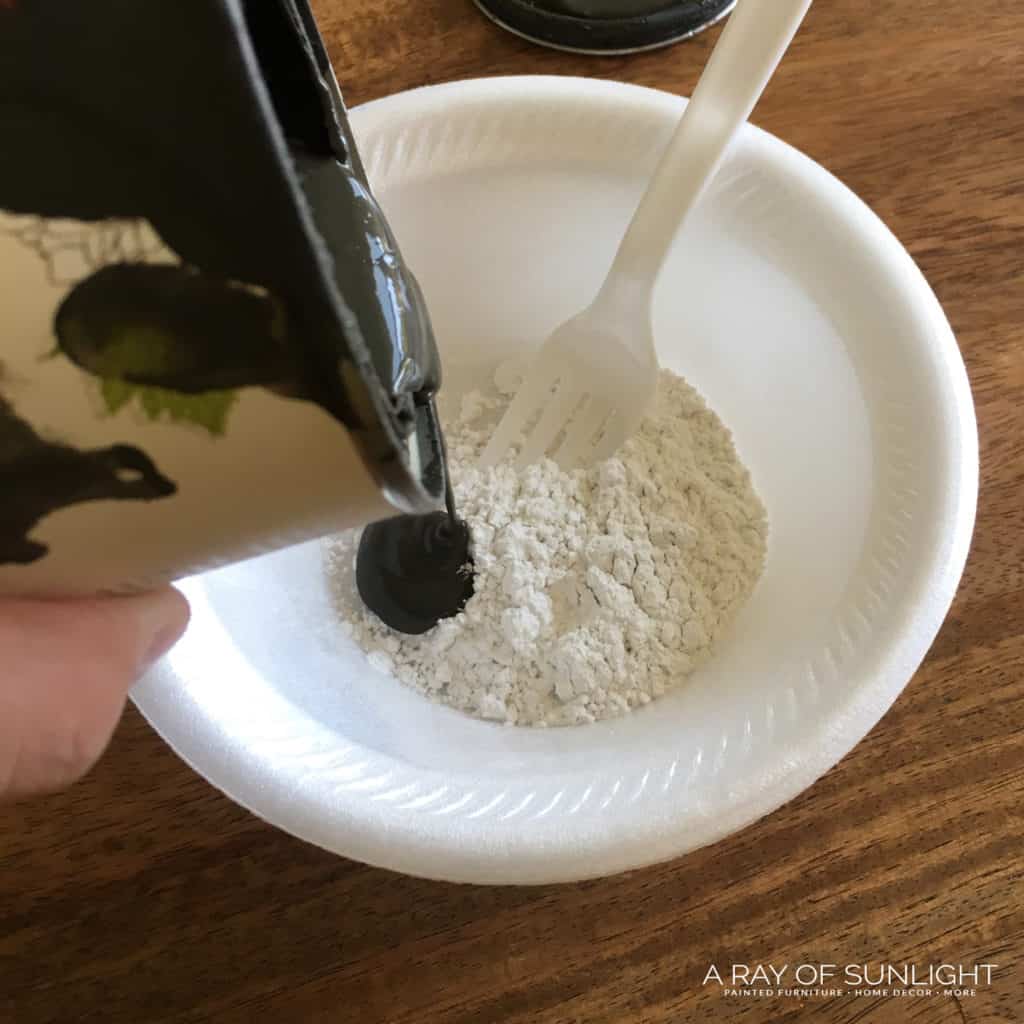
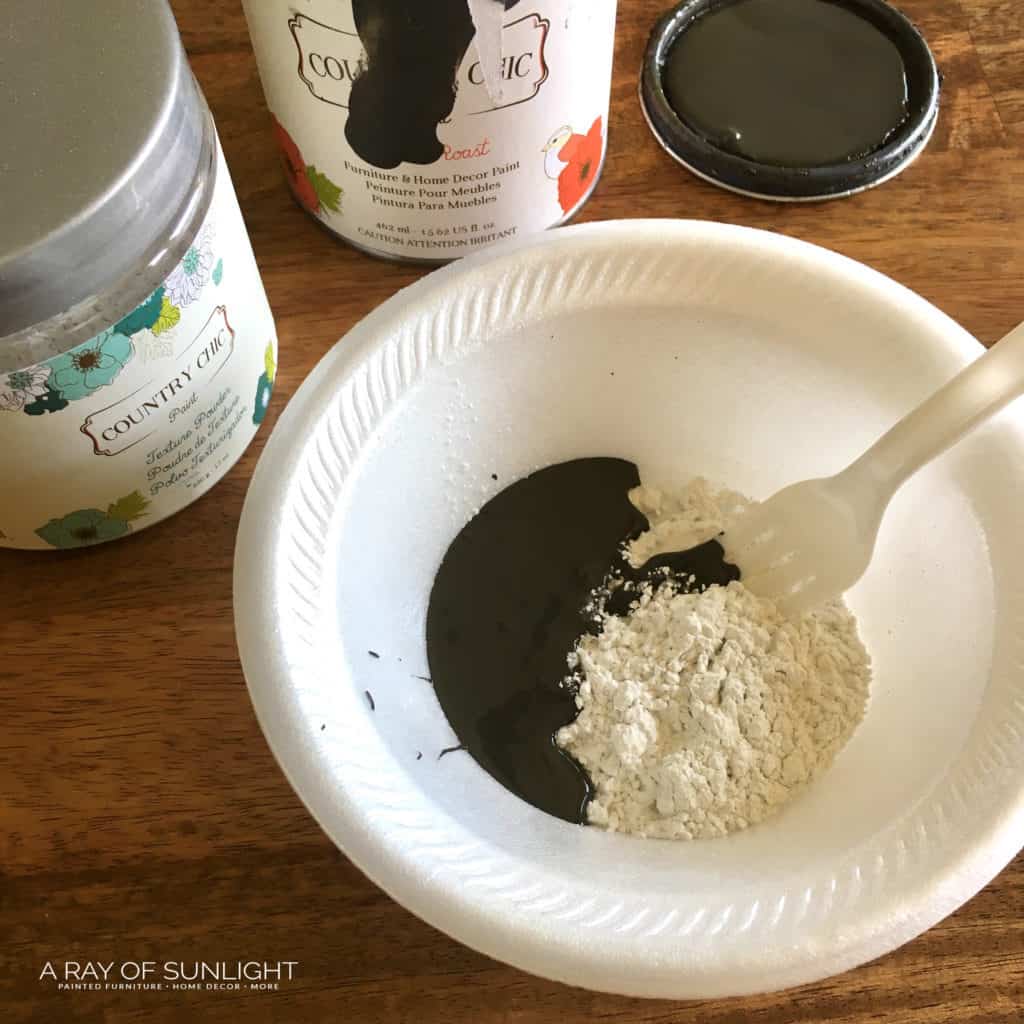
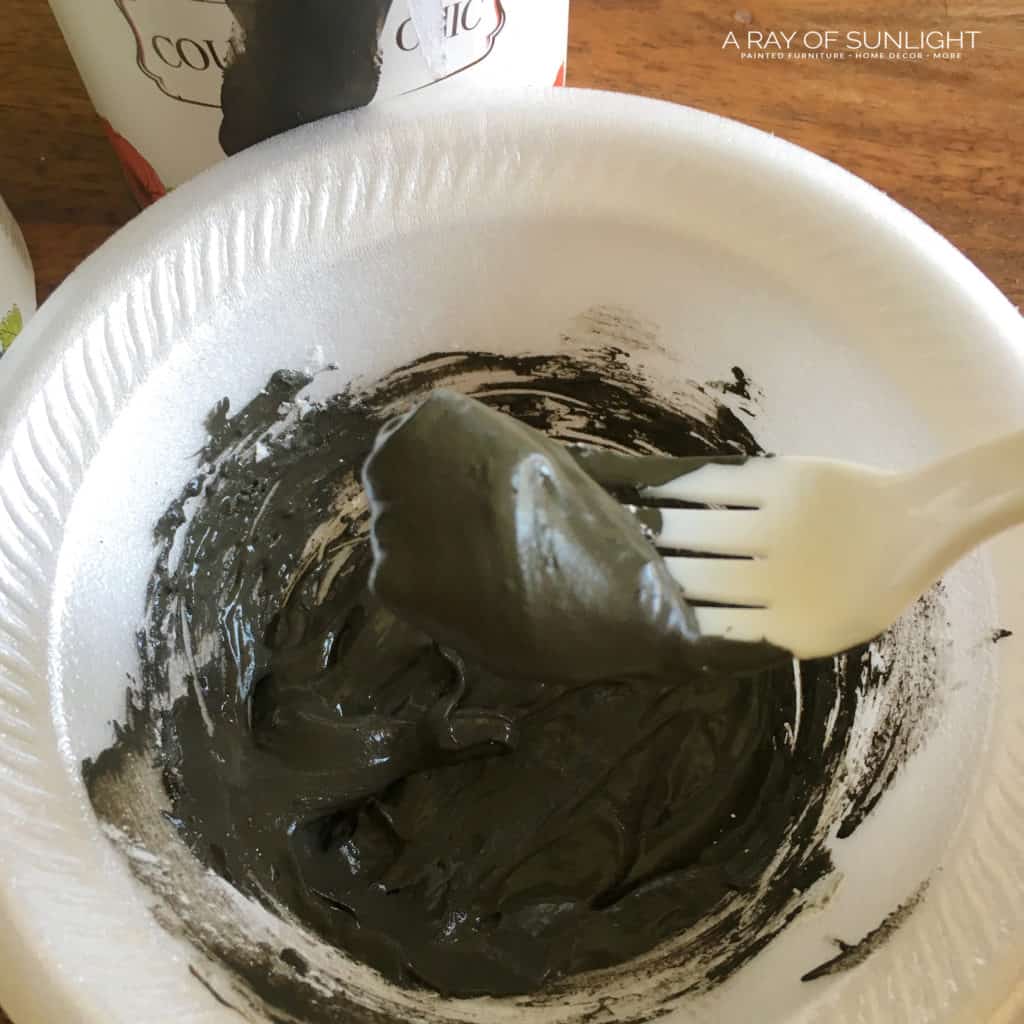
Mixing the texture powder and paint is super easy. Just use an approximate 1:1 ratio. To be honest, I never measure. I just pour some paint into a paper or plastic bowl, and then I pour about the same amount of texture powder on top.
I use a plastic fork or spoon to mix the two together, making sure that there aren’t any clumps of powder. You’ll want it to be the consistency of peanut butter at room temp.
The texture powder will dry out if it’s left uncovered for a while. I only mix a small amount at a time, and then I put a damp paper towel and tin foil tightly wrapped over the bowl if I leave it.
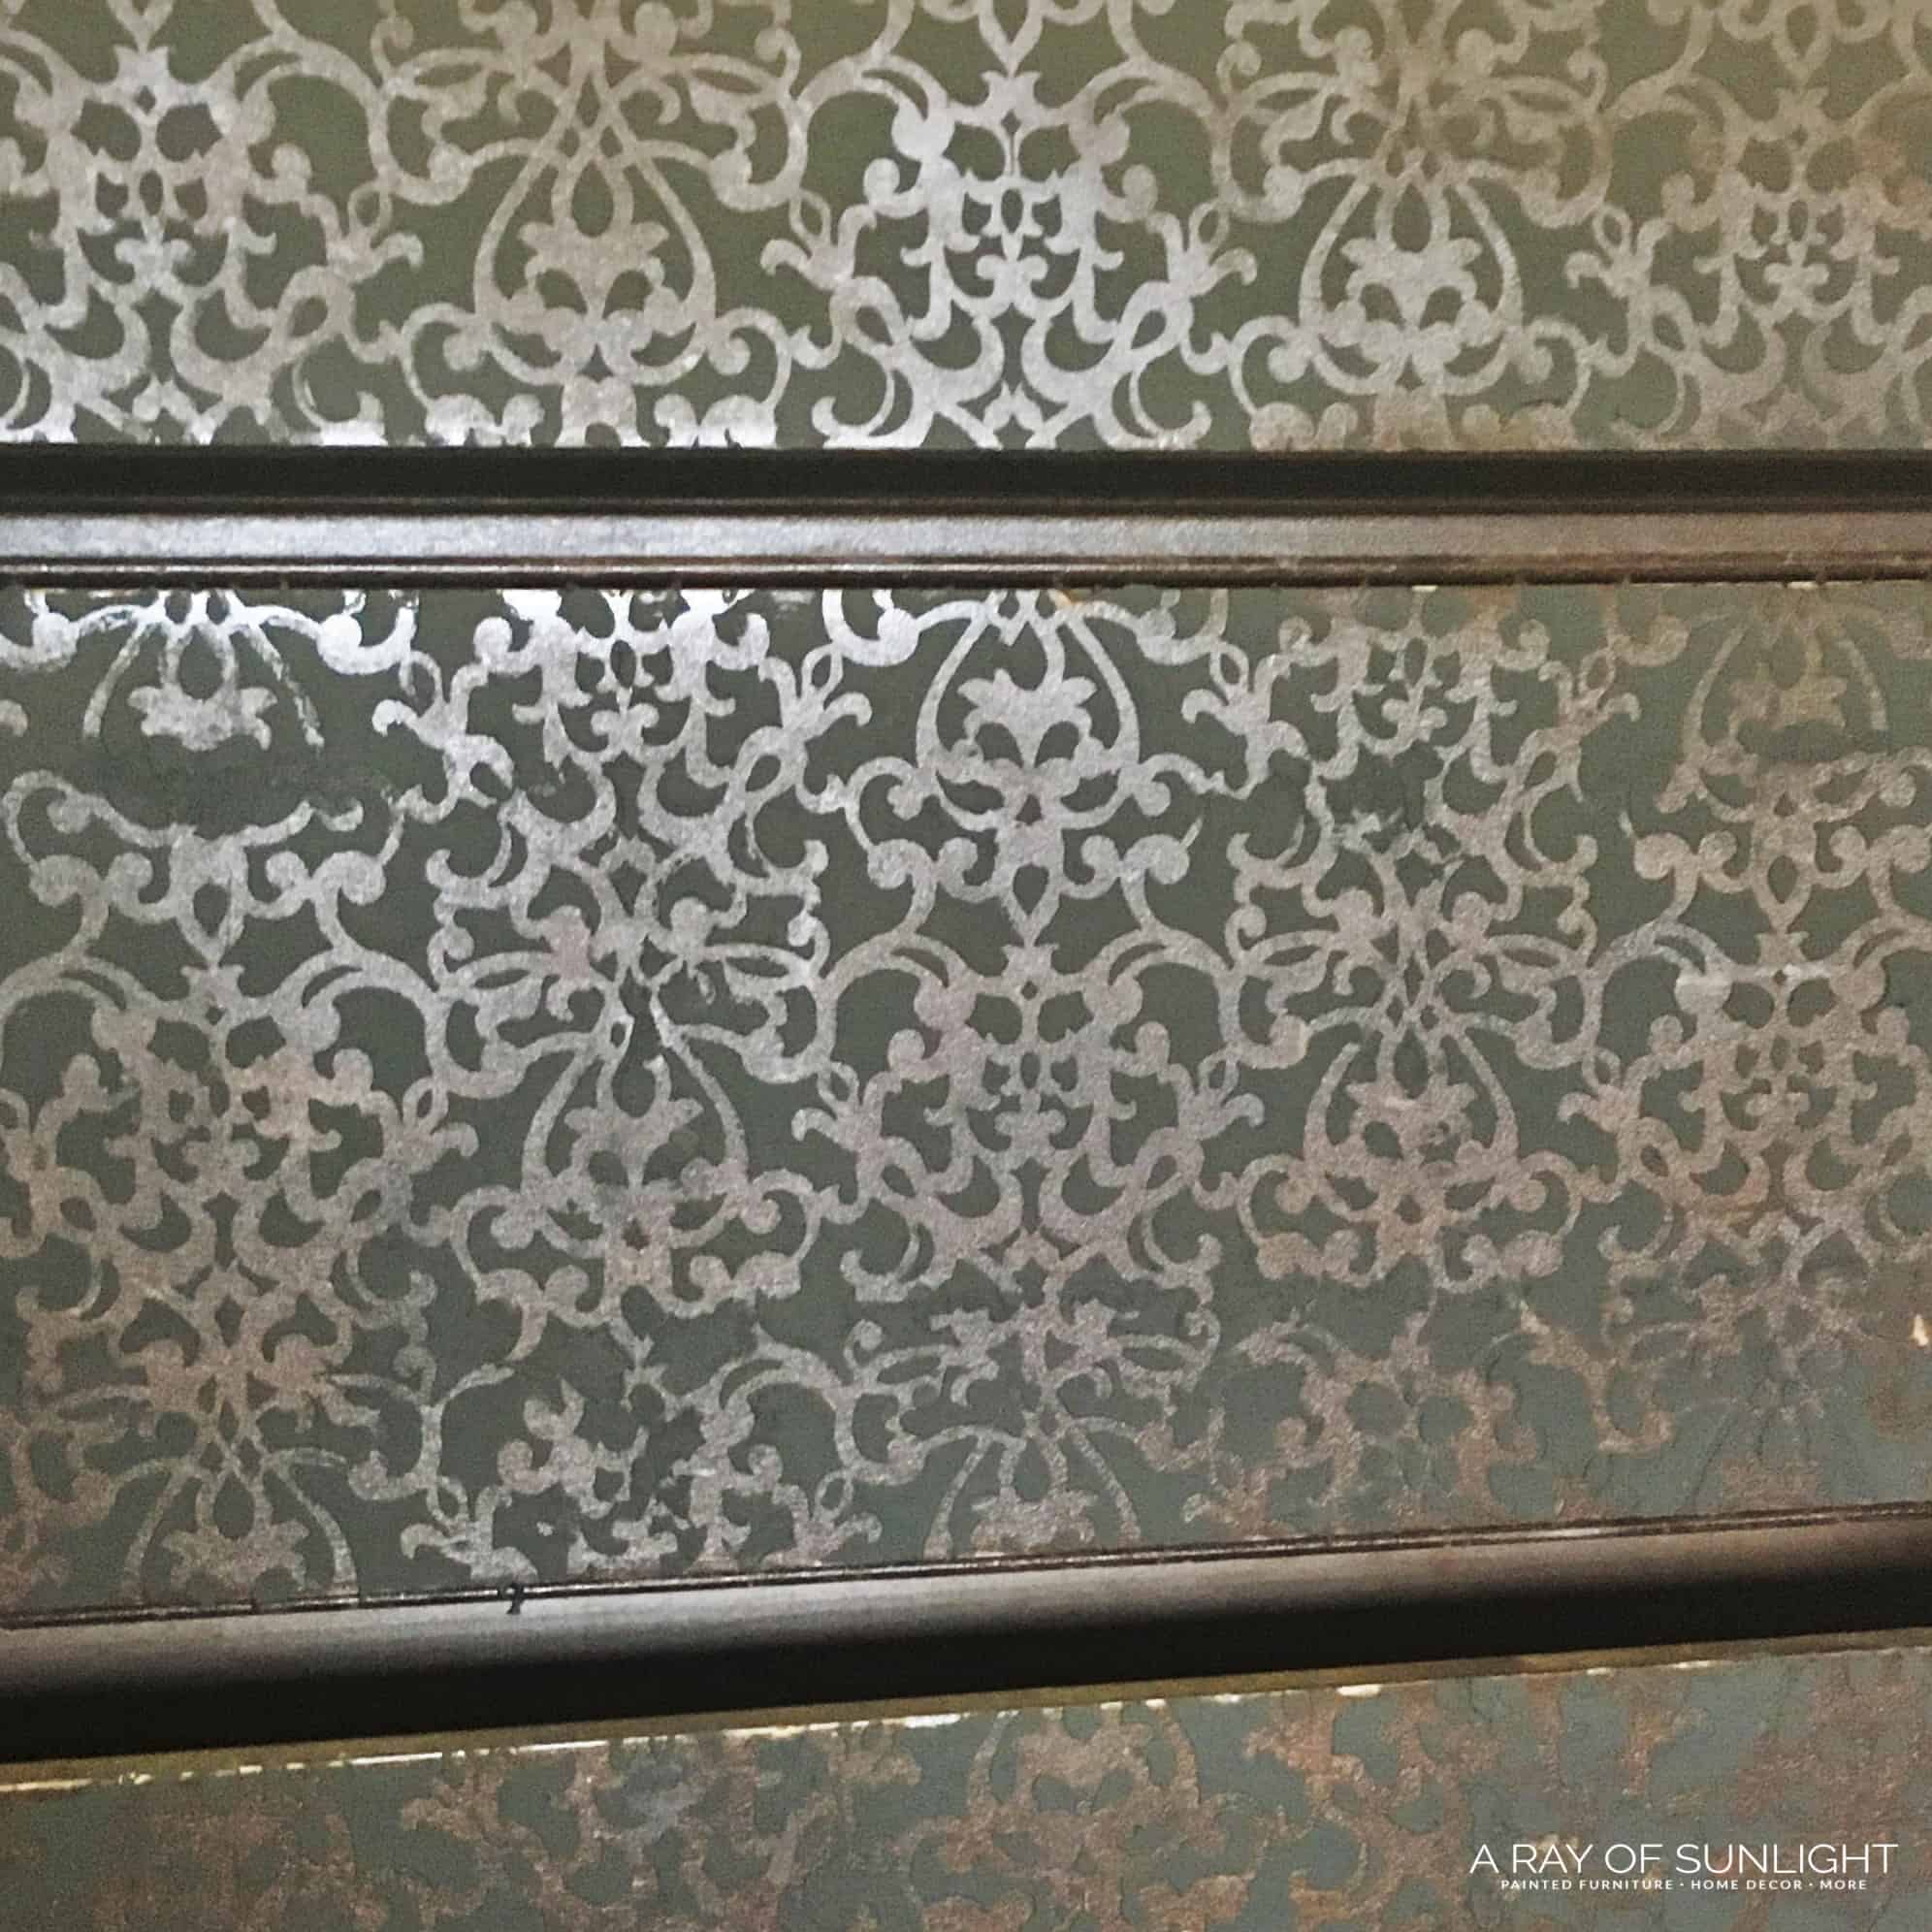
Now it’s time to spread the mixture all over! Just grab a straight edged tool, put a little bit of the paste on it, and then spread it all over the pattern.
You don’t want to get the texture too thick, and you don’t want it to go under the stencil. So, it’s best to work with a small amount at a time. Get more tips on how to stencil without bleeding here. Make sure to get it into all of the details, and then spread the paste so it’s flat and smooth.

Work in small sections, and then lift the design, line it up, and lay it down on the next area. Just be sure not to ruin the texture you’ve already laid down.
You may need to take the tape off at this point so it doesn’t get in the way, but you’ll want to hold the pattern in place with your fingers. You can also wait for that section to dry before moving on. Once the paste is completely spread across the drawer front, leave it to dry completely. I leave mine overnight.
Would you like to save this?
And don’t worry, if you mess up, grab a wet rag and wipe it off. You may even be able to wipe it off the next day with a little bit of elbow grease, water, and a rag. For more tips, here’s how to stencil painted furniture.
Chalk Painting Stenciled Dresser
We used Heavy Cream in Behr Interior Flat Paint, which is a creamy white shade, for our favorite homemade chalk paint recipe. I really love making my own because I hate to be limited in my color choices.
But you can check out other options for the best white paint for furniture here if you don’t want to do that. But I really love the feel of chalk coating and how it distresses.
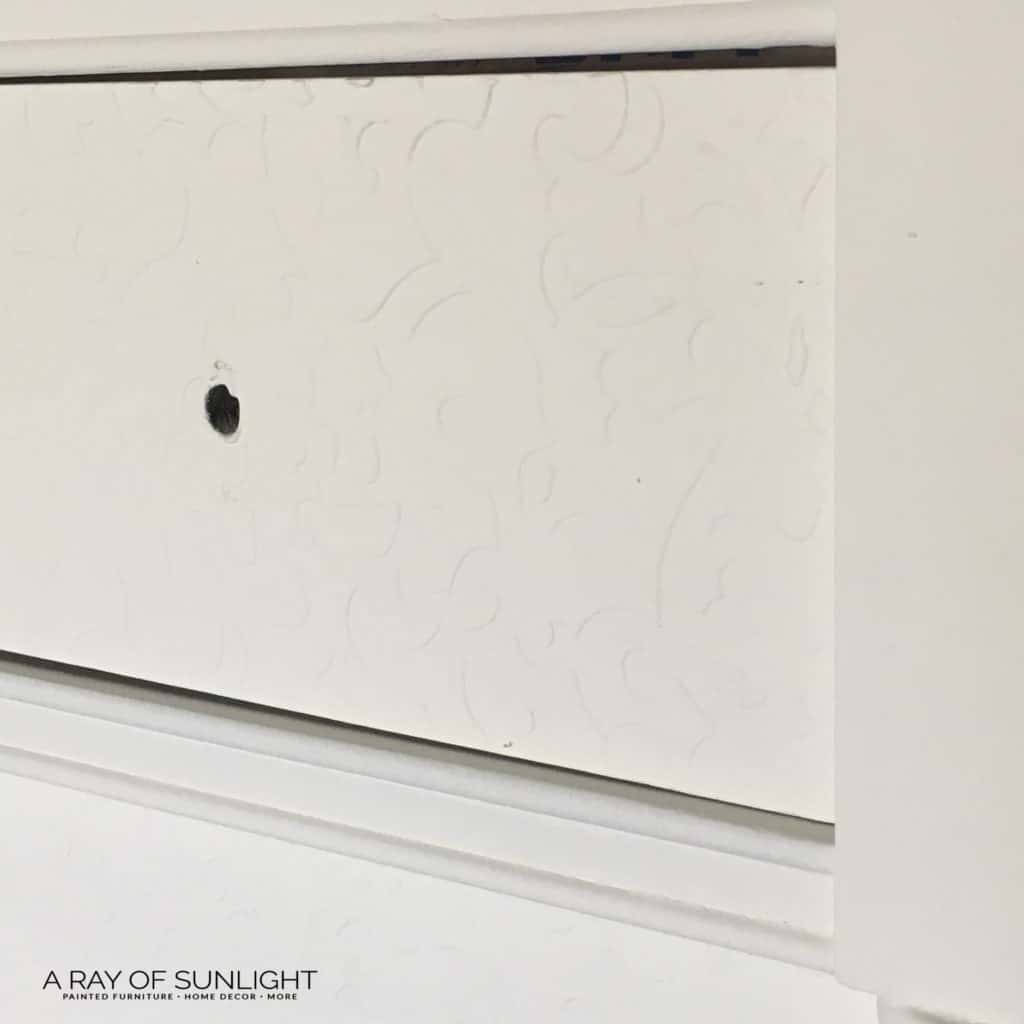
Once the texture was dry, I sprayed the paint, per usual, with my favorite sprayer, the Wagner Double Duty, the cheap and easy to use one that doesn’t even need an air compressor or anything extra! Unfortunately, this model has been discontinued, and here is the new model: the Wagner Control Spray 250.
It really makes applying whites and creams – and any color, actually – so much easier! Here’s how to use a Wagner Double Duty paint sprayer if you have this model, and here are the steps how to prevent overspray when painting furniture that I take every time.
Check out more recommendations for the best HVLP paint sprayers for furniture here! If you want to brush or roll your new coating on instead, you can. Here are the best paint brushes for painting furniture and the best rollers for painting furniture.
Distressing and Topcoating Dresser
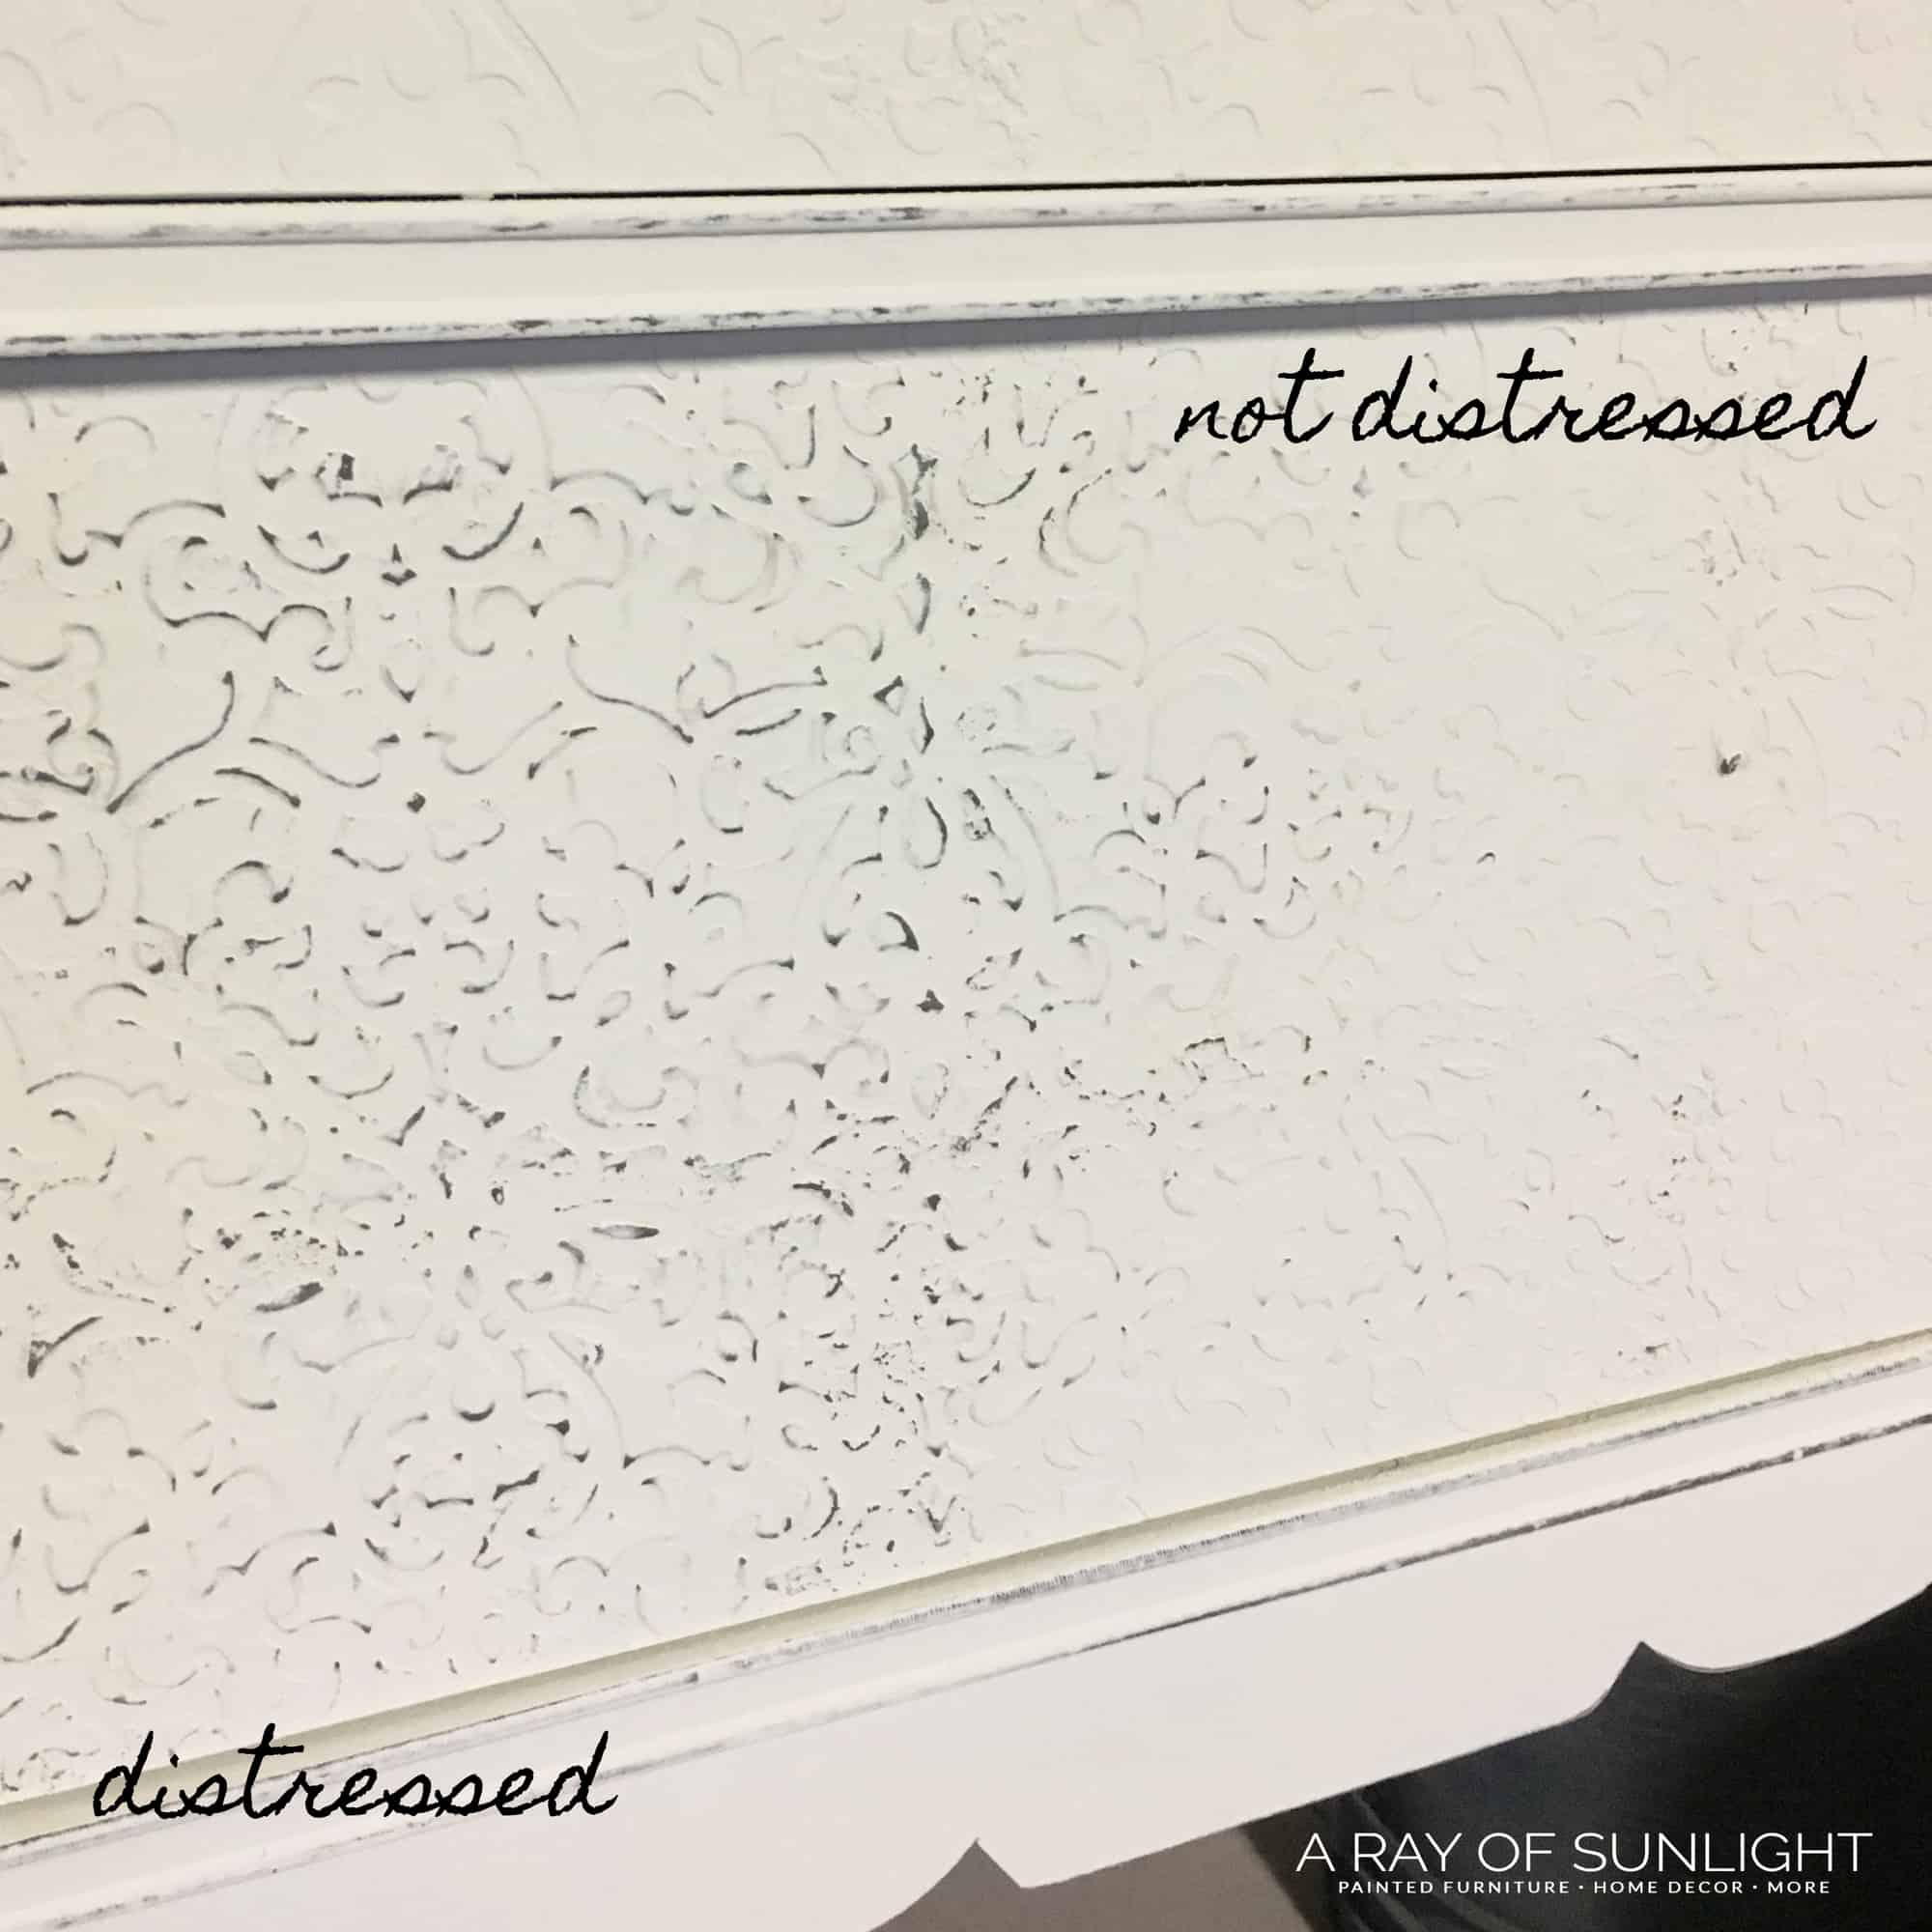
After the new coating is dry, it’s time to distress to really make the raised stencil pop! It’s really simple, actually. I usually take a small piece of 220 grit sandpaper and wrap it around an old sanding block.
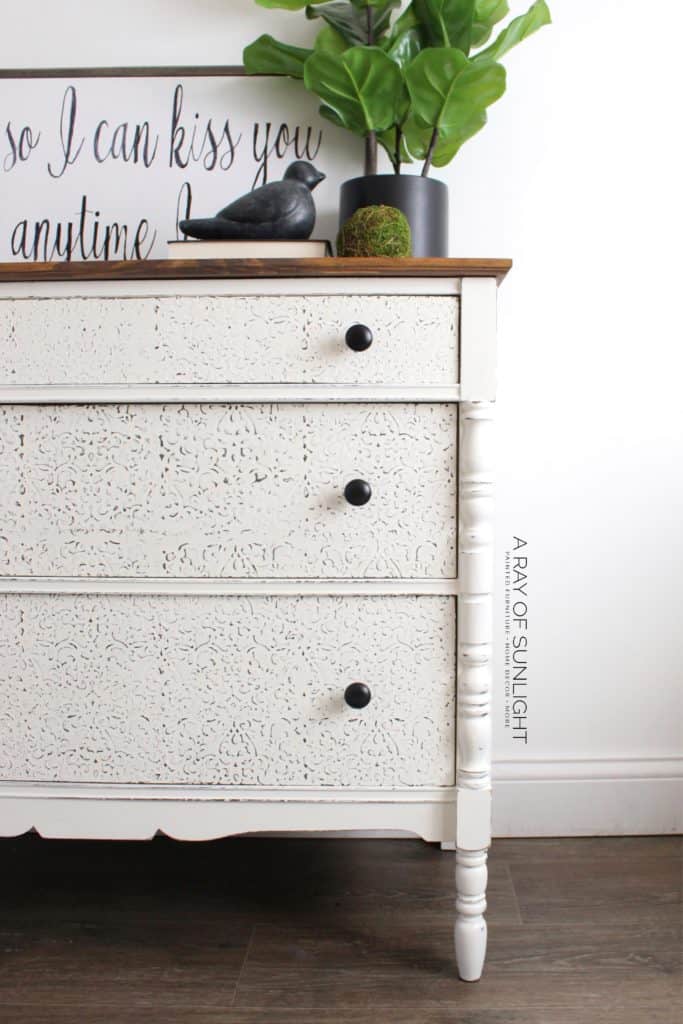
Then I go to town, lightly sanding all of the texture. The edges will start to show up brown, making it look like distressed wood.
Then, I move on to distressing the body. I like to do it more heavily than usual, just because the drawers are distressed so much.
Check this post for more distressing furniture techniques you can do! And check out these distressed painted furniture and distressed dresser ideas for inspiration if you like this look.
Then, it’s best to vacuum and wipe all of the dust off with a tack cloth and then add a topcoat. Sealing really provides a durable, nice, and smooth finish. I like to spray on 3 coats of this Varathane polyurethane.
Learn ALL of my tips and tricks on how to spray polyurethane here! If you don’t have an HVLP gun, here’s how to apply polycrylic to painted furniture by hand. Or learn about the many other alternative options for topcoats for painting furniture here!

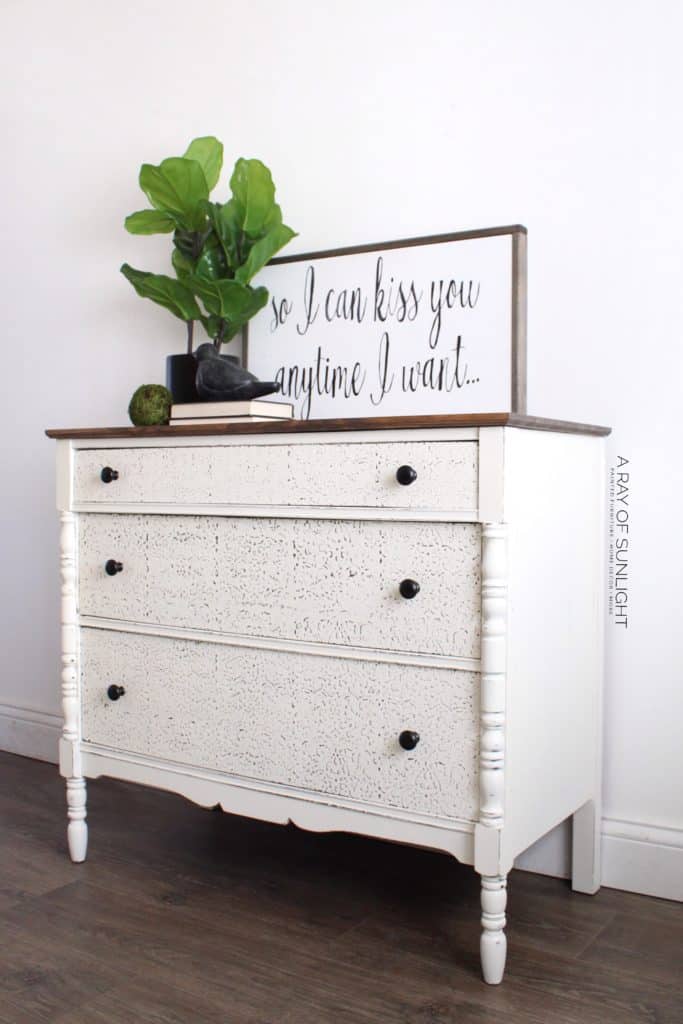
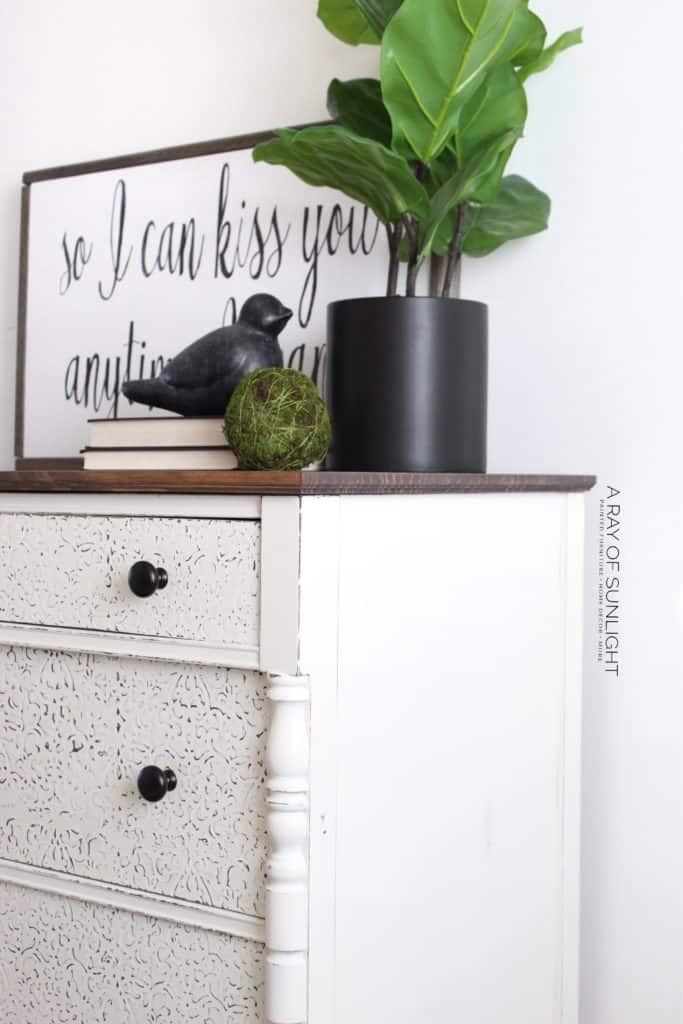
Replacing Dresser Top
One last detail of this makeover was the top. When we found the dresser, the top didn’t go all the way to the back. That’s usually where a mirror or a backsplash would go.
So we grabbed a new piece of wood and replaced the top. Learn more about how to replace a top in this black vintage farmhouse dresser makeover.

*There are a lot of details and painting furniture ideas that I won’t cover in this tutorial. Just because I want to really focus on this specific stenciled technique. Here’s another method for adding texture to your piece – check out my post about how to decoupage furniture with rice paper. Get more shabby chic dresser ideas like this for your next project here.
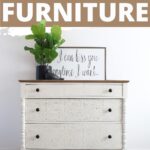
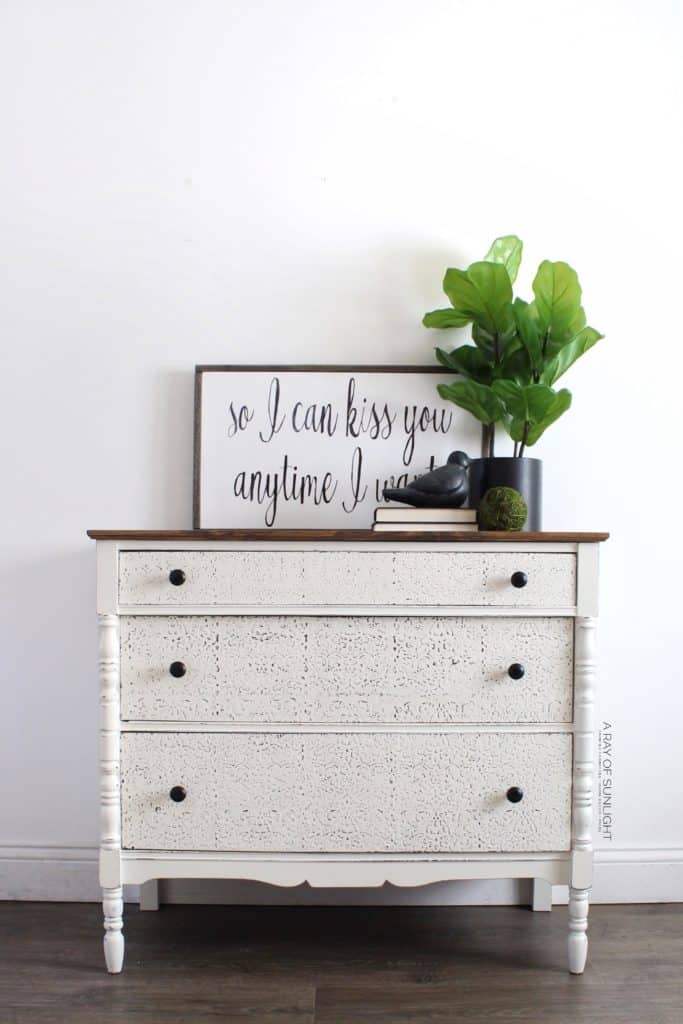
Watch the full makeover in our YouTube video below, or keep scrolling for the after photos!
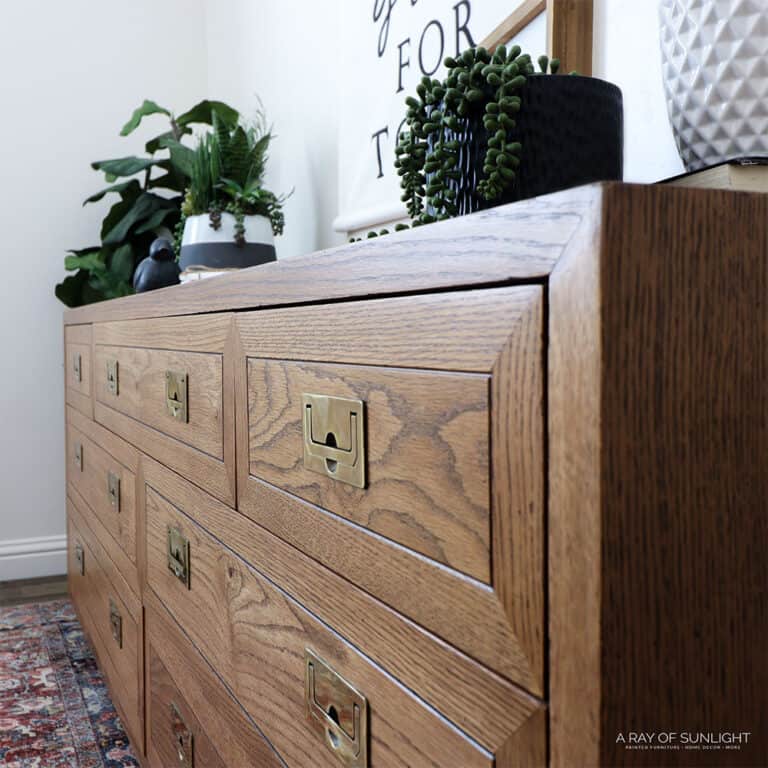
More Before and After Makeovers
See All >
Click any of these “before” photos below to view the “after” of that makeover.


I hope you’ll try this technique! Please let me know if you do! Check out this post to get more tips and tricks on stenciling furniture and this post for our list of dresser stencil ideas. And try out more white painted dressers here!


DIY Raised Stencil on Furniture
Check out this tutorial on how to do a DIY raised stencil on furniture to add some texture and personality to your piece.
Materials
Tools
Instructions
- Decide where to put the stencil then tape it on the furniture to keep it from moving.
- Mix the texture powder and paint in 1:1 ratio, making sure that there aren’t any clumps.
- Spread the texture paste all over the stencil. Make sure to get it into all of the details, and spread it so it’s flat and smooth.
- Leave stenciled texture to dry completely.
- Once the texture is dry, spray few coats of paint and leave to dry.
- After the paint is dry, it’s time to distress to really make the stenciled texture pop. Use a small piece of 220 grit sandpaper and lightly sand.
- Seal with 3 coats of polyurethane.
Recommended Products
As an Amazon Associate and member of other affiliate programs, I earn from qualifying purchases.
More Stencil Furniture Makeovers
- Shabby Chic End Tables with Raised Stenciling
- Navy Dresser with Textured Drawers
- Embossing Furniture
- Stenciled Furniture
- DIY Navy Chest of Drawers
Follow us on YouTube to get more tips for painting furniture. Or share your project with us on our Facebook Group and be part of our community. See you there!

The stained top looks so good with the texture. I have to do this.