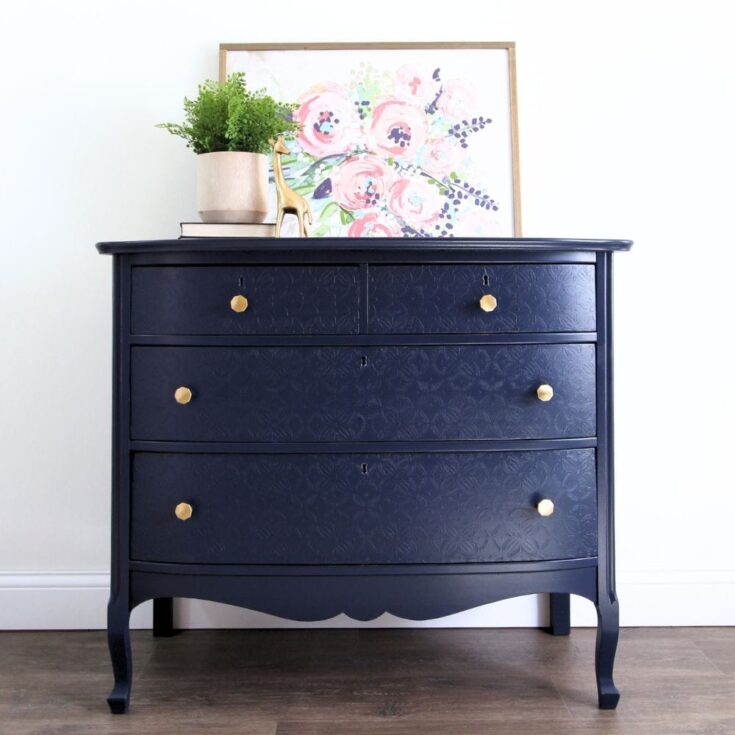
DIY Navy Chest of Drawers
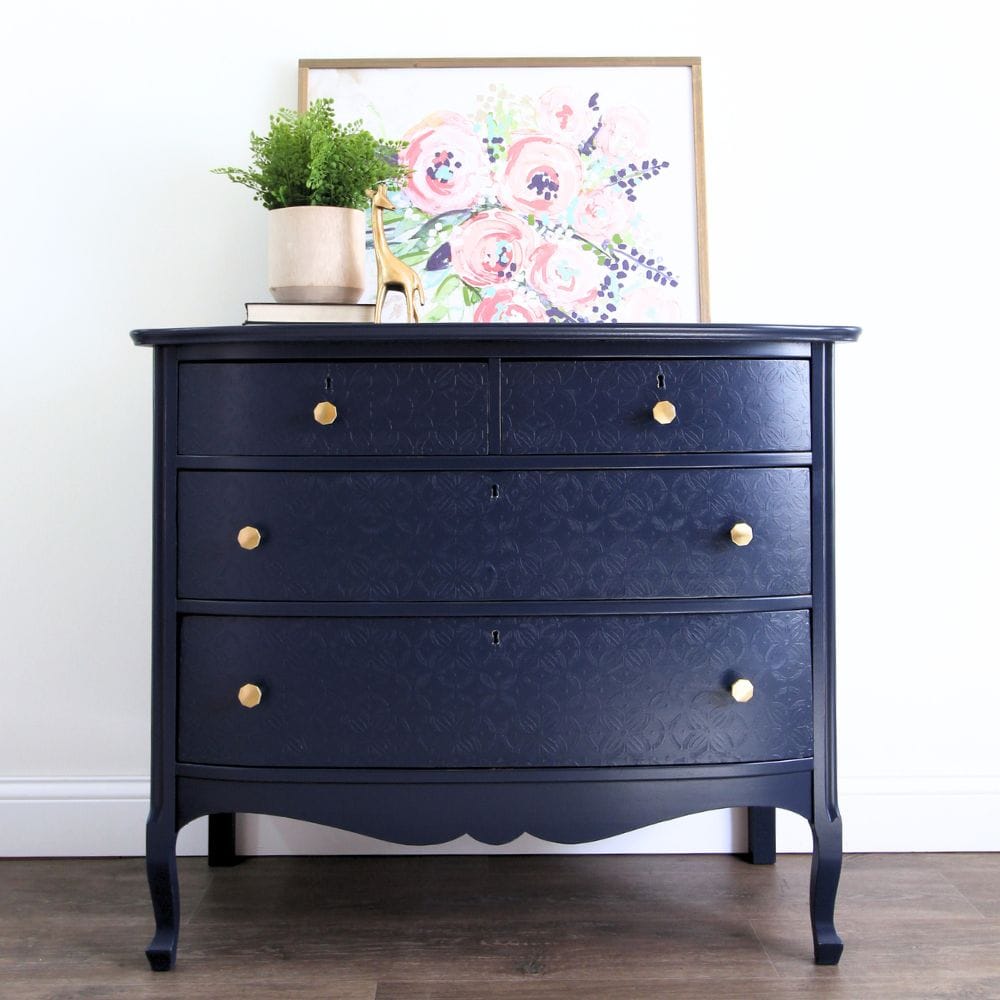
Are you looking to update your furniture and add a pop of color to your home decor? This DIY navy chest of drawers project is the perfect way to transform a dated piece into a stunning statement piece for any room. The rich, bold color of blue painted furniture ideas will add depth and character to your space, while the textured finish adds a vintage touch.
We’ll walk you through all the steps of this beautiful transformation and share tips and tricks along the way!
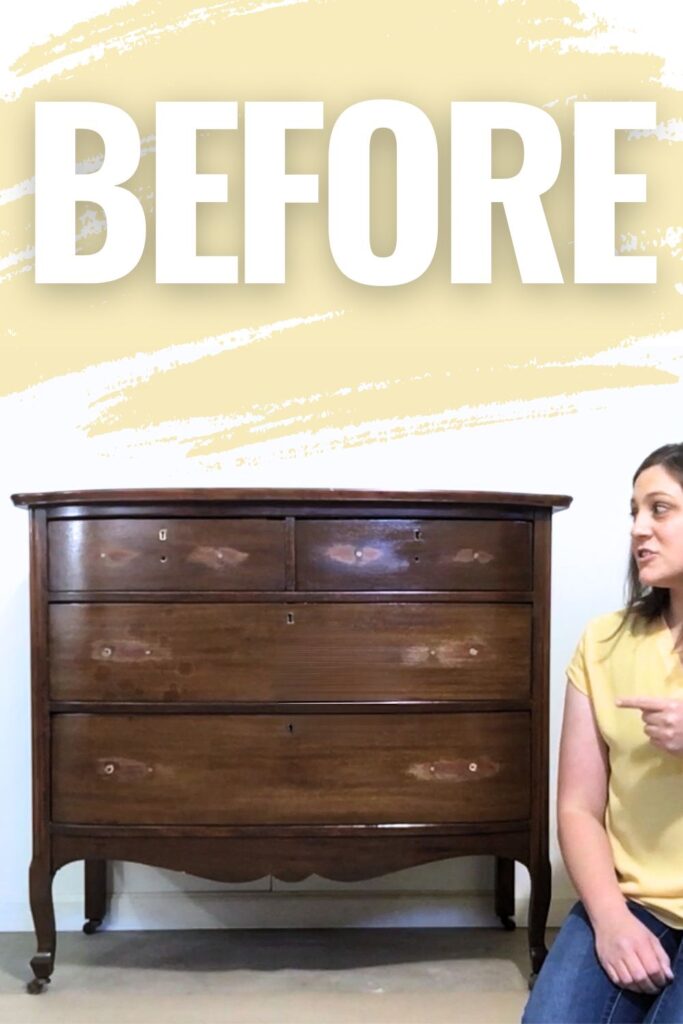
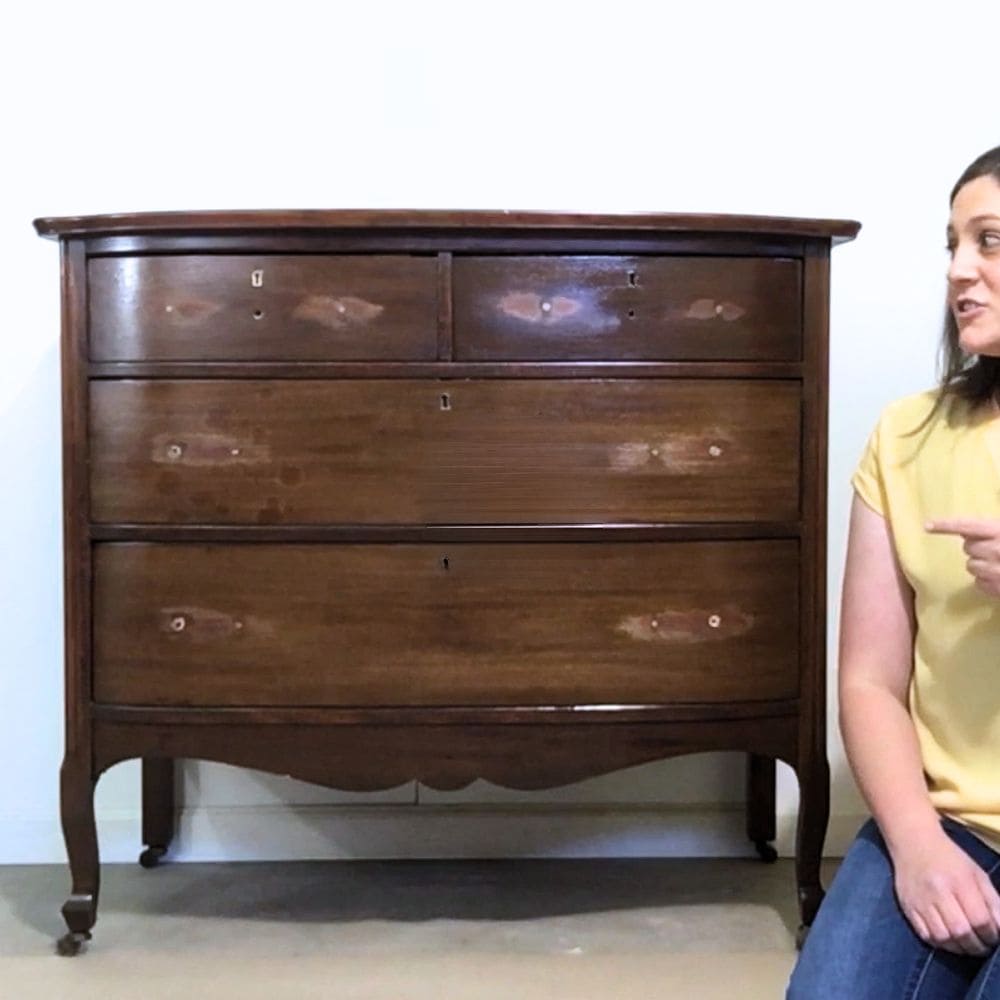
You may have that one piece of furniture in your home that’s seen better days. But before you toss it out or spend money on a replacement, consider giving it a fresh new look with paint!
Painting furniture is a fun and budget-friendly way to update your decor and add a personal touch to your space.
One of the most popular colors for furniture makeovers is navy blue, and for good reason. This deep, rich color adds sophistication to any piece and can work with a variety of styles. Plus, with the right techniques and tools, you can get a pro finish that looks like it came straight from the store.
So let’s dive in and learn how to create a gorgeous navy chest of drawers!
Supplies Used for this DIY Navy Chest of Drawers
As an Amazon Associate, I earn from qualifying purchases. I also may earn from other qualifying purchases with other companies or get free product to review and use. All opinions are my own.
- Texture Powder
- Dark Roast Paint from Country Chic
- Stencil (similar smaller option)
- Flat-Edged Tool
- Peacoat Paint from Country Chic Paint
- Painting Sponge
- Sandpaper
- Polyurethane
- New Octagon Hardware
Prepping Chest of Drawers for Paint
Before we can start painting, we need to prepare our chest of drawers. Preparing furniture for painting should always be the first step for a smooth and successful makeover.
This includes cleaning furniture before painting and sanding before painting furniture. Sanding for paint prep helps paint adhere better and gives you a smooth surface to work with.
For updating the hardware, here’s how to fill holes when replacing cabinet or furniture hardware and how to change hardware on furniture for a completely new look.
Adding Texture to the Drawers
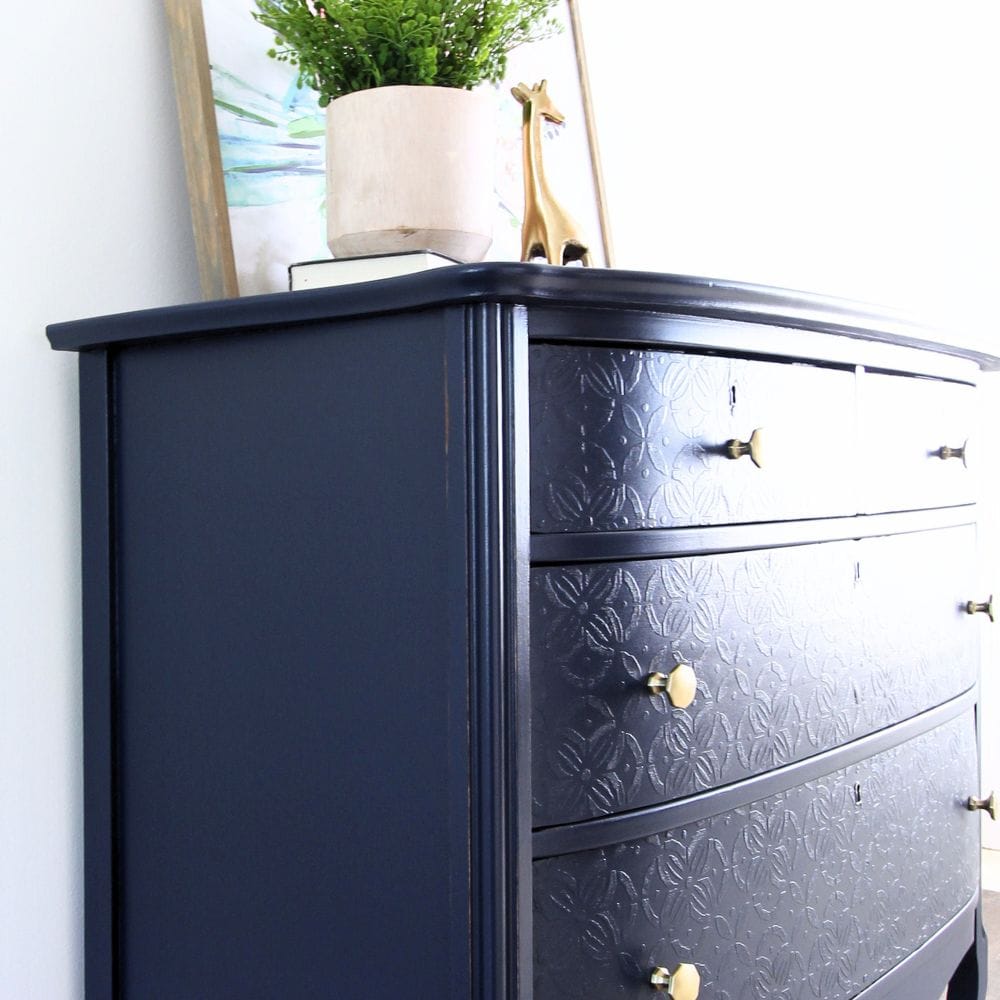
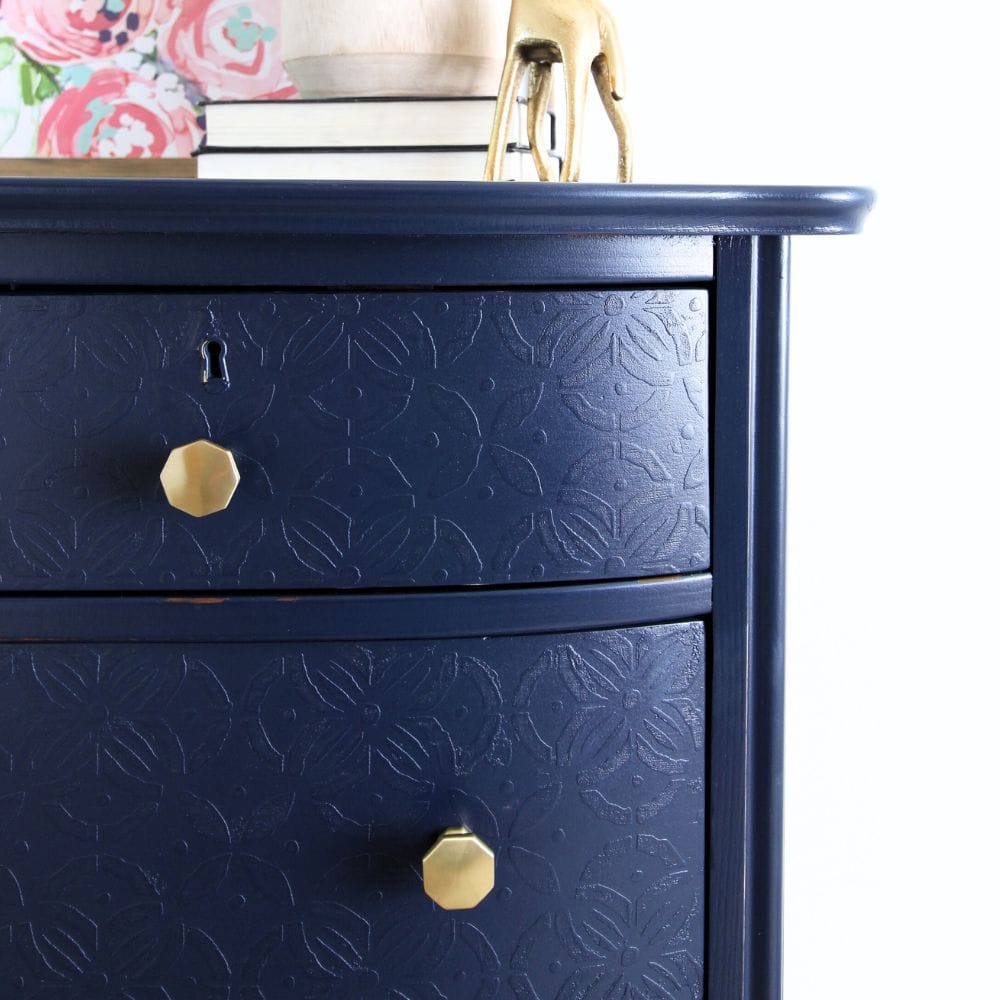
One of the key elements that makes this chest of drawers makeover stand out is its textured drawers. This adds depth and dimension to the piece for a unique look that you won’t find in any store-bought furniture.
We create this using texture powder, which you can find at Country Chic Paint.
To get started, get some texture powder and Dark Roast brown paint from Country Chic Paint. Mix them together in a one-to-one ratio.
Find a large stencil, or even a small stencil and lay it down on the drawer fronts. I bought this stencil from Michaels years ago and haven’t been able to find it for sale anywhere.
Take a flat-edged tool or even a hard plastic card and spread the texture mixture all over the stencil.
Finally, gently scrape off the excess powder for a nice, thin layer. Carefully remove the stencil and let the texture dry.
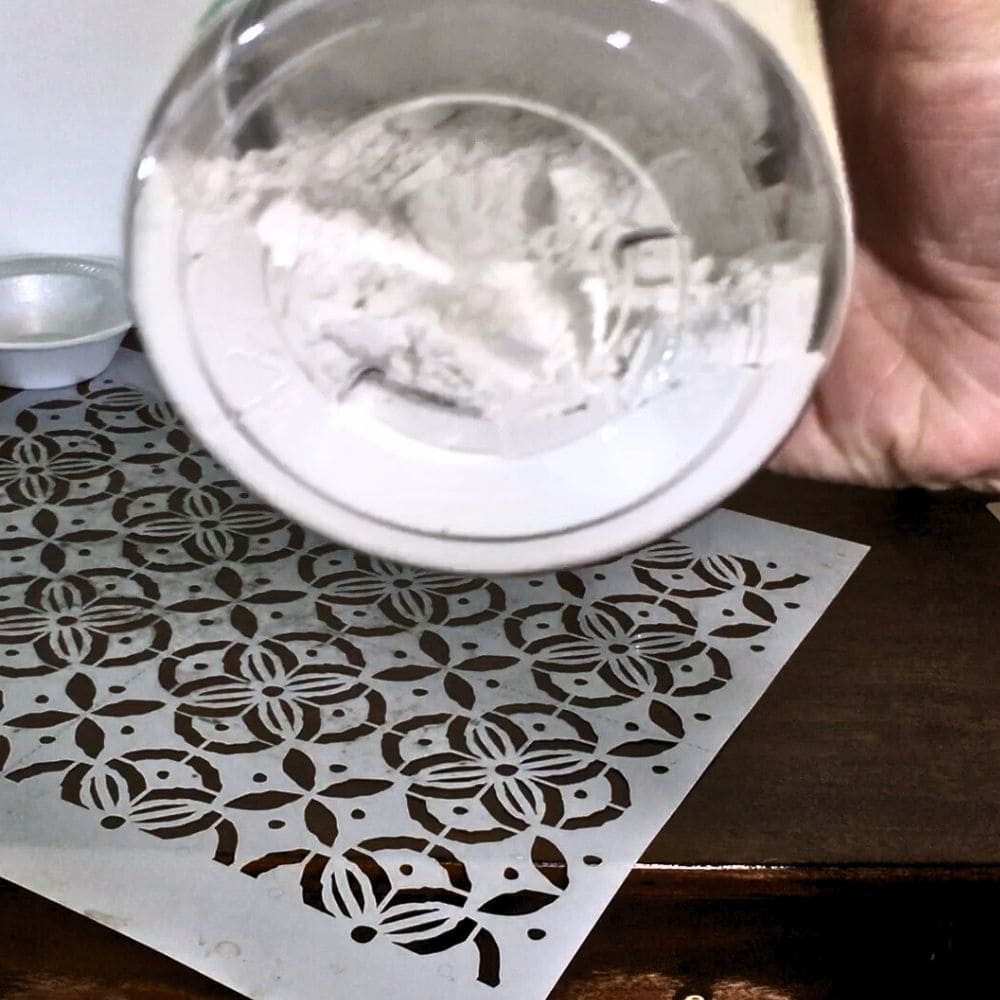
If you haven’t tried stenciling furniture before, this is the perfect project to give it a try! You can also check out our post on stenciled furniture to get inspiration and tips for stenciling.
Painting Chest of Drawers
When the texture on the drawers dries, it’s time to paint! This makeover uses Peacoat paint from Country Chic. This navy blue chalk paint is one of the best options available on the market.
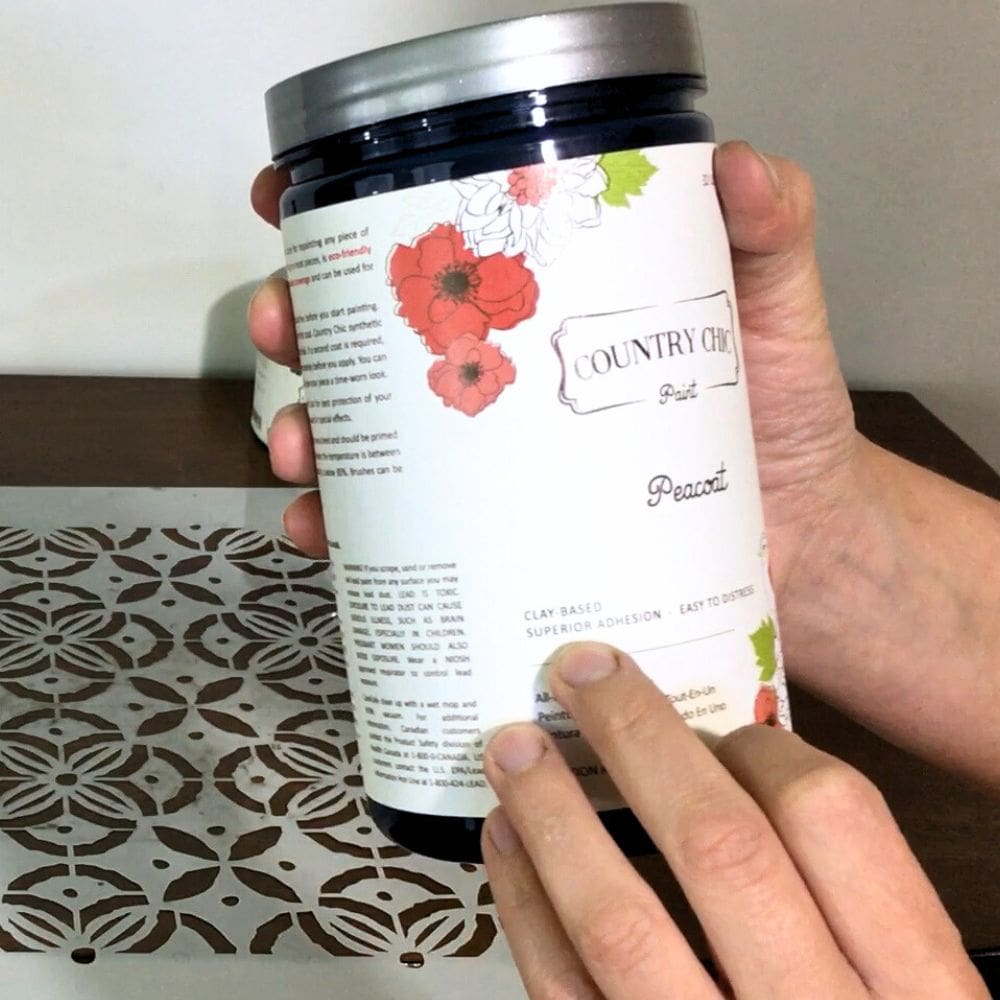
If you don’t want brush marks and if you don’t have access to a paint sprayer, try using a painting sponge. With this painting sponge, you can easily apply thin, even layers of paint for a smooth, brush-free finish.
It will take a few more coats compared to using a brush but trust us, it’s worth it! Our post on how to paint furniture without brush marks has more tips and tricks on this.
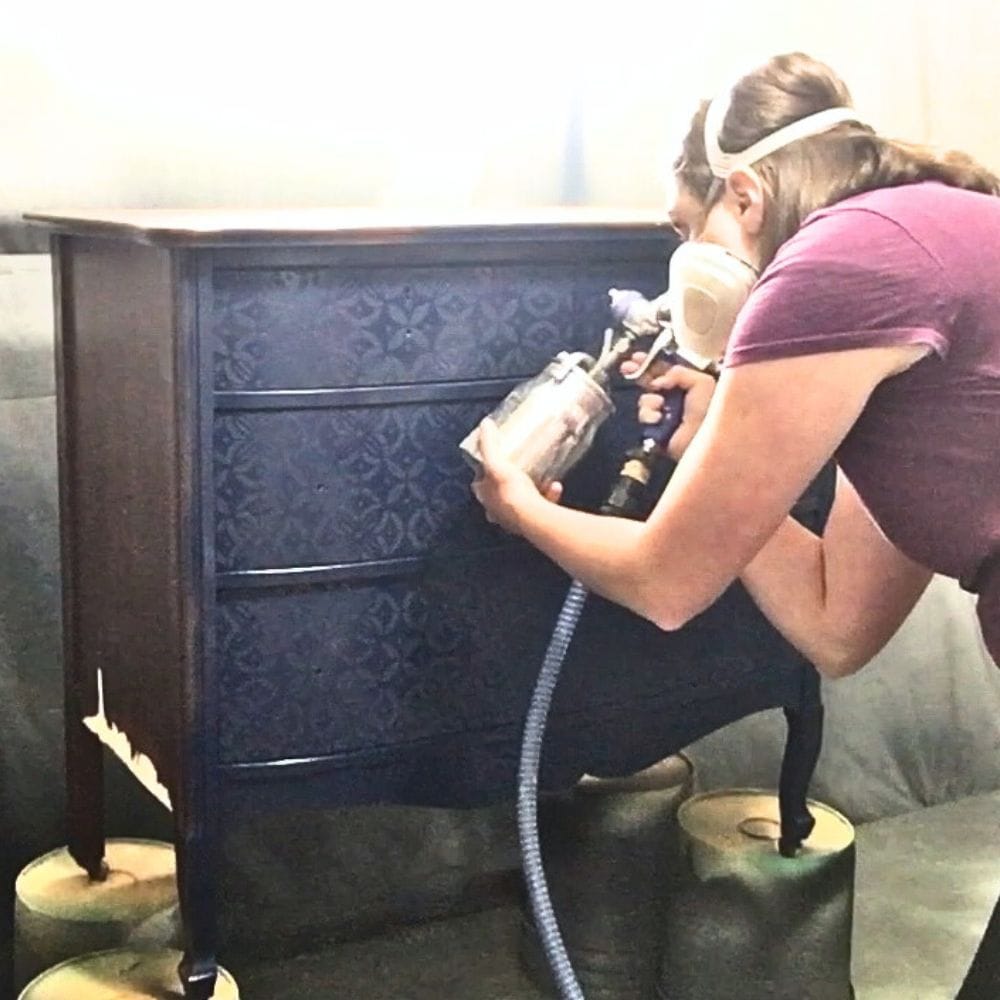
If you’re up for using a sprayer, you should totally check out this painting furniture navy blue makeover, also done with Peacoat!
Distressing and Sealing Painted Chest of Drawers
Now that the paint is dry, it’s time to add more vintage charm to our navy chest of drawers.
Using sandpaper, gently distress the edges and textured drawers. Distressing furniture gives the furniture a rustic and aged look, perfect for that farmhouse or shabby chic style.
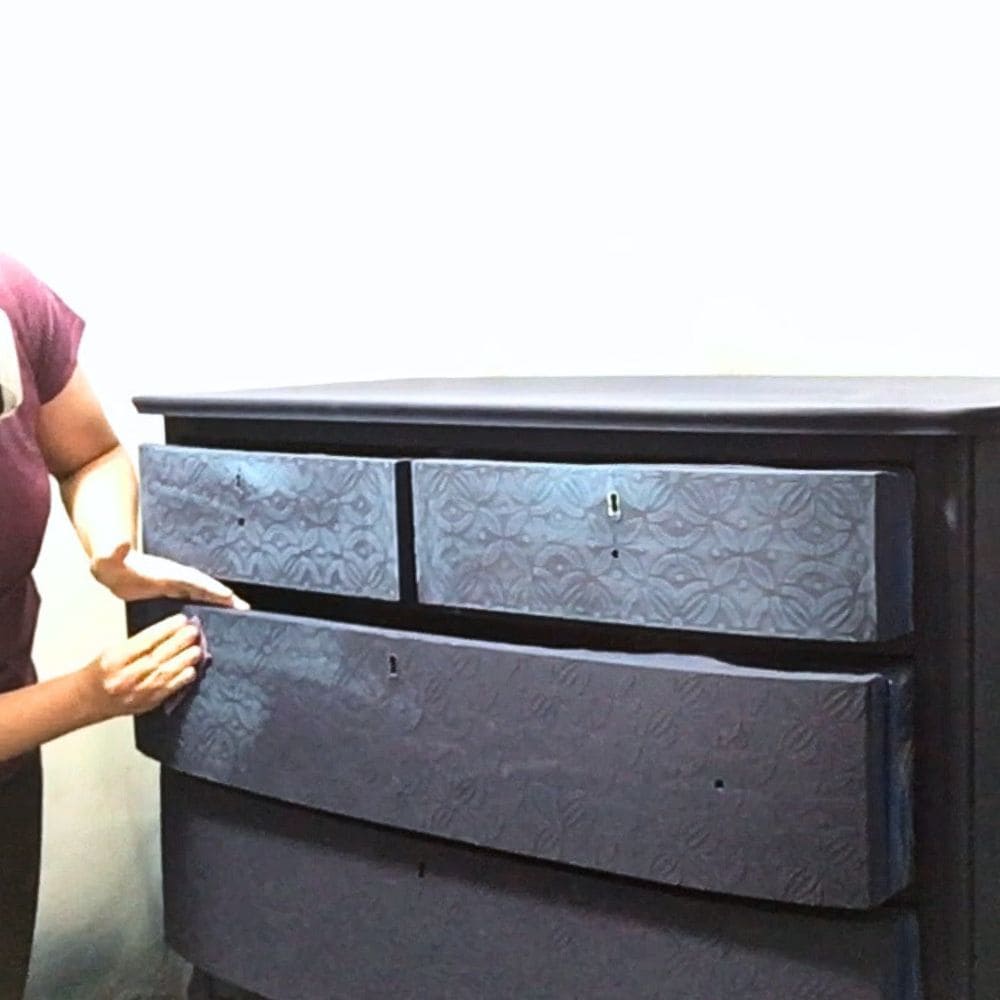
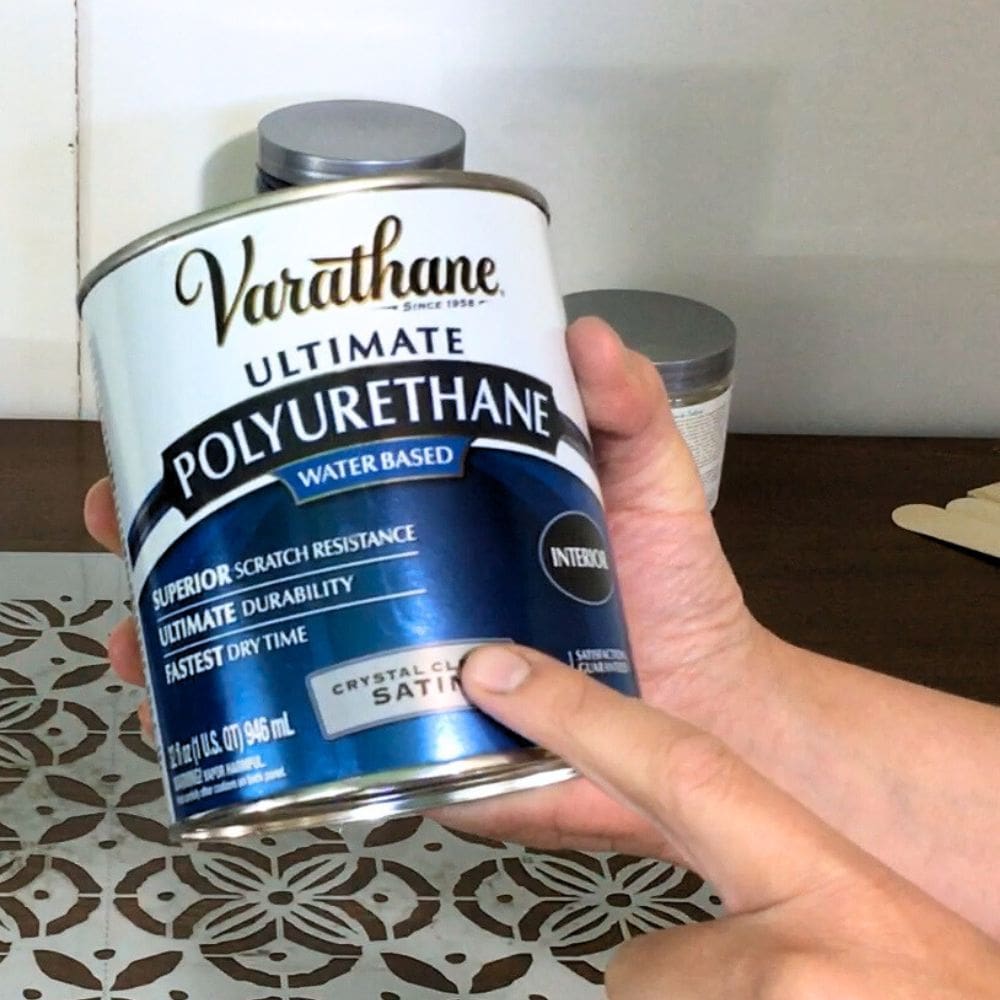
Once you’re happy with the distressing, it’s time to seal in all your hard work! Apply a few coats of poly for protection and durability.
The best polyurethane for furniture may vary depending on the type of sheen you prefer. Here’s our tutorial on how to spray polyurethane if you’re new to using this product.
To complete the transformation, replace the old hardware with new octagon brass knobs that match your style and the new look of your navy chest of drawers.
And there you have it, a stunning furniture piece that’s unique to your home! Check out more unique bedroom dresser ideas here.
Can I use a different color of paint for this navy chest of drawers makeover?
Yes, you can choose any color! Feel free to pick any color that matches your style and decor. Here are the best painted furniture colors if you need some ideas.
Just make sure to follow the same techniques and tips for a successful furniture makeover.
Can I skip the texture powder for the drawers?
You can definitely skip the texture powder if you prefer a smooth finish on your drawers. Not everyone is into texture, so feel free to customize this makeover to your liking!
Can I distress the entire chest of drawers or just certain areas?
You can distress as much or as little as you’d like. Some people prefer a heavily distressed look while others like to keep it to just the edges for a subtle touch.
Just remember to step back and assess the distressing as you go until you’re satisfied with the result.
Navy blue is a versatile and stylish color that can elevate any furniture piece. Whether you’re going for a modern, farmhouse, or shabby chic look, navy blue can easily fit in with its deep and rich tones.
And by adding texture to the drawers and distressing the edges, you can create a one-of-a-kind piece that will add character and charm to any room in your home.
Check out this wet distress paint technique to learn more about this technique that you can apply to your next project.
The best part about DIY projects like this navy chest of drawers is that you can truly make it your own. You can experiment with different stencils, paint colors, and distressing techniques until you find the perfect combination that reflects your personal style.
More Before And After Makeovers
Click any of these “before” photos below to view the “after” of that makeover.
Can I paint over an old coat of paint on my chest of drawers?
Absolutely! You can paint over an old coat of paint on your chest of drawers. You can refresh and update an old piece of furniture without having to strip off the old paint. This can save you time and effort while still creating a beautiful new look.
However, there are some things to keep in mind when painting over old painted furniture. First, you have to make sure that the old paint is in good condition – no chipping or peeling.
If it’s not, you may need to strip off the old paint before applying a new coat. Why? Because if the old paint is damaged, it will affect the adhesion and durability of your new coat of paint.
Here’s how to remove paint from wood furniture to guide you with this process, and here are the best tools for removing paint from wood to help you get the job done.
Whether you leave the old paint or remove it, it’s important to clean and sand the surface before painting. You want your new paint to adhere properly, and removing any dirt or glossy finish from the furniture will help with this.
You should also prime wood for painting for an even base and better adhesion. Preparation is key to a successful furniture makeover!
If you’re painting over old paint with a dark color with a lighter color, you may need to apply multiple coats of paint for full coverage.
Overall, painting over old painted furniture is possible! Just check the condition of the old paint, prep the surface properly, and be prepared to apply multiple coats if needed.
More Dresser Makeover Ideas
- French Blue Dressers
- The Navy Dresser with Textured Drawers (very similar to this makeover)
- Navy Blue Milk Painted Dresser
- DIY Navy Blue Bedroom Dresser
- Light Blue French Provincial Dresser Makeover
Follow us on YouTube to get more tips for painting furniture.
Or share your project with us on our Facebook Group and be part of our community. See you there!


