Painting Furniture Navy Blue
If you’re thinking of a bold choice for your home decor, painting furniture navy blue is a great option to consider. Navy blue painted furniture adds a touch of sophistication and depth to any room, and with the use of chalk paint, creating this look has never been easier or more affordable.
Whether you’re a DIY-er or just looking to spruce up your home, keep on reading for our guide on getting the perfect navy blue finish.
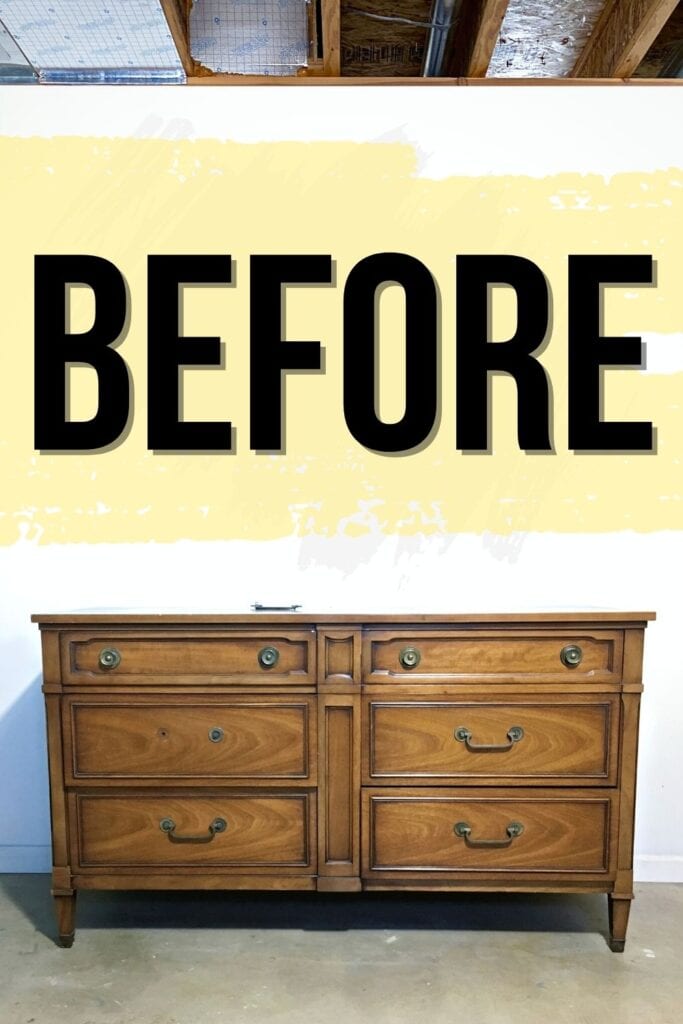
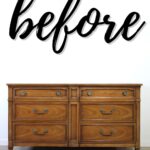
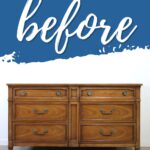
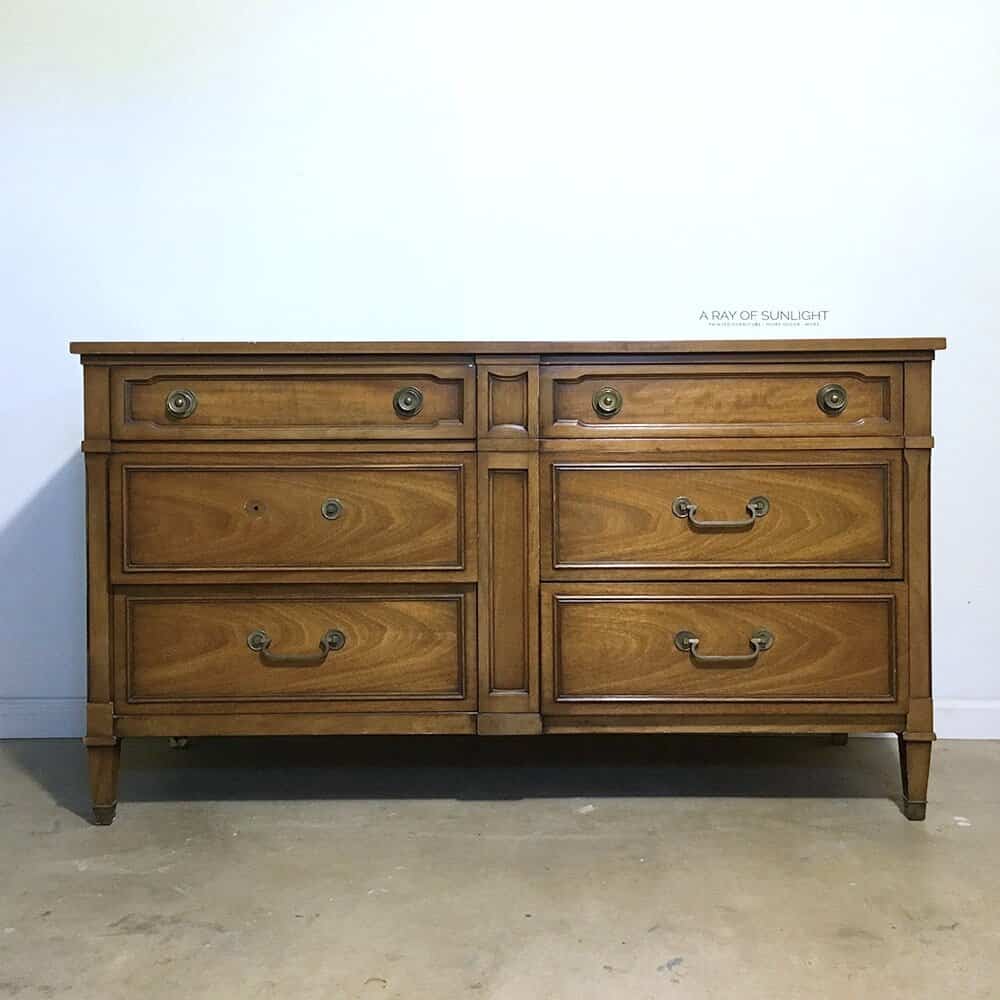
You can see above what the dresser looked like before I turned it into a navy blue painted dresser. It was a plain, lifeless piece of furniture that needed some love and attention. The wood was dull and scratched, with some hardware missing which added to its overall lackluster appearance.

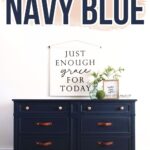
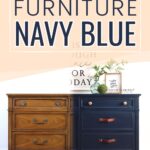
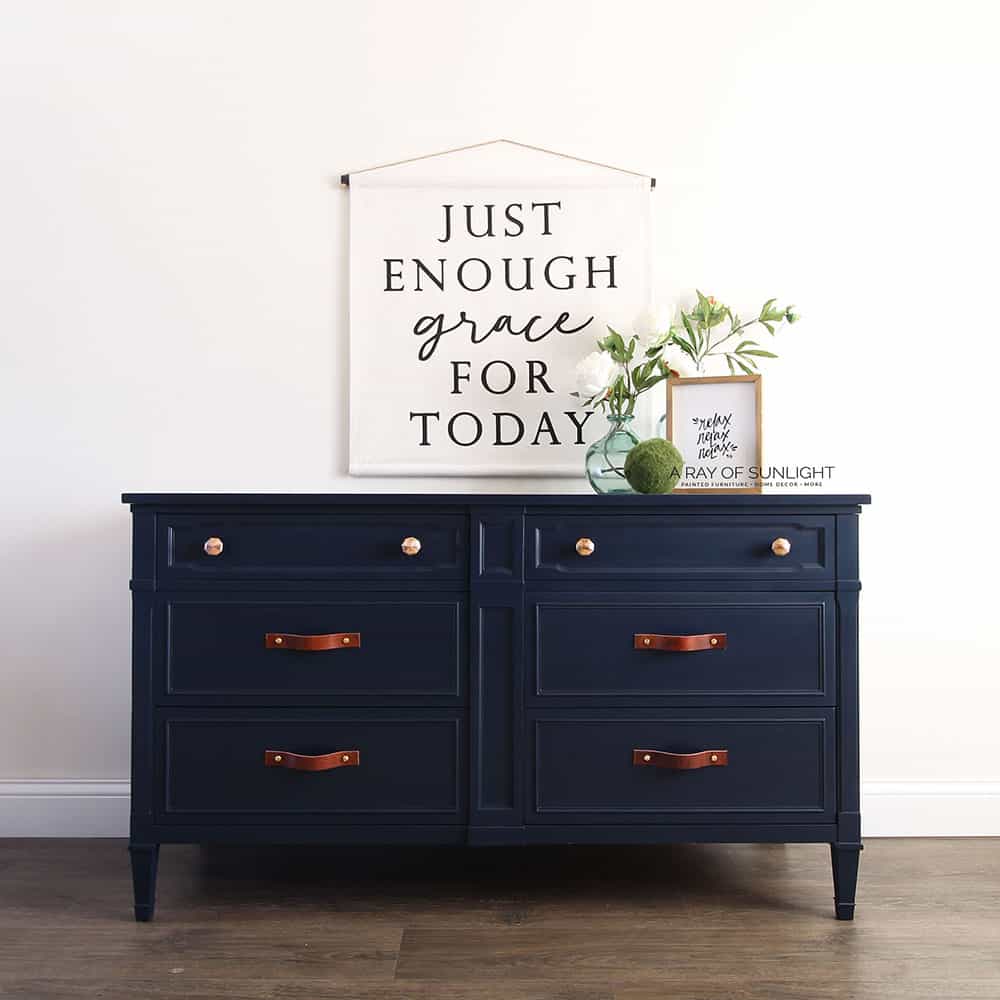
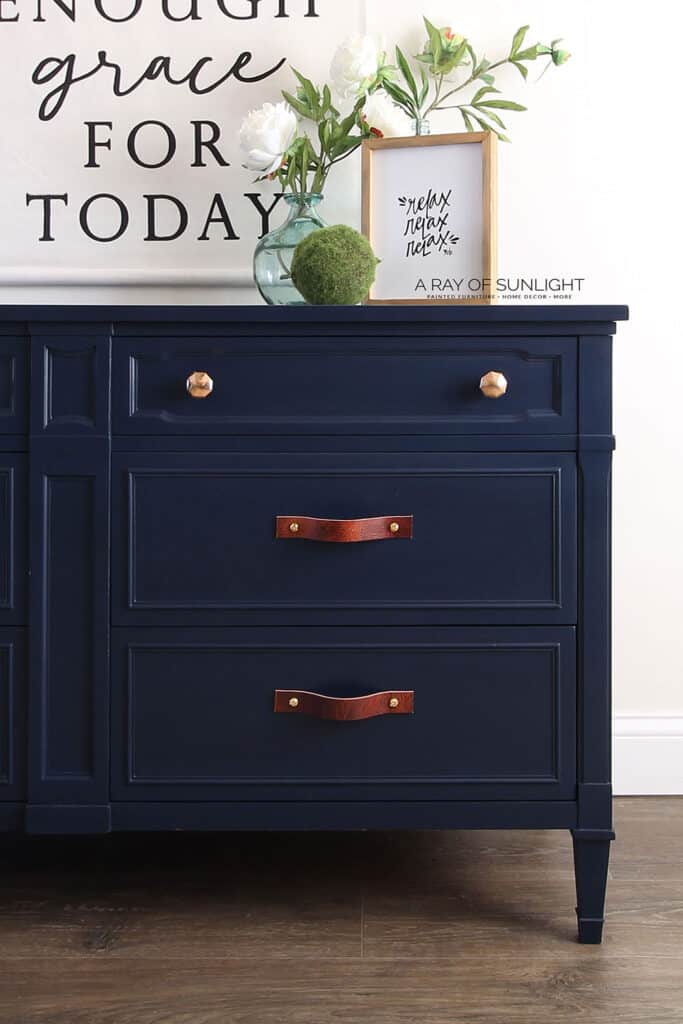
But with a fresh coat of navy blue chalk paint, this dresser has been completely transformed. Now it’s a statement piece with a rich color that adds depth and character.
See for yourself how this furniture makeover has brought this dresser back to life!

Supplies Used For Painting Furniture Navy Blue
As an Amazon Associate, I earn from qualifying purchases. I also may earn from other qualifying purchases with other companies or get free product to review and use. All opinions are my own.
- Electric Screwdriver
- Krud Kutter and Damp Rag
- 220 Grit Sandpaper
- Shop-Vac
- Tack Cloth
- Clear Shellac
- Painters Tape and Pre-Taped Plastic
- Peacoat Blue Chalk Paint
- Respirator
- Paint Sprayer
- Topcoat
- Leather Pulls
Grab our list of 10 must have painting furniture supplies too!
Prepare and Prime Dresser Before Painting
First, you gotta get the furniture prepared for paint. Here’s how I prepare furniture for paint.
So I unscrewed the knobs and pulls, cleaned it with Krud Kutter like I always do, and then I scuff sanded the entire surface by hand with 220 grit sandpaper. Check out this post to learn more about how to clean furniture before painting.
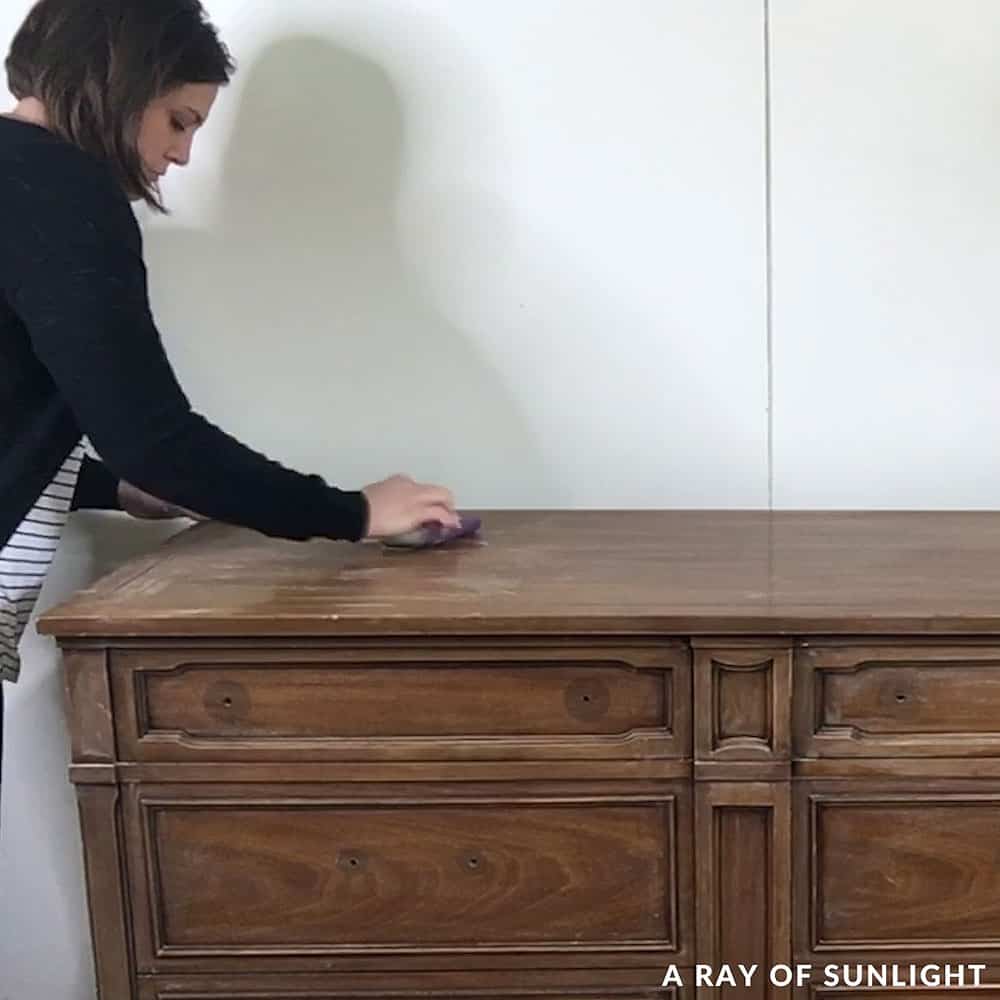
This must have been before I bought my SurfPrep sander that you see in almost every other one of my makeovers now. Read this post to learn more about the best sanders for furniture. Then I vacuumed up the dust, and check this out!
Alright, so after all the dust was cleaned up, we took the dresser out to the garage, and I sprayed it with 2 coats of clear shellac. This helps the paint stick, but just as importantly, it blocks bleedthrough stains from coming through the paint and staining your paint.
Read this post to learn how to stop stains from coming through paint.
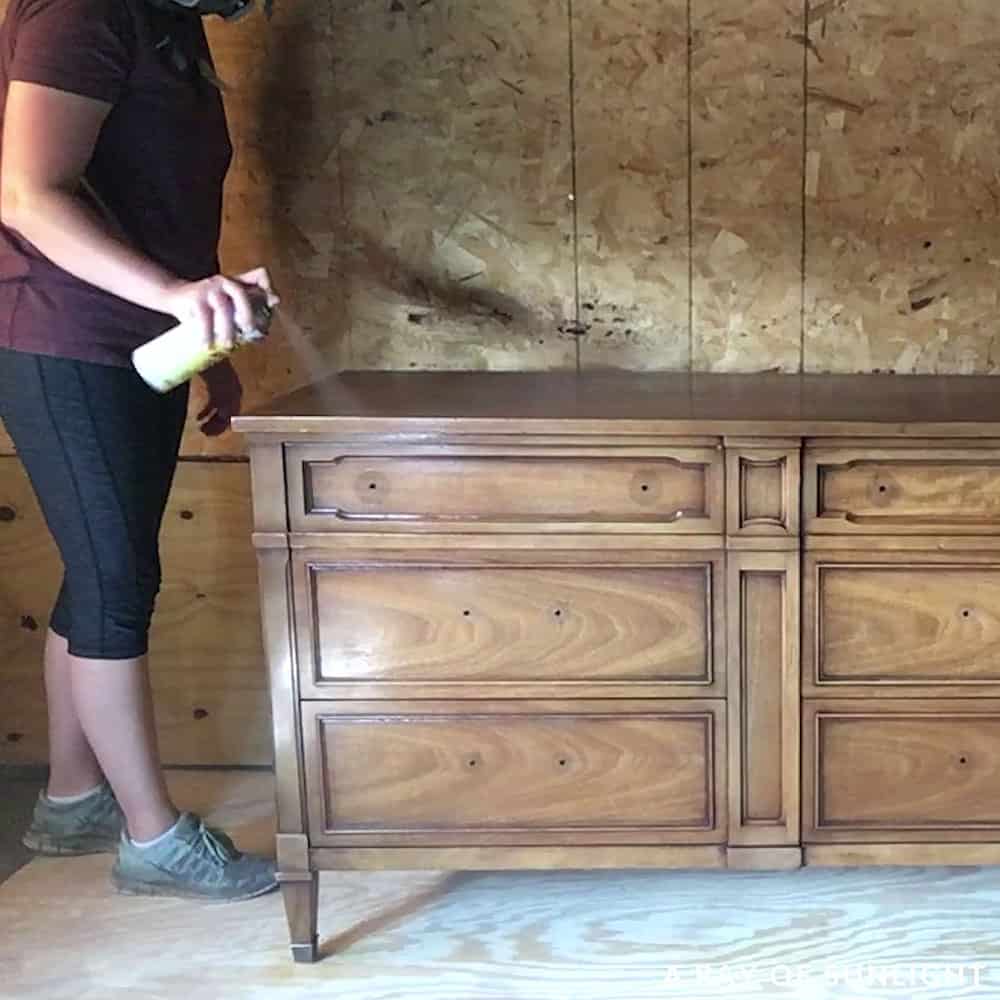
Shellac is really strong, so it’s really best to spray outside. I like to let it dry at least overnight before I paint over it, but it dries within minutes usually. Read more about the best primers for painting furniture here!
Paint Dresser Navy Blue
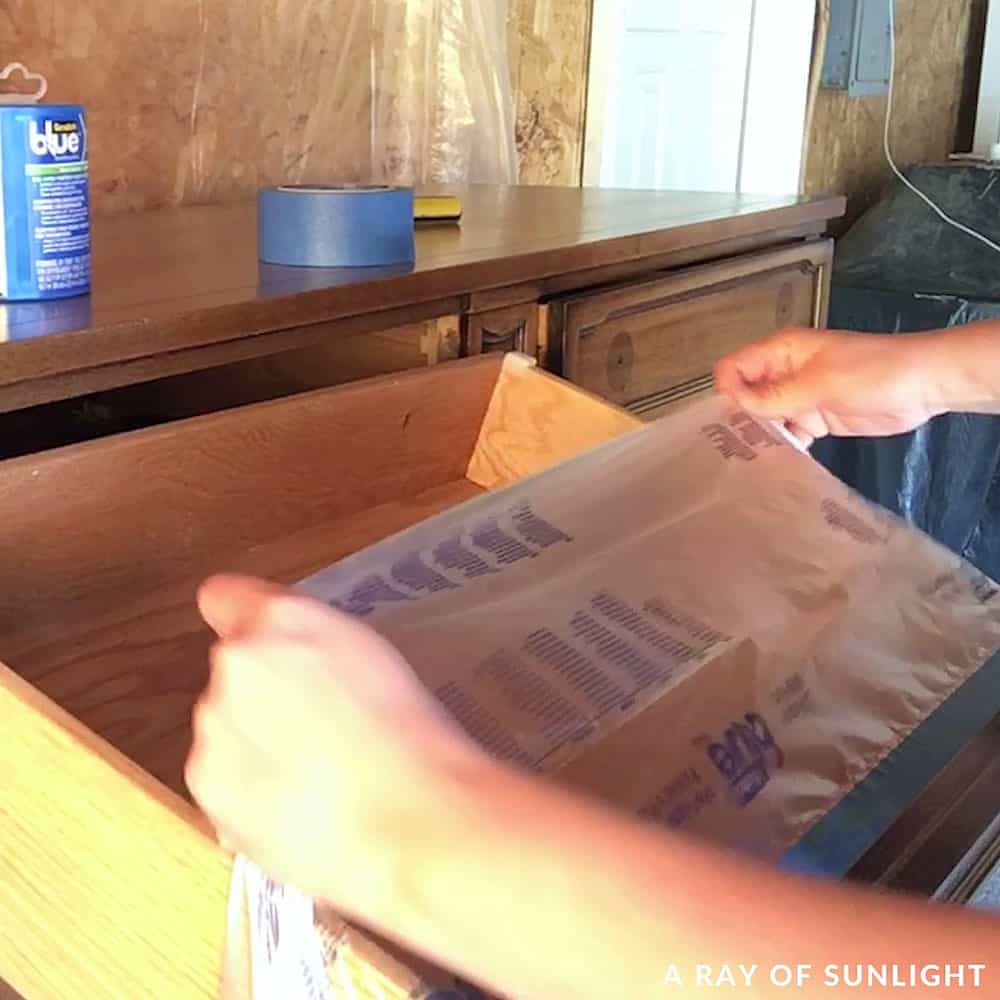
So, after it was dry to the touch, I taped off the drawers with tape and plastic so I wouldn’t get paint inside the drawers, and so I can leave the drawers in when I spray. Learn all about how to prevent overspray when painting furniture here!
The next day I put the paint into my paint sprayer. Check out this post to learn about the best HVLP paint sprayers for furniture.
I used Country Chic Paint’s Peacoat Blue color, and mixed it with some water to thin it out. Check out our lists of the best blue chalk paint for furniture and best blue paint for furniture, including Peacoat, here. And you can learn how to thin paint for a paint sprayer here!
Check out my honest and detailed Country Chic Paint review here for more on this paint.
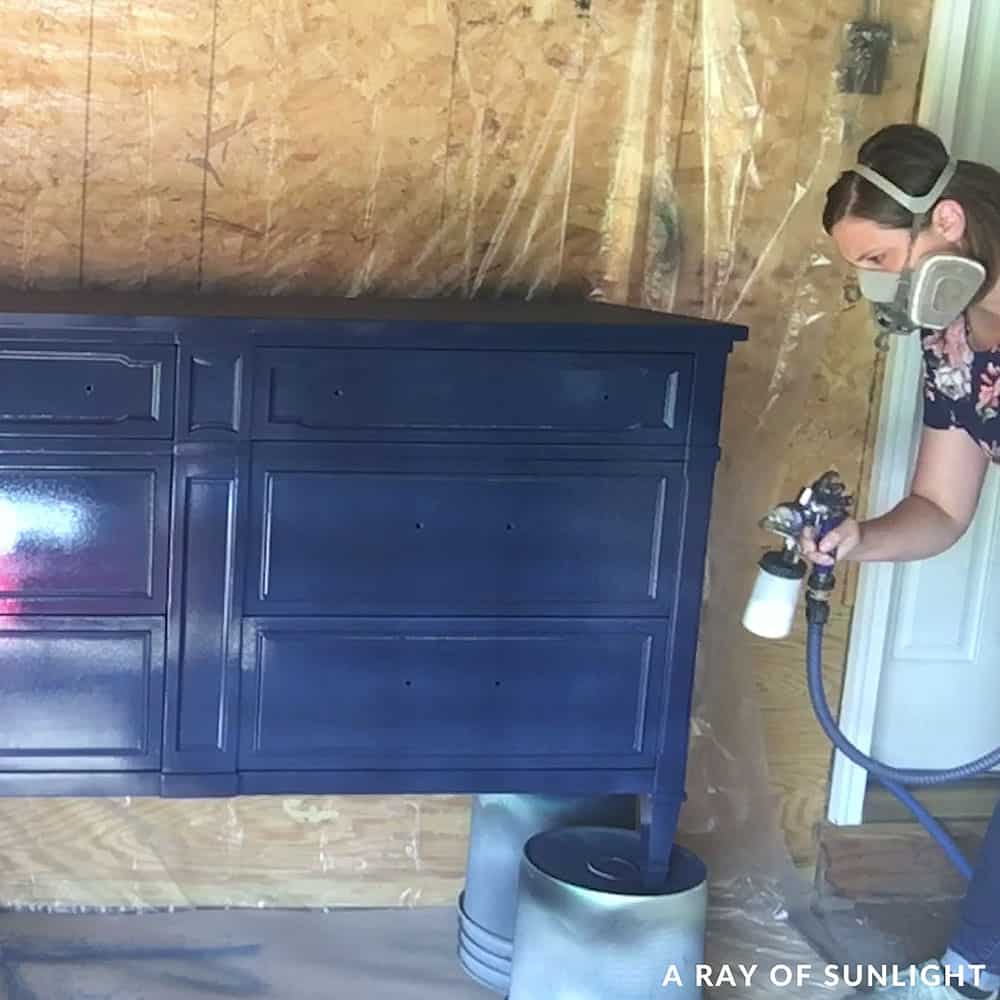
Then, out in the garage, we hung up some plastic and put the dresser on some 5-gallon buckets. I put on my respirator and then I sprayed 2 coats of paint, letting it dry to the touch between coats.
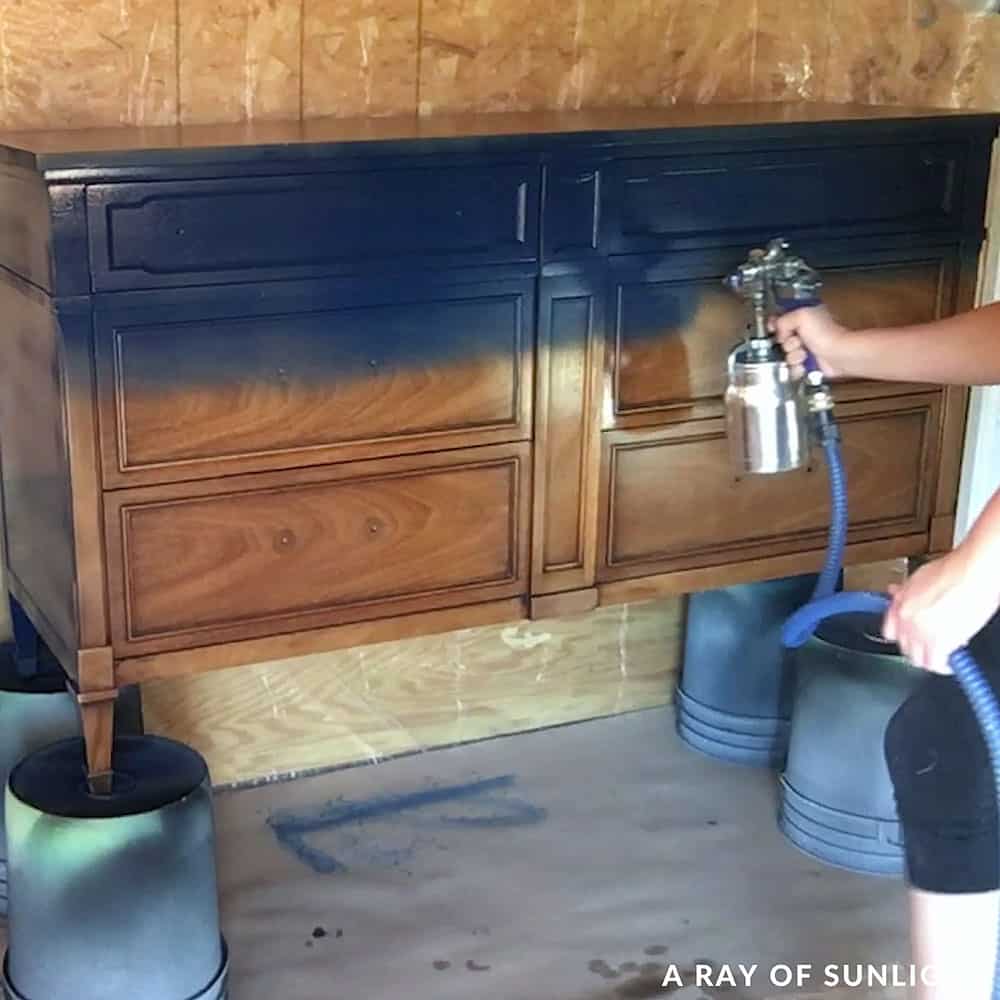
Here’s how to use the Fuji paint sprayer. I love how quickly chalk paint dries!
After the 2nd coat of paint, I noticed some dings that needed filled, so I filled those in and sanded them smooth. Learn about the best wood fillers for furniture here!
Then I opened the drawers and sprayed the top and sides of the drawer front with 2 coats of paint.
Topcoat Navy Blue Dresser
Then I cleaned out my sprayer. Read this post to learn how to clean a paint sprayer.
The biggest bummer about chalk paint is that it needs a clear topcoat. Check this post to learn more about the best topcoats for painting furniture.
So, while the sprayer dried, I mixed up some semi-gloss water-based topcoat. I mixed it really good to get it all mixed together well… that part is super important when using water-based poly.
I added a little bit of water to it, and then I cleaned off the dresser with a tack cloth to make sure there wasn’t any dust on my fresh paint.
Would you like to save this?
And then I sprayed a coat of polyurethane and let it dry. Learn how to spray polyurethane here if you’re yet to try it.
At this point it all felt kind of rough. So I lightly sanded it with 400 grit sandpaper to make the finish feel smooth. Then I cleaned off all of the dust, and sprayed 2 more coats of polyurethane. You can learn more about the best polyurethane for furniture here.
Attach New Hardware
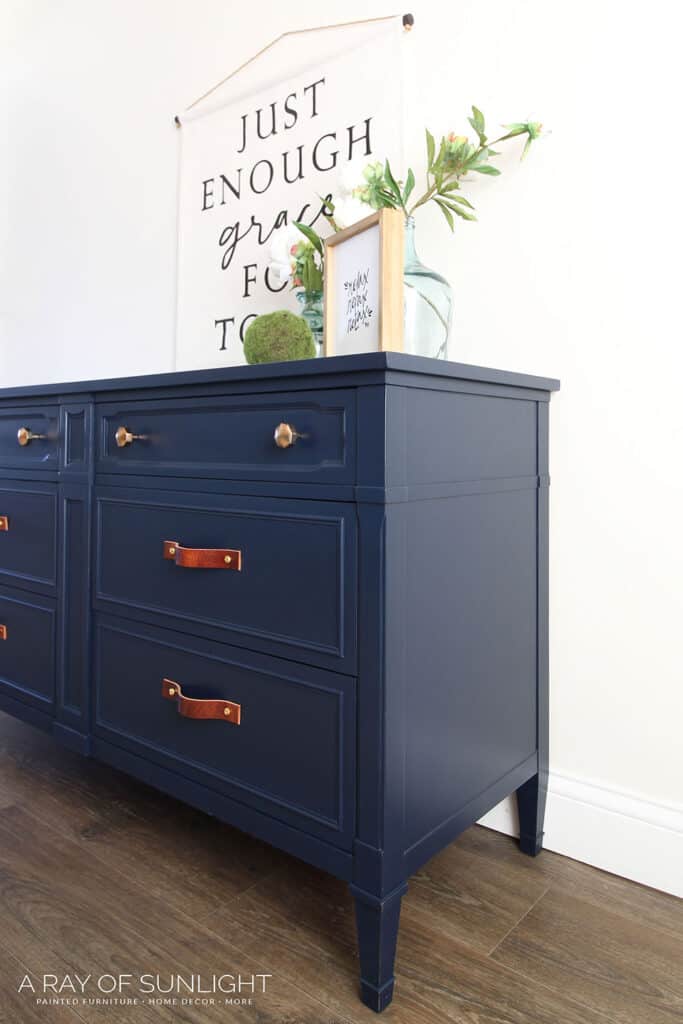
For a fun twist, I put new leather pulls and gold knobs on…
You can watch the full makeover on our YouTube video:
And here’s what it looks like now! For more blue painted furniture, here are blue painted dresser ideas and dark blue painted furniture ideas to inspire you. For dresser makeovers in other colors, check out these dresser paint color ideas! If navy isn’t your style, check out other shades in this list of the best blue furniture paints.
More Before and After Makeovers
See All >
Click any of these “before” photos below to view the “after” of that makeover.


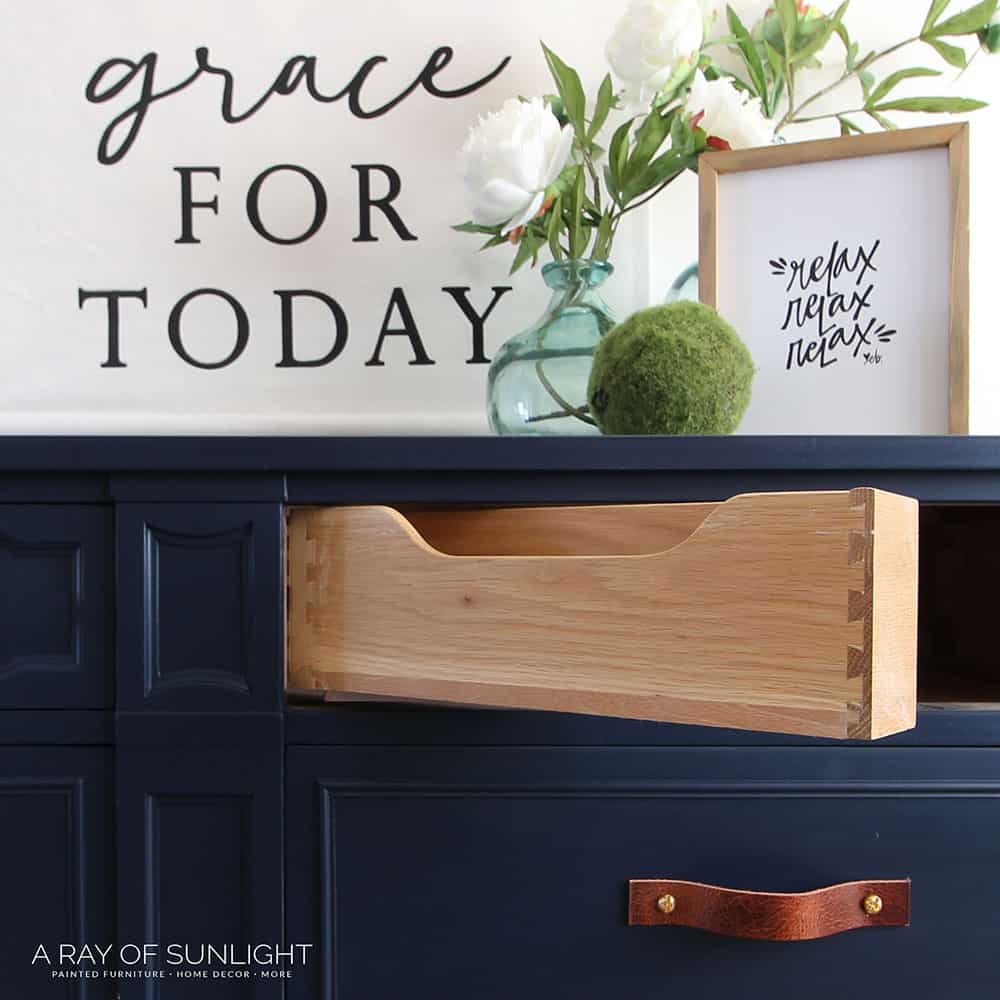
Have you ever seen a secret compartment inside a dresser like this??
It hides between the top 2 drawers and just is attached with a hinge, so it can twist all the way out, and you can put some little secret things in there. Pretty cool huh?
This one sold SO fast and went into a teen boy’s room. What do you think?? Get more furniture makeover ideas for your boys with these boys dresser ideas!
Can I brush navy blue paint instead of using a sprayer?
Yes, you can brush navy blue paint instead of using a sprayer. While using a sprayer may provide a smoother and more professional finish, brushing can also produce good results.
It may take more time and effort compared to using a sprayer, but it is still an effective method for painting furniture.
If you do choose to use a brush, make sure to choose one of these best paint brushes for painting furniture. Using a high-quality brush will help to prevent brush marks and create a smoother finish.
We also have a post on how to paint furniture without brush marks with lots of tips and tricks to help you.
Can I distress my navy blue painted furniture?
Yes, you can totally distress your navy blue painted furniture!
Distressing adds a beautiful vintage or shabby chic touch to any piece of painted furniture. It can also be a way to hide any imperfections or mistakes in your painting.
Here are the best distressing furniture techniques you can do! Just choose your favorite and give it a try. You can also check out this distressed painted dresser to see some distressing action.
One important tip when distressing painted furniture is to lightly sand the edges and corners where natural wear and tear would occur over time.
This will create a more realistic and natural-looking distressed effect. Start with a little and add more if needed. You can always distress more, but you can’t undo too much distressing!
It’s also important to seal your furniture after distressing to protect the paint and give it a finished look.
You can use the same topcoat in this post to seal your distressed navy blue furniture. Just make sure to let it dry completely before handling or using the furniture.


Painting Furniture Navy Blue
This simple and easy guide will help you with painting furniture navy blue with chalk paint to create a long lasting, durable finish.
Materials
Instructions
- Start preparing your furniture for paint. Remove hardware, clean with Krud Kutter and then scuff sand the entire surface by hand with 220 grit sandpaper. Vacuum all the dust.
- Spray 2 coats of shellac to your furniture. It's best to spray outside then let it dry at least overnight.
- Tape off the drawers with tape and plastic so no paint would get inside the drawers.
- Get your navy blue paint and mix it with some water to thin it out. Spray 2 coats of paint to furniture, letting it dry to the touch between coats.
- Clean off the dresser with a tack cloth to make sure there isn't any dust on the fresh paint. Then spray a coat of polyurethane and let it dry. Lightly sand with 400 grit sandpaper to make the finish feel smooth. Clean off all of the dust, and spray 2 more coats of polyurethane.
- Put new leather pulls to your navy blue dresser.
Recommended Products
As an Amazon Associate and member of other affiliate programs, I earn from qualifying purchases.


More Blue Painted Furniture Makeovers
- Corner Cabinet Makeover
- Blue Painted French Provincial Dresser
- Antique Desk Makeover
- French Blue Dressers
- Modern Dresser TV Stand Makeover
Follow us on YouTube to get more tips for painting furniture. Or share your project with us on our Facebook Group and be part of our community. See you there!
Hi there! Do you have any tutorials on painting a dresser with a brush instead of a sprayer?
Also, where did you find those awesome leather handles? I’m obsessed!!
This post on painting furniture black was with a brush (and technically a roller too).
I made the leather handles. Here is the DIY Leather Pulls tutorial.
Hope that helps!
Stopping in to visit from Senior Salon Pit Stop from Juggling Midlife, and I wanted to let you know that your post is being featured this week! I love how this project looks and it is definitely giving me ideas. I hope that you have a wonderful week!
Jennifer