
Easy DIY Wood Sign Tutorial
Creating your own home decor doesn’t have to be complicated. This easy DIY wood sign tutorial shows you how to make beautiful signs for every season, for special gifts, or for everyday decorating without needing fancy tools or woodworking skills.
If you’re a beginner, you’ll appreciate how simple this project is to follow from start to finish. To make it even easier, grab these farmhouse sign templates and printables to help you create a sign you’ll love displaying in your home.
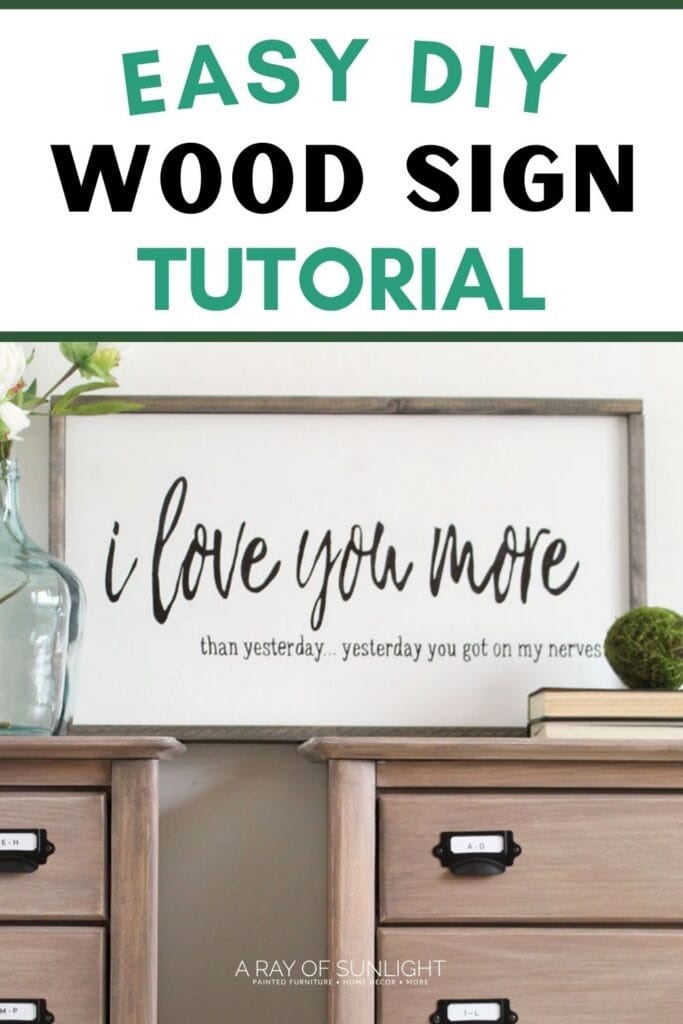
These homemade DIY wooden signs consist of a plywood or MDF back, a simple frame and then the design you want on the sign.
The simple wood frame is my favorite part about these signs. It’s rustic but modern. It’s simple and easy to make.

Tips for Making a Wood Sign
As an Amazon Associate, I earn from qualifying purchases. I also may earn from other qualifying purchases with other companies or get free product to review and use. All opinions are my own.
Have Home Depot Cut the Wood for You
If you don’t have a saw at home, ask the employees at Home Depot to cut the wood down to size for you.
Keep in mind that they have certain regulations. For safety reasons, they can’t rip boards that they deem too small. So ask an employee to see if they are allowed to cut a certain board for you.
Also, they aren’t always the most accurate cutters. Just keep that in mind if you really want everything to be accurate.
Plywood VS MDF
You can use any type of wood for this project, but my go to types are plywood or MDF. I don’t like to use a nice piece of wood because it’s just getting painted. Plus, nice wood is more expensive.
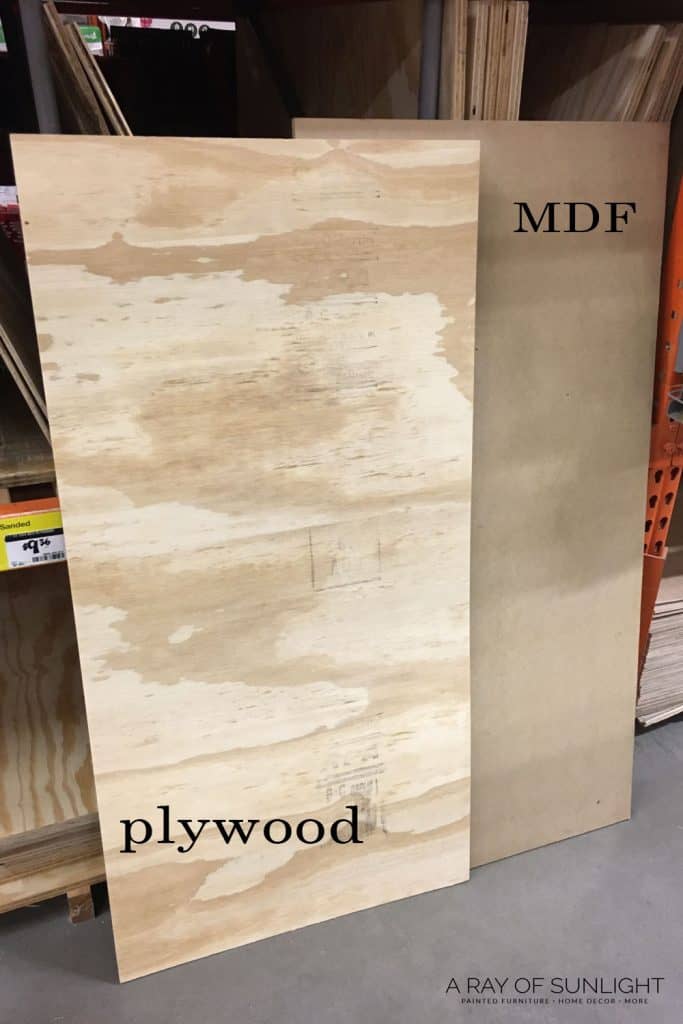
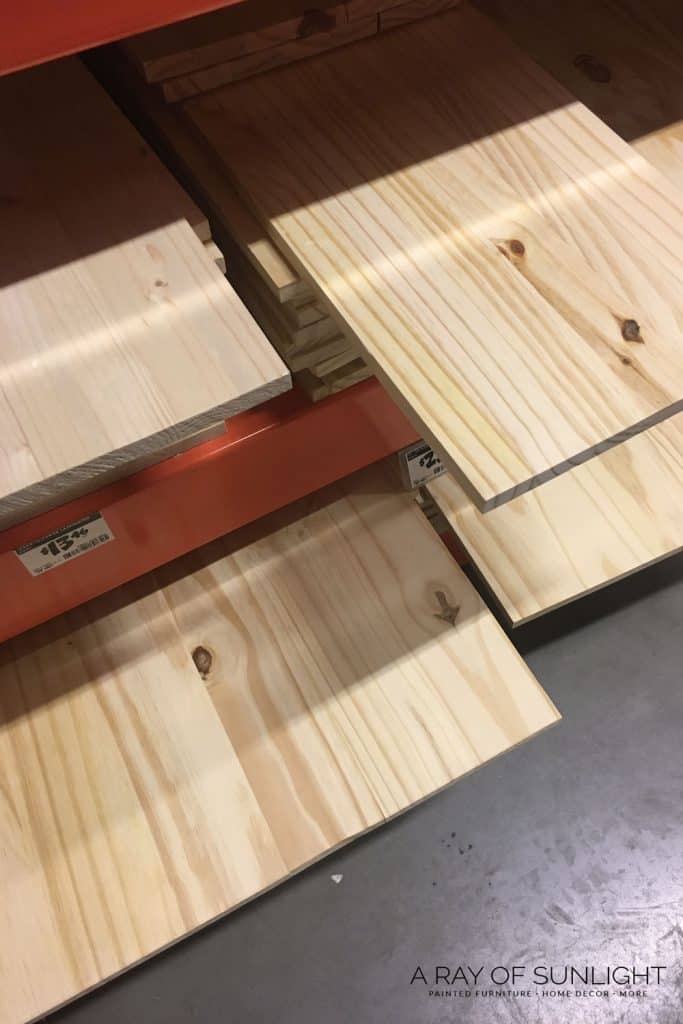
Plywood comes in a variety of sizes and thicknesses. But it is also rough. There are a lot of divets and character in the wood.
So if you want a super smooth sign, you’ll want to go with this MDF. It’s a bit cheaper, and also comes in a variety of sizes and thicknesses.
For a large 24″ x 48″ sign, I pick a pre cut project panel that is 1/2″ thick. Project panels also come in 24″ x 24″. (Measure the precut panel that you pick out, because it may vary in size a bit).
Most of the time I go with the plywood, just to keep it all wood.
Other Wood Options
For a different size, you can check out the edge glued panel boards, or for smaller signs, you can use cheap 1″ whitewood common board of your choice (I believe they are available in 2″ increments from 2″ to 12″, which is really about 1.5″ to 11.25″ wide)
How to Paint a Farmhouse Sign
Learn how to paint farmhouse signs by hand, even if you have bad handwriting and no stencil required!
Do you have to prime before painting?
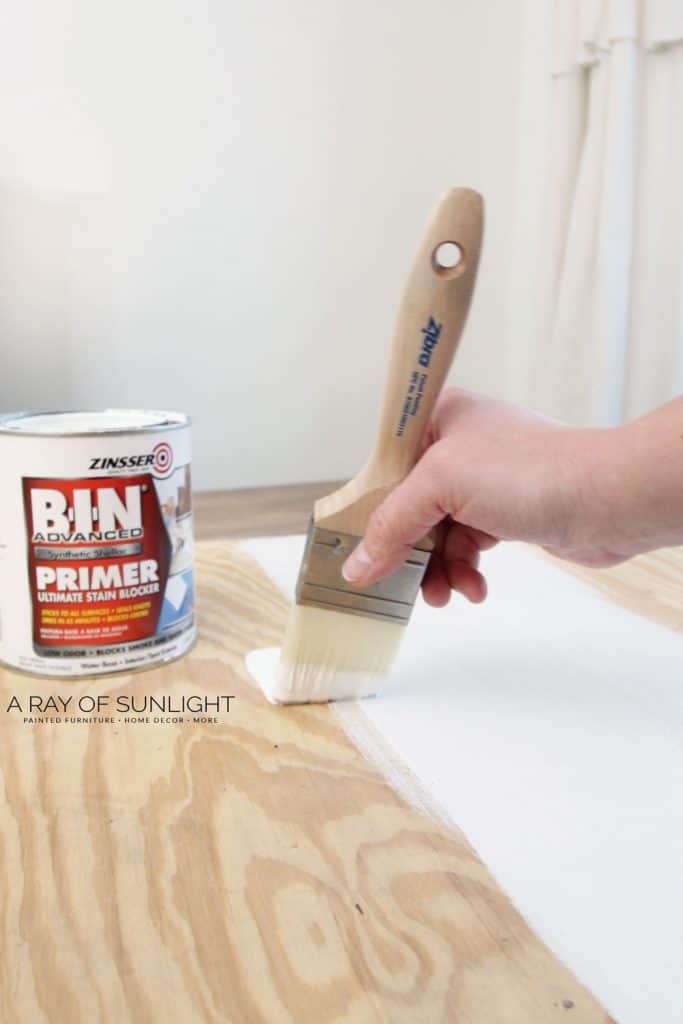
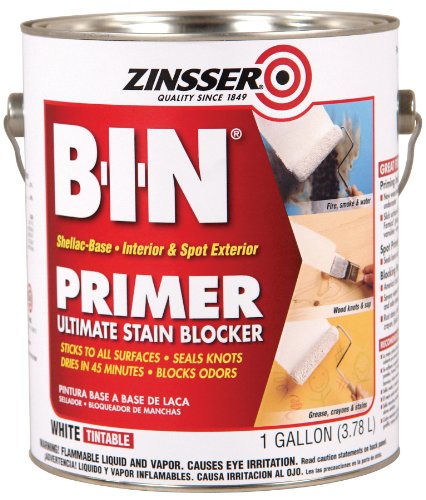
If you want the background of your sign to be white, make sure to use this stain blocking primer on the plywood before painting. Otherwise, any knots (or random spots) on the plywood will turn the paint a brownish / yellowish tint over time.
If you don’t use primer, it will definitely end up with more of a farmhouse rustic feel, so if that’s your thing, by all means, don’t prime.
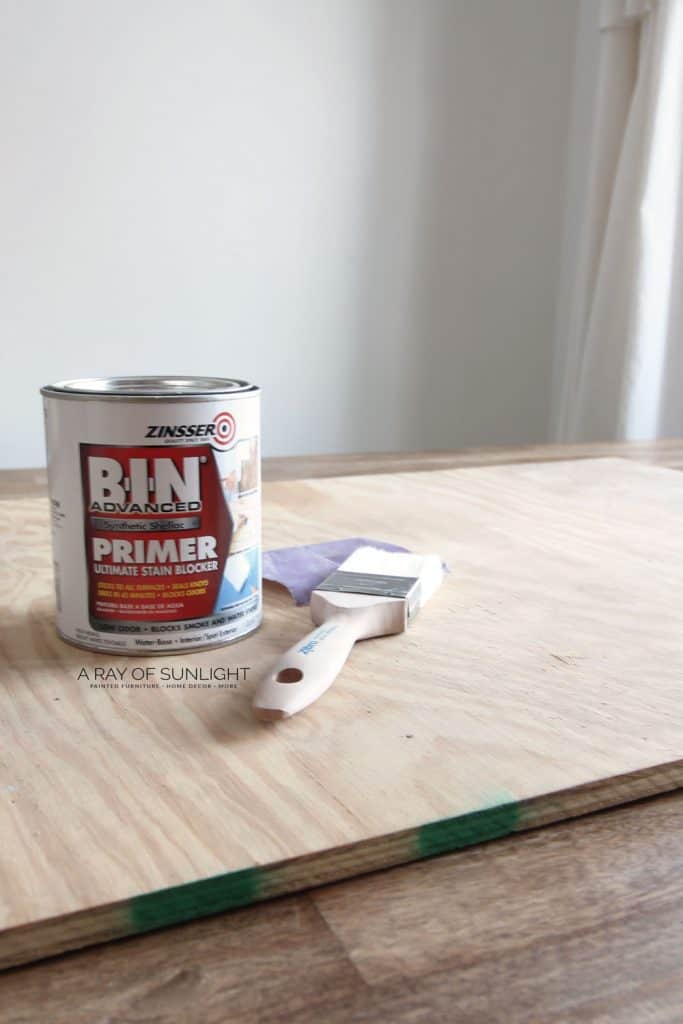
MDF doesn’t need a stain blocking primer, but it will soak up paint like no one’s business (especially on the sides, so don’t worry about painting the edges if you are going to frame it).
Either way, primer is cheaper in the long run, so if you have some on hand, use it first so you don’t have to use so much paint. That goes for plywood or MDF.
Chalk Paint vs Latex Paint
For the final layer of background paint, use chalk paint. When it comes to painting the design or words onto the sign, a chalky and porous surface is the best for this method.
By all means, you can use latex paint, but you’ll spend a little more time painting on the design with a nonporous surface. It will take at least 3 coats to get full coverage.
The Farmhouse Wood Frame
For the wood frame, I always go with the cheap 1″ x 2″ x 8′ furring strips. Their edges are a little bit rounded, and they have a lot of character! It’s also usually time consuming to pick some up because the pile is usually pretty warped or twisted.
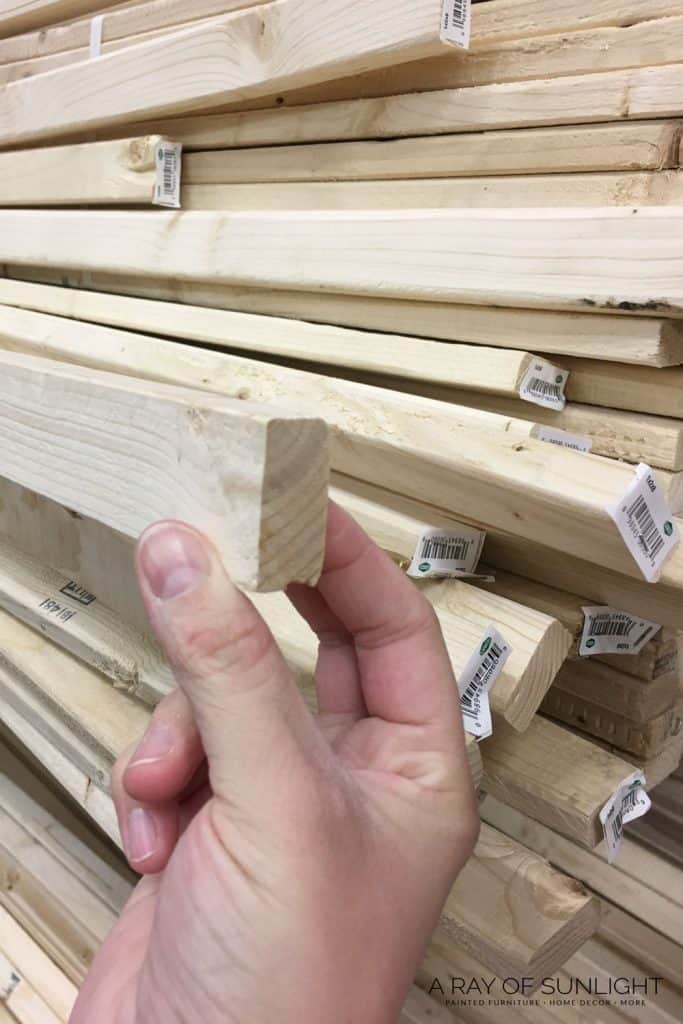
Take some time to dig through the pile (or ask any employee to cut the band on a new section) for some straight furring strips. Your sign will look so much better when you do!
If you want something just a little nicer, they have 1″ x 2″ x 8′ common boards that have straight edges and are a little bit nicer.
Wood Frame Measurements
The exact measurements are going to change depending on what wood you use, and how big your sign is.
But here is how to figure out the measurements for your sign.
Would you like to save this?
You need 4 pieces all together.
- 2 pieces the exact height of the sign.
- The other 2 pieces need to be the length of the sign + (2x) the thickness of the framing wood.
Example Measurements for a 24″ x 48″ sign (the size of the plywood).
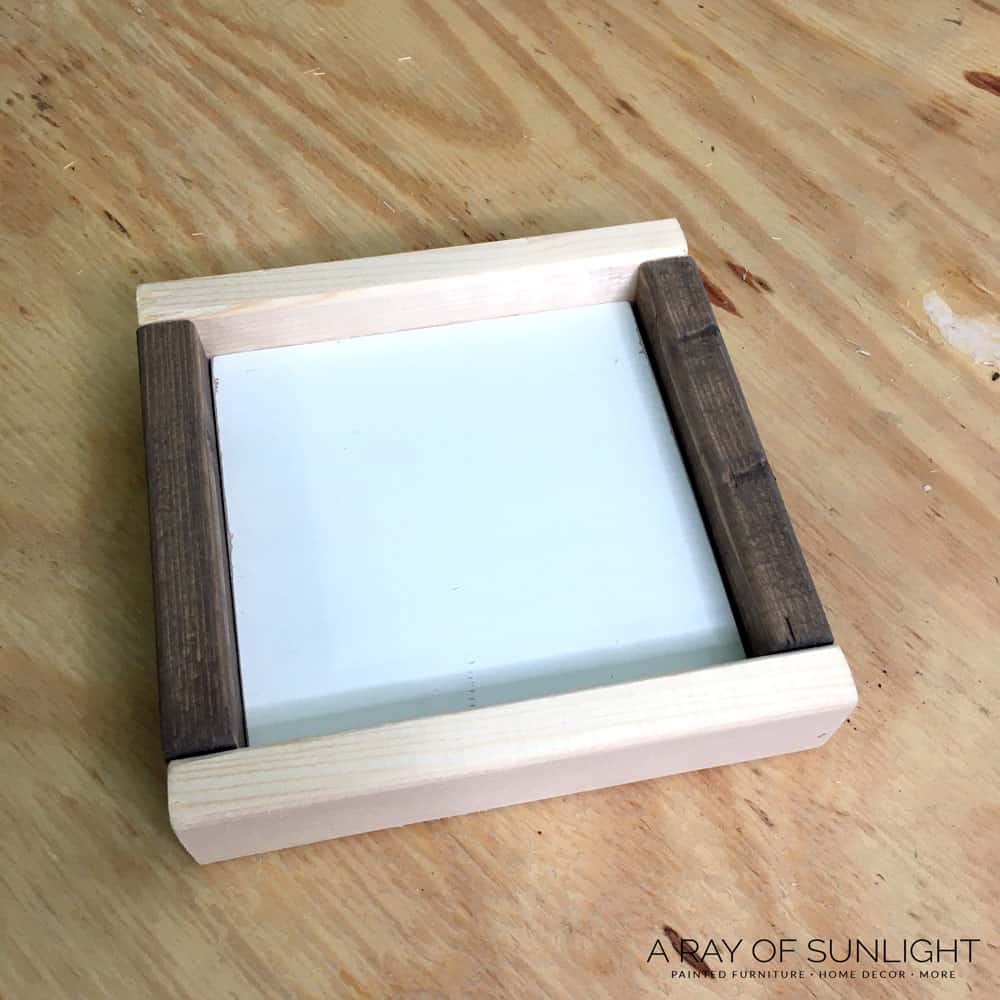
These furring strips that I like to use are right around .656″ or just over 5/8″ thick (measure yours for the best results).
If your sign is 24″ tall, you need to cut 2 furring strips 24″ long. And if your sign is 48″ long, you need to cut 2 more furring strips to be a hair over 49 1/4″ long. (48″ + 5/8″ + 5/8″).
A Hack for Staining the Frame
Staining the frame is pretty straightforward. But here’s a little hack to make it even faster!
(Before staining, make sure to sand the edges of the wood. They get splinters where they were cut, so you want to remove those before they become a sliver in your finger. Just sand with 220 grit sandpaper to remove them.)
The Hack! DIY Wood Stain
Instead of using regular stinky oil based wood stain, grab a sample size container of brown latex paint. (I like to use a dark brown that has grey in it to create a weathered stain)
- Pour a little bit of the brown paint into a plastic cup.
- Then thin it out with water.
- Stir until completely mixed.
You want the consistency to be like a wood stain.
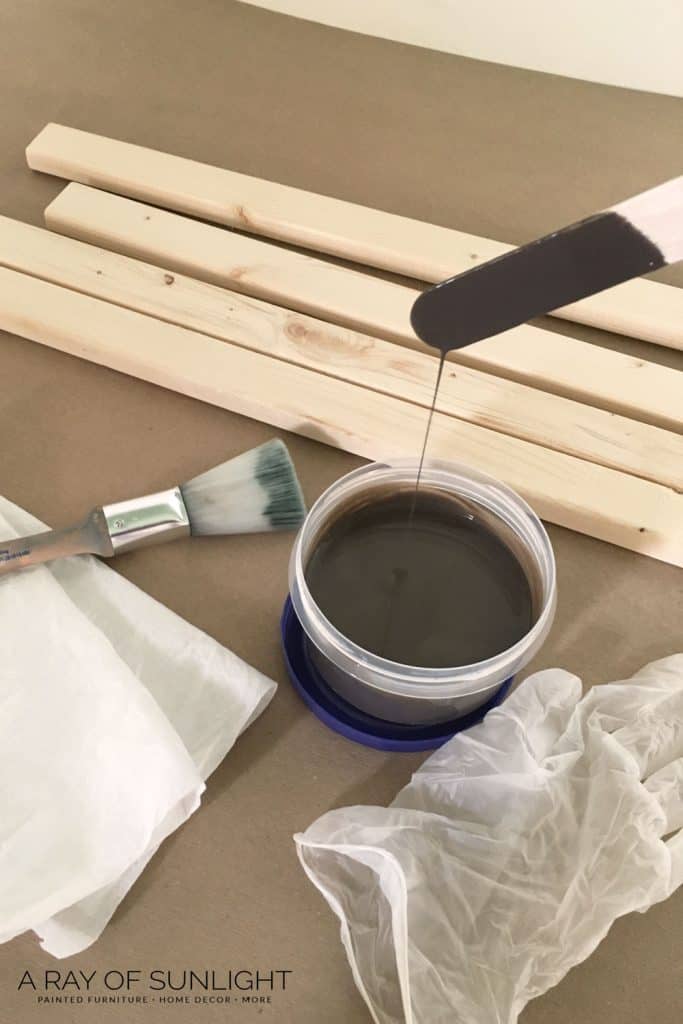
I never measure the water to paint ratio. You just want it to be thin like stain is. Now use the watered down paint as your stain!
- Brush the paint on.
- Immediately wipe it off with a lint free rag.
It looks just like a stain, but it isn’t stinky, and it dries really fast!
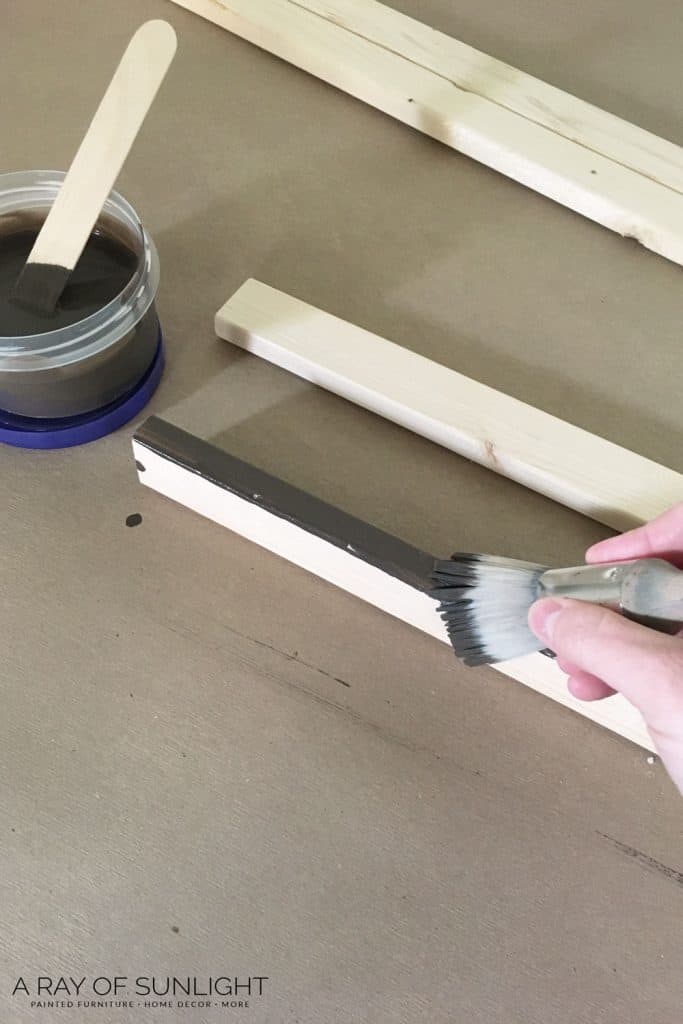
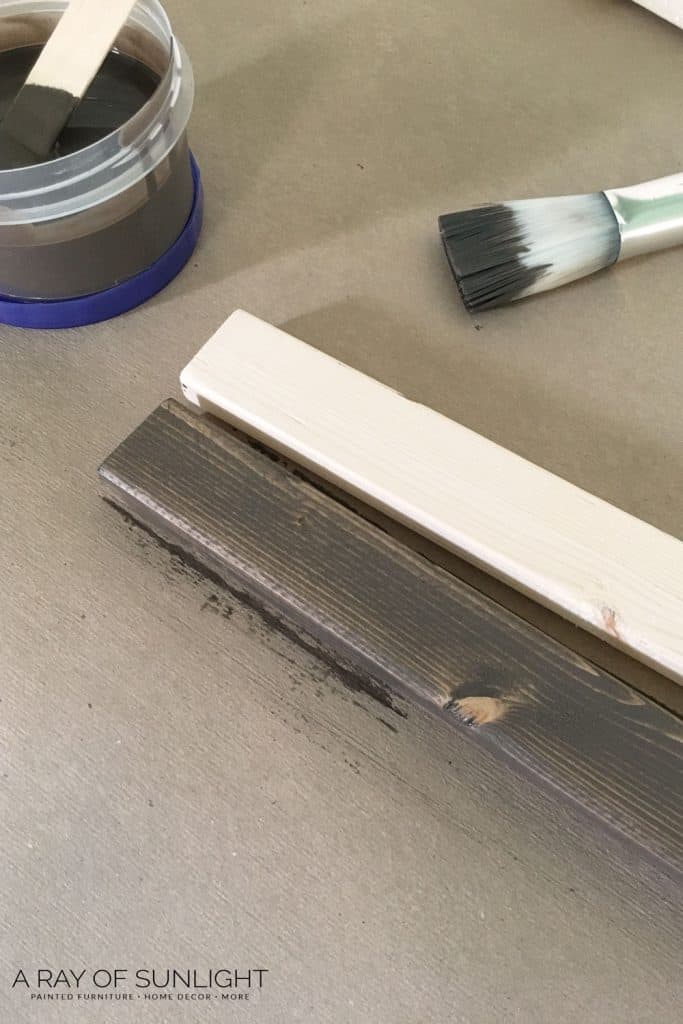
If you have wood stain on hand, by all means, go ahead with the wood stain. I just love how fast, not stinky, and not flammable the latex paint is for use as a stain.
I would tell you the exact color that I use for my latex paint stain, but my can is covered in paint, so I have no idea. Plus, my paint was a mixture of brown and grey paint.
But I checked out some paint swatches of colors similar to my mixture. They are Rare Wood (Marquee) and Bark (PPG).
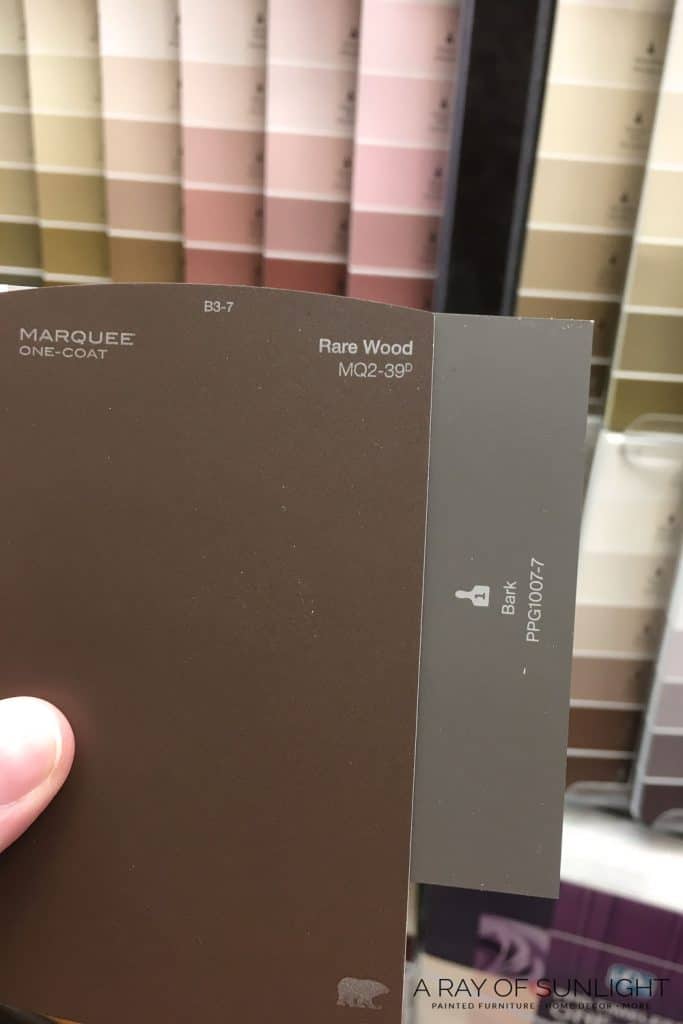
*Note: This latex water-based stain doesn’t work well bigger surfaces. I only use this on small decor like the frames.
How to Attach the Frame to the Plywood
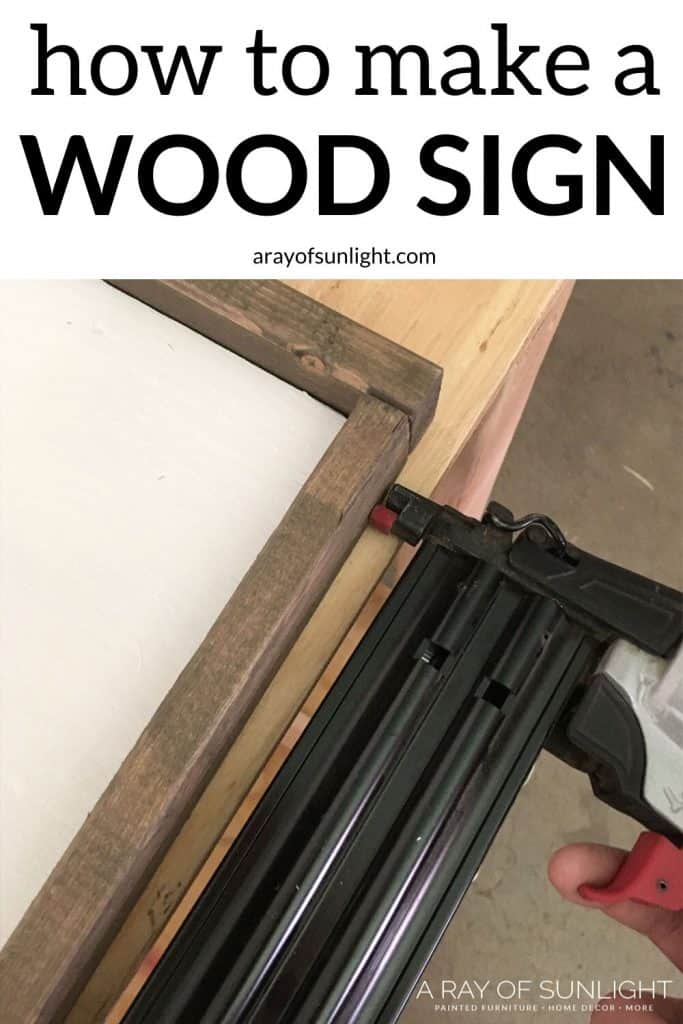
The most secure way of attaching the frame to the plywood sign is to nail it together. I have this cheap brad nailer, with 1 1/4″ brad nails and a small air compressor that gets the job done!
- Lay the plywood on a flat surface.
I prefer to lay it close to the edge of my workbench or table. Line the frame up around the plywood to make sure it all fits together correctly.
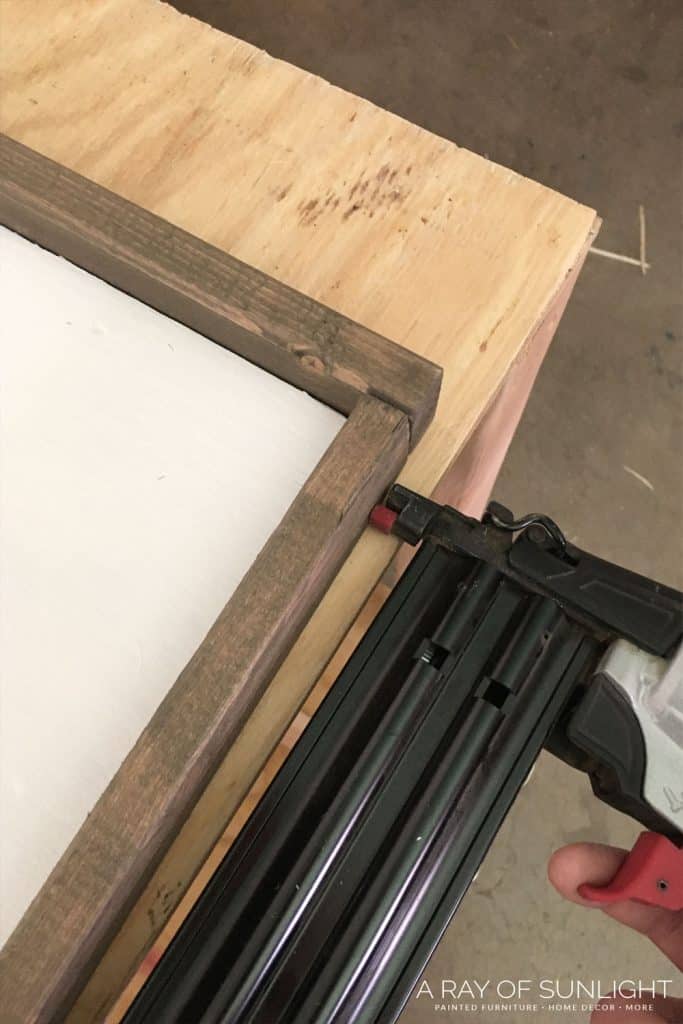
- From the outside of the frame, nail the frame onto the plywood.
Make sure not to let the nail go through the front of the sign, and try not to let it go through and onto the back of the sign.
I like to lay the sign close to the edge so I can get a straight shot into the plywood.This is why I choose 1/2″ plywood or MDF instead of a thinner piece of wood. 1/2″ gives me enough space to get a straight shot into the plywood. Anything thicker than 1/2″ can get heavy if you’re making a large sign.
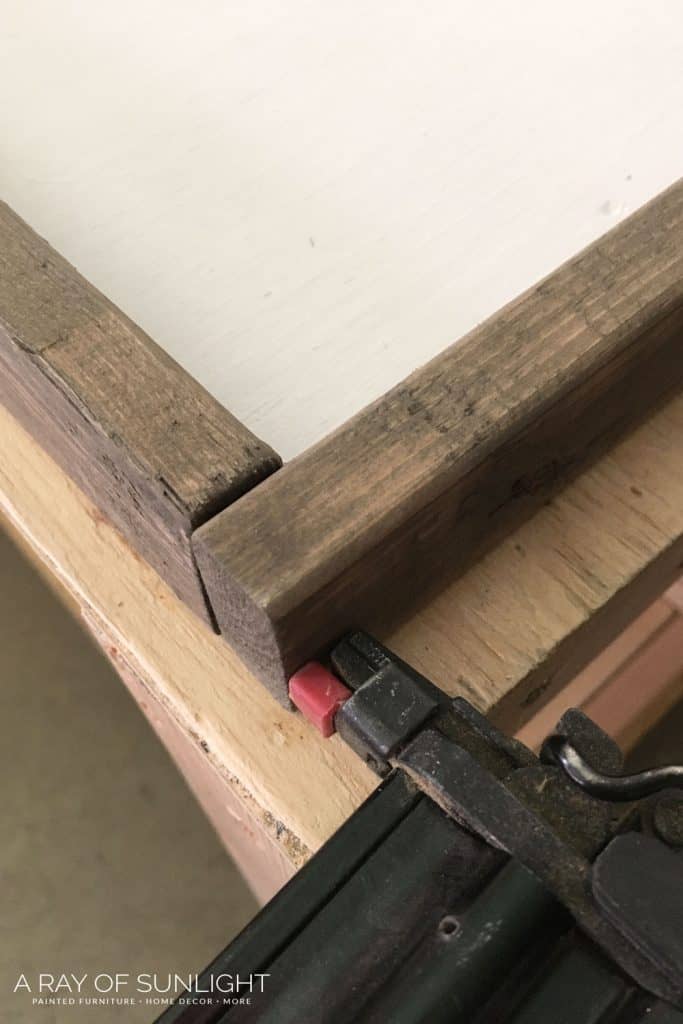
*Note: It’s easier to paint the design on the sign before attaching the frame to the sign.
If you don’t have a nail gun
The old nail and a hammer method works! Just grab some nails, and hammer them in! Or you can glue the frame onto the plywood. Use clamps or a ratcheting tie-down strap, wrapped all the way around the frame, to hold the frame tight when the glue is drying.
*Note: If glued on, just be sure not to lift or hang the sign from the frame.

Easy DIY Wood Sign Tutorial
This easy DIY wood sign tutorial shows you how to make beautiful signs for every season without needing fancy tools or woodworking skills.
Materials
Tools
Instructions
- Cut the plywood or MDF to the desired size.
- Cut the wood frame to size. Read the notes above for measurements.
- Sand the edges of the wood to remove splinters.
- Prime / Paint the plywood or MDF with at least 3 coats of paint.
- Stain the wood frame.
- Paint the desired design onto the painted plywood or MDF.
- Nail the frame onto the plywood. Read the notes above for tips.
Notes
Get exact measurements and tips for making a farmhouse sign above this step by step guide.
Recommended Products
As an Amazon Associate and member of other affiliate programs, I earn from qualifying purchases.

More DIY Home Decor Ideas
- Farm Fresh Christmas Trees Sign with template
- DIY So I Can Kiss you Anytime I Want Sign with a FREE template
- DIY Small Love Signs with templates
- How to Paint Letters on a Sign
- Wooden Christmas Signs
Learn the Art of Updating Furniture!
If painting furniture feels overwhelming or your past attempts didn’t go as planned, this course will guide you step by step.

Follow us on YouTube to get more tips for painting furniture. Or share your project with us on our Facebook Group and be part of our community. See you there!