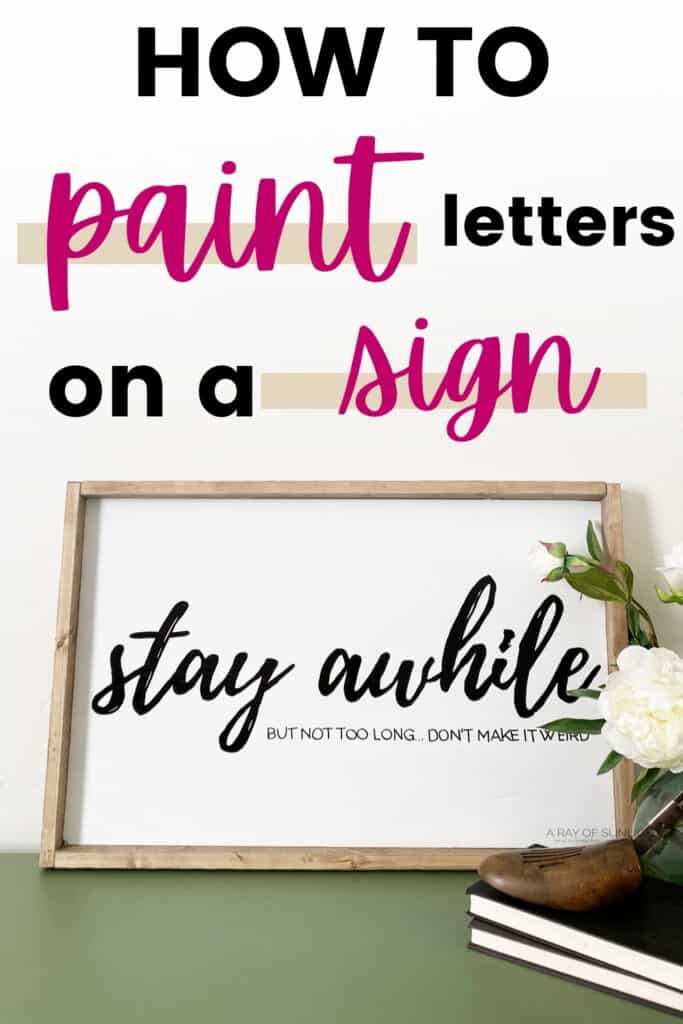
How to Paint Letters on a Sign


Easily make your own homemade farmhouse sign with this step by step tutorial on how to paint letters on a sign! You don’t need any fancy tools like a Cricut cutter or Silhouette cutter either!
Get more Farmhouse sign templates and printables!
PIN THIS TUTORIAL FOR LATER
Wooden signs are so fun to decorate your home with, and they are seriously so easy to make!
Painting letters on a sign is even easier than making the wood sign too!
For this tutorial, learn how to paint letters on a sign without a Cricut machine, Silhouette machine, or without a stencil!
It’s super easy, I promise!
How to Paint Letters on a Sign
As an Amazon Associate, I earn from qualifying purchases. I also may earn from other qualifying purchases with other companies or get free product to review and use. All opinions are my own.
Supplies Needed:
- Blank Wood Sign (See how to make a wood sign below)
- Stay Awhile FREE Template
- Scotch Tape
- Pen or Pencil
- Graphite Paper
- Sharpie
Painting a Wood Sign
- Print out the Template
- Trace the Template onto the Sign
- Color in the Letters
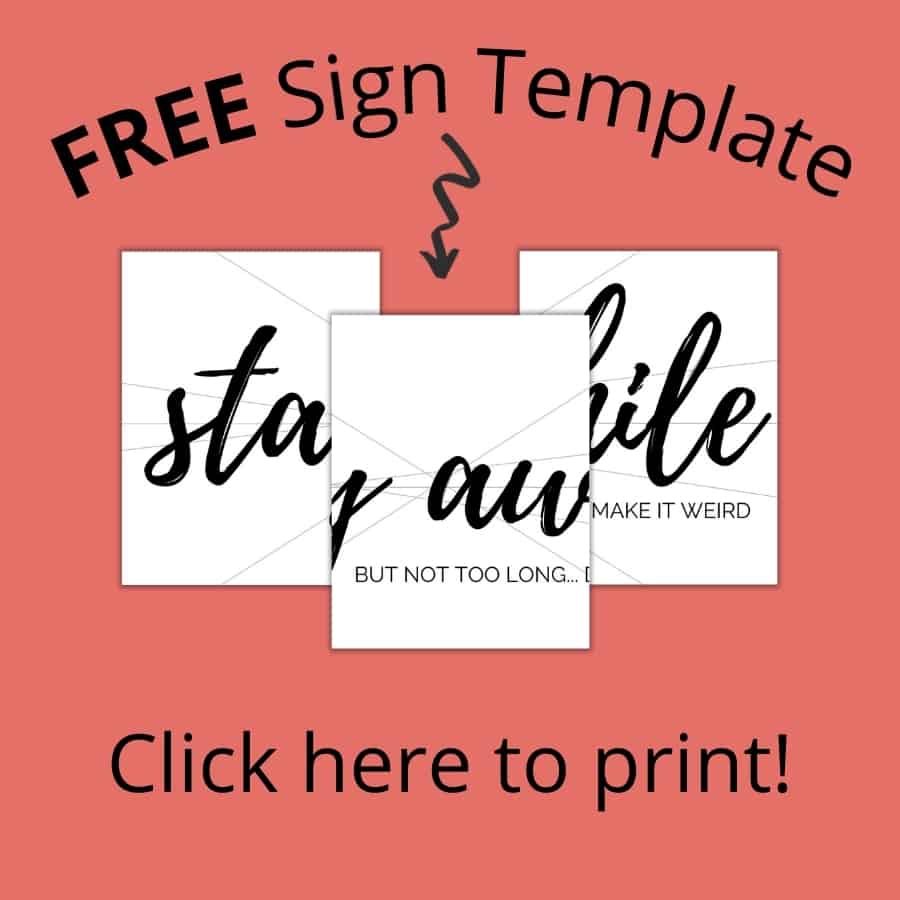
Step One: Print out the Template
You can grab this FREE Stay Awhile Sign template, or make your own template! (Click the link up in the supply list)
(This specific template is for a sign around 24.5″ wide x 15.5″ tall).
If you want to write your own saying on your sign, just use Word or similar software to type out your letters on a paper.
Then print out the template!
If it’s large like this one, you’ll want to tape the pages of the template together before tracing the letters onto your sign.
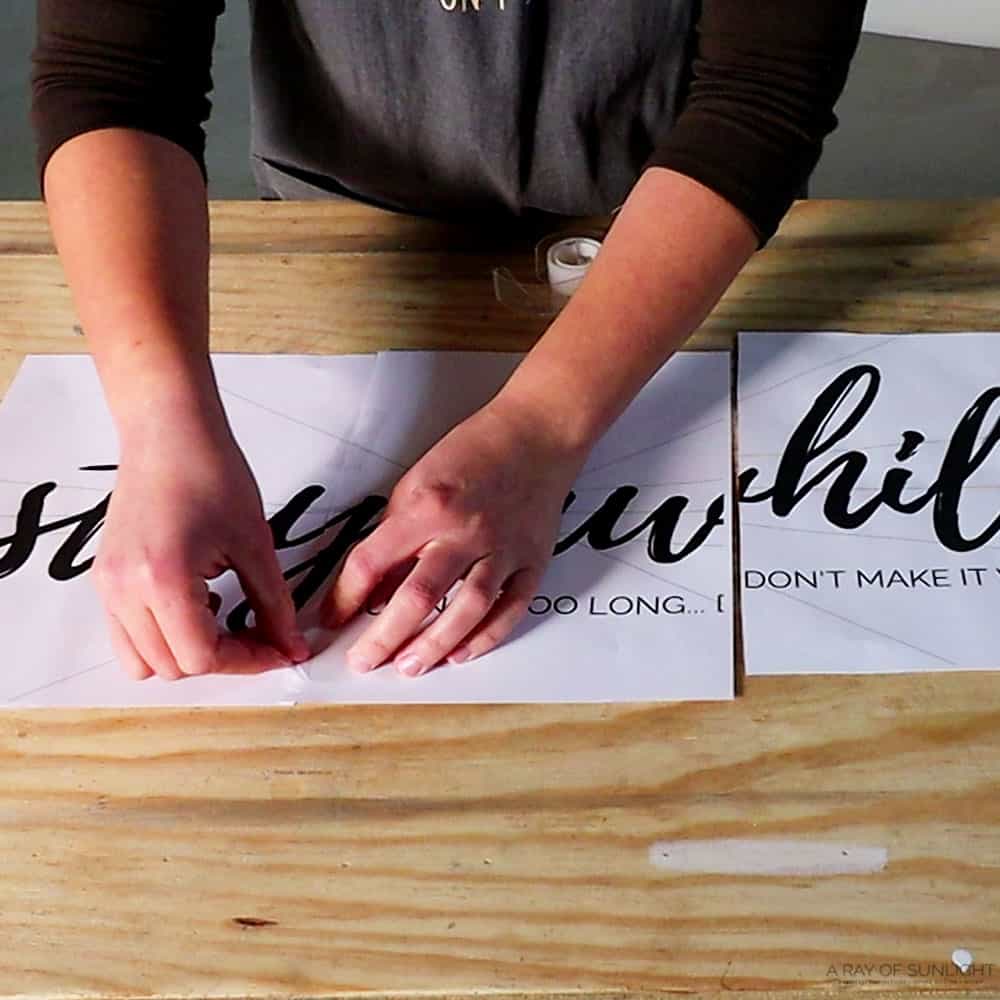
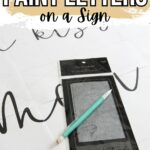
Step Two: Trace the Template onto the Sign
Tape the paper template to the sign, making sure to line it up exactly where you want it.
Then place the graphite paper (dark side down) in between the template and the sign.
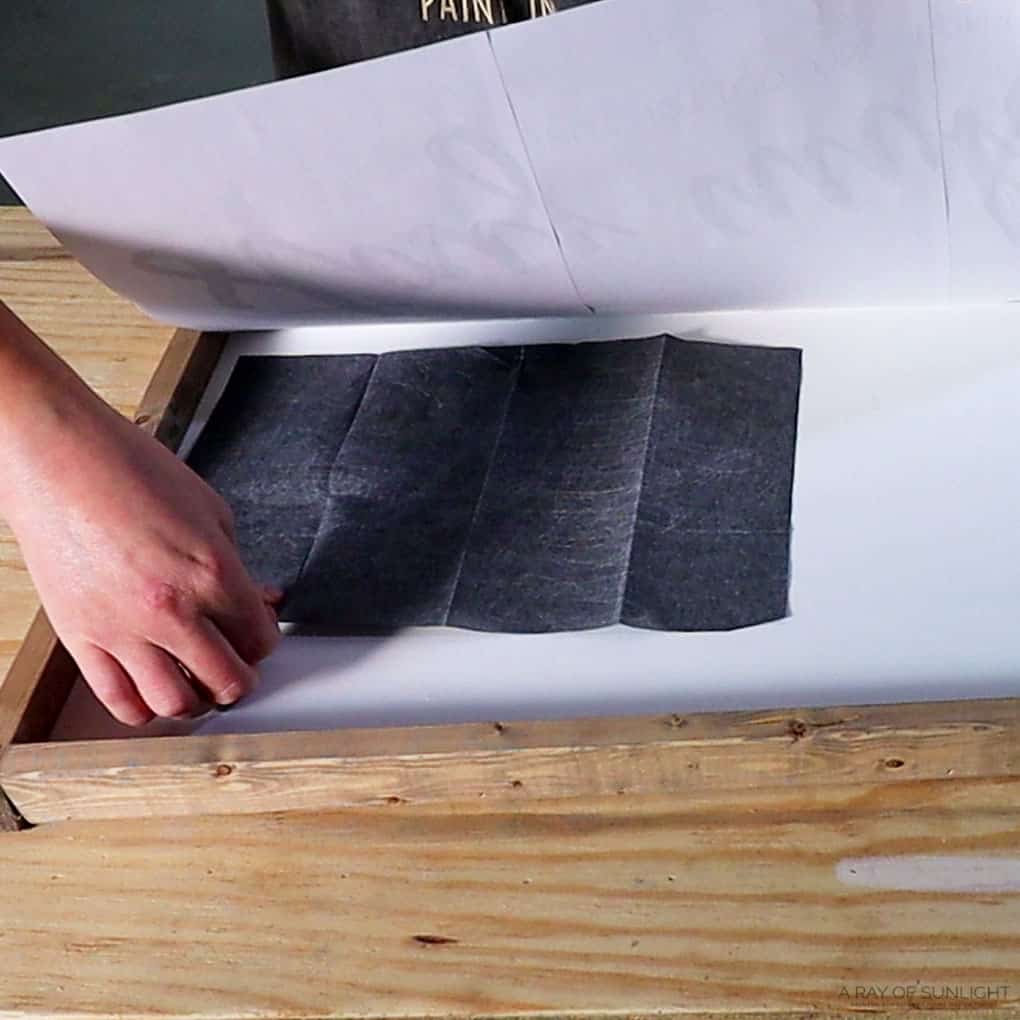
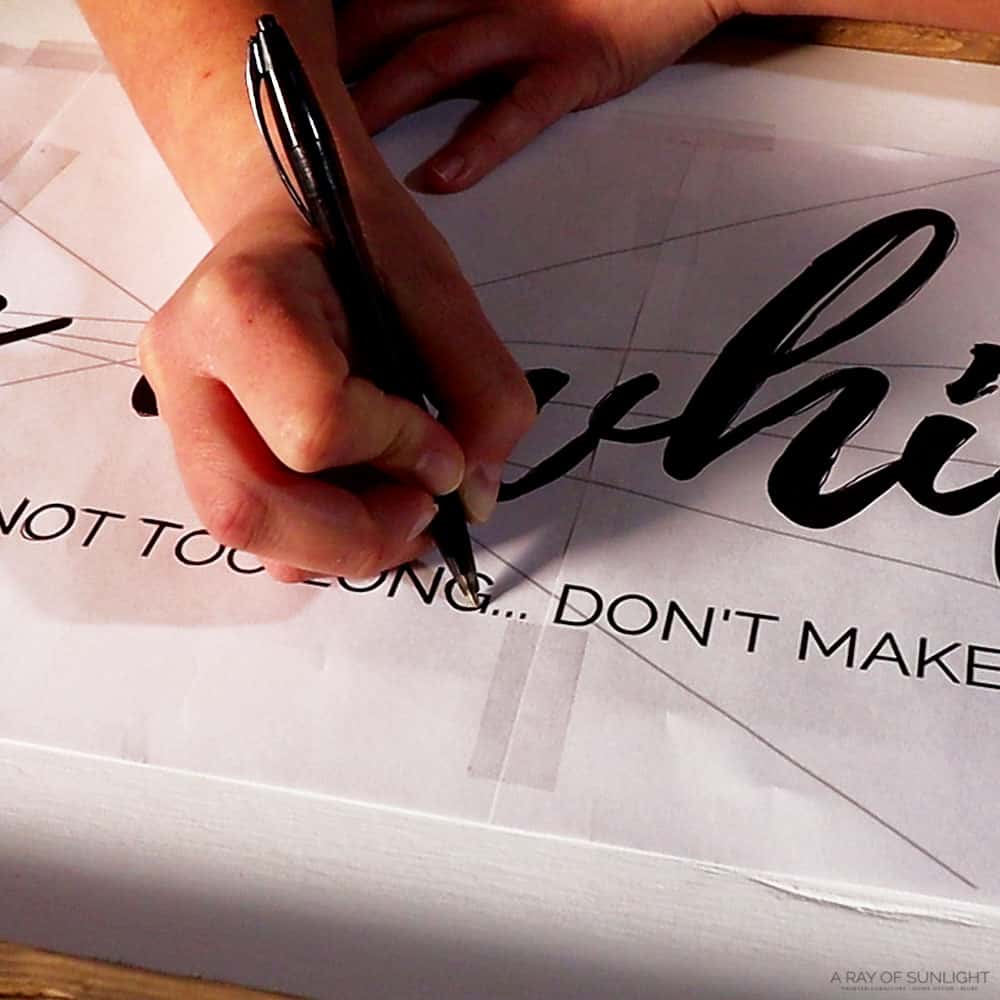
Use the template as a guide to trace the letters of the saying onto the sign.
As you apply pressure with a pen or pencil, the graphite paper will transfer the design onto the wood sign.
If you have a larger template you’ll have to move the graphite paper after you trace on the first portion, to the next portion that you need to trace.
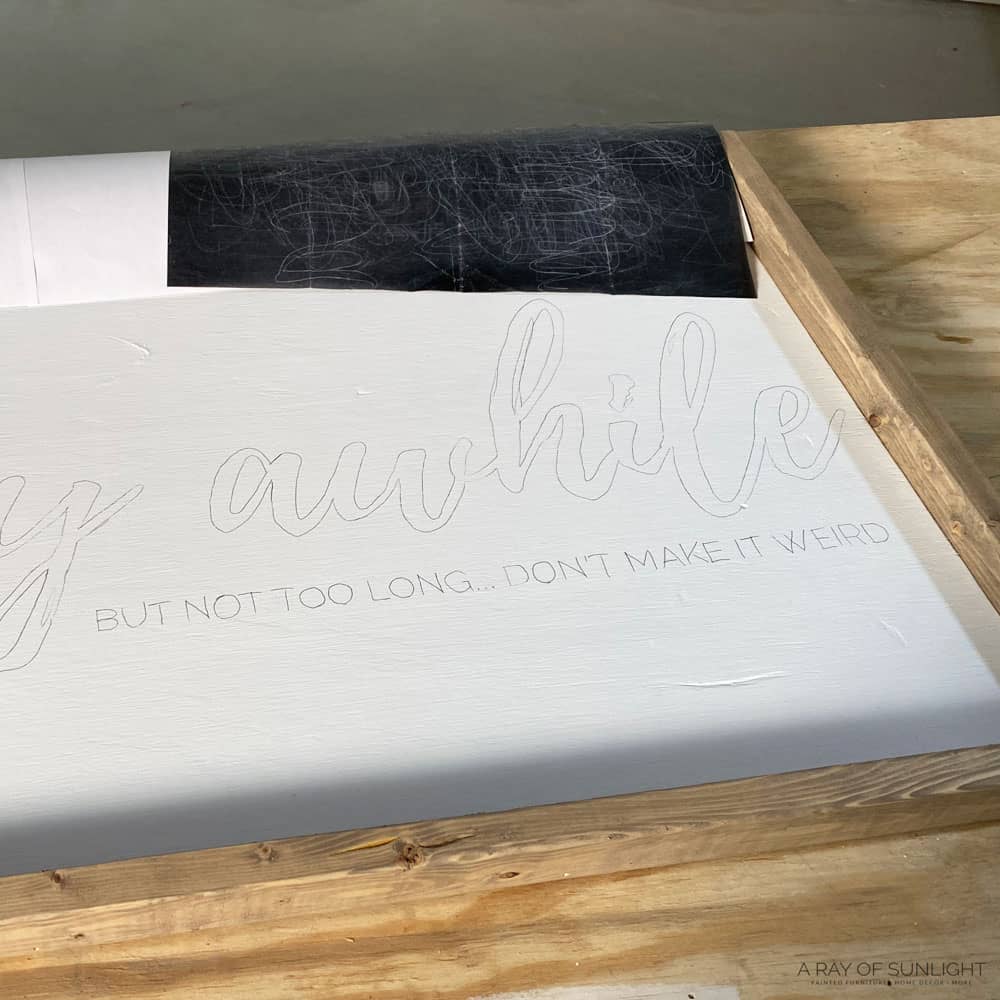
Once you’re done, you’ll see the outline of your letters on the wood sign.
Remove the template and the graphite paper before moving to the next step.
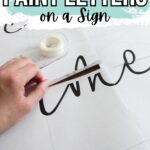
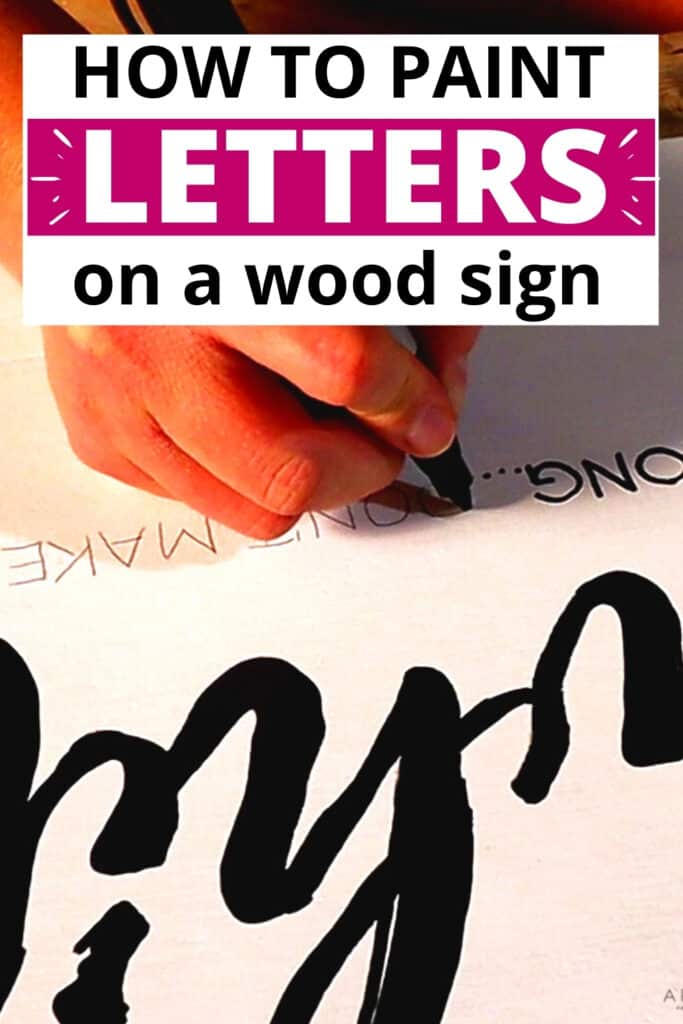
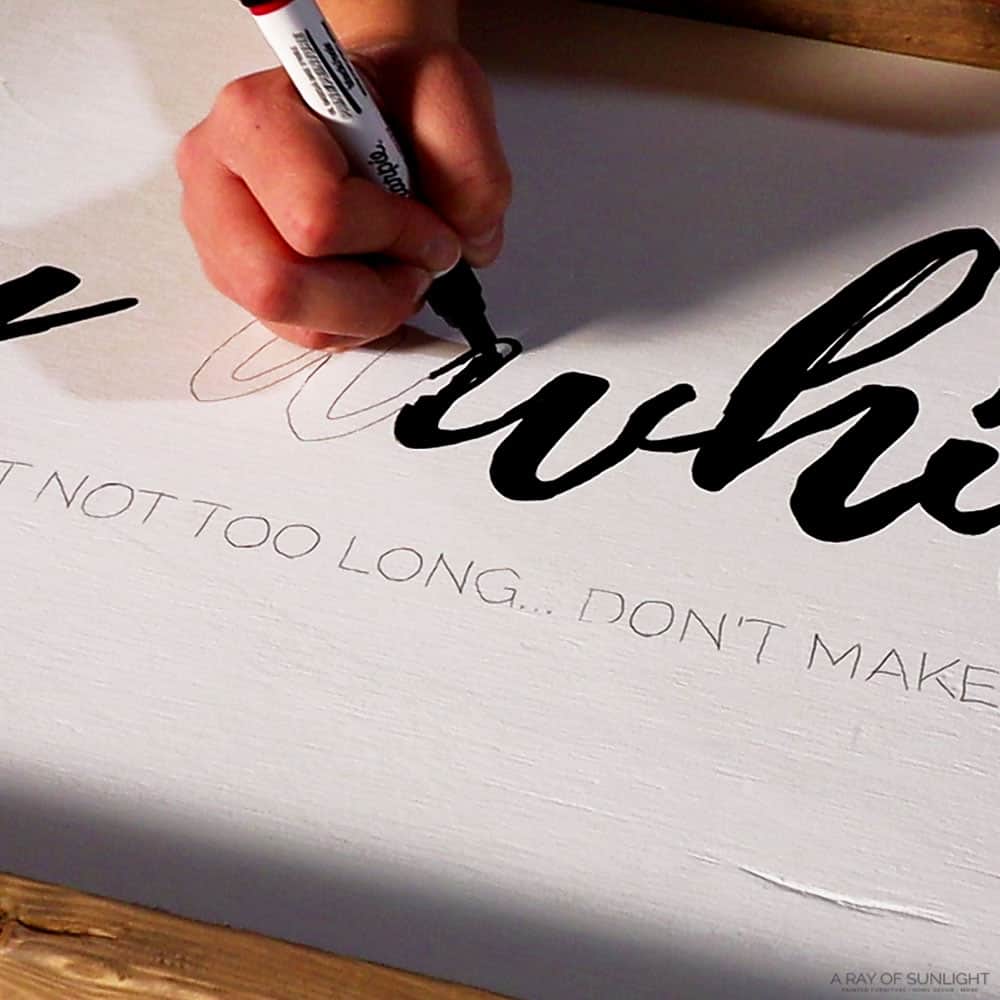
Step Three: Color in the Letters
Now you can paint the letters on your sign!
I love using these sharpie paint pens because it feels just like coloring!
Would you like to save this?
But you can use paint and a paint brush if you want to get fancy.
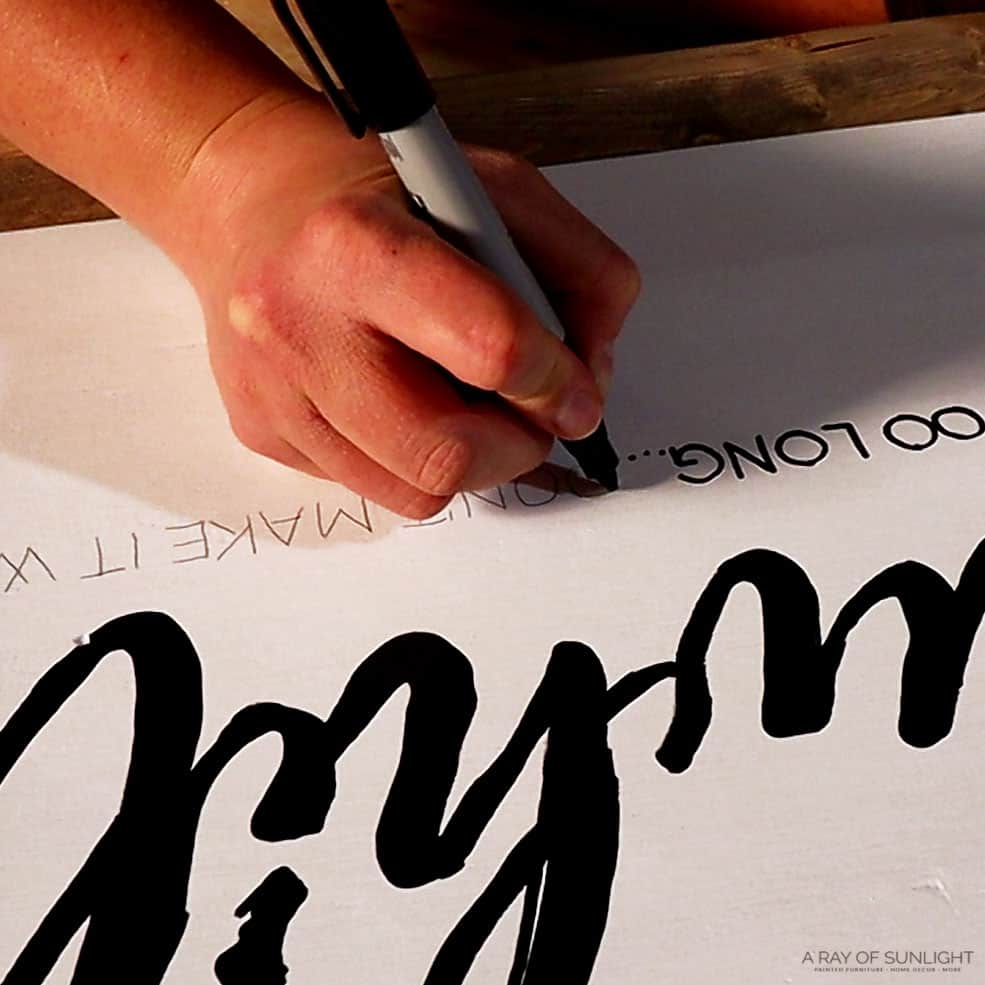
You can also use other sharpie markers, but they don’t color as well as the paint pens.
For the tiny letters, I used a Sharpie Chiseled Tip Marker.
**Make sure to not let your hand smudge the wet paint while you’re painting the sign!
After the first coat, you might want to paint a 2nd coat in a few spots, but the paint pen has pretty good coverage.
Tips for Using a Sharpie Paint Pen:
- Shake the pen for a minute before using.
- Load paint onto the tip of the pen by pushing the tip of the pen.
- Push the pen tip onto a scrap piece of paper instead of on the sign. The pen sometimes gushes out the paint when you push in the tip.
- If you reload the paint on the tip by pushing it on the sign, you might end up with a mess!
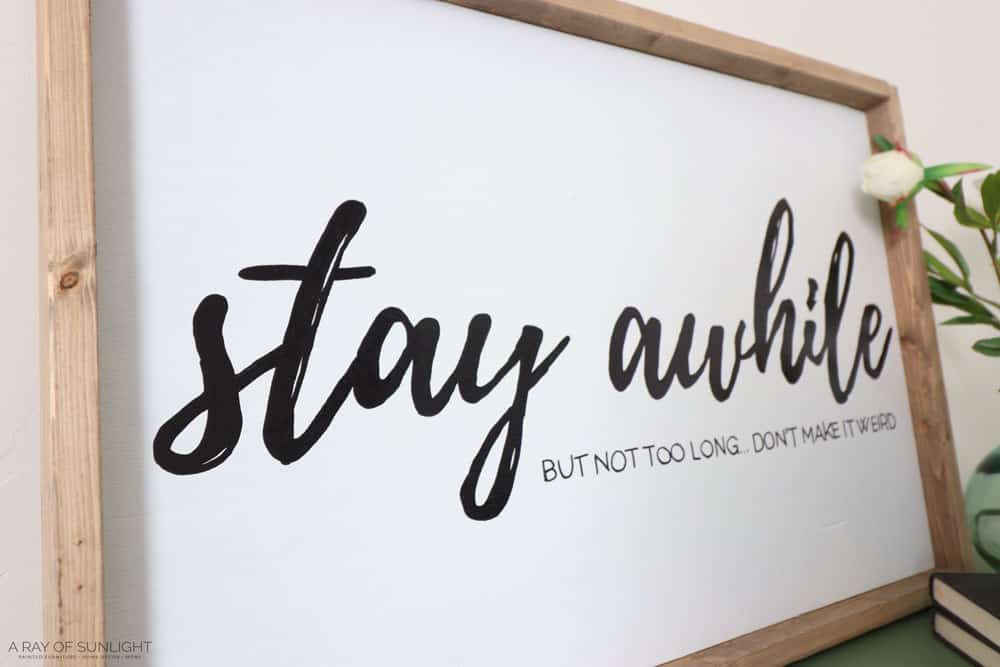
Step Four: Enjoy!
If you can paint inside the lines, this way of painting letters on a sign is super super easy and do-able!
Enjoy your new homemade farmhouse sign!
Tips for Painting a Wood Sign
How Do You Make a Farmhouse Sign?
Before you can paint a farmhouse sign, you need a sign, right? I put together this great step by step tutorial on how to make a wood sign here. It’s the same farmhouse style of sign like these ones.
You can also get premade blank signs, so you get to paint and not worry about making a sign.
- Blank Framed Sign
- Thick or Thin Framed Blank Sign
- Rustic Dark Walnut Blank Sign
- Blank Pallet Signs
- More options from Etsy
How can I trace the design without graphite paper?
If you don’t have graphite paper, and can’t run to the store for some, you can make your own version of graphite paper. Basically homemade graphite paper. haha
Just flip your design over, and color the backside of the design with a pencil.
You really only need to hit the places that you will be transferring, (the edge of the letters), so you don’t have to color the whole entire paper if you don’t want to.
Then flip the template back over, line it up, and trace around the design. The graphite from the pencil will transfer to your sign, just like the graphite paper does!
Here’s a great tutorial on how to paint farmhouse signs.
What sharpie is best for painting signs?
A regular old sharpie will work! But it’s not the absolute best!
I personally really like the sharpie paint pens.
They also come in white and fine point instead of a medium point.
I love using a sharpie or a paint pen because you have more control over coloring in the design than if you have paint and a paintbrush.
Unless you’re super amazing at using a small paintbrush! But that is not me.
The regular sharpie pens don’t color in very dark, and when you go over an area you just barely colored, it makes weird marks.
A chisel tip sharpie works better than a regular sharpie, but not as good as a sharpie paint pen.
More Wood Signs:
- DIY So I Can Kiss You Anytime I Want Sign
- Small Wooden Love Signs
- DIY Farm Fresh Christmas Tree Sign
- DIY Wooden Christmas Village
- Reindeer Christmas Signs

Follow us on YouTube to get more tips for painting furniture. Or share your project with us on our Facebook Group and be part of our community. See you there!