How to Paint Farmhouse Signs
Do you want to DIY your own farmhouse sign without fancy tools or good handwriting? This is how to paint farmhouse signs the easiest and cheapest way! You don’t need any fancy or expensive tools (like a cricket or silhouette machine). You don’t need vinyl or a fancy computer program too.
With a few simple materials and these free printable stencils for wood signs, you can create beautiful and personalized farmhouse signs to decorate your home or give as gifts to friends and family.

There are many reasons why you might want to make and paint your own farmhouse signs. Instead of buying ready made signs, making your own allows you to add a personal touch and create something truly unique.

This way, you’ll be able to customize the size and design according to your style and preference. You can choose the perfect font, color, and layout for your sign without being limited by pre made options in the store.
Making farmhouse signs is also a fun and creative activity you can do with your friends and family. It’s a great way to spend quality time together and create something you can all be proud of. So let’s dive into the steps on painting farmhouse signs and get started!
Supplies Used for Painting Farmhouse Signs
As an Amazon Associate, I earn from qualifying purchases. I also may earn from other qualifying purchases with other companies or get free product to review and use. All opinions are my own.
- Wooden Sign
- Printer and Paper
- Graphite Paper (or Pencil)
- Paint Pen
How to Make Farmhouse signs
Before you can paint a farmhouse sign, you need a sign, right? I put together this great step by step tutorial on how to make a wood sign here. It’s the same farmhouse style of sign like these ones. And it’s easy to make!
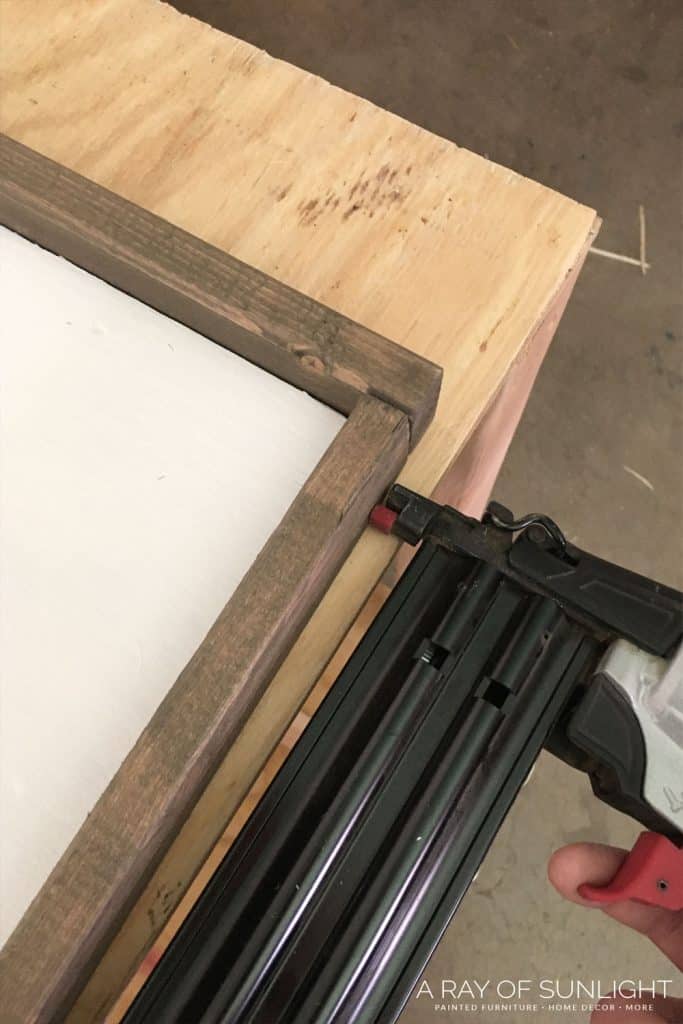
You can also get premade blank farmhouse signs, so you get to paint and not worry about making a sign. Just buy them and get started right away with painting and decorating! Here are some options to check out:
Print Farmhouse Sign Template
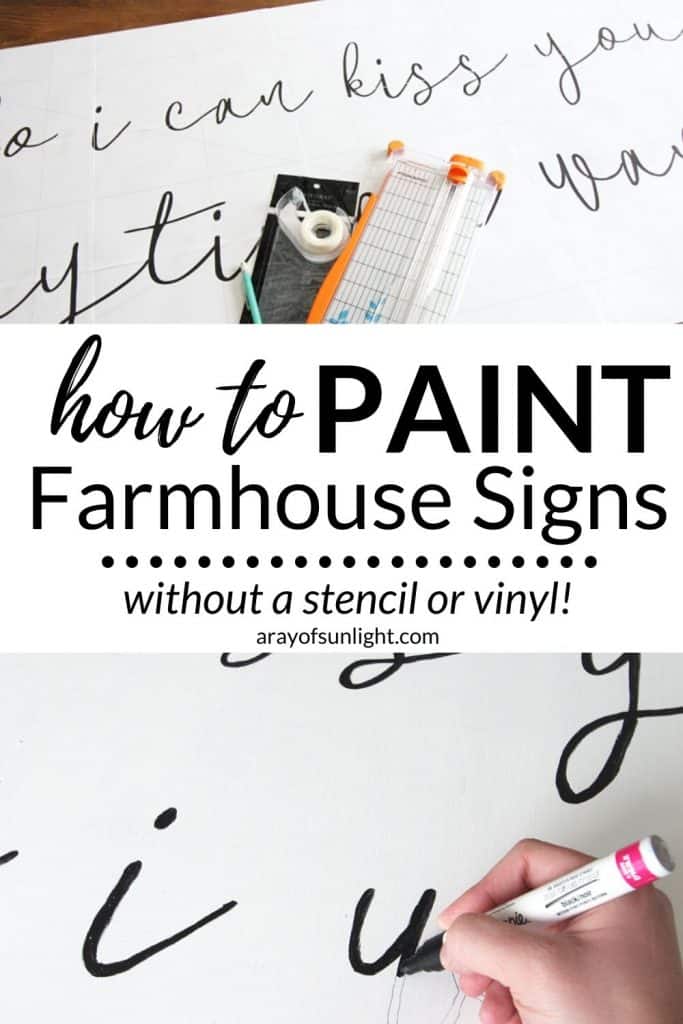
Once you have your farmhouse sign ready, it’s time to get the template ready. If you’ve chosen one of the free templates we’ve shared above, you’ll need to print them out now. They come in different sizes, so make sure to choose the right size for your sign.
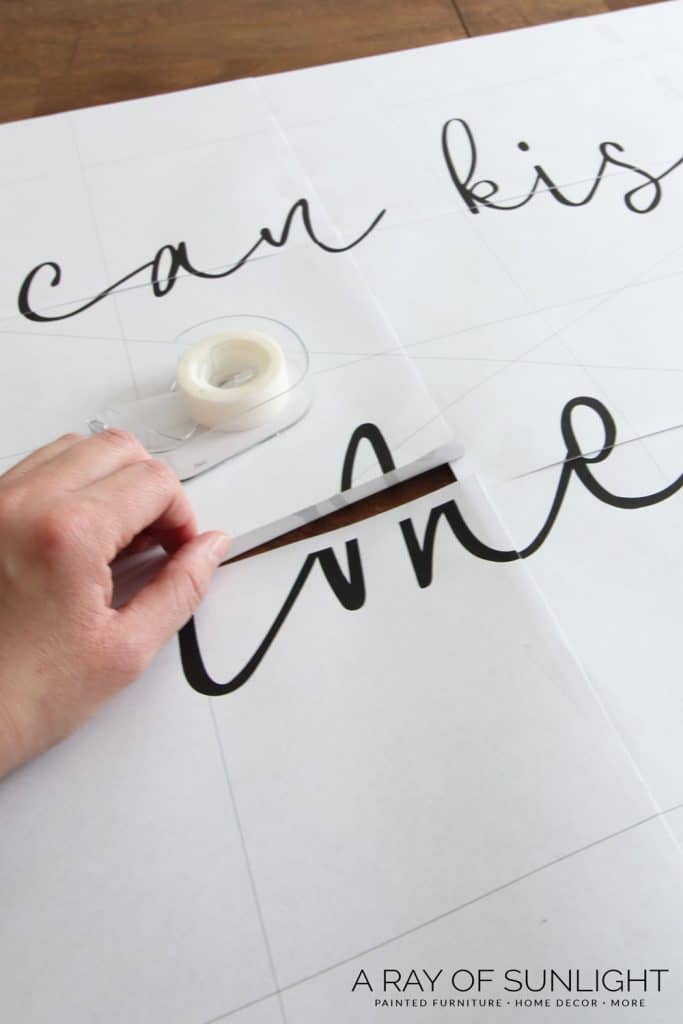
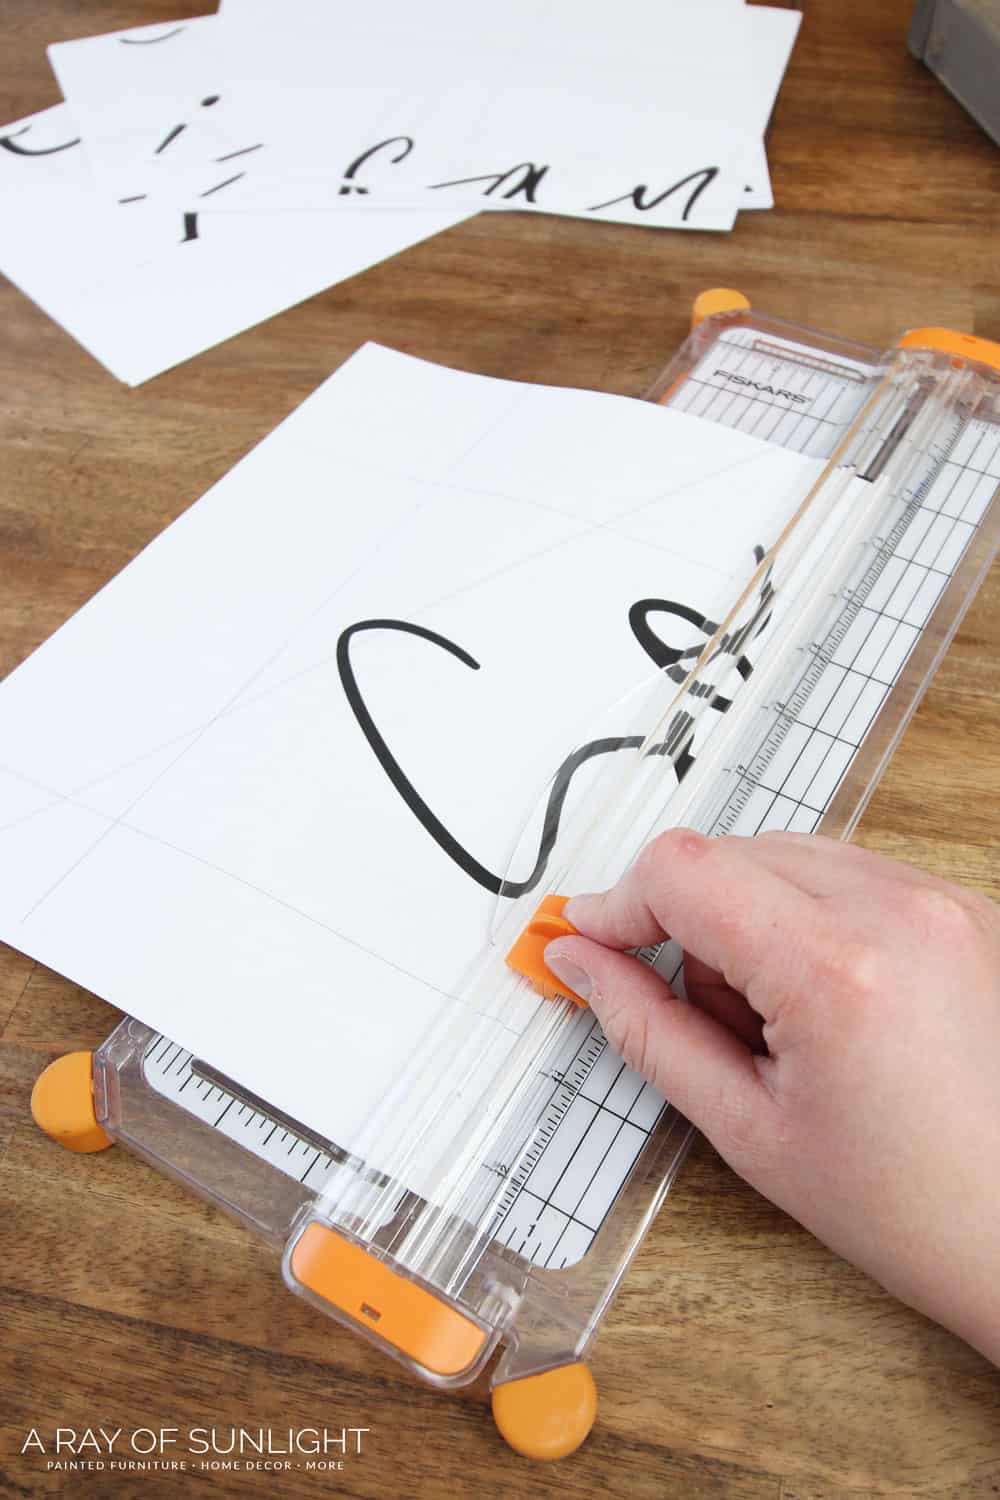
If the template is bigger than one piece of paper, it will come in a pdf with multiple pages. It’s easy to put them together though if you’re worried about that! Simply print out the pages and tape them together to create one big template.
Remove the top and right side margins of each piece of paper. Then line up the template, using the design and the guidelines to keep everything straight. Put the cut off margins of one paper over the margin of the other papers to make everything fit together nicely.
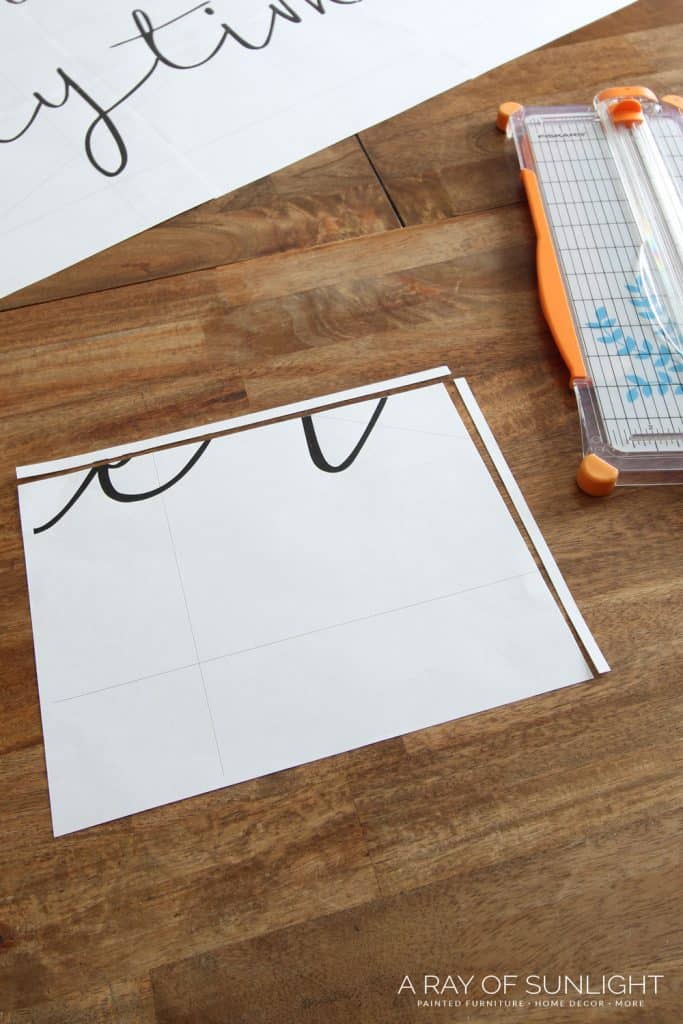
Don’t worry, it’s easy to transfer the design even in those areas where it’s two pages thick. Then tape the pieces together on the blank spaces of the paper. And you’ve got a template sized perfectly for your sign!
How to Make a Farmhouse Sign Template
If you don’t have a template that you want, you can make your own! A simple design in a word document will work for small signs. You can create your own templates in Photoshop, as well. Then you can follow the video in this DIY handpainted sign tutorial to turn your design into a large template.
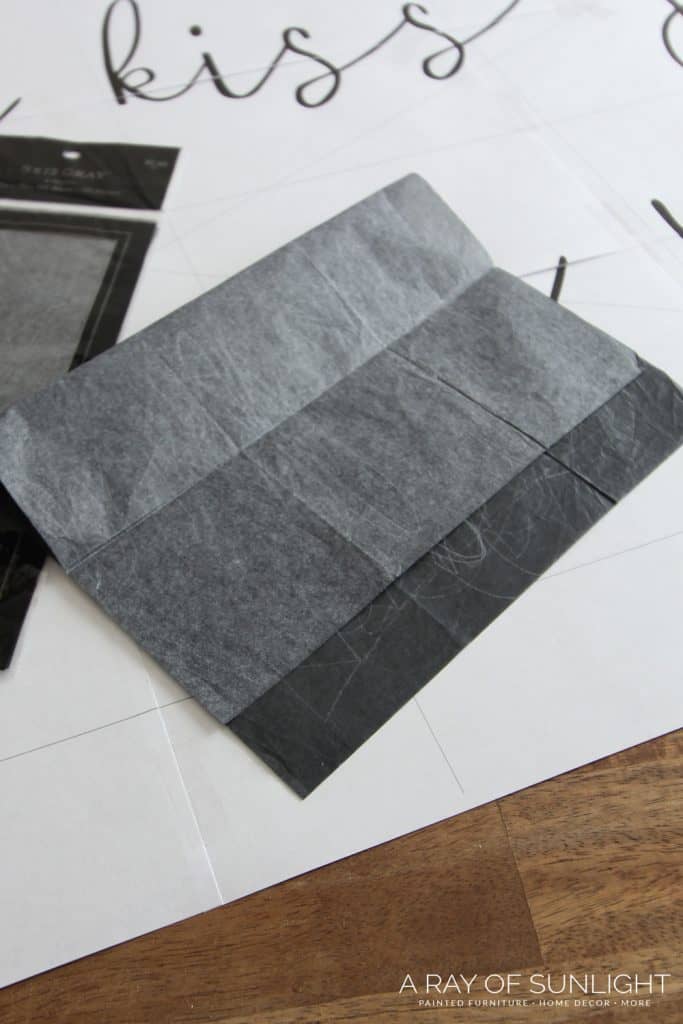
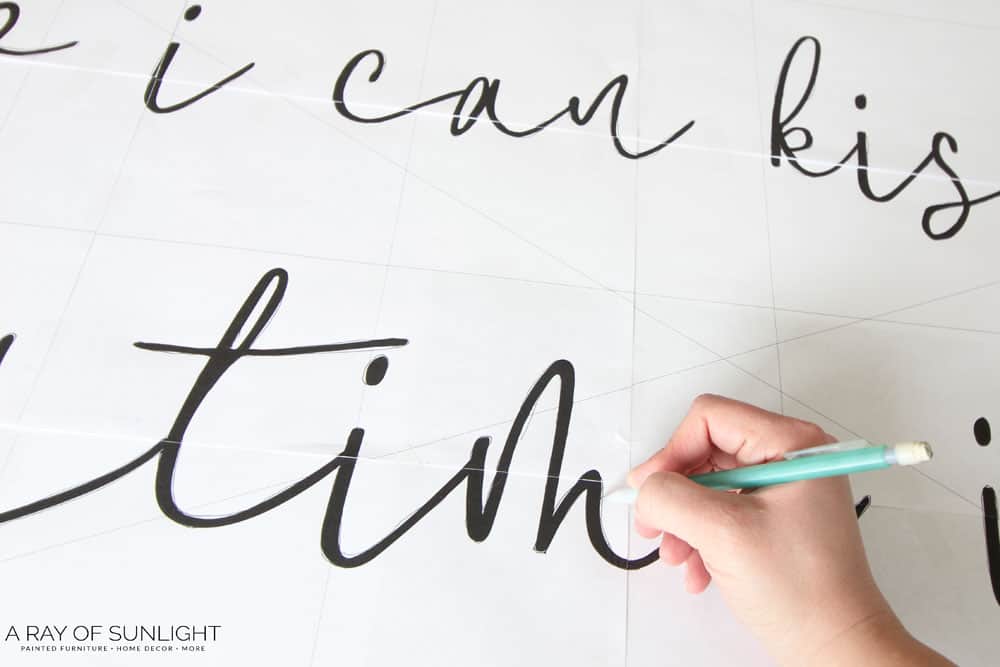
How to Use Graphite Paper to Transfer Template
Graphite paper is suuuuuper easy to use! When you put pressure on the graphite paper, the graphite transfers onto the sign. Make sure to place the dark side of the graphite paper facing down.
Would you like to save this?

Since the template is much larger than the graphite paper in this case, I just work on one section at a time, and then move the graphite paper to the next section. Also make sure your template is taped to the top of the sign, in multiple places, to make it easy to move the graphite paper around without messing up the template.
I use and reuse my graphite paper, so one package has lasted me years!
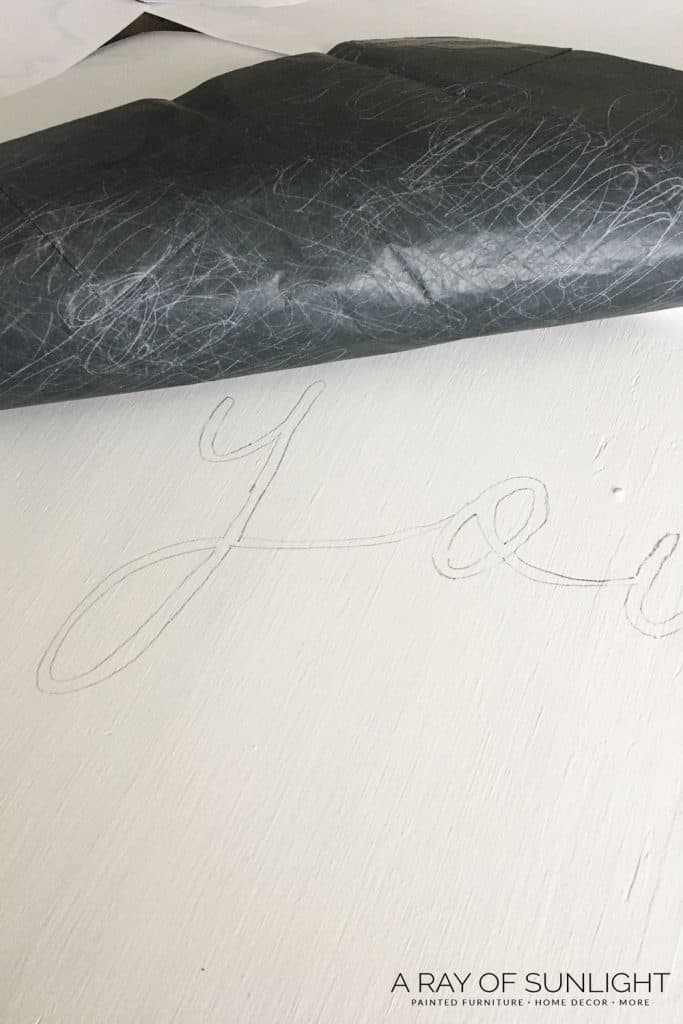
How to Trace Template without Graphite Paper
If you don’t have graphite paper, and can’t run to the store for some, you can make your own version of graphite paper. Basically homemade graphite paper. haha
Just flip your design over, and color the backside of the design with a pencil. You really only need to hit the places that you will be transferring, (the edge of the letters), so you don’t have to color the whole entire paper if you don’t want to.
Then flip the template back over, line it up, and trace around the design. The graphite from the pencil will transfer to your sign, just like the graphite paper does!
How to Paint Your Own Wooden Sign
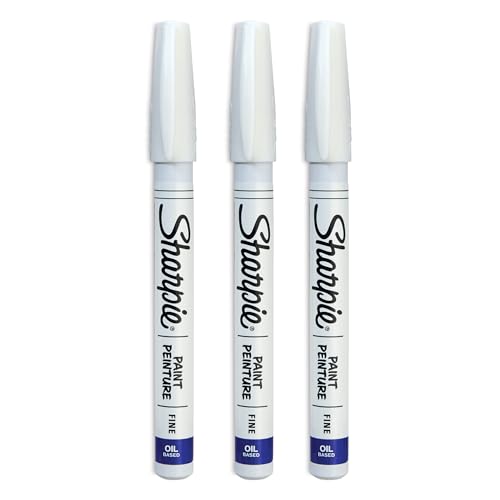
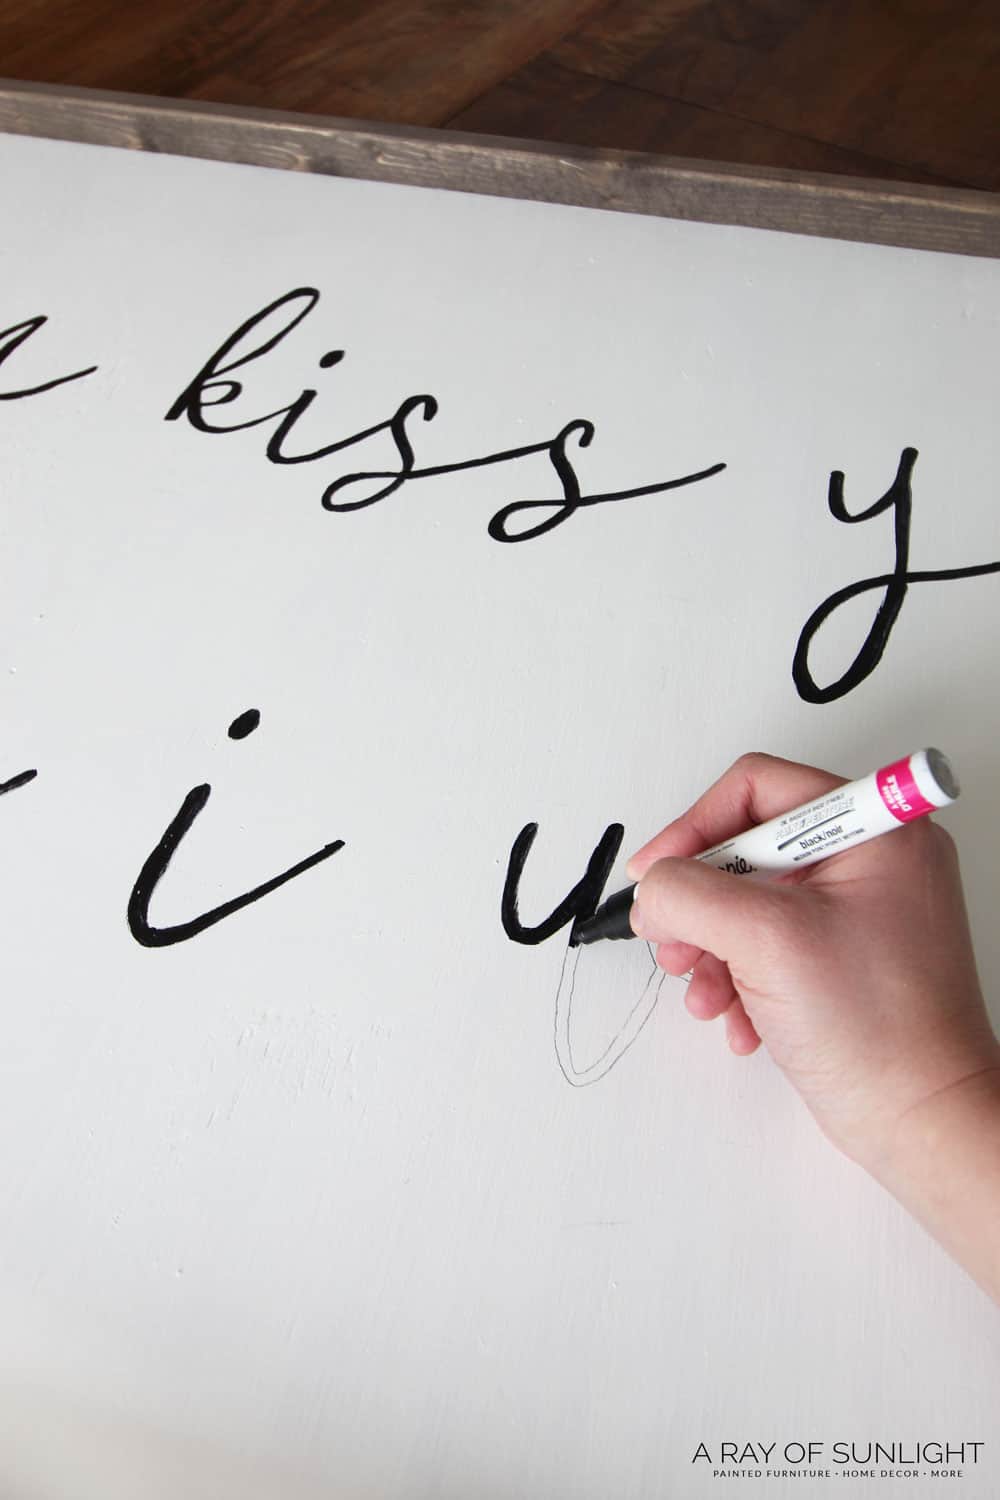
After you have your template transferred, it’s time to start painting! Trace around and color the design – a regular old sharpie will work! But it’s not the absolute best! I personally really like the sharpie paint pens. They also come in white and black fine point instead of a medium point.
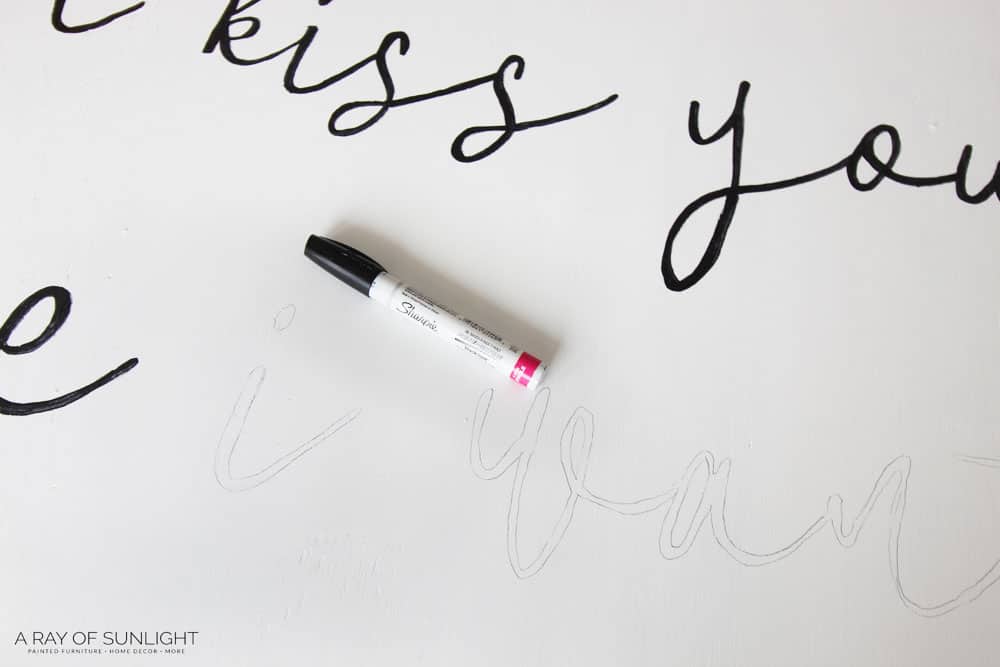
I love using a sharpie or a paint pen because you have more control over coloring in the design than if you have paint and a paintbrush. Unless you’re super amazing at using a small paintbrush! But that is not me.
The regular sharpie pens don’t color in very dark, and when you go over an area you just barely colored, it makes weird marks. A chisel tip sharpie works better than a regular sharpie, but not as good as a sharpie paint pen.
When you’re using the paint pen, just be sure to use a scrap piece of paper when you push down on the pen to get more paint to come out. When the pen is really full, a lot of paint may come out, and if you’re working on a sign with thin details, you’ll be frustrated to find a little puddle on your sign.

DIY Farmhouse Sign Ideas
Now that you have the basic knowledge and techniques to create your own farmhouse sign, it’s time to get creative! But if you need some more inspiration to get you started, here are a few ideas to help you out:
- Personalized family name signs: Write your family’s last name in a beautiful font and add some personal touches and display it in your entry way or living room.
- Inspirational quotes: Choose a quote that speaks to you and create a sign to display in your home as a daily reminder.
- Seasonal signs: Switch out your farmhouse sign according to the season, with designs featuring pumpkins for fall, snowflakes for winter, and flowers for spring. Check out these wooden Christmas signs you can try making yourself!
- Kitchen signs: Give your kitchen some charm with signs that have witty sayings or vintage style graphics.
- Motivational signs: Put up motivational phrases or mantras in your workspace to keep you inspired and focused on your goals.
Again, making your own sign will give you the freedom to choose the design, size, and style that fits your home perfectly. You can design it as colorful or as simple as you want, and you can make not only one, but multiple signs to display and even gift to friends and family!

How to Paint Farmhouse Signs
Want to make your own farmhouse sign? Here is the easiest and cheapest way to paint farmhouse signs!
Materials
- Free Sign Template
- Wooden Sign
- Paper
- Graphite Paper (or Pencil)
- Paint Pen
Tools
- Printer
Instructions
- Prepare the farmhouse sign you will use - you can make your own wooden sign or buy premade blank farmhouse signs.
- Find a template or create your own design using a word document or Photoshop. We have a whole bunch of our favorite designs right here.

- If it’s a large sign, tape the pieces of the template together. If it’s small, just tape the template to your sign (make sure to line it up first!)
- Put the graphite paper dark side down, in between the template and the sign.
- Trace the design onto the sign, moving the graphite paper as needed. Remember to use a scrap paper when pressing down on the pen to avoid excess paint.

- Color in the design with a sharpie! Get creative and personalize your sign by making it as colorful or simple as you want.
- Display your finished farmhouse sign and be proud of your handmade decoration!


Recommended Products
As an Amazon Associate and member of other affiliate programs, I earn from qualifying purchases.


More DIY Home Decor Ideas
- Painted Fall Pumpkins with Country Chic Paint
- DIY So I Can Kiss You Anytime I Want Sign
- DIY Faux Olive Tree Plant – How to
- DIY Wooden Christmas Village
- Wooden Christmas Signs

Follow us on YouTube to get more tips for painting furniture. Or share your project with us on our Facebook Group and be part of our community. See you there!