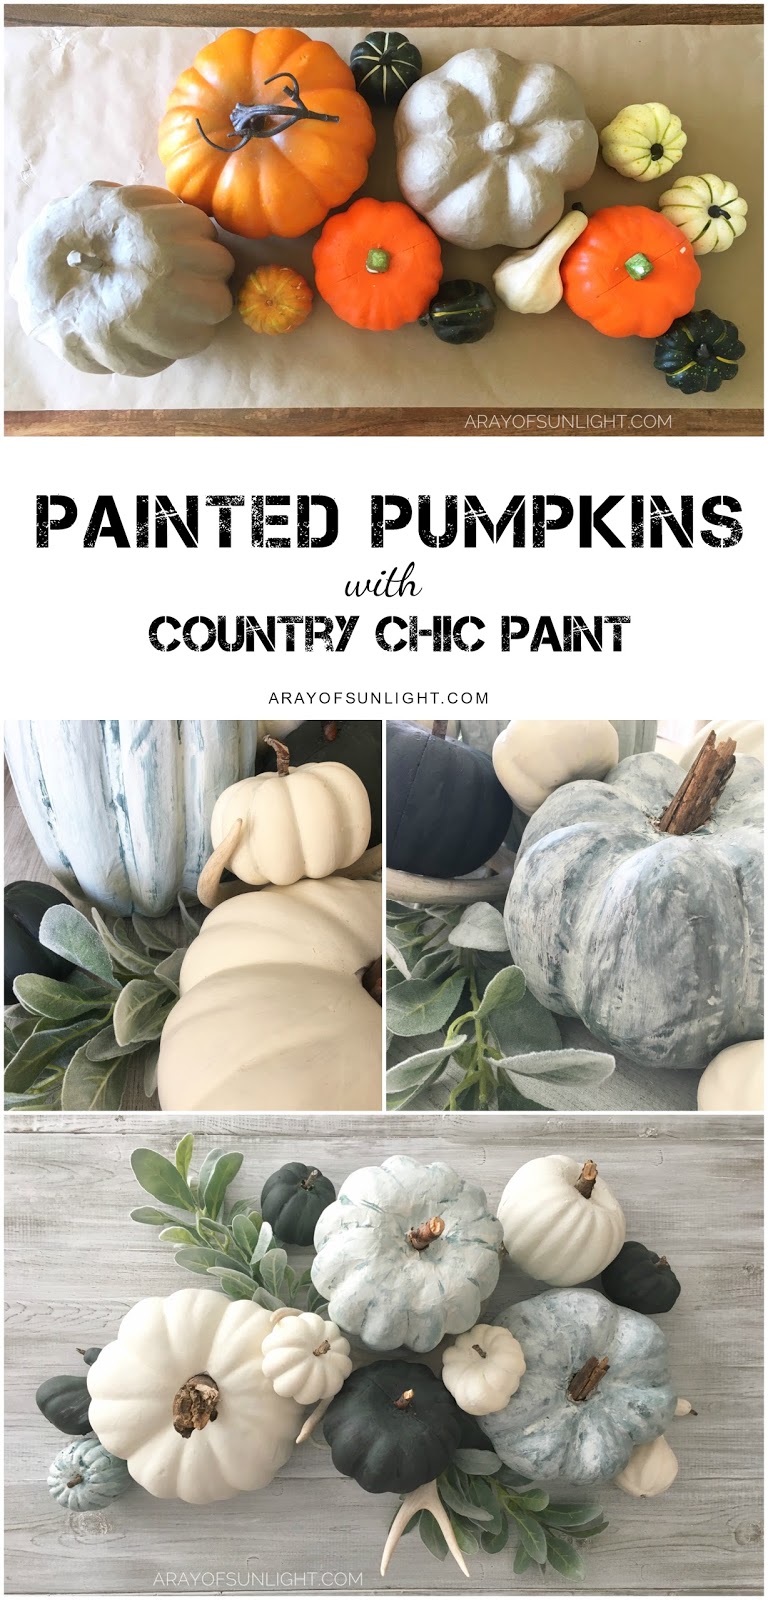
Painted Fall Pumpkins with Country Chic Paint
It’s been chilly and wet all week, making it feel like fall a little bit earlier than we’re used to. Chilly weather brings fall decorating and lot and lots of baking, so what better way to start than to grab a paint brush and cheap pumpkins to make some painted fall pumpkins with Country Chic Paint!
Here at A Ray of Sunlight, we love fall. The leaves changing colors, cozy sweaters, and of course pumpkin everything! What better way to decorate for the season than with some fun and unique fall painted pumpkins?

I gathered these pumpkins from a few different places. The paper mache ones came from a craft store last year, and the small white and green ones this year. I also picked up a couple of dollar store pumpkins and our yard selling adventures brought us the other.

As an Amazon Associate, I earn from qualifying purchases. I also may earn from other qualifying purchases with other companies or get free product to review and use. All opinions are my own.
I’m sure you have some old pumpkins laying around, begging for a makeover this year. If not, you can also get decoration pumpkins that come in different sizes that would be perfect for this project.
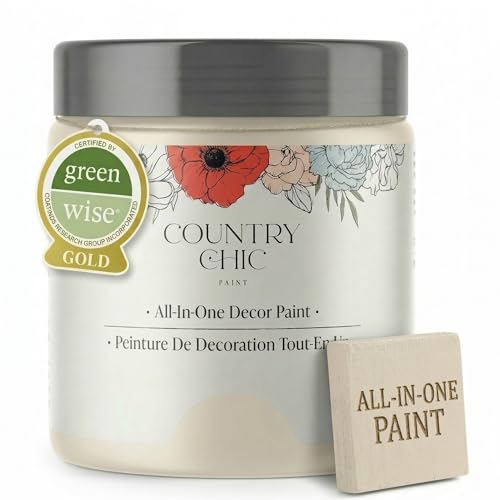
I used quite an array of Country Chic Paints that I had on hand. The best part about Country Chic Paint is that the paint will adhere to almost anything! Simply just start painting! Wahoo! Check out my honest and detailed Country Chic Paint review here for more on this paint.
Supplies Used for Painting Fall Pumpkins with Country Chic Paint
- Pumpkins
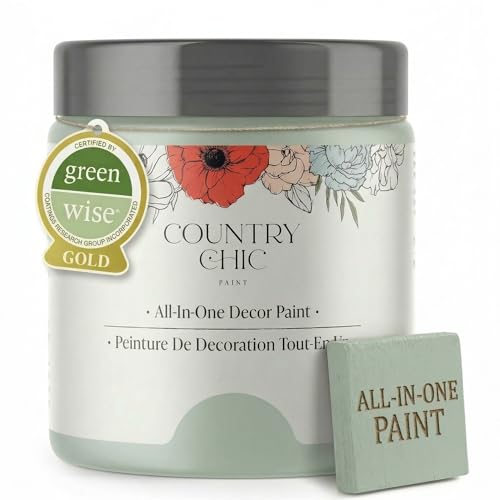
- Country Chic Paint in Vanilla Frosting
- Country Chic Paint in Jitterbug
- Country Chic Paint in Happy Hour
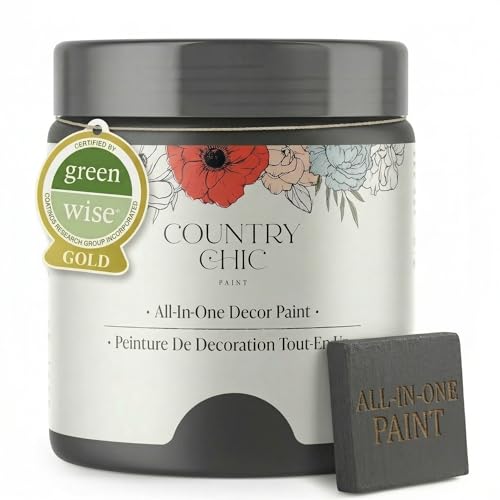
- Country Chic Paint in Liquorice
- Country Chic Paint in Hollow Hill
- Foam Brushes
- Sticks and Twigs (we picked some from our yard)
- Hot Glue / Glue Gun
white Pumpkin Painting
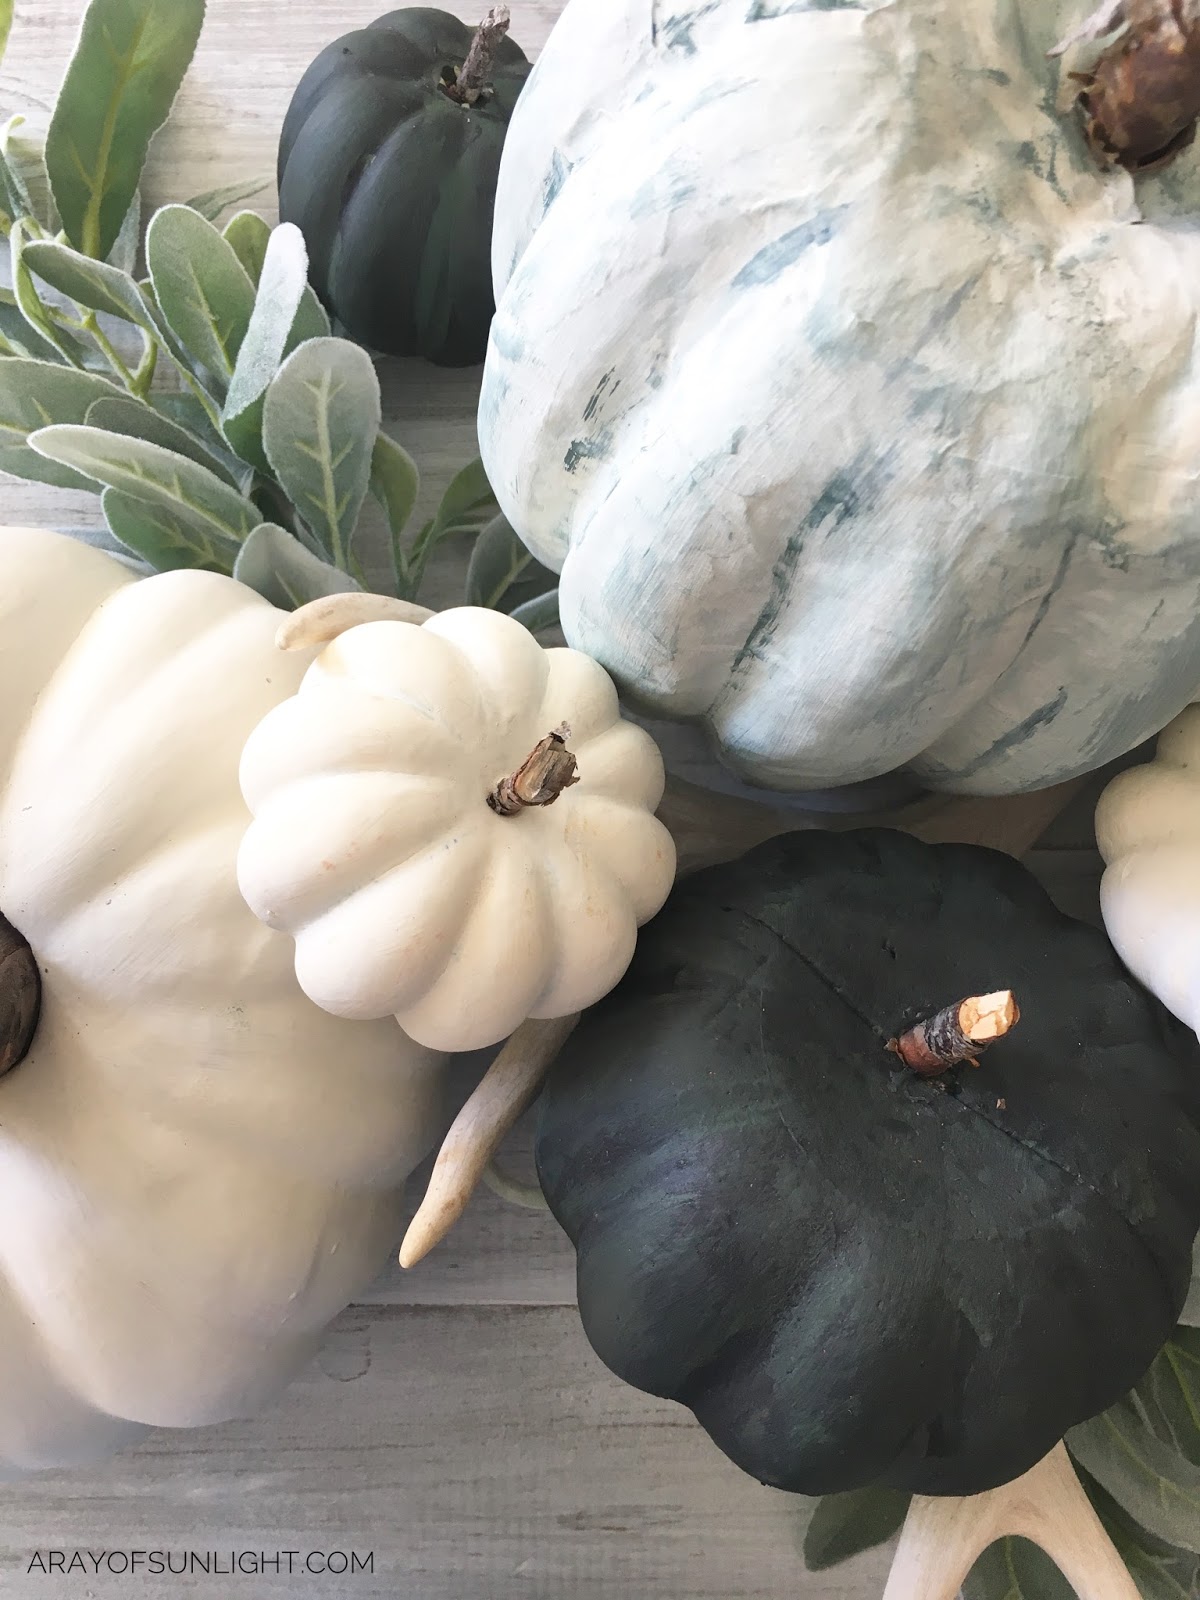
I started by taking all of the stems off. Then the white pumpkins just got a few coats of Vanilla Frosting. Super simple and easy.
Painting pumpkin Green and Dry Brushing
The green pumpkins were first painted in Hollow Hill. When the paint was almost dry, I dry brushed Liquorice on, leaving Hollow Hill peaking through here and there. If you’re not familiar with dry brushing, it’s super simple!
Basically, we just made sure there was a very very small amount of paint left on the brush before we started applying the paint. If you get too much paint on the brush, just dab it off on a paper towel before applying the paint. Super simple, but it gives a textured layer feel by letting the base color peak through.

Painting Tall Pumpkin
For the tall light blue pumpkin I gave it a base coat of Happy Hour. Once that was dry, I painted a light stripe of Jitterbug in each crevice and then dry brushed Vanilla Frosting over everything.
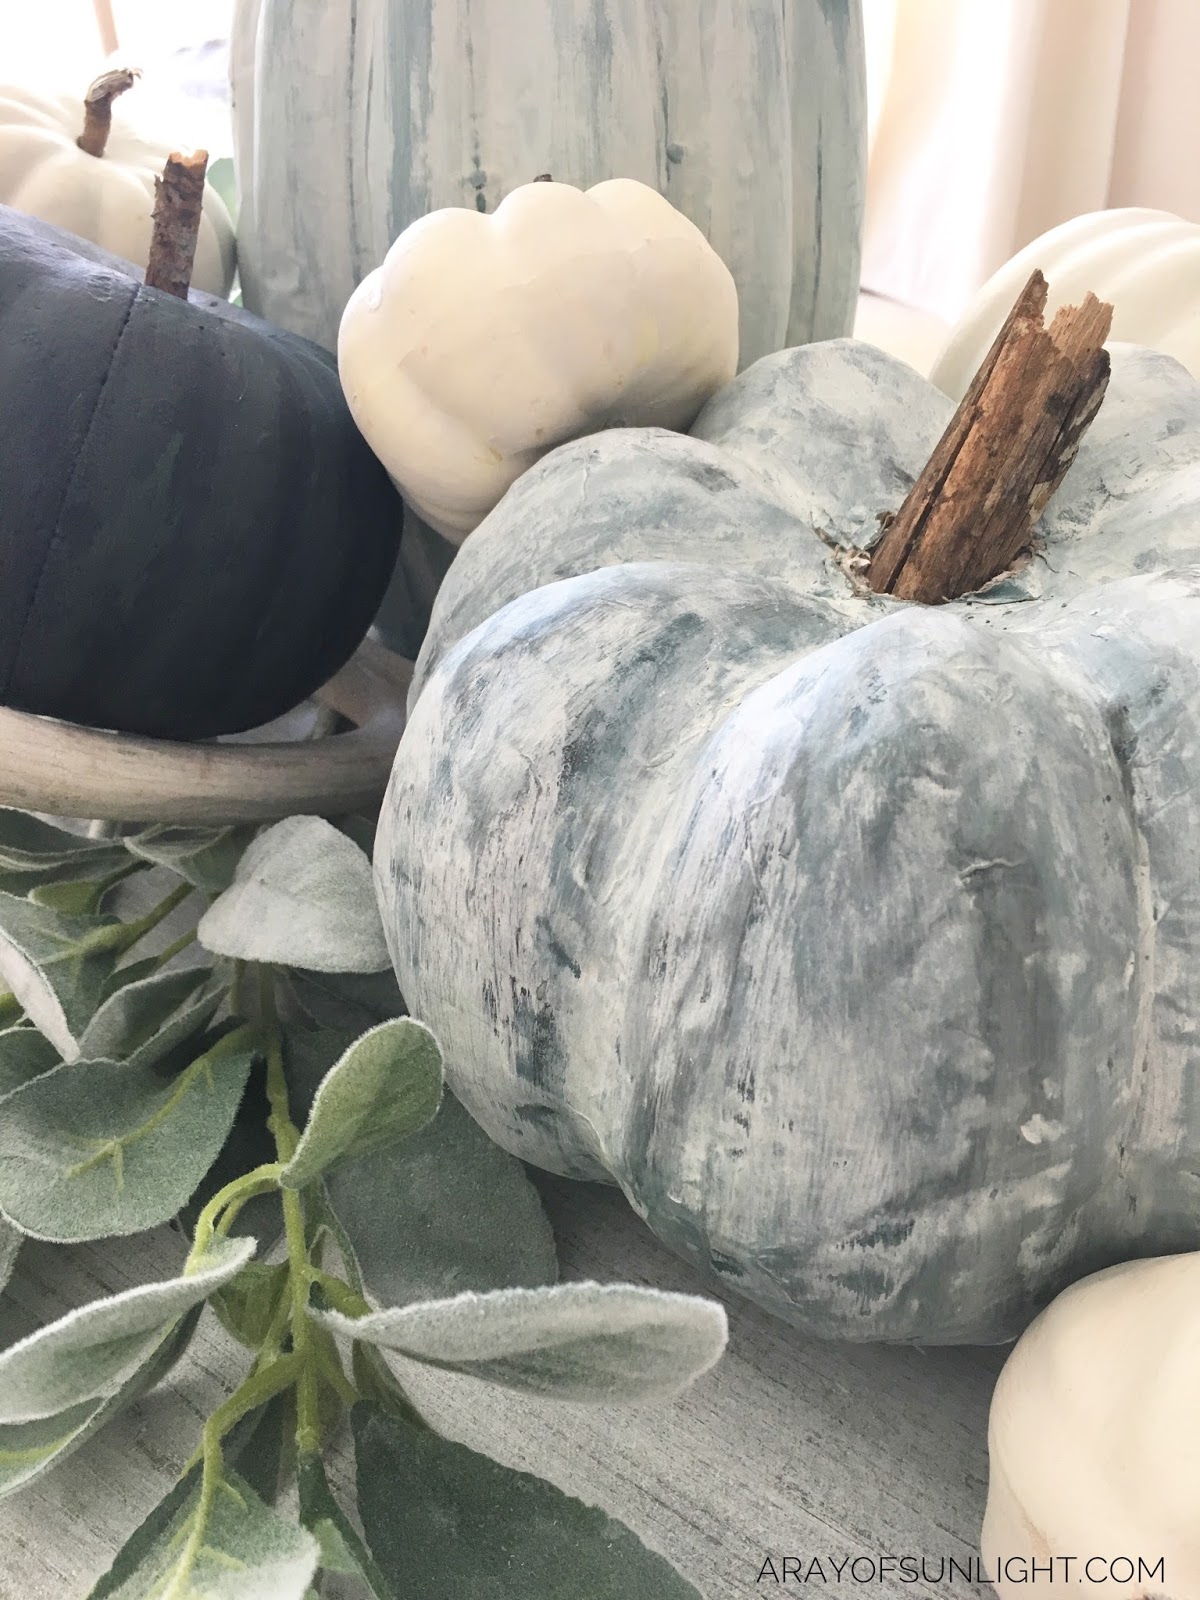
Textured White Wash Pumpkin
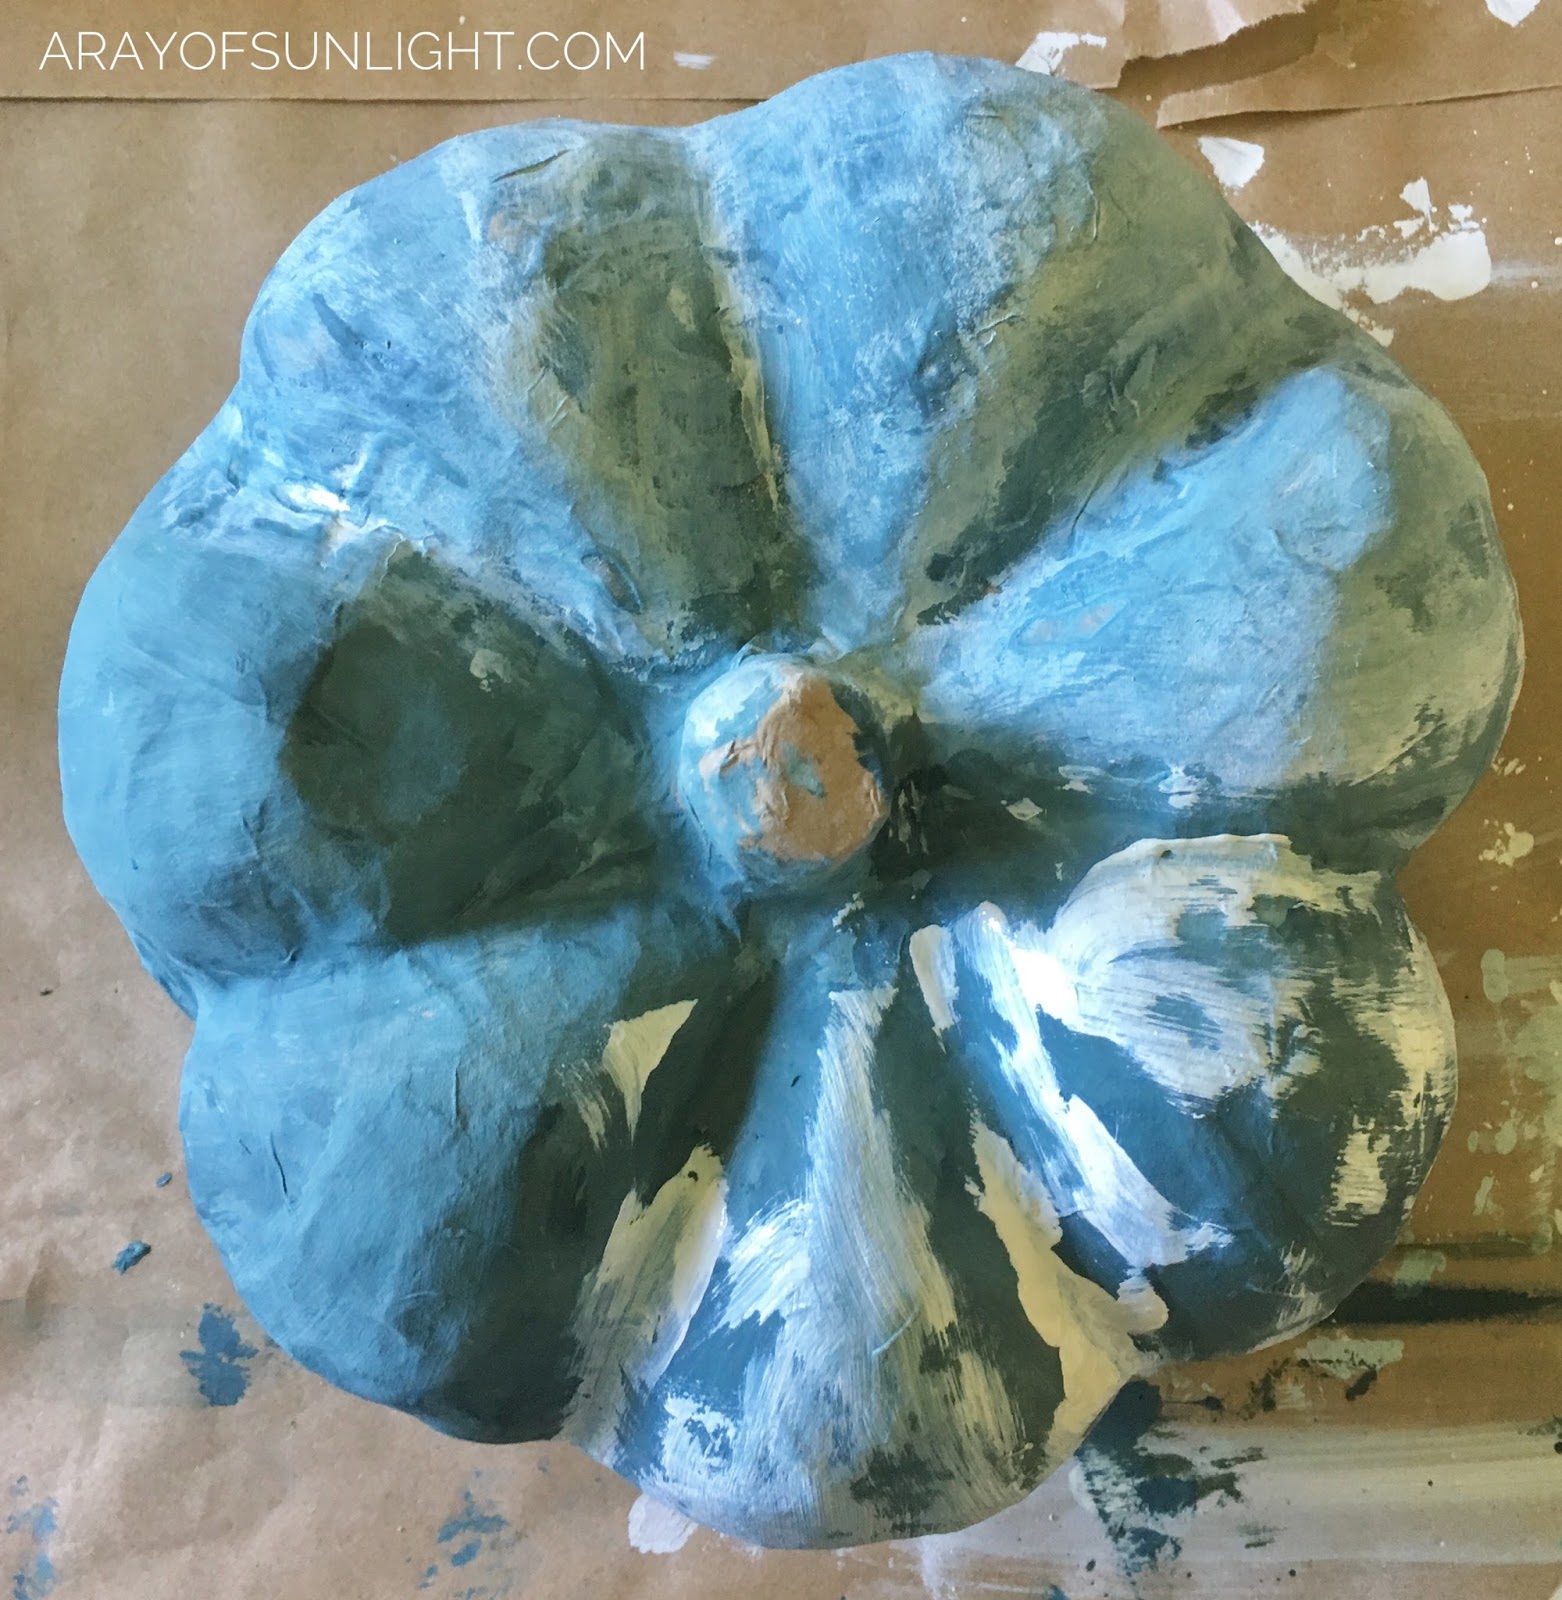
And last but not least, my very favorite pumpkin, the layered, textured blue pumpkin got a base coat of Happy Hour and Jitterbug mixed. I used the brush that had been already been used for Happy Hour and dipped it into a little bit of Jitterbug.
When I brushed it on, it left an uneven mixture of Happy Hour and Jitterbug. Once the base coat was dry, I lightly brushed on Vanilla Frosting, and then used a damp paper towel to wipe it off seconds later. This gave it a textured white wash feel.
Once the first coat of white wash was dry, I gave it one more coat of white wash.
Would you like to save this?
In the photo below you can see one third of the pumpkin with it’s base coat, then the other third with the Vanilla Frosting already brushed on and wiped off, and the last third with Vanilla Frosting just brushed on.
How to Make Pumpkins Look Real
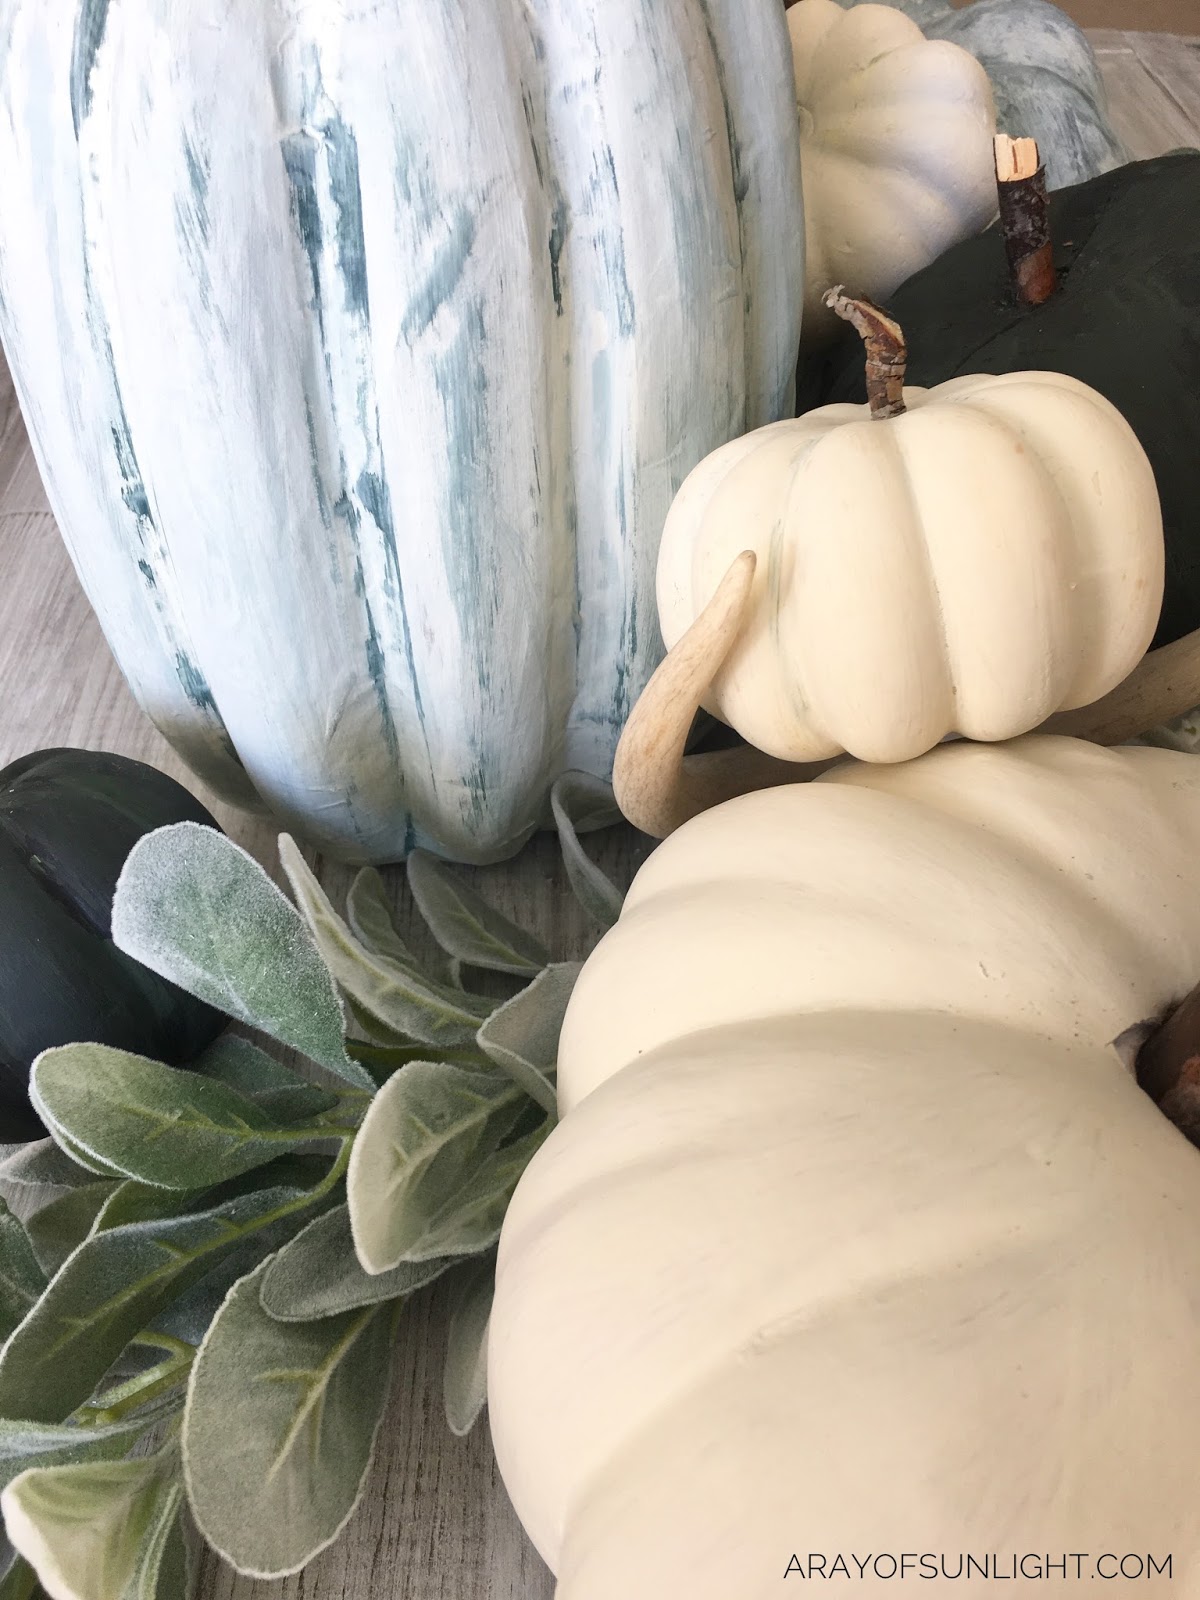
While the paint was drying, I went outside and gathered a few twigs and sticks for our new stems. I absolutely love the effect the real wood makes instead of leaving the foam or fake stems on. It really brings them to life and sets them apart from store bought pumpkins.
When all of the paint was dry, I just stuck each new stem into each pumpkin. The sticks stuck really well into the foam pumpkins, but the paper mache ones needed to be hot glued into place.

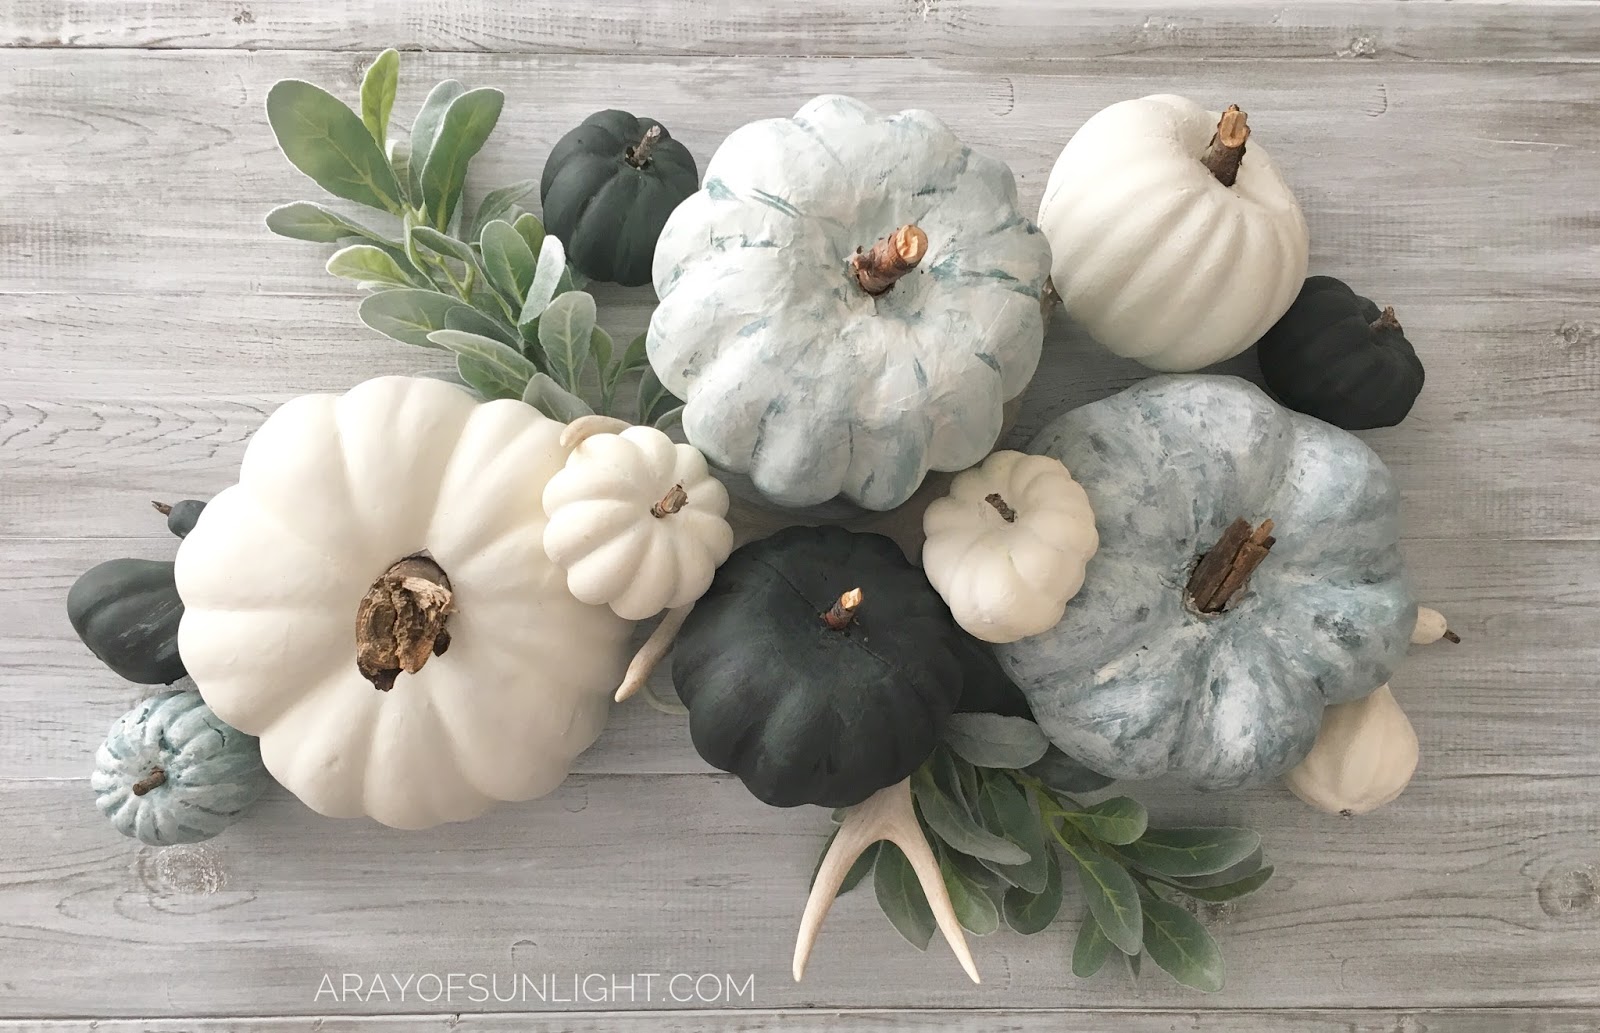
Now these aren’t just your regular store bought pumpkins! They have so much texture and depth because of the many layers of paint. Bright orange pumpkins are a thing of the past, and muted colored pumpkins are hot hot hot.
With Country Chic’s amazing color line, there are so many options to choose from for your own painted pumpkins!
Fall Pumpkin Painting Ideas
We’ve shown you above how to create beautiful painted pumpkins in white, green and blue shades. But you can definitely get creative and try out different colors and designs for your autumn pumpkins. Here are some more ideas to get you started:
- Pumpkin Faces: Have some fun and create different expressions on your painted pumpkins. Use black paint for the eyes, nose and mouth to give them a spooky or silly look.
- Ombre Pumpkins: Paint the top half of your pumpkin in one color and gradually blend it into another color at the bottom.
- Metallic Pumpkins: Use metallic paint in gold, silver or copper to give your pumpkins a glam touch. You can also add glitter for extra sparkle.
- Patterned Pumpkins: Instead of painting a solid color, use stencils or freehand to create patterns on your pumpkins. This could be flowers, stripes, polka dots, chevron, or any design you can think of.
DIY painted pumpkins mean you can add your own unique touch to your fall decor. So go for paint colors and designs that match your personal style and home decor. And don’t forget to have fun with it! These pumpkins are sure to look great on your mantle, as a table centerpiece, or on your front porch.

Painted Fall Pumpkins with Country Chic Paint
Be inspired with these painted fall pumpkins with Country Chic Paint and fall pumpkin painting ideas to create autumn painted pumpkin decor.
Materials
- Pumpkins
- Country Chic Paint in Vanilla Frosting
- Country Chic Paint in Jitterbug
- Country Chic Paint in Happy Hour
- Country Chic Paint in Liquorice
- Country Chic Paint in Hollow Hill
- Sticks and Twigs (we picked some from our yard)
- Hot Glue
Tools
Instructions
- Remove the stems from pumpkins and begin painting them. For white pumpkins, use Vanilla Frosting and for green pumpkins, use Hollow Hill with a dry brushing of Liquorice.
- For tall light blue pumpkin, give it a base coat of Happy Hour and add a stripe of Jitterbug in the crevices before dry brushing with Vanilla Frosting.
- For textured white wash pumpkin, mix Happy Hour and Jitterbug for the base coat and lightly brush on Vanilla Frosting before wiping it off with a damp paper towel.
- Gather twigs or sticks from outside for new stems and hot glue them onto the pumpkins. They make the pumpkins look more realistic and unique, especially if you're using decorated pumpkins.
Recommended Products
As an Amazon Associate and member of other affiliate programs, I earn from qualifying purchases.


More DIY Decor Ideas
- Painted Fall Pumpkins
- Easter Metal Buckets
- DIY Farmhouse Spring Decor
- Dollar Tree Easter Carrot Ideas
- Spring Day Decoration Ideas

Follow us on YouTube to get more tips for painting furniture. Or share your project with us on our Facebook Group and be part of our community. See you there!