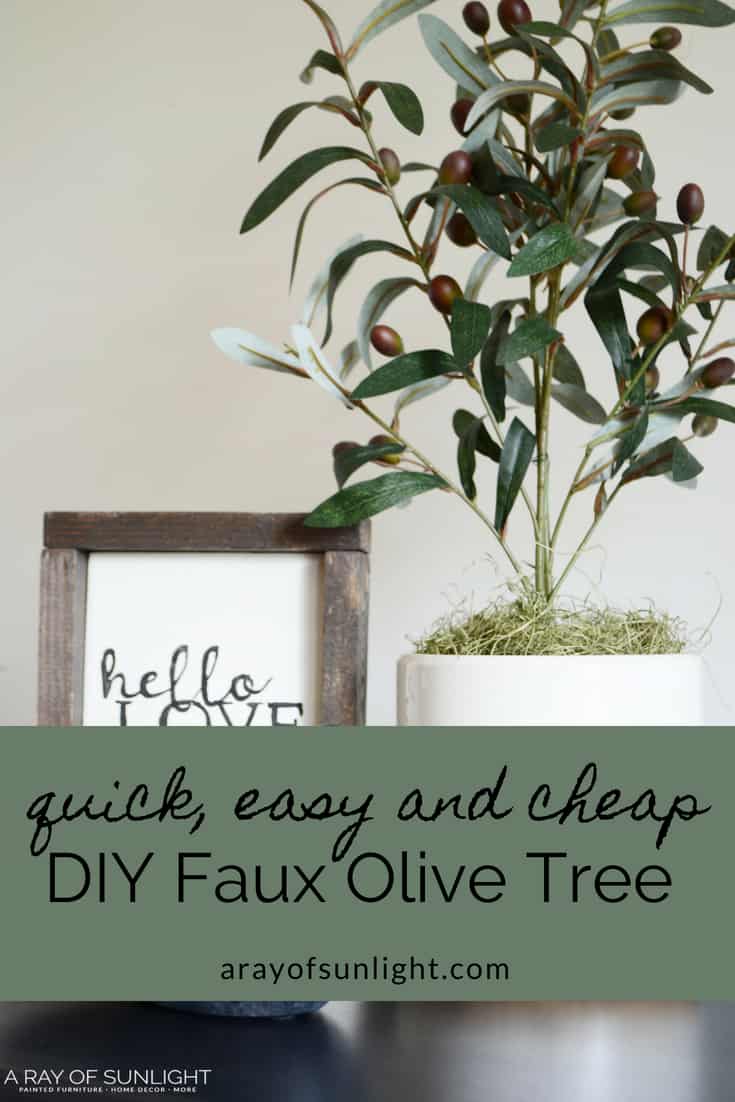
DIY Faux Olive Tree Plant – How to
This DIY Faux olive tree plant is one of my favorite pieces of decor! It is super easy to make (do you have less than 10 minutes?) and pretty budget friendly too! Learn how in this quick DIY home decor tutorial.
As an Amazon Associate, I earn from qualifying purchases. I also may earn from other qualifying purchases with other companies or get free product to review and use. All opinions are my own.
Supplies
Floral Tape or Floral Wire (optional)
Used Plastic Grocery Bags
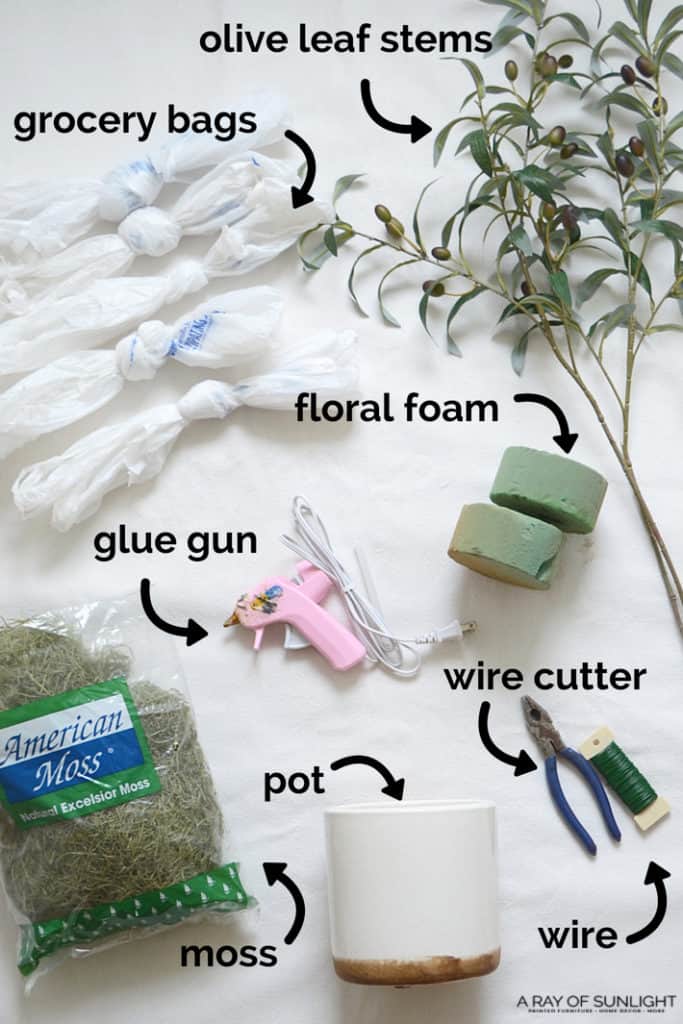
How to:
This is a super easy and simple project. I’m not kidding! I love this project soo much because it’s super simple and quick, which totally makes for a great home decor project. You can either watch the video on how I made it here, it’s about 6 minutes long and get’s right to it! Or you can keep on reading for all of the info.
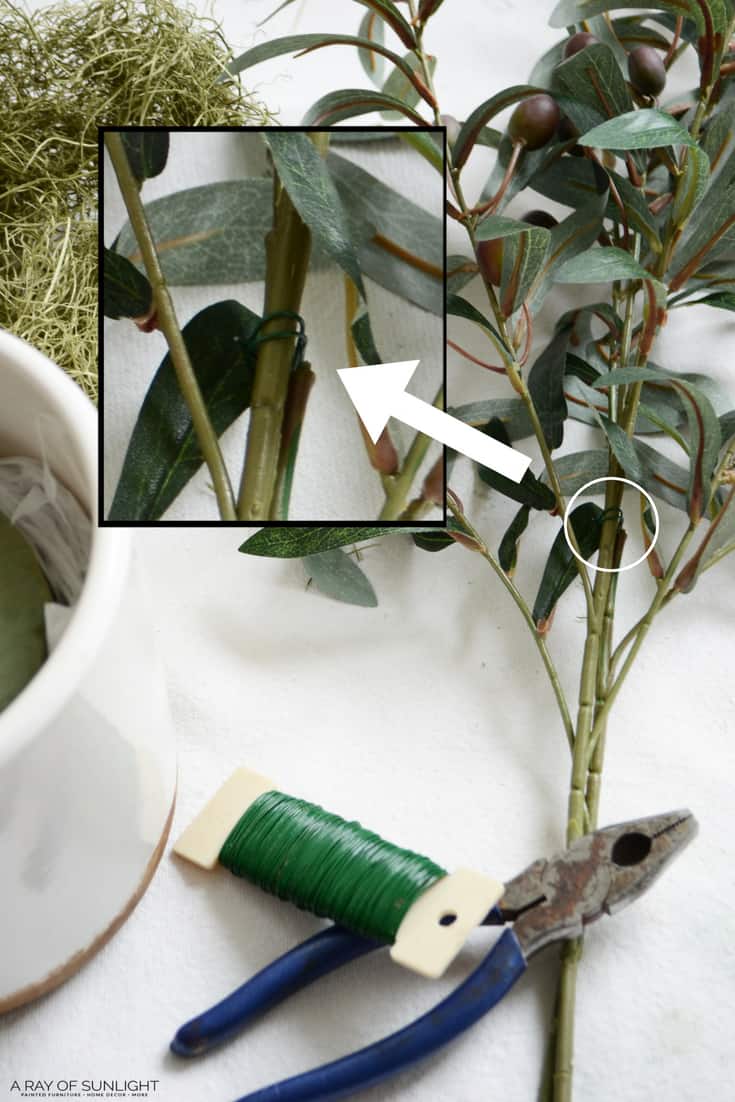
I started by clipping the stems down a bit so they were the height I wanted. I made them 22″ tall from the bottom of the stem to the top of the tallest stem. And then I arranged the two stems together to create one bigger spray of leaves.
I used just a little bit of floral wire that I had on hand to secure the stems together, but floral tape would be great for this too if you want a more realistic look!
I would go for the brown floral tape and just start wrap the tape around the base of the stems, and all the way up into the leaves for a more natural look. Since I didn’t have any floral tape on hand, I skipped that step. But when I stop at the craft store next, I’ll probably grab some to finish this faux olive tree off!
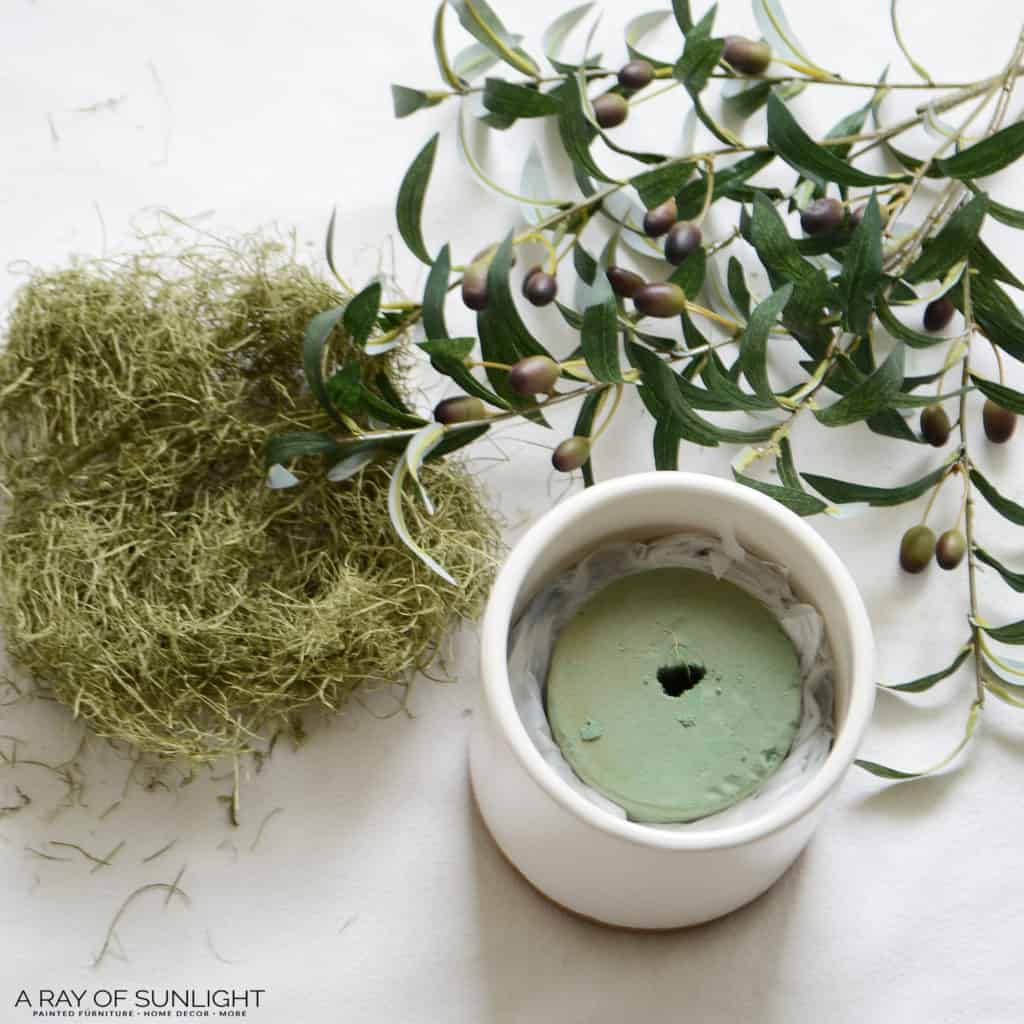
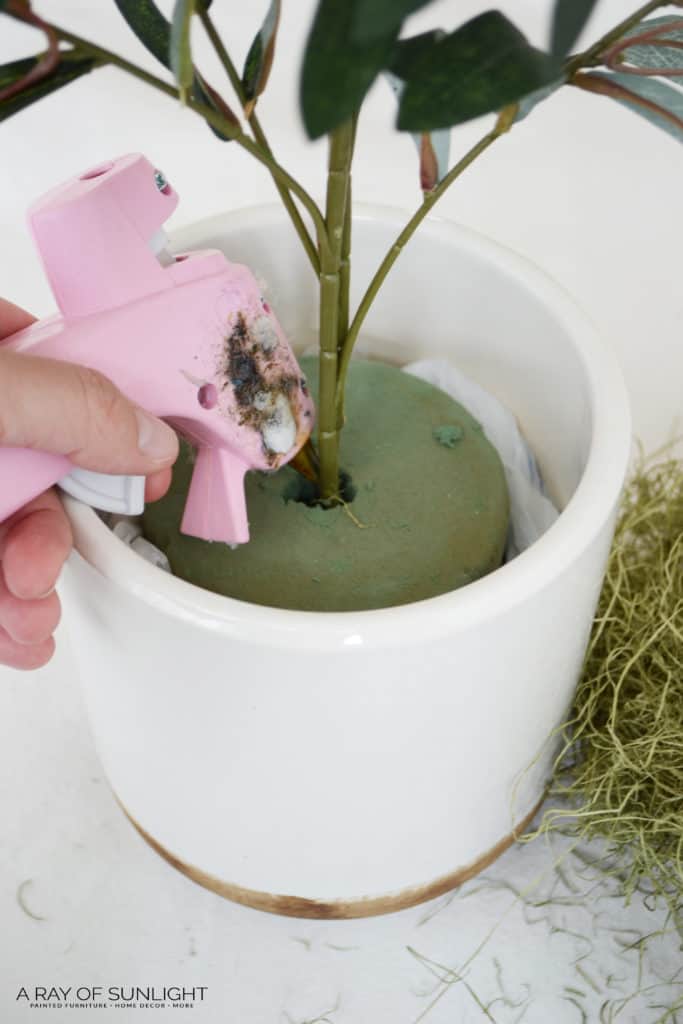
Next I put my foam in my pot, but since the foam I had on hand was smaller than the pot, I used extra grocery bags to hold the foam in place.
Once my foam was centered in the pot, I stuck my olive leaf arrangement in the center of the foam, and pushed it all the way to the bottom. Then I used a glue gun to glue the stems into place – making them stay in place better.
Would you like to save this?
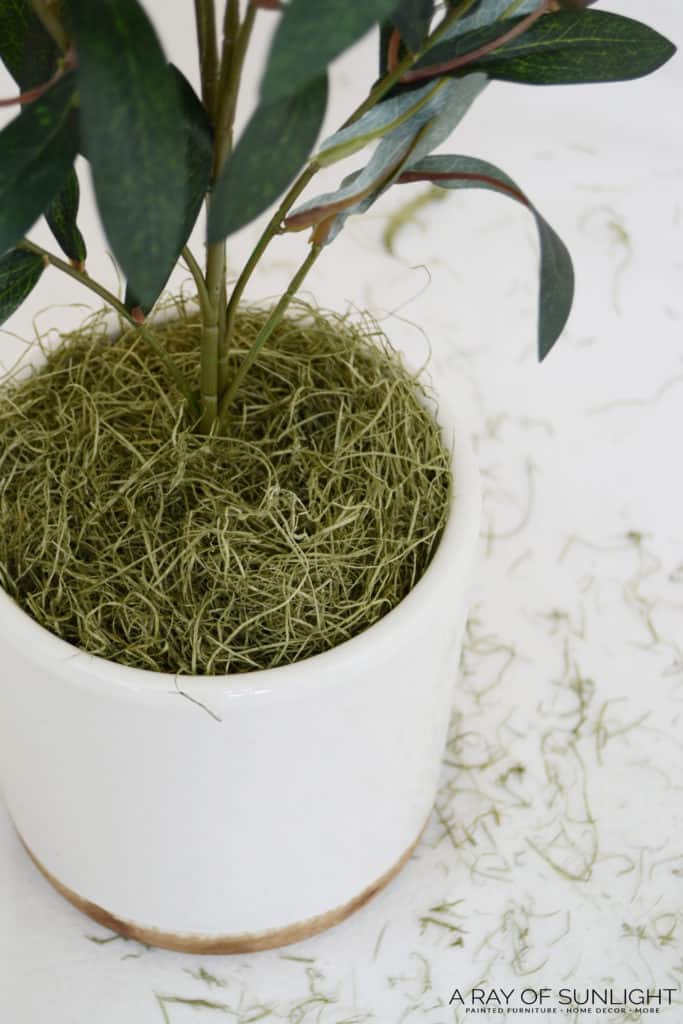
The final step was to place a little bit of moss on the top of the foam, up to the edge of the pot. This just makes the plant look a little bit more real and covers up all the ugly foam and grocery bags. Or you could also fill it up with dirt to make it look even more natural!
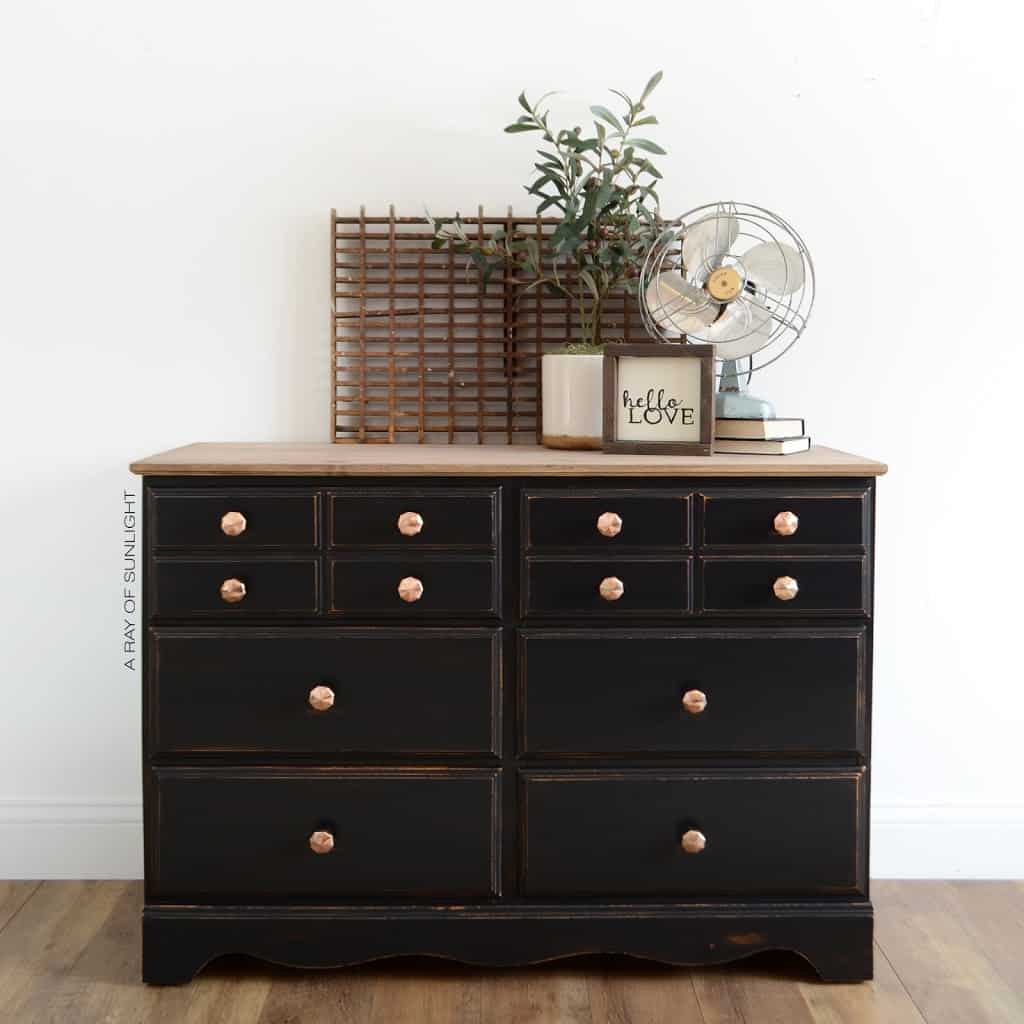
And there it is! I love to use this DIY olive tree plant in my farmhouse decor. And to stage my furniture pieces before selling them.
This project was super quick – only 5-10 min! It sure didn’t break the bank either at around $20! And its not just a tiny little plant either! Wahoo!
What do you think? Would you make this? Comment below and let me know!! And be sure to share with your friends by pinning this! <3


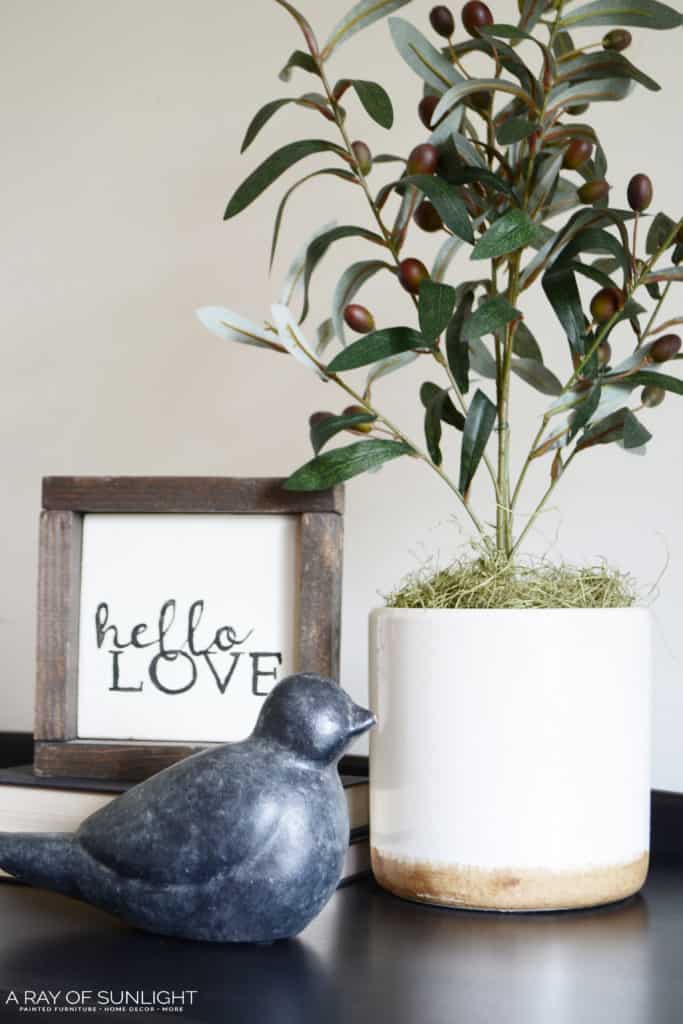
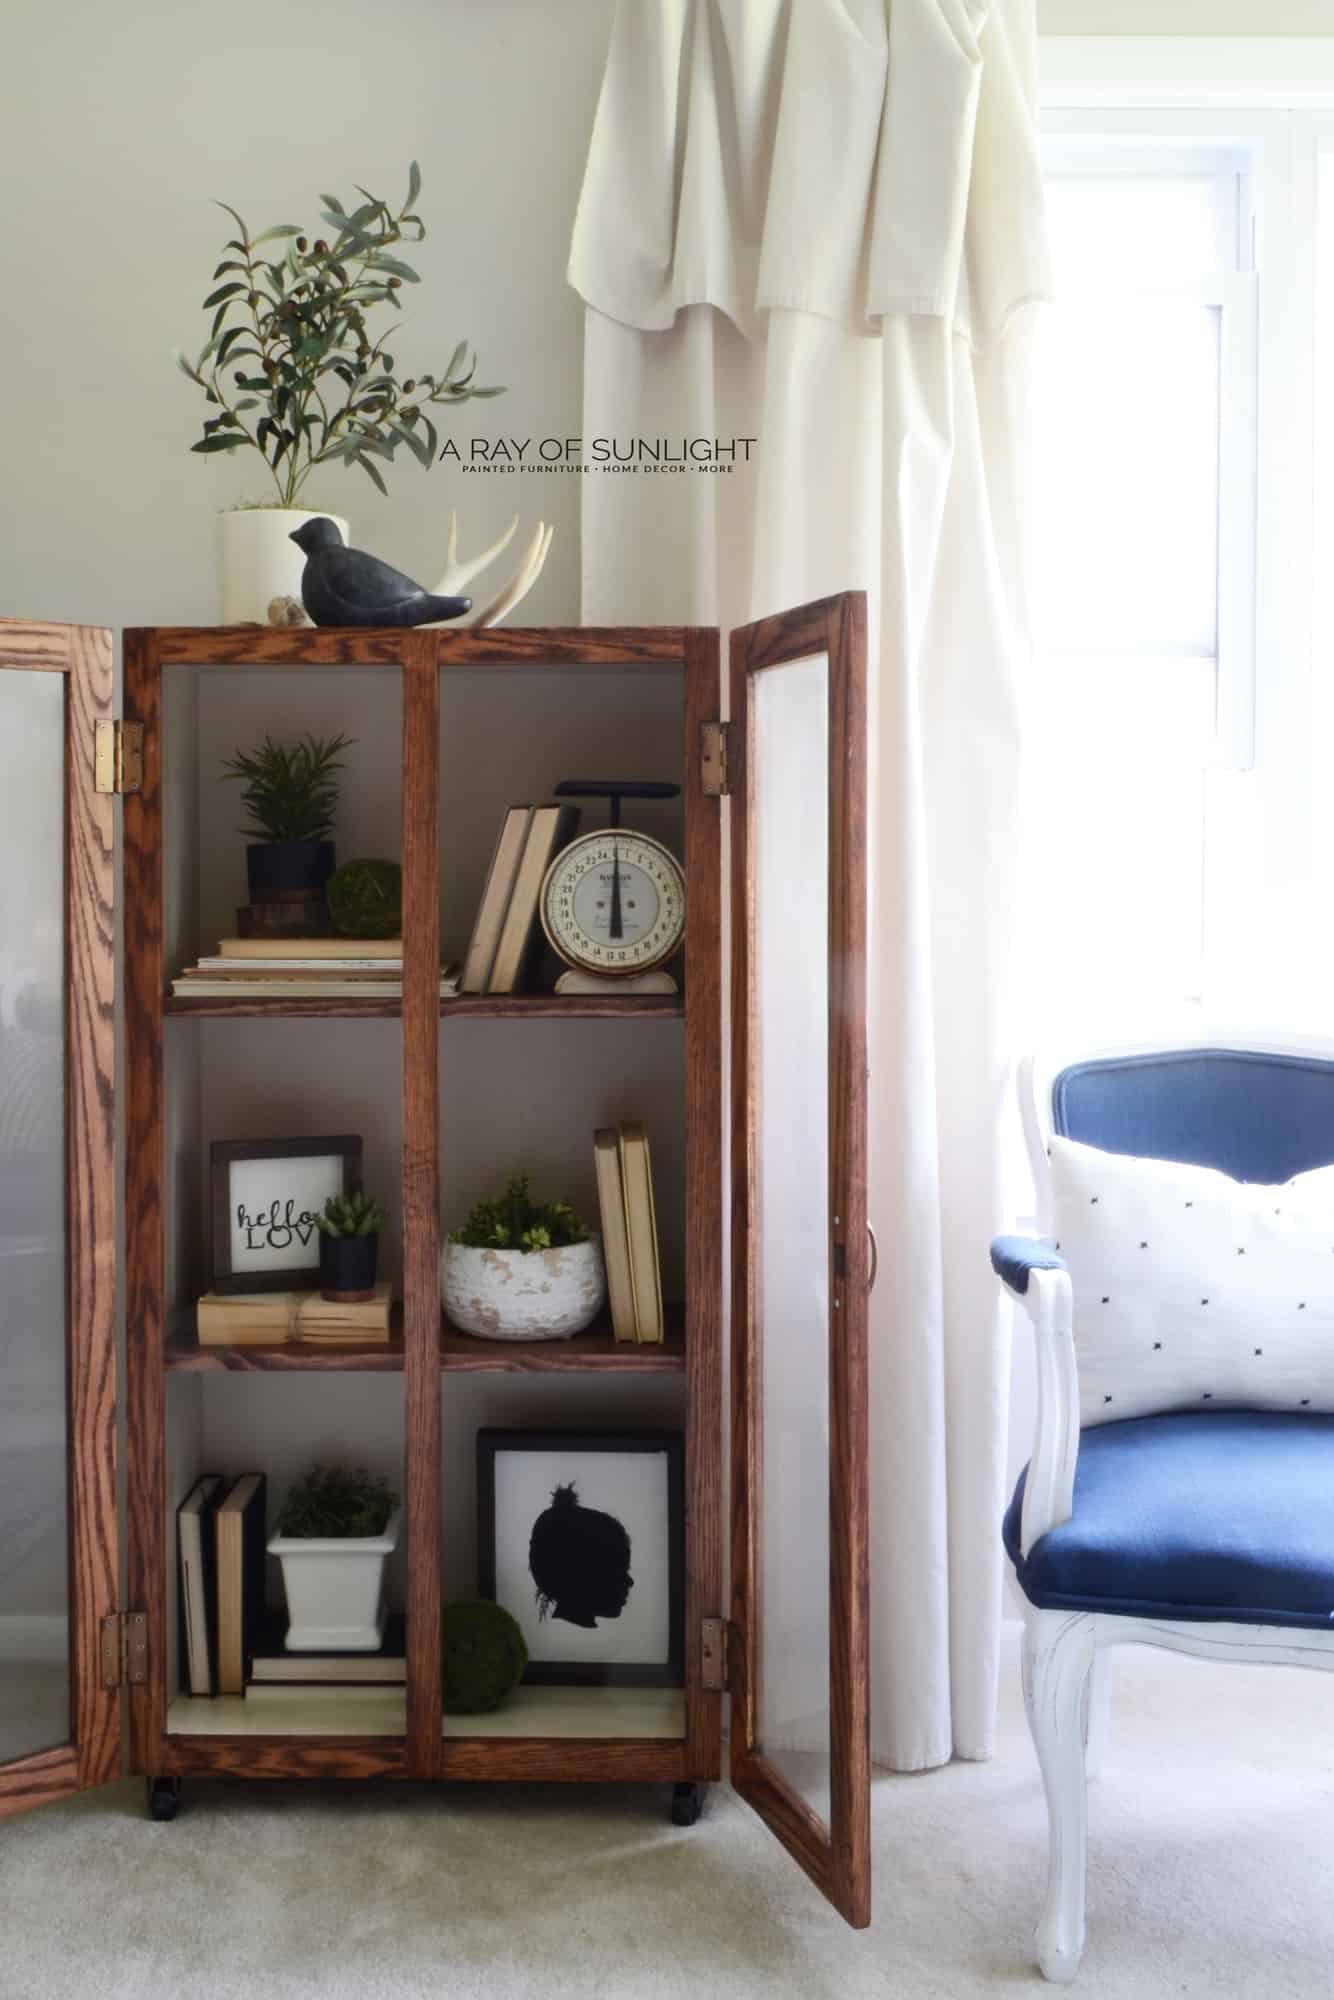
See how it’s staged with our furniture! Plus click the photos to see the complete makeovers of these pieces!
More DIY Home Decor Ideas
- Painted Fall Pumpkins
- Christ the Savior is Born – DIY Wooden Christmas sign
- DIY Galvanized Bucket Decorating Idea for Spring
- DIY Spring Decor
- Easter Metal Buckets

Follow us on YouTube to get more tips for painting furniture. Or share your project with us on our Facebook Group and be part of our community. See you there!
You did a great job with that and made it look so easy!!