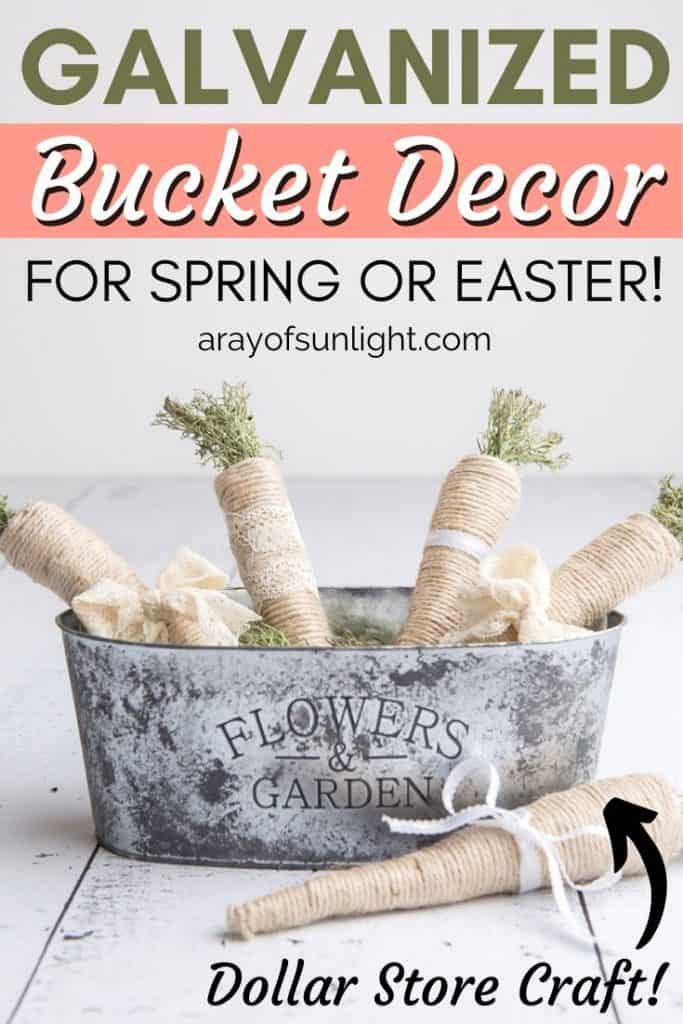
DIY Galvanized Bucket Decorating Idea for Spring
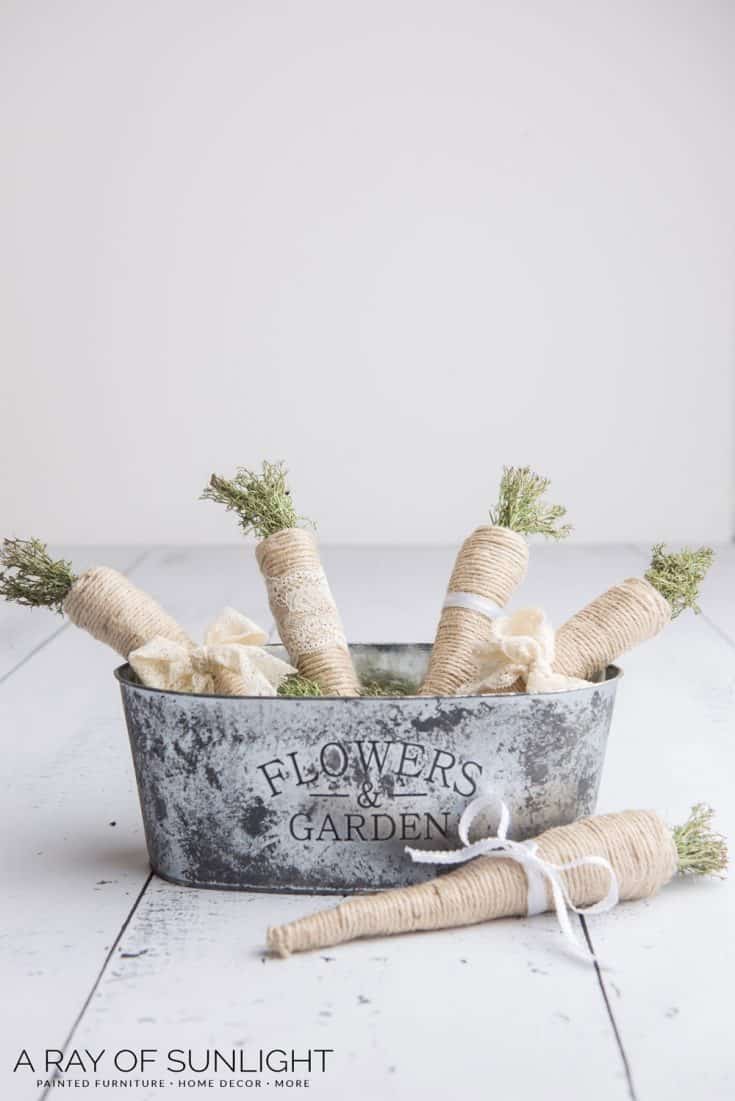
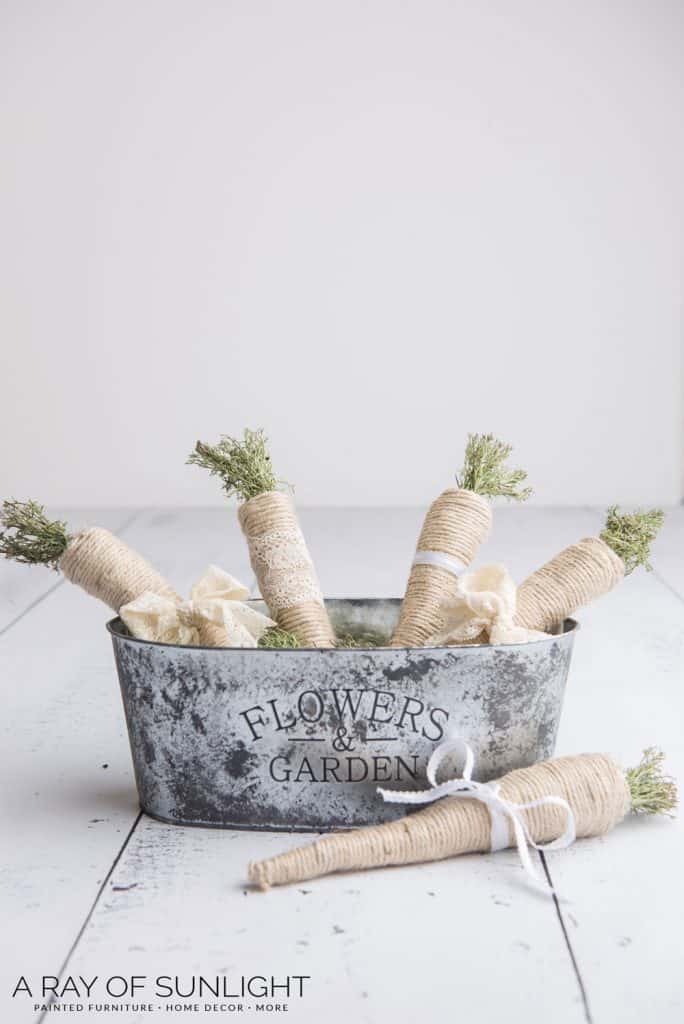
I’m dreaming of sunny spring days and the decor that goes with it! This cheap and easy DIY galvanized bucket decorating idea for spring is so much fun to make and can be used throughout your home while decorating for spring.
So get your spring decor started with this super easy Dollar Tree galvanized bucket and farmhouse carrot craft! I love how simple it is to make, but especially how cheap it is. It’s a spring decor idea you can use on Easter decor too!
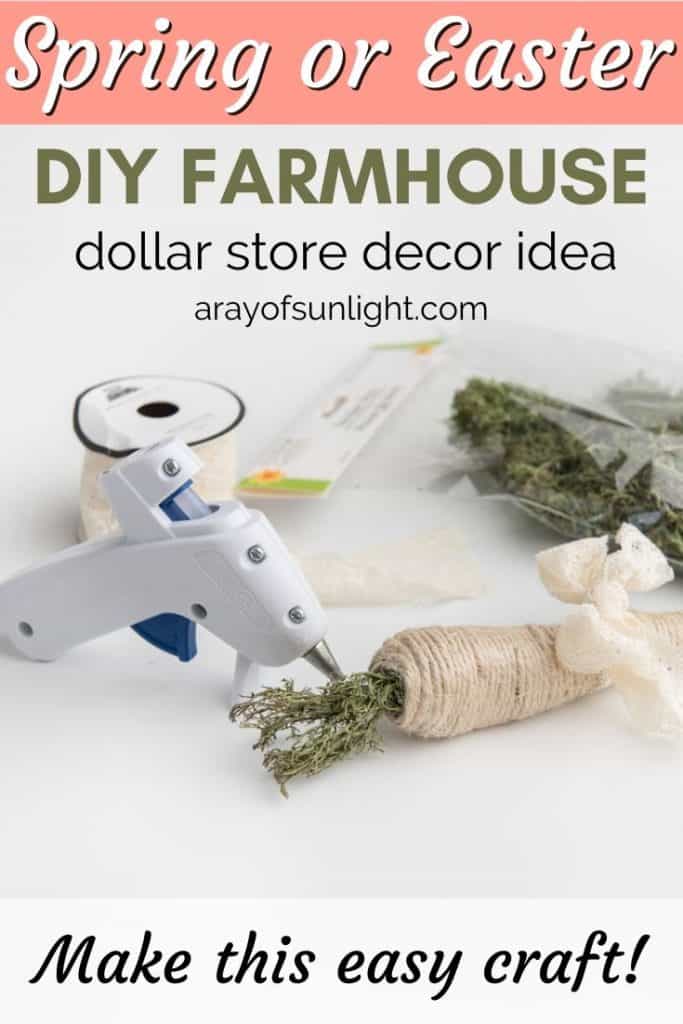
Galvanized buckets are commonly used for storage and gardening purposes, but they can also serve as great decorative pieces for your home.
For this project, I love the carrots wrapped in jute twine for a farmhouse feel, and the faux galvanized bucket for its simplicity.
And who says you have to spend a fortune on decor? Most if not all the materials can be found at your local Dollar Tree, making it a budget-friendly option for all.
Here’s how you can make your own! Make sure you read past the instructions as there are more great tips!
As an Amazon Associate, I earn from qualifying purchases. I also may earn from other qualifying purchases with other companies or get free product to review and use. All opinions are my own.
Supplies Used for DIY Galvanized Bucket Decorating Idea for Spring
- Flowers and Garden Tin Bucket
- Grey Chalk Paint
- Plastic Grocery Bag
- Paper Towel
- Tin Foil (15″ wide)
- Masking Tape
- Twine
- Hot Glue Gun and Glue Sticks
- Reindeer Moss
- Ribbon or Lace
All of these supplies can be found at the Dollar Tree. If your local Dollar Tree doesn’t carry them, they can also be found on Amazon (where I linked to) or even your local craft store.
Make Faux Galvanized Bucket
First, turn your shiny tin bucket into a faux galvanized bucket! Grab a scrunched up grocery bag and dip it in the grey chalk paint.
Dab the paint onto a clean piece of paper towel to remove most of the paint from the bag, and then pounce the small amount of paint onto the bucket.
Make sure only a very little amount gets on the bucket. A little goes a long way with this!
Create a galvanized look by randomly dabbing paint all over the tin bucket. Let the bucket dry while making the carrots!
Create Carrots with Tin Foil
Make a carrot-like shape with a 15″ wide piece of tin foil by rolling or bunching it up.
Shape it into a long stick shape and then bend down the top to look like a candy cane. Smoosh it together to create a thicker top and smaller bottom, like a carrot.
Add more tinfoil to the first piece by layering it and folding the top of the second layer down as you roll to keep the carrot from getting too long.
Make it more realistic looking with more curves, imperfections and bends. Keep repeating until the carrot is the size and shape you want.
Glue Twine to Tin Foil Carrots
Wrap a layer of masking tape around the carrot, making sure to cover all of the tinfoil.
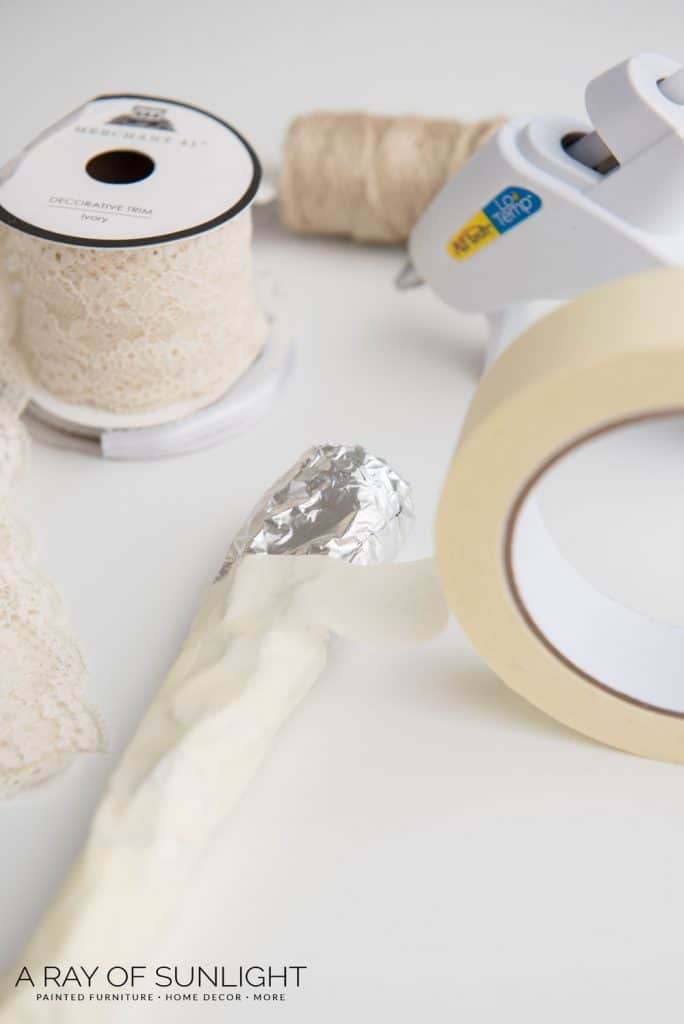
The color of the masking tape is important (instead of blue painters tape) in case you see some of the tape under the twine.
Starting at the bottom of the carrot, glue the twine to the carrot and tightly wrap the twine around the carrot until you reach the top.
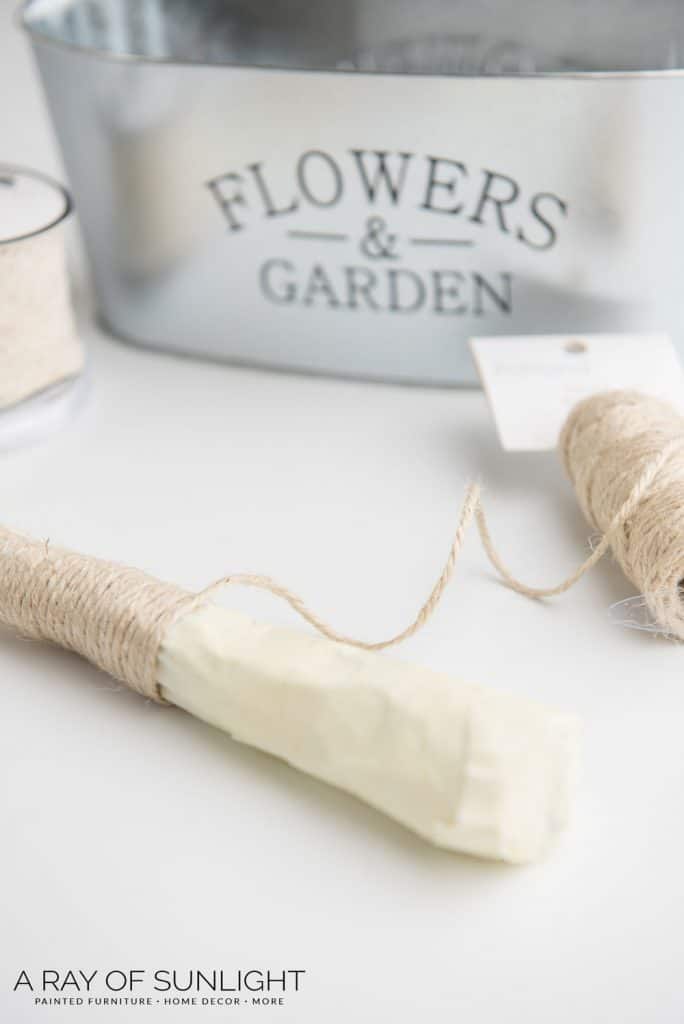
Keep the twine tight against the last round of twine, and don’t overlap the twine rows on top of each other. Add a small amount of hot glue every inch or so to keep the twin in place.
When you reach the top, poke a small hole into the top of the carrot, and glue some moss into the hole to create the green stem.
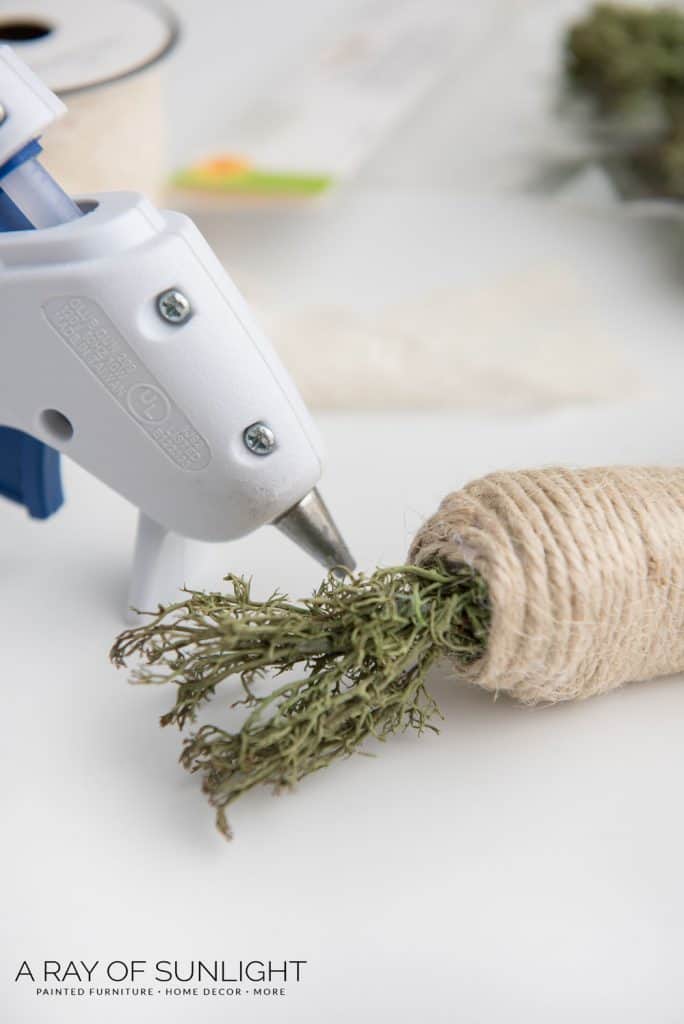
Then finish wrapping the twine over the top of the carrot. Make sure to glue every row to keep the twine in place.
Decorative Touches to DIY Galvanized Bucket and Carrots
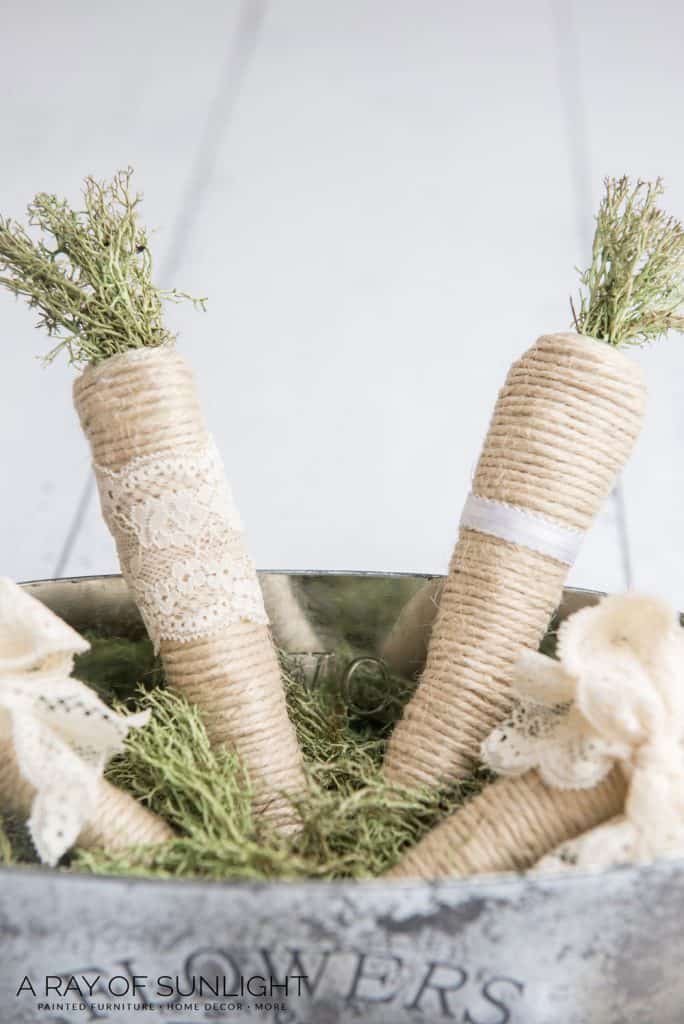
Tie a ribbon or lace of your choice around each carrot to spruce them up. Mix different types of ribbon or keep each piece of ribbon the same!
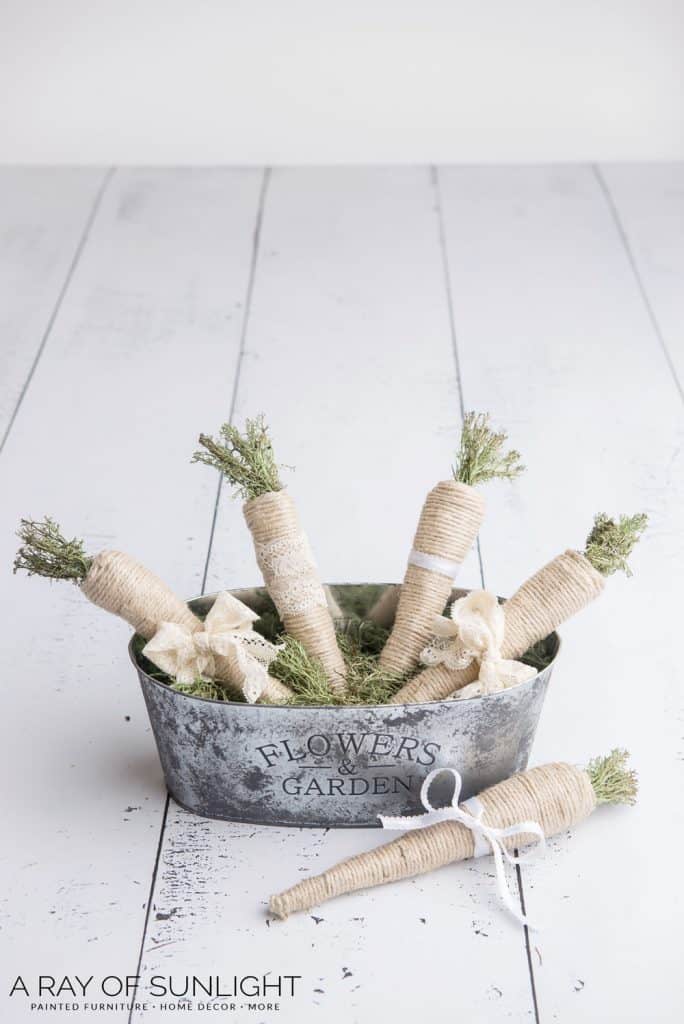
Add moss and the carrots to the dry galvanized bucket!
How can you use this in your home decor?
You can use this galvanized bucket and farmhouse carrot decor a few ways around your home!
It would be great as a centerpiece for your kitchen table, or on top of a piece of furniture like a buffet. You could even place it on the porch or patio near your door and add a spring or Easter sign next to it.
It’s perfect for spring decor or Easter decorations! But they can be separated for more things afterward.
How to Style your Galvanized Bucket and Carrots
You can display them as shown, or you can add more carrots to fill up the whole bucket. You can also have them spilling out of the bucket and onto the side.
More Ways to Use the Bucket After Spring
There are so many ways to use the bucket, for every single holiday and season!
Fill the bucket with florals or green stems for each season! Or use it for storage when it’s not being used as a centerpiece or main display piece.
More Ways to Use the Carrots for Decor
You can wrap 3-5 carrots with some lace or ribbon, to create a bunch of carrots. Place the bundle on its side, next to other decor.
You could also tie the carrots into a piece of garland for spring or Easter decor. Enjoy your new decor!!
More Before And After Makeovers
Click any of these “before” photos below to view the “after” of that makeover.
Can this project be modified for other holidays or seasons besides spring?
Absolutely! This project can easily be modified for any holiday or season. Instead of using twine and green moss, you can switch it up with different colors and materials to fit the theme.
For Christmas, you can use red and green ribbons with little ornaments to make it more festive. Take inspiration from Christmas decor ideas here.
For Valentines, you can use pink and red ribbons with heart-shaped accents. You can also check out more Valentine’s Day decor ideas here for the romantic holiday!
With easy to find supplies and simple instructions, you can create your own faux galvanized bucket and adorable carrots that can be used during spring and also in various ways throughout the year!
More DIY Decor Ideas
- Painted Fall Pumpkins
- DIY Faux Olive Tree Plant – How to
- DIY So I Can Kiss You Anytime I Want Sign
- DIY Wooden Christmas Village
- DIY Dollar Tree Spring Decor
Follow us on YouTube to get more tips for painting furniture.
Or share your project with us on our Facebook Group and be part of our community. See you there!
