DIY Farm Fresh Christmas Tree Sign: with FREE Template


Wooden Christmas signs are super popular for the holidays! There is a good reason though – they are an easy way to bring Christmas into your home. Instead of buying a wood Christmas sign, make your own DIY Farm Fresh Christmas Tree sign!
It’s the perfect addition to your DIY farmhouse Christmas decor, plus with our free template, you won’t have to worry about creating the perfect design – we’ve got you covered! So let’s get started on crafting this beautiful rustic sign.

Have you ever wanted a farmhouse sign, but didn’t want to spend a lot of money for it? That’s how I felt about this Farm Fresh Christmas Tree sign. I love the style so much, but I really didn’t want to spend a bunch of money on it, when I knew I could make my own Christmas sign for a fraction of the price.

So, I designed my own. And now I’m sharing it with you! Making your own DIY Farm Fresh Christmas Tree sign is easier than you think, and it’s a great way to spruce up your holiday decorations and make your space feel festive and cozy.
You don’t need any special tools or equipment like a vinyl cutter and vinyl. All you need are regular everyday supplies like an inkjet printer, paper, tape, and a marker. Seriously. It couldn’t be more simple to make an authentic wood sign.
Plus, you don’t need to have any artistic ability past coloring in the lines with one color. So let’s dive in and make this Farm Fresh Christmas Trees sign with just a few easy steps!
Supplies Used for DIY Farm Fresh Christmas Tree Sign
As an Amazon Associate, I earn from qualifying purchases. I also may earn from other qualifying purchases with other companies or get free product to review and use. All opinions are my own.
- Plywood or MDF board (Mine measured 24″ tall x 48″ wide x 1/2″ thick)
- 2 Furring Strips for the frame
- White Primer and Chalk Paint
- Wood Stain for the frame (more info below!)
- Nail Gun to attach the frame to the wood sign
- FREE Farm Fresh Christmas Tree Template 48″ x 24″ (get the 5″ x 7″ template here and the 11″x14″ template here)
- Inkjet Printer and Paper (just a regular ole printer)
- Scotch Tape
- Chisel Tip Sharpie or Sharpie Paint Pen
how to Make Wooden Christmas Tree Sign
Grab your wood from your local hardware store. This size plywood panel comes already pre cut at Home Depot. You can also ask a worker to cut your furring strips down to the right size. You’ll need them cut into about (2) 24″ strips and (2) 49 5/16″ strips.
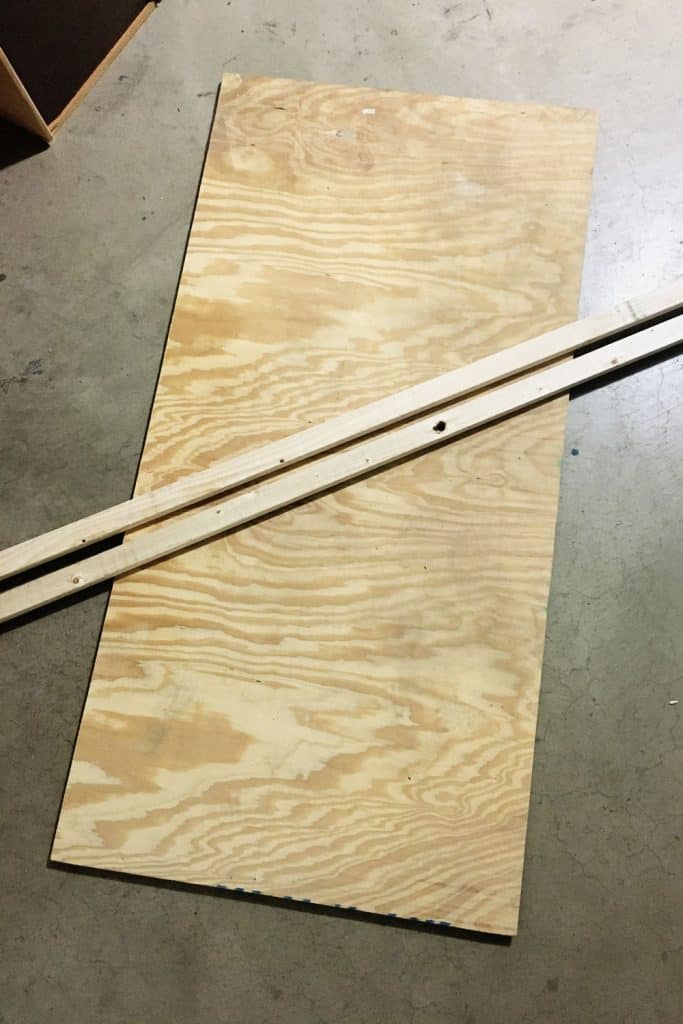
Measure your wood in the store to make sure it will all fit together correctly. Some of the plywood panels are cut with a little excess.
For the frame, you need to account for the 5/8″ (the thickness of the furring strip) overhang on both ends of the frame. Where the top and bottom of the frame connects to the sides of the frame.

Staining and Painting Wood Sign and Frame
Sand the edges of all the wood smooth so you don’t get splinters, and then stain the frame and paint the sign white. If you’re working with plywood, it’s best to prime it with a stain blocking primer so the knots don’t turn your white paint an orange / yellowish color. Then paint with white chalk paint.

I particularly like chalk paint for my wood signs because paint with a sheen is harder to paint on with a sharpie pen. If the paint is porous, like chalk paint, then it is easier to use a sharpie pen on. It will likely take a few coats of primer and paint to get full coverage.
For my stain, I watered down some brown latex paint and then used it as a wood stain. I brushed it on, and then almost immediately, I wiped the paint back off. I like to use watered down latex paint as a stain for my wood frames because the paint dries very fast and there aren’t fumes like a wood stain.
But you can definitely use regular wood stain instead! Check out these best wood stains you can use, and read the tips on how to apply it correctly for best results. And while the last coat of paint is drying, print out the template.
Print Free Christmas Sign Template
I’m happy to share this FREE template with you! It was created for the 48″ x 24″ sign. Here’s our FREE Christmas Sign Template. (Download the 5″ x 7″ template here and the 11″x14″ template here.) Just remember that it is for personal use only!
You don’t want to print the template out too early, because we want the ink to still be fresh. I printed this template out and then had to wait a couple of days to use it. It still worked, but using a freshly printed template is easier.
Once the template is printed out, cut off the blank edge from the top and the left side of each page. This just makes it easy to line everything up. You don’t need to cut the top edges off the top row since you won’t be matching that edge up to more papers.
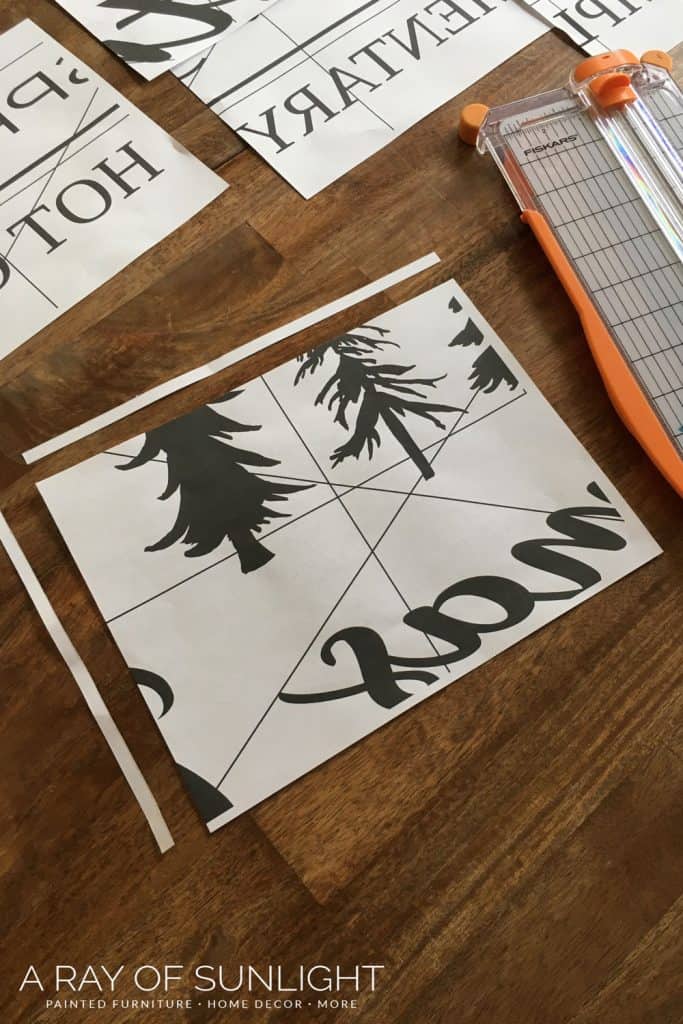

Line all of the papers up, using the little black line guides and the image to make sure everything is in the right place. It doesn’t have to be perfect, but try to get the image as lined up as possible. Use the tape to attach the template together. Make sure to not put tape over the image though. Just on the blank spaces.
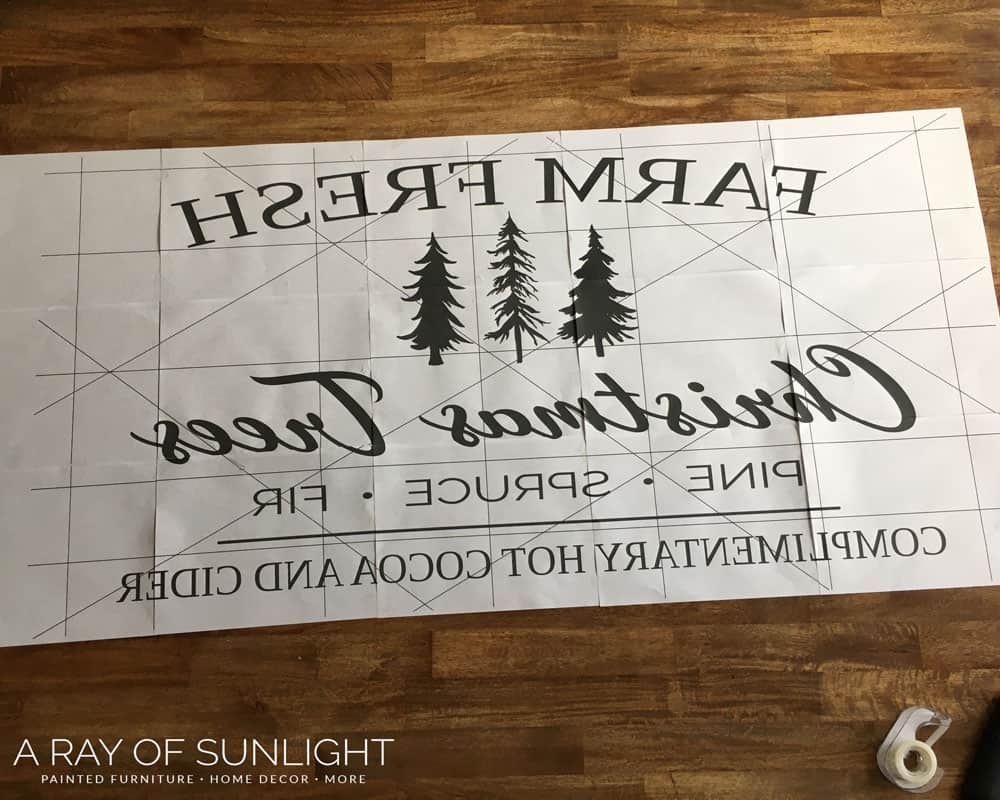
Now place the template (ink side down) on your dry sign. (The frame should still be separate so you can easily draw on the sign without the frame in the way).
Would you like to save this?
Center the template on the board and then tape it into place by taping multiple places at the top. You can tape on the sides and bottom too, but I end up wanting to lift the paper up while I’m working so I can make sure it’s working.
How to Paint Farm Fresh Christmas Trees Sign
First, we need to get the image onto the sign. Then we will color in the image. Here’s a great step by step tutorial on how to paint farmhouse signs. You can also check out this Merry Christmas standing sign that you can easily freehand.
Transfer Printable to Wood Sign
With the lid still on, use the outside of the marker to rub the ink onto your sign. With a decent amount of pressure, rub the marker over the areas with ink. The ink should transfer to the painted wood. It won’t be very dark, but this will be a great outline for you to color in.
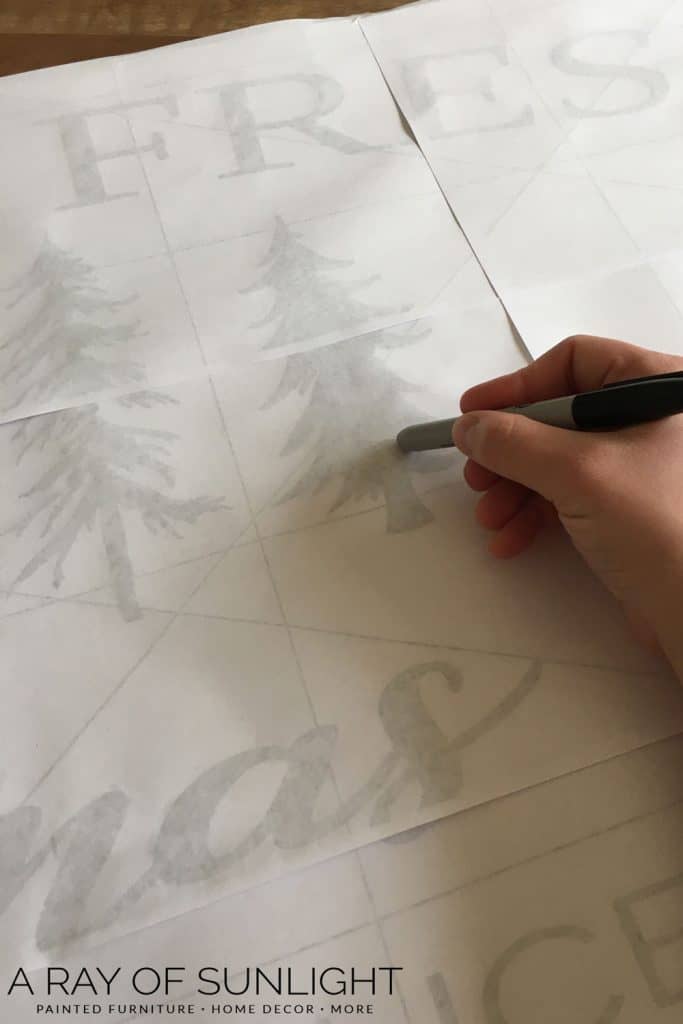
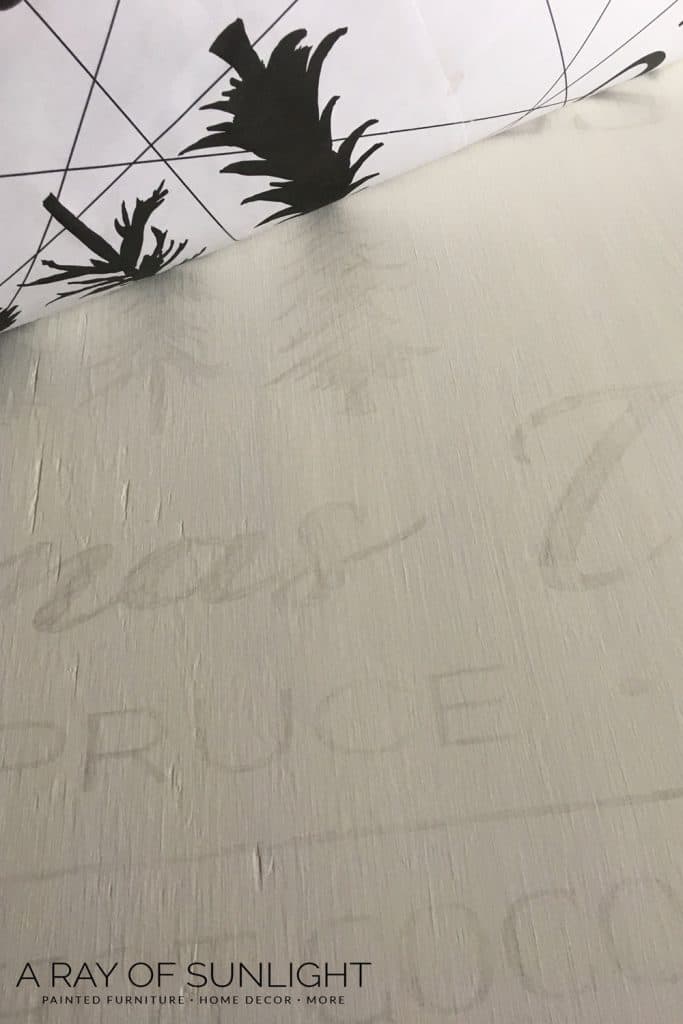
Transfer the whole image onto the painted wood. You can also use graphite paper for a faster approach! Just place the graphite paper in between the wood and the template (dark side of the graphite paper, down). Then trace the outline of the design, and the outline will transfer to the wood.
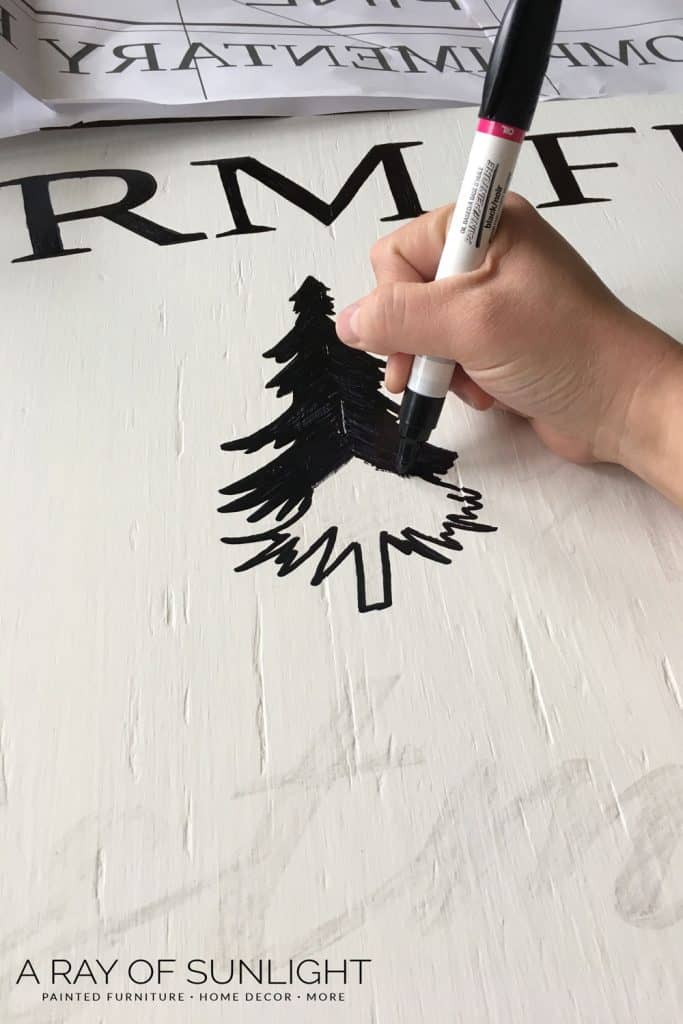
Paint in Farm Fresh Christmas Trees Template
When your image is transferred, you can remove the paper. You should be able to have a clear idea of where to draw. Using a regular chiseled tip Sharpie marker or the Sharpie paint pen (my favorite is the paint pen), color in the drawing.
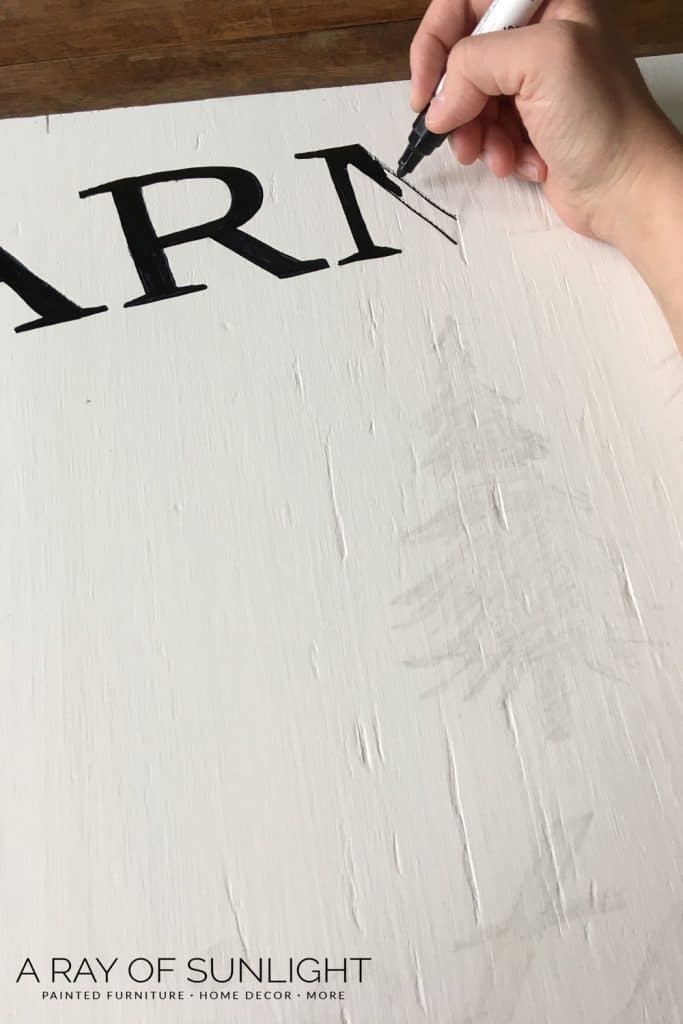
If you’re using the paint pen, you can test the marker on a scrap piece of paper or cardboard to make sure too much paint doesn’t come out when you first push it down. Then color on your sign until you need more paint.
Go back to the scrap paper and push the marker in again to get more paint to come down, and then color your sign again. You can use a regular sharpie marker too! I just find that it’s easier to paint larger areas with the paint pen instead.
Remember, you don’t have to be exact. And if you mess up, you can paint over it with some white paint, and then try again.

When your wood Christmas sign is all painted, use a nail gun to attach the frame to the wood. Make sure to not let the nails go up through the front of the sign though! If you don’t have a nail gun, I’m sure some glue and clamps could do the trick.


Get more inspiration so you can create your own wooden Christmas signs here. This list of our favorite Christmas sayings for signs will also help you create something unique and special that reflects your own family’s traditions and beliefs.
If you don’t want to do your own signs, we’ve listed our top Christian Christmas signs here. For an extra dose of holiday cheer, here are reindeer Christmas signs you should check out.
Here are large Christmas signs as well that make your home feel grand and merry during the holidays. You can hang them up with these vertical Christmas signs, they’re perfect for mixing and matching with signs of various shapes and sizes, giving your decorations a unique touch.


DIY Farm Fresh Christmas Tree Sign
Create a beautiful and festive DIY Farm Fresh Christmas Tree sign with our free Christmas tree farm sign printable for your holiday decor.
Materials
- Plywood or MDF board
- 2 Furring Strips for the frame
- White Primer
- Chalk Paint
- Wood Stain for the frame
- FREE Farm Fresh Christmas Tree Template 48″ x 24″
- Paper
- Scotch Tape
- Chisel Tip Sharpie or
- Sharpie Paint Pen
Tools
- Nail Gun to attach the frame to the wood sign
- Inkjet Printer
Instructions
- First, make your own wooden sign with plywood or pick out a pre-made one. This is the foundation for your beautiful holiday sign.
- Create a frame around the edge of your sign with furring strips. This helps give it structure and makes it look more polished.
- Sand the edges of your sign for a smooth finish. Then stain the frame and paint the middle with white chalk paint for that classic rustic look.
- Print out our free Farm Fresh Christmas Trees template on regular printer paper using black ink. A freshly printed template will work best for transferring the design.
- Tape the template together to create one large image of the farm fresh Christmas trees wooden sign. Make sure not to cover any parts of the image with tape.
- Place the template (ink side down) on your dry sign and center it. Tape the top of the template to the sign in multiple places so it doesn't move while you work.
- Using the back of your Sharpie marker or paint pen, carefully transfer the ink from the paper onto the sign. This will create a rough outline for you to color in.
- Color and paint in the design with your Sharpie or paint pen. Don't worry about being too precise – rustic signs have their own charm with imperfections. If you make a mistake, just paint over it with some white paint and try again.
- Once the design is complete and dry, attach the frame to the sign with a nail gun. Make sure the nails are not visible on the front of the sign.
- Hang your Farm Fresh Christmas Trees sign in a prominent spot and enjoy the festive touch it adds to your home decor!
Recommended Products
As an Amazon Associate and member of other affiliate programs, I earn from qualifying purchases.


More DIY Home Decor Ideas
- DIY Faux Olive Tree Plant – How To
- DIY So I Can Kiss You Anytime I Want Sign
- Christ the Savior is Born – DIY Wooden Christmas sign
- DIY Wooden Christmas Village
- DIY Farmhouse Christmas Wreath
Follow us on YouTube to get more tips for painting furniture. Or share your project with us on our Facebook Group and be part of our community. See you there!
Love this idea. I would like to make a sign but with a different message. Can you tell me how to expand the picture to print on multiple pages? Thanks
Hey Laurie, I created the large design on photoshop and cut it into multiple pages. There are some tutorials out there if you’re familiar or have photoshop!
I don’t suppose you remember which font you used for the Farm Fresh portion?? I would love to make this using my cricut 🙂
Hey Cheryl! I’m sorry, I don’t remember what it was. Hopefully you found something similar!
Thank you sooo much for sharing this template!! I made it for my mantle and turned out amazing!!
I wish I could show you the picture.
Thank you so much for sharing this tutorial and template! This sign is massive and perfect and just what I was lookin in for to add some rustic farmhouse Christmas charm to our mantle! I wish I could upload a pic of how perfect mine came out following your step by step guide exactly! It was so easy and I received so many compliments! I have also had so many people ask me how to order one!! I just directed them to your page! Thank you again for an awesome tutorial!
Hi – I just printed this out because I love the sign and the idea and mine seems not to have scaled properly. Was this not supposed to print to 8.5×11 standard printer paper? It’s like there are parts of letters missing… Thanks!
Make sure you’re printing it in landscape instead of the portrait setting on your printer settings. Hope that helps!