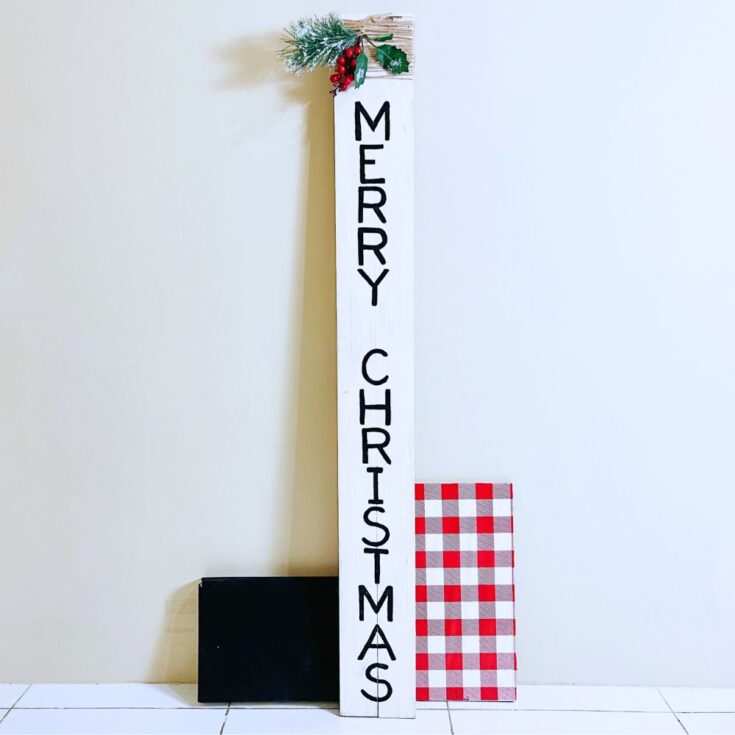
Merry Christmas Standing Sign
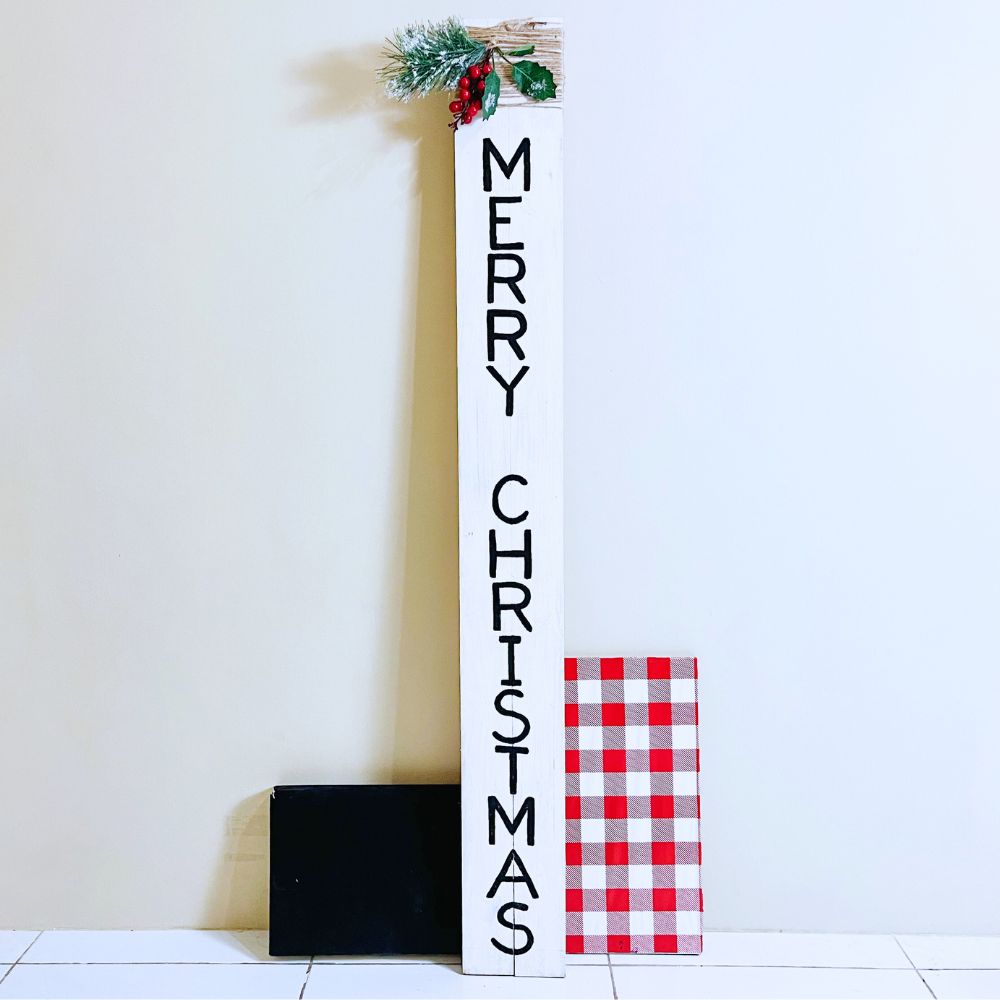
If you’re a fan of DIY farmhouse Christmas decor, then you’ll love this Merry Christmas standing sign project! We’ll show you how to create a beautiful and charming addition to your holiday decorations with just a few materials and simple steps. Whether you want to add a rustic touch to your home or surprise someone with a handmade gift, this standing sign is perfect.
It’s a really great project for all skill levels – even if you’re not the craftiest person around!
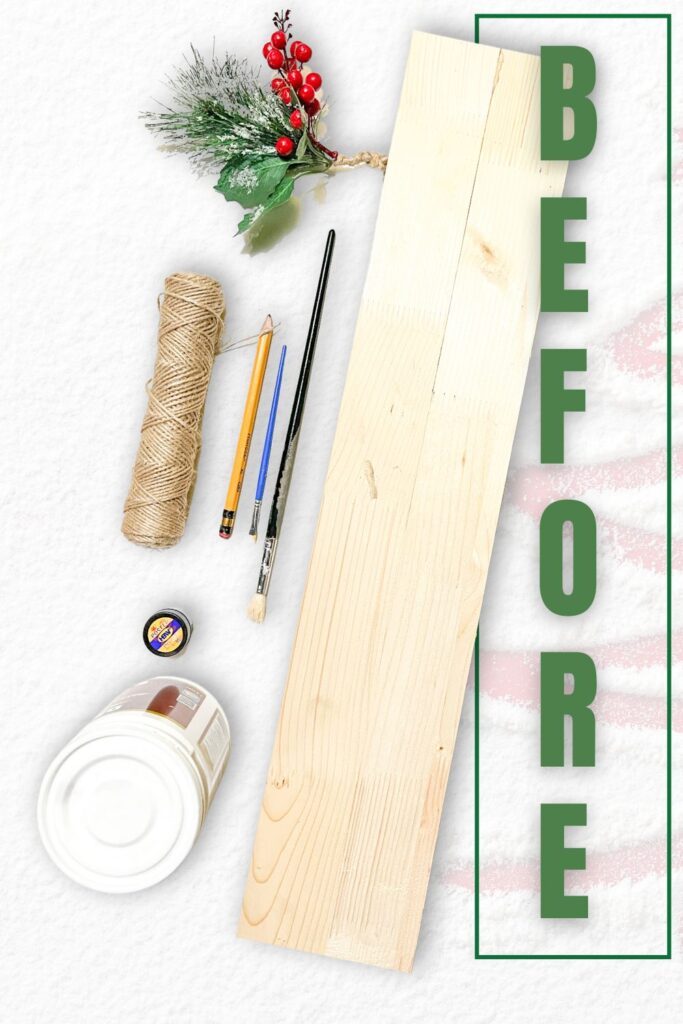
A standing sign, also known as a freestanding sign, is a type of display that can stand on its own without the need for support from a wall or other surface.
They are great for adding dimension and height to any room, and can easily be moved around to fit your desired aesthetic.
Standing signs have become increasingly popular in recent years, and it’s no surprise why. Again, these versatile decorations can be placed anywhere in your home, from the mantel to the front porch.
And with a homemade Merry Christmas sign, you can add a personal touch while also saving some money on store-bought decor.
There’s just something special about creating your own decorations!
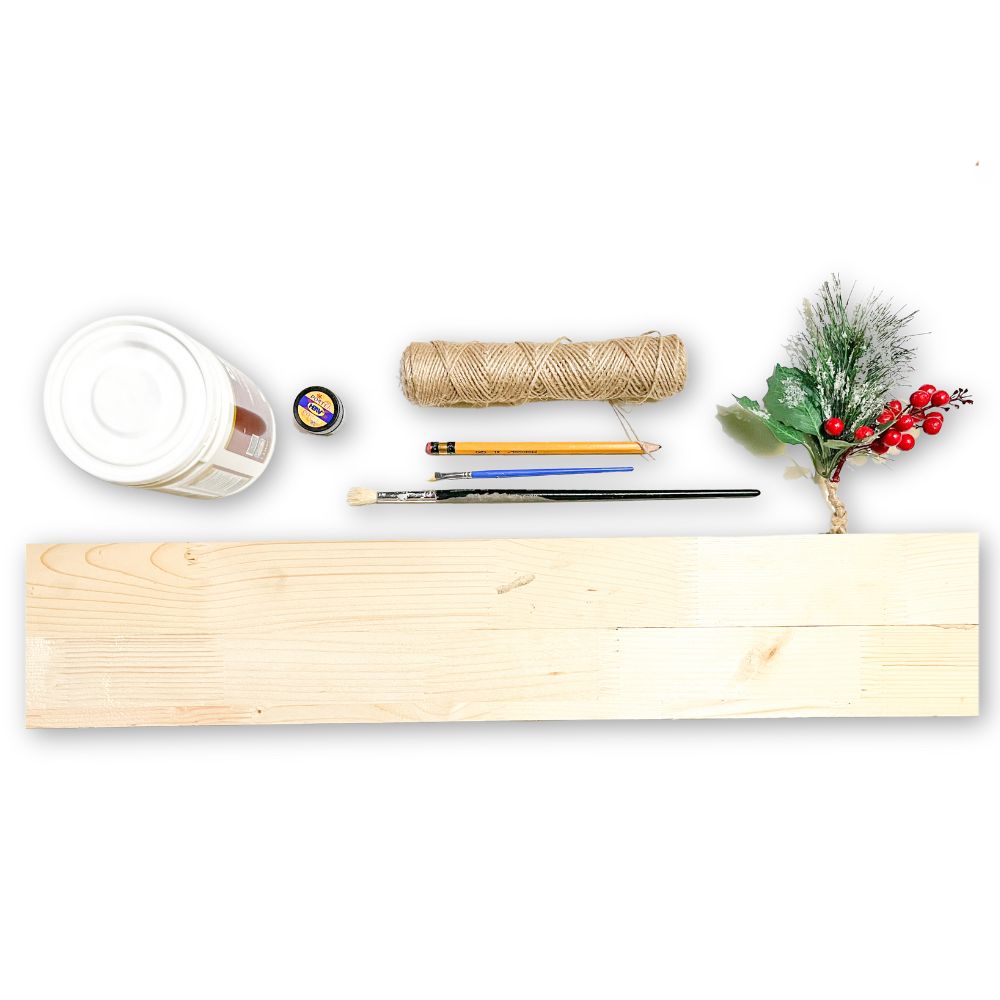
Supplies Used for Merry Christmas Standing Sign
As an Amazon Associate, I earn from qualifying purchases. I also may earn from other qualifying purchases with other companies or get free product to review and use. All opinions are my own.
- 3/4 in x 8 in x 4 ft (or 2 pieces of 3/4 in x 8 in x 4 ft)
- White Paint
- Pencil
- Black Acrylic Paint
- Paint Brushes
- Nails (if you used 2 pieces of 3/4 in x 8 in x 4 ft)
- Christmas Decoration/Accessories
- Twine String/Rope
Assemble Wood Panel
To begin your project, gather your materials and start by assembling the wood panel.
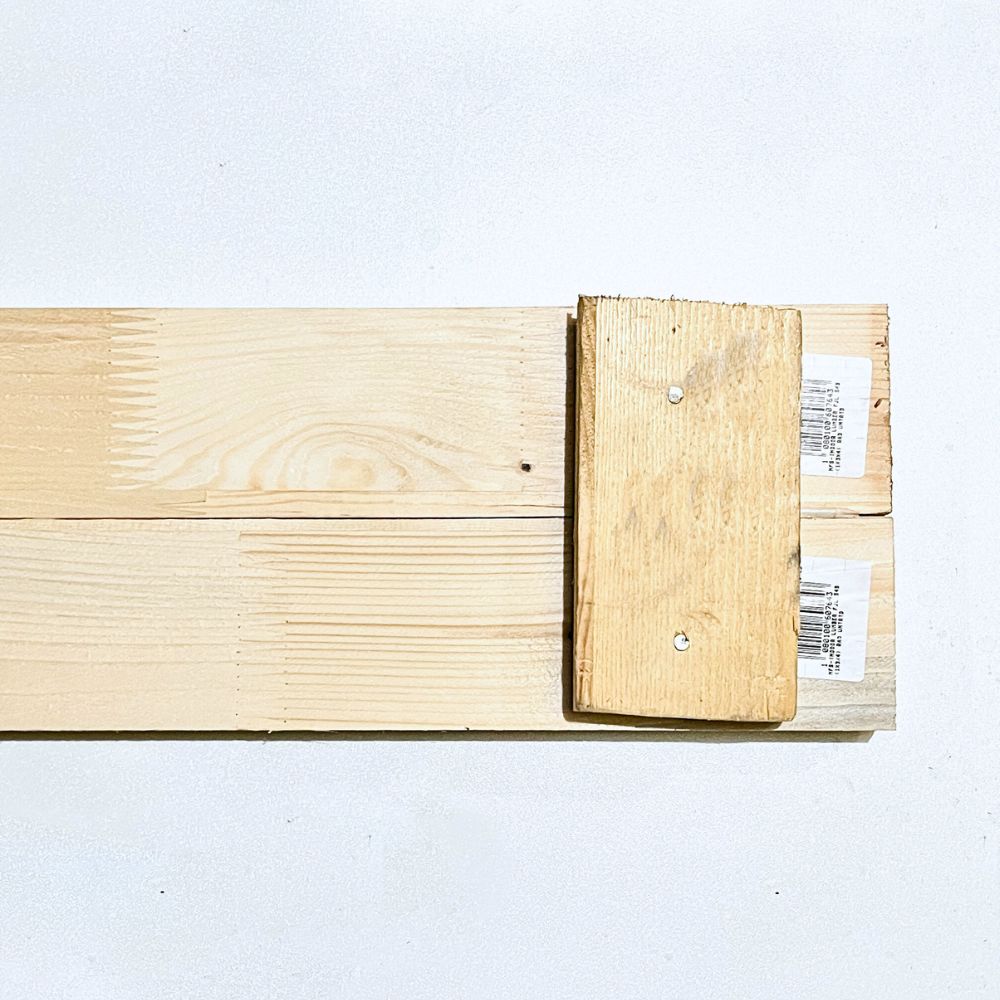
This step is optional if you are using a single 4 ft wood panel, but if you want to create a larger sign or have extra pieces of wood lying around, feel free to use two pieces and attach them together with nails.
Once you have attached the two pieces together, make sure to secure them with a small piece of wood at the back. This will provide extra support and stability for your standing sign. Don’t worry too much about the back of your sign, as it won’t be visible once it is displayed.
Make sure to use nails that are appropriate for the thickness of your wood panel. This will guarantee that your sign stays sturdy and doesn’t fall apart.
Now that your wood panel is assembled, it’s time to add some color!
Do double-check that your wood panel is clean and free of any debris before moving on to the next step.
This is for a smooth surface for painting and to prevent any unwanted marks or smudges. You don’t want that, do you?
Check out our blog post on how to make a wood sign for more tips and tricks on making a wood sign.
Paint Wood Panel
Now paint the wood panel with a white paint to create that classic rustic look. The white paint will serve as the base color for your standing sign.
You can choose to apply a thin layer for a more distressed look or go with thicker coats for a solid, clean finish. The choice is yours!
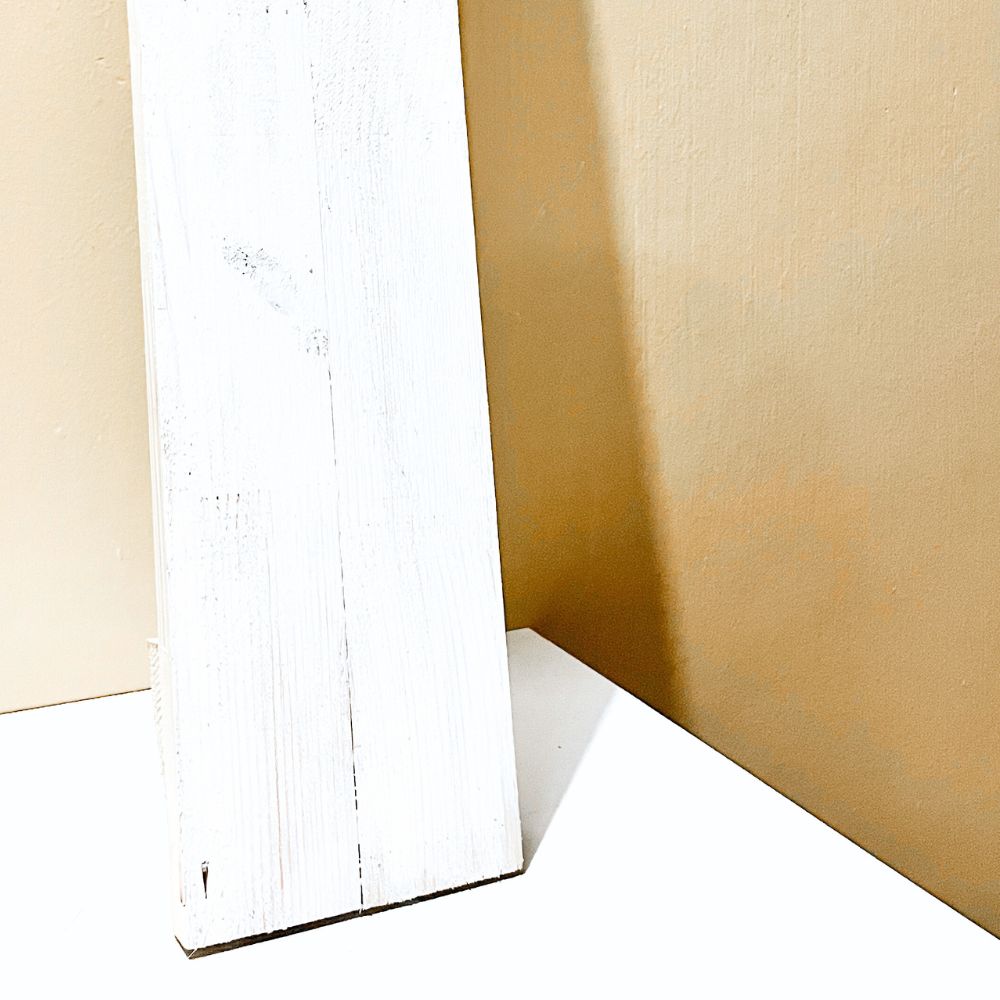
And the beauty of this project is that you can customize the colors to fit your style and home decor.
If you prefer a more modern look, try painting the wood panel with a bright color like red or green instead of white. Or you can match the color scheme of your Christmas decorations to make everything cohesive.
Make sure to let the first coat of paint dry completely before adding another layer. If you’re feeling extra creative, try distressing the wood panel by gently sanding off some paint in certain areas for a more worn look.
Once you’re happy with the color and texture, it’s time to add the text!
Add Merry Christmas Text on Painted Panel
Adding the Merry Christmas text can be a bit tricky, but don’t worry – it doesn’t have to be perfect!
You can lightly outline the letters with a pencil and then go over them with black paint. Remember, this is your homemade sign, so embrace any imperfections.
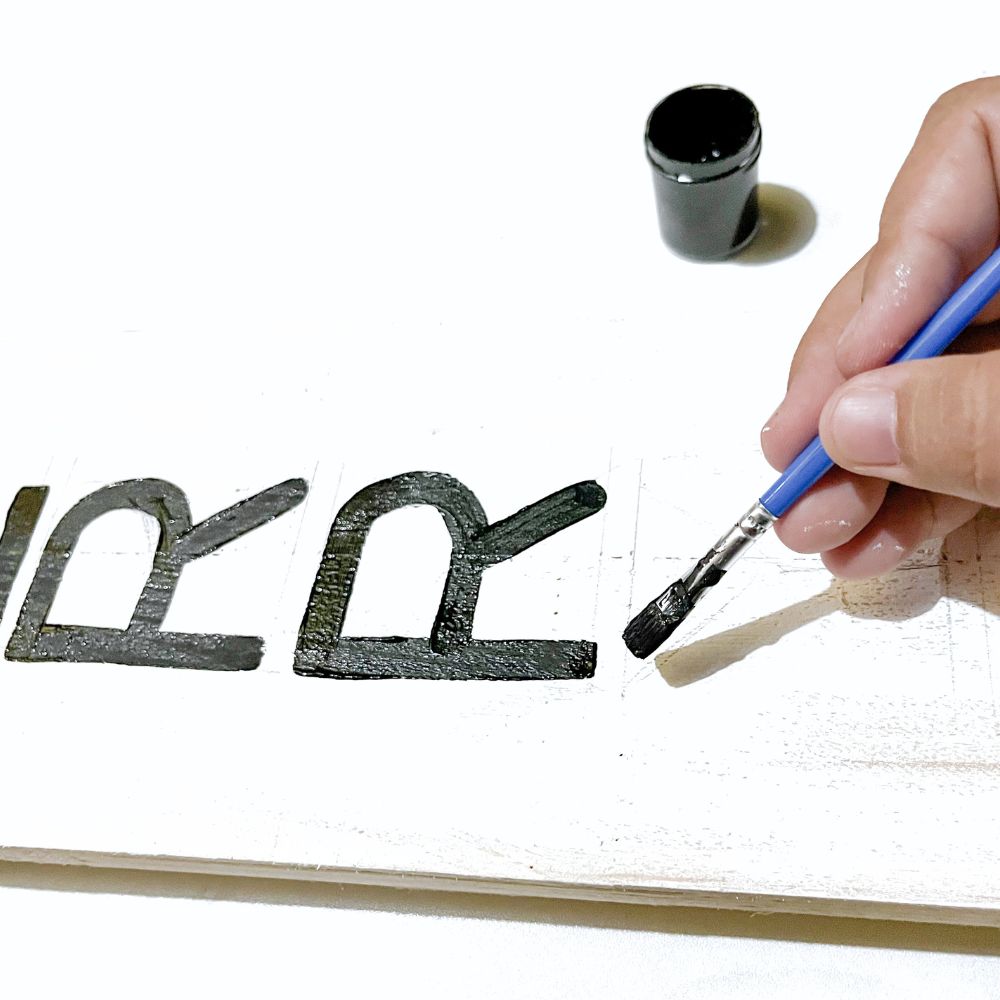
When painting the text, use a small brush for more control and precision. If you make any mistakes, you can always go back and touch them up with white paint.
And if you’re not comfortable with freehand lettering, you can always print out the text in a font of your choice and trace it onto the wood panel.
Here’s how to paint letters on a sign and how to paint farmhouse signs to learn more techniques on painting signs.
You’ll see how the black paint pops against the white background, creating a classic and festive look. And if you want to add some extra flair, you can also paint or stencil some holiday designs around the text.
Once the text is completely dry, it’s time to add the finishing touches.
Add Christmas Ornament to Standing Sign
Choose a festive ornament or decoration that complements your sign’s color and style. You can use anything from mini wreaths to small figurines, or even DIY ornaments you’ve crafted yourself.
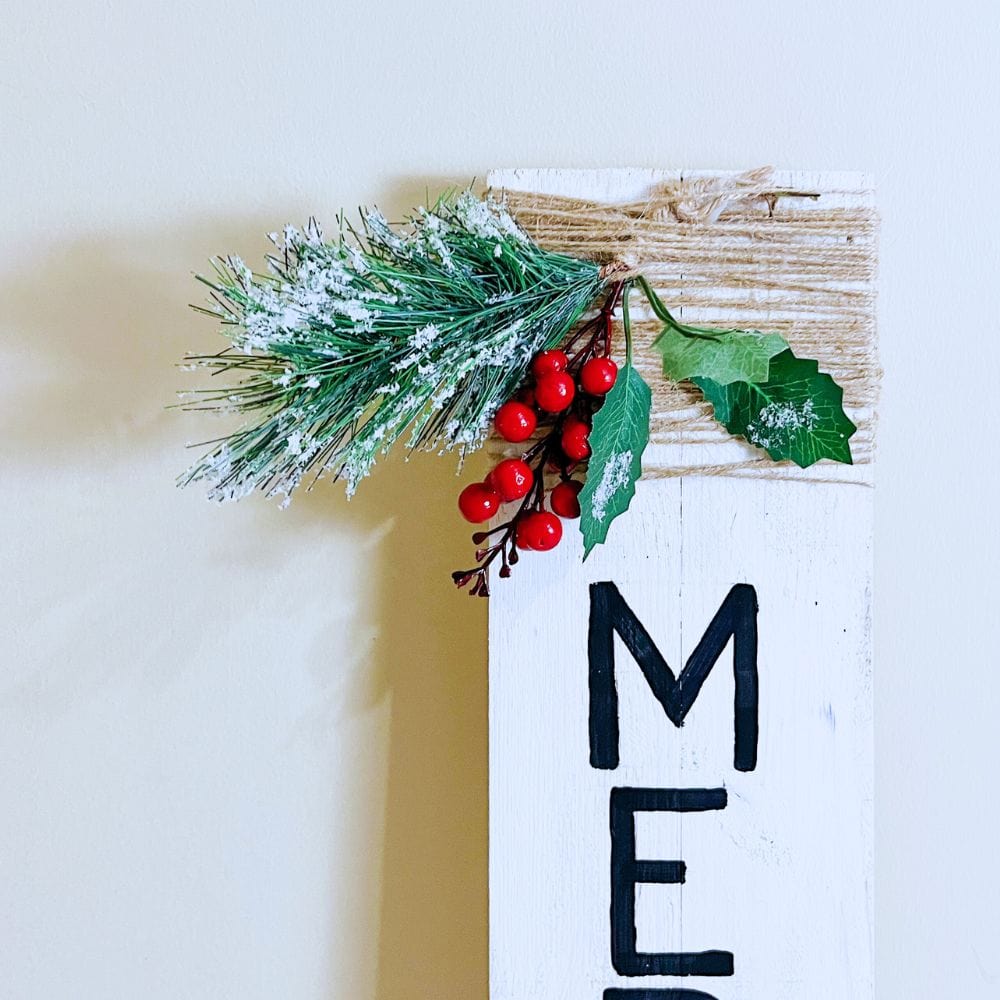
For our sign, we chose to wrap the twine around our chosen ornament and tie it securely onto the wood panel. This creates a whimsical and rustic touch to the overall look.
Here’s our list of rustic Christmas decor that you can pair with this standing sign.
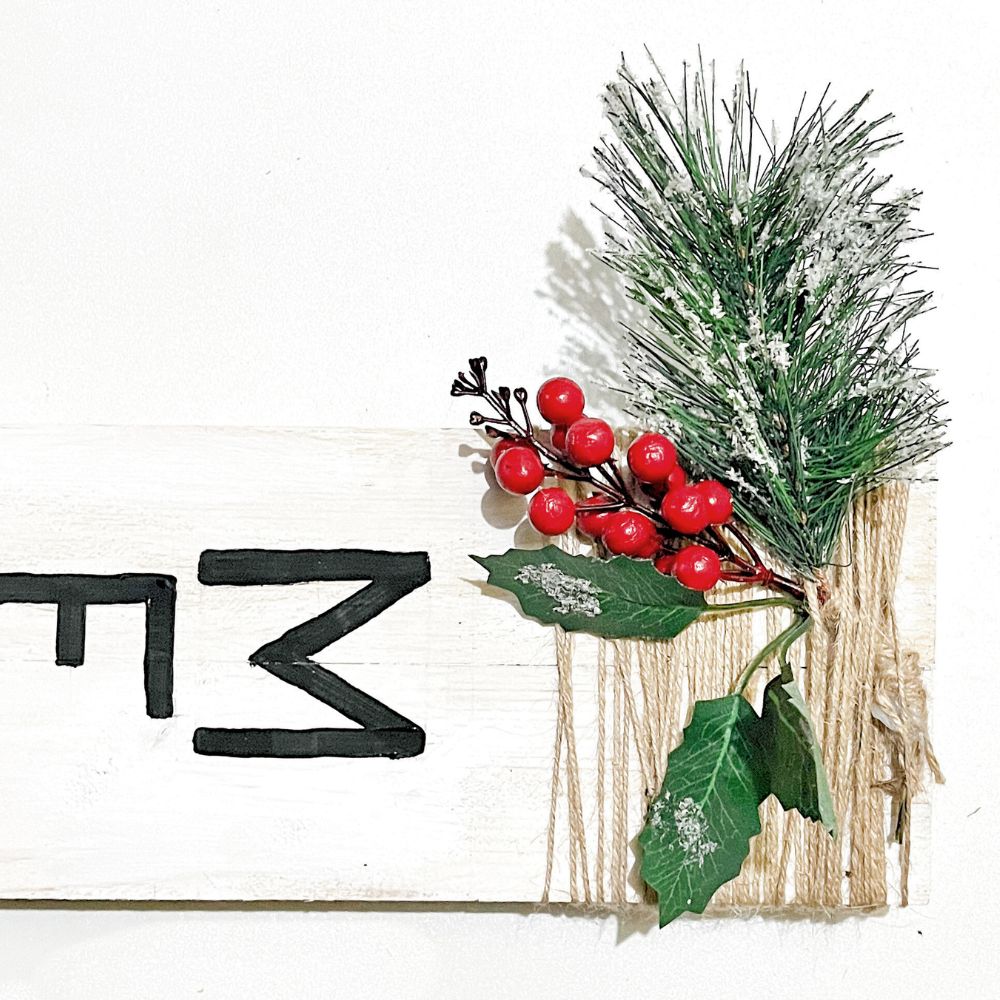
You can also get creative with this step by layering different ornaments, adding some greenery, or even string lights for a more festive feel.
If you’re looking for fresh and trendy ideas to decorate your sign, check out these modern Christmas signs to jazz up your decor.
Just make sure to secure everything properly so that it doesn’t fall off or damage your sign.
And if you’re making this as a gift, consider personalizing the decoration with the recipient’s initials or a special message.
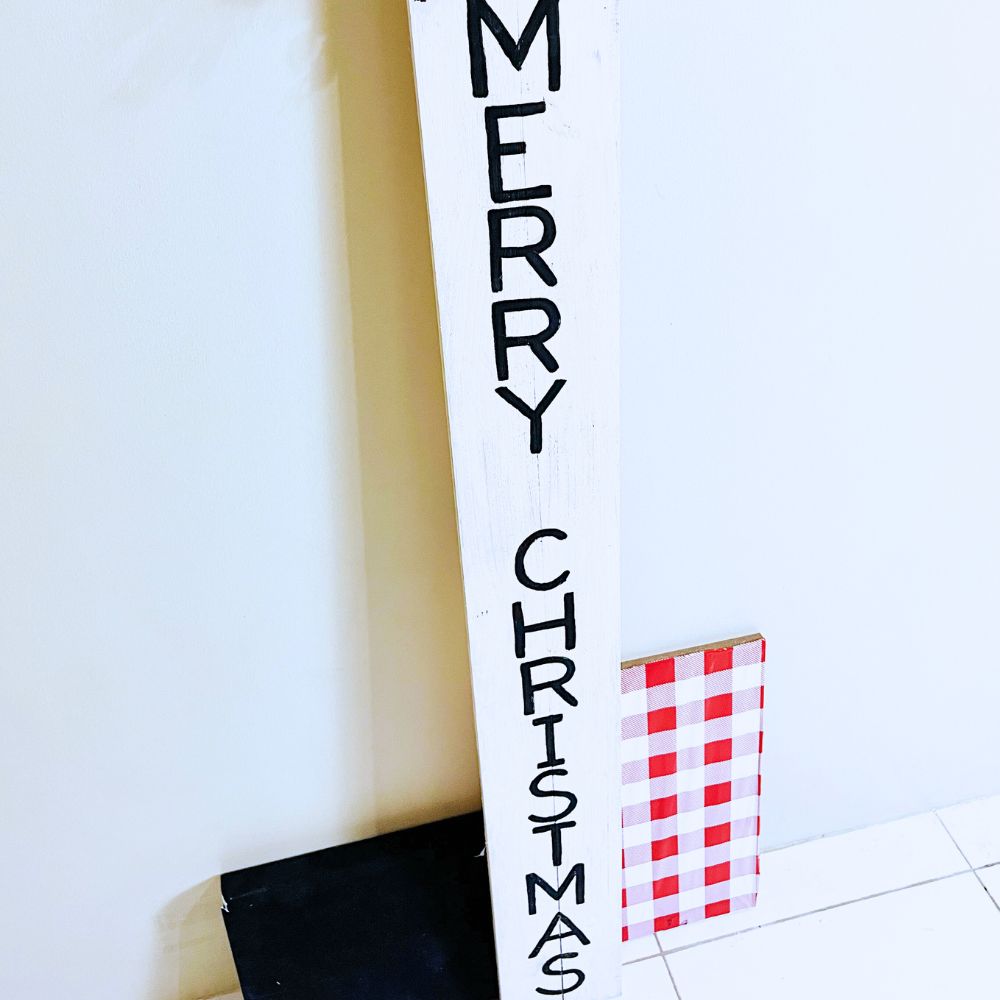
Once your ornament is attached, stand back and admire your beautiful Merry Christmas standing sign! You can display it on your mantel, entryway table, or even outside on your porch.
And because it’s a freestanding sign, you can easily move it around and change up its location whenever you want.
But if you want to mix and match different styles and sizes of holiday signs, here’s our list of vertical Christmas signs and large Christmas signs.
And why not toss in a few horizontal Christmas signs for added diversity and festive charm?
You can use various materials and designs to make your own sign, check out these DIY holiday signs to get more ideas.
Christmas standing signs are a different version from traditional decor, and making them yourself adds an extra touch of creativity to your holidays.
It’s the perfect activity to do with loved ones or as a solo project while sipping on hot cocoa and listening to holiday tunes. So why not give it a try this holiday season?
More Christmas Decor Ideas
- Wooden Christmas Village Houses
- Homemade Wooden Christmas Tree
- Fun Christmas Place Holders
- Christmas Tree Farm Signs
- DIY Reindeer Christmas Sign
Follow us on YouTube to get more tips for painting furniture.
Or share your project with us on our Facebook Group and be part of our community. See you there!

