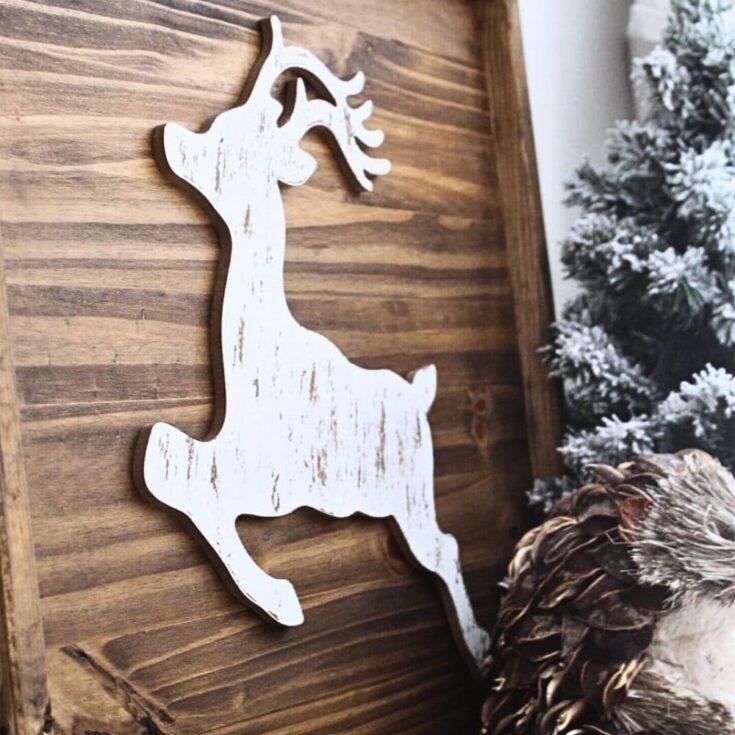
DIY Reindeer Christmas Sign
If you’re a fan of DIY farmhouse Christmas decor, then you’ll love this tutorial. This DIY reindeer Christmas sign is not only easy to make, but it also incorporates the rustic style that is so popular in today’s home decor.
Let’s get started on this fun and budget-friendly project that will add a charming touch to your holiday decor.
Reindeers are majestic creatures that have become synonymous with the holiday season thanks to their starring roles in Christmas stories and songs.
With that, they have become a popular motif in holiday decor, from ornaments to outdoor displays.
A Christmas sign is a versatile piece of decor that can be displayed anywhere in your home – on the mantel, above the doorway, or even as a centerpiece. It’s a simple way to decorate for the season and add a festive touch to any room.
But why buy a generic Christmas sign when you can create your own unique and personalized version? For this sign, we will be using a deer cutout as the focal point of our project.
Supplies Used for DIY Reindeer Christmas Sign
As an Amazon Associate, I earn from qualifying purchases. I also may earn from other qualifying purchases with other companies or get free product to review and use. All opinions are my own.
- Wood Board or Laminated Board
- Furring Strips
- Deer Cutout
- Jigsaw
- Sandpaper
- Stain
- Lint-Free Rag
- Hot Glue Gun
- Small Nails or Nail Gun with Brad Nails
Cutting Wood Sign
Cutting the wood sign is the first step in this project. This will be the base of your sign. You can choose to have your board pre-cut at the store or cut it yourself with a jigsaw.
Having pre-cut wood or laminated board is convenient and saves time, but don’t be afraid to cut it yourself if you’re feeling confident in your skills.
Sand down any rough edges after cutting the wood. Sanding before staining or painting will not only create a smoother surface but also prevent splinters.
Wipe off any dust from sawing and sanding before moving on to the next step.
Cutting Furring Strips
Next, we will be cutting furring strips to use as a frame for our sign. This will add dimension and interest to the overall look of your project.
As with the wood board, you have the option to have these pre-cut or cut them yourself. If you choose to cut them yourself, make sure to sand down any rough edges and wipe off any dust after.
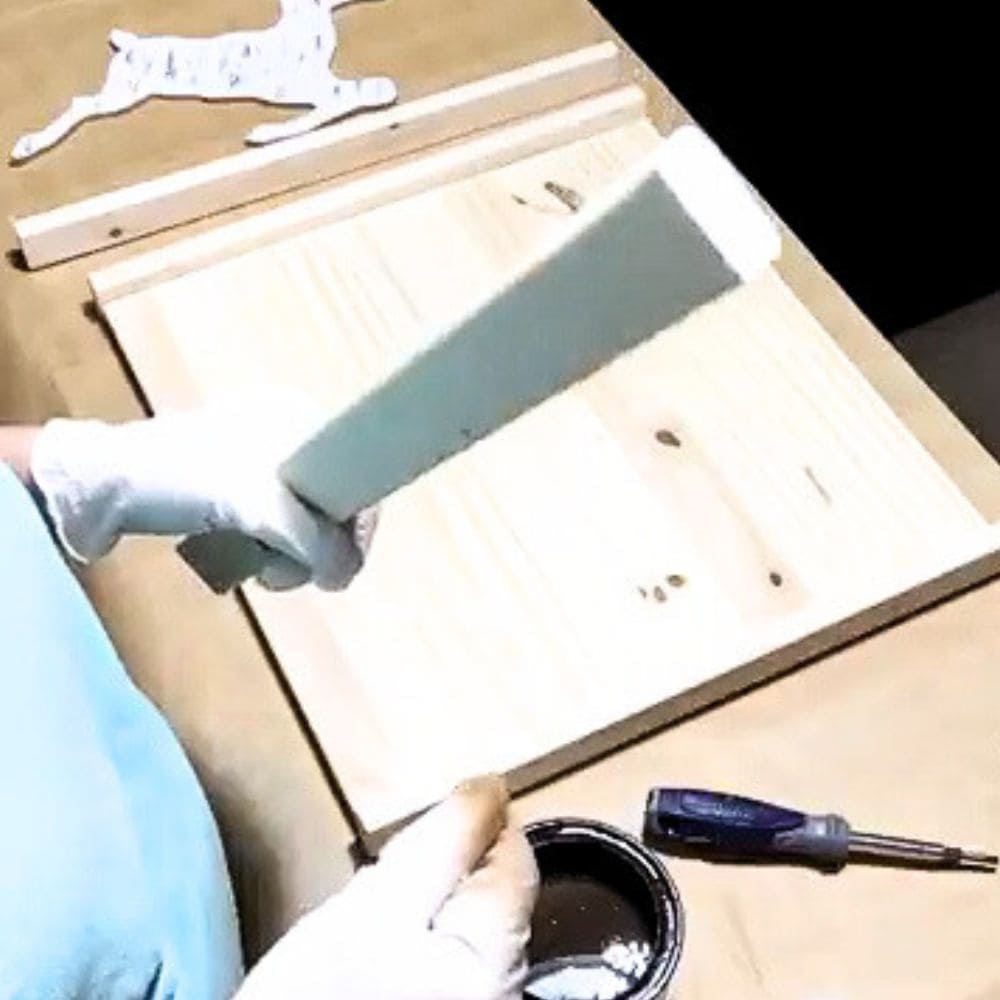
When cutting the furring strips, make sure they fit properly around the edges of your sign. You may need to trim them down slightly if necessary.
Don’t worry about making them perfect – a rustic look adds character to the overall design unless you prefer a more polished look.
Staining Wood Sign and Furring Strips
Now for that rustic, farmhouse look, we will be staining the wood sign and furring strips. This step not only adds color but also brings out the natural wood grain.
Be sure to use a fast-drying stain or one that doubles as a wax or topcoat, as this will save you time in the long run.
When applying the stain, make sure to go with the grain of the wood to get a more even and natural look. You can use a lint-free rag or brush to apply the stain.
You can also opt to apply multiple coats of stain for a darker color or leave it with just one coat for a lighter, more natural hue.
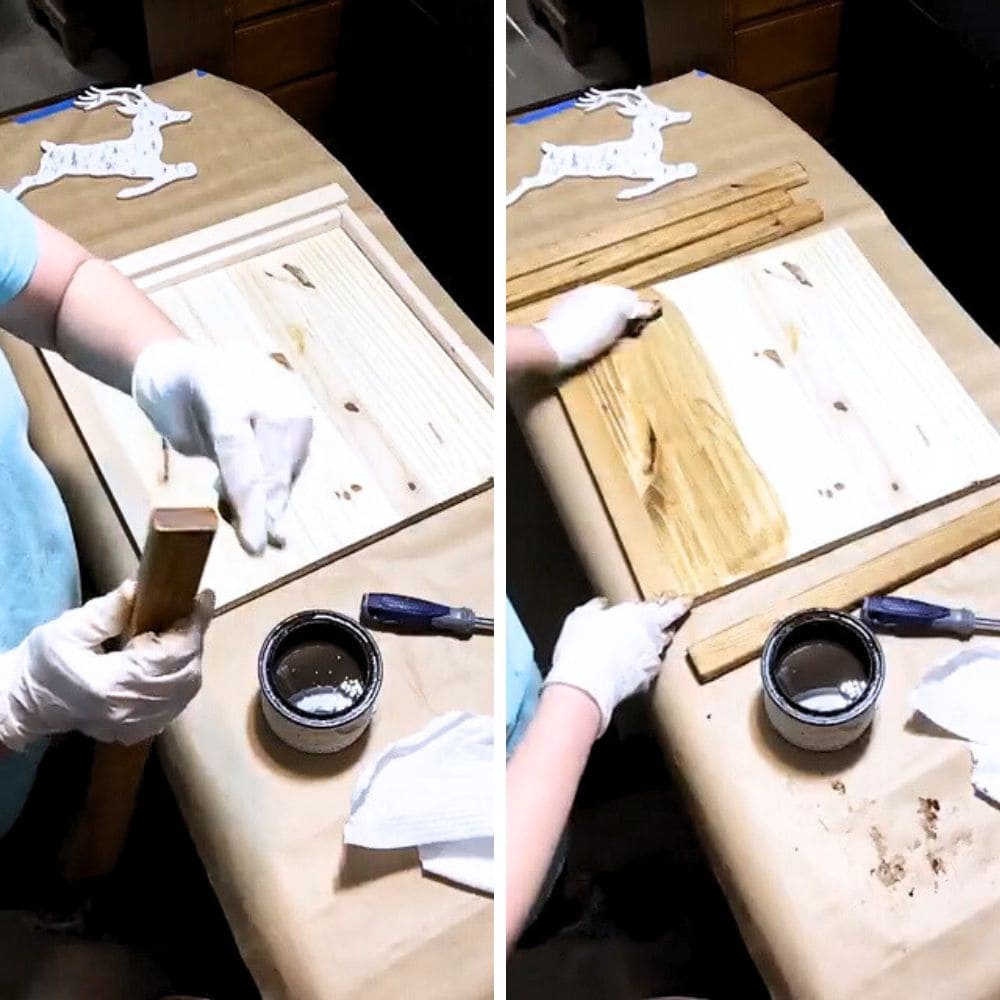
Once you are satisfied with the color, let it dry completely. If you used a fast-drying stain, this should only take a few minutes. If you used a regular stain, it may take longer.
Here’s our tutorial on how to stain wood for more tips and tricks.
Assembling Reindeer Sign
Once everything is dry, it’s time to assemble the sign.
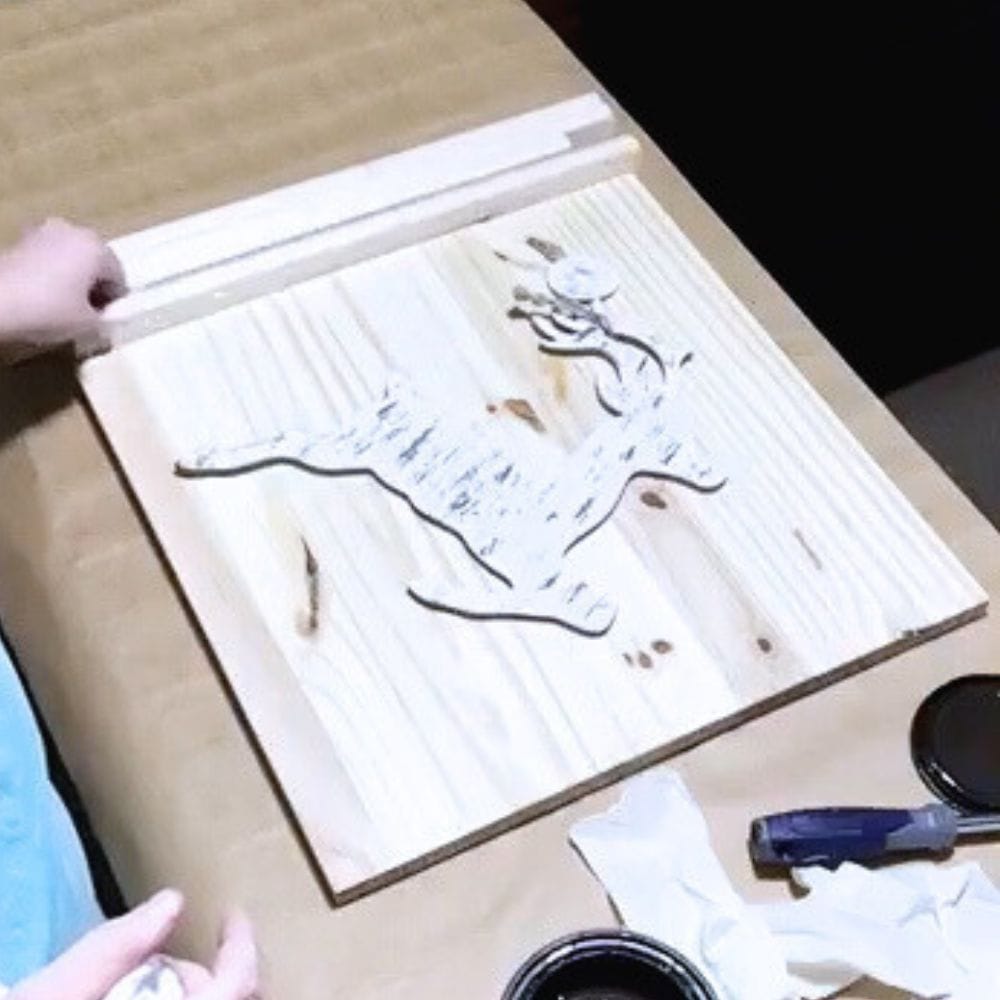
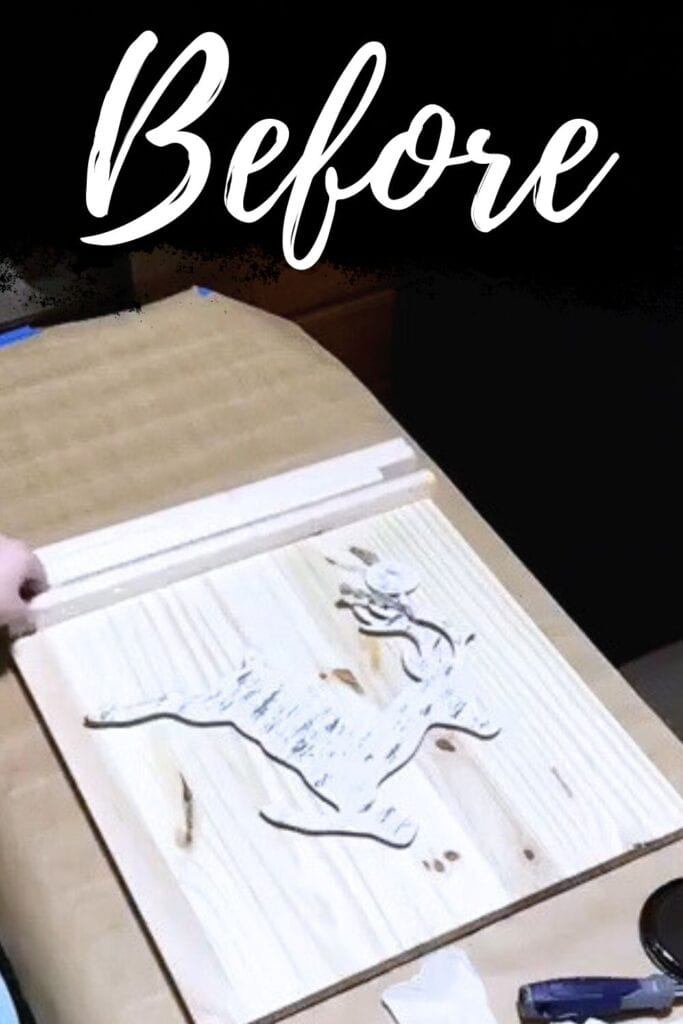
Start by nailing the furring strips onto the board to form a frame using small finishing nails or a nail gun with brad nails. Make sure they are evenly spaced and secure.
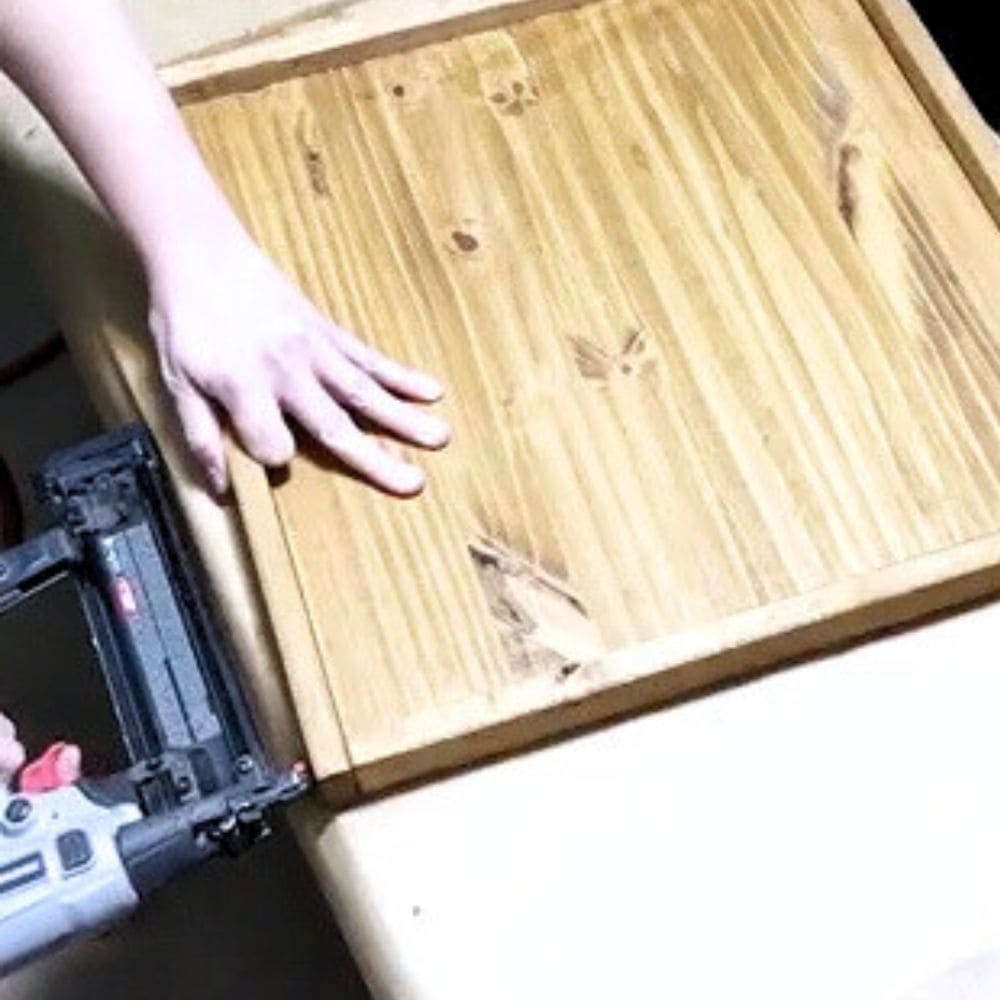
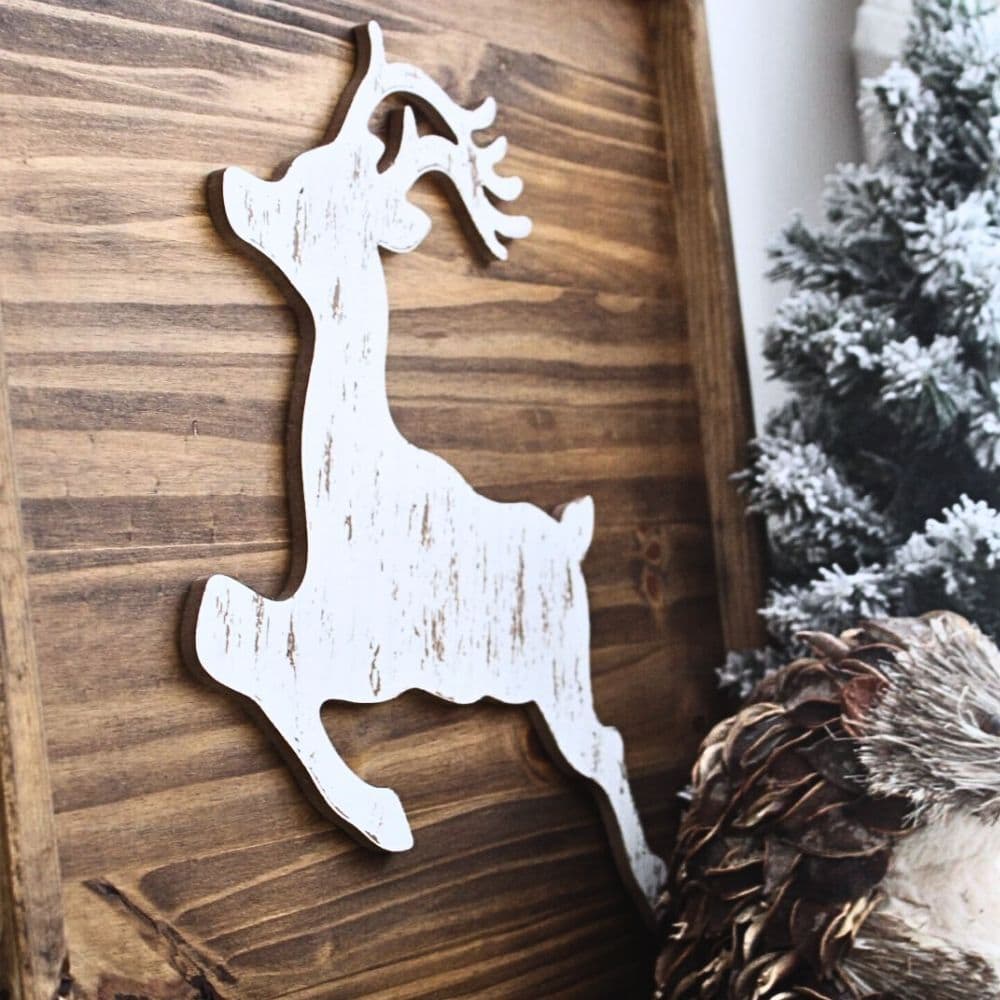
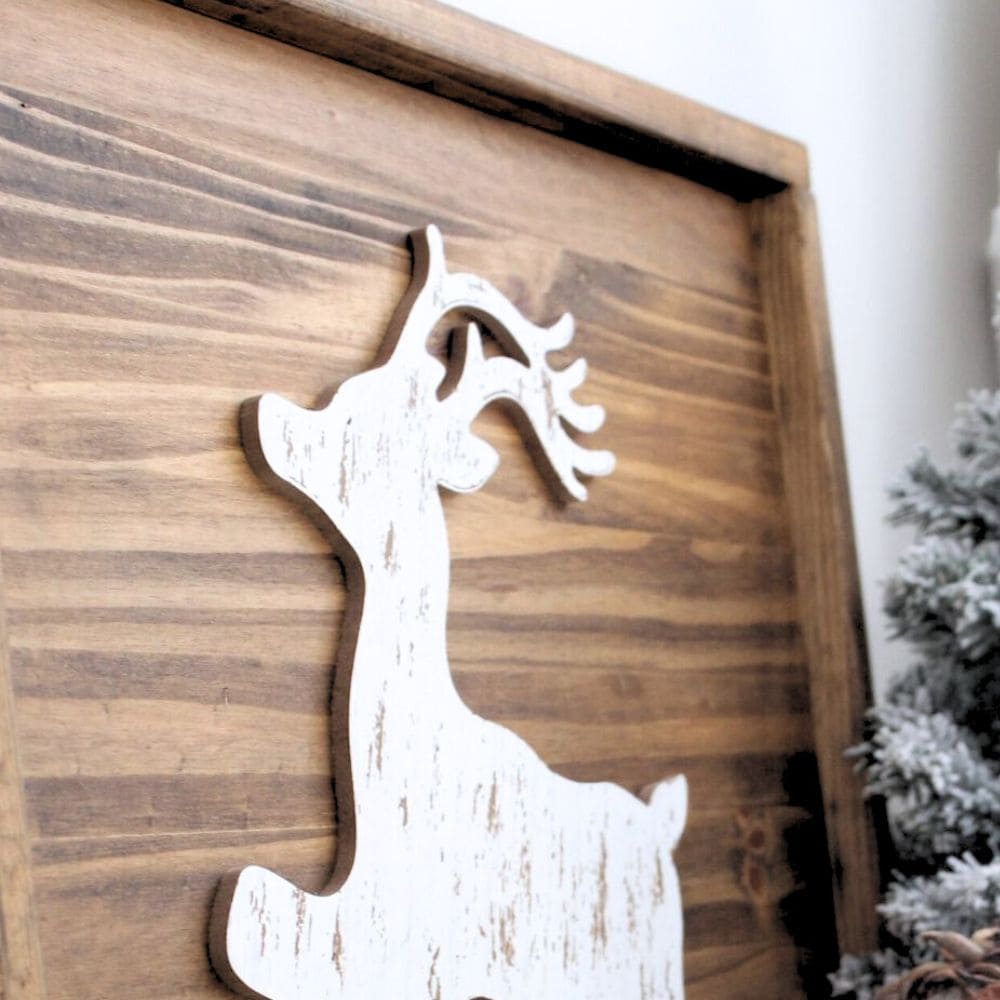
Next, add hot glue or a strong adhesive like E6000 to the back of your deer cutout and carefully place it in the center of your sign or wherever you prefer
Press down firmly and hold for a few seconds to make sure it sticks.
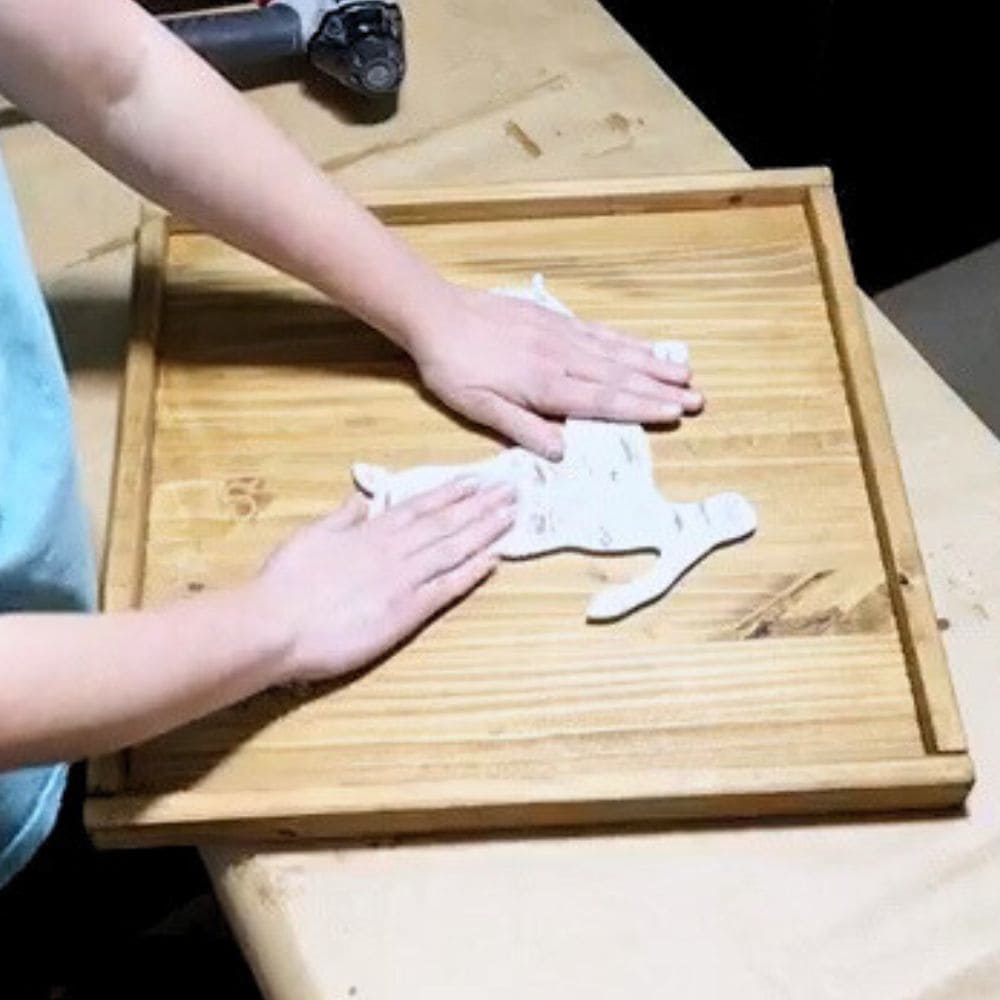
Let the glue dry completely before displaying your finished reindeer Christmas sign. If you want to hang it up, attach a picture hanger to the back of the sign.
Otherwise, you can simply lean it against a wall or on a shelf.
Decorating DIY Reindeer Christmas Sign
You can definitely take this project a step further and add more embellishments to your sign.
You can use small Christmas ornaments, ribbons, or even glitter to add some sparkle and charm. You could also use additional smaller cutouts like snowflakes or holly berries to add more detail.
Another idea is to add some greenery or pinecones to your sign to give it a more natural and farmhouse touch.
You can also attach a string of lights to create a lit-up Christmas sign that will definitely stand out in your holiday decor.
The possibilities are endless and you can get as creative as you want with your Christmas sign! Check out our reindeer Christmas signs for more reindeer sign ideas!
Once you have completed decorating your sign, find the perfect spot to display it in your home. You can also make multiple signs with different designs and sizes to create a stunning gallery wall.
Get inspired by these DIY holiday signs, perfect for any budget and skill level. This can be the perfect activity to do with family and friends this holiday season.
You can also pair it with these vertical Christmas signs that is perfect for mixing and matching with other Christmas decor. And why not toss in a few horizontal Christmas signs for added diversity and festive charm?
Can I paint the sign instead of stain It for a different look?
Yes, you can definitely paint the sign instead of staining it if you prefer a pop of color. Just make sure to sand down the wood and apply a primer before painting for better adhesion.
You may also need to apply multiple coats of paint for full coverage.
However, keep in mind that painting the sign will cover up the natural wood grain, which is one of the signature elements of rustic Christmas decor.
If you still want to incorporate the wood grain, you can lightly sand the paint after it dries to create a distressed look.
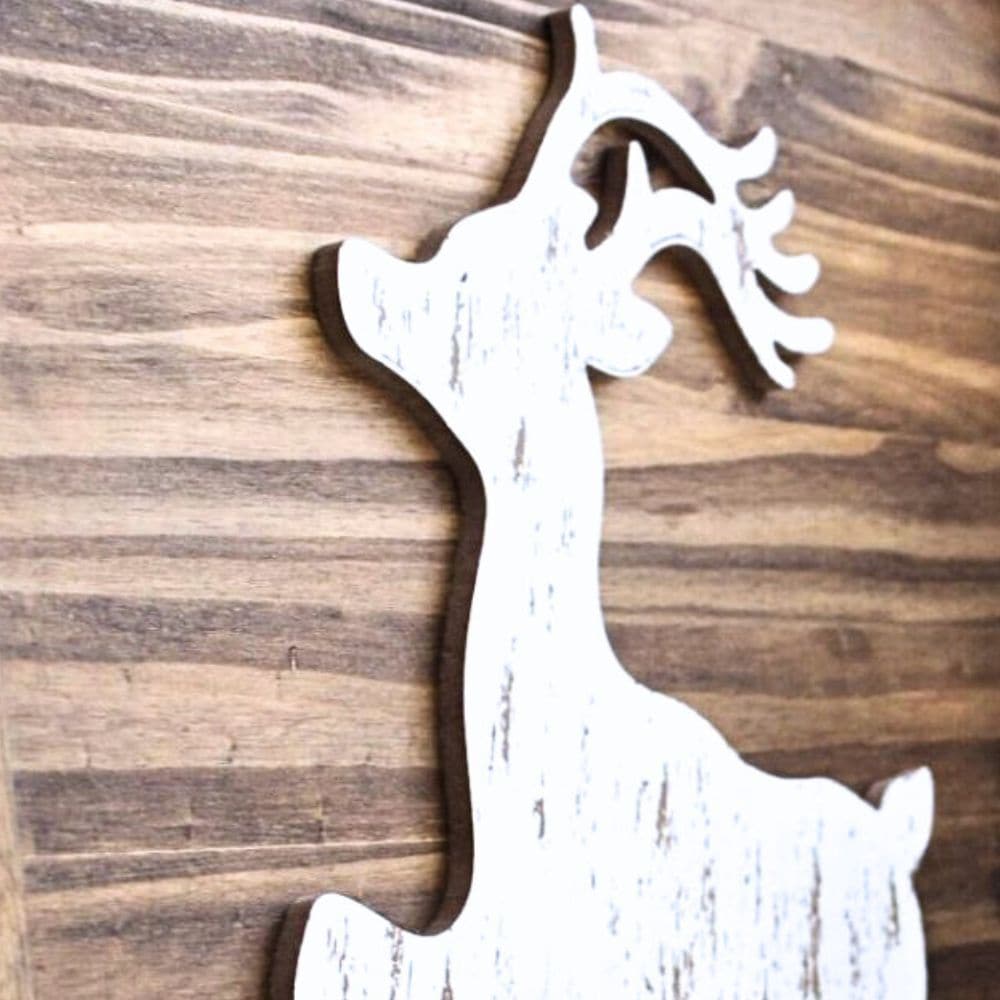
That’s it, your DIY reindeer Christmas sign is now complete! We hope this project has inspired you to get creative for the holidays.
Remember, you can always customize this project with different designs, colors, and embellishments to make it your very own.
More Christmas Decor Ideas
- Wooden Christmas Signs
- DIY Farmhouse Christmas Wreath
- Stenciled Christmas Wall Decor
- Painted Wooden Christmas Trees
- Christmas Believe Signs
Follow us on YouTube to get more tips for painting furniture.
Or share your project with us on our Facebook Group and be part of our community. See you there!

