How to Stain Wood Furniture


Have some furniture that needs stained? Learn how to stain wood furniture so you can protect, enhance, and customize the natural beauty of your pieces. Not only does staining give your furniture a fresh, polished look, but it also extends its life by providing added protection against everyday wear and tear.
In this blog post, we’ll guide you through the process of staining wood furniture step-by-step, from choosing the right stain to sealing and protecting your masterpiece, plus learn these refinishing furniture techniques for a successful project!
I remember the first time I tried my hand at staining a piece of furniture; I was amazed by how worn out it looked in the beginning, and then to see the transformation and how it breathed new life into the piece of furniture.

Since then, I have stained furniture many many times and I have learned a great deal of tips and tricks along the way. I even have a list of must-have furniture refinishing supplies here!
Whether you’re a seasoned DIYer or a beginner looking to revamp your favorite piece of furniture, this guide will help you create beautiful results. Here’s how to stain furniture for beginners to get you off to a good start!
Choosing the Right Stain for Your Wood Furniture
It is very important to choose the right kind of stain for your wood furniture. This will make sure it looks good and lasts a long time. With various types of stains available, it’s important to understand the differences and factors to consider when making your choice.
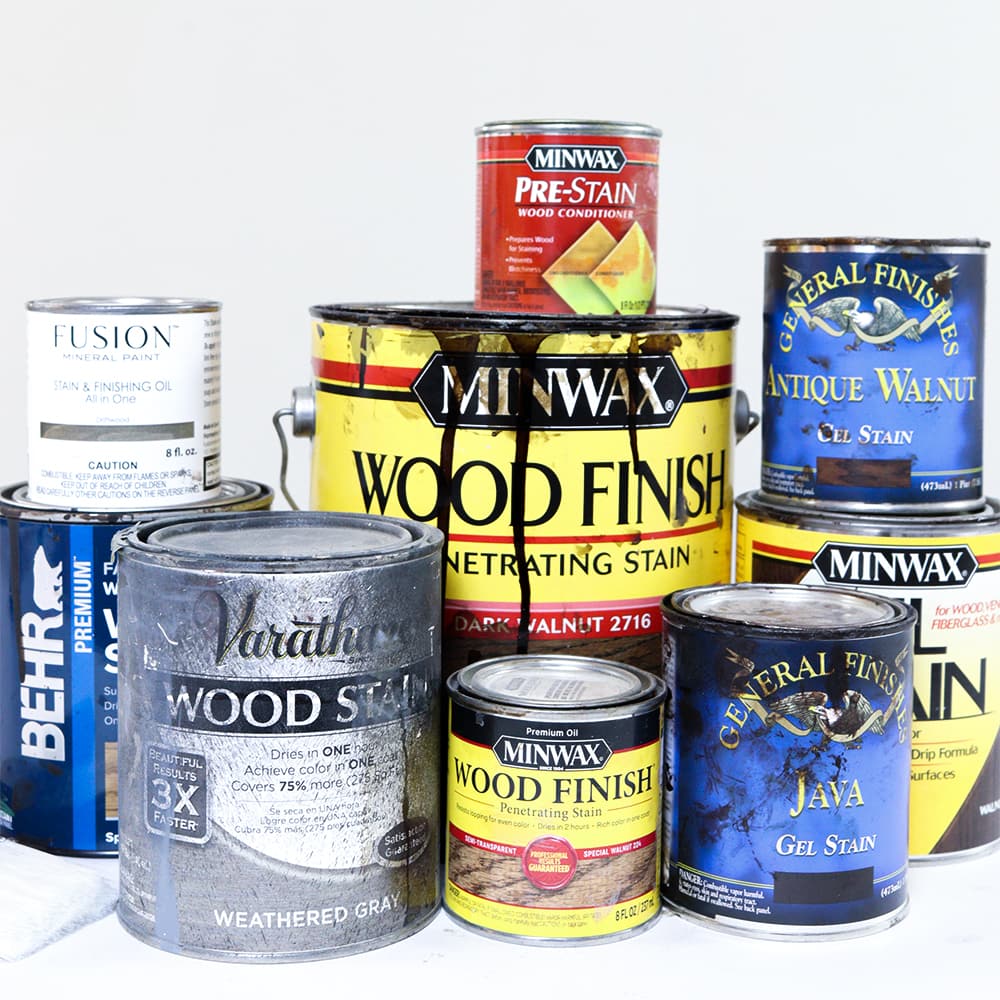
There are three main types of wood stains to choose from:
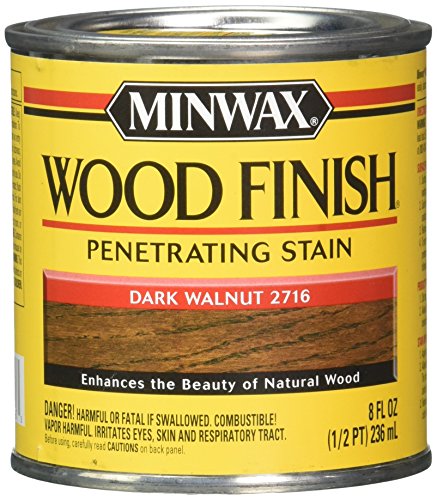
Oil-Based Stains: These stains are the original wood stain and are popular due to their durability and ease of use. They penetrate deep into the wood grain, providing a rich, warm finish.
However, oil-based stains have much longer drying times and they come with strong fumes, making ventilation a necessity.
Water-Based Stains: A more less toxic and environmentally friendly option, water-based stains have a much faster drying time and are low VOC compared to oil-based stains. Keep in mind that water-based stains may raise the wood grain, requiring additional sanding between coats.
And water based stains can be harder to work with on large projects because of how fast they dry.
Gel Stains: These stains have a thicker consistency and are made to be able to stay on top of the surface, making them ideal for furniture or surfaces that have a finish on them already.
Gel stains provide a more uniform color and are less likely to penetrate deep into the wood grain, resulting in a more consistent finish. They come in oil based and water based varieties.
Check out my detailed guide on how to stain already stained wood using gel stain here, and I also used it in this farmhouse cabinet makeover.
If you still aren’t sure what stain to use for your project, here is our post on best wood stains for furniture.
When deciding on the right stain for your wood furniture, consider the following factors:
Desired Finish: Determine if you prefer a more natural look with the wood grain visible or a solid, opaque finish. This will help you decide between water-based, oil-based, or gel stains.
Drying Time: If you’re working on a tight schedule, water-based stains may be your best option due to their faster drying times. However, if you have a large project, and are worried about splotchiness because of the fast drying stain, oil-based stains can be worth the wait.
Safety: Remember to prioritize safety by working in a well-ventilated area, especially when using oil-based stains. Make sure that you have proper protective gear, such as gloves and a mask, to minimize exposure to fumes and chemicals.
And, after your staining is complete, be sure to lay your rags and oil stain saturated supplies outside, flat, to dry completely to avoid combustion.
Supplies for Staining Wood Furniture
As an Amazon Associate, I earn from qualifying purchases. I also may earn from other qualifying purchases with other companies or get free product to review and use. All opinions are my own.
- Drop cloth or Cardboard
- 220 grit Sandpaper
- Shop Vacuum with Brush Attachment
- Tack cloth
- Painter’s Tape or Frog Tape
- Paint Stirrer
- Gloves
- Respirator for oil based stains
- Wood stain (oil-based, water-based, or gel, depending on your preference)
- Brush
- Stain Applicator
- Lint-free cloths
- Topcoat (Oil Based Polyurethane or Waterbased Polyurethane)
- 400 grit sandpaper
Before you begin the staining process, gather all the necessary supplies, and protect the space you will be working in. Lay down some drop cloth or cardboard to protect your floor from getting stain.
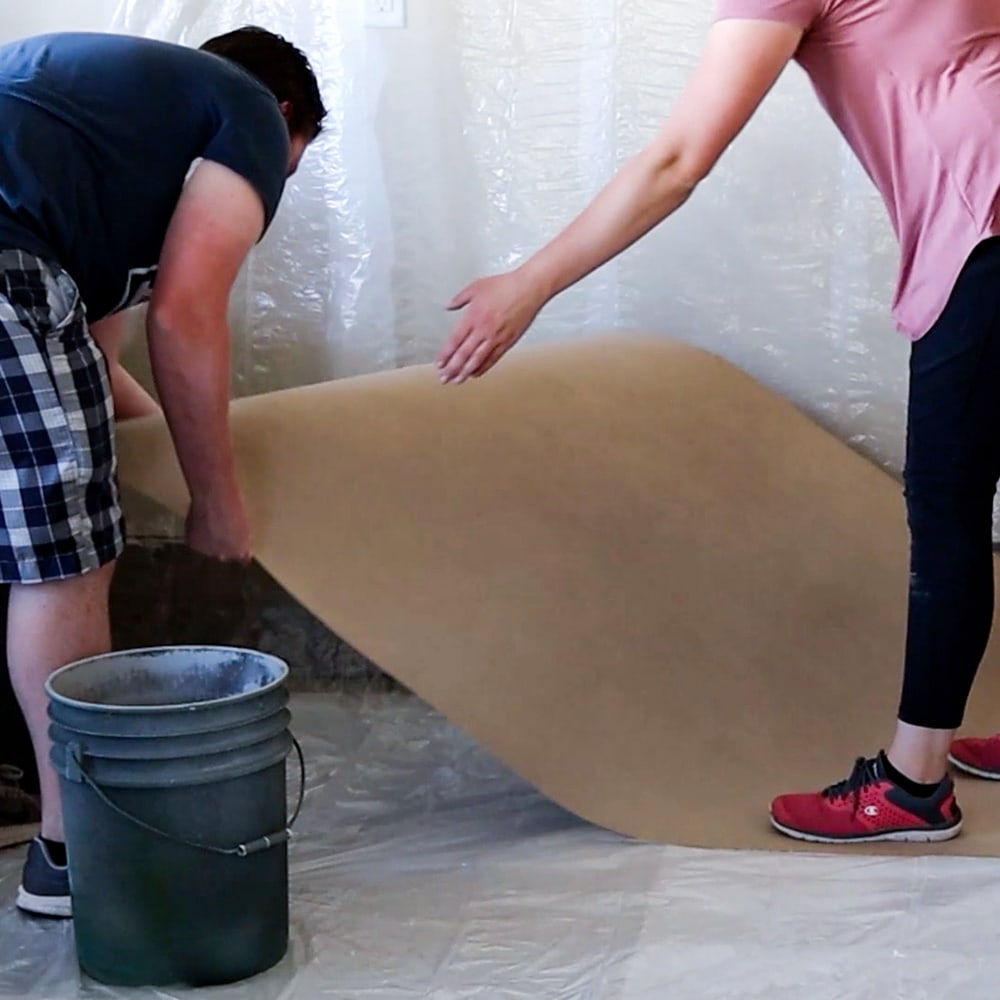
If you’re working with oil based stain, open windows and doors, and turn on fans to help ventilate your workspace. If at all possible, work outside to prevent the fumes from building up, and potentially harming you.
Preparing the Wood Surface
In this post, we are assuming that you are working with raw wood surfaces. If your furniture has a finish on it already, check out our post on how to restain wood furniture to learn how to stain wood furniture without removing the existing finish.
If the finish on the furniture is really bad, scratched, uneven and you want to make it look new again, then start with our post on restaining furniture. That post will give you all the details you need to know to easily remove the old finish and then stain the wood again.
Basically, use one of these best wood stain removers and then let the wood dry.
If you are starting out with furniture that you have built, or unfinished furniture that you bought, you might need to still do some prep work to get it ready for stain. Check out more tips on how to refinish wood furniture here.
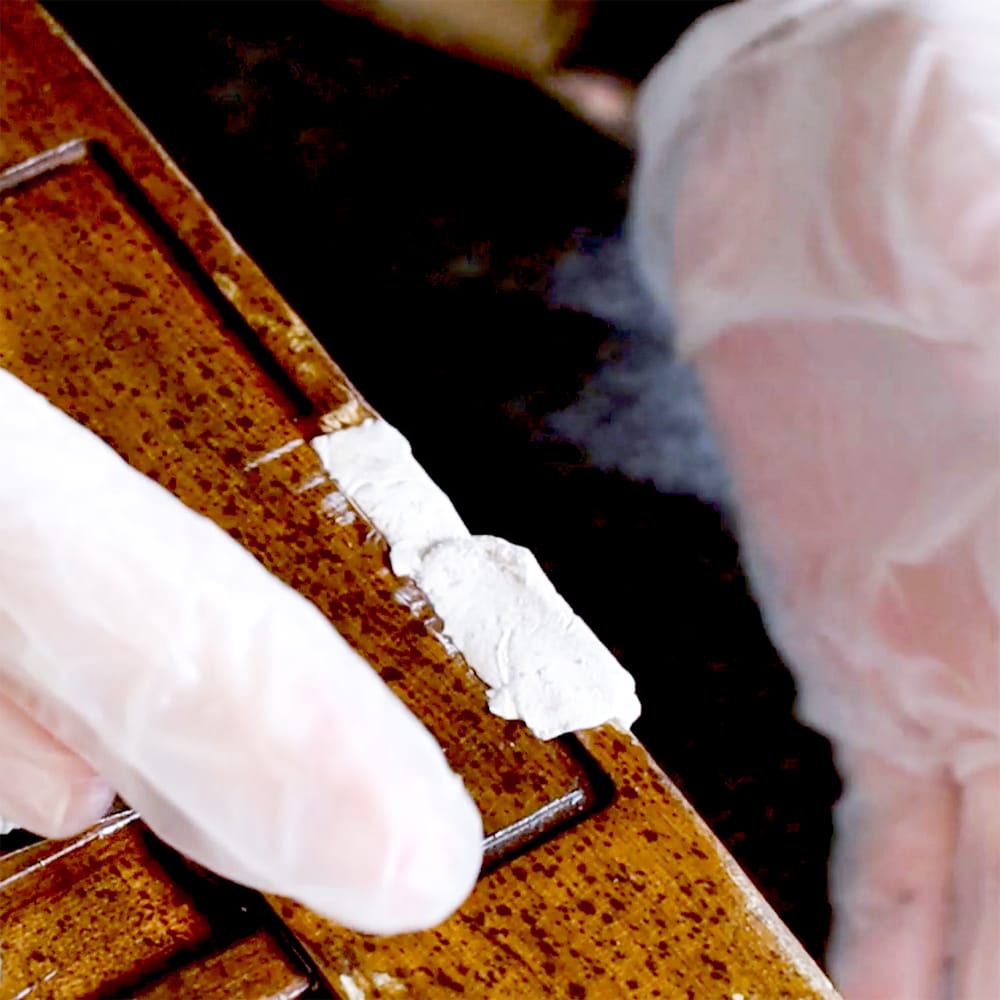
Repairing Imperfections
If your wood furniture has any holes, cracks, or gouges, now is the time to repair them. But, be aware that the filler that you use to repair any damage will take the stain differently than the wood will, so you will be able to see the areas where you repaired after you stain.
Learn more about how to hide your wood filler when staining in our staining wood filler post. Learn how to repair damage on your wood furniture with these tutorials on our repairing old furniture page.
In the next step, you can sand the wood filler down smooth.
Sanding Before Staining
If your wood is rough or has raised wood grain or splinters on it, you’ll need to sand the wood smooth. Here is our list of the best sandpaper for furniture to help you know which kind to use.
Depending on how rough your surface is, you might need to use some more coarse grits of sandpaper to quickly remove a lot. But, if your wood is almost smooth, just use 220 grit sandpaper to make sure everything is smooth and ready for stain.
Be sure to sand with the lines in the wood (the wood grain) to keep the scratches in line with the grain. Going in the opposite direction can leave scratches that are easy to see once you stain the wood.
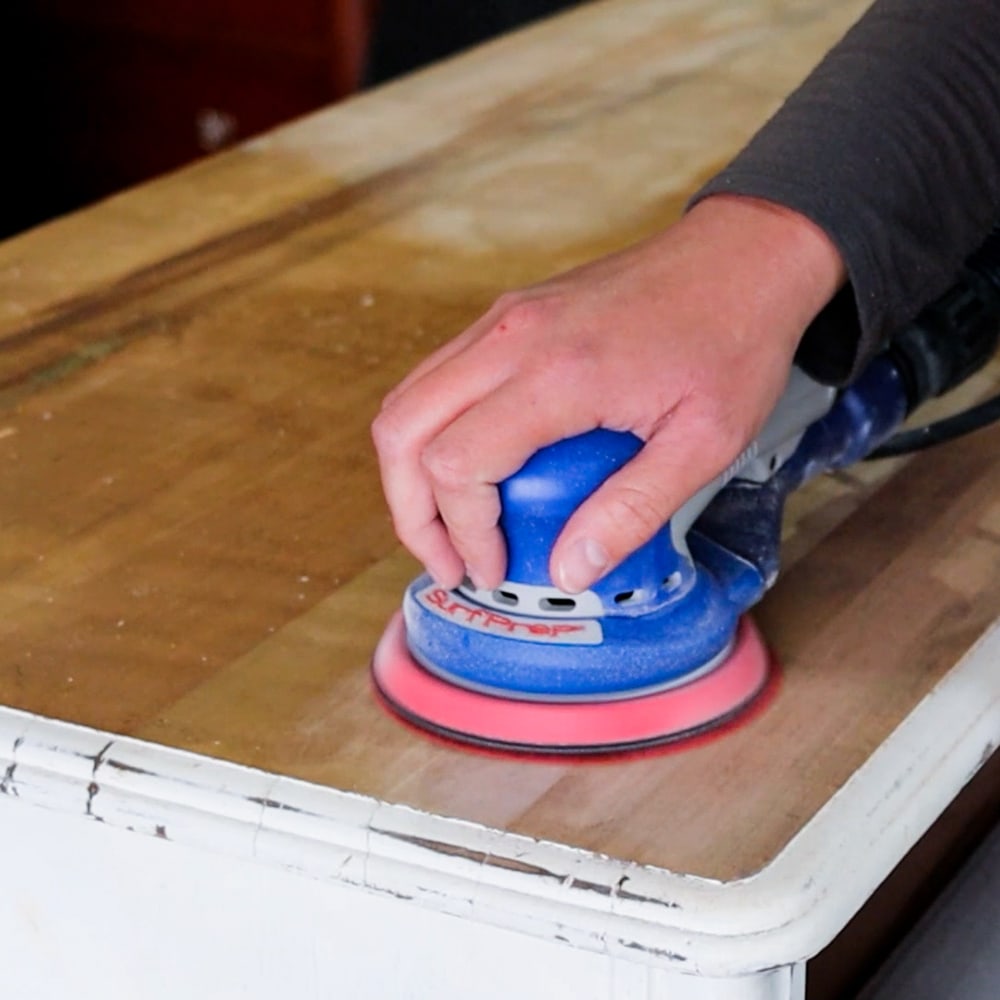
You could use a power sander to sand your wood smooth, too. Here is our list of the best sanders for furniture if you’re interested in using a sander to make your job easier.
To avoid swirl marks that you can easily see once you stain the wood, do not press hard on the sander, and go slow. If you use 80 grit sandpaper with your sander, make sure to then sand with 120 grit, then 150 grit, and finally 220 grit sandpaper to prevent those swirl marks from showing up.
No matter what grit you start with, slowly move up through the different numbers of grits until you get to 220, to help avoid those swirl marks.
Then, remove any dust that is left behind. Use a vacuum with brush attachment to suck up most of the dust, then use a tack cloth to clean the rest. If there is any dust on your wood when you go to stain, the finish will not look as good, and the dust will leave a rough texture on your wood.
If you want to skip this step, check out this guide on how to stain furniture without sanding.
Would you like to save this?
Protecting Unstained Areas
If your furniture has any hardware, glass, or other areas you don’t want to be stained, use painter’s tape to protect them, or remove them if possible. Carefully apply the tape around the edges of these parts to prevent the stain from getting onto them.
If you’re really worried, use the frog tape to create a better seal than regular painter’s tape creates.
Remember, if you skip the prep, you’ll be able to tell when you’re done. Take the time to prep everything so the project will look its best once done.

Applying the Wood Stain
Once you’ve prepared the wood surface, it’s time to apply the stain and bring your furniture to life. Follow these steps to create an even, professional-looking finish:
Before applying the stain, it’s important to stir it well to make sure the pigments and solvents are evenly distributed. Use a paint stirrer or a wooden stick to gently mix the stain until it reaches a uniform consistency.
Then, it’s always a good idea to test the stain on a small, inconspicuous area of the furniture piece or a scrap piece of the same wood type.
This will give you an accurate representation of the color and finish before committing to the entire piece, allowing you to make any necessary adjustments to create your desired result.
Don your gloves and choose your preferred method of application, either using a brush, stain applicator, or a clean, lint-free cloth. Here is our list of the best brushes for staining to help you decide which one to use.
Check out our blog post about how to stain wood with a rag to learn more about the valuable tips of staining wood with a rag.
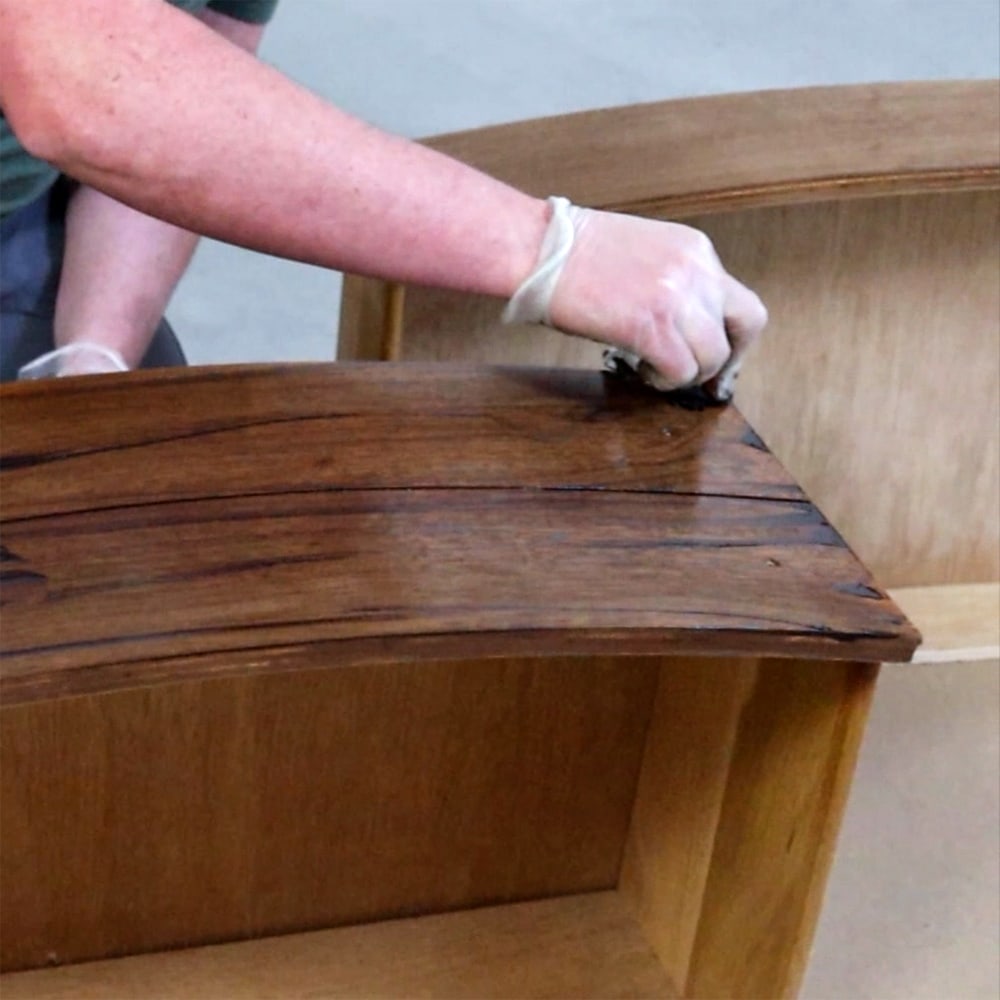
Dip the applicator into the stain, allowing it to absorb a small amount of product. Beginning at one end of your furniture piece, apply the stain in the direction of the wood grain (with the lines in the wood), using smooth, even strokes. Maintain a wet edge throughout the process to avoid lap marks or streaks.
Allow the stain to penetrate the wood for the recommended time stated on the product label, typically between 5-15 minutes for oil based stain, less than a minute for water based stains. This time may vary depending on the type of stain, wood species, and desired depth of color.
The longer you leave the stain on, the deeper it will be. If you end up with a darker look but want it lighter, you can learn how to change dark wood stain to light here.
Then use a clean, lint-free cloth to wipe off any excess stain from the surface. Always follow the direction of the wood grain to hide any streaks left in the stain. Double check for missed spots, uneven spots, or drips and runs that might be left behind.
If you’re staining using Retique It, here’s our detailed guide on how to use Retique It! And here’s can you stain over paint if you’re unsure if you can stain over existing paint. And if you have a coffee table and want to update it by staining, here’s how to restain a coffee table!
Multiple Coats and Drying Time
Sometimes, one coat of stain isn’t enough. Depending on the type of stain and the wood species, multiple coats may be necessary to create what you want.
Once the first coat of stain is dry, you can kind of see how deep the color is, and then you can decide if you want to apply another coat. Keep in mind that sealing the stained wood will make the color a little deeper.
How long will it take for the stain to dry? That will depend on a few things. Oil based stains will take about 24 hours to fully dry. Hot, dry conditions can speed up the dry time, and cold, wet conditions can slow the dry time down.
Water based stains will take a few hours to dry. Read the back of the container of stain to learn about specific dry times for your stain.
Sealing and Protecting Your Stained Wood
After you’ve successfully applied the stain to your wood furniture and allowed it to dry completely, the final step is to seal and protect the surface.
This will not only enhance the appearance of the stained wood but also provide a durable finish that guards against everyday wear and tear. Follow these steps to seal and protect your stained wood furniture:
First, select a sealant that fits your needs and preferences. Common options include:
Polyurethane: This popular topcoat provides a strong, durable finish and is available in various sheens, from matte to high gloss. Polyurethane can be either water-based or oil-based, with water-based versions being more environmentally friendly and easier to clean up.
Wax: Wax is an easy-to-apply option that gives your wood furniture a soft, natural sheen while providing a layer of protection. Furniture wax typically requires reapplication every few months to maintain its protective qualities.
Polycrylic: A water-based polyurethane, polycrylic offers similar durability but with less odor and faster drying times. This sealant is ideal for lighter-colored woods, as it doesn’t yellow over time.
Check out these helpful posts to help you understand which product is right for your project.
- Wax VS. Polyurethane
- Polycrylic Vs Polyurethane: Which Is The Best?
- How To Apply Polycrylic To Furniture
How to Seal Stained Furniture
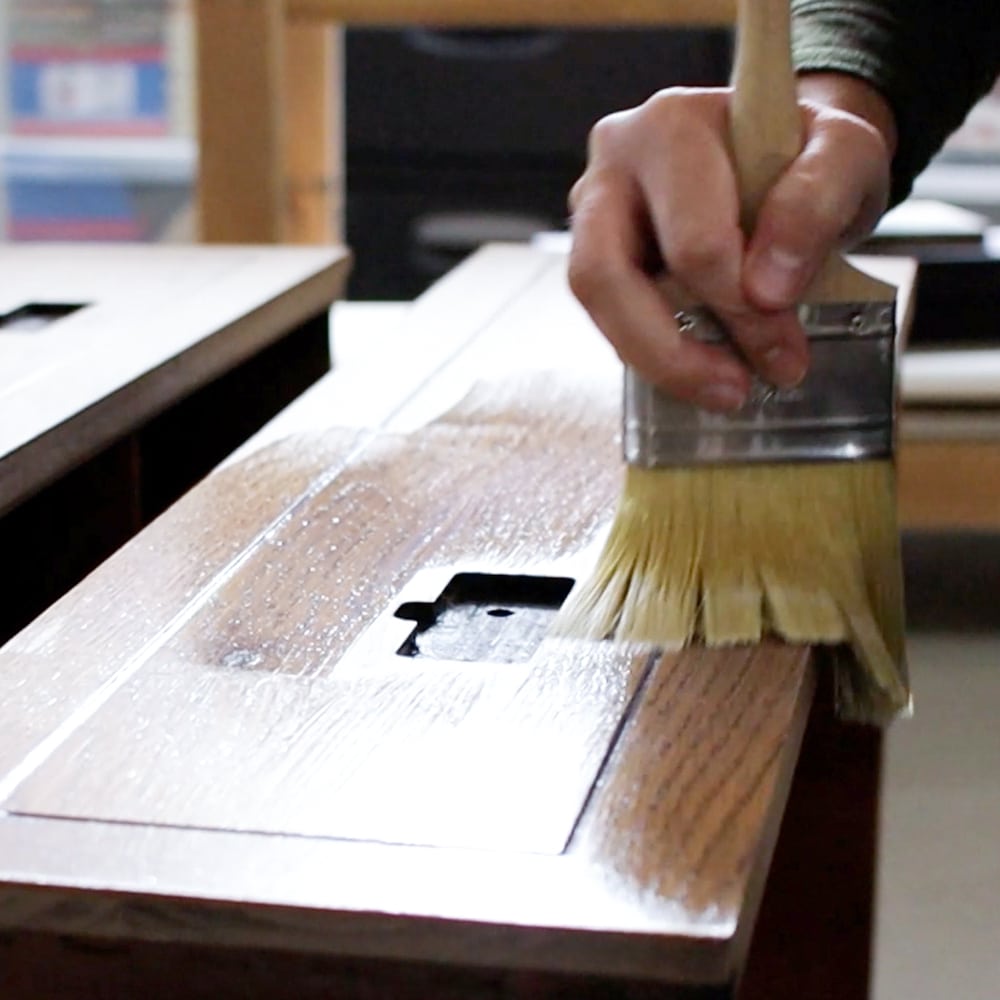
Before applying a polyurethane topcoat, thoroughly mix the product according to the manufacturer’s instructions. Avoid shaking the can to prevent air bubbles from forming.
Apply a thin, even coat of the topcoat to the stained wood surface, following the direction of the wood grain. Be sure to use long, smooth strokes to minimize streaks and brush marks and maintain a consistent finish.
Here’s our list of the best paint brushes for polyurethane to learn more about finding the perfect brush for your next project.
Then, let the sealant dry for the recommended time stated on the product label. Drying times may vary depending on the type of sealant, humidity, and temperature as well.
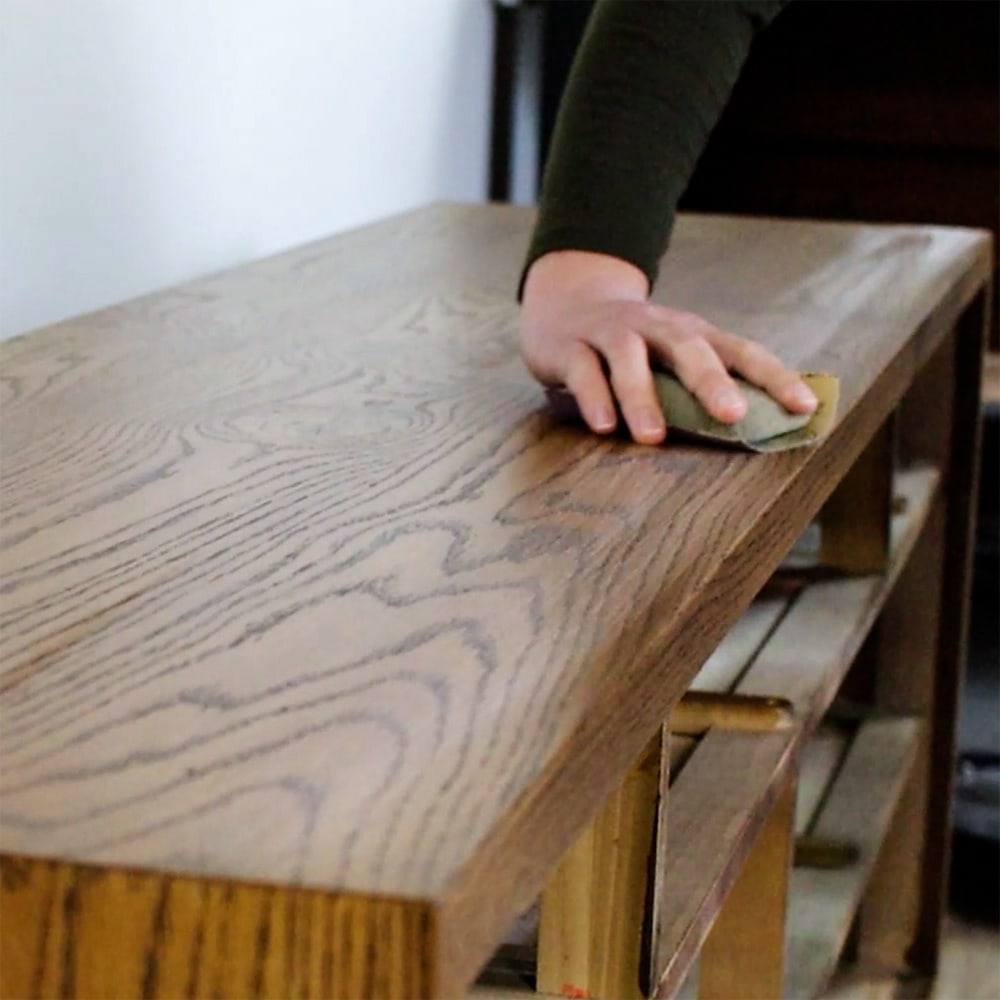
For an ultra-smooth finish, you can lightly sand the surface between coats of polyurethane and polycrylic using 400 grit sandpaper. This step is optional but can help to remove any rough texture and imperfections and create a more professional-looking result.
Make sure to remove any sanding dust with a tack cloth or clean, damp cloth before applying the next coat.
Depending on the type of sealant and your desired level of protection, you may need to apply multiple coats. Polyurethane and polycrylic usually needs 3 coats to be most durable. Follow the manufacturer’s recommendations for the number of coats and drying times between applications.
Staining wood furniture can be a great way to give your pieces new life and create beautiful, unique designs. With the right preparation and application techniques, you can create professional-looking results with minimal effort. Best of luck with your project!

How to Stain Wood Furniture
Do you want to enhance and protect the natural beauty of your furniture? Here's our step by step guide on how to stain wood furniture.
Materials
Instructions
- Gather all the necessary supplies and protect your floor from stains with some drop cloth or cardboard.
- Repair any damage to your wood furniture and sand the surface using 220 grit sandpaper. Then remove the dust using a vacuum and a tack cloth.
- Apply painter's tape or frog tape to protect any hardware, glass, or other areas you don't want to be stained.
- Gently mix the stain using a paint stirrer or wooden stick until it reaches a uniform consistency.
- Wear your gloves, dip the brush, stain applicator, or lint free cloth into the stain, and apply it in the direction of the wood grain.
- Allow the stain to penetrate the wood for 5–15 minutes if you want the stain darker, then use a lint free cloth to wipe off any excess stain. Once the first coat is dry, apply another coat if wanted.
- Apply a thin, even coat of the topcoat to the stained wood surface and let it dry.
- Using 400 grit sandpaper, lightly sand the surface between coats to have an ultra smooth finish. Remove any dust using a tack cloth or a clean, damp cloth before applying the next coat.
Recommended Products
As an Amazon Associate and member of other affiliate programs, I earn from qualifying purchases.


More Staining furniture tips
- How To Stain Wood With Paint
- Wood Stain Repair
- Staining a Dresser Darker
- How to Stain and Paint a Wooden Bench
- How to Tone Down Orange Wood Furniture

Follow us on YouTube to get more tips for painting furniture. Or share your project with us on our Facebook Group and be part of our community. See you there!