How to Tone Down Orange Wood Furniture


Today, we’re addressing a common conundrum faced by many who love the thrill of second hand shopping – how to tone down orange wood furniture pieces. The vibrant orange tint can be quite the eyesore, but don’t let that put you off.
With some creativity, a few handy tools, and our step by step guide, you’ll learn the refinishing furniture techniques that can give that orange wood a much needed update. Keep reading to see the transformation!
Thrifting is a fantastic way to find unique furniture pieces that add character and charm to your home without breaking the bank. However, sometimes you might stumble upon a gem that doesn’t quite fit your decor vision due to its overly vibrant orange wood tone.

Don’t let that discourage you! That’s exactly what happened to Kara of Lemons to Lemonade Furniture. Here’s her experience!
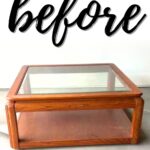
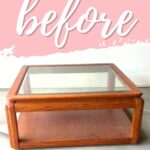
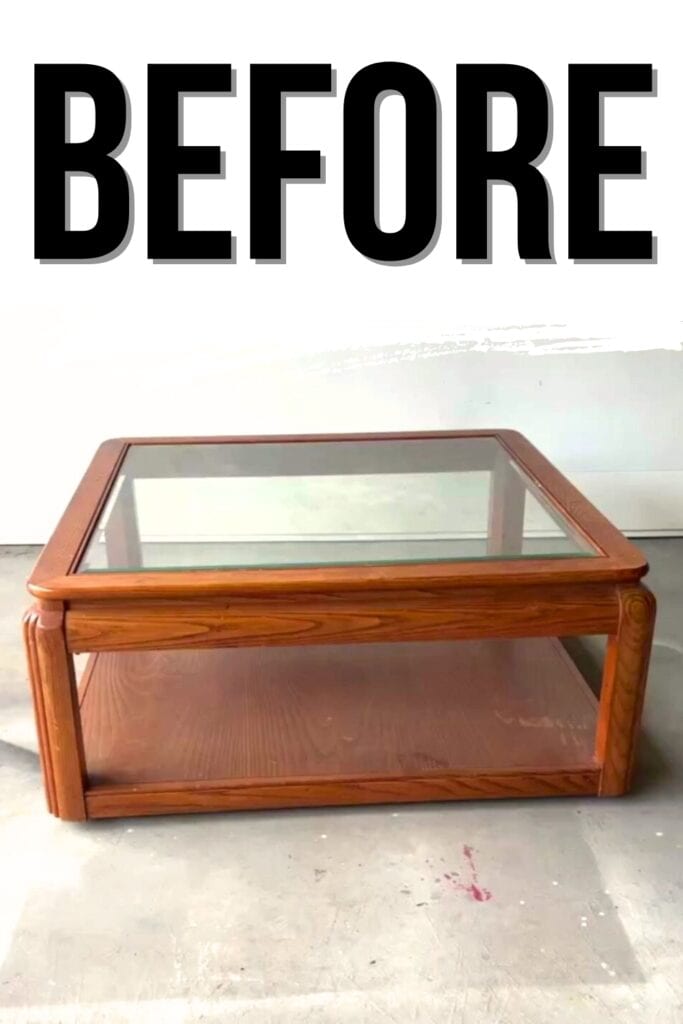
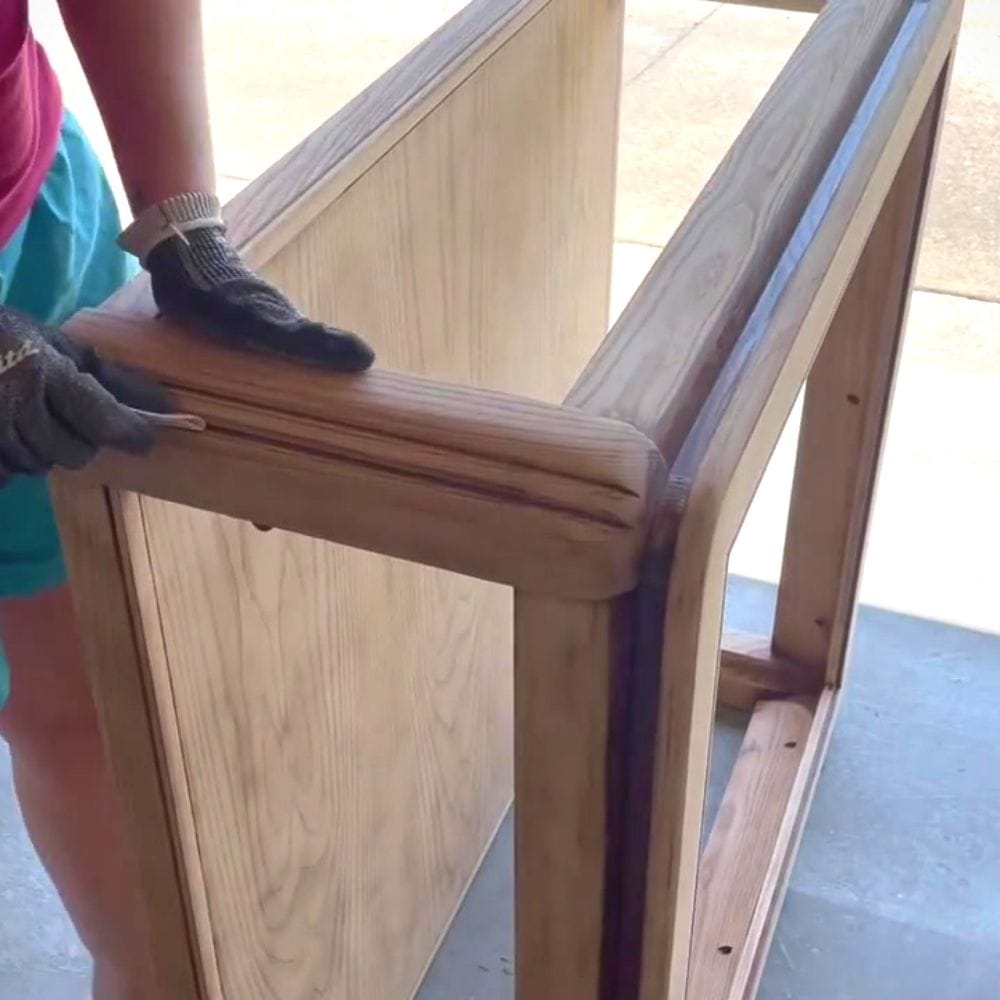
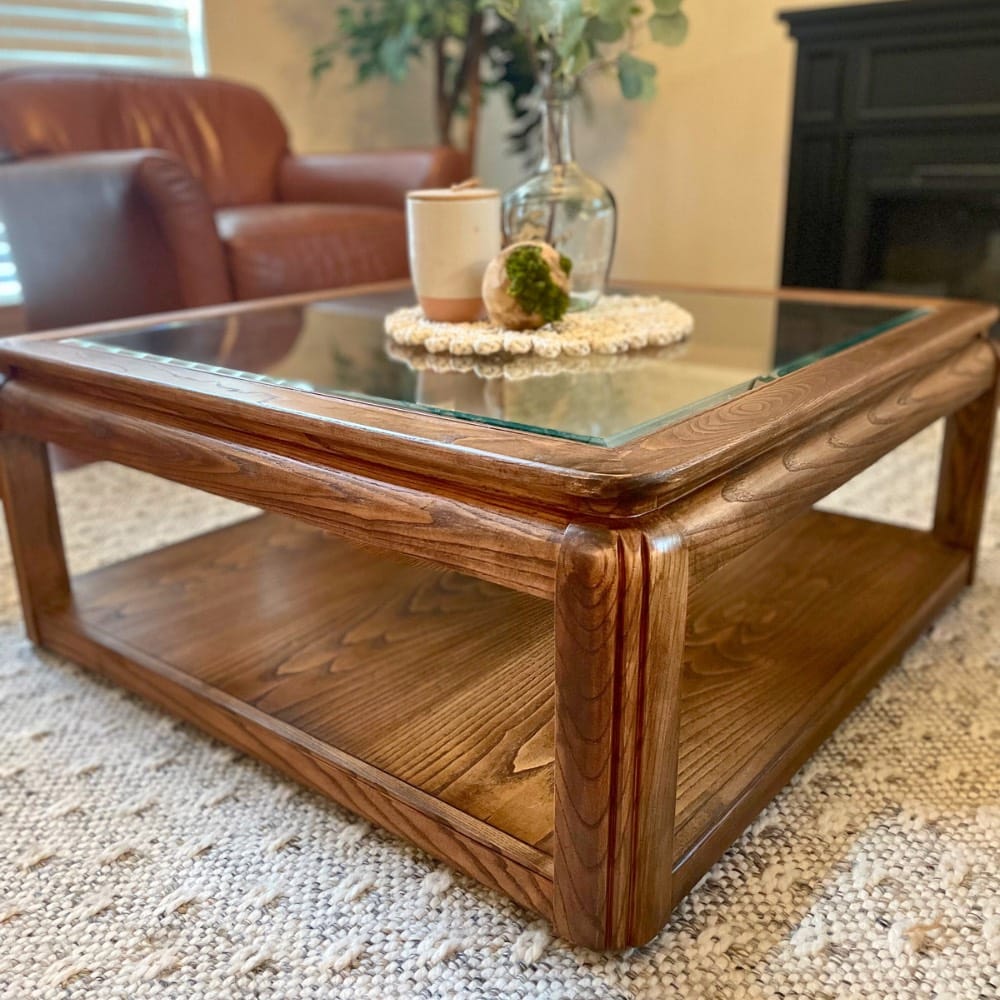
I found this 1980’s rounded edge coffee table in the last chance pile at my thrift store for $10. I love the look of rounded edge furniture, but the orange finish…needed an update!
With a bit of creativity and some simple techniques, you can easily transform that eye catching yet overwhelming orange piece into a sophisticated addition to your space. In this blog post, we’ll explore some effective ways to tone down the color and breathe new life into your thrifted find.
Supplies Used for Toning Down Orange Furniture
As an Amazon Associate, I earn from qualifying purchases. I also may earn from other qualifying purchases with other companies or get free product to review and use. All opinions are my own.
- A Good Degreaser
- Cleaning Rags
- Cleaning Brush
- Sandpaper (Medium and Fine Grit)
- Orbital Sander
- Contour Sanding Grips
- Stain Color of Choice (I used Minwax Special Walnut)
- Mineral Spirits (optional)
- Staining Pads
- Polyurethane
Clean the Furniture
Most of my pieces come from thrift stores or auctions, and even though the styles are all different, one thing remains the same….they’re usually covered in fingerprints and dust! I like to use a good quality degreaser like Simple Green.
Warm water and shop rags work fine for this step. If I have a piece that is really dirty, like this coffee table was, I will use the cleaning brushes that attach to a drill.
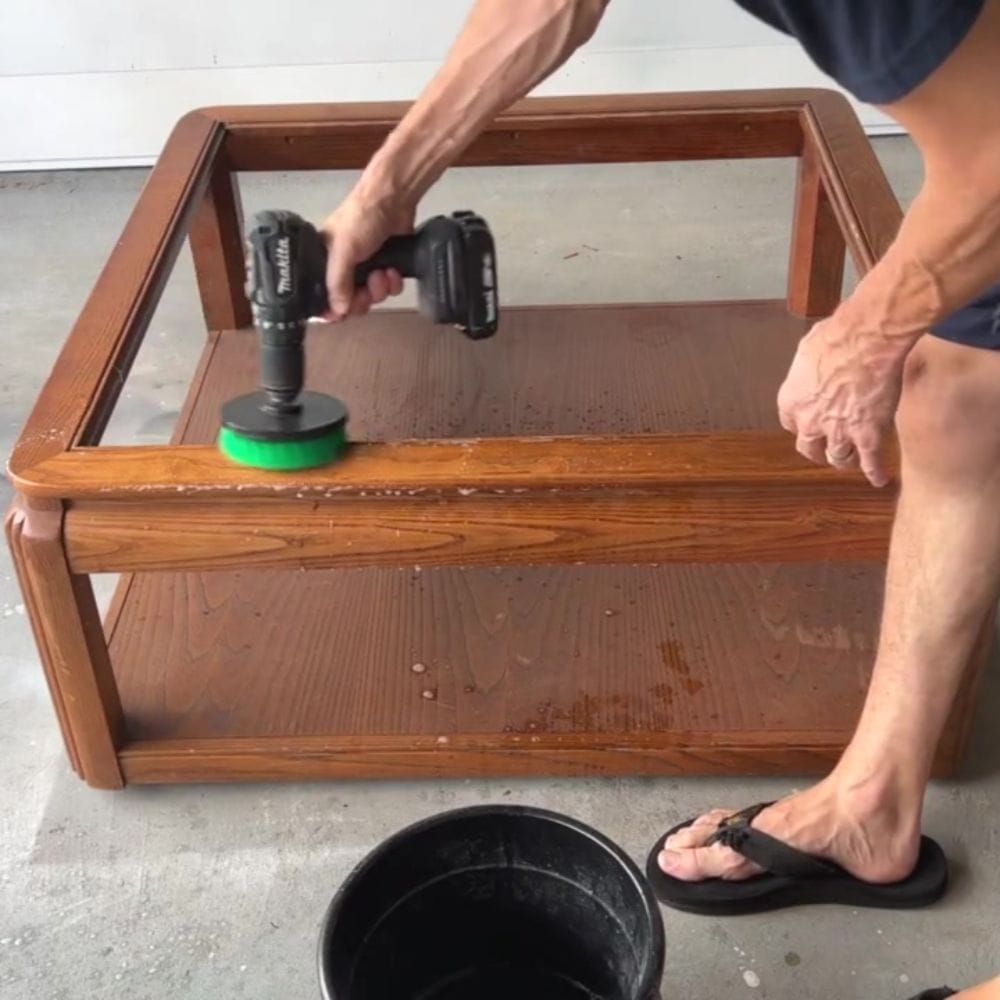
Always be sure to wipe away the degreaser with clean water after you are finished giving your piece a good clean. This makes sure your new finish will adhere nicely. Here’s our more detailed guide on how to clean furniture before painting.
How to Make Wood Less Orange
The first step in toning down orange wood furniture is to sand away the existing finish. This not only removes the glossy layer but also provides a smooth surface for the new paint or stain to adhere to.

Start with medium grit sandpaper to remove the top layer of varnish or finish, and then switch to fine grit sandpaper to create a smooth surface. Check out our blog post about sanding before painting furniture to learn more about the importance of this process.
Be sure to sand in the direction of the wood grain to avoid damaging the piece. Using an orbital sander will make this process go much faster, so I highly recommend one if you plan on sanding items down to bare wood.
If you’re new to projects like this, here is some more information on the different types of sanders for furniture, as well as our post on the best sanders for furniture to help you decide which one to invest in.
For small spaces and hard to reach edges, I like to use sanding grips. It’s easy to wrap a piece of sandpaper around the one that fits your surface and make quick work out of removing a stubborn finish. Check out this post to learn more about how to sand in tight spaces.
If you have curved edges and details as well, here’s how to sand curved surfaces.
Remove all of the Sanding Dust
Once I have sanded back all of the orange finish, I like to use mineral spirits to wipe off my project and make sure that all of the dust and grit are completely removed before I proceed with the next steps. This is to make sure that nothing will get into my final finish.
Pro tip! Mineral spirits will also show exactly what color your wood will be if you were to seal it just as it is right now!
Refinishing Wood with Stain
If you are looking to keep the wood finish look, find a stain that fits your decor style.
Would you like to save this?


These come in a variety of shades, as well as oil based and water based. With the wide selection today, it makes it easy to find one that will match your home style. Here is more information on the best wood stains for refinishing furniture to help you decide what to get.
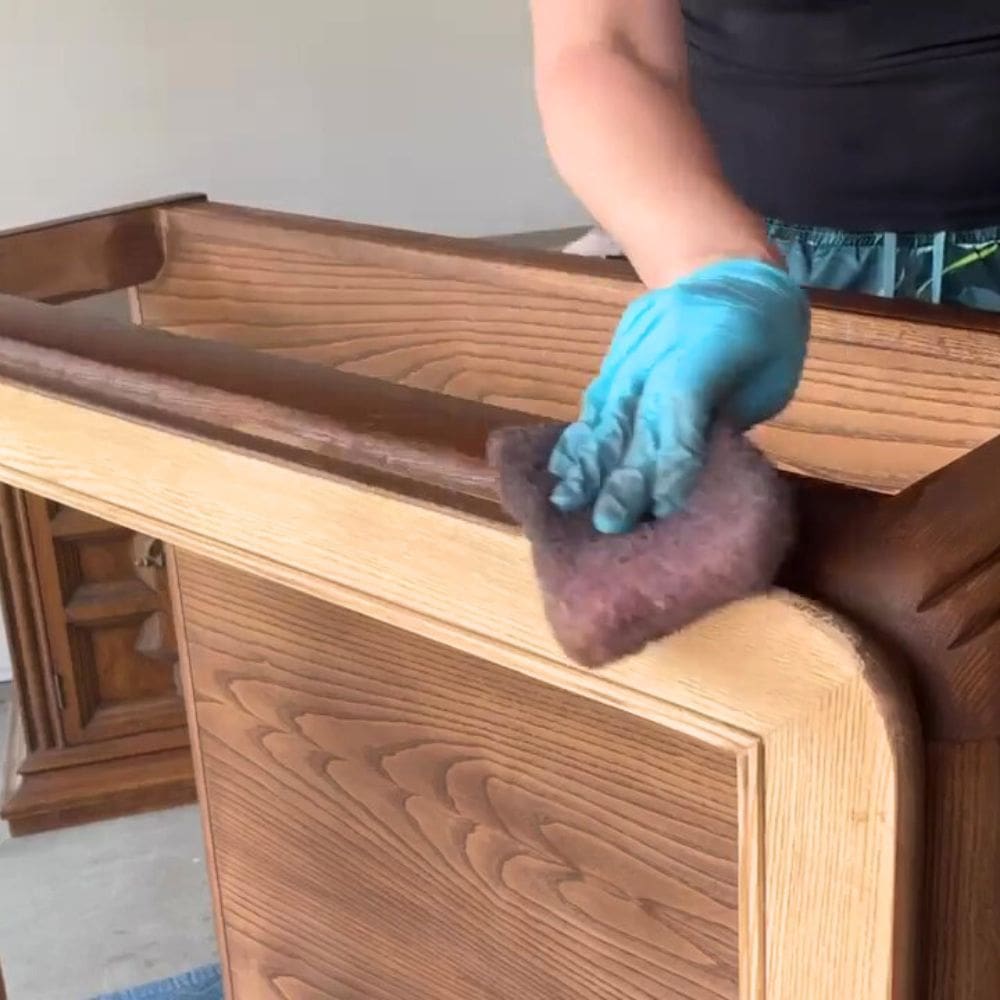
I chose to use Minwax Special Walnut oil based stain. I didn’t want it as dark as the can and was aiming for more of a tobacco color. To create this, I cut it with mineral spirits about half and half. Check out our blog post about how to make furniture look rustic with the same Minwax product here.
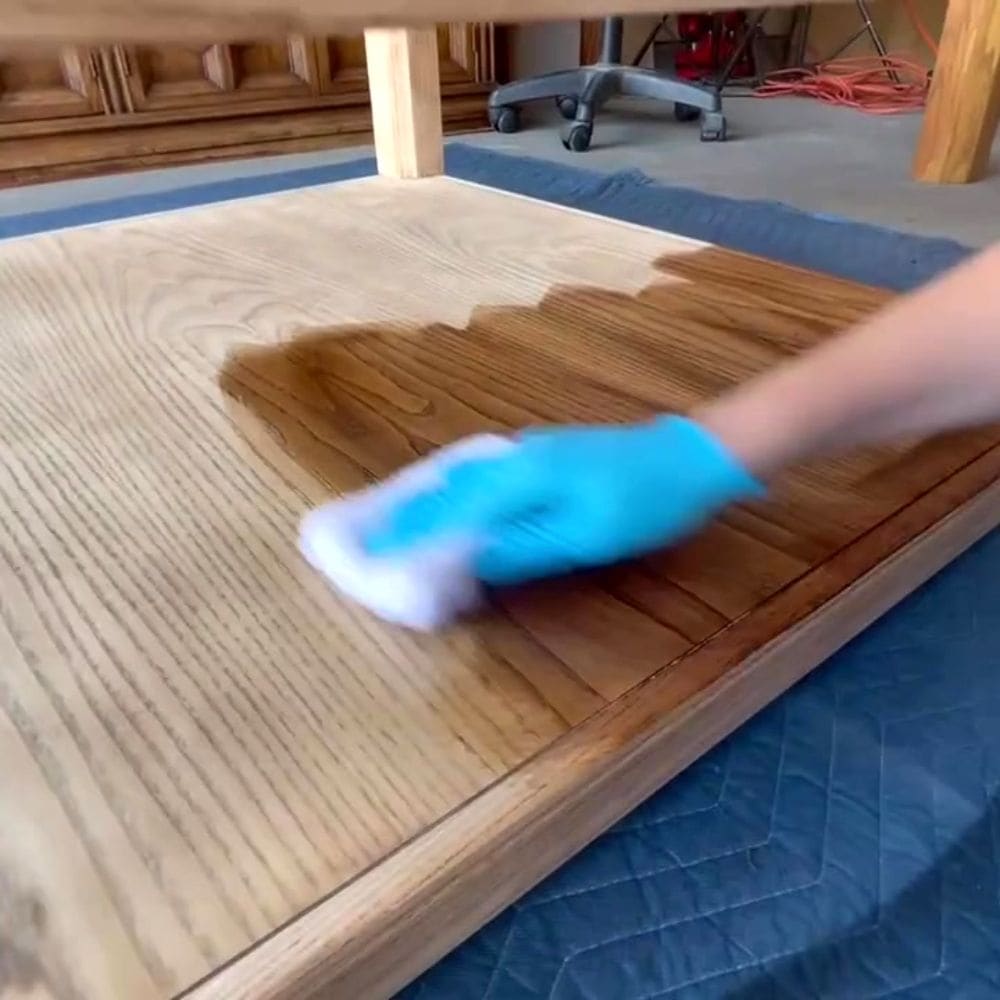
I applied it with my favorite stain pads. I prefer to use these for an oil stain application. Apply thin, even coats and allow each coat to dry completely before applying the next. Multiple thin coats are better than one thick coat, as they result in a smoother finish. This coffee table took two coats for full coverage.
Learn more about the process in our how to stain wood with a rag post. If you’re working with a larger area and wondering, can you spray wood stain with a paint sprayer? – check out this post to find out. For any filled damages on your piece, here is great information for staining wood filler.
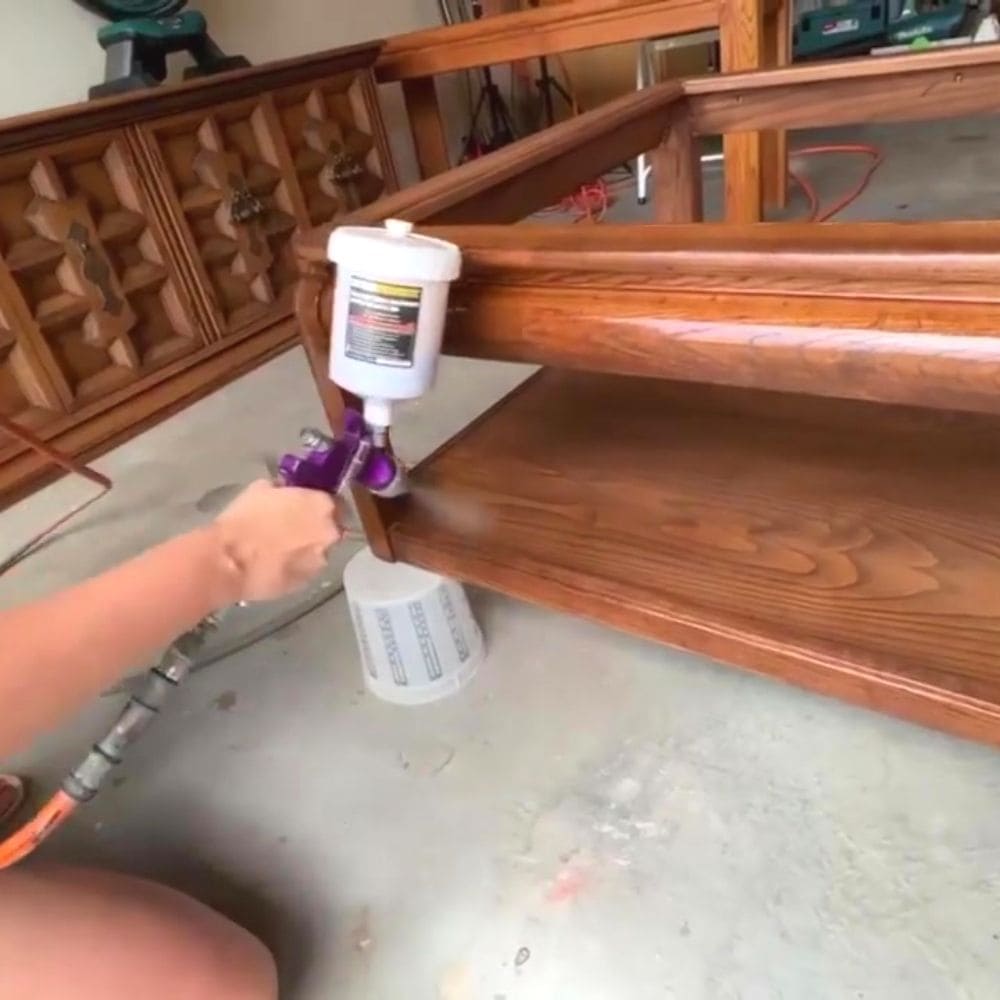
Sealing Stained Wood
Since I used an oil based stain on this project, I chose to seal it with an oil based top coat, Minwax Spar Urethane. This topcoat is extremely resilient, but it will yellow over time.
Another great alternative if you want to spray your oil based topcoat on is spray on Minwax polyurethane. Learn if it is the right choice for you in our Minwax polyurethane spray post.
If you are using a lighter or a waterbased stain, I would recommend using the waterbased Minwax Urethane instead. Learn more about the spray on version in our Minwax polycrylic spray post.
If you aren’t sure what to use, read our polycrylic vs polyurethane or our spray polyurethane vs brush on polyurethane comparison posts.
More Before and After Makeovers
See All >
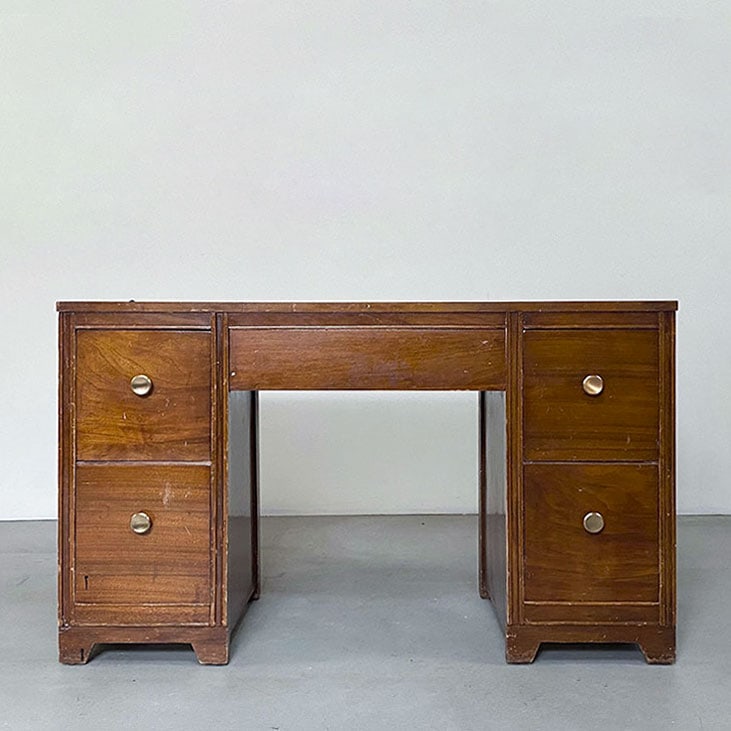
Click any of these “before” photos below to view the “after” of that makeover.


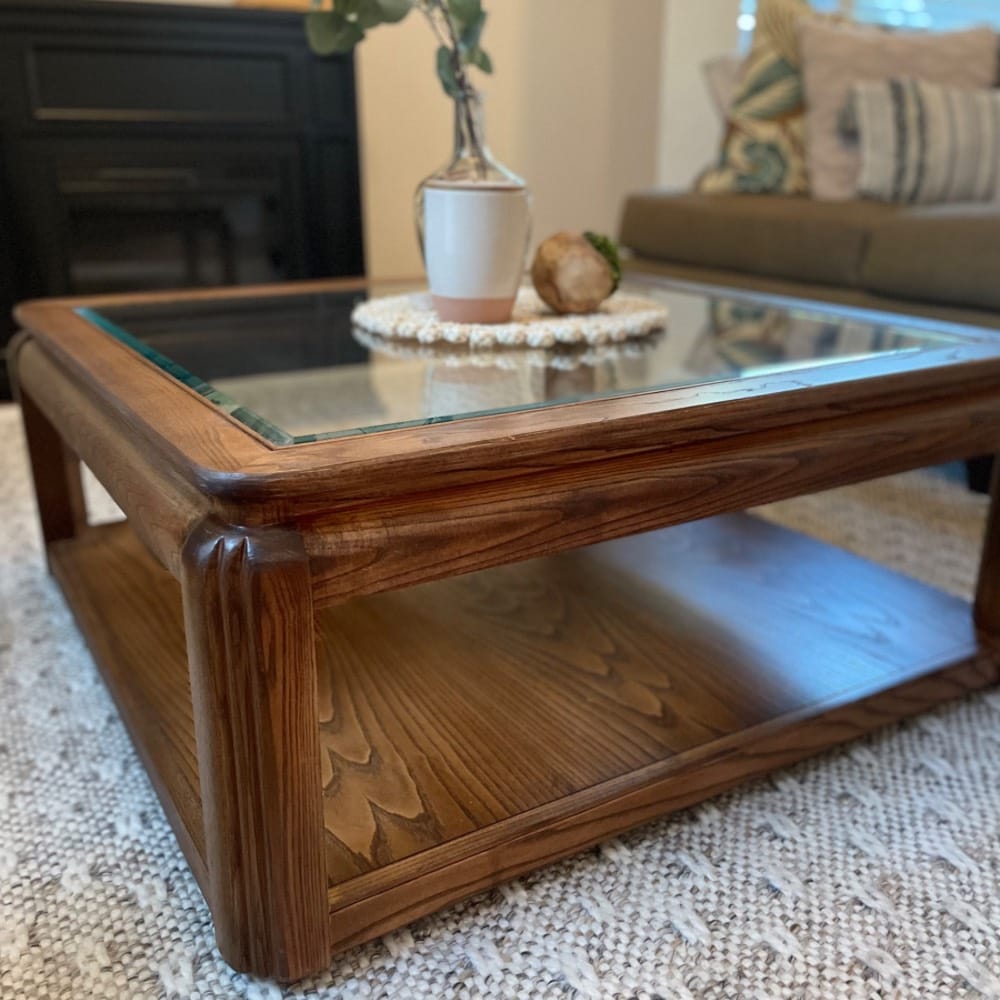
I was thrilled with my choice of top coat because the golden ember color added more depth to the tobacco color of my stain choice. So the next time you spot an orange hued treasure at a thrift store, don’t hesitate to bring it home and give it the makeover it deserves!
If you enjoyed this flip tip, you can find Kara on Youtube under Lemons to Lemonade Furniture. And for more behind the scenes content you can also join Kara on Instagram!
How to Tone Down Orange Wood Without Sanding
Try General Finishes Java Gel Stain if you’re not up for sanding. Unlike regular stain, it sits on top of the wood instead of soaking in, so you can pick a lighter color to soften that orange finish or go for any color you like.
I would clean the surface beforehand as usual, then spray clear shellac to prime it. This is especially important since you’re skipping sanding. Apply the gel stain with a brush or a lint free disposable rag and let it dry for 24 hours before adding more coats if you want deeper results.
Afterward, don’t forget to add a topcoat to protect the finish. You can learn about how to change wood color without sanding in detail in this post! You can also see how I used gel stain over white paint here.


How to Tone Down Orange Wood Furniture
Get rid of the orange finish on your furniture with this step-by-step tutorial on how to tone down orange wood furniture.
Materials
Instructions
- Clean the furniture using a degreaser like Simple Green. If the furniture is excessively dirty, use cleaning brushes attached to a drill. Rinse the degreaser with clean water to ensure paint or stain adherence.
- Start sanding off the orange tone with medium-grit sandpaper to remove the top layer of varnish or finish. Then, switch to fine-grit sandpaper for a smooth surface. Always sand in the direction of the wood grain. Use an orbital sander for efficiency and sanding grips for small spaces.
- After sanding, wipe off the project with mineral spirits to remove all the dust and grit. This prepares the furniture for the next steps.
- Choose a stain that fits your décor style and apply it with staining pads. Apply thin, even coats, letting each dry completely before applying the next.
- Finally, seal the stained wood with a top coat. The choice of top coat depends on the type of stain used. For oil-based stains, use an oil-based top coat like Minwax Spar Urethane. If you're using a lighter stain or a water-based one, opt for water-based Minwax Urethane.
Recommended Products
As an Amazon Associate and member of other affiliate programs, I earn from qualifying purchases.


More Refinishing Furniture Ideas
- Heirloom Traditions All in One Stain
- How to Stain Already Stained Wood
- Restaining Furniture
- How to Refinish Wood Furniture
- The Farmhouse Cabinet Makeover
Learn the Art of Updating Furniture!
If painting furniture feels overwhelming or your past attempts didn’t go as planned, this course will guide you step by step.


Thank you!! Kara from Lemons to Lemonade Furniture did this makeover and I agree, she knocked it out of the park! Thanks so much for the love!