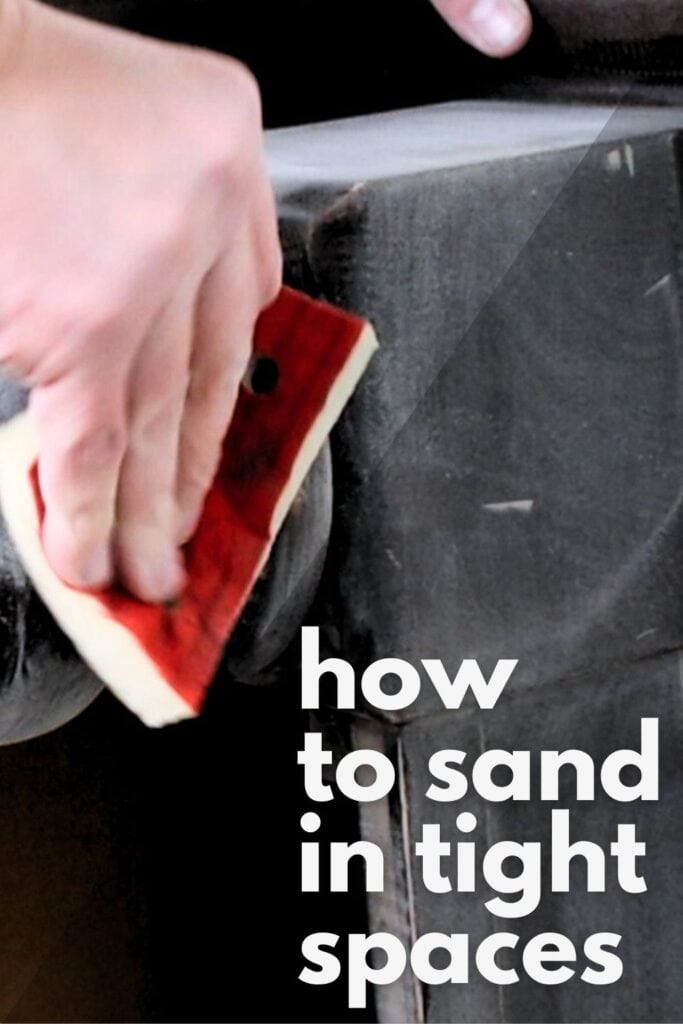
How to Sand in Tight Spaces
If you’ve ever attempted sanding furniture, then you know that it can be quite a tedious and time-consuming task. And when it comes to sanding in tight spaces, things can get even more challenging. But don’t worry, we’ll show you how to sand in tight spaces like a pro!
These sanding furniture tips and techniques will come in handy for all your furniture makeovers or DIY projects that require careful sanding of intricate details and hard-to-reach areas. So let’s dive in and learn how to make this task a breeze!
Sanding before painting furniture helps to remove old paint or varnish, smooth out rough surfaces, and create a smooth surface for painting or staining.
It also helps to remove any imperfections and give your furniture a professional look. You should not skip sanding, even if you’re using paint that claims to require no prep work. Here’s more on why I still sand even if my paint sticks without it.
But when you come across curved or tight areas that cannot be reached, things can get tricky. You might end up with an uneven finish or even damage the intricate details of your furniture.
You don’t want that, do you? That’s where these tips for sanding in tight spaces come in handy!
As an Amazon Associate, I earn from qualifying purchases. I also may earn from other qualifying purchases with other companies or get free product to review and use. All opinions are my own.
Fold Sandpaper
Sometimes all you need is a smaller piece of sandpaper. Fold a 3″x4″ piece of sandpaper in half, and maybe even in half again, to create a more rigid surface.
This method makes it easier to reach tight corners and crevices without losing the sturdiness of the sandpaper.
It’s a simple trick that you should try first when dealing with small or narrow spaces that need to be sanded.
If you have smaller pieces of sandpaper that you have lying around, this is also a great way to put them to use.
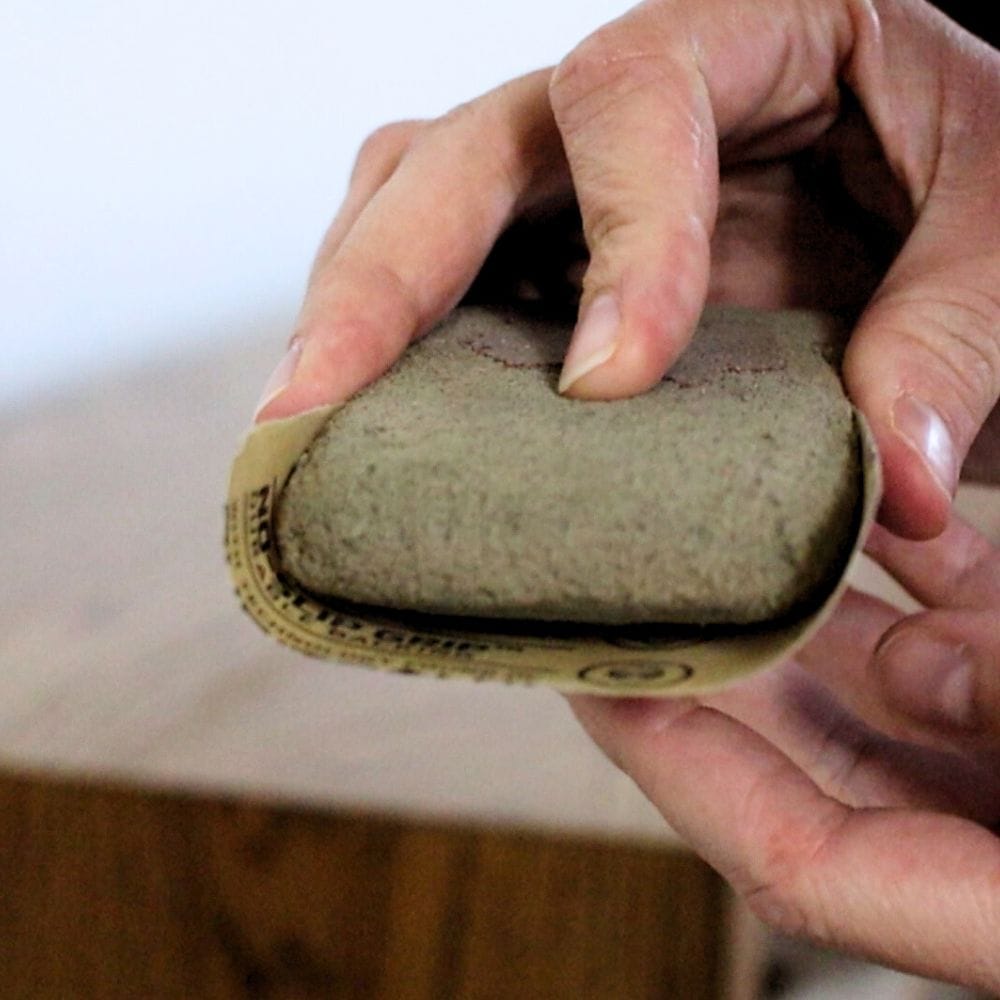
Use Sanding Grips
If folding sandpaper doesn’t do the trick, it’s time to bring out the sanding grips. These handy tools come in various shapes and sizes to fit different types of spaces.
Plus, they provide a better grip and control while sanding, making it easier to maneuver in tight areas.
For more information on how to use sanding grips effectively, check out our blog post on how to sand curved surfaces.


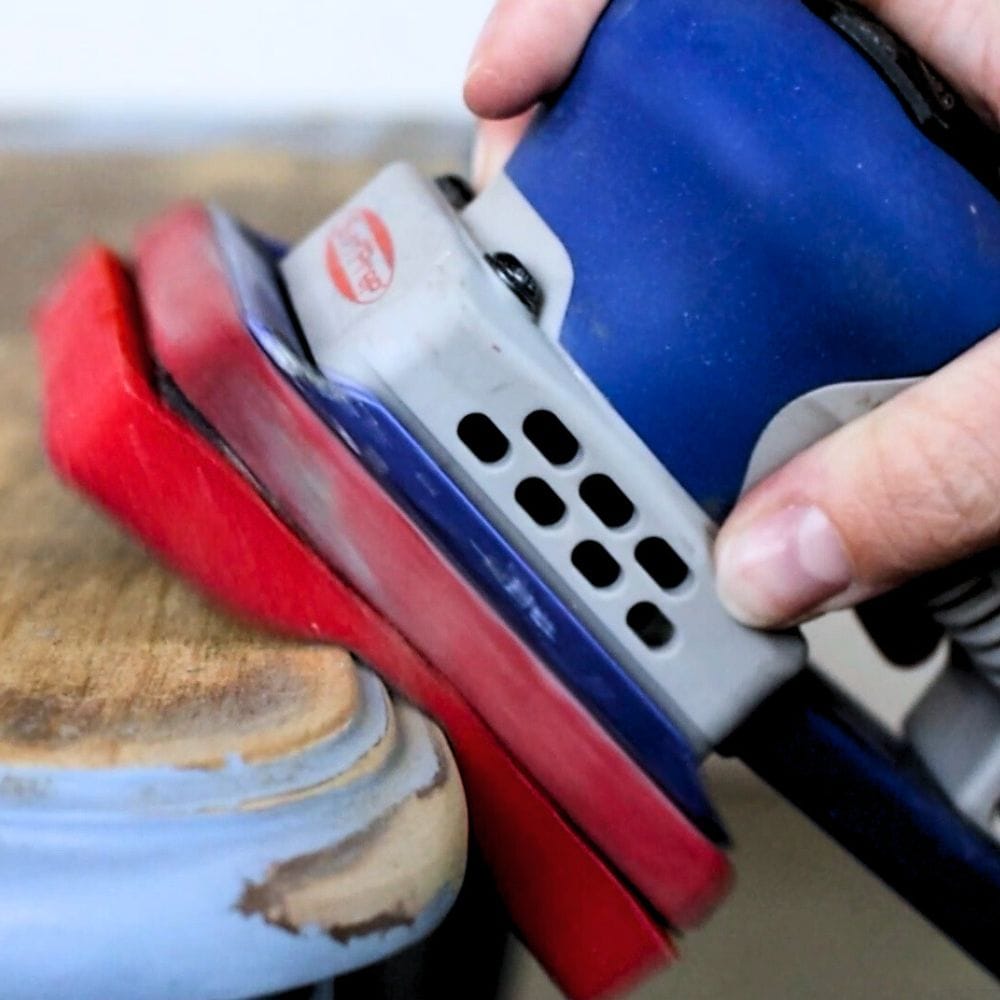
Use Low Profile Power Sander
For larger projects that have tight spaces, using a low profile power sander is a game changer. These sanders, like the SurfPrep sander, are specifically designed to reach hard to reach areas and provide a smoother finish compared to hand sanding.
If your project has a lot of curves, get a foam pad to use with it to prevent damaging the intricate details of your furniture while working. And for a cleaner workspace, here’s how to attach shop vac to sander.
Would you like to save this?
These foam sanding pads for electric sanders are easily available and can make a significant difference in your sanding results.
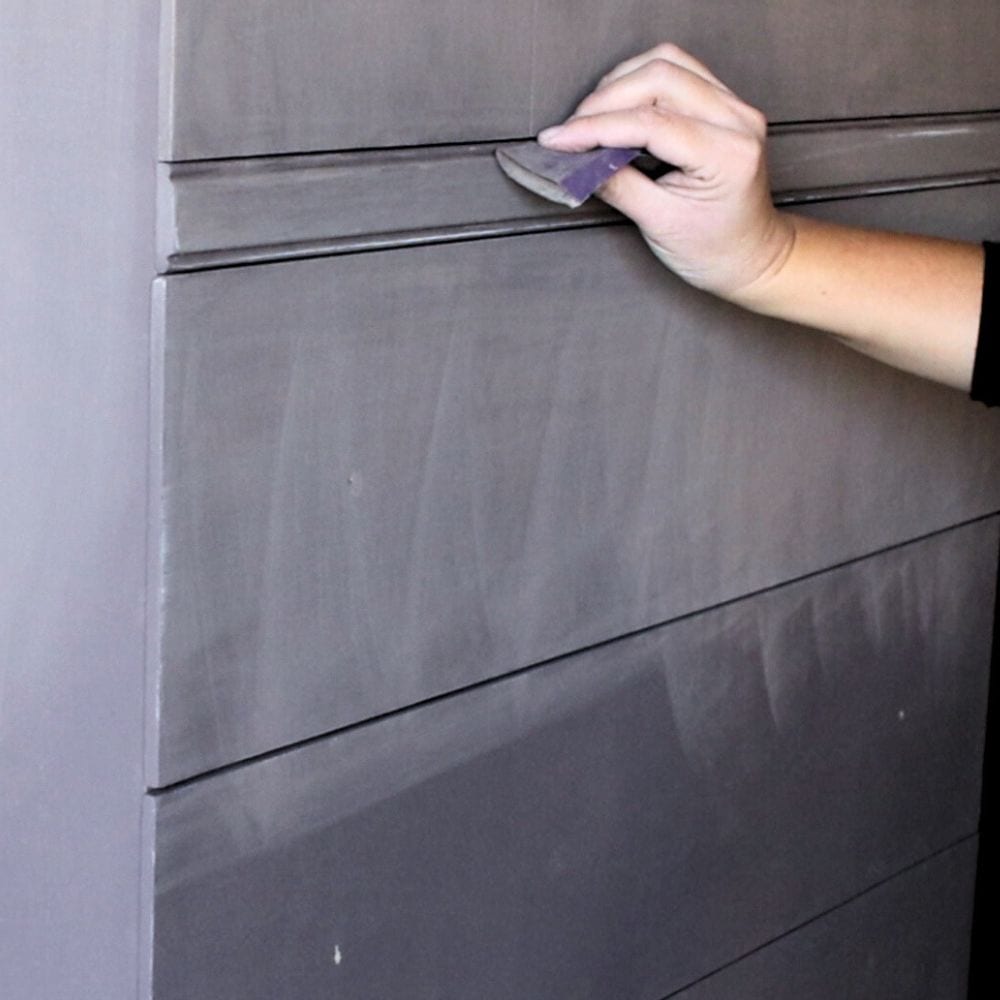
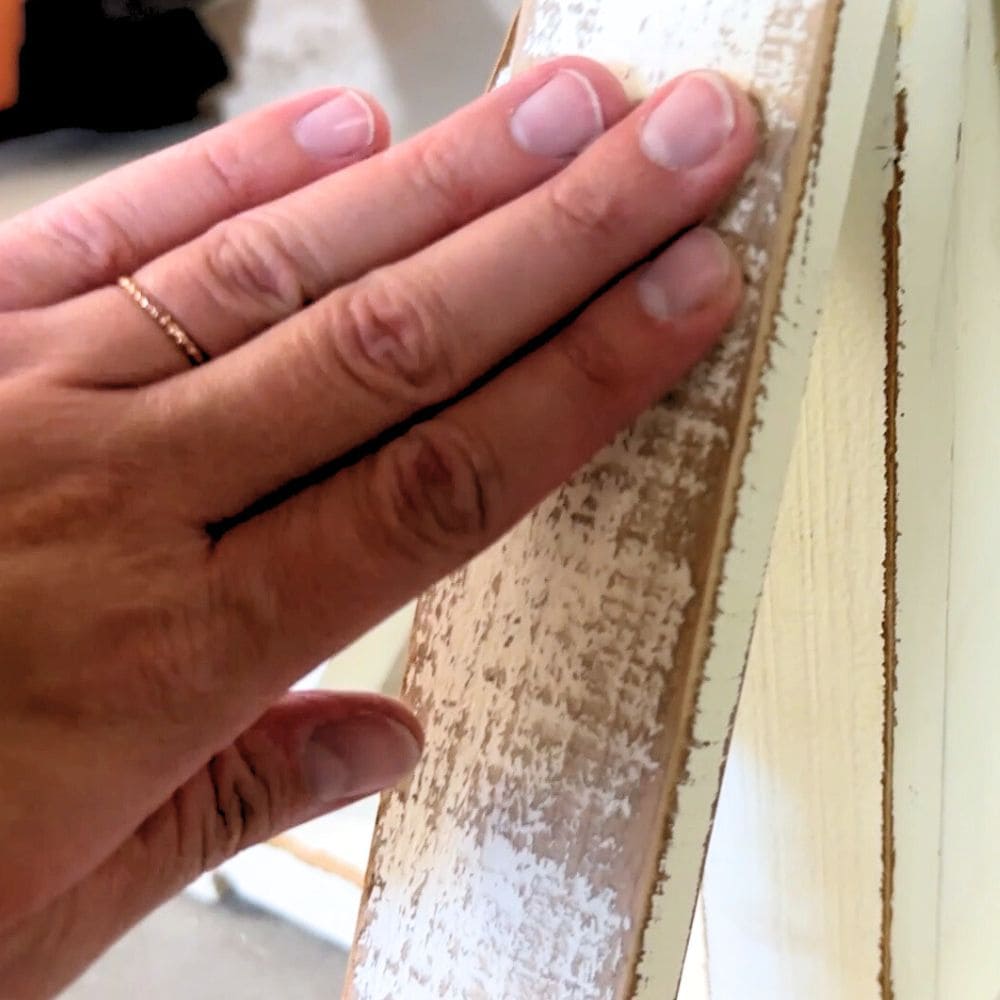
Wrap Sandpaper Around Sanding Block
If your power sander is still too big, wrap a small piece of sandpaper around a sanding block. This method is perfect for larger surface areas that need to be sanded by hand, as it helps prevent hand cramping and provides a more consistent result.
It’s a great option for when you have a lot of sanding to do and need more control in tight spaces. Plus, it’s a budget friendly alternative to investing in a power sander.
Can I skip sanding in tight spaces and still get a smooth finish?
No, it is not recommended to skip sanding in tight spaces as it can result in an uneven or rough finish. If you are painting over an existing finish, the paint will not stick as well either.
It’s important to sand all surfaces evenly for a professional look. So make sure to take the time to sand in those hard-to-reach areas with the above techniques.
But if you want to know more tips on sanding tight corners and details on furniture, here’s a blog post about sanding tight places. Don’t know how to clean wood furniture after sanding, check out this guide on how to clean wood after sanding!
How do I know if I’m sanding too much or too little in tight spaces?
You should go slow and check your progress frequently when sanding in tight spaces. You can always add more sanding if needed, but it’s challenging to reverse over-sanding.
Keep checking the surface with a light touch to feel for smoothness and remove any rough patches.
How often should I replace my sandpaper when using these techniques?
It’s a good idea to check your sandpaper periodically and replace it when it becomes worn or clogged with dust.
In general, the frequency of replacement will depend on the type of sandpaper and the intensity of your sanding. For best results, keep a spare pack of sandpaper handy to switch out when needed.
With these tips and techniques, you’ll be able to tackle any sanding job that comes your way.
Whether it’s a small DIY project or a larger furniture makeover, you now have the know-how to sand in tight spaces like a pro!
So next time you’re working on a project that requires meticulous sanding, remember to fold your sandpaper, use sanding grips and low profile power sanders, or wrap sandpaper around a block for better control and results.
More Sanding Furniture resources
- SurfPrep Sanding Sponges
- Best Orbital Sanders
- Best Hand Sander For Furniture
- Can Veneer Be Sanded
- Best Vacuum Sander
Follow us on YouTube to get more tips for painting furniture. Or share your project with us on our Facebook Group and be part of our community. See you there!