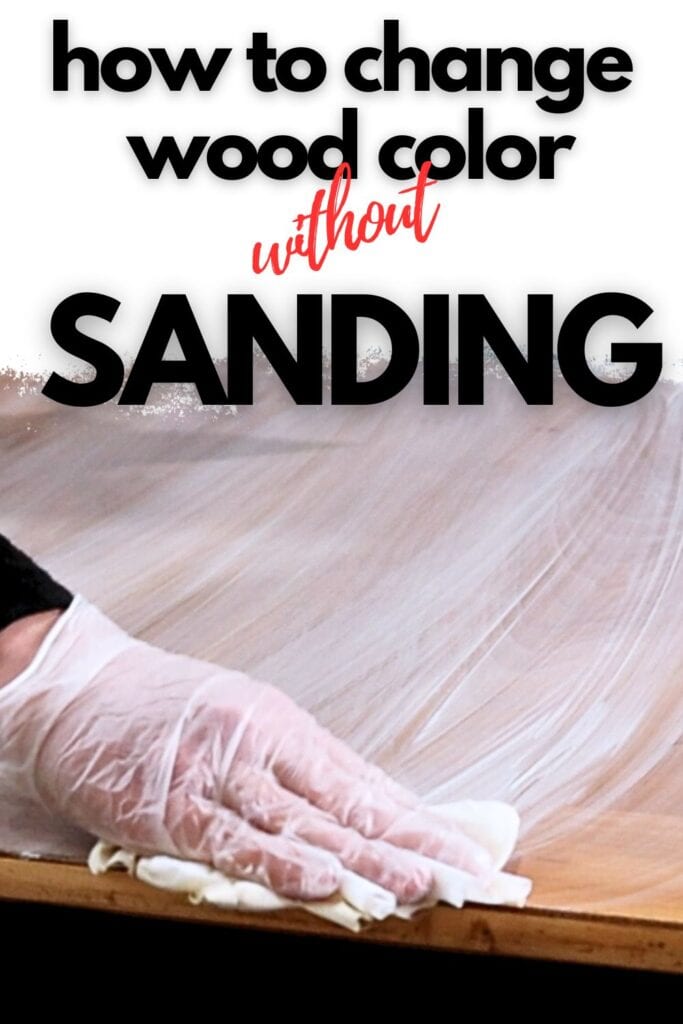
How to Change Wood Color Without Sanding


Are you tired of the color of your wood furniture but dread the thought of sanding it down and starting from scratch? Well, we will show you how to change wood color without sanding! This is one of the refinishing furniture techniques that is not only a time saver, but it also allows for easy home decor changes whenever you want.
Yes, you won’t have to spend hours sanding your furniture to give it a new look! Let’s look at different methods that will help you get a new wood color without the hassle of sanding.
There’s nothing quite like the satisfaction of transforming a piece of furniture into something completely different.

But the thought of sanding down a piece and starting from scratch can be daunting. What if we told you that there is a way to change the color of your wood furniture without having to sand it? Yes, it’s possible!
Sanding furniture can be a tedious and time consuming process, not to mention the mess it creates. But with these alternative methods, you can easily do furniture color changes with minimal effort and in a fraction of the time.
So if you want to lighten up a dark piece or add some character with a new stain, we’ve got you covered.
Supplies Used to Change Wood Color Without Sanding
As an Amazon Associate, I earn from qualifying purchases. I also may earn from other qualifying purchases with other companies or get free product to review and use. All opinions are my own.
- Degreasing Cleaner
- Damp Rag
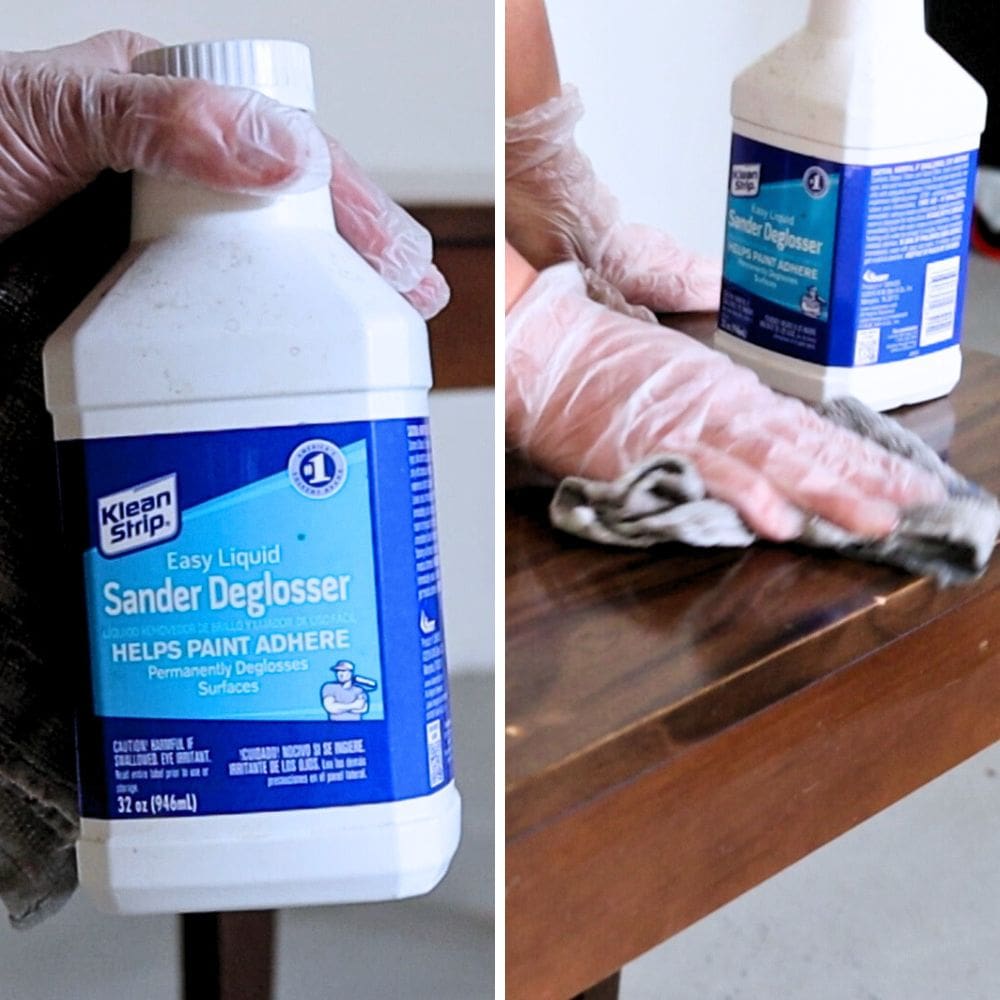
- Deglosser
- Gel Stain
- Lint Free Disposable Rag
- Polyurethane
- White Paint or Paint the Color of the Wood Finish You Want
- Cheap Paint Brush
Restaining Wood Furniture
Restaining wood furniture is a great way to give old pieces a new and refreshed look. Not only does it change the color of the wood, but it also enhances its natural beauty.
One of the best things about restaining is that it doesn’t require sanding down the entire piece.
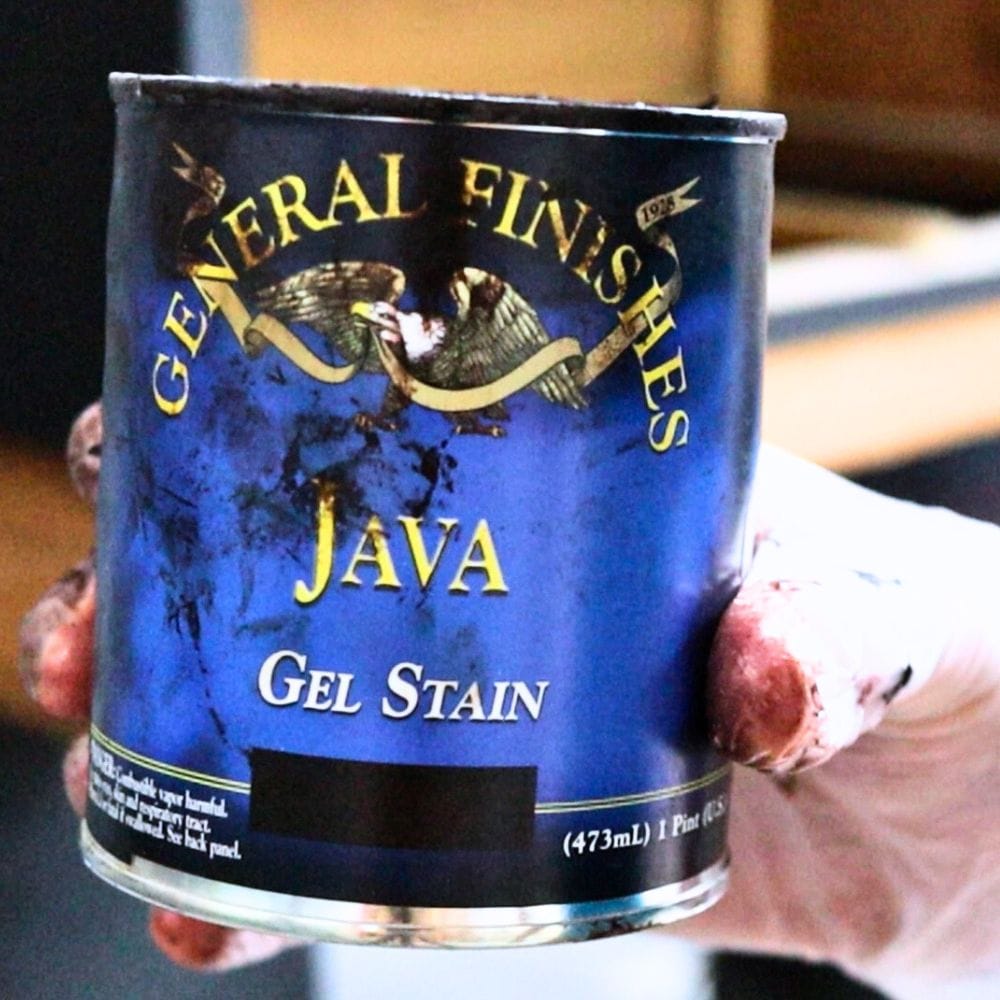
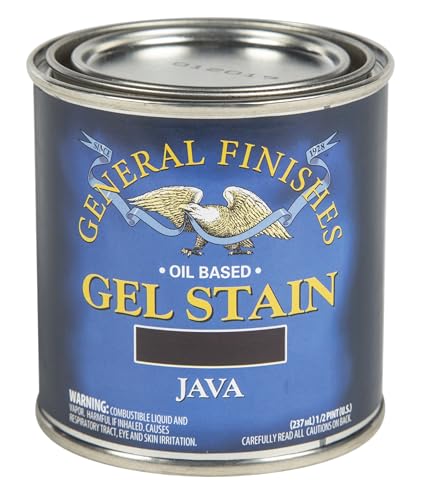
Using General Finishes gel stain for restaining is a popular choice among DIYers and furniture refinishers. This product is easy to use, dries quickly, and provides excellent coverage on both finished and unfinished wood surfaces.
Check our blog posts on staining a dresser darker and how to restain a dresser without stripping where we used General Finishes gel stain!
How to Restain Wood with Gel Stain
Once you’ve gathered all the necessary supplies, restaining wood with gel stain is a fairly straightforward process.
Begin by cleaning the wood surface with a degreasing cleaner and a damp rag. This is important to remove any oils, grease, or grime that may affect the stain’s application. Our post on how to clean furniture before painting can give you more tips on this step.
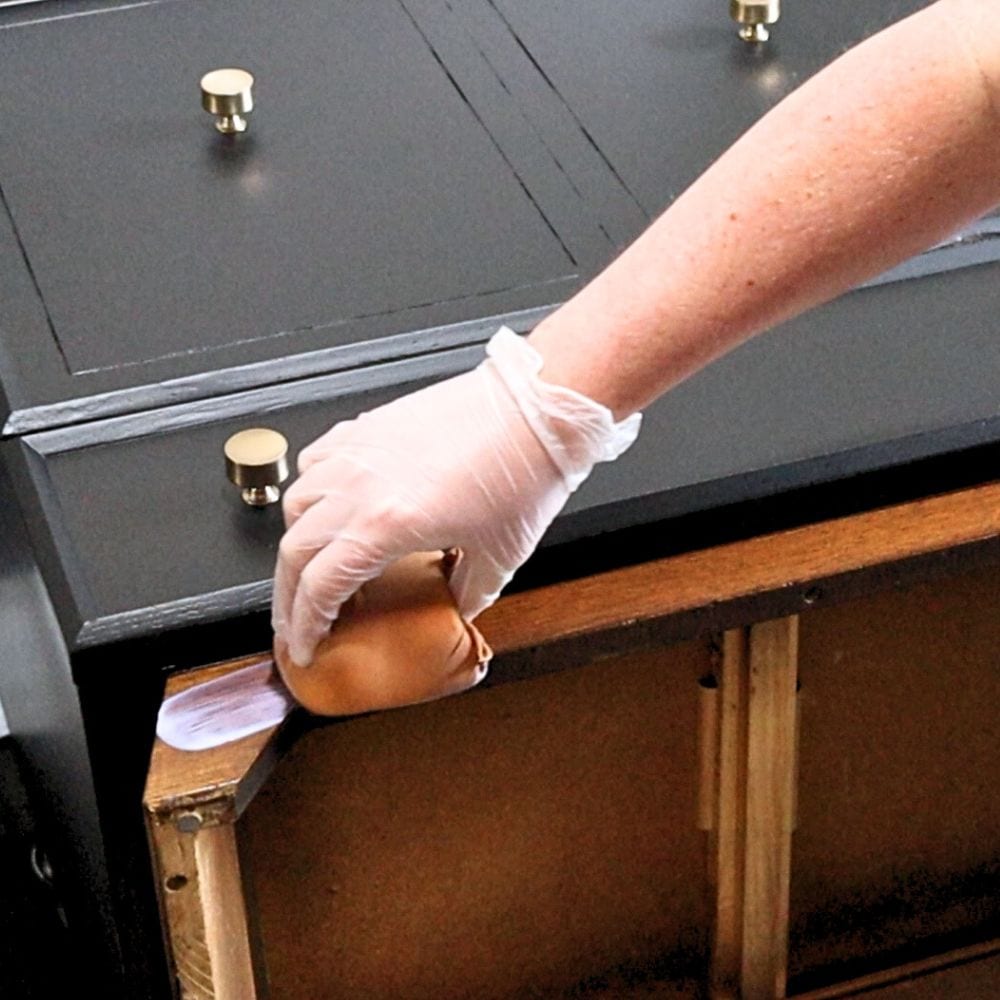
Next, if you don’t want to sand down the furniture, use a deglosser (also known as liquid sandpaper) instead. This will prepare the surface for staining without the need for sanding.
Please note, sanding with actual sandpaper (220 grit sandpaper) will, in the end, create a longer lasting finish because your stain will stick better.
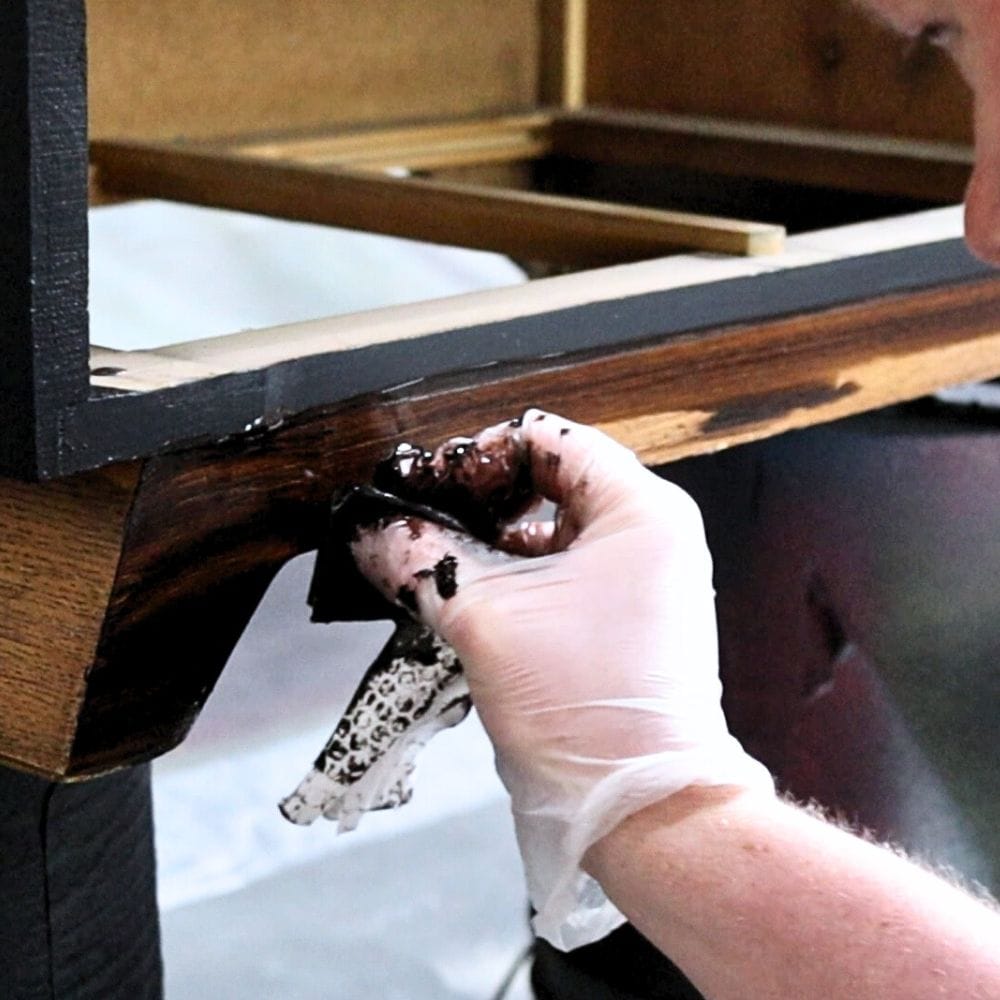
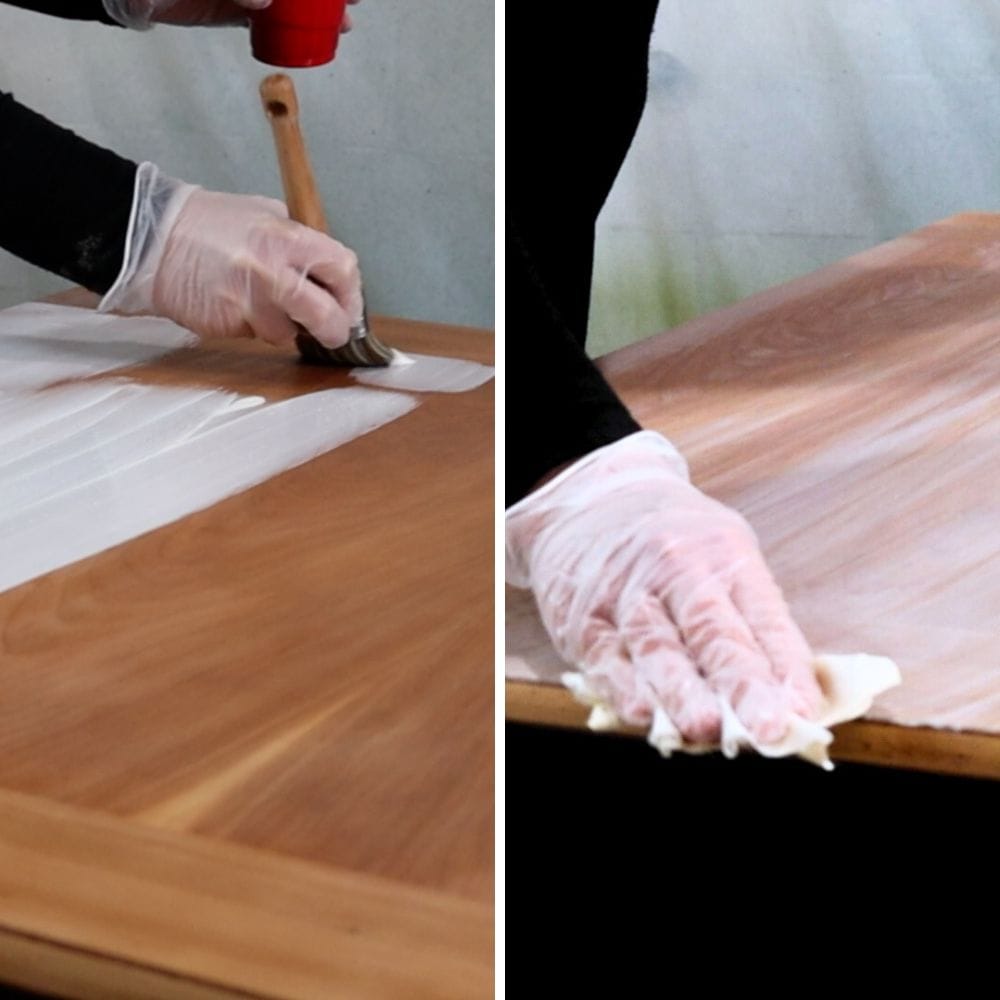
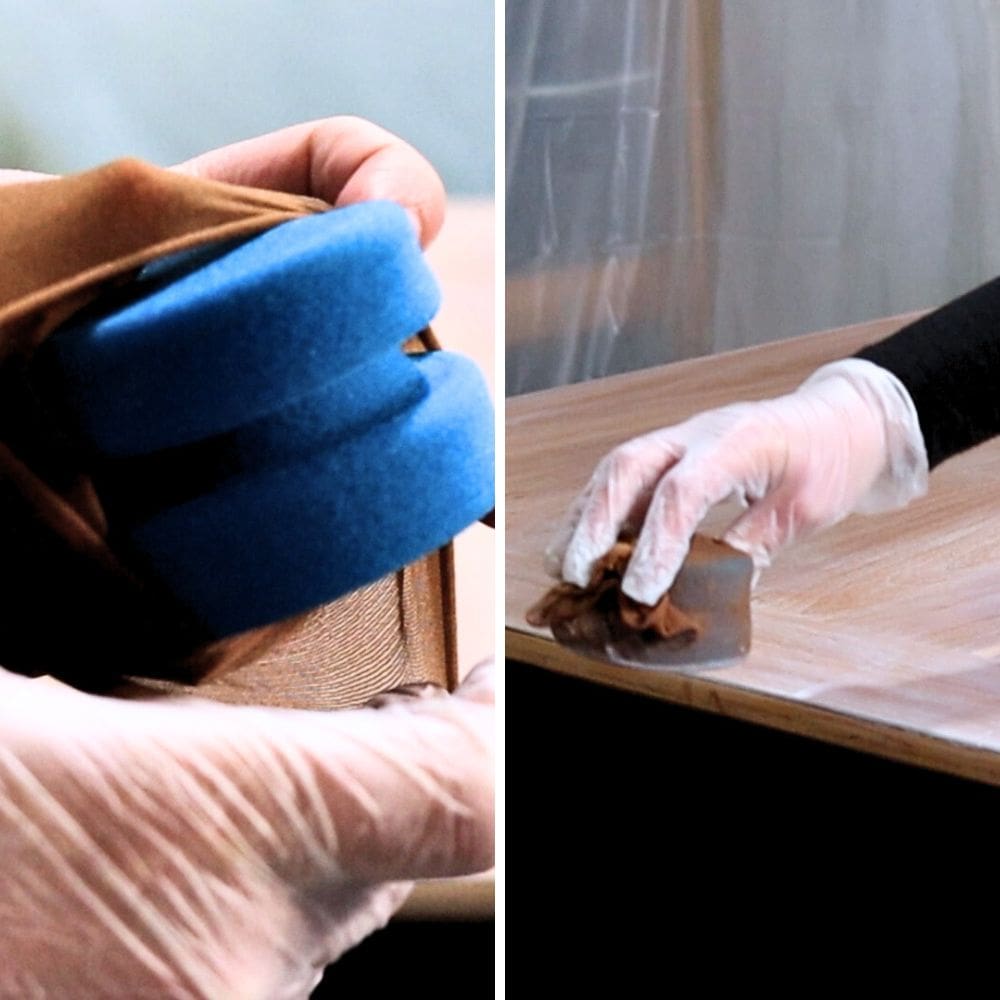
Using a brush or a lint free disposable rag, apply a light coat of gel stain to the wood surface. Wipe away the excess within 30 seconds to a minute, until you have an even and thin coat. Allow the stain to dry for 24 hours before applying additional coats if needed.
Our guide on how to stain wood with a rag will be handy for you if you prefer to use a rag for the staining process.
After the final coat of gel stain has dried, you can protect it with one of these topcoats for painting furniture. This can be a waterbased or oil based polyurethane, applied with a brush, wipe, or spray. Let the stain dry for 48 hours if using a waterbased topcoat.
While restaining wood furniture is a great way to change the color of your piece, it’s important to note that this technique cannot lighten the wood stain.
This means that if you want a lighter finish, you will need to use a different method, such as removing the old finish or whitewashing. So make sure you have a clear idea of the end result you want before starting the process.
Would you like to save this?
Additionally, it’s important to consider the original color of your wood and how it will affect the final result.
For example, if you have a dark stained piece of furniture and want to change it to a lighter color, restaining will not give you the desired result.
In this case, removing the old finish and starting with a lighter stain or paint would be the best option. Always do a test patch on a small, inconspicuous area first before committing to restaining the entire piece.


Check out my guides on how to restain furniture for beginners and how to restain wood for more detailed instructions and tips.
Whitewashing Wood Furniture
If you want to lighten the wood color without sanding, whitewashing may be a great option for you!
Whitewashing wood furniture is a popular technique for adding a rustic, weathered look to your decor.
It involves applying a diluted white paint or honestly any color of paint to the surface of the wood, allowing some of the natural grain and texture to show through.
This method can be used on both new and old pieces of furniture, and is a great way to refresh tired looking pieces.
How to Whitewash Wood
To whitewash wood, the best method starts with a raw wood surface or sanded surface. But, you can put whitewash over a finished wood surface.
Before beginning the whitewashing process, mix your white paint, tan paint, or the latex, mineral or chalk paint that is the color that you want to make the wood with water to dilute it. This will help create a thinner consistency that is easier to work with.
You can also purchase premixed whitewash wood stain for added convenience.
Using a cheap paint brush, apply the whitewash in the direction of the wood grain. Let it sit for about 30 seconds, then wipe off any excess with a paper towel or an old white t shirt.
For larger surfaces, work in small sections to prevent the whitewash from drying too quickly.
Once the whitewash is dry, protect your work with a few more coats of waterbased polyurethane for added durability and longevity. Here’s how to spray polyurethane for a smooth and even finish.
For more on how to whitewash wood, our post covers the steps in more detail and provides helpful tips and tricks for that beautiful whitewashed finish.
We did a color wash on this painting a dresser makeover on top of slick laminate surface. See how it turned out to make the top look like a lighter wood color.
If you want to avoid sanding down your wood furniture but still want to change its color, restaining and whitewashing are great options. Just make sure you have a clear idea of the end result you want before starting.
If you want darker wood, restaining would be the best choice, while whitewashing is the way to go for a lighter and more weathered look.

Changing Wood Color Without Sanding
Sanding can feel like the hardest part of updating wood, but changing wood color without sanding is actually possible!
Materials
- Degreasing Cleaner
- Damp Rag
- Deglosser
- Gel Stain
- Lint-Free Disposable Rag
- Polyurethane
- White Paint or Wood Colored Paint
Tools
Instructions
- Begin by cleaning the wood surface with a degreasing cleaner and removing any oils, grease, or grime that may affect the stain's application.
- If you don't want to sand down the furniture, use a deglosser instead, which will prepare the surface for staining without the need for sanding.
- Apply a light coat of gel stain using a brush or disposable rag, wiping away the excess within 30 seconds to a minute for an even and thin coat.
- Allow the stain to dry for 24 hours before applying additional coats if needed.
- Protect your final coat of gel stain with a topcoat appropriate for furniture, such as a water-based or oil-based polyurethane. Let the stain dry for 48 hours if using a water-based topcoat.
Recommended Products
As an Amazon Associate and member of other affiliate programs, I earn from qualifying purchases.


More Refinishing Furniture Tips
- How to Stain Already Stained Wood
- How to Tone Down Orange Wood Furniture
- How To Get A Natural Wood Finish On Furniture
- Can You Sand Veneer and Stain It
- How to Lighten Cane Furniture

Follow us on YouTube to get more tips for painting furniture. Or share your project with us on our Facebook Group and be part of our community. See you there!
I’m a cabinet refinisher myself and sometimes a client will request no sanding. We take the same steps. Great job.