How to Stain Already Stained Wood
Today, we’re diving into how to stain already stained wood, a simple technique to breathe new life into your wooden items and give them an updated look. Staining over existing finishes can save you time and effort when refinishing furniture, and it’s perfect for transforming thrifted finds like picture frames or furniture pieces.
In this post, and with these refinishing furniture techniques, we’ll guide you through the process of using General Finishes Gel Stain to stain your stained wood darker. Let’s dive in and explore the world of staining over stained wood!
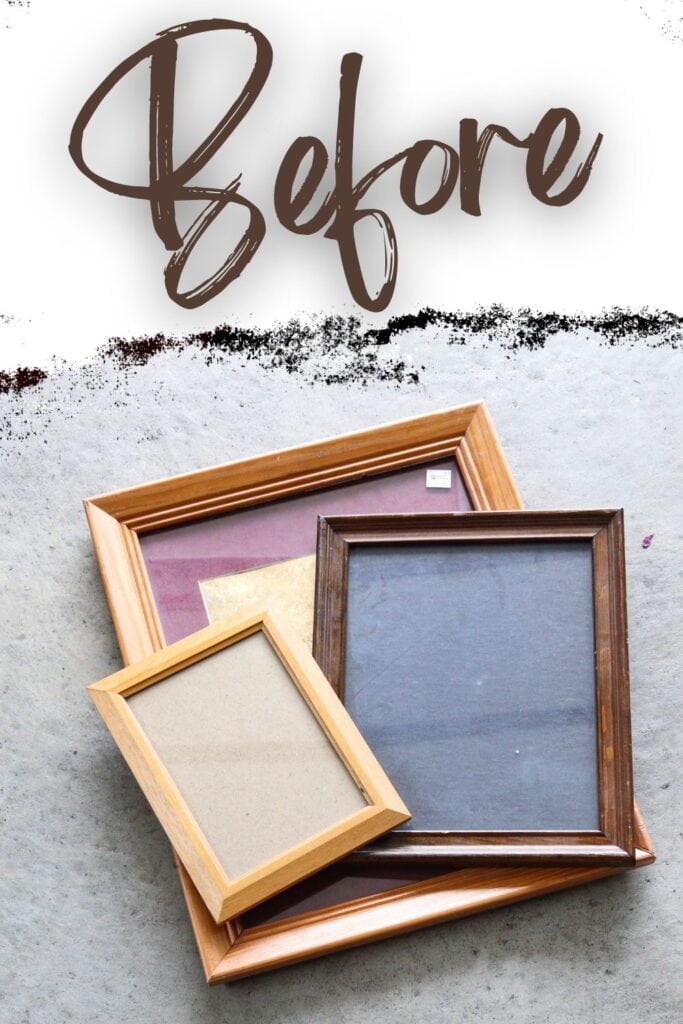
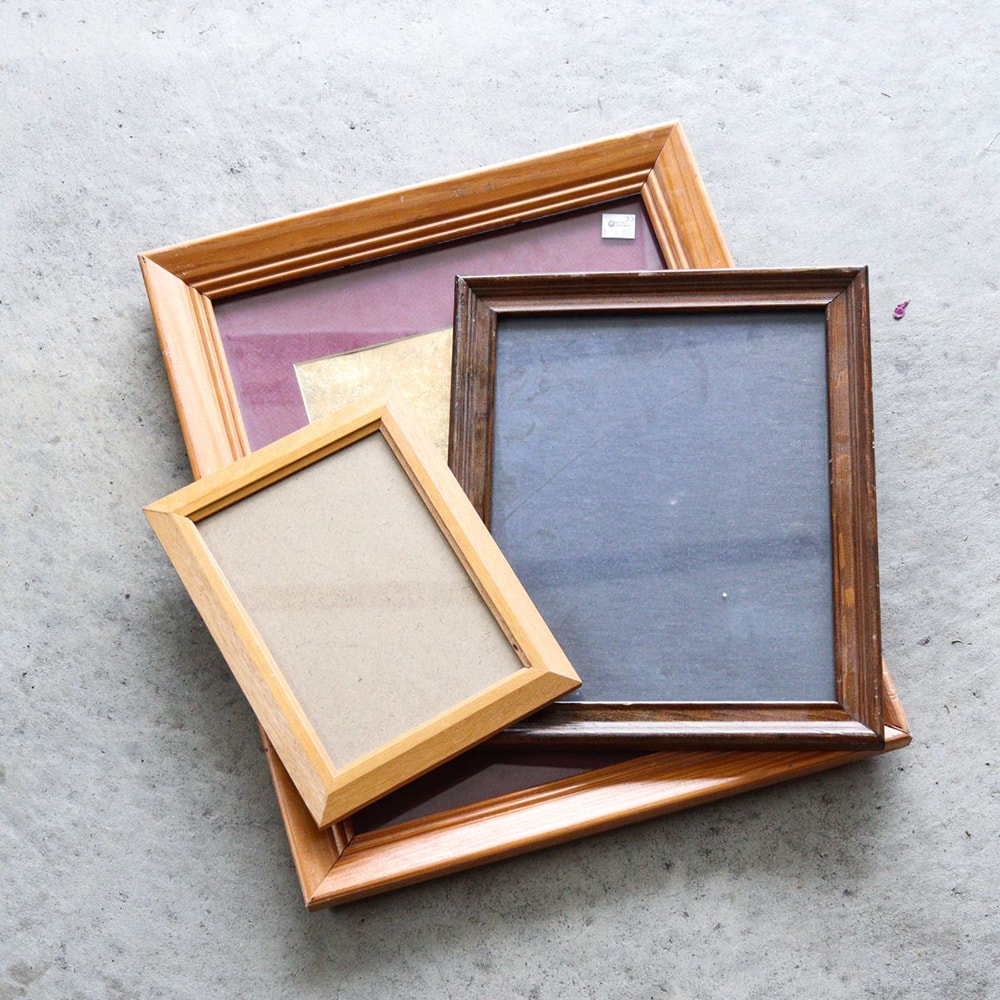
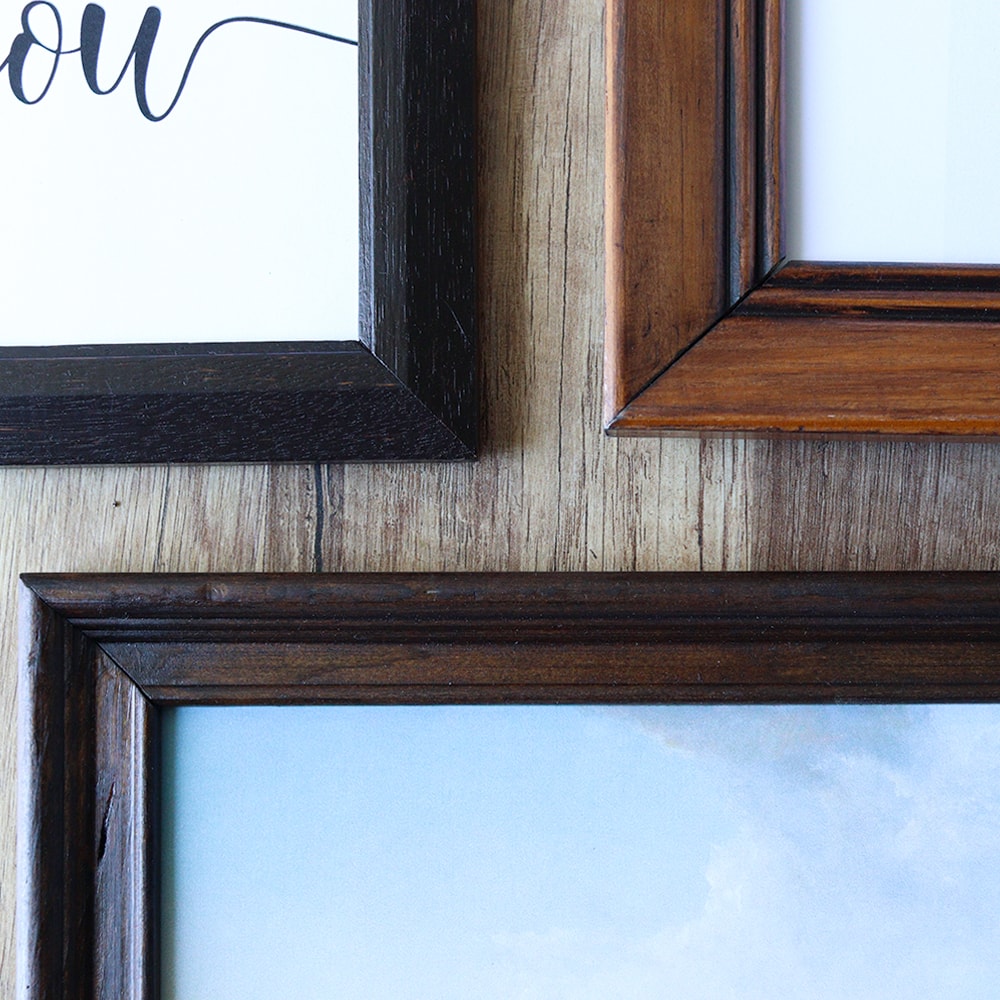
To show how this technique works, we picked up 3 wooden picture frames from a thrift store. The smallest frame was light yellow with a topcoat, the medium frame was a dark wood but it looked old and worn out even though it had a topcoat. And the large frame had a medium stain that had a thin layer of topcoat on it.

Please note that this technique will not make a dark stained finish lighter. To go from a dark finish to a light finish, you’ll need to remove the old finish first. For more information on that, check out our how to remove wood stain post.
This technique is great for freshening up an old stain that has been lightly scratched, dinged, or worn out. You can choose a stain color that closely matches your existing stain color, or you can use a darker stain color to make your existing finish darker.
Now that we know exactly what this process can and cannot do, let’s talk about what supplies you’ll need.
Supplies for Staining Already Stained Wood
As an Amazon Associate, I earn from qualifying purchases. I also may earn from other qualifying purchases with other companies or get free product to review and use. All opinions are my own.
- Krud Kutter Cleaner
- 220-320 Grit Sandpaper
- Shop Vacuum to remove dust from large projects
- Tack Cloth
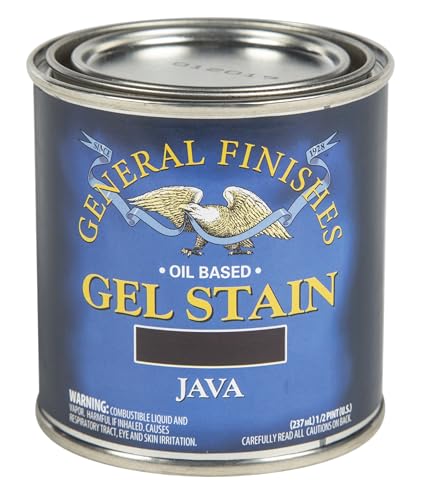
- General Finishes Gel Stain (I used Java color)
- Disposable Gloves
- Chip Brush
- Lint Free Rags
- Polyurethane for high traffic projects
Identifying the Current Finish
Before you start staining your wooden item, figure out what the current finish is on the wood. This will help you understand how the new gel stain will interact with the existing finish and what results you can expect.
Here’s how you can determine if the existing stained wood has a clear shiny topcoat or not:
Visual Inspection: First, take a close look at the surface of the wood. If it has a clear shiny topcoat, it will likely have a glossy appearance, reflecting light when viewed from different angles. On the other hand, if there is no clear topcoat, the wood will have a more matte or natural texture.
Touch Test: Gently run your fingers over the surface of the wood. A clear topcoat will typically feel smooth, while a wood surface without a topcoat will have a slightly rougher texture.
Water Droplet Test: Place a drop of water on the wood surface. If the water beads up and does not soak into the wood, it may have a clear topcoat. If the water soaks in quickly, it’s likely that there is no topcoat present.
Understanding whether your wood has a clear topcoat or not will help you know what to expect the stain to do. Gel stain will behave differently depending on if there is a clear topcoat or not:
With a Clear Topcoat: The gel stain won’t soak into the wood as easily, resulting in a new stain color that’s only slightly darker than the original. The topcoat acts as a barrier, preventing the stain from deeply penetrating the wood fibers.
Without a Clear Topcoat: The gel stain will easily soak into the wood, staining it significantly darker. The absence of a topcoat allows the stain to penetrate deeper into the wood fibers, creating a richer, more intense color.
If you would like a dark stained finish but you have a topcoat on your light stained surface, you might want to choose a darker gel stain color (darker than you want the final color to be) and then do some of the tricks mentioned later in this post to help the gel stain look darker.
If you would like the stain color to stay the same, but you want it to look new, then you can use the same color of stain to freshen up the stained look.
If there is no topcoat on your surface, but you don’t want the stain to be dark, then choose a lighter stain color that matches what you want.
Preparing the Wood Surface
Before applying the gel stain, it’s important to properly prepare the wood surface to get the best possible results. For our example, we did all of these things to prep our picture frames.
Follow these steps to clean and prep the wood for new stain:
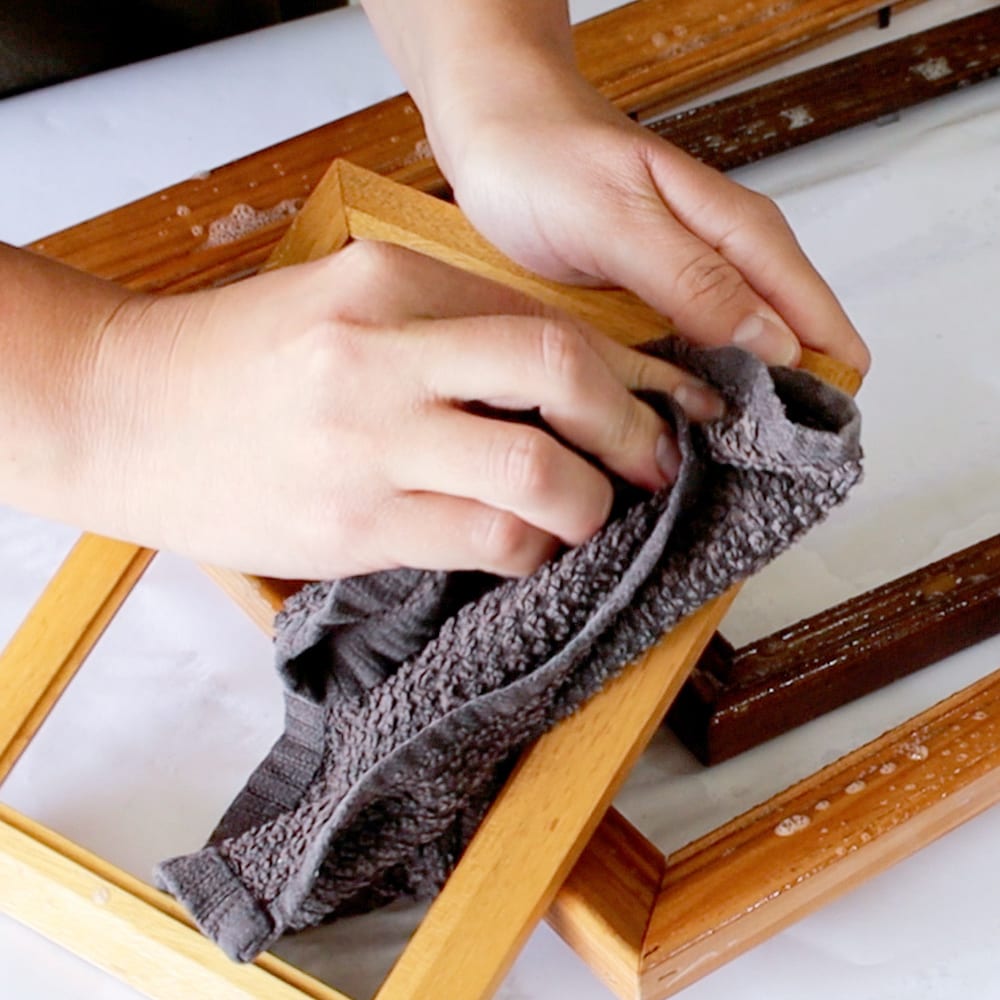
Start by cleaning the wood surface thoroughly using a degreasing cleaner, such as Krud Kutter. This will help remove any dirt, grease, or residue that may have accumulated over time that may resist or mess up the new stain.
Check out our blog post about how to clean furniture before painting to know how to properly clean furniture before painting.
Spray the cleaner on, and then wipe off the surface with a damp rag. If your surface is really dirty, you may need to clean multiple times. Pay close attention to any crevices or detailed areas where grime might have built up. Then let the surface dry completely.
Lightly Sand the Surface (For Topcoated Surfaces)
If your wood item has a clear shiny topcoat, you’ll need to lightly sand the surface using a fine grit sandpaper like 220-grit sandpaper (you can also use 320-400 grit sandpaper for lighter sanding that will result in less scratch marks and a lighter stain color).
Here is our list of the best sandpaper for furniture if you aren’t sure what kind to get.
Sanding will create tiny scratches in the wood, allowing the gel stain to penetrate better and adhere more effectively. Sand the surface evenly, following the grain or lines of the wood. Be careful not to sand too aggressively.
Learn more about the importance of sanding before painting furniture to have a professional and durable finish.
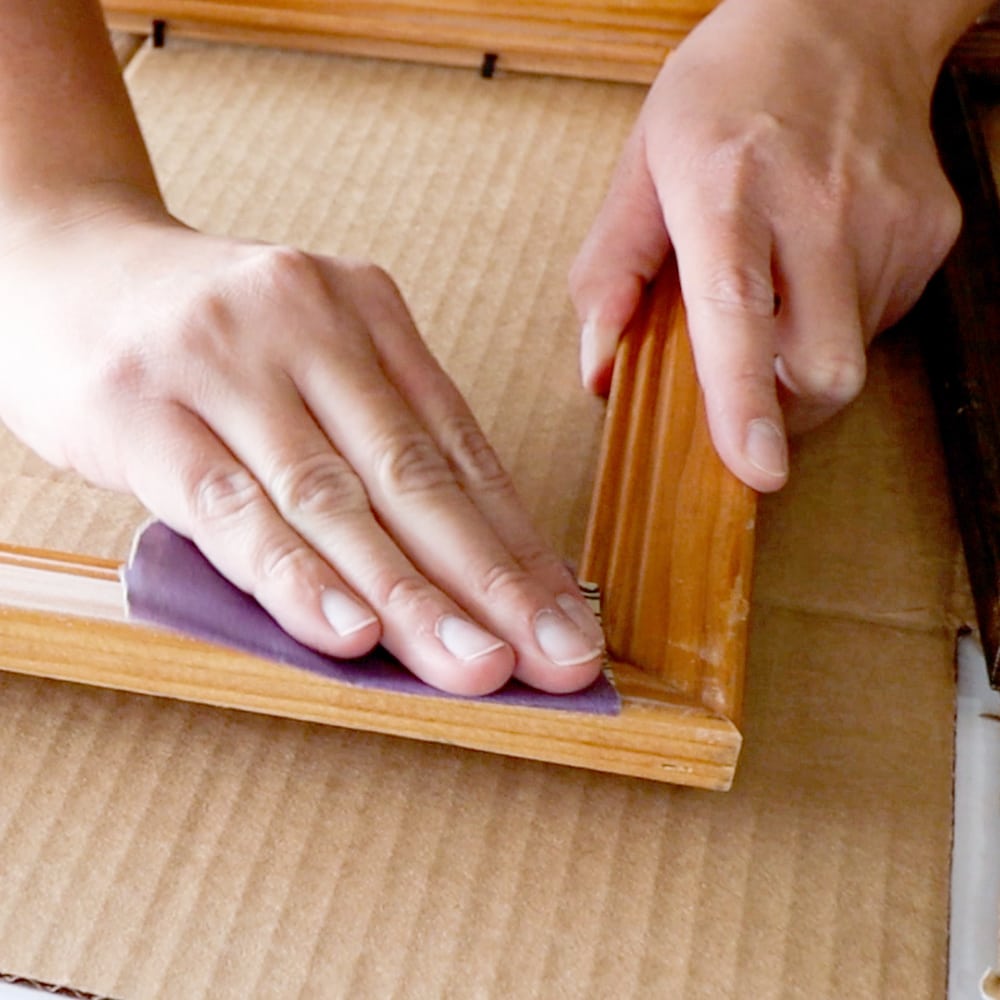
Just lightly sand evenly over the entire surface. There is no need to remove the existing finish.
For wood surfaces without a topcoat, you can skip this step, as the gel stain will readily soak into the wood without the need for sanding. But, if your wood is rough, you can lightly sand it to smooth out the surface.
Here’s more on how to stain furniture without sanding, and learn more different methods on how to change wood color without sanding here.
Applying the Gel Stain
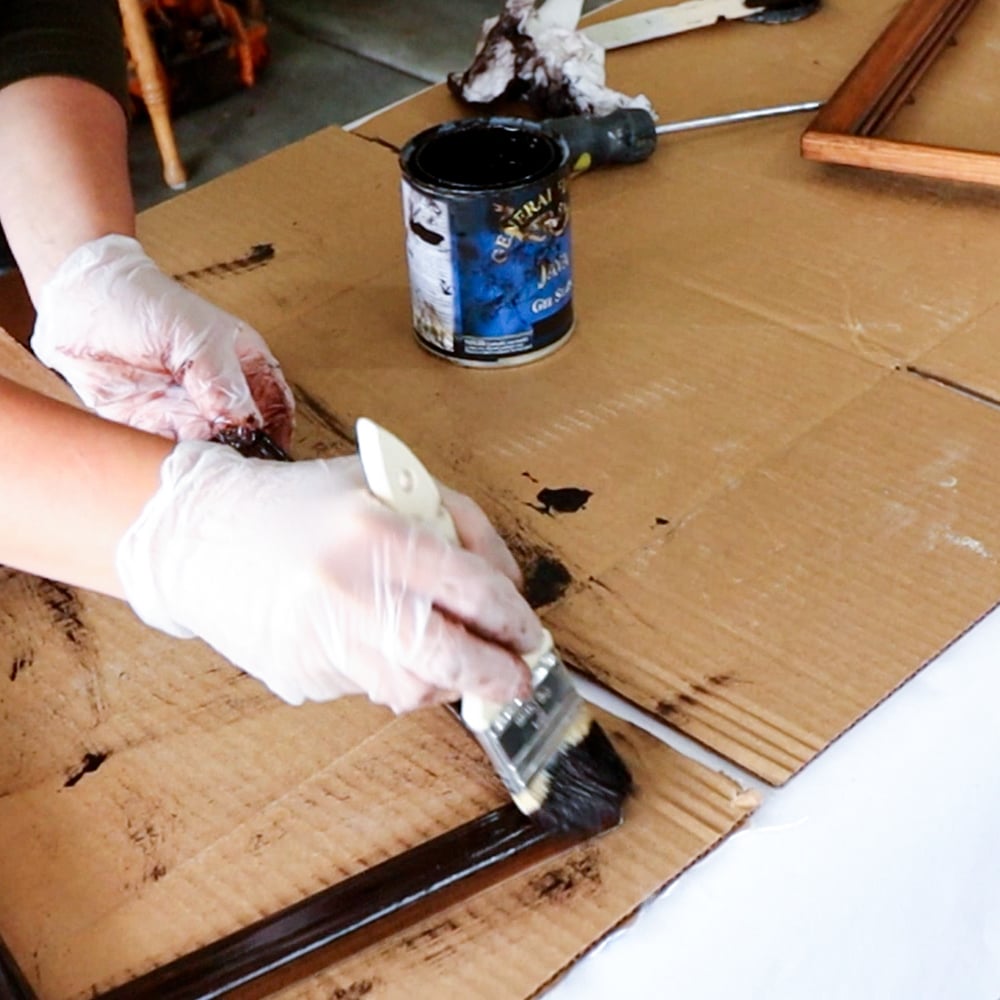
Before applying the gel stain, stir it well to evenly distribute the pigments and mix everything together to make the gel stain work properly.
Using a cheap chip brush or a lint-free cloth, brush a thin coat of the General Finishes gel stain to the wood surface, following the lines in the wood. Work in manageable sections so the stain doesn’t start to dry out on you before you can finish that section.
Would you like to save this?
Here’s our list of the best wood stains to learn about how to choose the right one for your project. Also, check out my post about Heriloom Traditons All in One Stain that has a built-in topcoat!
If you want a darker finish, brush the stain on without wiping away the excess. This will allow more of the stain to remain on the surface, resulting in a deeper color. Here’s our list of the best brushes for staining wood to help you pick the right one for your project.
Note: Leaving the gel stain in a thick layer on your project will result in long dry times and possibly end up not being durable or drying completely.
If you want a very dark finish that doesn’t show the wood grain, using General Finishes Milk Paint in the color Dark Chocolate will give you better results and be easier to use.
Check out our post on painting with General Finishes Milk Paint for more information on how to use it. Or read through our General Finishes Milk Paint review to learn more about this paint.
I brushed the gel stain onto this small wood frame and did not remove the excess gel stain to create a dark stained color without applying multiple coats of stain.
If you want to transform dark or stained wood surfaces into lighter, more vibrant pieces, check out my guide on how to whitewash stained wood and how to change dark wood stain to light.


But if you want something that looks a bit more like stained wood, then gel stain over white paint is a great option if you don’t want to strip off the old finish. For more on can you stain over paint, check out our post.
You can also use Retique It wood stain – here’s our detailed guide on how to use Retique It for more on this product.
Removing Excess Gel Stain
If you want to see the wood grain through the stain, use a lint free rag to wipe off the excess gel stain after 30 seconds to a few minutes later.
Letting the gel stain sit on the surface longer will let the stain stick better. Remove the stain immediately if you don’t want the stain to be dark.
It is highly recommended to wipe off the excess gel stain. It just looks more natural, and it will dry faster and be more durable.
For the other 2 frames, I used this method of removing the excess gel stain after it sat for about 30 seconds max. It left a darker finish where you can still see the natural wood grain. The lighter frame is still lighter, but it is now darker than it was originally.
Learn how to stain wood with a rag the right way here.

The dark frame looks pretty similar after the gel stain, but the finish looks fresh and new.
After applying the first coat of gel stain, let it dry completely. I believe the manufacturer says dry time can be anywhere from 12 hours to 72+ hours, depending on the weather in your area and how thick the stain is.
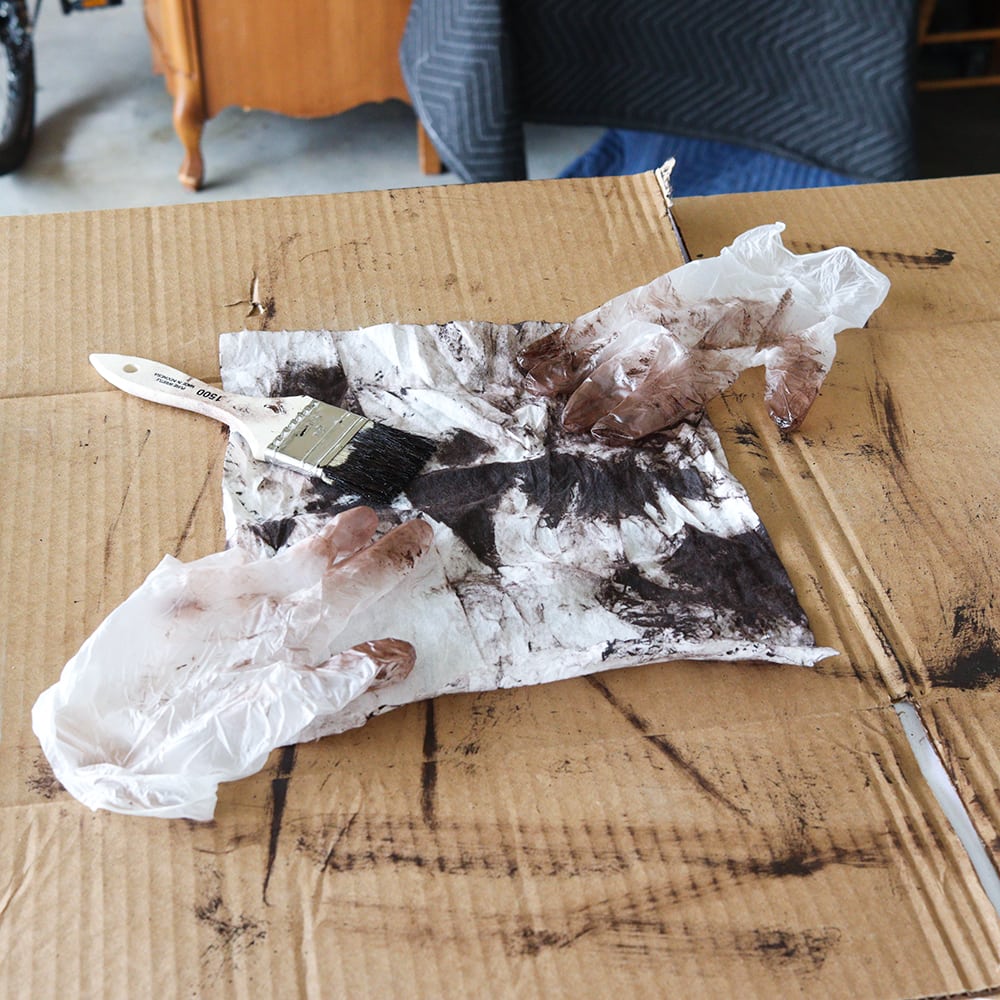
Note: Be sure to lay your rags, brush, and any other things saturated in gel stain outside and flat to dry in a safe area until they are completely dry. Wadding up saturated rags with oil based stain can create combustion.
Applying Additional Coats (If Necessary)
Once the stain is dry, evaluate the coverage and overall appearance. If you’re satisfied with the color and coverage, you can move on to the next step. However, if you want a darker or more opaque finish, you may need to apply a second coat.
Check out our blog post about staining a dresser darker if you want more information on this process.
If you decide to apply a second coat, follow the same procedure as before. Keep in mind that additional coats will require a longer drying time, so be patient and wait for the stain to fully dry before handling the wood item.
Topcoating Stained Wood
Since I stained wood frames that will be hung, or not touched much at all, I did not worry about topcoating the gel stain. The gel stain does have a topcoat built in, but it is not enough to protect surfaces that get used and abused on a regular basis.
Check out our blog post about topcoats for painting furniture and learn about tips and tricks on how to apply a topcoat.
If you are staining wood furniture, especially dining tables, chairs, dressers, and entryway tables, a topcoat will go far in protecting your freshly stained surface.
Apply up to 3 coats of polyurethane for maximum protection. You can use a spray can oil based polyurethane (my favorite), or wipe on oil based polyurethane. If you wait at least 72+ hours for the stain to dry, you can use a waterbased polyurethane as the topcoat.
For more information on topcoats, visit our polyurethane vs polycrylic (waterbased polyurethane) post.
Here is what our stained wood frames look like now! What an update! With only an hour of work, I now have cheap, but beautiful wood frames to display some art in my home.
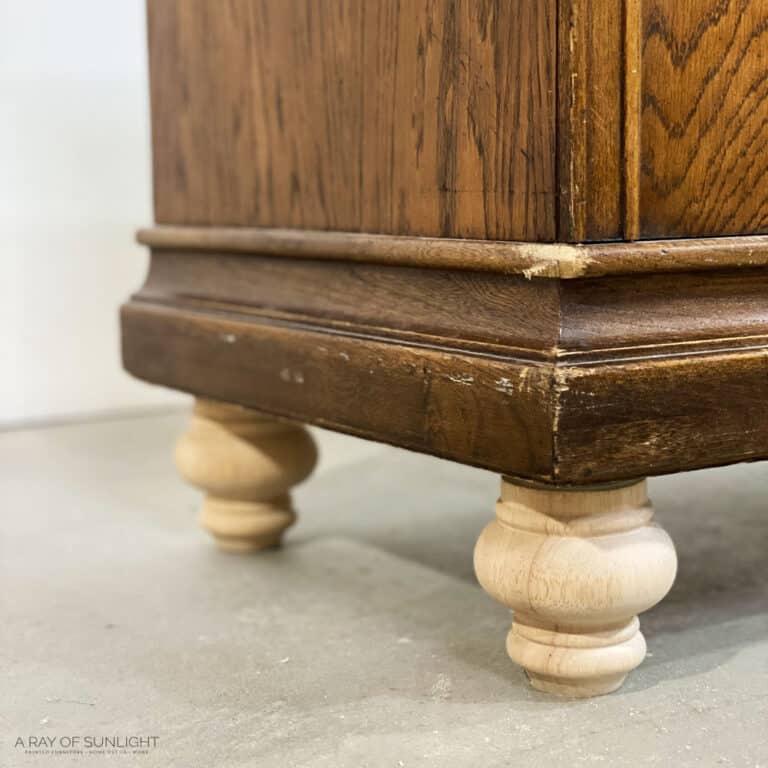
You can also recreate this method with any furniture, check out this farmhouse cabinet makeover for more info!


More Before and After Makeovers
See All >
Click any of these “before” photos below to view the “after” of that makeover.


How to Stain Already Stained Wood
Do you want to upgrade the look of your wooden item through a simple technique? Here's our step by step guide on how to stain already stained wood using gel stain.
Materials
Tools
Instructions
- Clean the wood surface by spraying Krud Kutter, wiping it off with a damp rag, and letting it dry.
- Lightly sand the surface using 220 grit sandpaper and remove dust using a vacuum and tack cloth.
- Stir the gel stain before applying. Use a cheap chip brush or lint free cloth to apply a thin coat of gel stain to the wood surface.
- Wipe off the excess gel stain using a lint free cloth after about 30 seconds. Then let it dry for 24 hours. Repeat the process if you want a darker stained finish.
- Apply up to 3 coats of topcoat and let it dry.
Recommended Products
As an Amazon Associate and member of other affiliate programs, I earn from qualifying purchases.


more furniture staining tips
- Restaining Furniture
- How to Restain Wood Furniture
- Staining Wood Filler
- Remove Stain From Wood Without Sanding
- How to Stain Wood Furniture
Follow us on YouTube to get more tips for painting furniture. Or share your project with us on our Facebook Group and be part of our community. See you there!