Painting with General Finishes Milk Paint
Painting furniture doesn’t have to be complicated. Painting with General Finishes Milk Paint is an easy and affordable way to give a tired piece a whole new look. Not only is it one of the types of paint for furniture that is cost effective and easy to apply, but it provides a durable finish that doesn’t have brush marks.
If you’re updating an old dresser or giving your dining table a fresh new look, working with this paint will guarantee exceptional results every time.
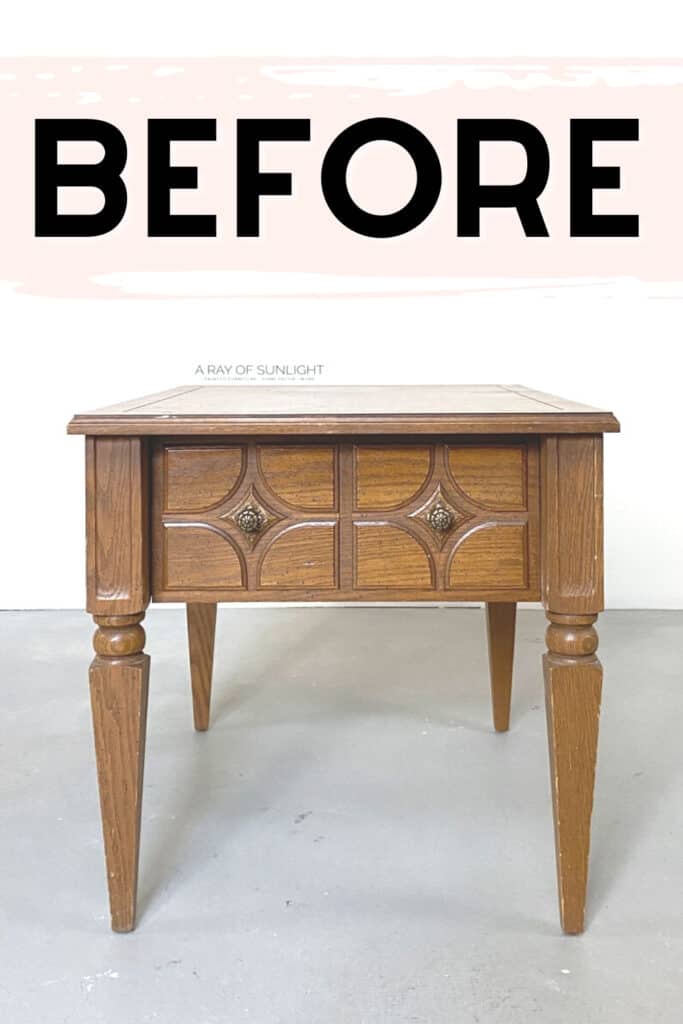
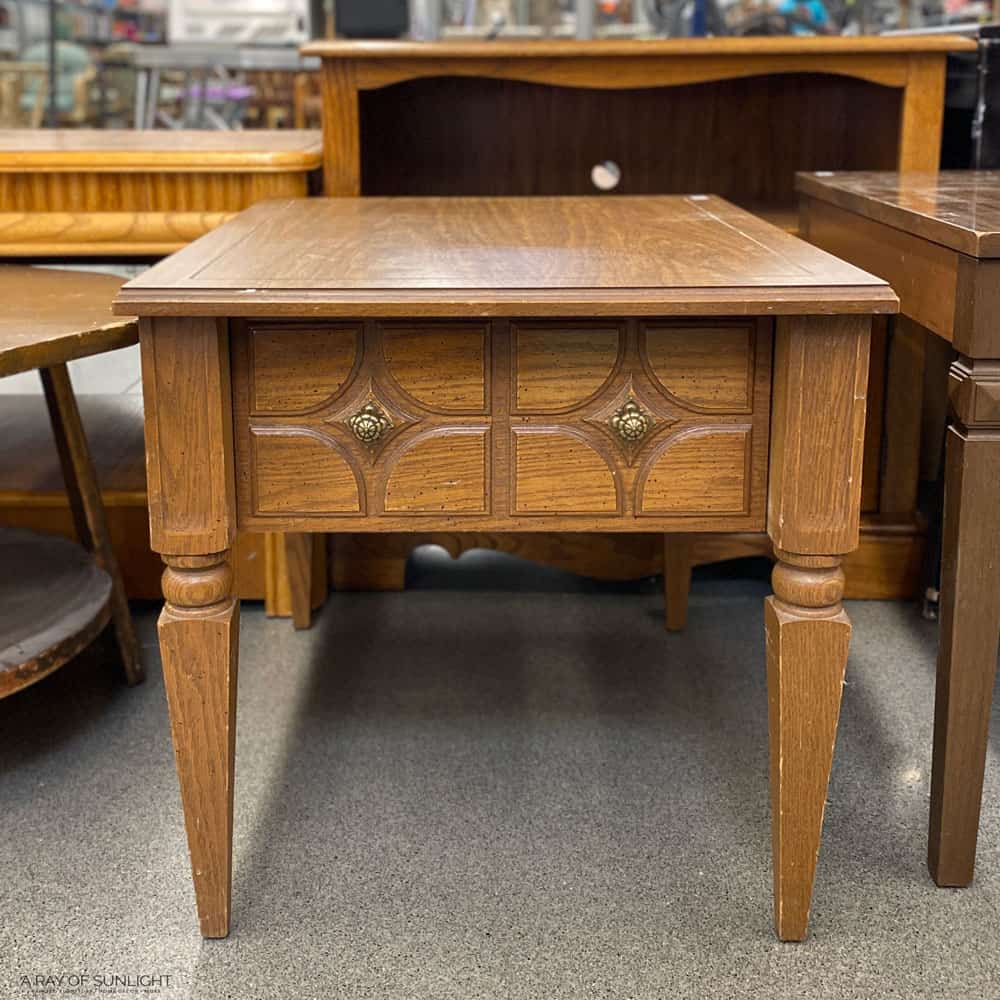
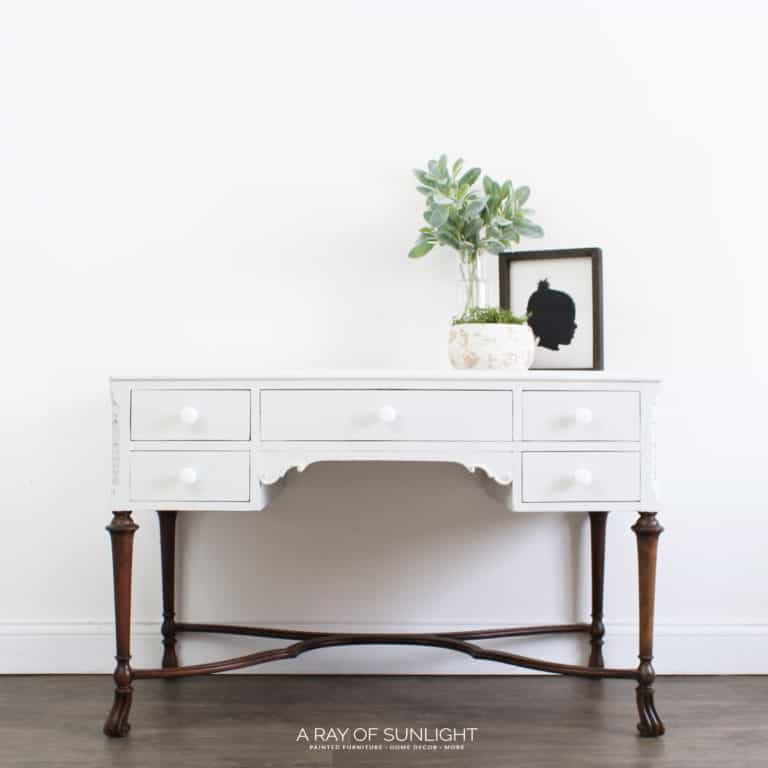
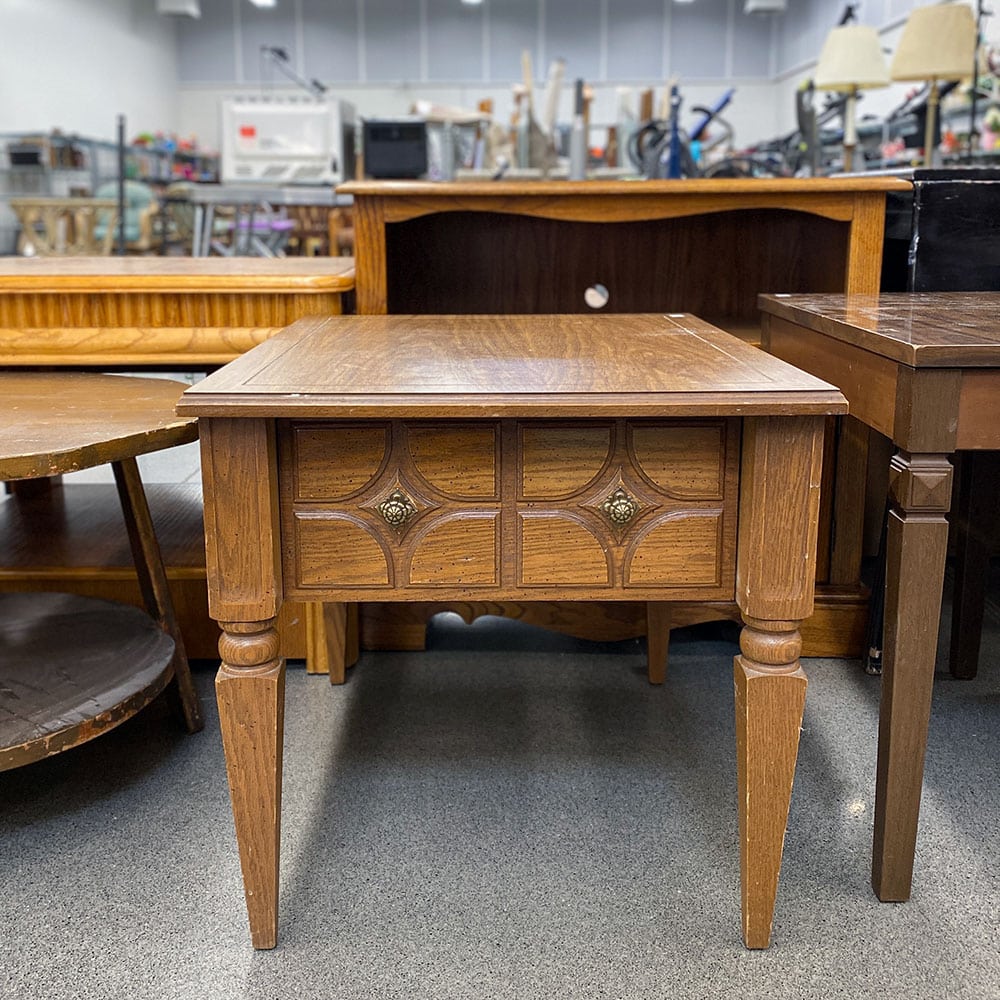
It started out with this $15 end table from my local thrift store. It has a slick laminate top, but the rest is all real wood.
I wanted this makeover to be super simple. So, even though I love painting furniture with a sprayer like this, I opted to use a paintbrush and General Finishes Milk Paint. It is self leveling, so even though I used a brush, I wasn’t left with its strokes in the finish.

But when it comes to topcoating, spraying poly is the easiest way. So, I opted for a spray can of it. And I even skipped scuff sanding! Yep, no sanding is needed for this makeover (and the finish feels silky smooth!)
BUT…most of the time, you don’t want to skip the scuff sanding like I did in this project! Read here to learn the importance of sanding before painting furniture. And here’s what happens if you don’t sand before painting. Seriously, this is a makeover that I believe anyone can do!

Supplies Used For Painting with General Finishes Milk Paint
As an Amazon Associate, I earn from qualifying purchases. I also may earn from other qualifying purchases with other companies or get free product to review and use. All opinions are my own.
- Thrifted End Table
- Degreasing Cleaner
- Painters Tape and Pre Taped Plastic
- Spray Shellac
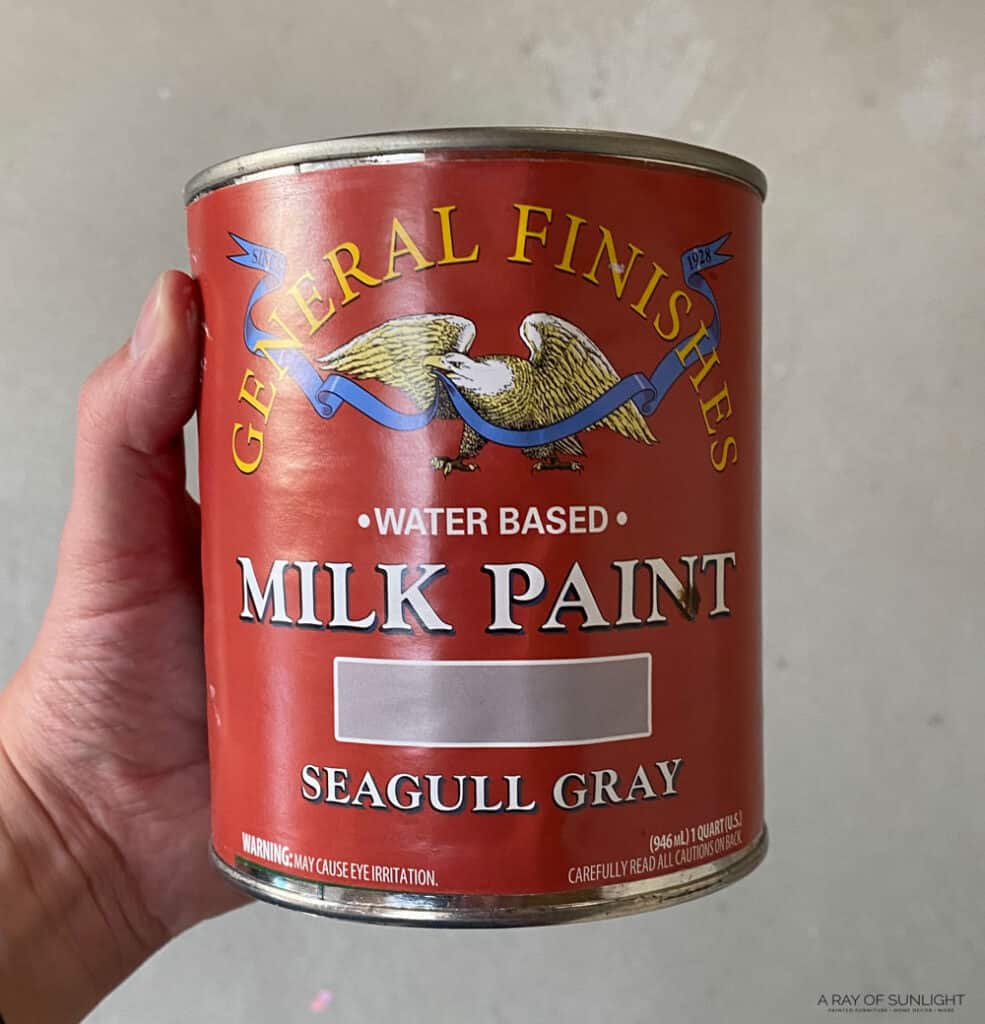
- General Finishes Milk Paint in Seagull Gray
- Zibra Round Paint Brush
- Zibra Chiseled Wedge Brush
- Minwax Polycrylic Spray
- New Knobs
Get our list of the best painting furniture supplies here, too!
Cleaning and Removing Hardware
First things first, I scrubbed it clean with a degreasing cleaner and a wet rag. Learn more about how to clean furniture before painting here.
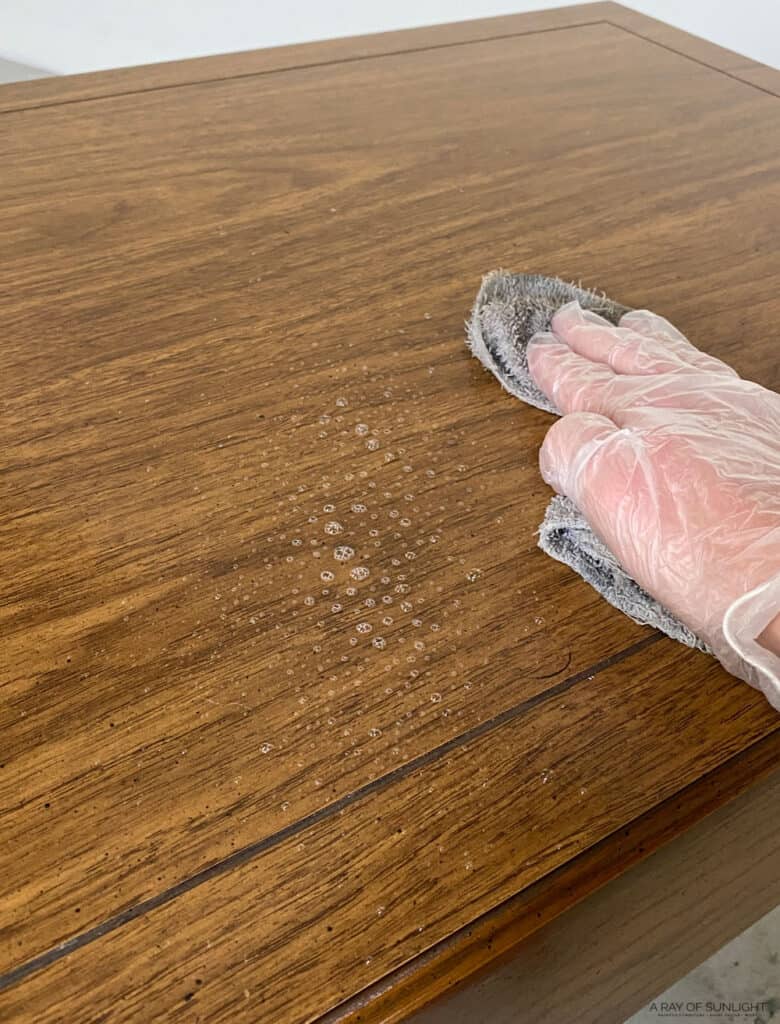
While I was cleaning, I removed the old hardware as well. Then, while the end table dried, I taped off the drawer so my paint lines would be crisp and clean. Learn more about how to prevent overspray when painting furniture here.
Priming with Shellac to Paint Without Sanding
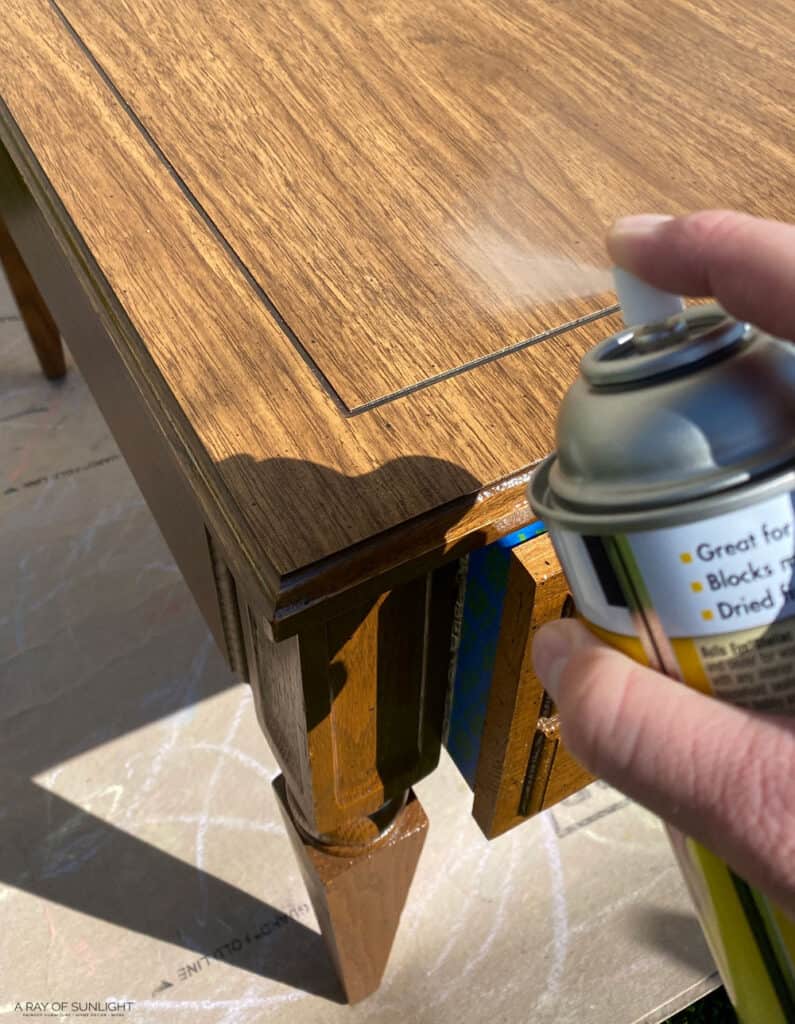
Then, I primed the end table with 2 coats of shellac so that the new paint would stick without sanding. Check out more best primers for painting furniture in this post.
(Thanks to this how to paint laminate furniture experiment, I’ve learned that shellac is amazing at making paint adhere to any surface.)
But the shellac does more than just help with adhesion. It also blocks stains and tannins from the wood from staining the finish. You can learn more about why bleed through is a problem and how to stop stains from coming through paint here.
I used clear shellac in a spray can so it would be quick and easy to apply. And no sanding was required before or after I primed.
Painting with General Finishes Milk Paint
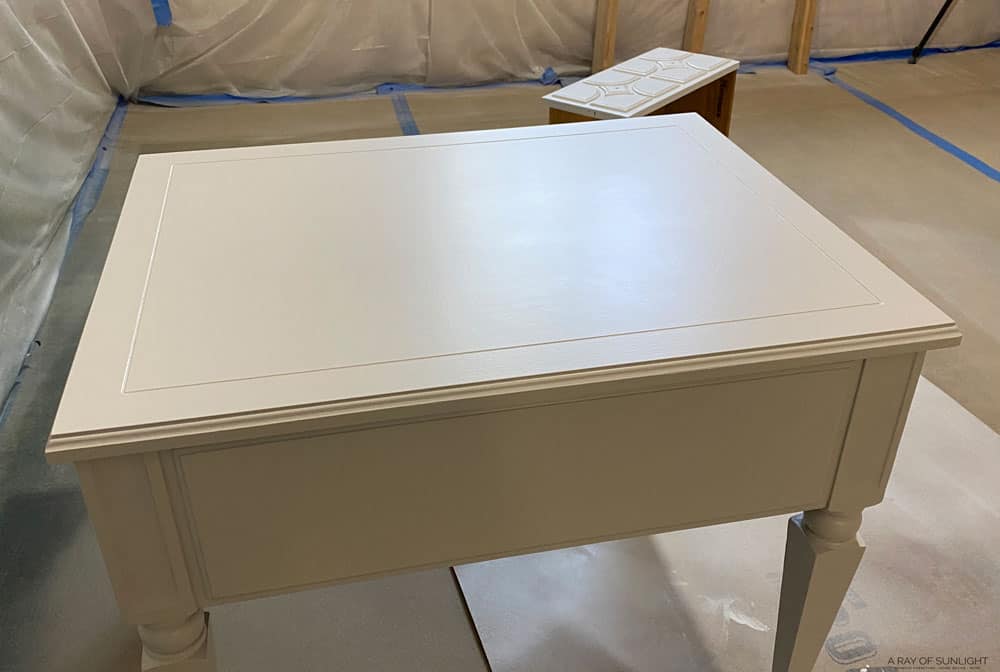
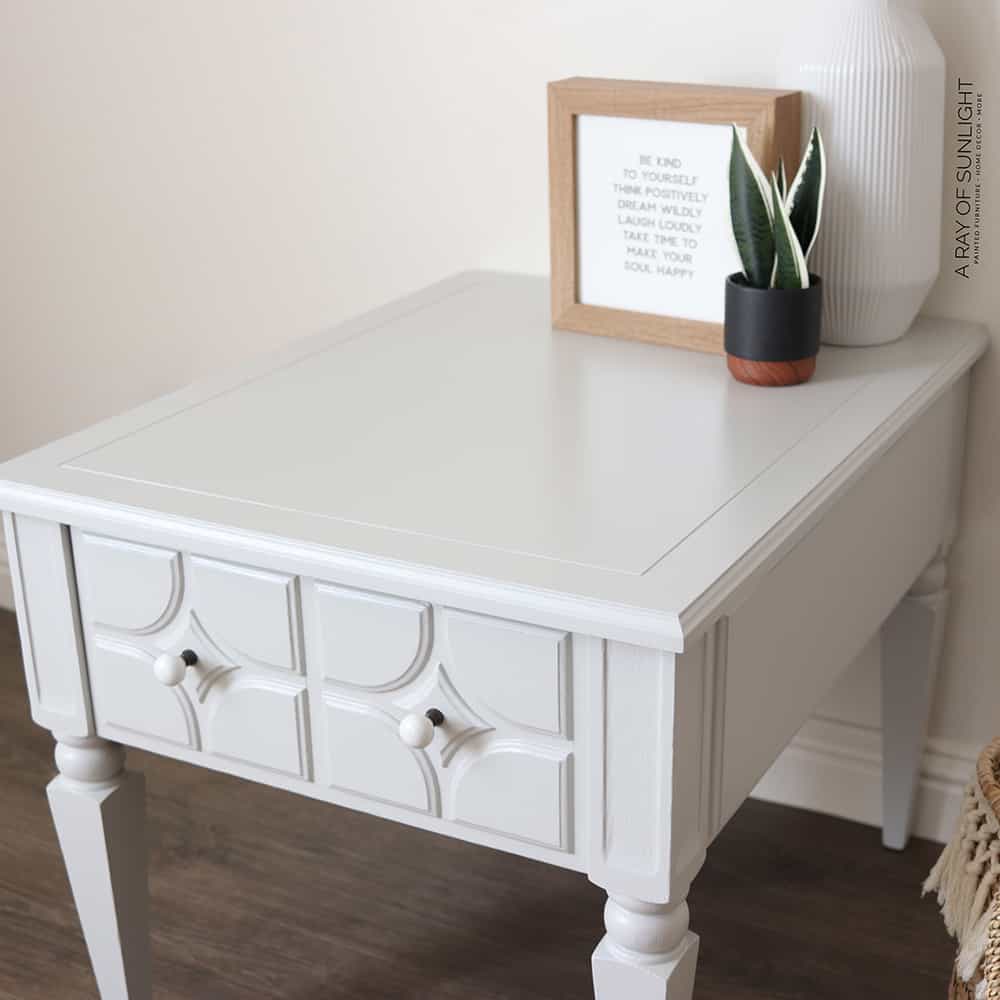
For this end table, I chose a stunning light gray called Seagull Gray.
The biggest reason why I love this is because it’s self leveling, meaning it doesn’t leave as many brush marks behind. It also sprays beautifully if you want to apply it with a sprayer. Check out the best HVLP paint sprayers for furniture here.
Check out my detailed General Finishes Milk Paint review to learn more about this product. Here’s everything you need to know about painting furniture with acrylic paint. Check out my comparison between chalk paint vs acrylic paint if you’re considering these two types.
Thinning General Finishes Milk Paint
It’s a waterbased acrylic paint that is really thick straight out of the can. So, before I use it, I like to add some water to it to make it easier to apply.
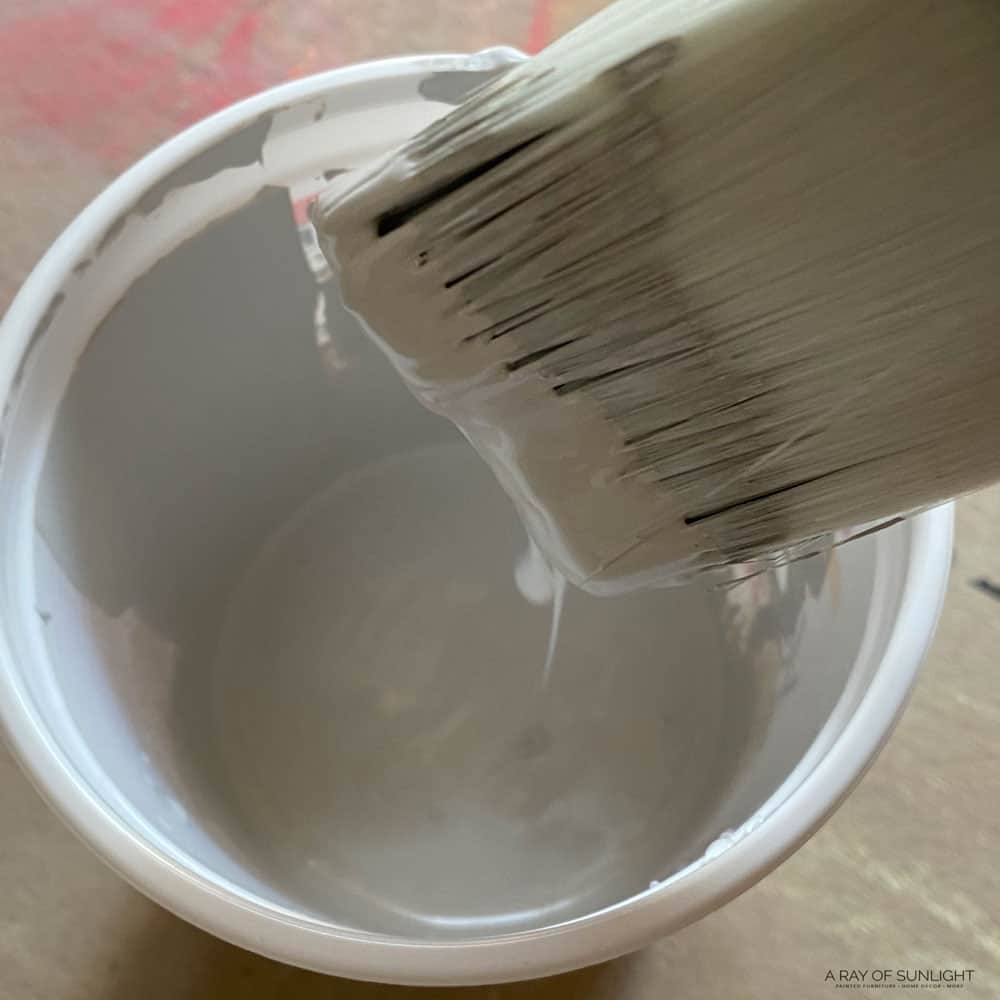
I don’t measure an exact amount of water to paint here, but I would say I might add around 10% water. Check out this post to learn all the details on how to thin paint for Wagner sprayer.
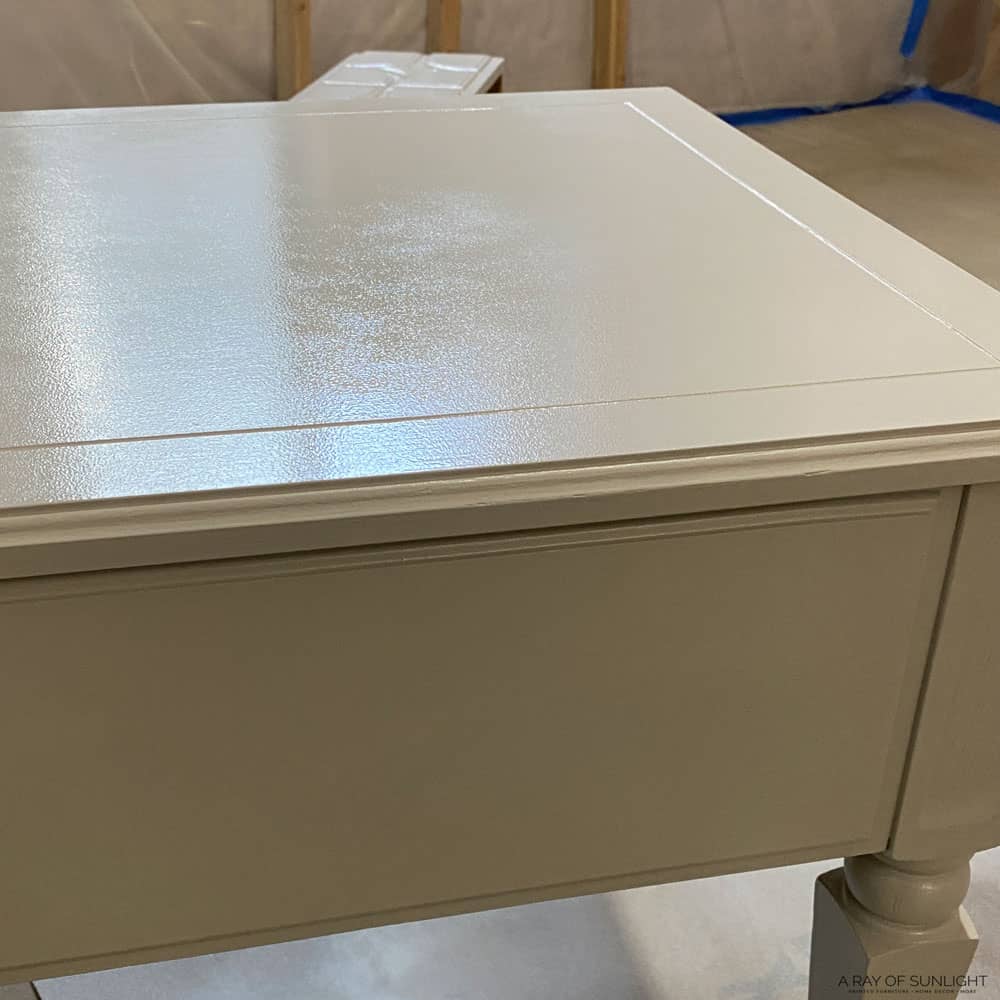
Brushing General Finishes Milk Paint
After mixing everything together really well, I applied it onto the end table using a Zibra chiseled wedge brush.
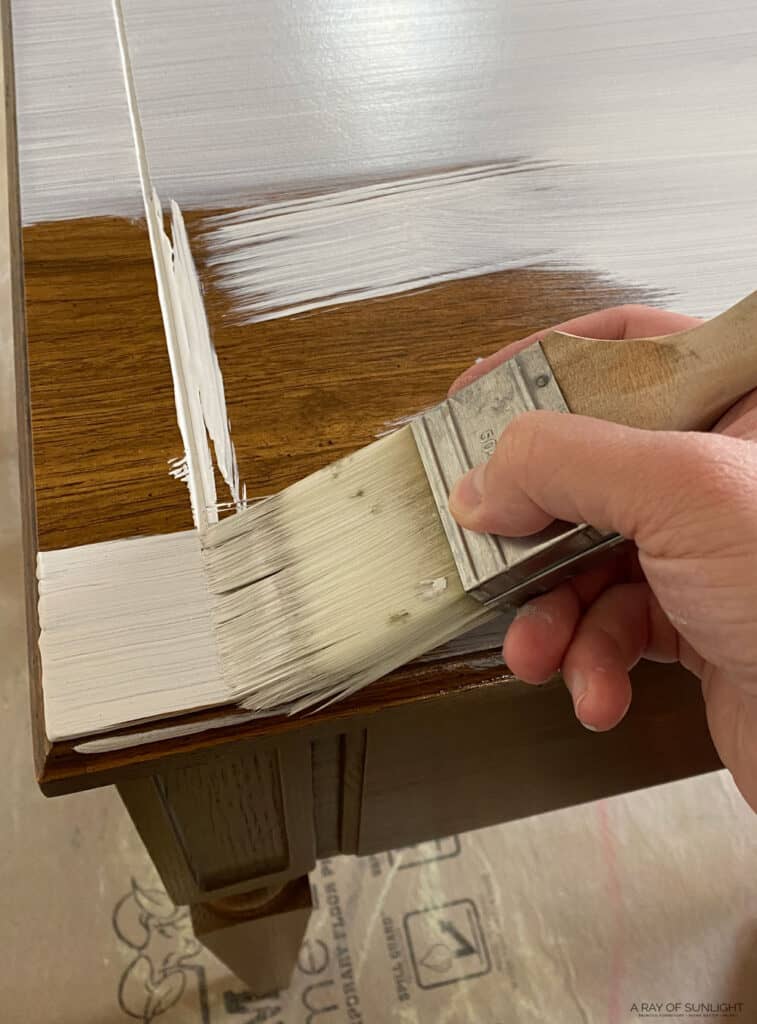
Even though it is self leveling, it can still leave brush marks behind. So, I still try to apply it in long strokes that go with the grain, so any marks that are left behind blend in with the grain. Get more tips and tricks on how to paint furniture without brush marks in this post.
When I got to the round part of the legs, I switched to my Zibra round paint brush because it’s easier to work on round things with it.
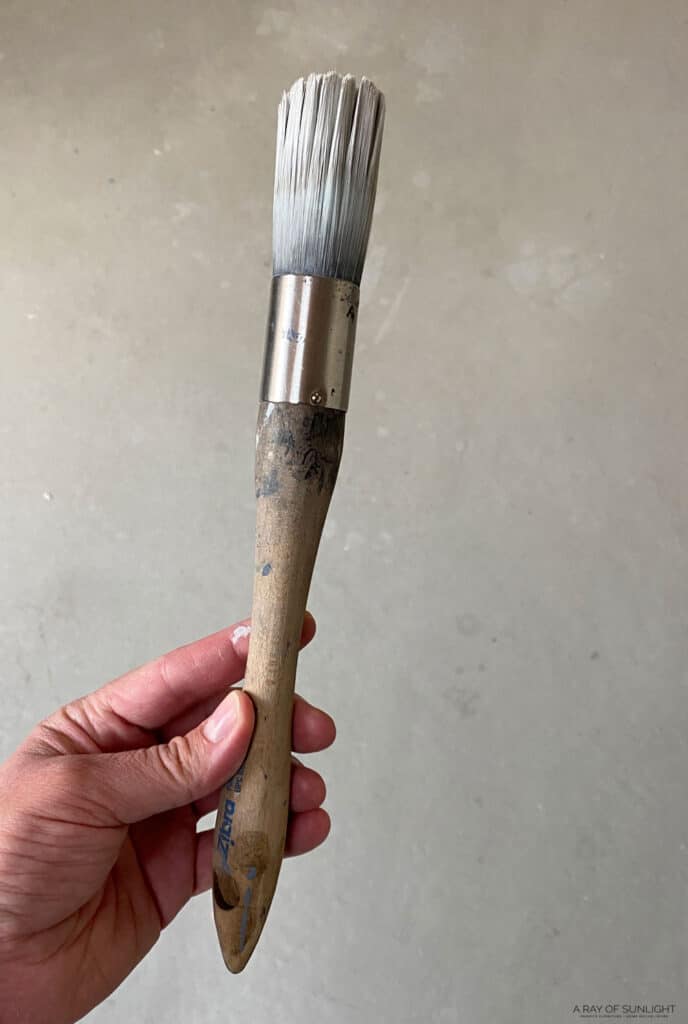
(If I had to pick one brush to use on a project, it would be the round one, hands down!) Check out more best paint brushes for painting furniture here!
I let it dry for a couple of hours between each coat, and I wrapped my brush in some plastic to keep it wet.
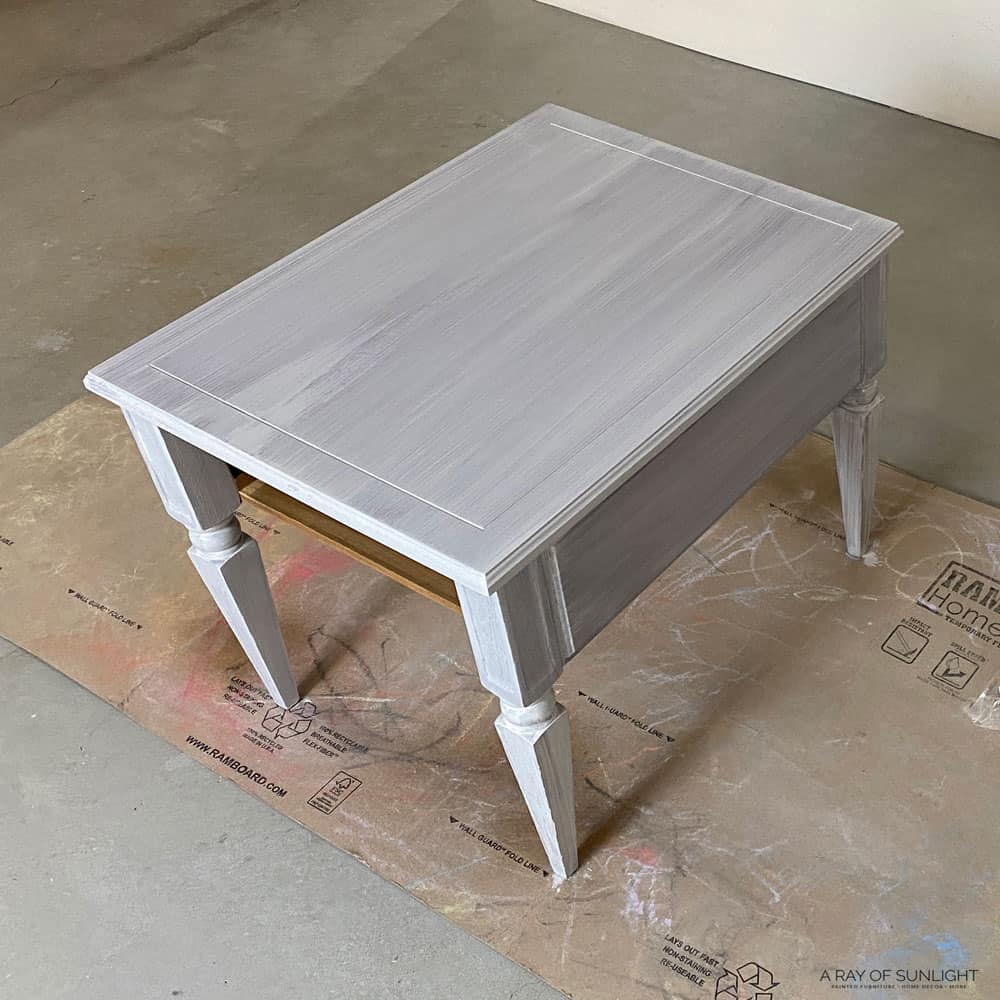
I ended up needing to apply 4 coats of this light gray color to get full coverage.
Filling Wood Grain
After a couple of coats, I noticed how deep the wood grain was on the side corners.
Would you like to save this?
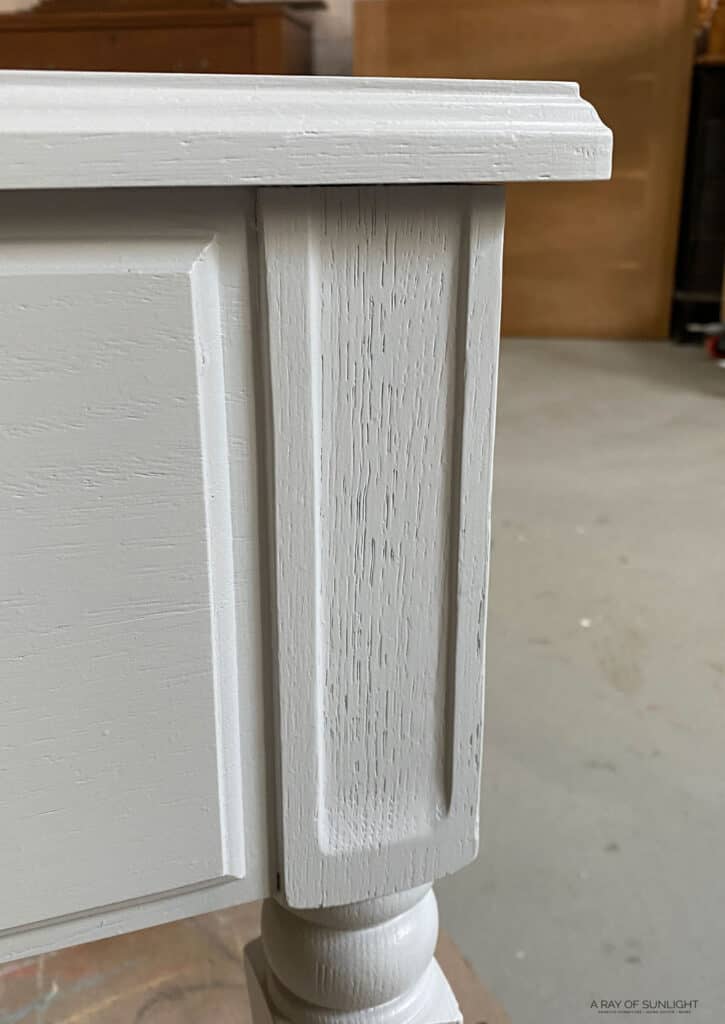
So, I took some time to fill in and hide the wood grain there before I finished everything up. Learn more about how to hide wood grain when painting here.
Topcoat with Waterbased Polycrylic Spray
After that last coat, I sprayed 3 coats of Minwax Polycrylic in a rattle can. This waterbased poly is a protective coat, making the finish more durable and wipeable.
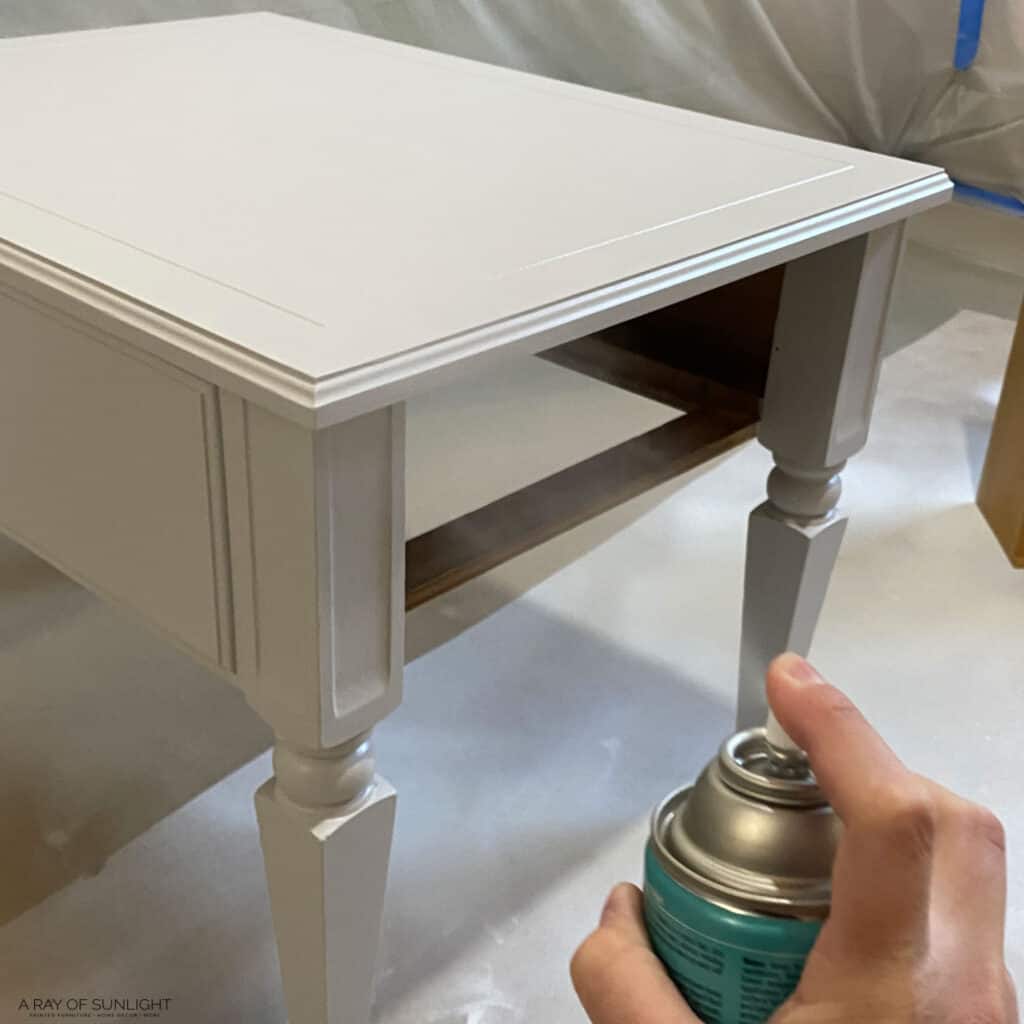
I sprayed it on thicker than a mist but not too thick to make it run or puddle. And then, I let it dry between coats for only an hour before spraying the next coat. Learn more about how to spray polyurethane here.
Best Brush for General Finishes Milk Paint
The brand’s website says that foam brushes are the best because they don’t leave marks. Here’s an awesome foam painting sponge that covers so much more area than a dinky little foam brush.
But I’ve found that regular Zibra paint brushes (synthetic ones) leave an almost brushstroke free finish. I wouldn’t use one with natural bristles if you want a smooth result.
Does General Finishes Milk Paint Need a Top Coat?
Yes, if you’re using it on a high traffic surface (especially the top of a piece), it needs a top coat. Learn more about topcoats for painting furniture here!
No, if you’re using it for things that don’t need to be durable (wall decor, for example), it doesn’t need a topcoat.
Best Paint for Furniture Without Sanding
Acrylic paint (General Finishes, Paint Couture, and Rustoleum Milk Paint, to name a few) is one of the best to use when you’re gonna skip sanding.
It dries really smooth and is self leveling, so even when you don’t sand it, you’re left with a soft, smooth results. For more options, here’s our list of the best no sand furniture paint.
Watch the full makeover on our YouTube video below, or keep scrolling for the after photos!
So, here’s what it looked like before.
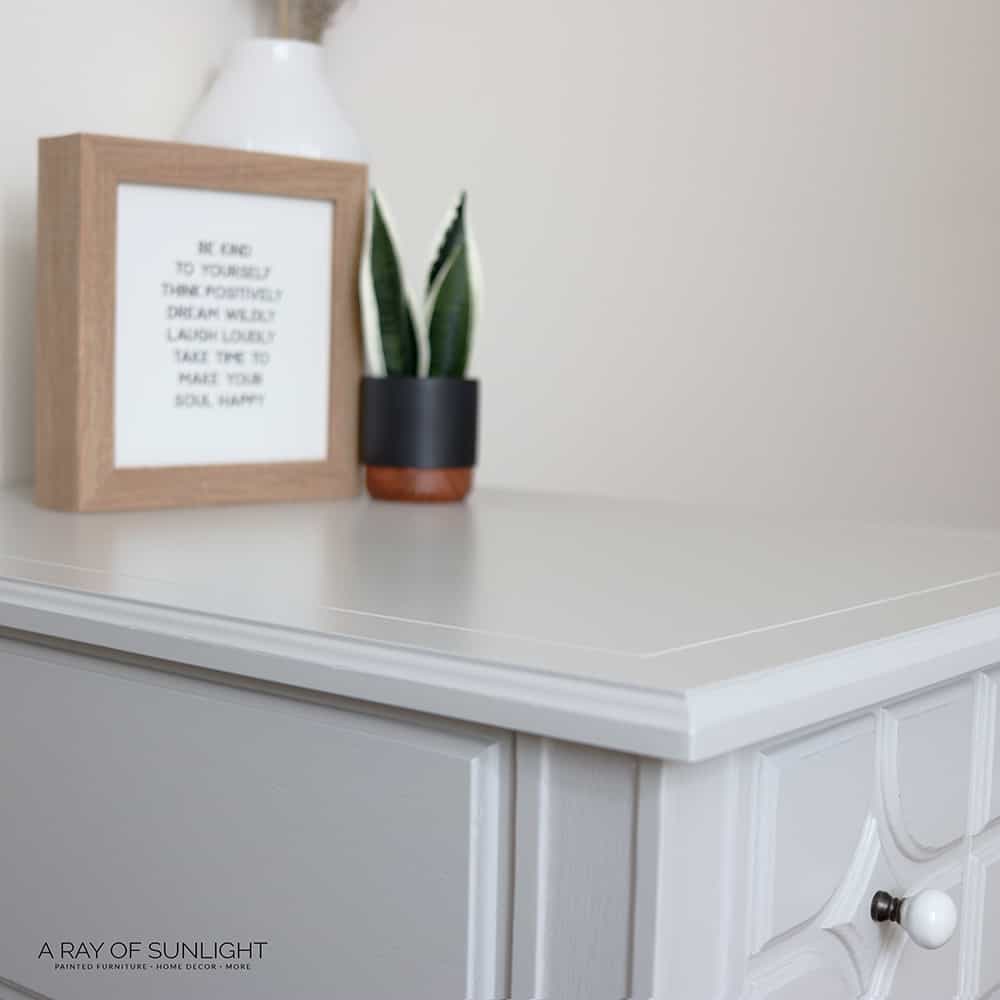
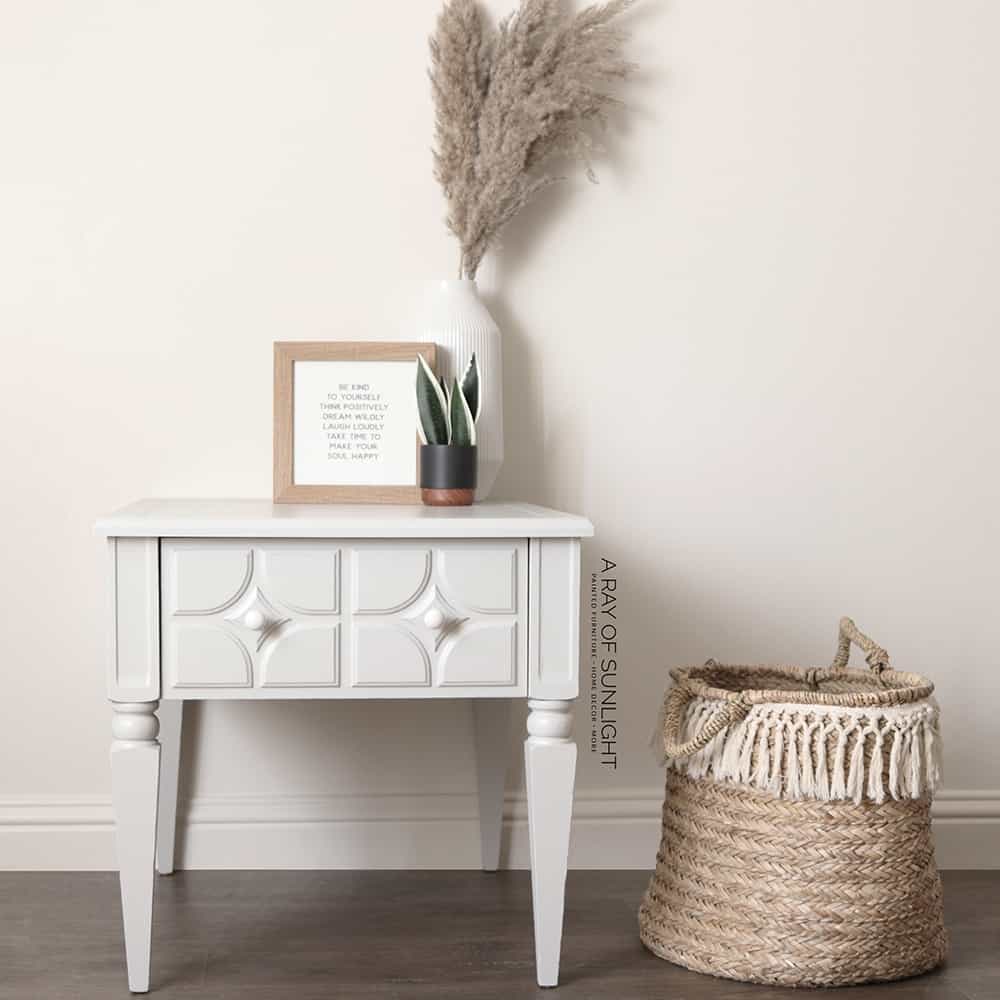
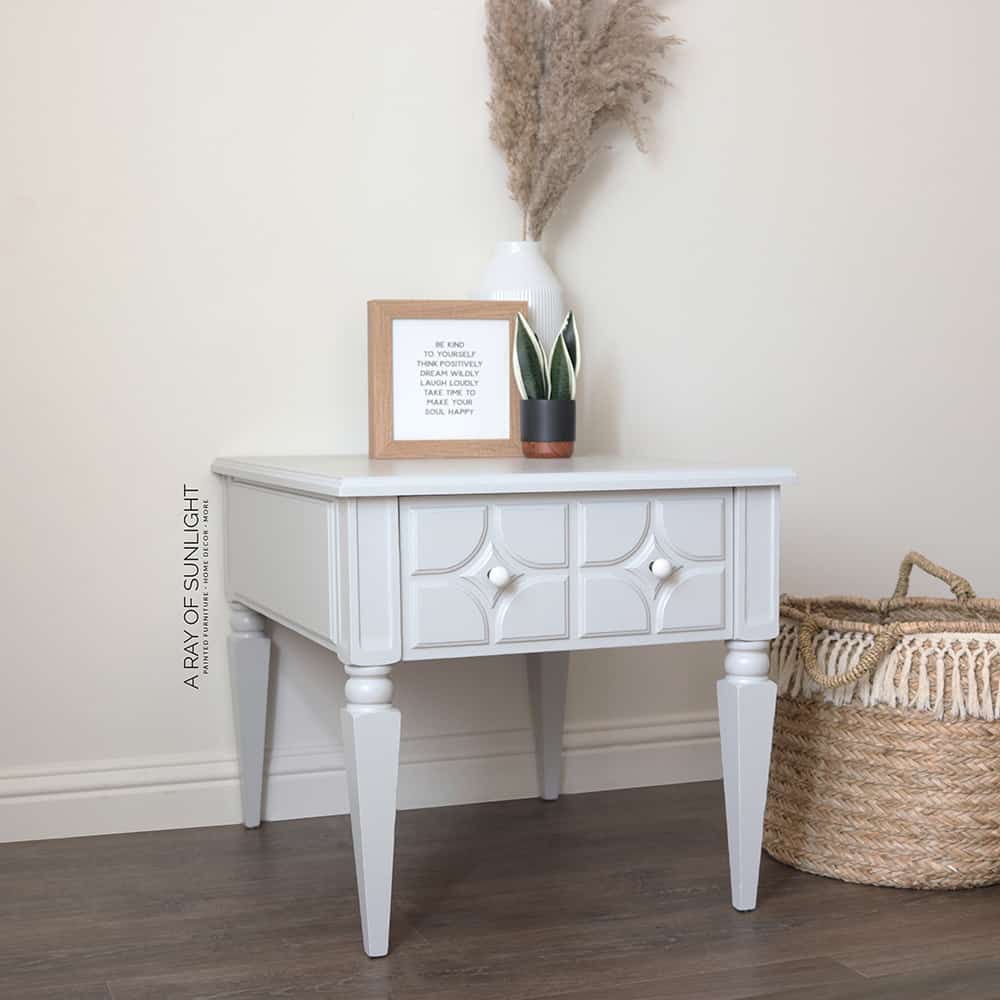
And here’s what it looks like now. I love the light gray color. And my brush mark free loving heart loves that you can barely see any of those in the finish.
More Before and After Makeovers
See All >
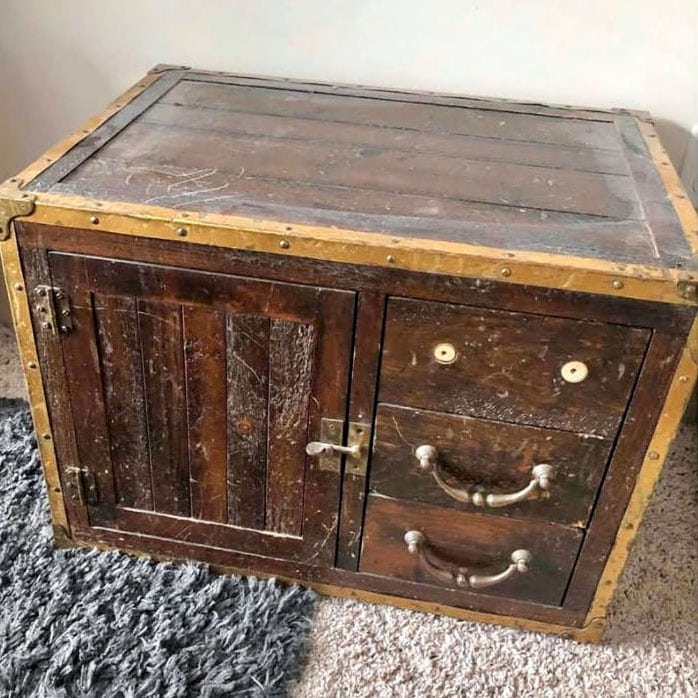
Click any of these “before” photos below to view the “after” of that makeover.


I ended up spending $90 on supplies, but most of those can be used for multiple projects, so I would guess that I used around $30 max on supplies for this project. What do you think of the makeover?


Spraying General Finishes Milk Paint
You can also spray it, especially for large projects or when working with multiple pieces. But first, thin it out with about 10%-15% water. This will help the paint apply evenly and prevent any splattering or drips. Here’s how to fix spray paint drips if you do end up with any.
How long does General Finishes milk paint take to dry?
If you’re planning your project, you may be wondering how long this paint takes to fully dry. Maybe you have a tight timeline or are just excited to see the final result! Either way, it’s still important to know because it will affect the time it takes to complete your makeover.
Typically, each coat would dry in about 1-2 hours, and you’ll need at least 2 coats for complete coverage. Light colors over dark wood would also need more coats, so take that into account and plan for a bit of extra time if needed.
After adding a topcoat, it can take up to 21 days to fully cure. So, you’ll need a bit more patience before using your updated piece. During this time, handle it gently and avoid placing heavy items on top until it’s completely set.
During this curing period, I also recommend avoiding harsh cleaning products, as they can affect the finished surface. Once these days have passed, your piece will be fully ready for everyday use and cleaning!


Painting With General Finishes Milk Paint
Painting furniture doesn't have to be complicated. Here's how to get a professional finish while painting with General Finishes Milk Paint.
Materials
Instructions
- Scrub the furniture clean with a degreasing cleaner and a wet rag. Remove the old hardware as well. When everything dries, tape off the drawers and anywhere you don't want to get paint on.
- Prime the table with 2 coats of clear shellac to help the paint stick without sanding.
- Get your General Finishes milk paint and add some water to it to make it easier to brush on. After mixing the water and paint together really well, brush 4 coats of paint onto the table. Brush it on in long brush strokes that go with the grain. Let the paint dry for a couple of hours between each coat, and wrap your paintbrush in some plastic to keep it wet.
- Fill in and hide any wood grain before applying topcoat.
- Now, seal the painted end table with 3 coats of waterbased polycrylic. This is to make paint more durable and wipeable. Let the topcoat dry between coats for only an hour before spraying the next coat.
- Add your new hardware.
Recommended Products
As an Amazon Associate and member of other affiliate programs, I earn from qualifying purchases.


More Makeovers with General Finishes Milk Paint
- DIY Cedar Chest Makeover
- How to Upcycle a Desk into a Pair of Nightstands
- Paint Furniture Black
- Painting a Cedar Chest with Redesign Decor Mould
- Painting a Hutch
Learn the Art of Updating Furniture!
If painting furniture feels overwhelming or your past attempts didn’t go as planned, this course will guide you step by step.

Follow us on YouTube to get more tips for painting furniture. Or share your project with us on our Facebook Group and be part of our community. See you there!
Fantastic!! Have you ever used the General Finishes Milk paint on kitchen or bathroom cabinets?
Best tutorial I’ve watched! Do you have a dedicated space set up for these projects? And if so, what do you recommend for people who may only have a small area in the garage? Thanks
I do have a dedicated space. But I’ve been painting furniture as a job since 2014.
I started painting in my kitchen. Then moved out to the garage and the yard area.
Just lay down plastic and paint with a paint brush.
You can use a paint sprayer if you cover things with plastic in the area you are spraying.
You can do it!!
Wow! This completely changed the feel of the table and makes it look like brand new! I had no idea that milk paint self leveled so well. I’ve tried a couple different kinds of furniture paint and I’ve had a really hard time not leaving brush strokes when I paint with it. I’m definitely going to need to try this for my next project. Thanks so much for sharing!
Aww you’re so welcome! Glad this could help!