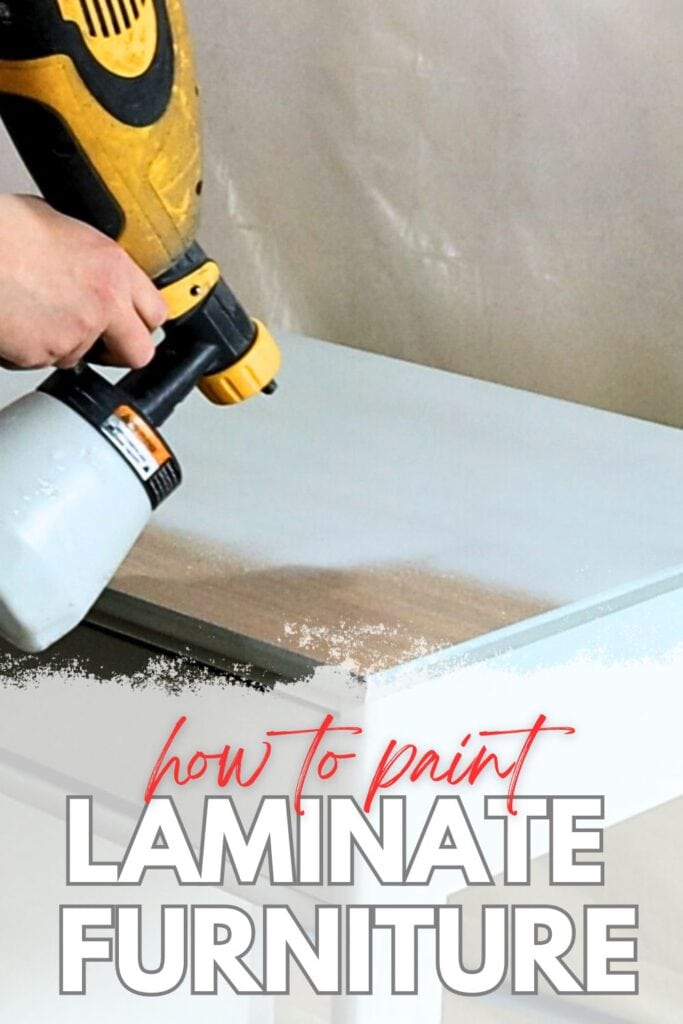
How to Paint Laminate Furniture


If you’re wanting to paint your laminate furniture, but don’t know where to start, you’re in the right place! We’ll walk you through how to paint laminate furniture step by step. Painting furniture, especially with laminate surfaces, can be tricky, but it’s not too hard once you know the right techniques.
Dig in to this guide and in no time, you’ll make your laminate furniture pop, adding flair to any room! Don’t worry, it’s all about easily unlocking the charm of your pieces. With just a few steps, you’ll see how simple it is to refresh and inject new life into them, making every room shine.
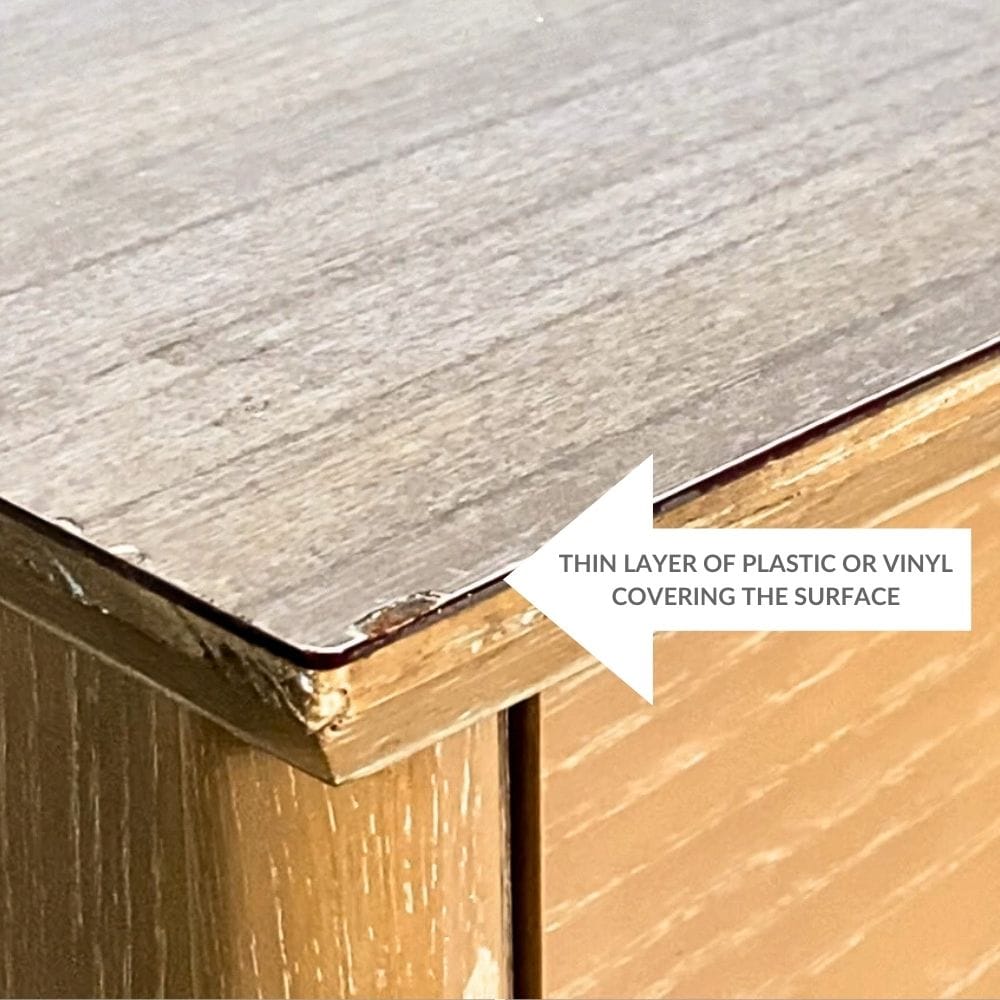
What exactly is laminate furniture? It’s basically furniture that has a thin layer of plastic or vinyl covering the surface. This layer gives the furniture a sleek and durable finish, but can make it tricky to paint.

It can be difficult to paint because the slick surface doesn’t allow for good adhesion. You need to properly prepare the surface before painting to guarantee your paint sticks. If not, you may end up with a chipped and uneven finish.
Don’t worry if you’ve never painted laminate before. Let’s work through this laminate desk top together! We picked this up from the thrift store, and it definitely needs some love.
We’ll guide you through the process, and you’ll see how easy painting laminate furniture can be. And before you know it, you’ll be a pro and can tackle any laminate piece in your home. Let’s get started! If you want a more natural look, learn how to stain laminate furniture here.
Supplies Used to Paint Laminate Furniture
As an Amazon Associate, I earn from qualifying purchases. I also may earn from other qualifying purchases with other companies or get free product to review and use. All opinions are my own.
- Krud Kutter
- 220 Grit Sandpaper
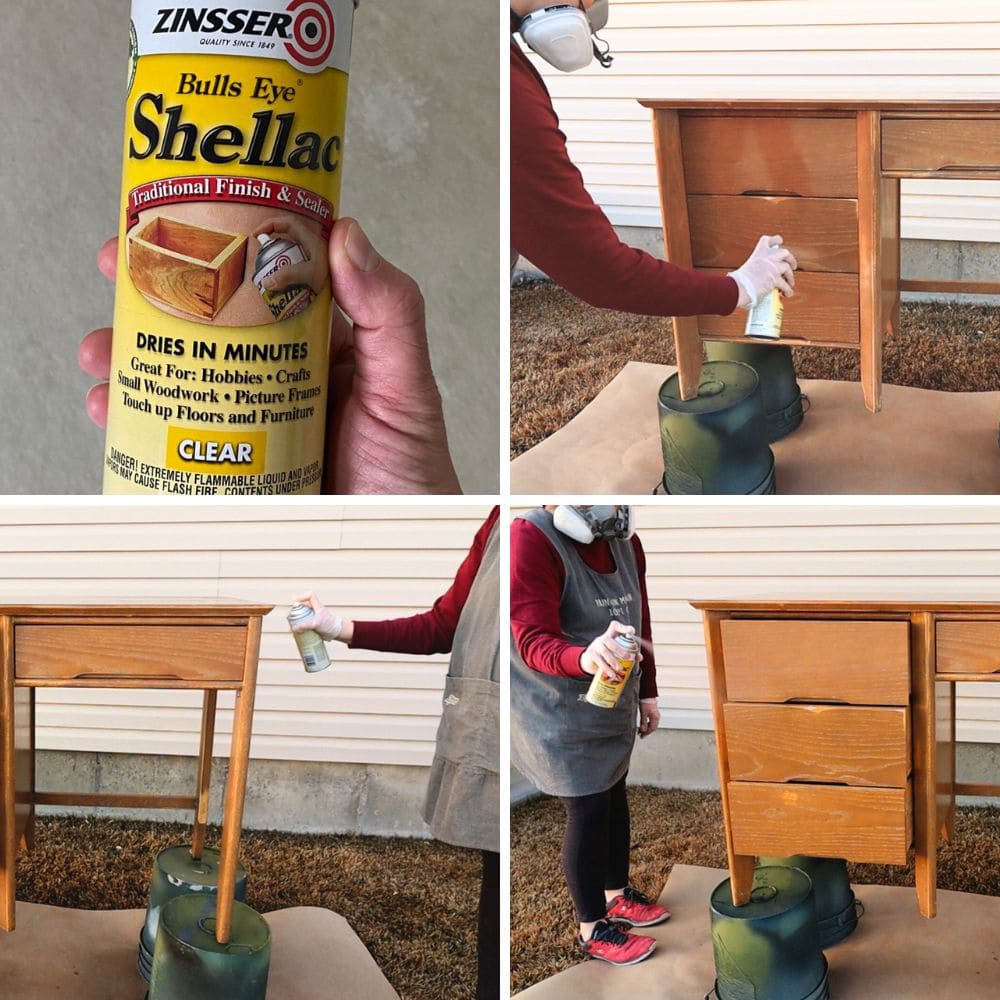
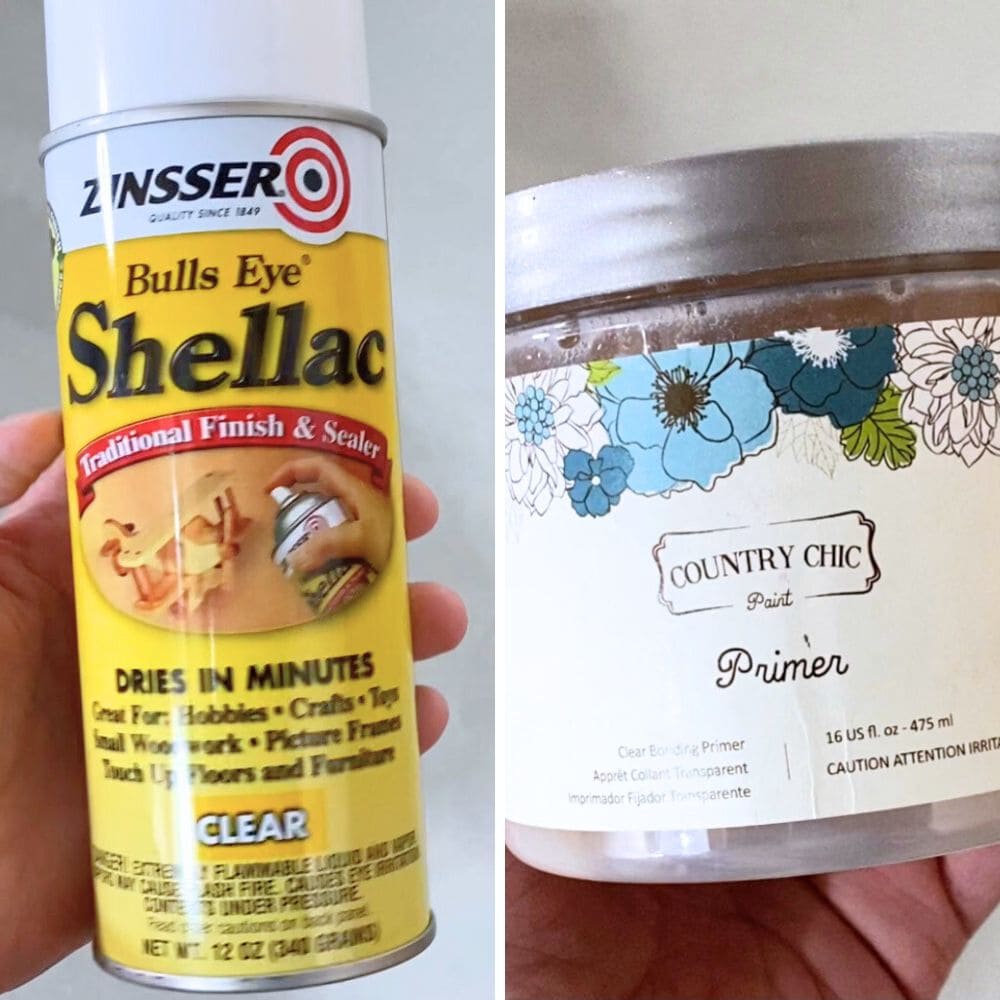
- Primer (Clear Shellac or Country Chic Paint Clear Bonding Primer, if distressing)
- Paint
- Paint Brush
- Paint Roller
- Paint Sprayer
- Topcoat (Polyurethane or Wax)
Cleaning Laminate Furniture
First, I clean the laminate with Krud Kutter to remove all of the dust and any grease or oil from the surface. No matter what, cleaning furniture before painting with some sort of degreaser cleaner will always make the paint stick better.
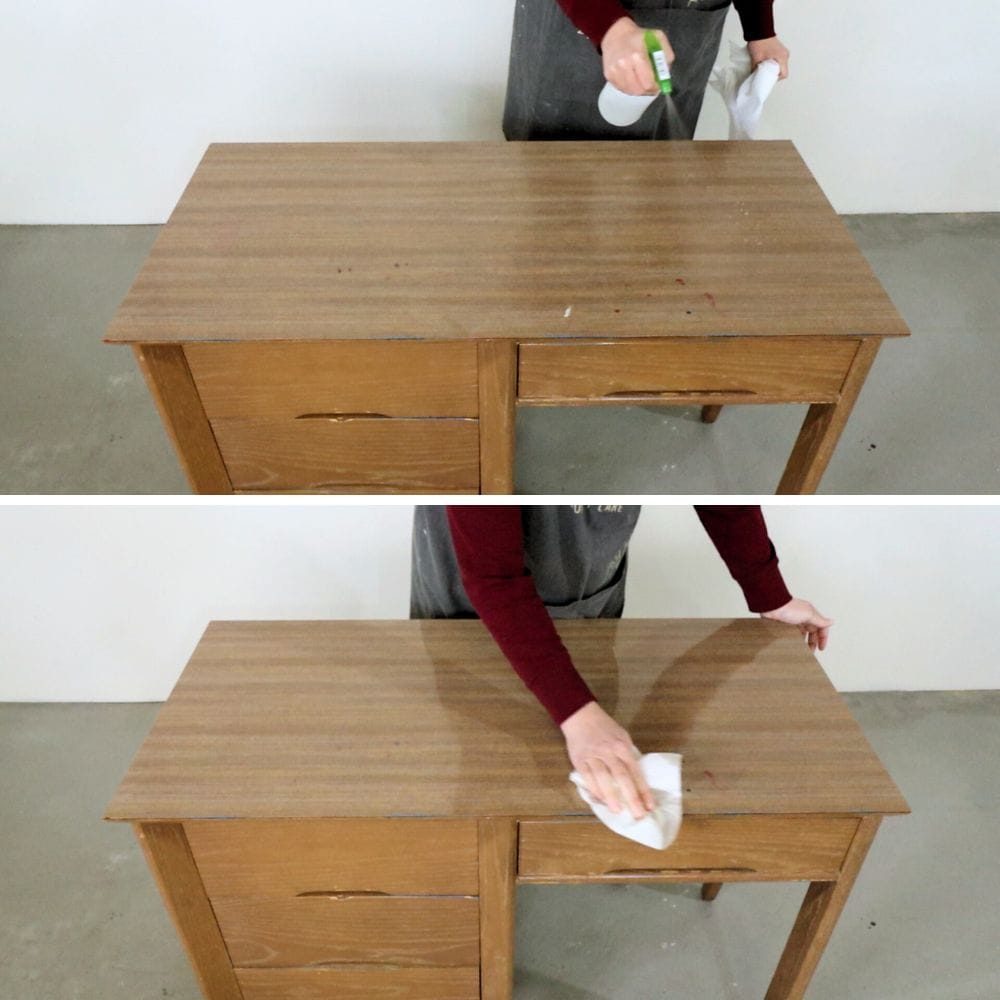
I personally love and use the original Krud Kutter for all of my furniture flips, but a bucket of hot soapy water with Dawn dish soap cuts through grease and grime too!
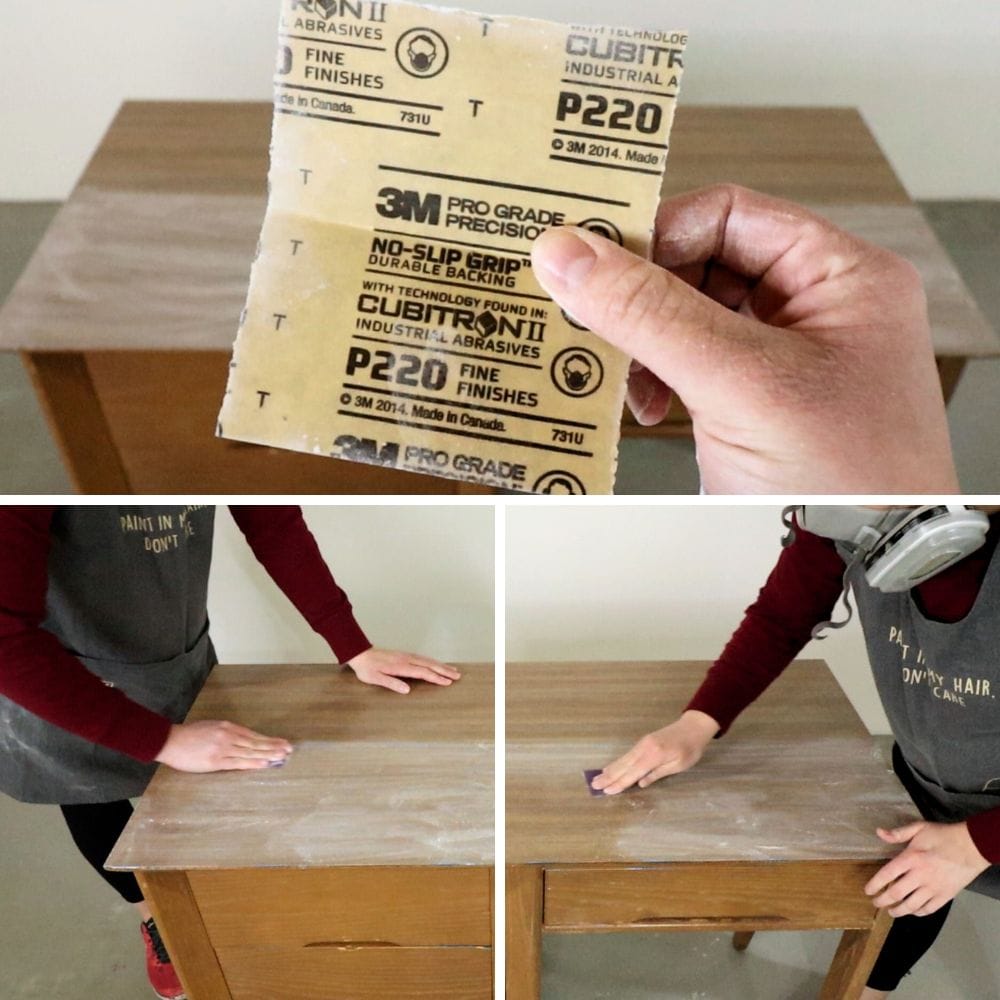
Sanding Laminate Furniture
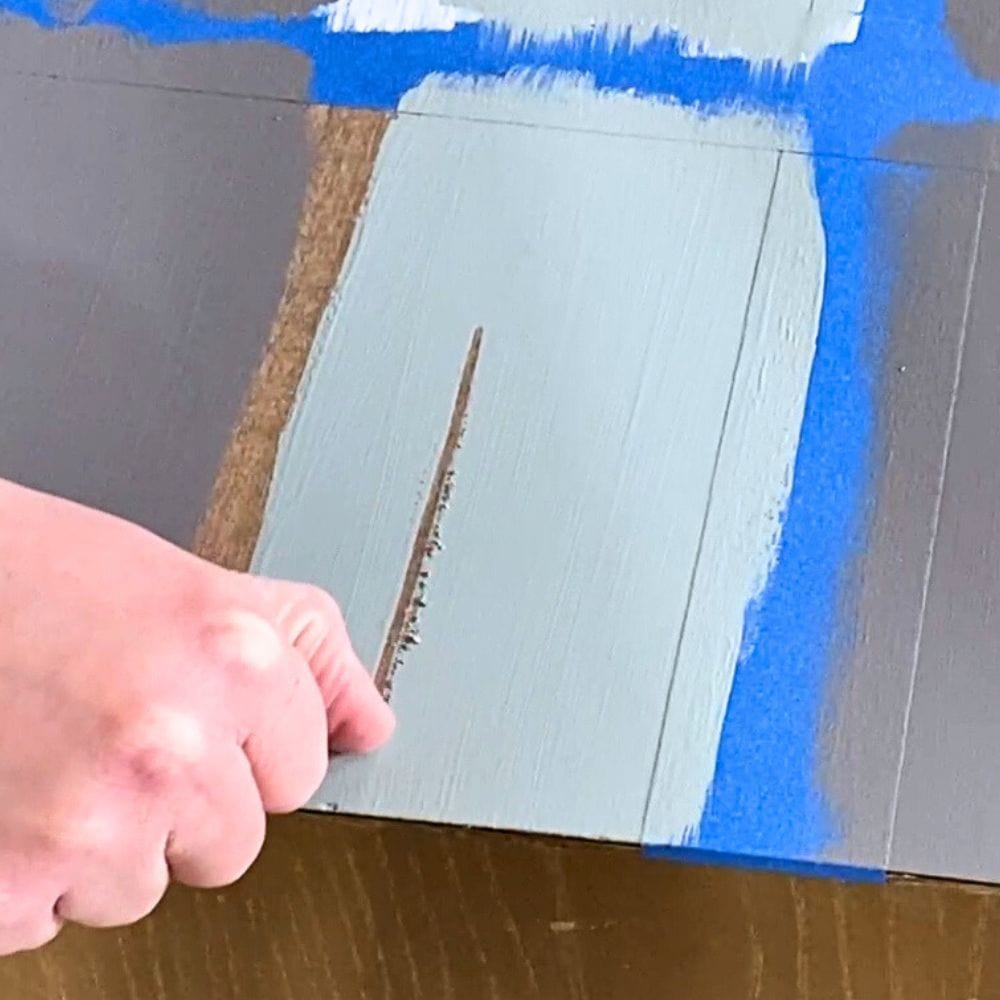
Then I sand the laminate top with my favorite 3M 220 grit sandpaper. The top of this particular piece also had old nail polish that needed to be sanded off.
That’s one major benefit to sanding before painting furniture. If I left the nail polish on there and just painted over it, there’s a good chance you would be able to see the little nail polish spots after I painted everything.
The same goes for scratches or anything else that is on top of or in the surface of the furniture. If you have deep scratches or chips in the laminate, check out these tips to repair old furniture before painting.
I sanded just enough to dull down the shine in the laminate and to remove the nail polish. The point of sanding is to give the paint or primer something to hold onto. Then I wiped off all the sanding dust.
(Just like how it’s hard for us to get a good grip on something slick, it’s hard for paint to get a good grip on slick laminate.)
If you want to get the best sandpaper for your project, here is the best sandpaper for furniture painting, with information about what grit to get as well.
Priming Laminate Furniture
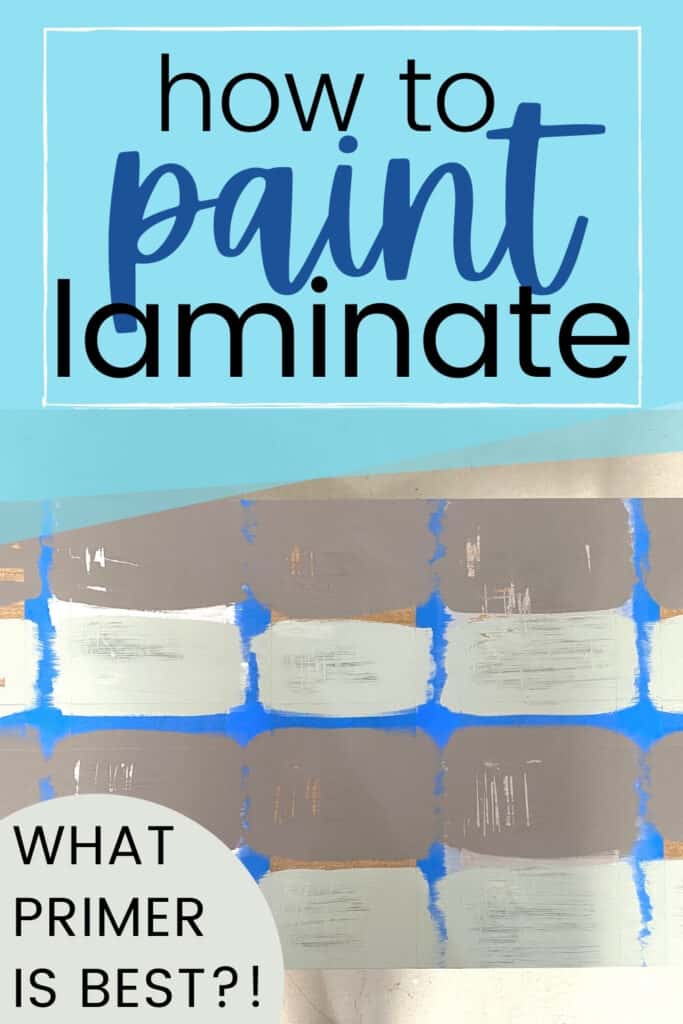
Priming laminate furniture is especially important because again, the slick surface doesn’t bond well with paint. You’ll want to use a high quality primer to make sure that your paint will properly stick and last.
To prime laminate furniture, use one of these best bonding primers for laminate furniture and apply 2 coats with a brush or roller. If you’re using a spray primer, make sure you do it outside or in a well-ventilated area. Let the primer dry according to its recommended time.
Learn exactly how to prepare furniture for paint to get the best results here.
Painting Laminate Furniture
After you’ve properly prepared and primed your laminate surface, it’s time for painting! Here are the best paints for laminate furniture and best chalk paint for laminate furniture you can use.
Choose a color that matches your overall aesthetic and personality. If you want a modern yet timeless touch to laminate furniture, you can go brown with these brown furniture paint ideas.
Would you like to save this?
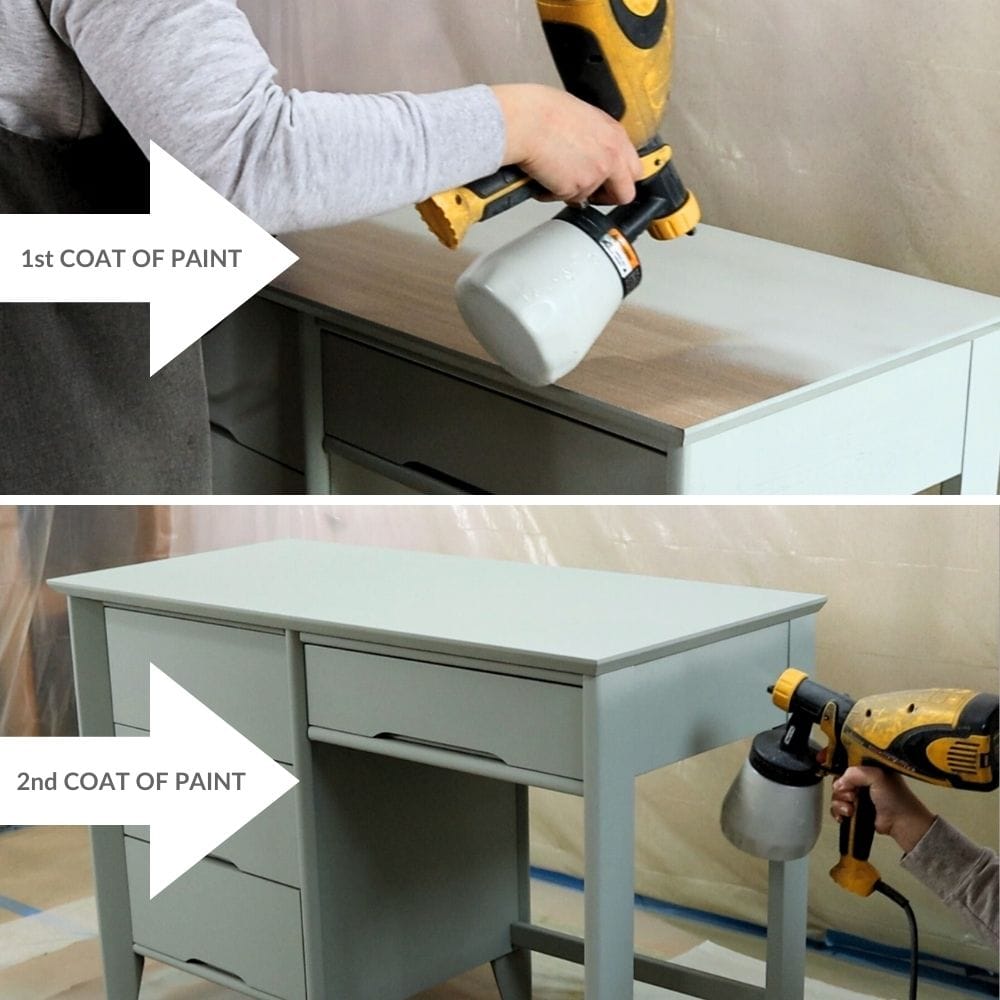
Apply at least 2 coats of paint onto your laminate furniture, letting it dry between coats. Aside from a brush or roller, you can also use a paint sprayer for a more even and professional looking finish. You can look into the best HVLP paint sprayers for furniture here and learn how to use a paint sprayer on furniture here if you’re new to this technique.
Here’s can you spray paint laminate furniture if you’re considering spray paint!
How to Distress Laminate Furniture
This step is optional, but if you like the look of distressed furniture, you have two options! Either use the clear shellac or the Country Chic Paint clear bonding primer as your primer. Both are clear, so you’ll be able to distress your paint without seeing a white primer in between the paint and laminate.
The clear shellac has some fumes for sure, so if you want to work indoors, I’d use the Country Chic Paint clear bonding primer. Just be sure to scuff sand before using the Country Chic Paint primer to get the best results. Then you can distress the painted laminate.
I like to use 220 grit sandpaper to lightly sand the edges of the furniture, but there are less messy methods if you are working indoors. Learn more about all the methods for distressing furniture here and choose the one that fits your needs.

Sealing Painted Laminate Furniture
So, you’ve finally painted your laminate furniture and it looks amazing. But now what? How do you protect all your hard work from scratches and wear? You have to seal it!
First, you’ll want to choose a topcoat for painting furniture. Polyurethane and wax are both popular options, but polyurethane is more durable and long-lasting.
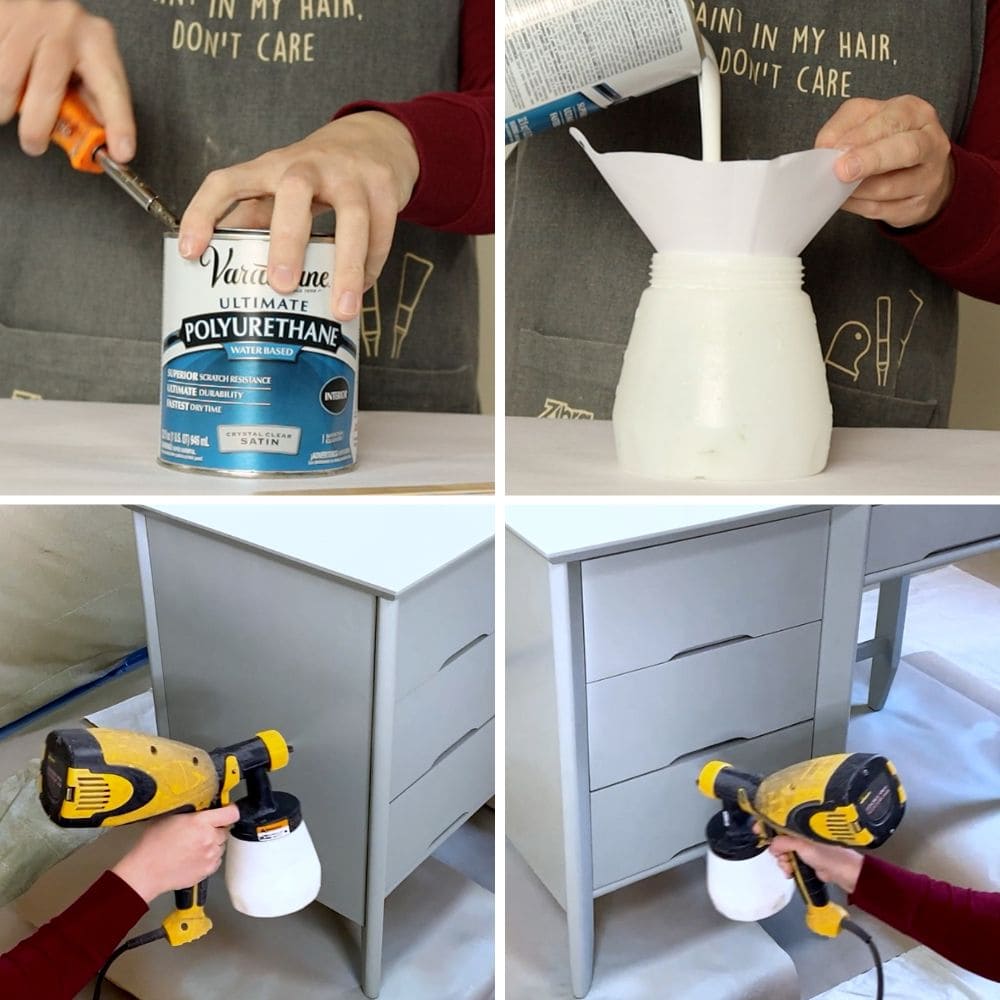
You can choose from matte, satin, or gloss finishes depending on the look you want. Here’s our wax vs polyurethane post so you can see how the 2 compare with each other.
Once you have your topcoat picked out, make sure your paint is completely dry before applying it. Then, simply apply 2-3 coats of your topcoat and let each coat dry completely before applying another one. Remember to allow 24 hours of drying time before using your newly sealed and painted laminate piece!
Can You Paint Laminate Furniture Without Sanding It?
If you’re wondering if it’s possible to paint laminate furniture without sanding, the answer is yes! You can paint laminate furniture without sanding!
Here’s how to paint laminate furniture without sanding for a more detailed guide. Check out the best paints for furniture without sanding here. You can also check out how we painted IKEA furniture without sanding here.
Keep in mind though, if you have any scratches or spots of nail polish (like I did), you’ll want to sand those areas so you have a nice smooth surface for your paint. As mentioned above, sanding also helps the paint adhere better to the laminate surface.
Will Chalk Paint Stick to Laminate Furniture?
Honestly, chalk paint with no sanding and no primer? NO! Chalk paint will not stick to laminate with no prep before painting.
Check out this makeover on how to chalk paint furniture… I didn’t sand before painting the wood dresser… and the chalk paint still didn’t adhere as well as it should.
It definitely sticks better than latex paint does, but please don’t use chalk paint on slick laminate without doing something to make it stick better. If you don’t at least prime under the chalk paint, you’ll be left with a bad paint job, where the paint will easily scratch off of the laminate.
If you really don’t believe me, do a scratch test of your own. Paint a little bit of chalk paint on the flat surface of your laminate (so it’s super easy to remove if it doesn’t stick).
Let it dry for 24 hours and then try to scratch it off with your fingernail. If it sticks really well, then you’re good to paint the rest of your laminate furniture with chalk paint.
If it scratches off easily, you’ll need to remove that little bit of chalk paint and, at the very least, add a coat of shellac based primer on the laminate before the chalk paint. Get more answers on will chalk paint stick to laminate? in this post.


Remember, cleaning and proper preparation are key for a successful painting project on laminate furniture. By following these tips and using the best products, you can get a beautiful and durable finish that will last for years to come.

How to Paint Laminate Furniture
Are you looking to paint your laminate furniture? Here’s how to paint laminate furniture!
Materials
Tools
- Paint Brush
- Paint Roller
- Paint Sprayer
Instructions
- Clean your laminate furniture thoroughly with a degreaser like Krud Kutter. This will remove any dirt, grime, or oil that could affect the adhesion of your paint.
- Once cleaned, lightly sand the surface with fine grit sandpaper to create a better bond between the paint and laminate. You also need to sand if there are any imperfections or scratches on the surface. Be sure to wipe off any sanding dust afterwards.
- Next, apply a high quality bonding primer onto the laminate surface using a brush or roller. This will guarantee that your paint will properly adhere and last for years to come. Apply at least 2 coats of paint, letting each coat fully dry in between. Let the primer dry after according to its recommended time before moving on to painting.
- Choose your desired paint color and apply at least 2 coats onto your fully primed laminate furniture. Let each coat dry completely before moving on to the next. You can also use a paint sprayer for a more professional finish.
- If you want to distress your painted laminate furniture, use a clear shellac or a Country Chic Paint clear bonding primer BEFORE painting. Both options will allow you to easily create a distressed look without showing any white primer in between layers.
- Once your paint is completely dry, it's time to seal it. Choose a topcoat and apply 2-3 coats onto your furniture, making sure to let each coat dry fully. Allow 24 hours of drying time before using your newly painted and sealed laminate furniture.
Recommended Products
As an Amazon Associate and member of other affiliate programs, I earn from qualifying purchases.


More Laminate Furniture Makeovers
- Best Black Furniture Paint – MCM Black Painted Dresser
- Painting Furniture Without Sanding or Priming
- How to Paint a Laminate Dresser
- Heirloom Traditions All In One Paint Review
- Laminate Desk Makeover

Follow us on YouTube to get more tips for painting furniture. Or share your project with us on our Facebook Group and be part of our community. See you there!
Would you put any sort of sealant on top of the piece after using the primer and chalk paint? I am using your method to repaint my own furniture!
Yes, definitely put a topcoat on chalk paint. Here is how to chalk paint laminate furniture.
Is Emerald Urethane Trim Enamel also a good choice for Laminate Furniture?
Hey Dianne! That’s a great question. You can check out this blog for more information: Best Paint For Laminate Furniture
Hope that helps!