Painting Furniture Without Sanding or Priming


Today I’m sharing another 1-day makeover, this one is SUPER simple, anyone can do it. Here’s the process of painting furniture without sanding or priming, and the finish still sticks fantastically! We’ll be using Heirloom Traditions Paint for this project, and you’ll learn more about this product as we go along.
So keep reading for tips and tricks on how to update your piece quickly and effortlessly but without compromising on quality results!

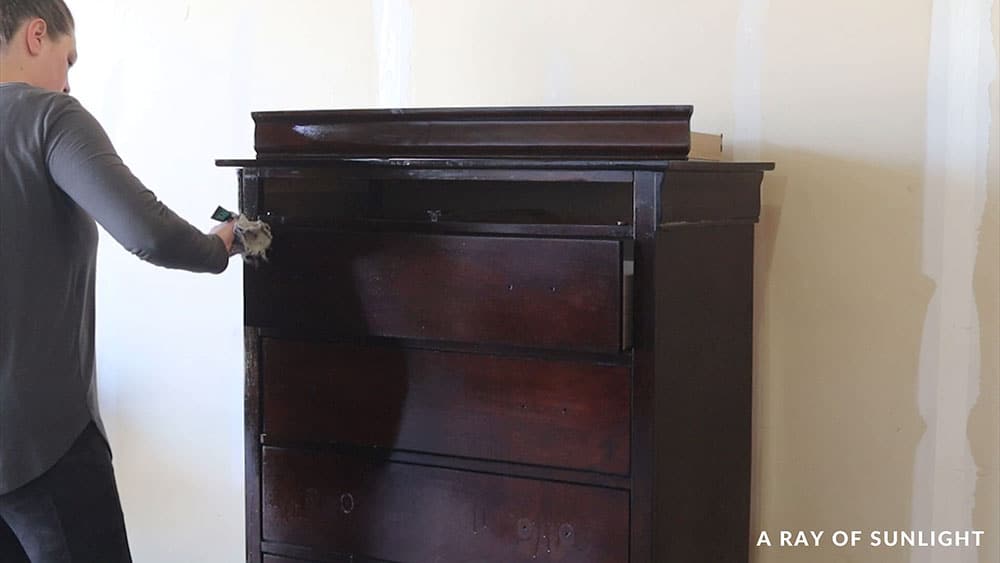
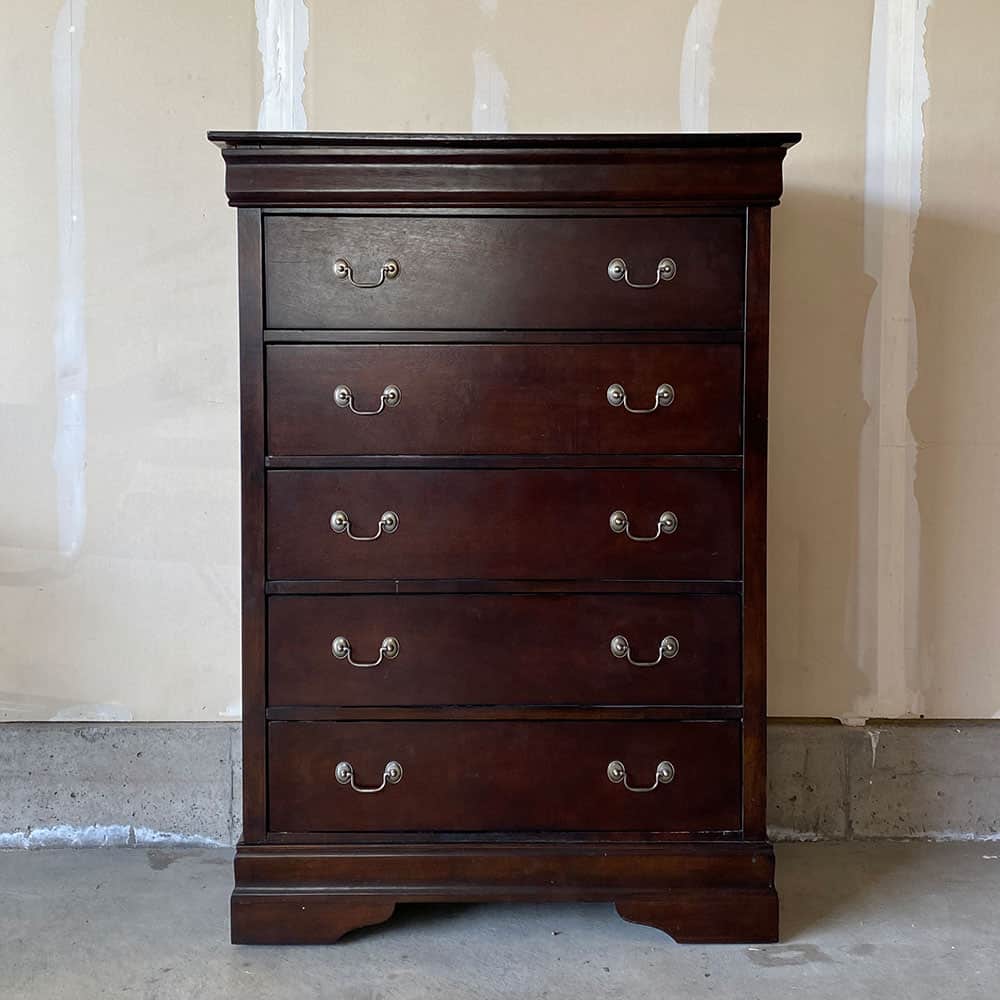
This dresser was in great condition, to begin with. With no scratches to fill or anything like that. It was just a little outdated for my taste. So, it was a perfect candidate for a quick and easy makeover.

Since the piece was still in good shape, you can get away with skipping the sanding and priming steps. This will make the process a lot faster, especially if you’re short on time. Plus, it’s a great way to save money on supplies.
But don’t worry about sacrificing quality for speed! We’ll show you how to get a professional looking finish even without some of the usual prep work. So, let’s get into this fun and fast furniture transformation!

Supplies Used for Painting Furniture Without Sanding or Priming
As an Amazon Associate, I earn from qualifying purchases. I also may earn from other qualifying purchases with other companies or get free product to review and use. All opinions are my own.
- Electric Screwdriver
- Krud Kutter and Damp Rag
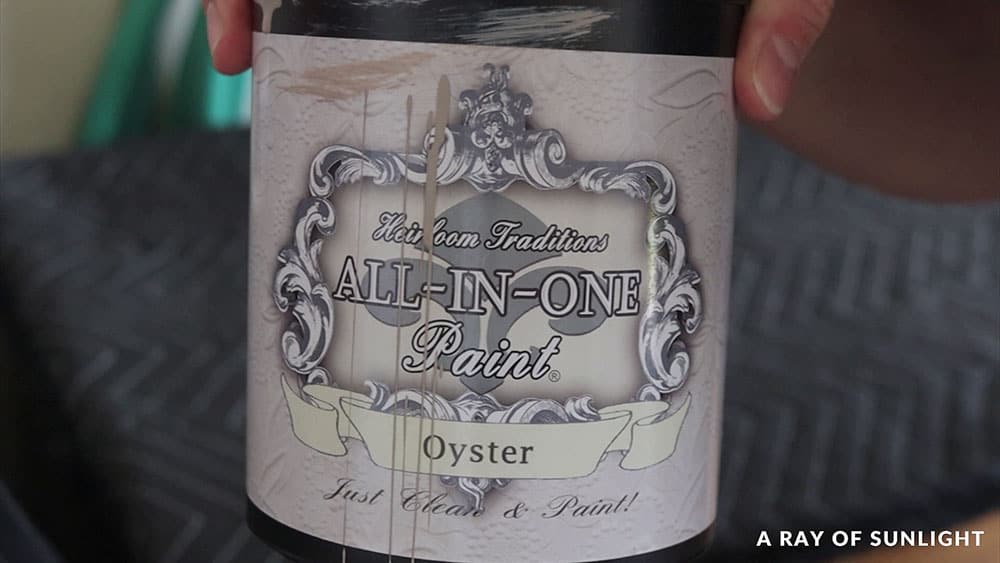
- Heirloom Traditions Paint in Oyster
- Paint Brush
- Foam Roller
- 220 Grit Sandpaper (Optional)
- Tack Cloth (Optional)
Remove Dresser Hardware
First, I removed the drawer pulls with my handy dandy electric screwdriver and set them aside. Learn how to change hardware on a dresser if you’re looking to update old hardware.
Clean Dresser
Then, I cleaned the dresser with Krud Kutter and an old damp rag. Krud Kutter does a great job at cutting through oils and grime, so it’s my favorite cleaner. But you can use dish soap and warm water instead.
Heirloom Traditions Paint recommends using their Deglosser that deglosses and cleans.
The goal here is to just remove any oils, dust, or grime on the surface since they get in the way of letting the new coats adhere well. Read these posts to learn more about how to clean furniture before painting and how to prepare furniture before painting!
As I was cleaning, I removed the drawers. These ones, in particular, needed a quick and kind of hard pull to get them to come off the tracks. If the track system is in bad shape, here are ways how to fix broken dresser drawer tracks. For any runner issues, check out how to repair worn drawer runners here.
Painting Furniture Without Sanding or Priming
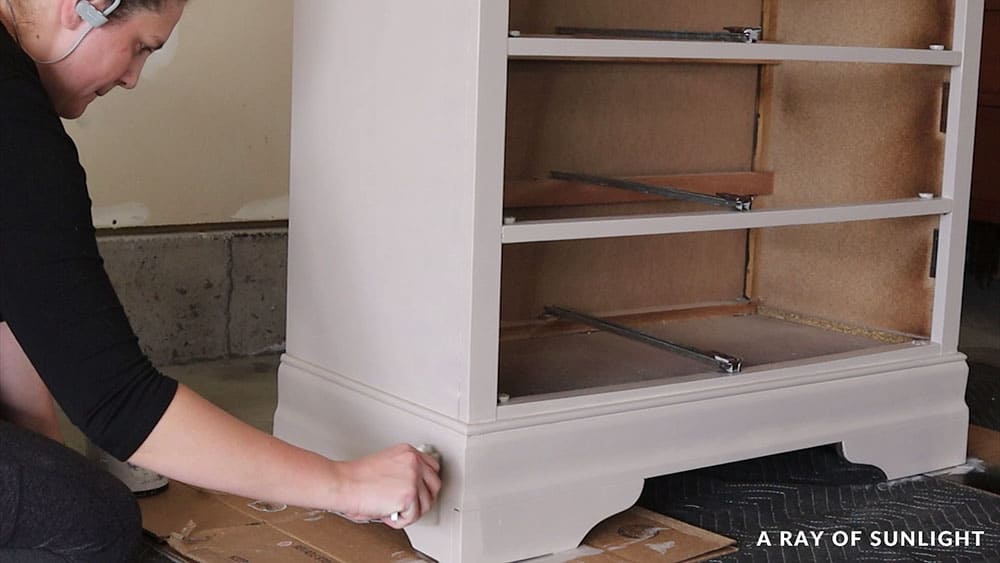
I laid down a moving blanket to protect my floor, and then I was ready. For this project, I used Heirloom Traditions Paint in the color Oyster. If you want more shades like this, here’s our list of the best beige paint for furniture!
What Is All in One Paint?
It’s a kind of paint that doesn’t need a primer or scuff sanding to help with adhesion, and it doesn’t need a topcoat. Check out more best paint for furniture without sanding options here.
Check out these comparison posts on Fusion Mineral Paint VS Heirloom Traditions Paint and Beyond Paint VS Heirloom Traditions Paint to see how Heirloom compares to these other brands.
How to Paint Furniture Without Sanding or Priming
You can spray it, brush it, roll it, or do a combo of brushing and rolling. Whatever floats your boat. Check out this guide for painting furniture with Heirloom Traditions Paint.
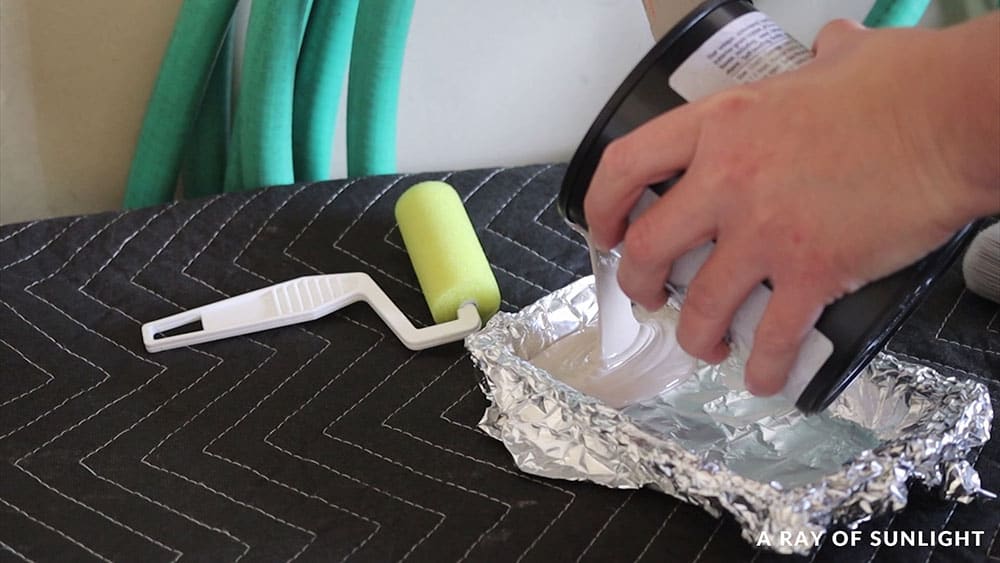
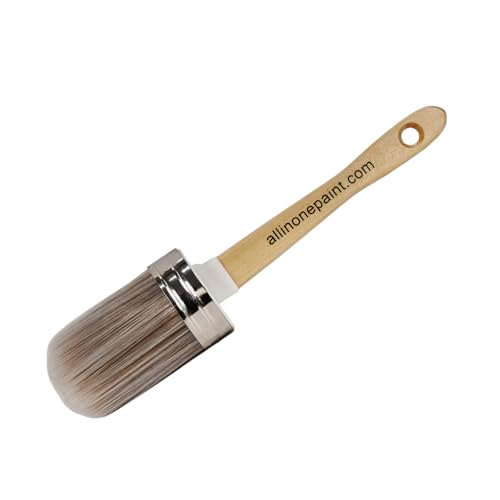
This time, I tried the roller and brush combo. So I bought this brush and roller set from Heirloom Traditions. It included a little paint tray which is cool.
TIP! I want to reuse it in the future, so I lined it with some tin foil so I don’t have to clean it up afterward. And then, I mixed up the paint and poured some into the tray.
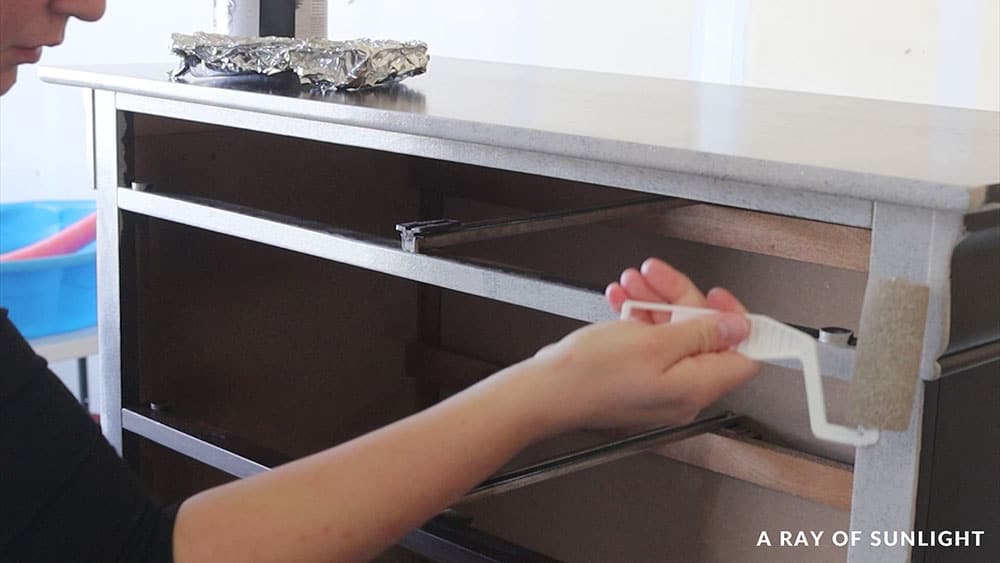
It took me a few minutes to get a hang of it, but I basically brushed the coating on, and then I rolled over it with the foam roller. Check out the best paint brushes for painting furniture here and the best rollers for painting furniture here. See how to spray all in one paint here if that’s more your speed.
- This paint dries pretty quickly, even though it was only in the 60s, so I worked in small sections.
- It seemed to work the best when I brushed on a thinner amount, and then quickly went back over it with a drier roller.
- I tried not to push too hard so I wouldn’t leave lines from the roller’s edge.
- And if there were little bubbles, I tried to roll them out.
This technique definitely leaves some texture behind, which isn’t a bad thing, especially if you’re a beginner, or if you don’t mind some roller texture. But if you do prefer a brush free finish, learn how to paint furniture without brush marks here.
Sand Any Texture (Optional)
After the 1st coat, I wrapped everything up with some tin foil to keep it from drying out before the next coat. Here’s what the 1st coat looked like when it was dry.
It felt pretty smooth on the sides of the dresser. But it was rough on the drawer fronts since they were laying flat, and it was kind of windy outside.
There were some larger spots of texture that I didn’t care for. For a texture free look, learn how to use Heirlooms Traditions in a sprayer in this blog post on painting furniture black.
Would you like to save this?

So, I lightly used 220 grit sandpaper to remove those. This part is totally optional and personal preference. Learn more about what sandpaper for furniture painting to use here. After I got rid of the rough texture, I cleaned the dust off with a tack cloth.

How Durable is Heirloom Traditions All in One Paint?
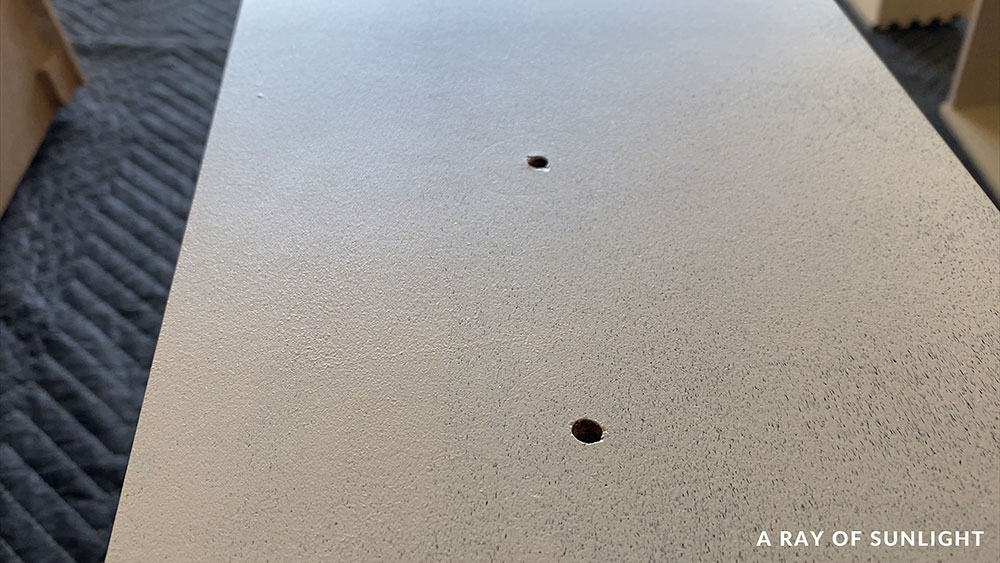
Real quick, before moving on, I did a scratch test so you can see how well it sticks. I scratched pretty hard, and this was only a few hours after the 1st coat had been applied. It scratched a tiny bit, which is honestly pretty good after only letting it dry for about 3 hours.

So, I added the second coat. This time, I feel like it dried faster, and my brush kind of drug across the surface instead of gliding like the first coat. But it worked out just fine.
What Does Heirloom Traditions Paint Stick To?
So, it says it will stick to wood, laminate, masonry, leather and vinyl, smooth fabrics, ceramic glass, and metal. It also is UV and water-resistant.
I personally have worked on slick laminate without sanding or priming beforehand, and after 48 hours, it didn’t scratch off at all! See our Heirloom Traditions Paint review and durability test on laminate here!
I didn’t feel like there was full coverage after 2 coats though, so I ended up with 3 coats total. But with 2 hours of dry time between each coat and me running some errands while they dried, I still got it all the way done between 8 am and 5 pm.
Afterward, I cleaned the brush and roller with warm soapy water. And I just threw away the tin foil from the tray. It took about 5 minutes to clean up, and now I can use them all in the future. Here are more of the best furniture painting tools and supplies to help make your project also look its best!
Attach Old Hardware
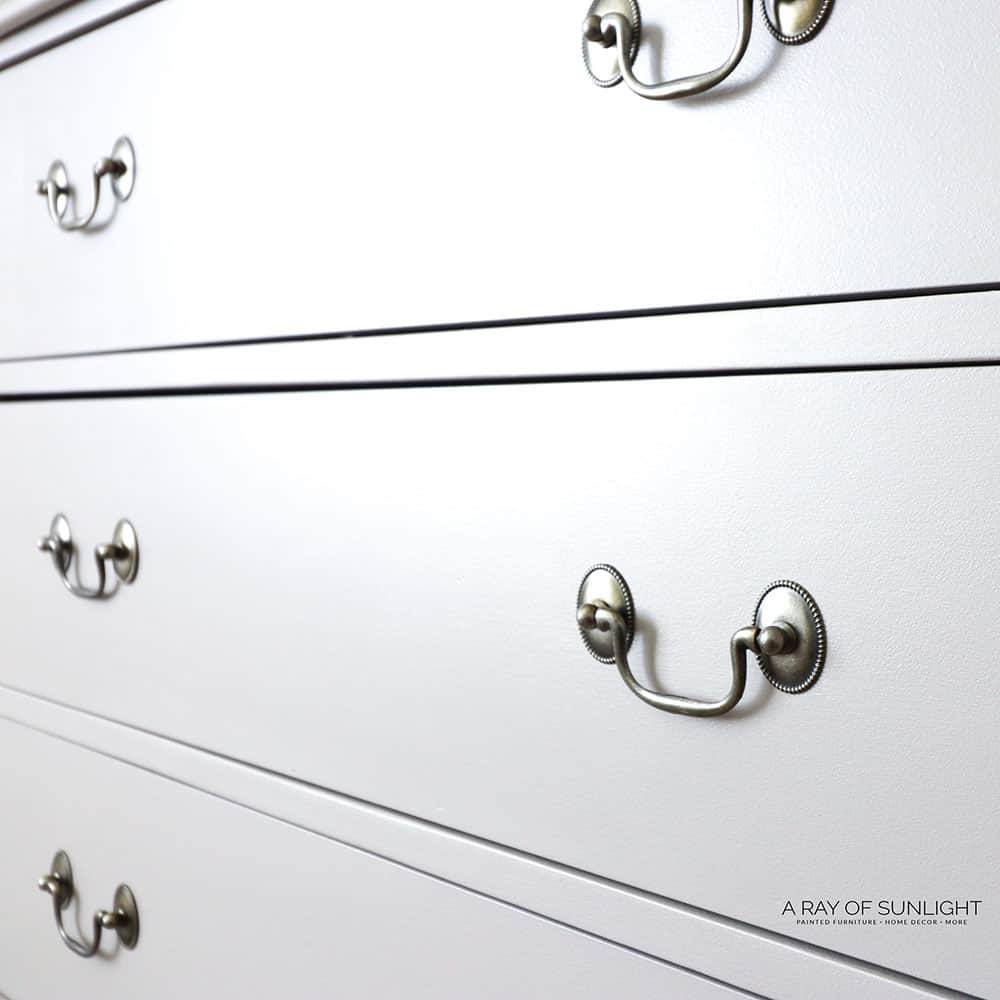
I debated getting new hardware or giving the old hardware a new color, but I wanted this to be a quick, easy, and cheap makeover, so I just put the old hardware back on. It’s not my favorite, but I think it works. Learn how to clean old furniture hardware to make it look new again.
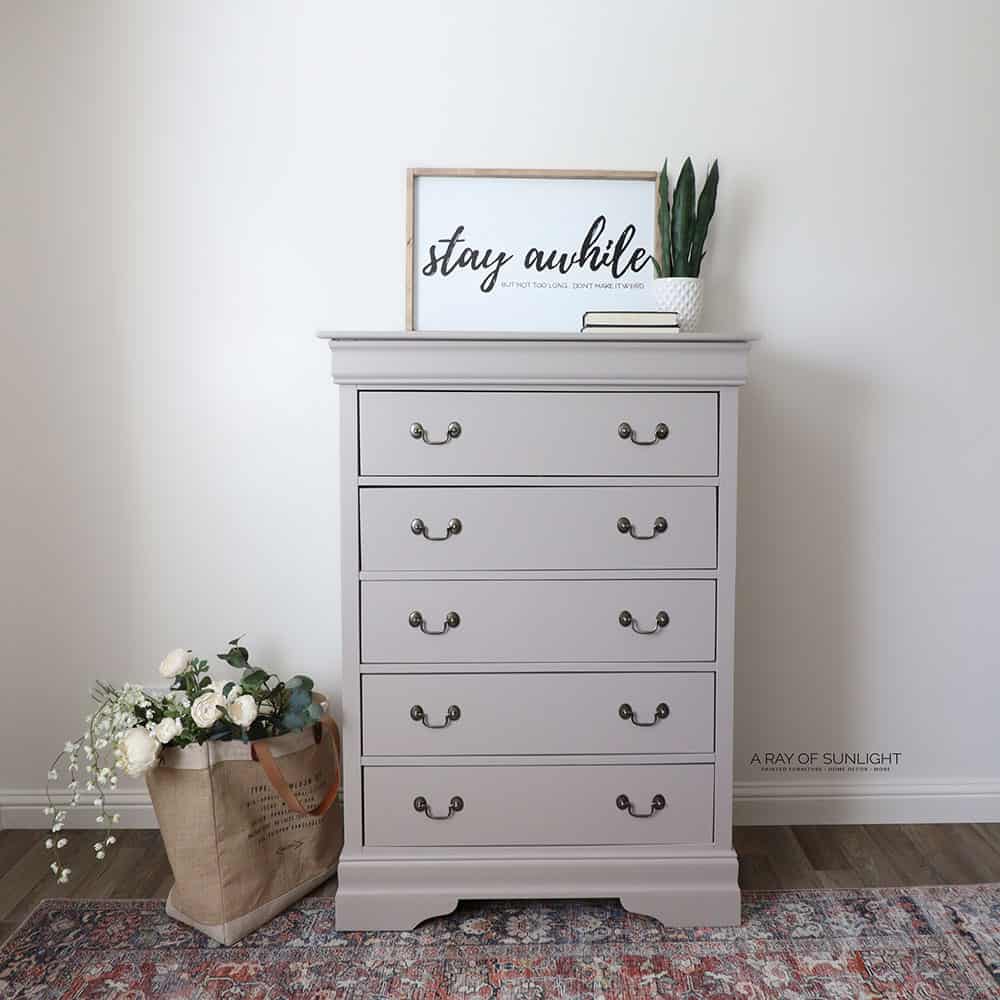
And here’s what it looks like now. Here are more Heirloom Traditions Paint before and afters to be inspired by! If you’re looking for more ideas for your dresser, here are more painted dresser ideas! You can get more tips on how to paint wood furniture without sanding or priming in this post.
More Before and After Makeovers
See All >
Click any of these “before” photos below to view the “after” of that makeover.


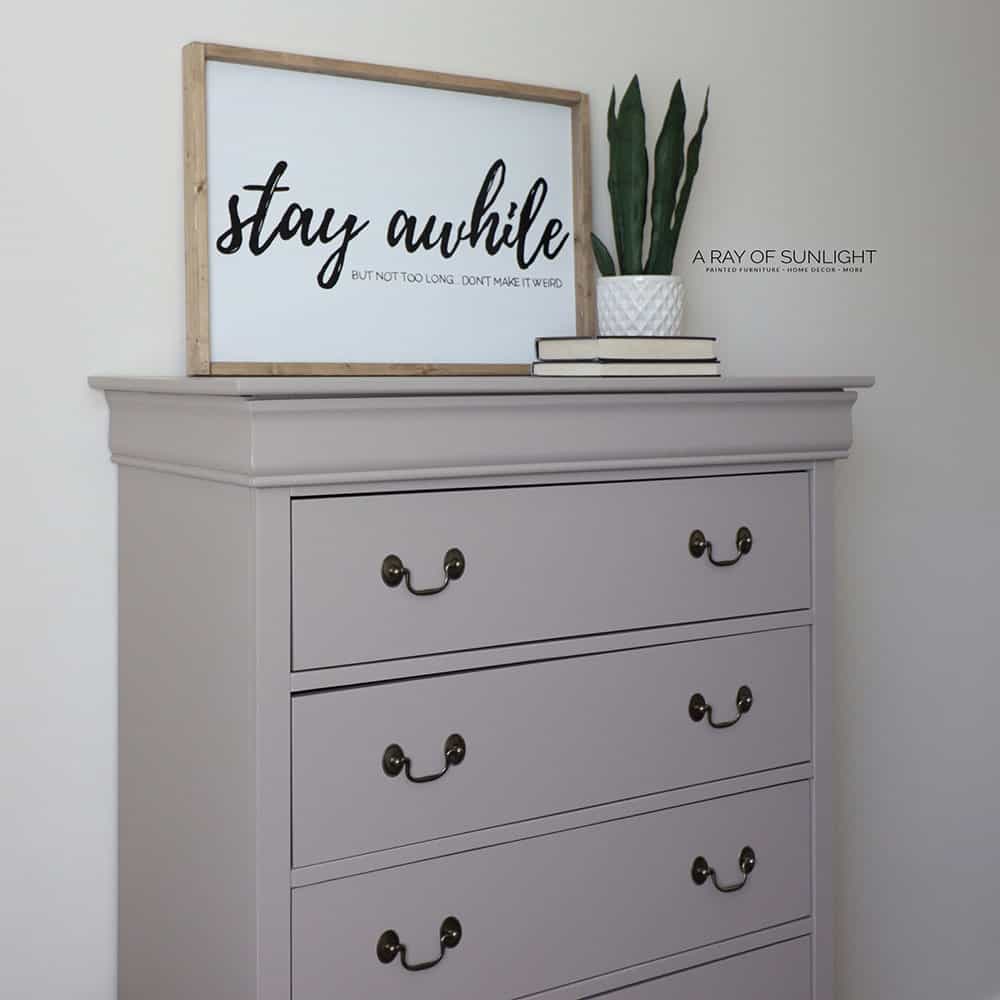
Not too bad for what, about $60 worth of supplies? Here is another way to paint furniture grey without sanding or priming!
If you get up close, you can definitely see the texture and you can feel it slightly. It’s not my favorite… maybe I’m doing something wrong haha. But when you take a couple of steps back, you can’t even see the texture. So that’s awesome.
It does create a perfect, texture free finish when I spray it… if you have a sprayer. Learn how to paint furniture with a sprayer for that texture free look and here are the best HVLP paint sprayers for furniture you can use.
I’m curious, though; do you hate texture or would you rather it instead of brush marks?
How to Repaint Furniture Without Sanding or Priming
What about a finished piece? First, you have to make sure that the old finish is in good condition. You don’t want to be applying a new coat over something that’s already peeling or easily chipping off. If you’re working with finished furniture, check out this guide on painting finished furniture to get the best results.
If the existing finish is not doing well, you should remove it with a chemical stripper. This is an effective way to quickly strip off multiple layers of coating. Here’s more on how to remove paint from wood without sanding, and here are the best tools for removing paint from wood.
After you’ve removed the old finish, do the usual prep work of removing hardware and cleaning the piece. Just like the steps above, you can skip sanding and priming. But can you really skip sanding? Let’s test it here!
But if you can, adding a primer really helps the new color stick better. Plus, it deals with those pesky wood tannins that can bleed through. Here’s wood tannins coming through paint to learn more about them and how to prevent them.


Painting furniture without sanding or priming is totally doable, and it can save you a lot of time and effort. Just make sure to choose the right kind of paint for your project and follow the proper steps for preparation and application for the best results.


Painting Furniture Without Sanding or Priming
Anyone can do this simple makeover. Learn how you can start painting furniture without sanding or priming here.
Materials
Instructions
- Remove furniture hardware with a screwdriver and set them aside.
- Clean the furniture with Krud Kutter and an old damp rag to remove any oils, dust, or grime on the surface since they get in the way of letting the paint adhere well.
- Paint 3 coats of paint onto the furniture for full coverage. Brush on the paint, then go over it with the foam roller. This paint dries pretty quickly, so work in small sections. For any texture between coats, sand them smooth.
- Let the paint dry and attach the old hardware.
Recommended Products
As an Amazon Associate and member of other affiliate programs, I earn from qualifying purchases.


More Painted Furniture Makeovers
- Paint Furniture Black
- Painting a Dresser
- Painting a China Cabinet with Wise Owl One Hour Enamel
- Antique Painted Furniture
- DIY Modern Grey Dresser
Learn the Art of Updating Furniture!
If painting furniture feels overwhelming or your past attempts didn’t go as planned, this course will guide you step by step.

Follow us on YouTube to get more tips for painting furniture. Or share your project with us on our Facebook Group and be part of our community. See you there!
Since I didn’t sand it, the original finish wasn’t distrupted, so it was way less likely to bleed. Prime with a stain blocking primer (shellac) to stop that.
I enjoy your comments on the paint…. It’s one area I’m still on sure about, and the information you provided is very helpful . I have an unusual table that can be converted from coffee table, up to a small dining table… with a laminate top … I’m afraid I’ll muck it up…. This paint might be my answer…
This was the perfect DIY yet, exactly what I want to do with my daughters dresser.
Is the color you used, Oyster, more gray than white?
Oh awesome! Yeah it’s more of a taupe, creamy gray. I wouldn’t consider it white.
Hope that helps!
I am a hair stylist by trade for the past 33 years, my kids are grown and I’m looking for my second act. I have faux painted back in the day as a side hustle and have always had a need to feed my creative nature. I so want to try my had at flipping furniture, I am collecting tools and materials but I am so worried no one will purchase the finished projects😫how and where did you start selling your first flips?
Also, thank you, you have been a real inspiration for me and the information you share is priceless.💕
Welcome to the world of furniture painting!
You just have to start. Did you grab my pricing guide? I have some great tips on there! Free Pricing Guide is here if you didn’t get it yet.