Painting IKEA Furniture


Are you considering painting IKEA furniture but not sure where to start? In this post, we’ll walk you through the basics of how to paint IKEA furniture so you can get started on your project.
This is one of the furniture makeover ideas that is perfect for those who have IKEA furniture that needs a little sprucing up or for those who are looking to add a unique touch to their home decor. With these simple steps and techniques, you can transform your plain IKEA furniture into something special and personalized!
We’ll cover everything from preparing the surface to applying the paint and if you really need to sand. So whether you’re looking to completely transform a piece of furniture or just give it a new lease on life, keep reading for all the tips you need!
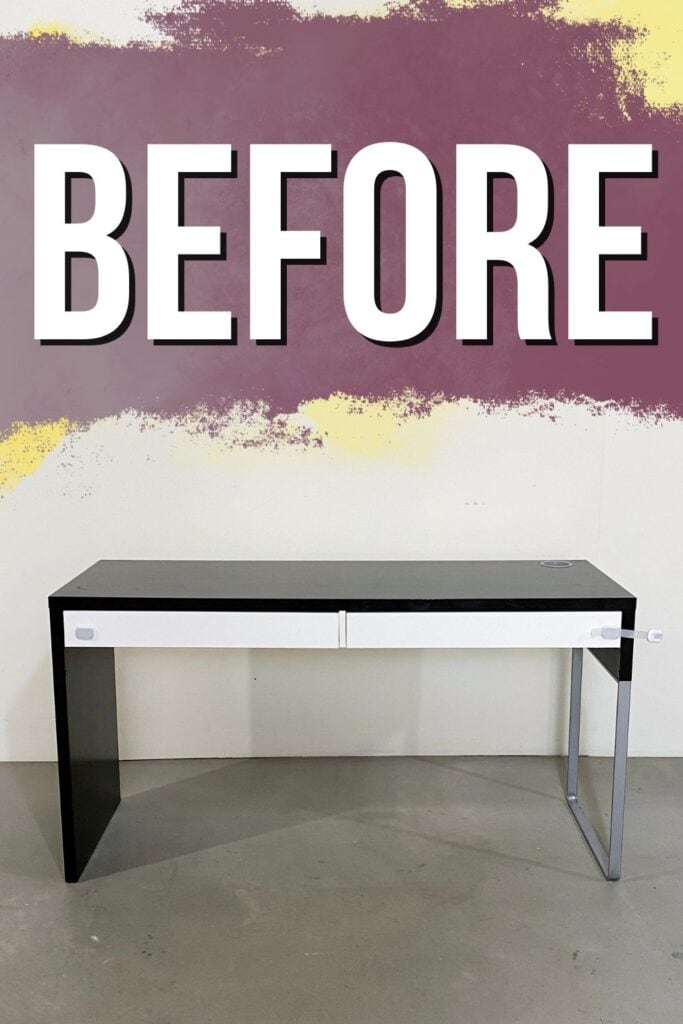
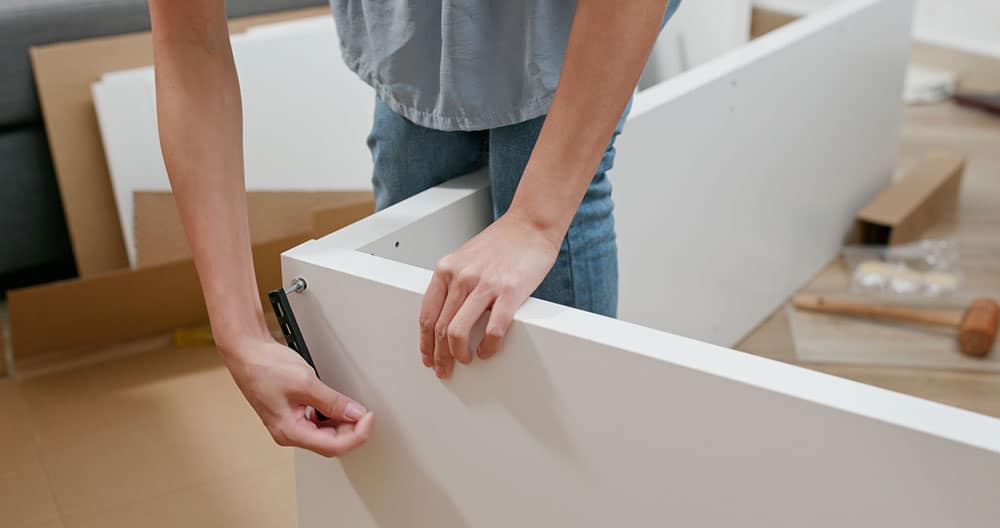
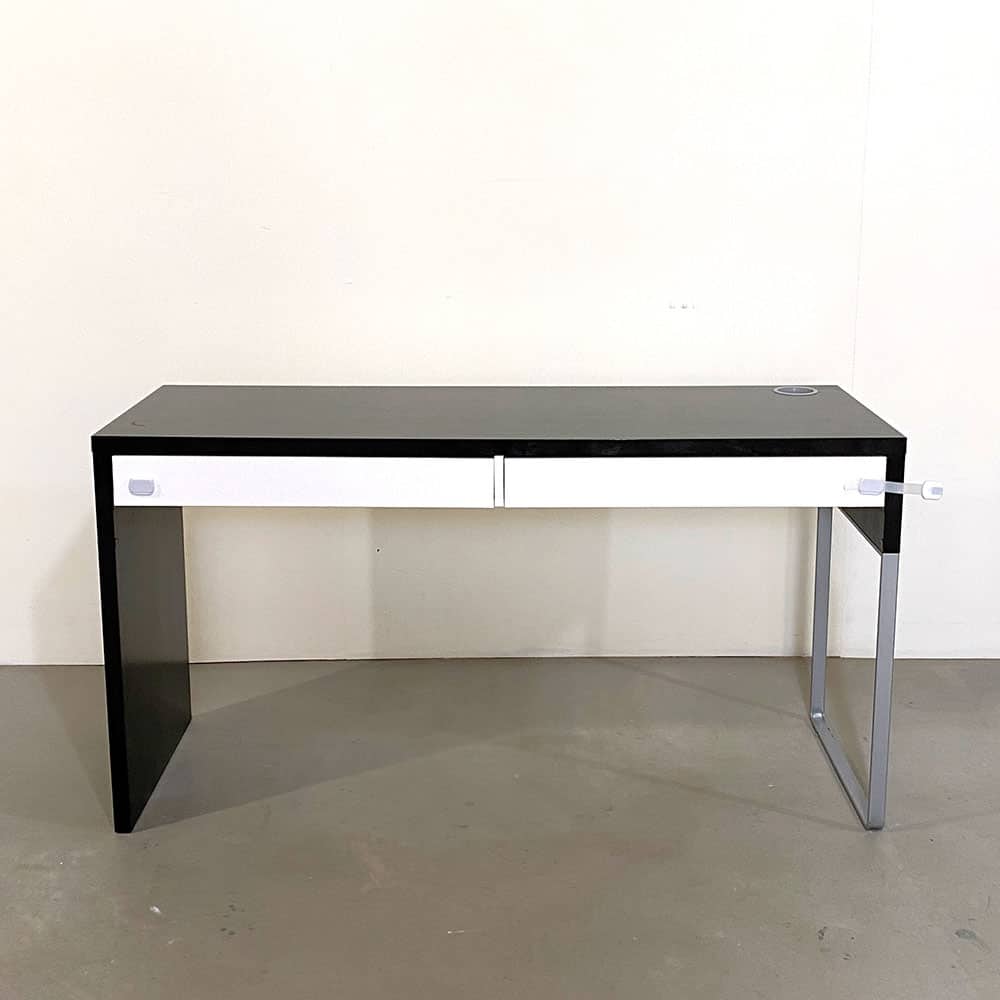
You can see above what the IKEA MICKE desk looked like when we snatched it up for FREE from our neighbor. They don’t sell this black and white combo anymore… but they do still sell this style of desk.

This specific IKEA desk is made with laminate, plastic, and metal. You can buy it at IKEA for $99 in all white, and honestly, I really like the all-white look. But in my humble opinion… the white and black and gray was too much haha.
Can you paint IKEA furniture?
YES! You can paint all IKEA furniture, no matter if it’s laminate, wood, or metal. But you have to use a paint or primer that will actually stick to the really slick laminate or metal. Check out the best spray paint for metal here.

And for the wood IKEA furniture, you need a primer that will block bleedthrough stains. But, there is one primer, in particular, that is perfect for all of those scenarios!

Supplies Used For Painting IKEA Furniture
As an Amazon Associate, I earn from qualifying purchases. I also may earn from other qualifying purchases with other companies or get free product to review and use. All opinions are my own.
- Krud Kutter
- Wood Filler
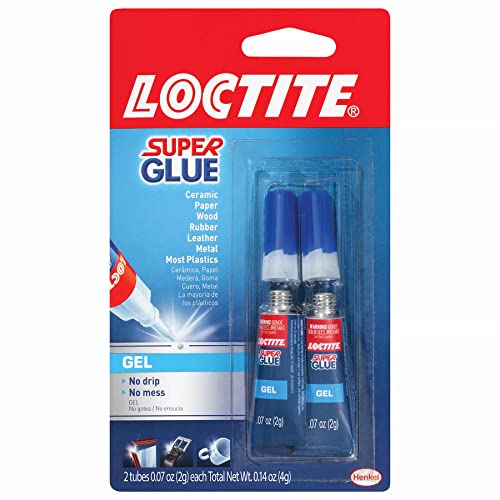
- Super Glue
- 220 Grit Sandpaper
- Respirator
- Clear Shellac
- Should have used BIN Shellac Primer
- Fusion Mineral Paint in French Eggshell
- Staalmeester Paint Brush
- Varathane Polyurethane in Satin
- Paint Sprayer
- Popsicle Sticks
- Instant Glue
- Dremel Multi-Tool
Remove Hardware (If Needed) and Clean IKEA Desk
This IKEA desk didn’t have any hardware, so we didn’t need to do this step. But if yours has knobs or handles on it, unscrew them so you can easily paint your furniture. Then you can put the hardware back on after your paint is dry.
Next, ours needed a good cleaning since it was used. (If your IKEA furniture is brand new, you could probably skip this step.)
But it would definitely not be a bad thing to do either way. Manufacturing plants aren’t the cleanest places ever. haha
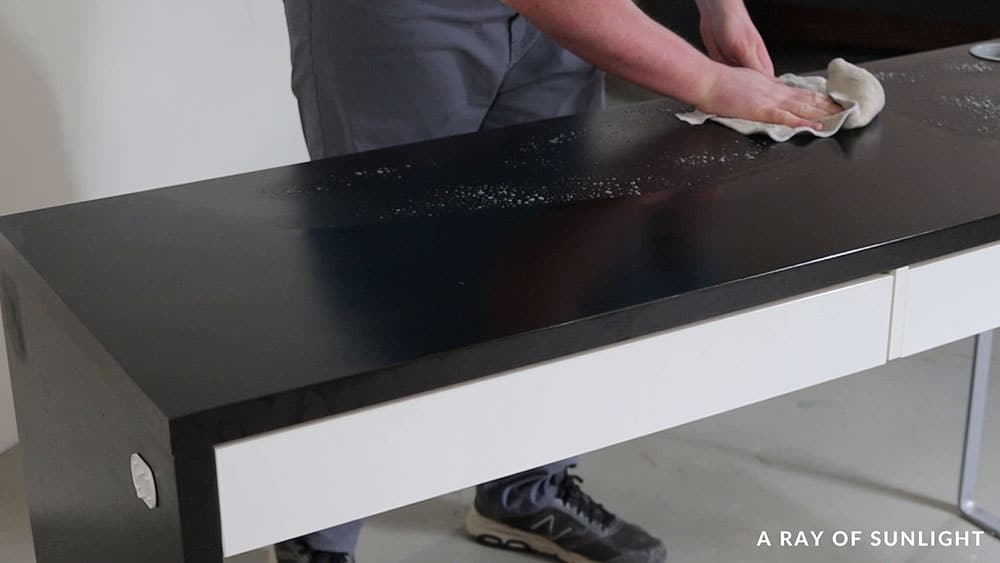
My preferred cleaner to clean furniture before painting is the Original Krud Kutter. The goal of cleaning is to get rid of oils, grease, grime, dirt.. basically anything that will make the paint not stick to the surface. Learn more about how to clean furniture before painting here.
And Krud Kutter is a great cleaner to get all of that kind of stuff off. So I spray the Krud Kutter all over the furniture and then wipe everything with an old damp cloth.
Learn more about the best way to prepare furniture for painting here!
Repair IKEA Furniture (If Needed)
If your IKEA furniture is new, you shouldn’t need to make repairs.
Fill Chipped Laminate
But, ours was used, so there were some spots where the laminate had chipped off of a leg. So we filled those small areas in with wood filler. Check out the best wood fillers for furniture here.
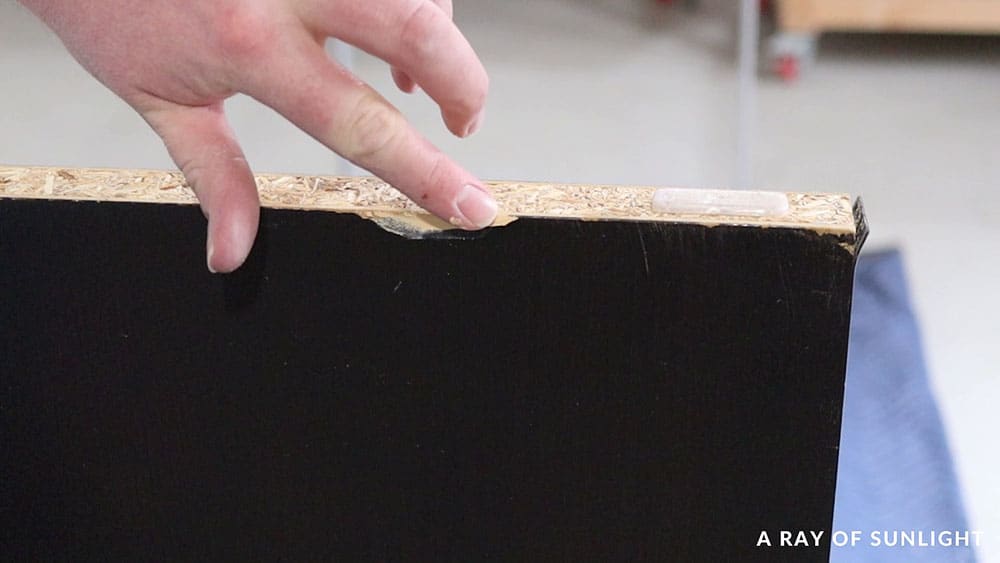
Once the wood filler was dry, about 15 minutes later, I sanded it down with 220 grit sandpaper to make it flush with the rest of the surface.
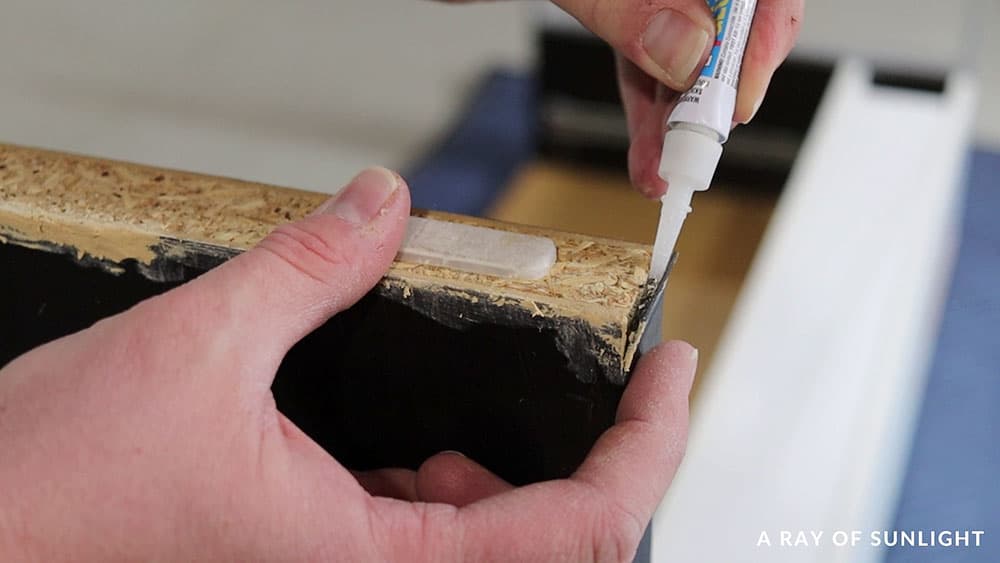
Glue Laminate Down
Then some of the laminate and plastic were peeling up, so we super glued those back down.
Sand Chipped Paint on Metal Leg
And then, there were some chips on the metal leg, so we sanded those areas smooth with 220 grit sandpaper. There wasn’t any rust, so we didn’t need to worry about that.
Sand IKEA Furniture Before Priming
And then, if you really want the paint and primer to stick, and be the best possible, then it’s best to sand everything with 220 grit sandpaper.
Rubbing some 220 grit sandpaper all over the laminate and the metal will scuff up the surface enough to give the paint something to hold onto. Learn more about the importance of sanding before painting furniture here.
You don’t need to go crazy, but it’s best to rub the sandpaper all over every part of the furniture you plan to paint.
( A lot of paint will still not stick to laminate though. You’ll still need a primer in most cases.)
Think about when you try to hold onto something that is slick and shiny. Like an ice cube. It’s hard to hold onto and seems to slip right out of your hand. But, if you grab the ice with a towel, then you can hold onto it a lot easier.
The same kind of thing happens with paint. It has a really hard time holding onto slick surfaces (laminate is super slick!). But if you scuff up the surface and make it more rough, then the paint can hold on easier. Learn more about sandpaper for furniture painting here.
If you scuff sand before priming, your painted IKEA furniture will hold up better, and end up with fewer scratches. Make sure to clean up your dust before moving on to the next step!
How to Paint IKEA Furniture Without Sanding
You don’t have to scuff sand IKEA furniture if you use the right primer! (It’s not going to give you the very very best results, but it works very well for those who want to cut corners.)
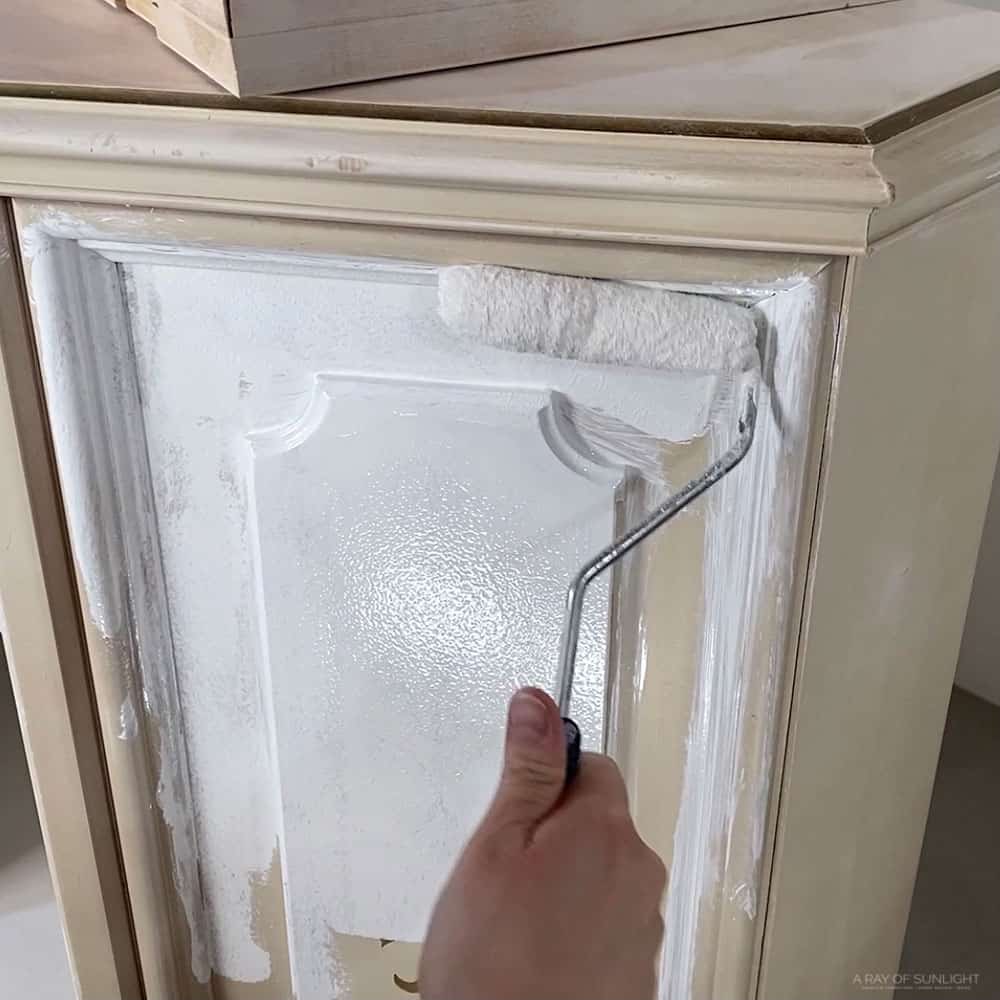
Priming IKEA Furniture
This is the most important step when you paint IKEA furniture, especially laminate IKEA furniture. Without a primer, most paint will not be able to stick to laminate furniture, even if you scuff sanded.
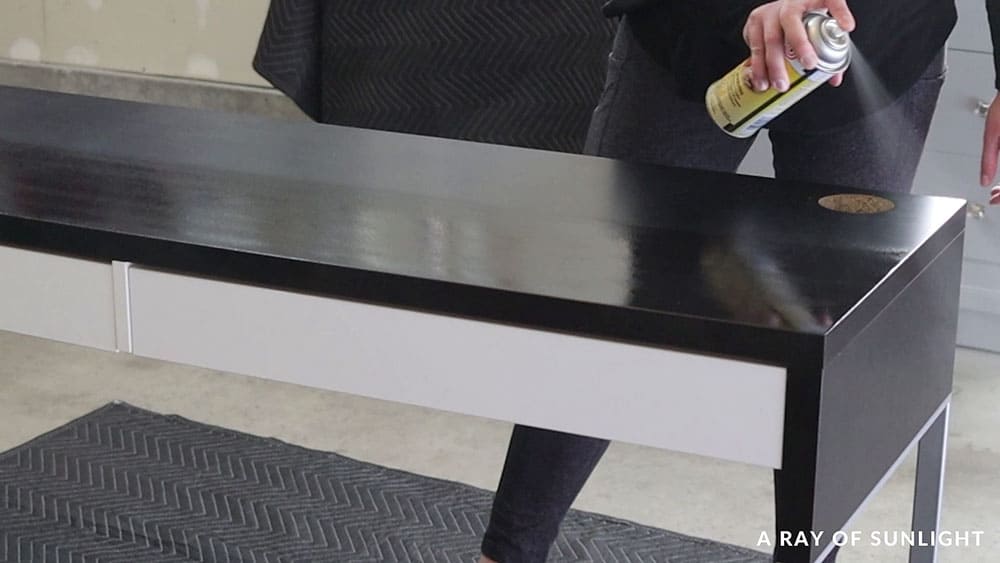
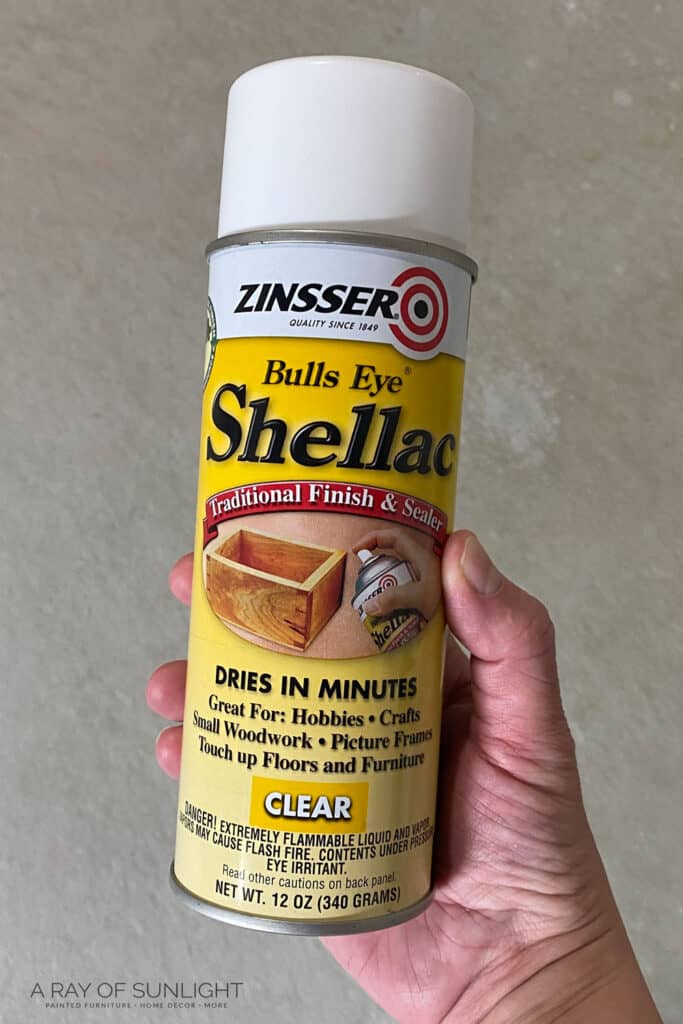
1 coat should be enough, but I like to put 2 coats to make sure I got everything covered. I used clear shellac on this MICKE desk. And it helped the paint stick very very well to the laminate and metal.
Except it didn’t work for the cable management plastic ring, and the sides of the drawers that had a different type of plastic.
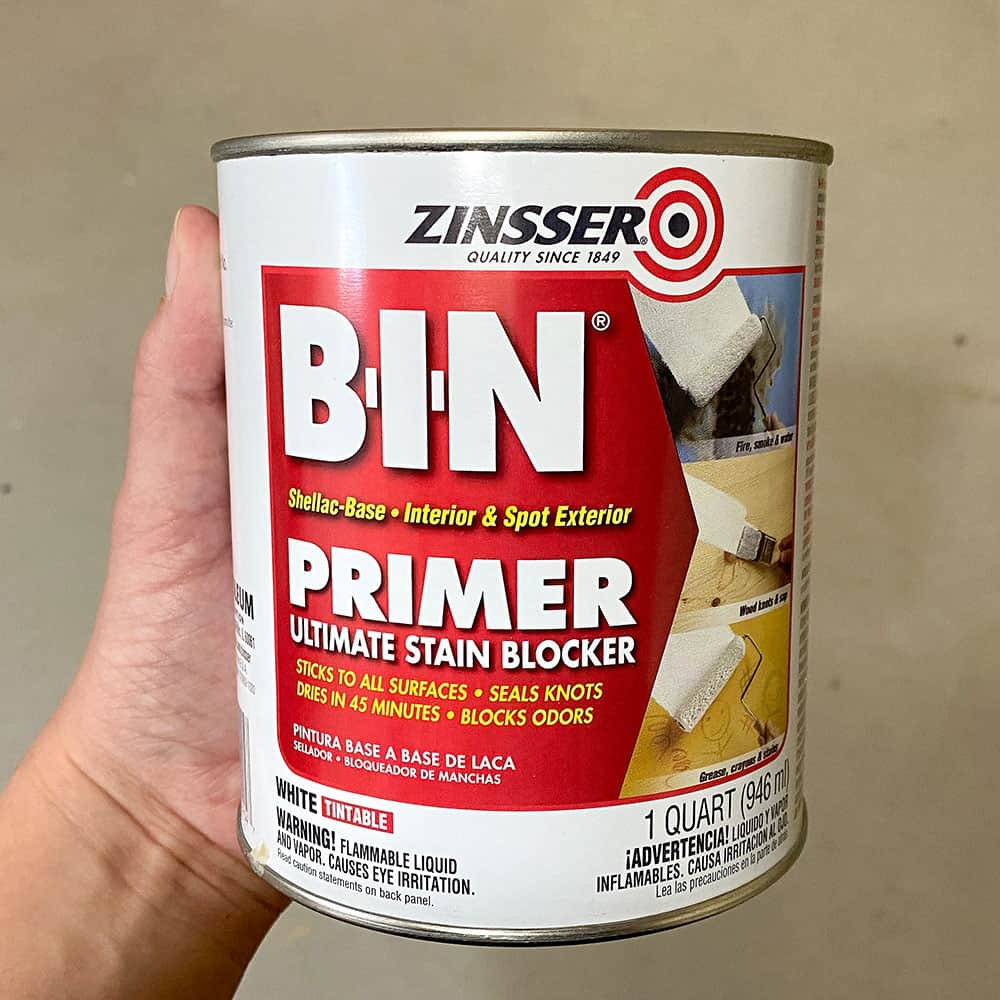
BIN Shellac primer is better than the clear shellac, and worked well when the clear shellac didn’t.
But clear shellac works great on laminate, metal, and wood. Read more about the best primers for painting furniture here.
Paint IKEA Furniture
Now it’s time to paint. Good news! With BIN shellac primer, you can use whatever paint you want!
No matter what paint you use, you should plan to paint 2 coats. You may need more to get full coverage though.
Topcoat (If Needed)
Some paint requires a topcoat to make it durable, or just because the paint is porous… and when the paint is porous, it’s hard to keep it looking clean.
TIP: Three coats are the recommendation to get the most durable finish.
If you just need to go up a sheen (from matte to satin) then 1 coat is fine, as long as you can get full coverage with just one coat.
Some examples of paint that need a topcoat are:
- chalk paint
- mineral paint
- latex paint (wall paint)
Some all-in-one paint does not require a topcoat necessarily, but when the paint dries to a matte finish, it’s very easy to scuff it up by just touching it. And it’s hard to keep it from looking dusty. So I personally choose to topcoat those.
Water-based polyurethane (also known as polyacrylic) is the best topcoat to put over water-based paints. (Oil-based paints don’t need a topcoat.)
Oil-based polyurethane will make your paint look yellow, so I would avoid the oil topcoat over paint. Learn more about the best polyurethane for furniture here.
Finish off the IKEA Desk Makeover
With this MICKE IKEA desk, I thought it was still too plain after I painted it.
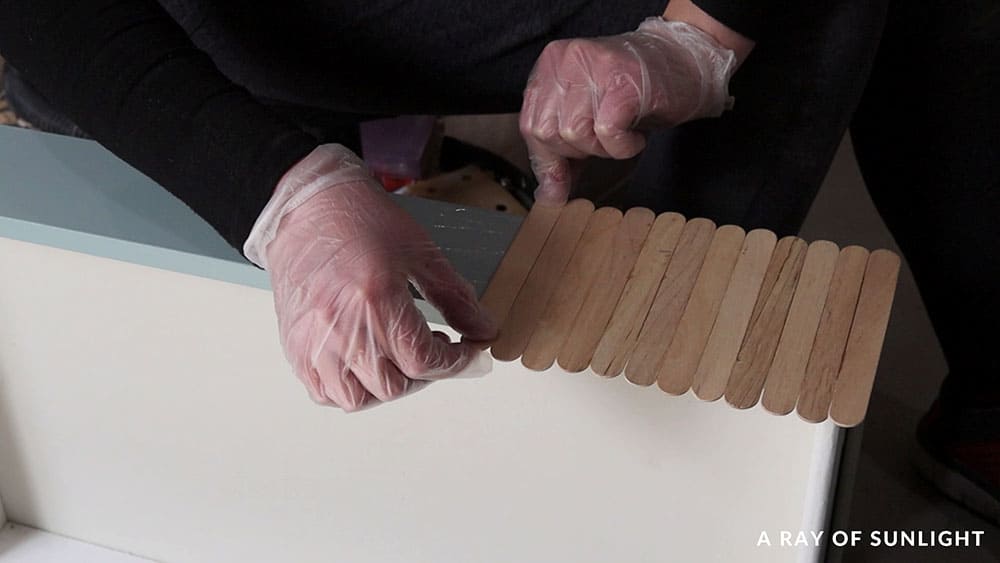
So I added some popsicle sticks to the drawers. You can see more about that process in the video of this makeover, or from this cabinet makeover in this all in one paint for furniture post where I put popsicle sticks on the drawer.
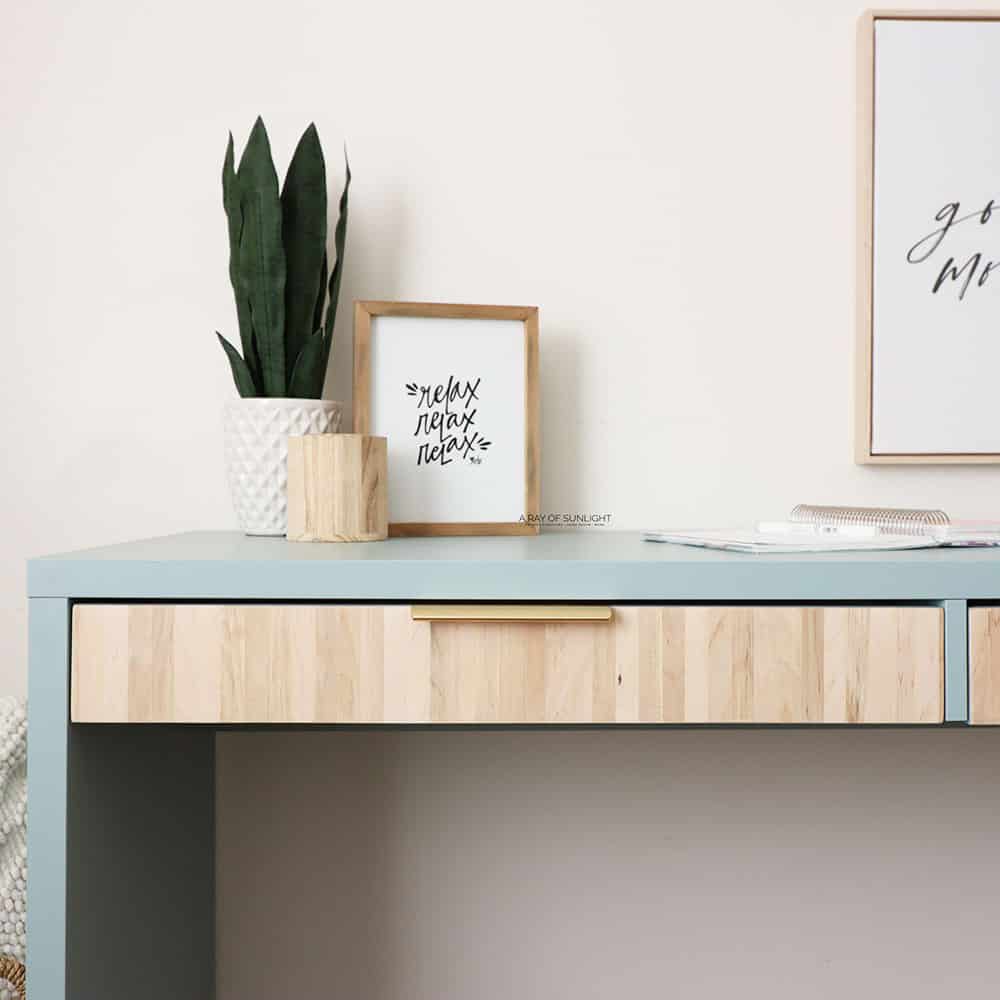
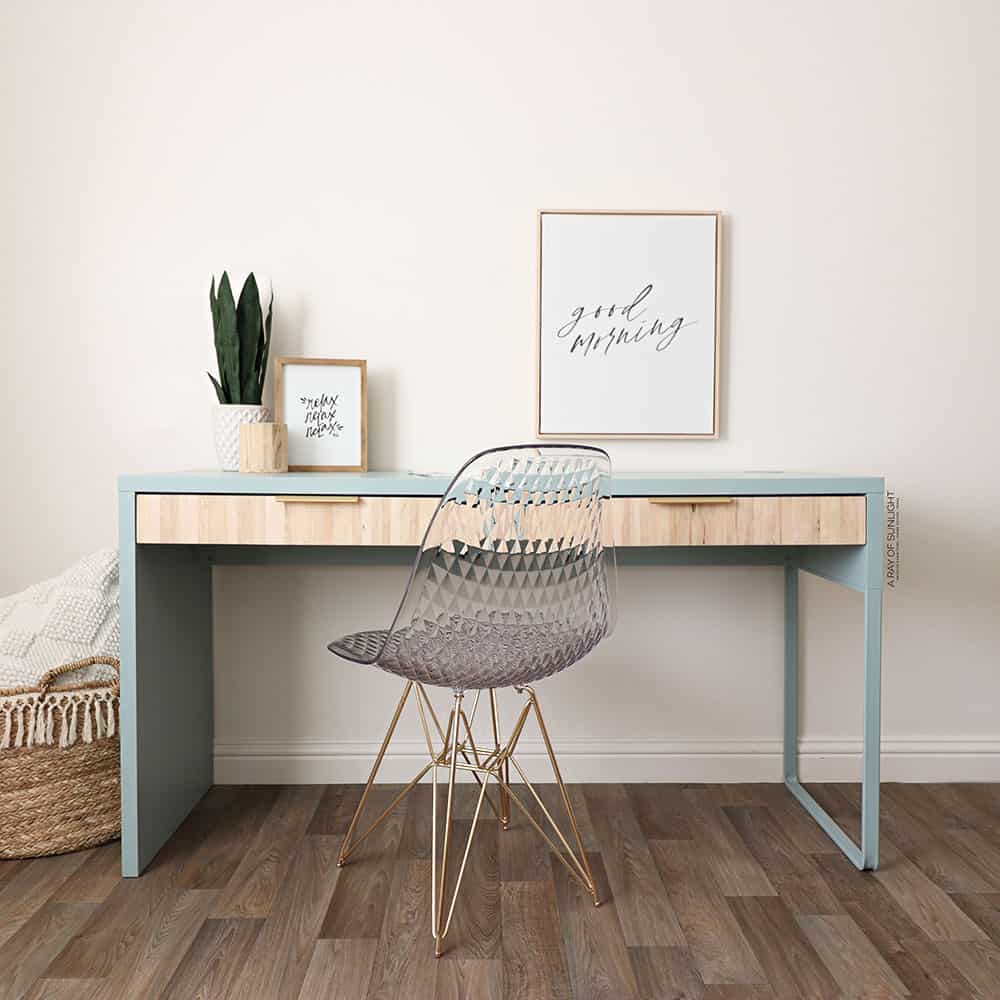
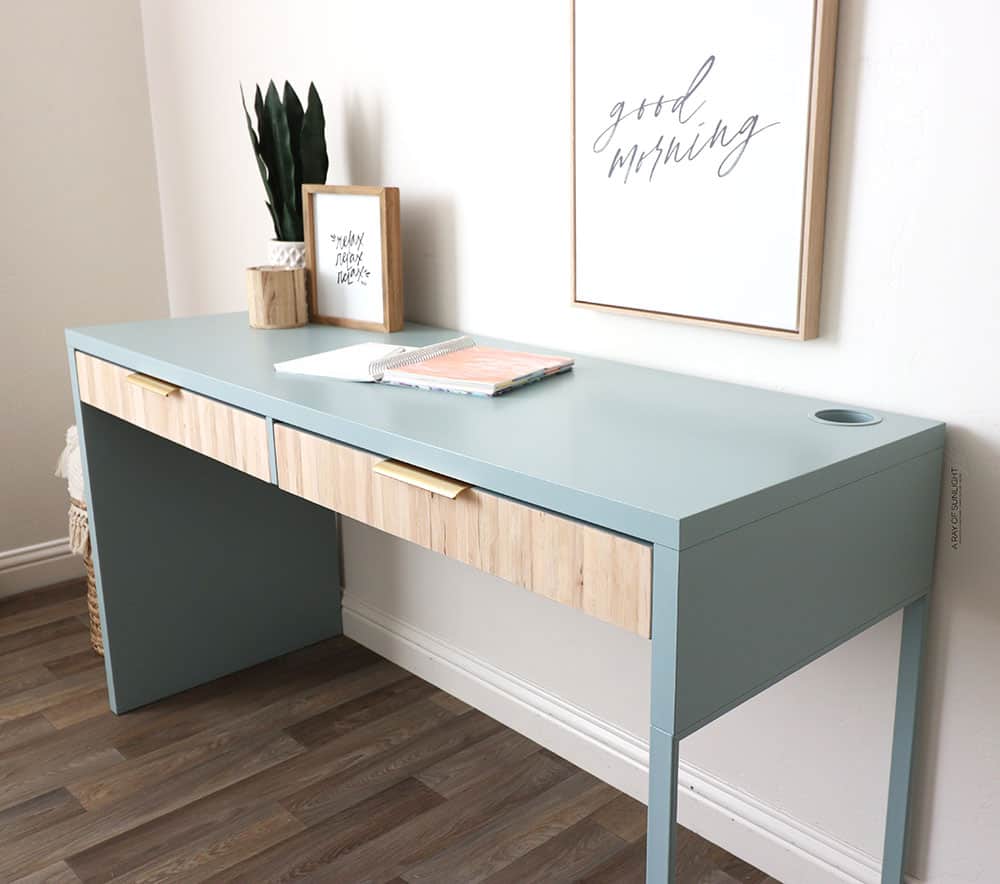
So here’s what our Free MICKE desk looks like now! You can get more desk makeover inspiration with these painted desk ideas and painted roll top desk ideas. These desk paint color ideas should give you more color inspiration, too.
You can watch the full makeover in our YouTube video below, or keep scrolling for the after photos!
More Before and After Makeovers
See All >
Click any of these “before” photos below to view the “after” of that makeover.


What do you think of the new look? I honestly had no idea what to do with the MICKE desk to make it look good… so I can’t believe that I pulled it off and turned it into something I absolutely love!
Should I paint my IKEA furniture before or after assembly?
Either way! IKEA furniture can be painted after assembly, or you can paint it in all of the flat pieces. It’s completely up to your personal preference.
If you paint it before assembly:
- You can easily roll the paint onto all of the surfaces because almost everything will be flat.
- But, you’ll need a lot of room to lay every piece out while you paint it and while it dries.
- Also, a lot of things need painted on both sides, so you’ll have to wait for one side to dry before you can paint the other side.
- But if you plan to take it apart later, it will be easier, and it will look better.
If you paint it after assembly:
- Then you might have a lot of small areas that you have to get into. That can be tricky.
- But you won’t have to paint as many surfaces because you won’t see ALL surfaces when it’s put together.
- Also, if you plan to take it apart later, it can turn into a mess if things are painted together.
How to prep IKEA furniture for painting
For the best results,
- Remove knobs and handles (and doors if you would like)
- Clean to remove oils and dirt and grime
- Make any repairs needed if it’s a used piece of furniture
- Scuff sand the surface if you want the primer and paint to stick very well
- Prime with a shellac-based primer if you want to skip scuff sanding – if you have scuff sanded, you can get away with using a water-based primer.
Do you have to sand IKEA furniture before painting?
If you use a shellac-based primer before you paint, no you don’t HAVE to scuff sand before painting.
If you use a water-based primer, you really need to scuff sand before you prime and then paint your IKEA furniture.
How to paint IKEA furniture without sanding
- Clean
- Prime with BIN Shellac Based Primer
- Paint
- Topcoat (If Needed)
You can roll, brush or spray BIN Shellac Based Primer on.
Beware the BIN shellac based primer may look like it’s not going to stick (it starts to turn into a bunch of tiny circles). Keep going because it will stick.
Shellac-based primer dries very quickly too, so if you keep going back over it, it will start to dry and stick, and then the coat of primer will build up more and more.
Do you Have to Prime IKEA Furniture Before Painting?
You don’t have to prime IKEA furniture, but your paint will scratch and peel off very easily if you don’t prime.
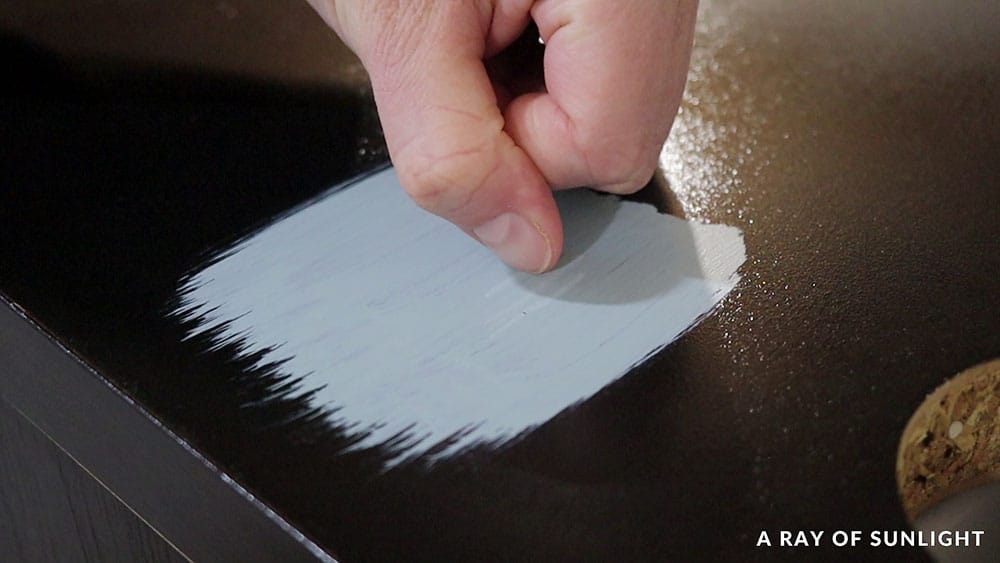
Priming/Sanding or Not Sanding Comparison
Last year I actually did a little experiment with a few different primers and laminate. I sanded half of the laminate, and I didn’t sand the other half.
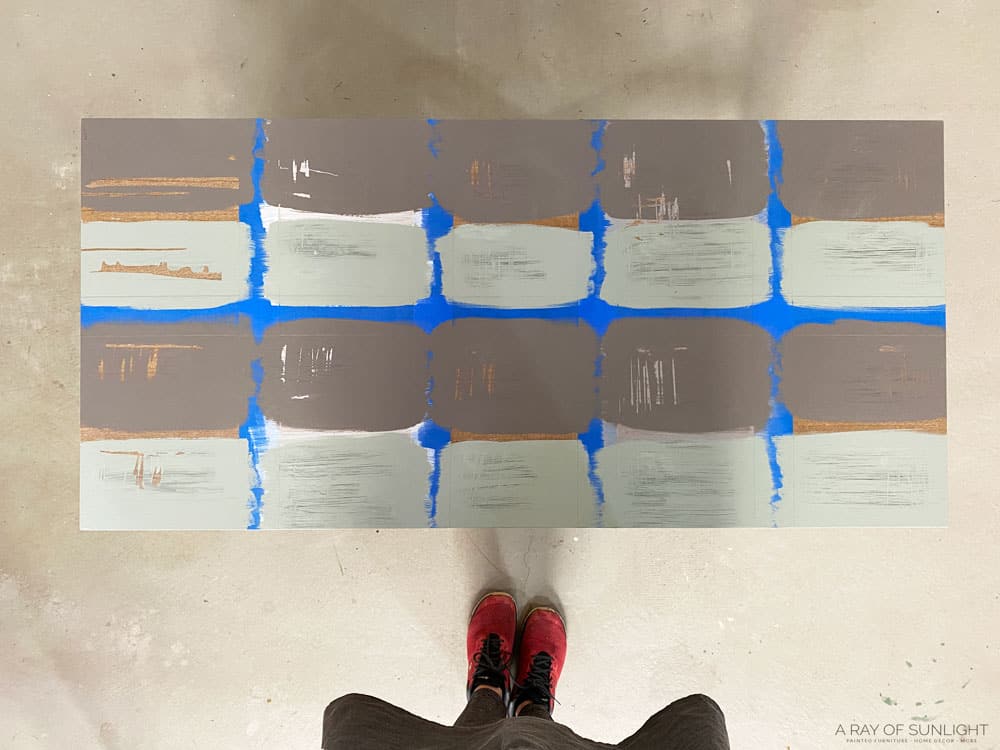
You can see the up close photos of the laminate & primer scratch test in this how to paint laminate furniture post.
Then I put a few different types of primer on the laminate. After letting it all dry, I did a simple scratch test to see what primers held up with and without sanding.
And I was shocked! All of the primers stayed on with the help of scuff sanding before priming. But, only some of them stayed on where I didn’t sand before.
So, if you want to paint IKEA furniture without sanding first, you need a good primer.
Best Primer for IKEA furniture
- The very best primer is BIN shellac-based primer. (Not the synthetic kind.)
It’s pretty thin stuff, so I’ve found that it’s easiest to roll it on. I also really like using the spray can version.
When you put it on, you might find that it looks like it’s not going to stick. (A lot of little circles appear). Just keep going. It will stick!
Why Shellac Primer is the BEST for IKEA Furniture
- It helps paint stick to the slickest surfaces.
- It blocks stains (wood furniture) from ruining your paint finish.
- Shellac works with oil and water-based paints!
- The white primer can be tinted to match your paint better.
Shellac Primer Cons
- Shellac is pretty stinky though, so use it outside, or make sure your space is well ventilated. (I also wear a respirator to protect myself.)
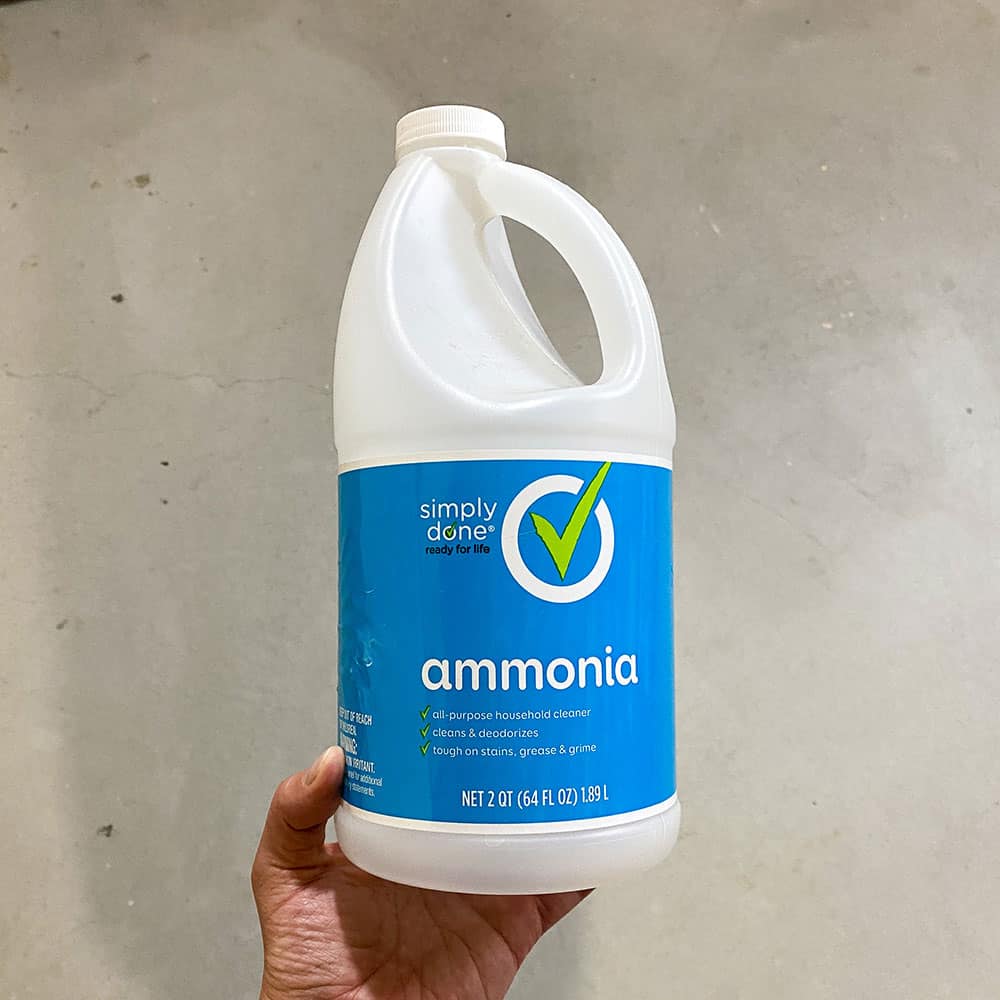
- It can’t be cleaned up with soapy water. I used Ammonia to clean it up, or I throw away the roller after I’m done with it.
- It’s a more expensive primer. (But it’s so worth it to spend the few extra dollars to make sure all your time on this project is worth it!)
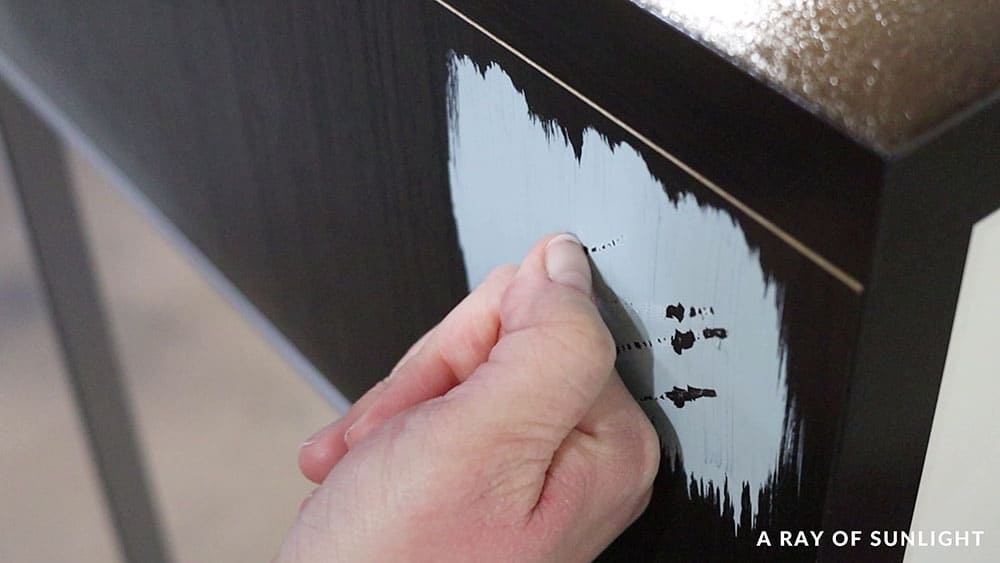
2. You can also use clear shellac. (Yeah, the same stuff that’s used as topcoats.)
I used clear shellac on this MICKE desk. And it helped the paint stick very very well.
Would you like to save this?
Shellac is the base in the best primer to use, so it only makes sense that it’s a great alternative.
This clear shellac didn’t work on the cord management plastic ring or the plastic on the sides of the drawers (it was different than laminate.)
But clear shellac works great on laminate, metal, and wood.
I love that it’s clear, so if you are painting a dark color over dark laminate, wood, or metal, then you don’t have to use the white BIN or have the BIN primer tinted. It also blocks bleedthrough stains from ruining your paint job on wood furniture.
3. STIX Primer is another great alternative for your laminate, plastic or metal IKEA furniture.
It’s water-based too!

But it’s best to scuff sand beforehand. And the dry time before painting over it is longer. But it will definitely stick to your laminate, and metal IKEA furniture. It won’t block bleedthrough stains with wood IKEA furniture though.
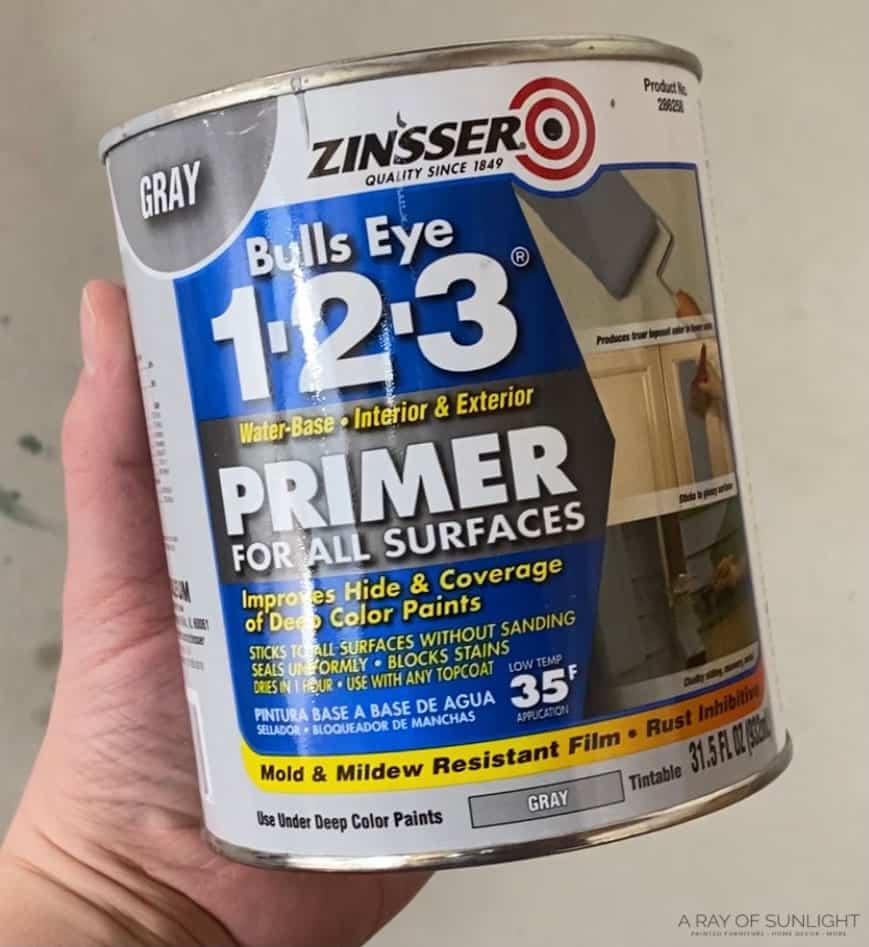
4. 123 Primer water-based primer will work, but you need to scuff sand really well beforehand.
And the dry time is longer. This will not block bleedthrough stains on wood furniture though.
How to Clean Up Shellac Based Primer
Shellac-based primer cannot be cleaned with soap and water! Instead, clean it with ammonia or denatured alcohol. You can read the instructions for clean-up on the back of the can for more specific directions for the exact product that you are using.
If you roll on the primer with a cheap roller, you may consider throwing the roller away instead of trying to clean it.
Ammonia and denatured alcohol are both very stinky, so I recommend wearing a respirator and doing it outdoors if possible.
How to Paint IKEA Furniture without Sanding or Priming
There is only one paint that I have found will stick to laminate without scuff sanding or priming. It’s not a guarantee by any means, and I would test a spot before painting everything.
Heirloom Traditions Paint has stuck to very slick laminate furniture for me. Without sanding beforehand. You can learn more about the best paints for furniture without sanding here.
Check out this guide for painting furniture with Heirloom Traditions Paint and my Heirloom Traditions All In One Paint review to learn more about this paint.
Also, check out this Fusion Mineral Paint vs Heirloom Traditions Paint post to see how the two paints compare to each other.
How to Test if your Paint will Stick to IKEA furniture without sanding or priming
If you want to try it, but you want to make sure the paint will stick, I would paint a small area (a few inches) on the top, side and drawers, etc. (basically any surface that may be a little different, because furniture is made of multiple different materials sometimes.)
Let the paint dry for at least 24 hours. Scratch at it with your fingernail. Does it come off really easily? Then it’s not going to stick.
Does it only scratch off a little? It should work! Once it dries for a few more days and completely cures, it shouldn’t scratch off at all.
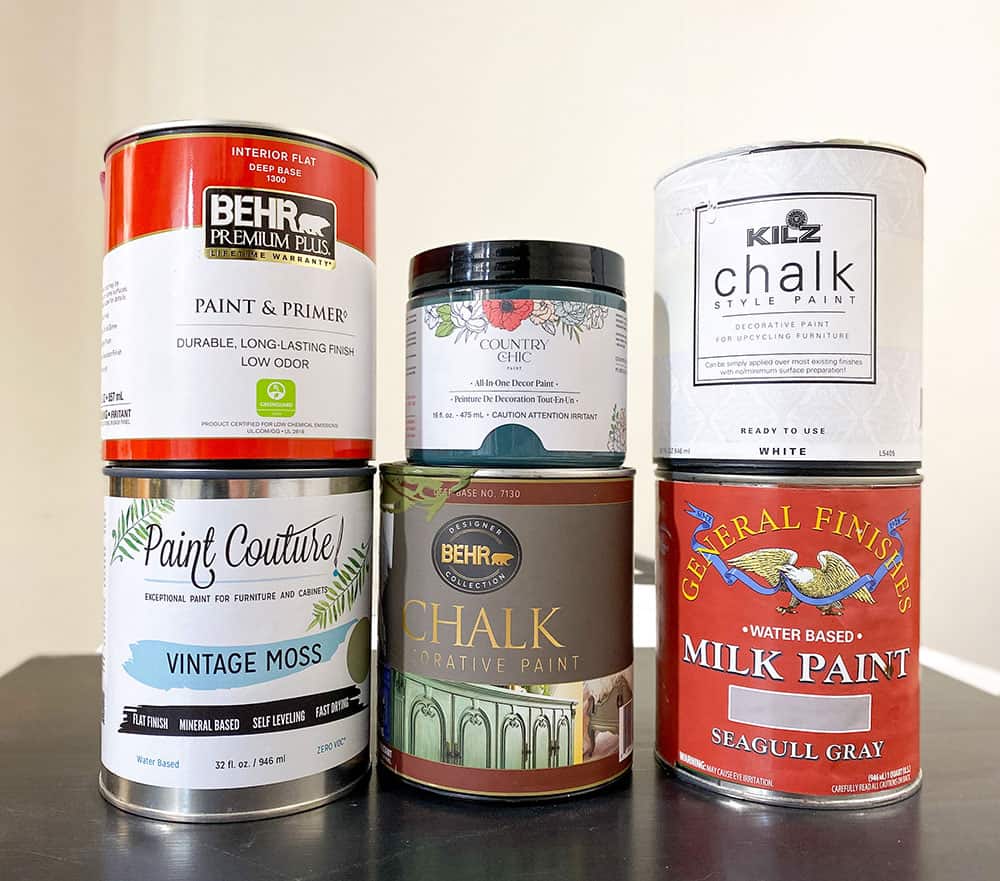
What paint to use on IKEA furniture?
Here is a list of some of my favorite furniture paints (the ones that stick well, are durable, and don’t need a topcoat)
- Heirloom Traditions Paint
- Fusion Mineral Paint (I like to topcoat with a satin topcoat, but it’s not necessary)
- Melange ONE
- Sherwin Williams Emerald Urethane Trim Enamel

I love to use General Finishes Milk Paint, and Chalk Paint (haven’t found a brand that doesn’t work) as well, but they do need a topcoat.
I personally would stay away from latex paint (wall paint), but you can paint IKEA furniture with latex paint. It’s not durable though, so I would topcoat it!
Read through this post to learn more about painting furniture with latex paint and learn more about the best all-in-one paints for furniture here.
What Tools Should I Use to Paint With?
You can also paint it with whatever tool you want! Any paintbrush, roller, or a paint sprayer will work. My personal preferences are
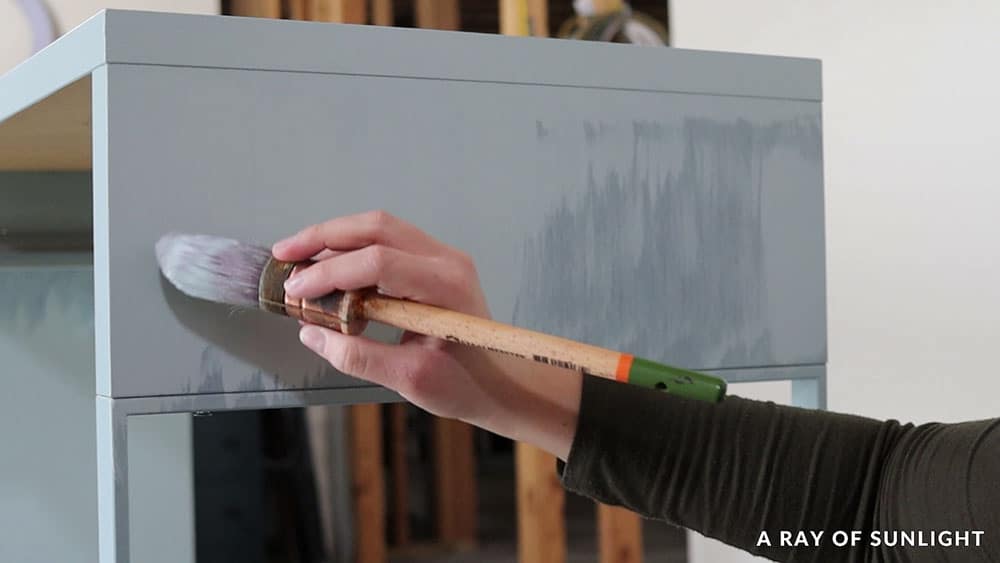
Paint Brush
The better quality your paint and paintbrush, the better looking your furniture will be. No, you don’t have to spend a lot of money on a paintbrush.
The round Zibra paint brush is my favorite budget-friendly paintbrush. The round shape makes it easy to paint details, edges, curves… all the things that furniture has. Zibra makes great quality brushes too. And their brushes are around $10 each.
Clean them up after you use them, and before they dry out… and they will last you a very long time. And you won’t get bristles left in your paint everywhere!
Staalmeester paint brushes and Cling On paint brushes are also amazing brushes, but they are more expensive, around $30. Check this post to learn more about the best paint brushes for painting furniture.
You get way fewer brush marks left in the paint when you use these guys.
Roller
I honestly don’t love using rollers on furniture because they leave a lot of little bumps behind. But that’s a personal preference.
A foam 4″ roller or this mohair roller from Sherwin Williams are the ones that I use the most. The 3/8″ nap is what I would look for though when you’re looking for a roller. Learn more about the best rollers for painting furniture here.
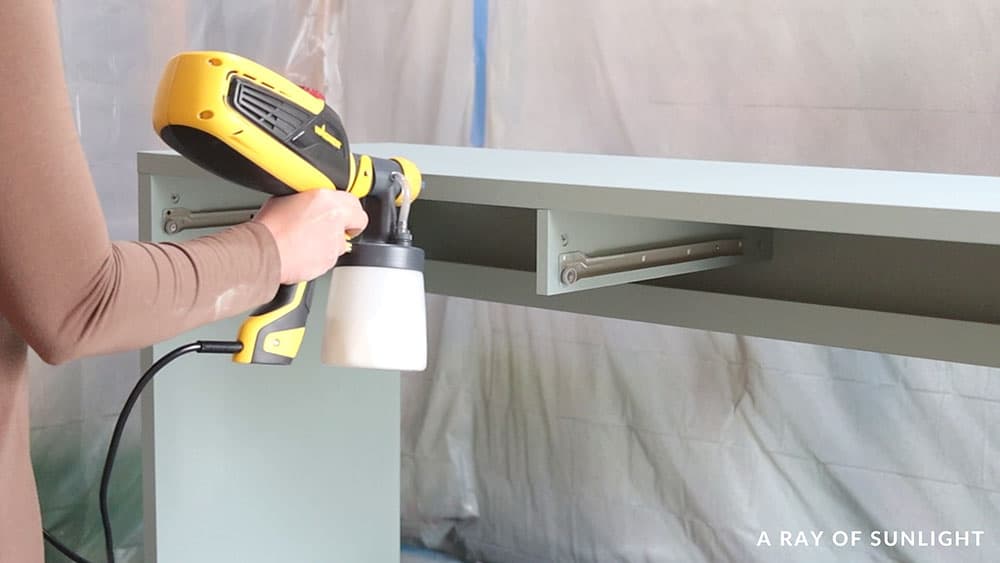
Paint Sprayer
Painting with a paint sprayer is my favorite option because it creates a smooth finish, and if there are a lot of surfaces to paint, it goes so much faster.
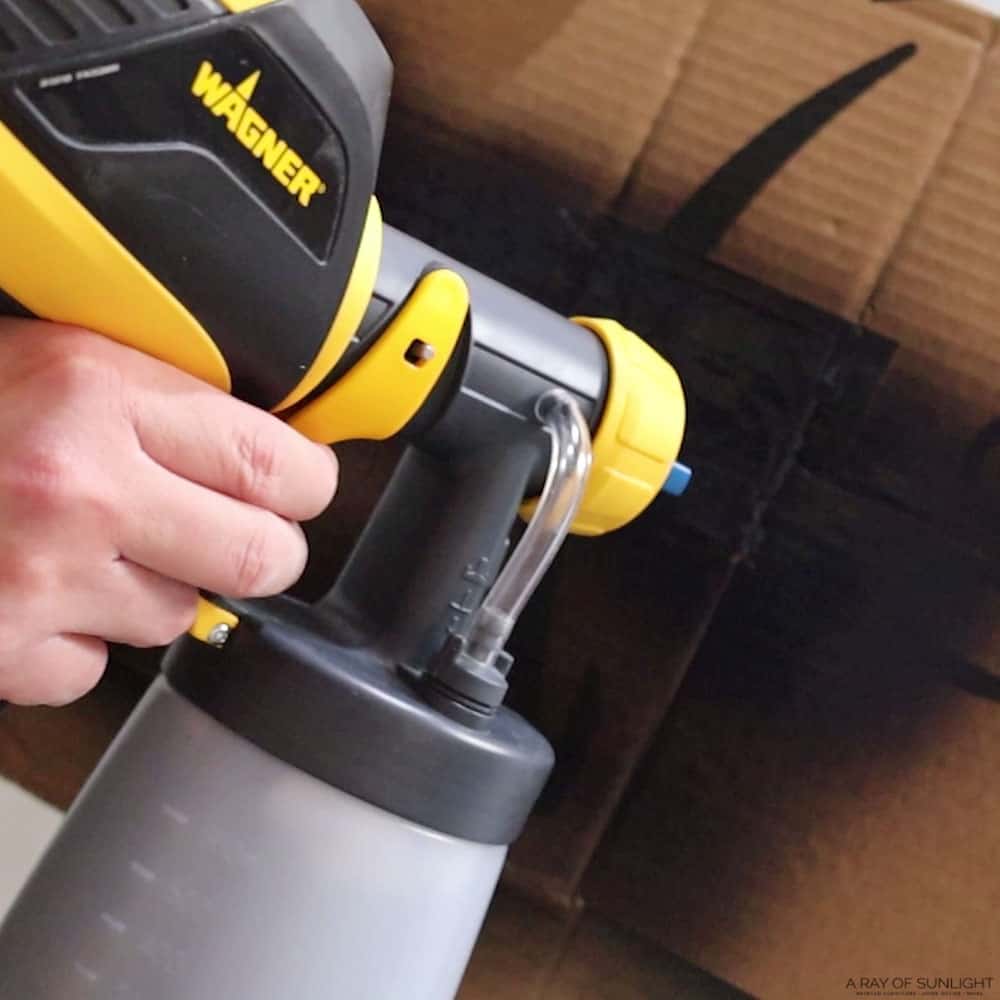
Here’s a list of the best HVLP paint sprayers for beginners or intermediate painters. If you have an outdoor area or garage, you can totally tackle using a paint sprayer.
Here’s how to thin paint for a sprayer, how to clean an HVLP paint sprayer and how to use the HomeRight Super Finish Max paint sprayer, one of my favorite beginner paint sprayers. Learn how to clean HomeRight paint sprayer here.
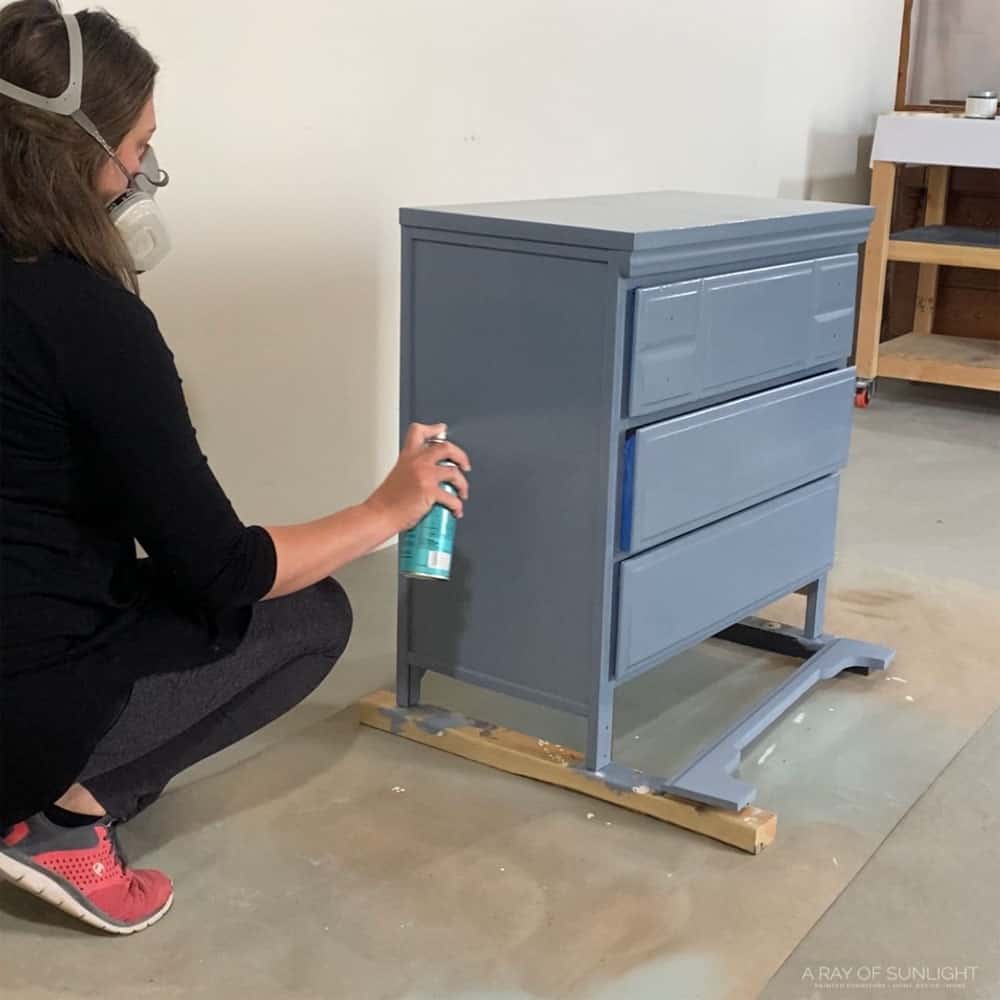
Spray painting IKEA furniture
If you’re wondering, “can I spray paint IKEA furniture?” Yes! You can definitely use spray paint on IKEA furniture!
I would still recommend priming with BIN shellac-based primer beforehand (there is a spray can version!) And I would plan to spray 2-3 coats to get full coverage, depending on the paint and how good of coverage it has.
Check out this comparison of the 6 best spray paints and how well they held up to a simple scratch test! I tested cheap spray paint, Krylon spray paint, Rustoleum spray paint, and Behr spray paint. They all work! But some are more durable than others.
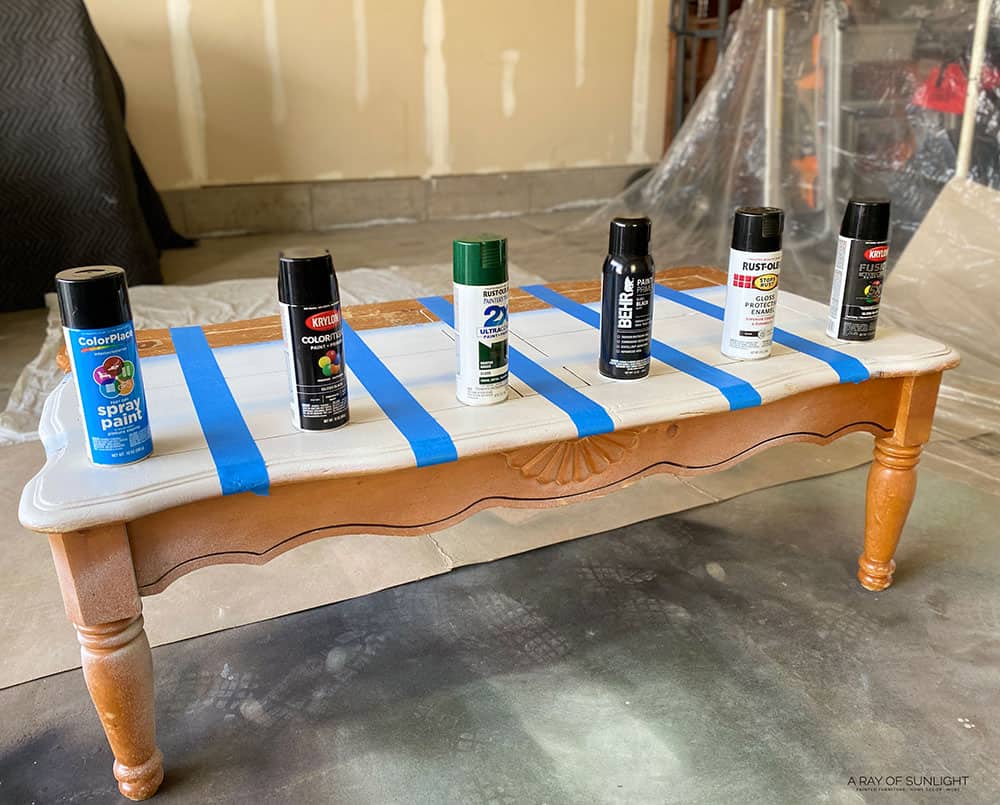
But, it seems like the most durable options in my test were the ones that don’t come in many colors. If you are looking for just black or white, you have the most options available to you. For blue shades, check out our list of the best blue paint for furniture.
If you decide to use spray paint, here’s how to prevent spots when spray painting to help you avoid this unsightly texture.
Painting IKEA furniture with chalk paint
If you are using chalk paint on IKEA furniture, yes, you still need to prime. Chalk paint sticks better than latex paint does, but it still has a hard time sticking to laminate and plastic without the help of at least a primer.
Scuff sanding the laminate will help the chalk paint stick, but it’s still not enough to make chalk paint stick well. If you’re working with a laminate piece and using spray paint, here’s how to spray paint laminate furniture to guide you.
How to Apply Your Topcoat
You can apply water-based polyurethane with a brush, a foam sponge, or you can spray it on. Rollers aren’t recommended because it creates a lot of little bubbles.
This Varathane polyurethane is my favorite top coat for my painted furniture, and I personally like to spray polyurethane with my paint sprayer.
This Minwax polycrylic in a spray can is the best spray can version. Learn more about the features and how-to’s of Minwax polycrylic spray here.
If I have to put it on by hand, I prefer to use a damp foam sponge, especially on dark colors.
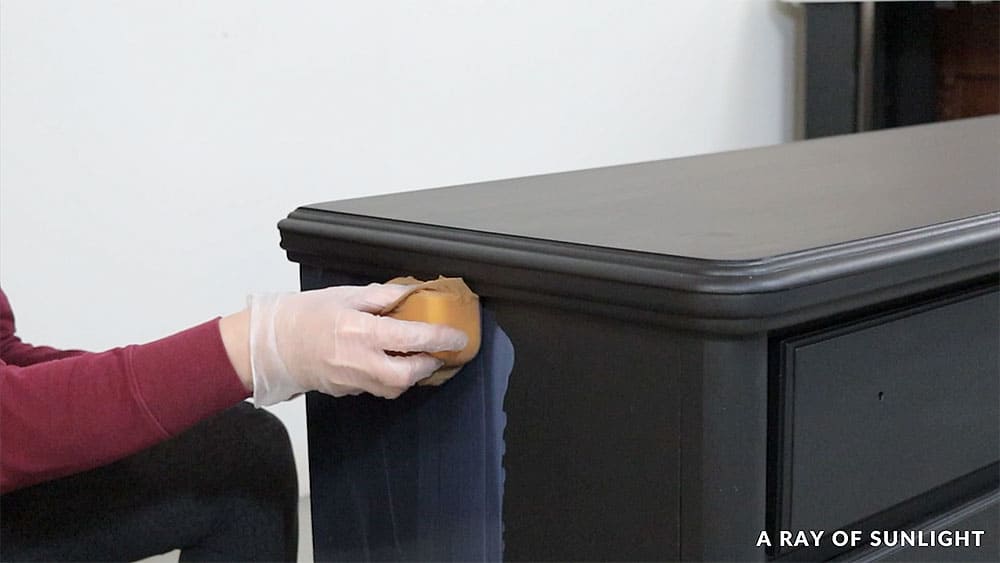
Check out this paint furniture black makeover to see how to apply polyurethane with a foam sponge.
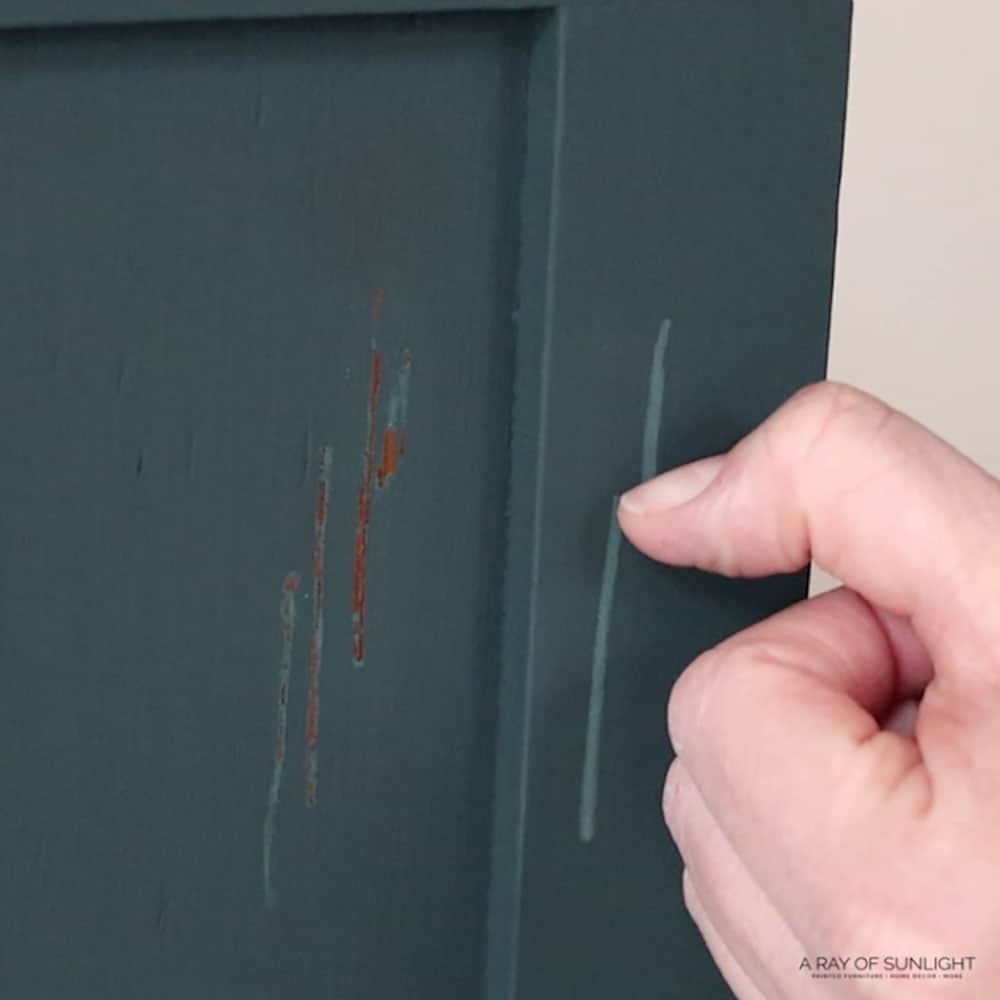
How to distress IKEA furniture
It’s hard to distress IKEA furniture if you use a white tinted primer. So, instead of using BIN shellac-based primer that’s white, use the clear shellac instead. At least on the places that you want to distress.
Since the clear shellac is clear, you can distress the paint without the white primer showing in between the paint and the laminate, wood, or metal underneath.
Distressing IKEA furniture works best on furniture that is dark to begin with. If it’s a few different colors, you might want to paint it a dark color first, and then paint your final color. Then you can distress the final paint color just enough to see the dark paint underneath.
How to paint IKEA to look like wood
You can totally paint IKEA furniture to look like wood! I personally haven’t tried it, but Salvaged By K Scott has a great video tutorial on how to make any kind of furniture look like wood. Check it out!
Just be sure to prep and prime your IKEA furniture before you start painting.
How to paint IKEA furniture for outdoor use
A lot of IKEA’s laminate furniture is really made of particleboard, fiberboard, MDF… These materials aren’t suitable for outdoor use because once water hits them, they swell up, break, and just aren’t very durable.
If you ever encounter particle board furniture and plan to paint them, it can be a bit tricky. So check out our post on how to paint particle board furniture to learn all about it.
It’s also important to address any damages as soon as possible to prevent any further issues. Here’s our guide on how to repair damaged particle board furniture with detailed steps and tips.
So, I personally would not put IKEA laminate furniture outdoors unless it was a piece of junk to begin with.
You can paint metal furniture and wood furniture for outdoor use though! Use an exterior grade paint or topcoat instead of a water-based indoor paint/topcoat. Check out the best spray paint for outdoor metal furniture here.
If you paint your IKEA furniture with chalk paint, I would topcoat it with an exterior grade topcoat.
BUT beware that exterior grade topcoats are typically oil, so you’ll need to let your paint dry for 48 hours, and then beware that the topcoat will make your paint look yellow. (If you use a dark color of paint, you probably won’t notice the yellow at all!)
It would be much easier to use an exterior grade paint to begin with. But I would still use BIN primer before painting. Get more inspiration from these painted IKEA furniture ideas!
Can you Stain Laminate Furniture?
Laminate furniture does not accept stain. Stain needs to soak in, and it can’t soak into laminate (which is basically plastic).
You can paint it, and then stain it to kind of recreate a wood stained look though. Check out the tutorial I shared from Salvaged By K Scott above to see how to make a wood look with paint!
Is it better to paint IKEA furniture before or after assembly?
A feature of most IKEA furniture pieces is that you can assemble and disassemble them easily. Now if you’re planning to paint your IKEA furniture, a question that may come up is – should I do it before or after assembly? Should I disassemble the piece, paint it, and then assemble it again?
It does depend on the specific piece of furniture and your personal preference. If the furniture piece has intricate details or hard to reach areas, it may be easier to paint before assembly.
But if the piece is simple and can be easily painted while assembled, then you might save some time by not disassembling it.
Another factor to consider is whether you want to paint the entire piece of furniture or just certain parts of it. If you only want to paint certain areas, it may be easier to do so before assembly.
However, if you want a more uniform and thorough coat of paint, painting after assembly may be the better choice.
Some people prefer to disassemble IKEA furniture before painting because they find it easier to get an even coat of paint without worrying about any missed spots or drips. Others find it easier to keep the furniture assembled and paint it in place.
Ultimately, the choice is up to you and what works best for your specific piece of furniture and painting technique.
There you have it, some tips and tricks for painting IKEA furniture. So next time you’re looking to update your plain IKEA piece, you’ll know what to do!


Painting IKEA Furniture
The basics of painting IKEA furniture (laminate, metal or wood) without sanding before painting. Use your favorite type of paint, and get your IKEA furniture painted!
Materials
Instructions
- Remove the hardware if your IKEA furniture has knobs, handles or even doors with hinges.
- Clean your furniture with a degreasing cleaner, even if it's brand new.
- Make repairs if needed. (Ex: Super glue laminate back down, fill in chips and holes with wood filler, fill large holes and chips with Kwikwood, sand chipped areas smooth)
- (Optional) Scuff sand with 220 grit if you want your paint to adhere better. You can skip this step if you use BIN shellac primer.
- Prime with BIN shellac primer (not the synthetic kind!) with a roller, or spray it on.
- Paint with your choice of paint. You can use oil based or waterbased paint with BIN shellac primer. Paint 2 coats or more to get full coverage.
- (Optional) Topcoat if your paint needs a topcoat. You can skip this step if you don't use chalk, mineral or latex paint.
- You can add some popsicle sticks to the desk drawer fronts. Attach hardware back.
Recommended Products
As an Amazon Associate and member of other affiliate programs, I earn from qualifying purchases.


More IKEA Furniture Makeovers
- IKEA Hack: How to Update Your Furniture with Chalk Paint
- IKEA Dresser Makeover
- Extreme IKEA Makeover
- IKEA Hemnes Dresser Makeover
- How to Paint a Laminate Dresser
Follow us on YouTube to get more tips for painting furniture. Or share your project with us on our Facebook Group and be part of our community. See you there!
Fabulous style changeup on this desk! I loved everything about it. Just curious as to what glue you used to adhere the wood sticks, if you don’t mind sharing. I always look forward to getting your weekly tutorials on Fridays!
Thank you!! I linked the glue that I used up in the supply list in this post. I believe I called it Instant Glue in that list. It has some weird name that I never can remember or spell haha. But it worked great!
Thank you for such a comprehensive tutorial on how to make over Ikea furniture! I love how the desk turned out! The added interest with the popsicle sticks takes it to another level! I’m currently working on making over an Ikea type piece I got for my office. The size and proportion were perfect but the black laminate was not going to work. I’ve scuff sanded all the surfaces and primed with Stix. Just waiting for it to warm up a bit here in Massachusetts to set up outside with my home-rite sprayer. My paint store suggested Benjamin Moore Command after I complained how long Advance takes to dry – so I decided to try it out. It seems really durable so far from the testing I did. I’ve got another Ikea piece lined up after this one Keep the mid-century modern vibe coming!
GORGEOUS
Talk about day and night! Before it looks like a desk you’d see in an institution and after it’s this beautiful desk that I want in my home!
Aww thanks so much Giselle!